

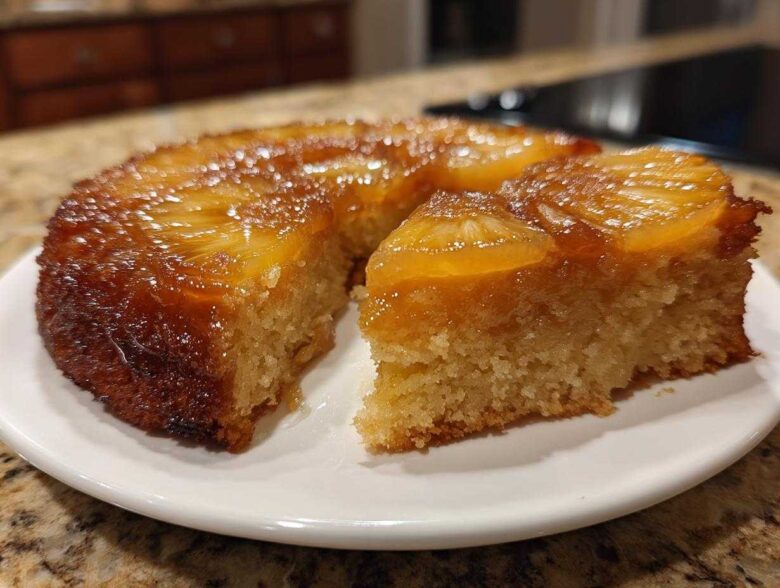
Oh my goodness, are you ready for a trip down memory lane? There’s just something about those gorgeous, glowing retro desserts, isn’t there? They remind you of big family gatherings and slightly wobbly cake stands. I’m talking, of course, about the incredible pineapple upside down cake. This isn’t just any recipe, though; this is the one that locks in that beautiful, buttery caramelization and keeps the cake itself ridiculously moist. Leo always jokes that the pineapple slices look like edible stained glass!
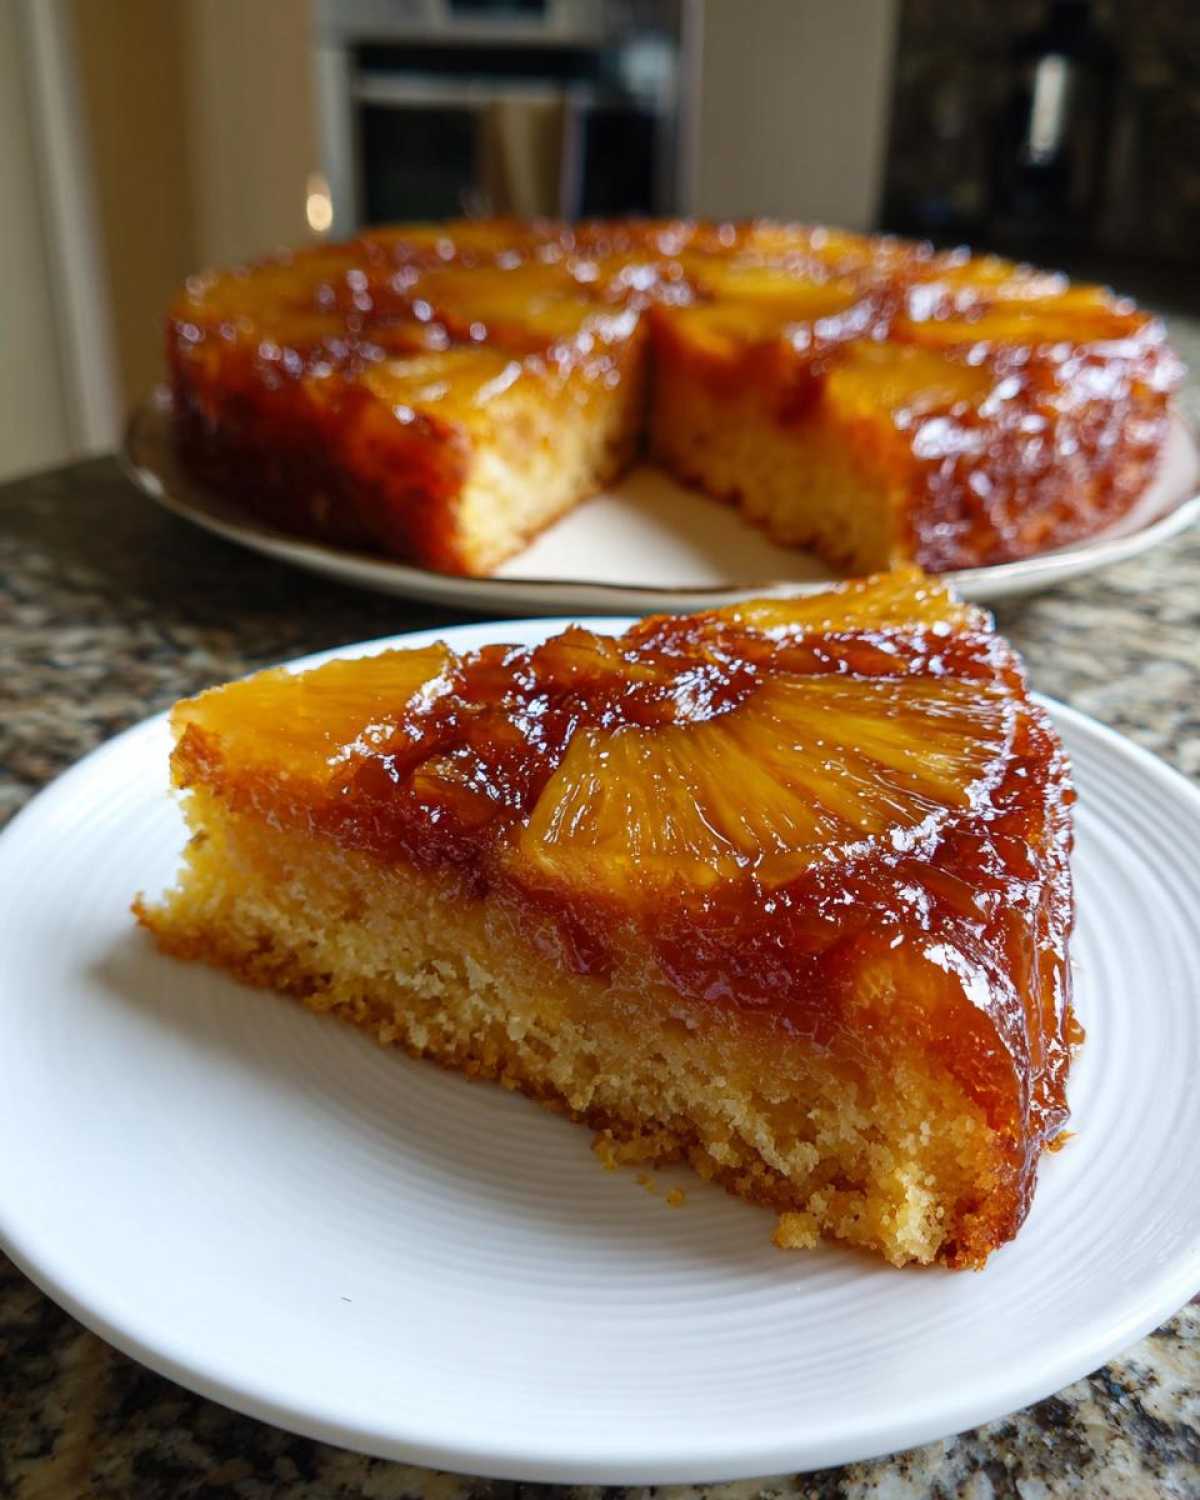
When I first tried making this, I nearly ruined the whole topping by forgetting to let it cool just a touch before flipping. Ugh, sticky meltdown alert! But I finally nailed the technique, and now it’s one of my go-to showstoppers. If you want that perfect, tender crumb paired with that sweet, tropical tang, you’ve absolutely come to the right place. Forget dry cakes—we’re making magic here. If you want to read a little more about how Leo and I got started with our own kitchen chaos, pop over to our About Us page!
Why This is the Best Pineapple Upside Down Cake Recipe
So many recipes out there promise gold but give you sticky brown sludge! Not ours, though. This scratch version is authentically how you get the Best Pineapple Upside Down Cake. The secret to making sure it’s a Moist Pineapple Upside Down Cake is how we handle the butter and sugar for the topping versus the creaming process for the batter. It’s a technique that honors the classic method beautifully and guarantees no one gets a dry bite. Trust me on this one—it’s worth taking the extra few minutes to do it right!
Why You’ll Love This Pineapple Upside Down Cake
- Texture is superior: Seriously moist crumb every time.
- Perfectly caramelized top that doesn’t burn.
- Classic, nostalgic flavor right from scratch.
- Simple steps that don’t require fancy equipment.
Gather Your Ingredients for the Classic Pineapple Upside Down Cake
Okay, let’s wrangle these components! Because this recipe has two distinct parts—that glorious syrupy topping and the fluffy cake that sits underneath—I like to separate my ingredients out on the counter first. It just keeps things calm when the music is playing loud and I’m trying to talk Leo out of adding paprika to everything! Having everything measured and ready means we can nail that perfect bake without any mid-mix panics.
For the Buttery Caramel Topping
- 1/2 cup unsalted butter (this gets melted!)
- 1 cup packed light brown sugar
- 1 (20 ounce) can pineapple slices in juice, drained (Make sure you reserve 3 tablespoons of that juice—it’s gold for the batter!)
- 10 maraschino cherries, stems removed
For the Moist Cake Batter
- 1 1/2 cups all-purpose flour
- 1 teaspoon baking powder
- 1/2 teaspoon salt
- 1/2 cup unsalted butter, softened (This is separate from the melted butter on top!)
- 3/4 cup granulated sugar
- 2 large eggs
- 1 teaspoon vanilla extract
- 1/2 cup whole milk
- 1/4 cup reserved pineapple juice
Expert Tips for the Perfect Caramelized Pineapple Cake Topping
This topping is where all the magic happens, so we can’t rush it! For the best Caramelized Pineapple Cake, you need that deep, golden mahogany color in the brown sugar, not burnt black bits. The key here is controlling the heat when you melt that first half-cup of butter and mix it with the brown sugar right in the pan. Keep it low and slow—we are coaxing the sugar, not attacking it!
Also, please don’t just toss out that pineapple juice you drained! That reserved juice is essential because it adds a tiny bit of acidity and sweetness right into the cake batter, helping activate the leavening and making the whole thing taste brighter. If you want an extra rich caramel layer, absolutely swap that light brown sugar for dark brown sugar; the extra molasses really pumps up the flavor. You can check out my guide on caramelizing things without stress for more helpful vibes!
Ingredient Notes and Substitutions for your pineapple upside down cake
We love using canned slices because they are perfectly uniform—it makes arranging them so satisfying! If you use fresh pineapple, you’ll need to cook it down slightly first to remove excess water, so canned is my shortcut suggestion here.
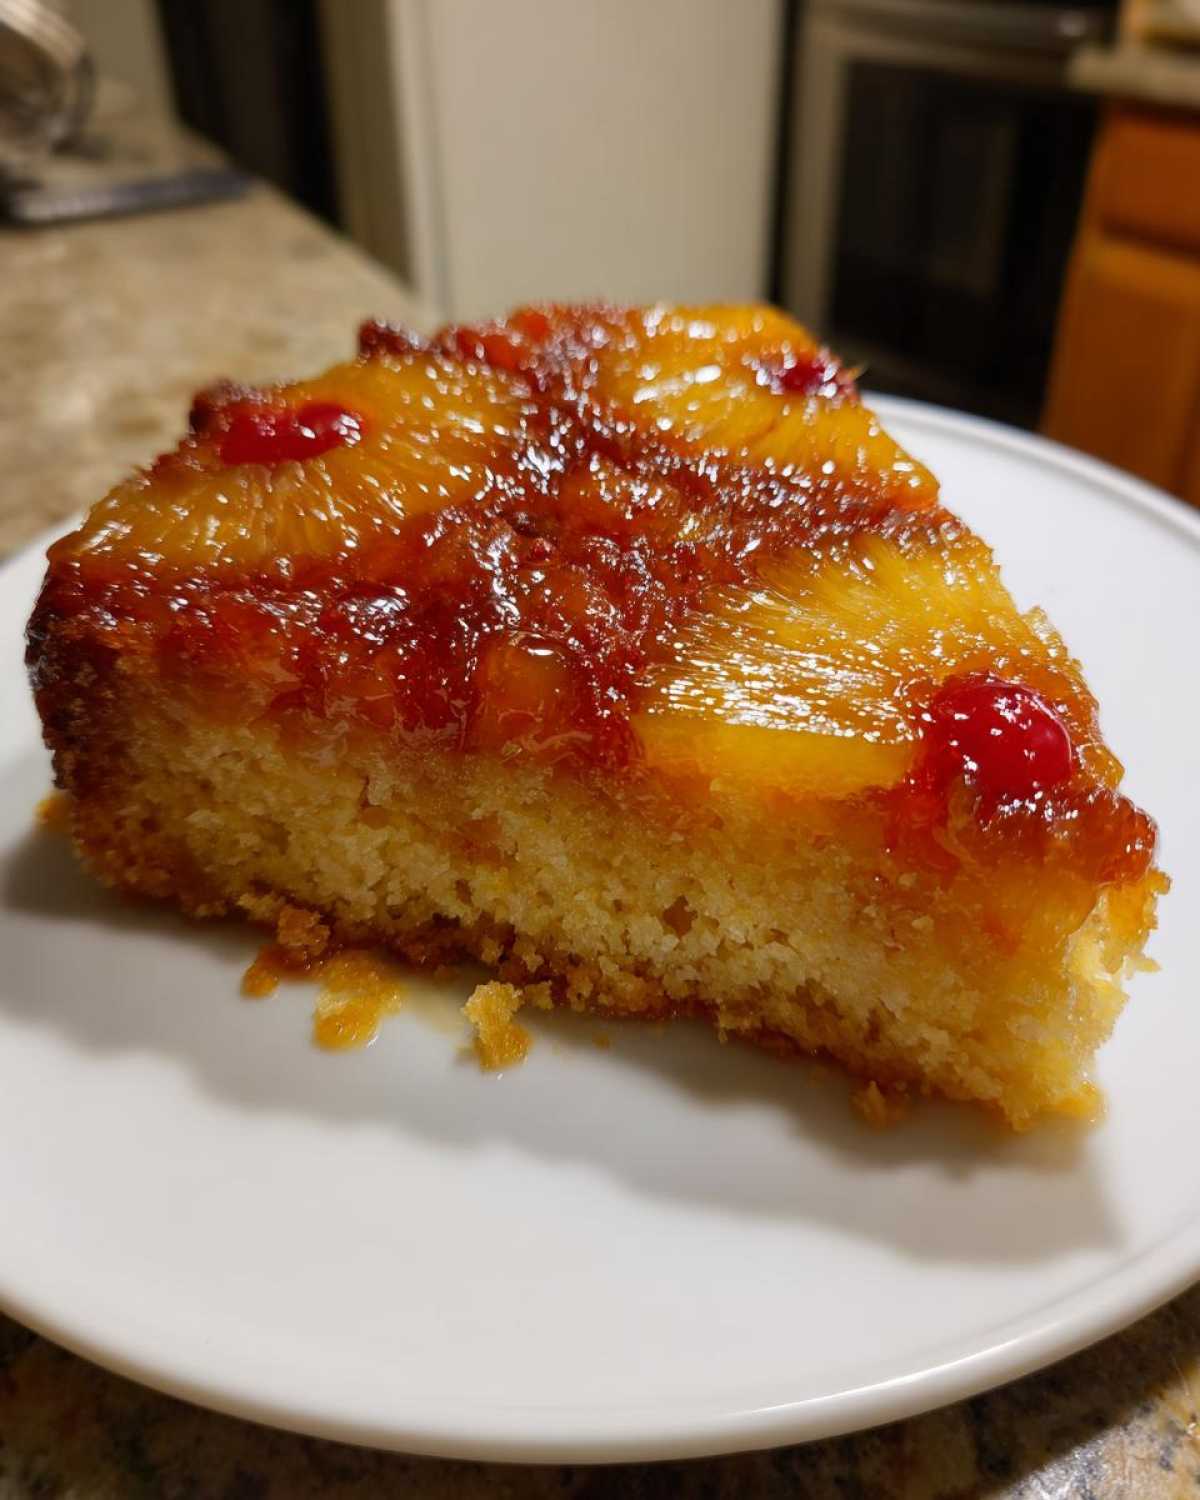
What if you don’t have maraschino cherries? Honestly, they are mostly for looks in this cake! If you’re out, just tuck a pecan half or a small piece of fresh pineapple right into the center of the ring instead. It looks pretty, and nobody will even miss them. And remember, light brown sugar is standard, but if you want a deeper, almost burnt-sugar note, dark brown sugar in the topping layer is a fantastic substitution!
Step-by-Step Instructions for Your Homemade Pineapple Cake
Ready to see this beautiful Homemade Pineapple Cake come together? Since we’re baking upside down, the layering order is super important, but the actual process is pretty straightforward once you break it down. I always blast my favorite playlist right before I start this part so I’m moving with good rhythm. Remember, we are aiming for that perfect flip, so follow these steps closely, especially around the cooling time!
Preparing the Pan and Topping Layer
First things first: crank that oven up to 350°F (175°C) and get your 9-inch round cake pan ready. We start the topping right there in the pan. You need to melt that first half-cup of butter completely, either gently on the stove or carefully in the microwave. Once it’s liquid gold, sprinkle all that yummy brown sugar evenly over the top. Now for the fun part: arrange your drained pineapple slices right on top of that sugar layer. Pop one lonely maraschino cherry into the middle of every single pineapple ring. Don’t skimp!
Mixing the Batter for a Moist Pineapple Upside Down Cake
Next, whisk your dry stuff—flour, baking powder, and salt—together in a bowl and set it aside. Now grab your mixer for the wet side. You’re going to beat that softened butter and the granulated sugar until they get really fluffy. I mean *really* light and airy! Beat in the eggs one by one, making sure they incorporate fully before adding the next one. Don’t forget that vanilla! Then, you alternate adding your dry flour mix and your milk/reserved pineapple juice combo. Add a bit of flour, then a bit of liquid, back and forth, finishing with the flour last. Seriously, just mix until you don’t see streaks anymore. Overmixing this batter is the fastest way to banish that moist texture we love.
Baking and Flipping the Pineapple Upside Down Cake
Gently spoon that gorgeous batter right over your pineapple and cherry layer. Smooth the top lightly but don’t press down; we want it floating on top! Bake it for about 35 to 40 minutes. You’ll know it’s done when a wooden pick comes out clean—that’s your visual cue! Now, this is the critical moment for the flip: Let it sit in the pan on a wire rack for exactly five minutes. No more, no less! After five minutes, place your serving plate upside down over the pan, grab both tightly, and flip quickly! Lift that pan off gently. If a cherry jumps ship, just tuck it back in. Time to check out your handiwork! You can find more baking tutorials over on the Cookify Me Blog!
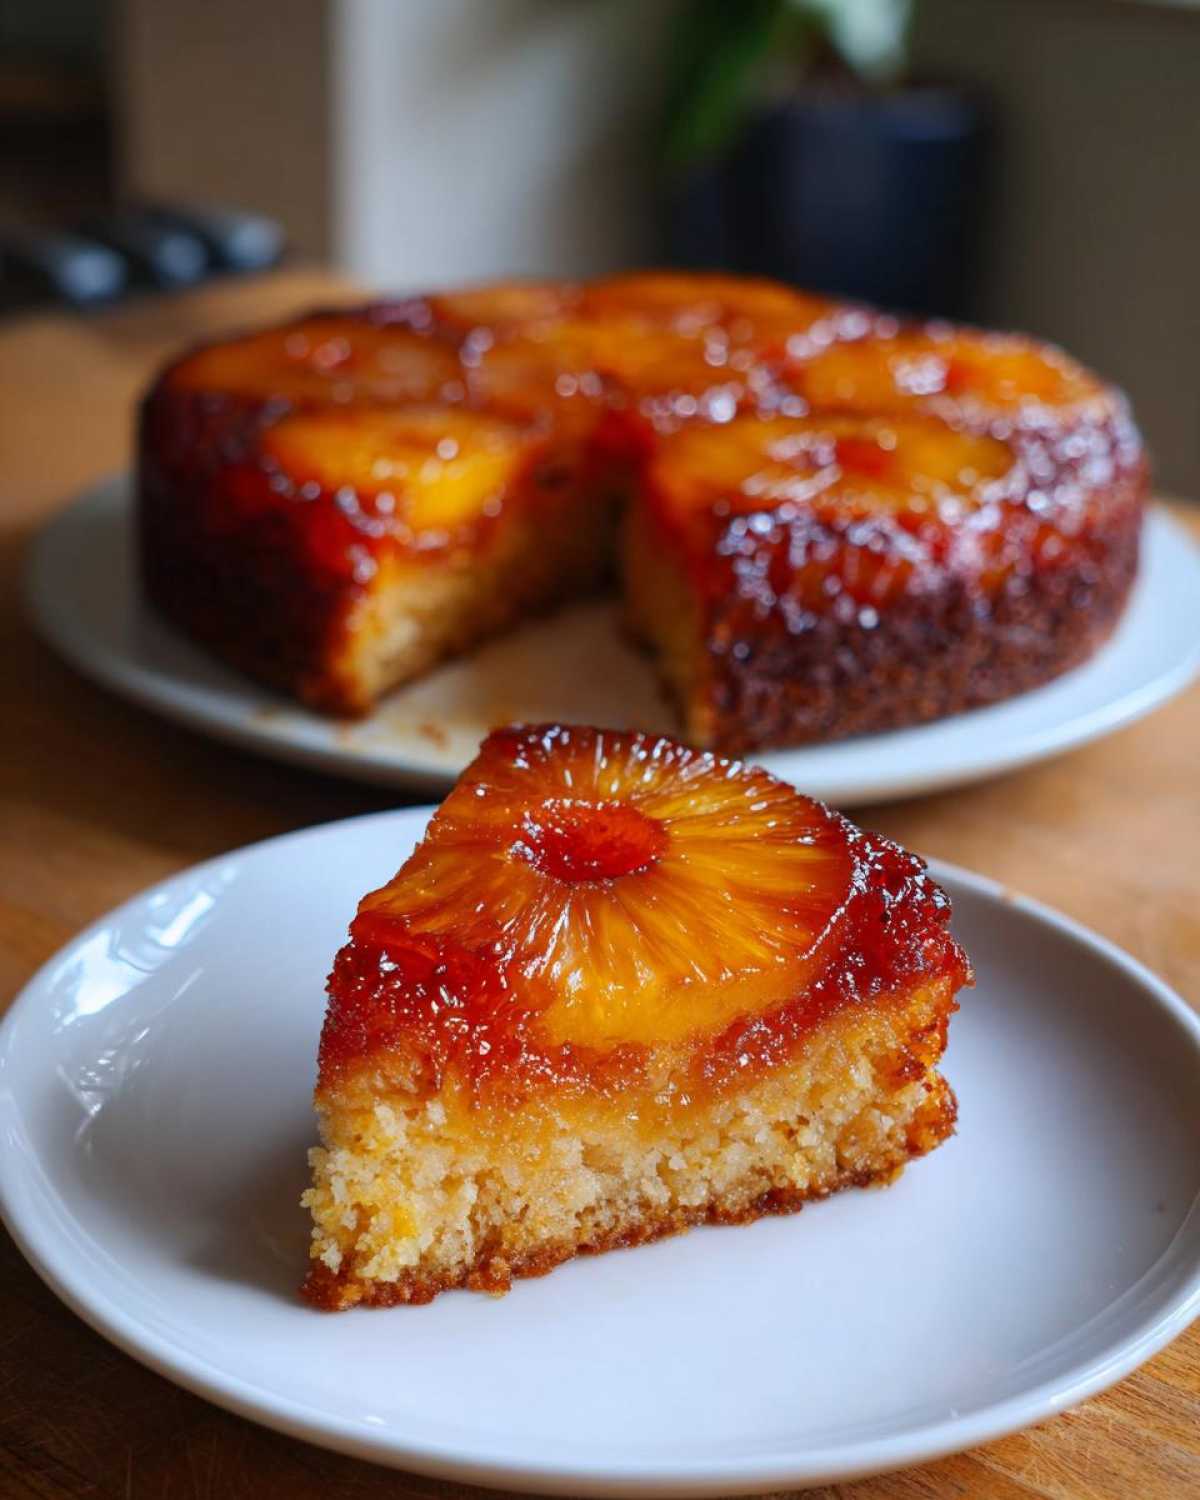
Serving Suggestions for this Tropical Cake Recipe
This beautiful pineapple upside down cake really sings when it’s served warm! That buttery caramel layer just melts into the cake, and honestly, I think it’s criminal not to serve it right out of the oven after that quick 5-minute rest. It works perfectly as a stunning centerpiece for any party. If you’re going for a truly decadent experience with this Tropical Cake Recipe, you absolutely must pair a slice with a scoop of really good vanilla bean ice cream. If ice cream feels like too much, a big, fluffy dollop of slightly sweetened whipped cream is also heavenly.
We often enjoy this after a lighter meal—maybe after some grilled fish or something bright. If you’re looking for a fun, refreshing drink to go alongside it, I recently perfected a zero-proof Watermelon Smoothie that cuts through the sweetness just right!
Storage and Make-Ahead Tips for Your Pineapple Upside Down Cake
You know, this cake actually handles resting better than a lot of sponge cakes, which is a huge win when you’re planning big party menus! Since the topping is essentially a thick layer of cooked sugar and butter, it keeps things super protected. If you have any leftovers—and I mean *any*—you can store the cake right on the serving plate, covered loosely with plastic wrap, at room temperature for a good two days. Seriously, two days! The moisture from the pineapple keeps it gorgeous.
If you need to keep it longer, or if your kitchen is just too warm, pop it into the fridge. Just make sure it’s wrapped tightly so it doesn’t pick up fridge smells. When you want to eat it cold, I highly recommend letting it sit out for about 30 minutes before serving to bring that buttery flavor back up. Ready to tackle it ahead of time? You can absolutely prepare that caramel topping—the melted butter and brown sugar layer—the night before. Just don’t add the fruit yet! Keep the topping mixture covered on the counter. The next day, arrange your fruit and pour the batter right over it. It’s a perfect little trick when you need to save actual baking time!
Frequently Asked Questions About Making Pineapple Upside Down Cake
I know, I know, sometimes you just have lingering questions! It happens to the best of us, even when following a great recipe. Don’t worry, I’ve got answers for the things that pop up most often when folks are trying to master this Classic Pineapple Cake. I’ve pulled these questions right from what people kept asking on our social media!
Can I make this Pineapple Upside Down Cake in a Bundt Pan?
Yes, you totally can use a Bundt pan! They make such a stunning presentation for this cake, turning it into a gorgeous Pineapple Upside Down Bundt Cake. Since Bundt pans are typically deeper than the 9-inch round one this recipe calls for, you should expect the baking time to increase. Maybe start checking around 45 minutes, but honestly, keep an eye on it until that wooden pick comes out clean, which could take up to 55 minutes depending on your specific pan. Just pour that batter right over the topping, and let the pan’s shape do the decorating work for you!
How do I prevent the topping from sticking when flipping my pineapple upside down cake?
That sticky topping is the thing that keeps nervous bakers up at night! The main defense is making sure that initial layer of butter is completely melted and covers every nook and cranny of the pan bottom before you spread that brown sugar over it. That melted butter acts like the glue for the caramel.
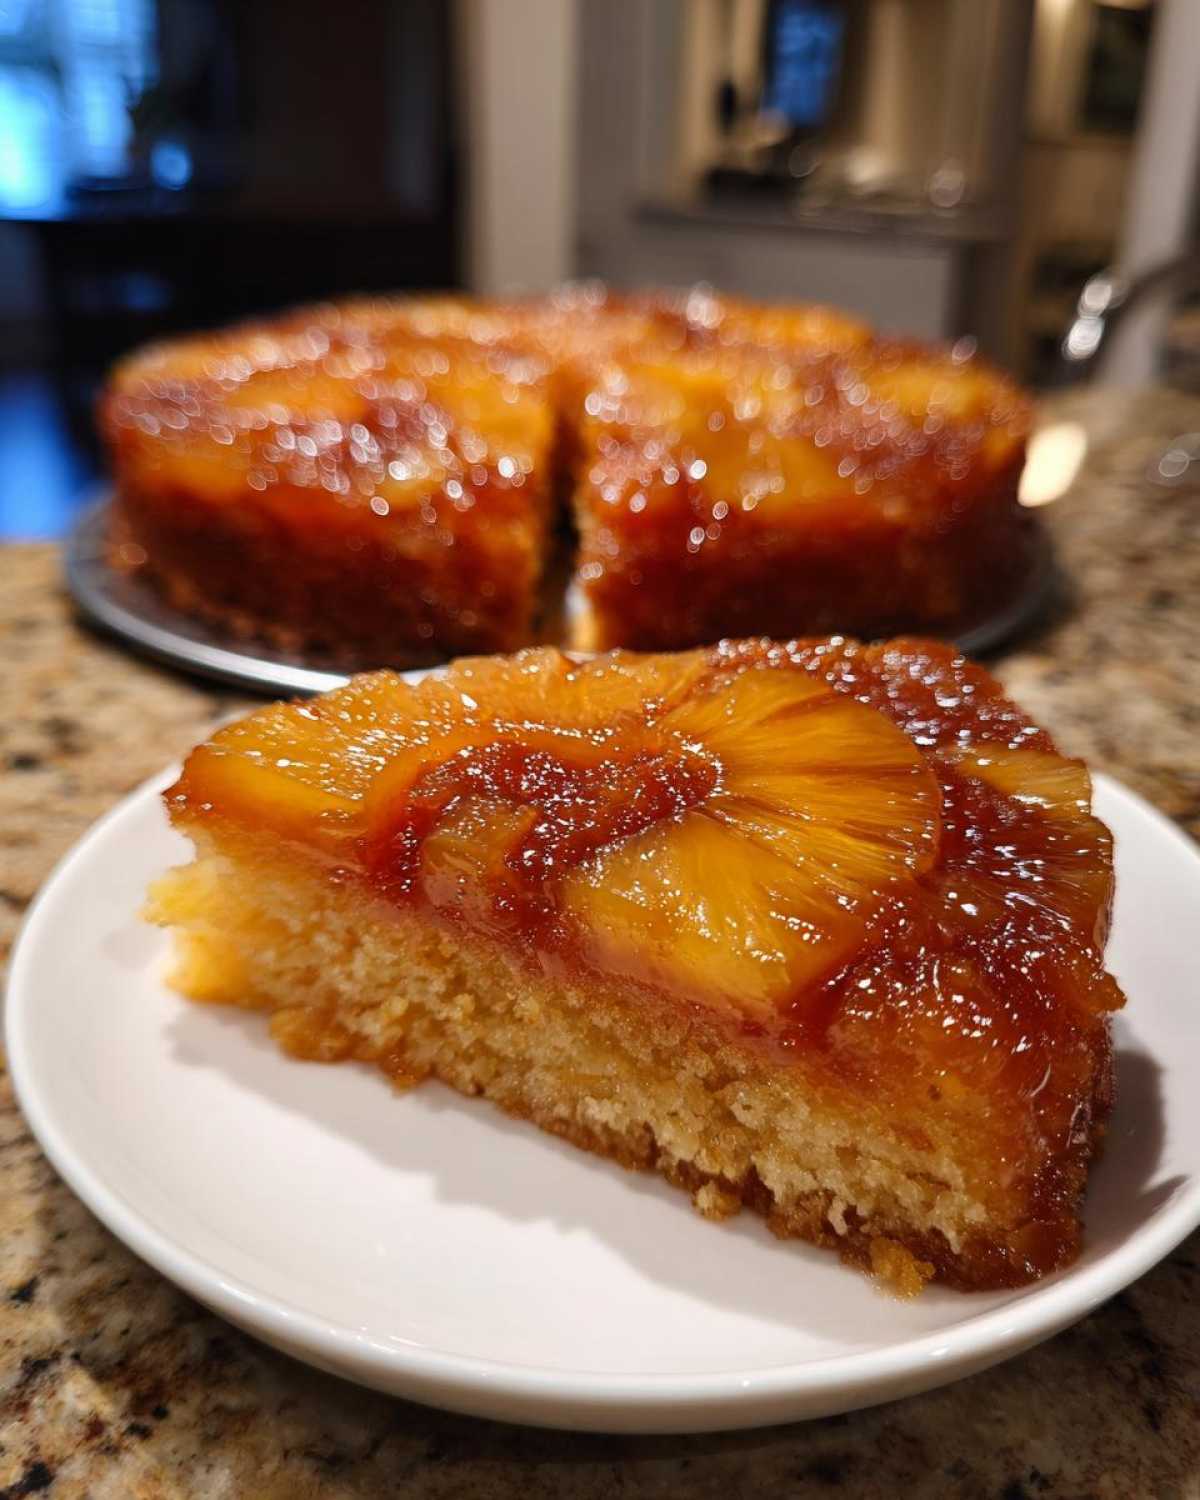
If you’re still worried, here is a little trick I use sometimes, especially if I’m nervous about the edges gripping: After you pour the batter in (Step 9), give the pan a very gentle shake just to help settle the cake batter around the fruit. Then, when it’s time to flip after the 5-minute cool down, make sure you are quick and decisive. Don’t hesitate! Hesitation lets the sugar cool and solidify, making it stick. If a few cherry sides stick, just gently push them back into place on the warm cake—it’ll melt right back down! Speaking of amazing tropical flavors, you absolutely have to check out my Pineapple Coconut Mojito recipe for the perfect pairing!
Estimated Nutritional Profile for this Classic Pineapple Cake
I always feel a little funny posting nutrition facts because, honestly, when you’re making a spectacular, buttery Classic Pineapple Cake like this, you’re usually doing it for joy, not macros! But for those who need the data, here’s a close look. Keep in mind these values are just estimates based on my ingredient breakdown above, so they are totally a guideline. Don’t stress too much—just enjoy every single bite of that sweet, tropical goodness!
- Serving Size: 1 slice
- Calories: 380
- Sugar: 35g
- Fat: 18g
- Protein: 4g
Share Your Retro Dessert Ideas
Now that you’ve baked up this totally stunning, buttery slice of nostalgia, I really want to hear from you! Seriously, seeing your creations makes my entire week. Did you nail that caramel flip on the first try? Did you sneak a cherry out of the topping before you even baked it? Tell me everything!
Please drop a comment below with your rating and let me know how you liked the flavor. If you snapped a picture of your beautiful pineapple upside down cake, tag us on Instagram! We love gathering all these wonderful success stories. If you have feedback, questions, or just want to send Leo a picture of something burning (hey, we all do it!), you can always reach out directly on our Contact Page. Happy baking, friends!
PrintClassic Pineapple Upside Down Cake: Moist and Buttery Retro Dessert
Make the best Pineapple Upside Down Cake from scratch. This recipe delivers a moist, tender crumb and perfectly caramelized pineapple rings, bringing a sweet, nostalgic flavor to your table.
- Prep Time: 15 min
- Cook Time: 40 min
- Total Time: 55 min
- Yield: 8 servings
- Category: Dessert
- Method: Baking
- Cuisine: American
- Diet: Vegetarian
Ingredients
- 1/2 cup unsalted butter
- 1 cup packed light brown sugar
- 1 (20 ounce) can pineapple slices in juice, drained (reserve 3 tablespoons juice)
- 10 maraschino cherries, stems removed
- 1 1/2 cups all-purpose flour
- 1 teaspoon baking powder
- 1/2 teaspoon salt
- 1/2 cup unsalted butter, softened
- 3/4 cup granulated sugar
- 2 large eggs
- 1 teaspoon vanilla extract
- 1/2 cup whole milk
- 1/4 cup reserved pineapple juice
Instructions
- Preheat your oven to 350°F (175°C). You will need a 9-inch round cake pan.
- Melt 1/2 cup of butter in the cake pan over low heat or in the microwave. Sprinkle the brown sugar evenly over the melted butter.
- Arrange the drained pineapple slices on top of the sugar mixture in the pan. Place one maraschino cherry in the center of each pineapple ring.
- In a medium bowl, whisk together the flour, baking powder, and salt. Set this dry mixture aside.
- In a separate large bowl, beat the 1/2 cup softened butter and granulated sugar with an electric mixer until the mixture is light and fluffy. This step helps make your cake moist.
- Beat in the eggs one at a time, mixing well after each addition. Stir in the vanilla extract.
- In a small bowl, whisk together the milk and the reserved 1/4 cup of pineapple juice.
- Gradually add the flour mixture to the wet ingredients, alternating with the milk mixture, beginning and ending with the flour. Mix only until just combined; do not overmix.
- Carefully spoon the batter evenly over the pineapple and cherries in the prepared pan.
- Bake for 35 to 40 minutes, or until a wooden pick inserted into the center comes out clean.
- Let the cake cool in the pan on a wire rack for 5 minutes.
- Place a serving plate upside down over the cake pan. Holding both the plate and the pan firmly together, quickly flip them over. Lift the pan off carefully. If any topping sticks, gently replace the pineapple or cherry pieces.
- Serve warm for the best buttery pineapple flavor.
Notes
- For an extra tropical flavor, add 1 teaspoon of rum extract to the batter when you add the vanilla.
- If you want a richer caramel layer, use dark brown sugar instead of light brown sugar for the topping.
- To prevent sticking, make sure the butter completely covers the bottom of the pan before adding the sugar.
Nutrition
- Serving Size: 1 slice
- Calories: 380
- Sugar: 35g
- Sodium: 250mg
- Fat: 18g
- Saturated Fat: 11g
- Unsaturated Fat: 7g
- Trans Fat: 0.5g
- Carbohydrates: 53g
- Fiber: 1g
- Protein: 4g
- Cholesterol: 85mg