

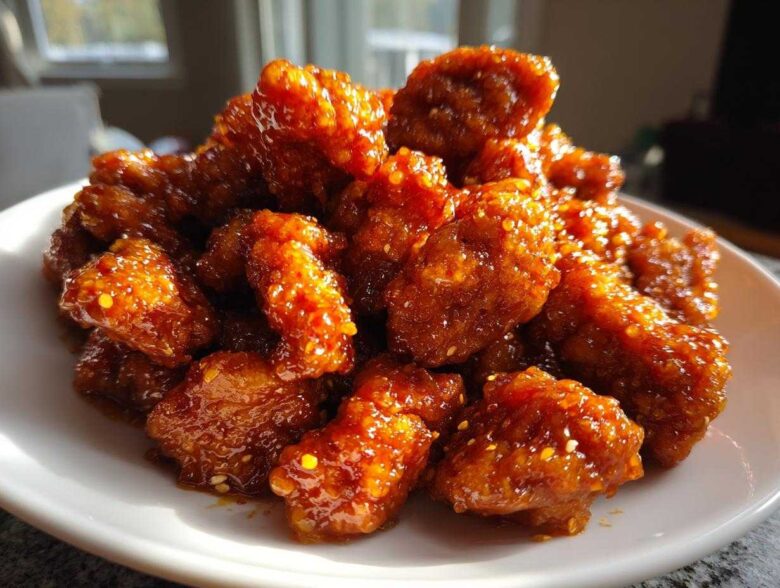
Okay, let’s be real: sometimes you’re craving that sticky, tangy, sweet takeout flavor, and you just can’t pick up the phone. Leo and I have certainly been there on late nights, right after a huge photo shoot when we’re too tired to do anything! But we cracked the code, and now we never order out for this dish. Seriously, folks, forget the delivery apps because I’m handing over my ultimate orange chicken recipe. It’s The Ultimate 30-Minute Crispy Homemade Orange Chicken, and trust me, it tastes way better than any place down the street. If you want to know more about our kitchen chaos, check out our story!
We spent weeks perfecting this so you don’t have to burn anything—unlike poor Leo on our first date! This version nails the crispy exterior and the bright, glossy sauce. If we can make this happen messy kitchen and all, you absolutely can too. It’s fast, fun, and proves that homemade is always worth the tiny bit of elbow grease. You’ll be shocked how quick this amazing Asian-American classic comes together!
Why This Orange Chicken Recipe is Better Than Takeout
I’m telling you, this version destroys any takeout container that dares cross my threshold. We seriously tested this orange chicken recipe dozens of times—Leo even taste-tested batches while listening to way too much 90s rock—just to make sure the balance was perfect. It’s on the table in 30 minutes, which is key for those crazy weeknights. This becomes a true Family Favorite Chicken because it delivers that savory, crispy punch you both crave and expect. Seriously, this is the one that finally beats the Panda Express version! If you need another quick fix, check out my casserole ideas over at this link.
Achieving Restaurant-Quality Crispy Orange Chicken
The magic behind the crisp, not soggy, texture lies entirely in the coating. We skip the thick batter and instead use a simple dredge of flour and cornstarch. This combo absorbs just enough oil to get golden and crunchy when pan-fried, but it’s light enough that it doesn’t feel heavy. That’s the secret to this Crispy Orange Chicken Recipe—you get all the texture without all the fuss of deep frying!
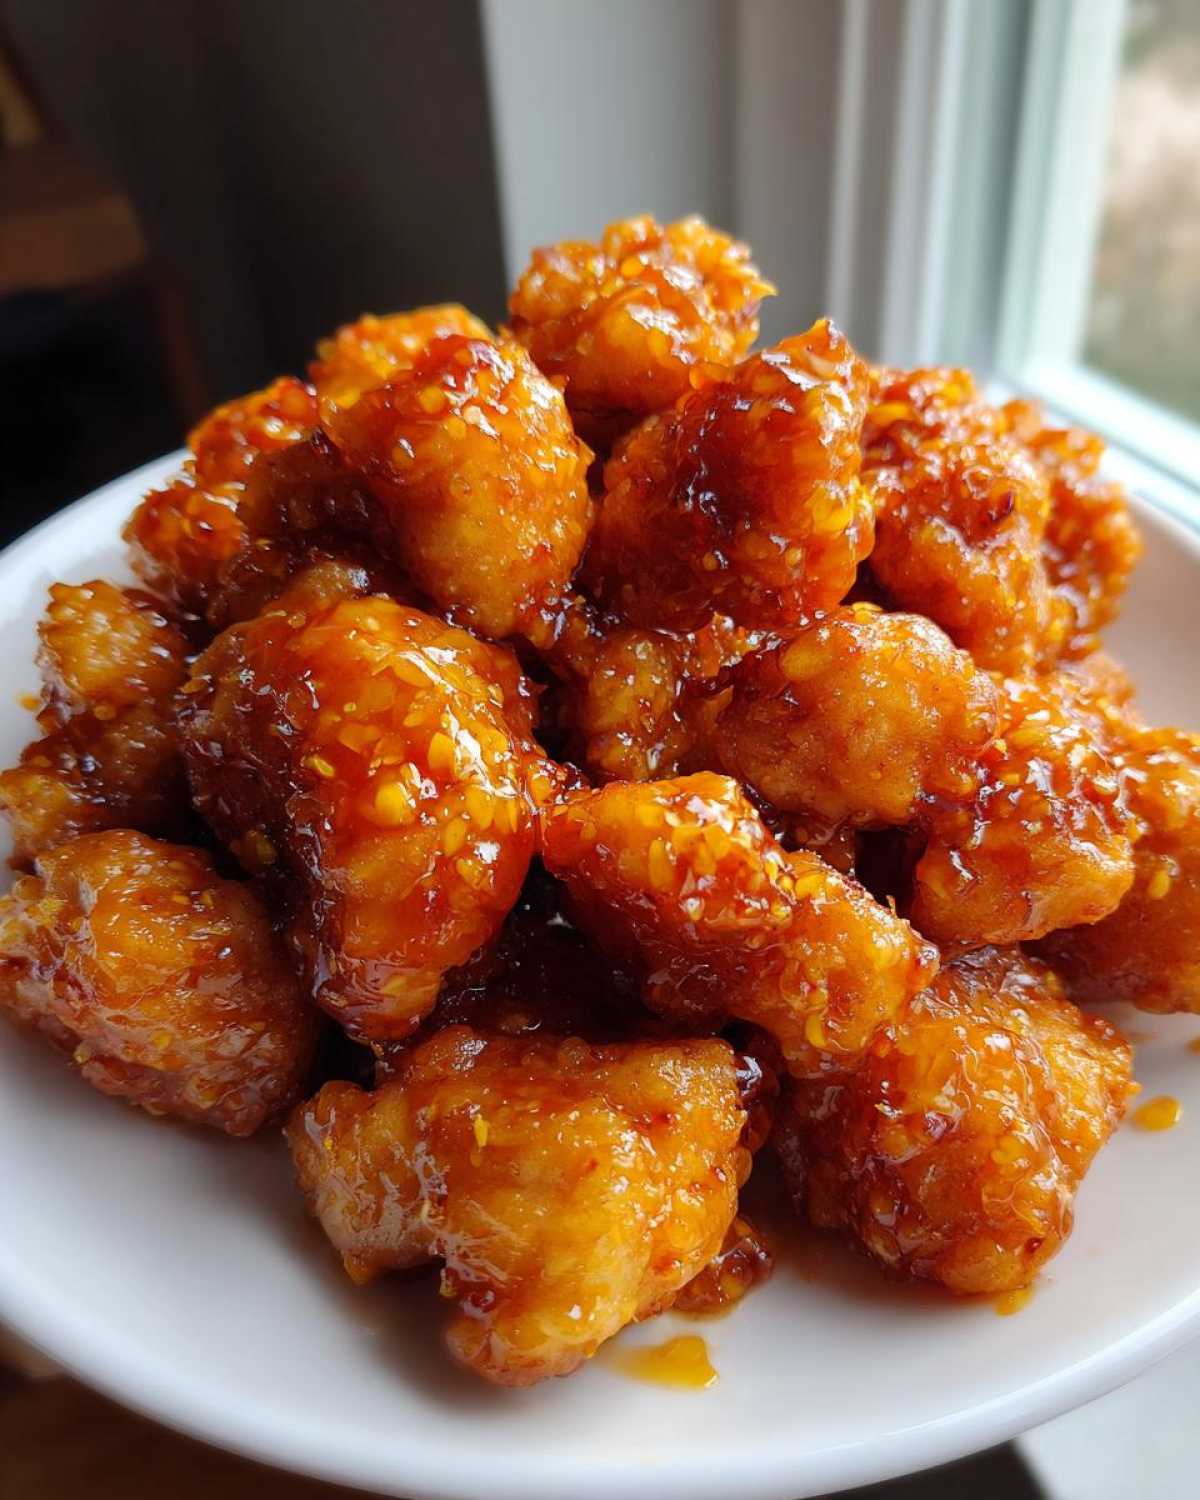
The Perfect Sweet Tangy Orange Sauce
No watered-down sauces here. The flavor profile has to hit you just right: sweet, but balanced by a sharp tang. We use fresh orange juice and that bright zest right at the end, mixed with a little acid from the rice vinegar and soy sauce. Whisking that cornstarch slurry in at the last second creates that beautiful, clingy shine. That’s what makes our Sweet Tangy Orange Sauce so addictive—it coats every single piece perfectly!
Gather Your Ingredients for This Orange Chicken Recipe
Okay, now for the part where we make sure you have everything ready to go because this whole thing moves fast once you start! Remember how I mentioned this is a super Budget Friendly Chicken Meal? That’s because most of this stuff is already hanging out in your pantry. Having things measured out beforehand means you won’t be frantically hunting for grated ginger while your chicken burns—ask Leo about the time we tried that! Below, I’ve broken down exactly what you need for both the chicken and that glorious sauce. Please be precise with your measurements, especially the juice and cornstarch, because that’s where the magic glue comes from!
If you want to look at some other pantry-staple recipes, check out my favorite apple butter recipe—it’s so simple!
For the Crispy Chicken Coating
You’ll need about a pound of your favorite cut—I lean toward the thighs because they stay juicier, but breasts work great too! Make sure you dice the chicken into nice, even 1-inch pieces so they cook evenly. Then, for the dredging station, grab your flour and cornstarch—these are your twin crispy heroes—and mix them with just a pinch of salt and pepper for simple seasoning. Finally, you need one lightly beaten egg mixed with just 1/4 cup of water to act as the glue holding that coating onto the chicken.
For the Sticky Orange Glaze
Now for the flavor bomb! You absolutely must use 1 cup of fresh orange juice, that’s non-negotiable for the best flavor. Then we balance it with 1/2 cup of granulated sugar, a good punch of 1/4 cup rice vinegar, and 2 tablespoons of soy sauce for depth. For that authentic warmth, mince 2 cloves of garlic and grate about 1 tablespoon of fresh ginger—no powdered stuff allowed! Don’t forget 1 teaspoon of sesame oil and a dash of sriracha if you like a little kick. The final, critical element is the cornstarch slurry: 1 tablespoon of cornstarch whisked into 2 tablespoons of cold water. And save the zest of one whole orange to stir in right at the end!
How to Prepare Your 30 Minute Orange Chicken Recipe
This is where the speed really kicks in! Because we prepped everything in the last sections, turning this into a Quick Chicken Dinner is actually doable, even with music blasting and me trying to sneak a taste of the sauce while it simmers. We move fast, but we aren’t sloppy. If you are making sides like my quick broccoli stir-fry, start that about the time you finish coating the chicken!
Preparing and Cooking the Juicy Chicken Bites
First things first: grab those chicken pieces you cut up. I always dip them first in the wet egg wash—make sure they get totally covered—then immediately transfer them to your dry flour/cornstarch mix. You need to toss them around really well here, and then give them a good shake to get every speck of extra coating off. This shaking is essential for those perfectly crisp results! Heat your oil in a big skillet or wok over medium-high heat. Don’t crowd the pan, or the chicken will steam instead of fry! Cook those Juicy Chicken Bites for just 3 to 4 minutes on each side until they are golden brown and look cooked all the way through. Drain them on paper towels and get ready for the sauce!
Making the Sweet Tangy Orange Sauce
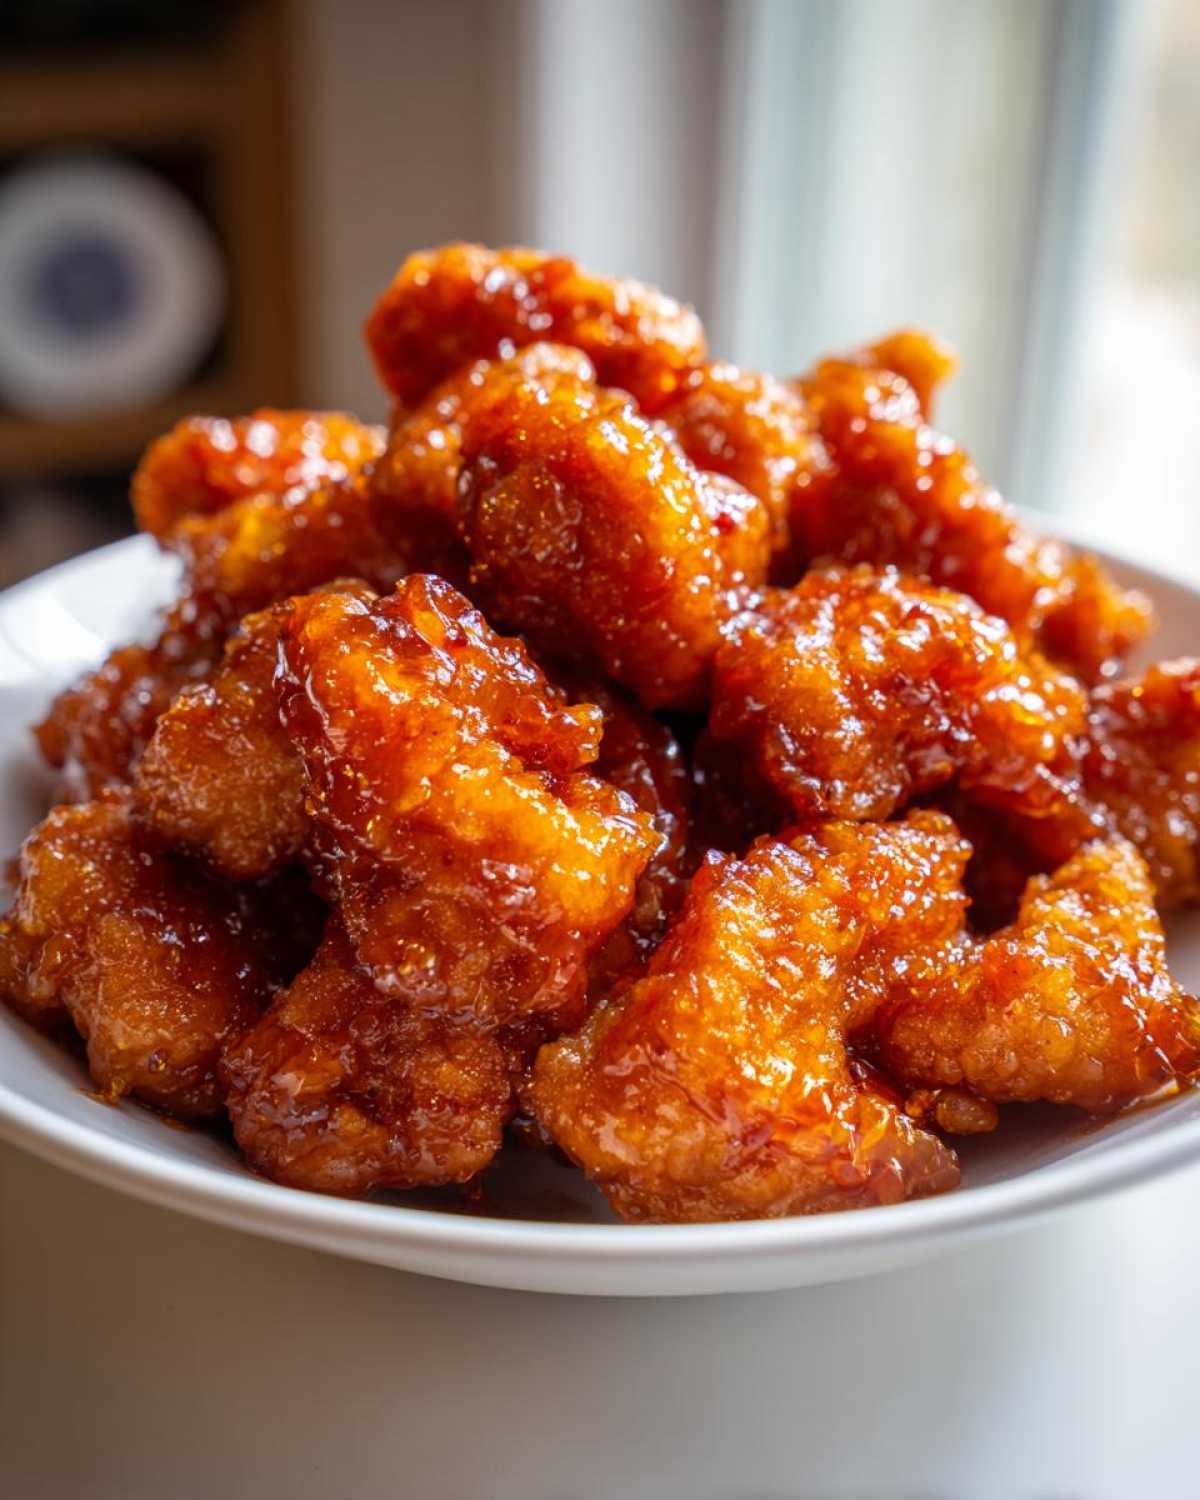
While that first batch of chicken is frying, move fast on the sauce! Dump the orange juice, sugar, vinegar, soy sauce, garlic, ginger, and seasonings into a little saucepan. Bring that whole thing up to a gentle simmer, stirring until that sugar disappears—that’s important. Once it’s simmering nicely, whisk in your cornstarch slurry—that mixture of cornstarch and cold water we made earlier. Keep stirring, and you’ll see it immediately start to change. You are looking for it to bubble slowly and go totally glossy. Once it’s that shiny, thick texture, pull it right off the heat and stir in that fresh orange zest!
Tossing Everything in the Sticky Orange Glaze
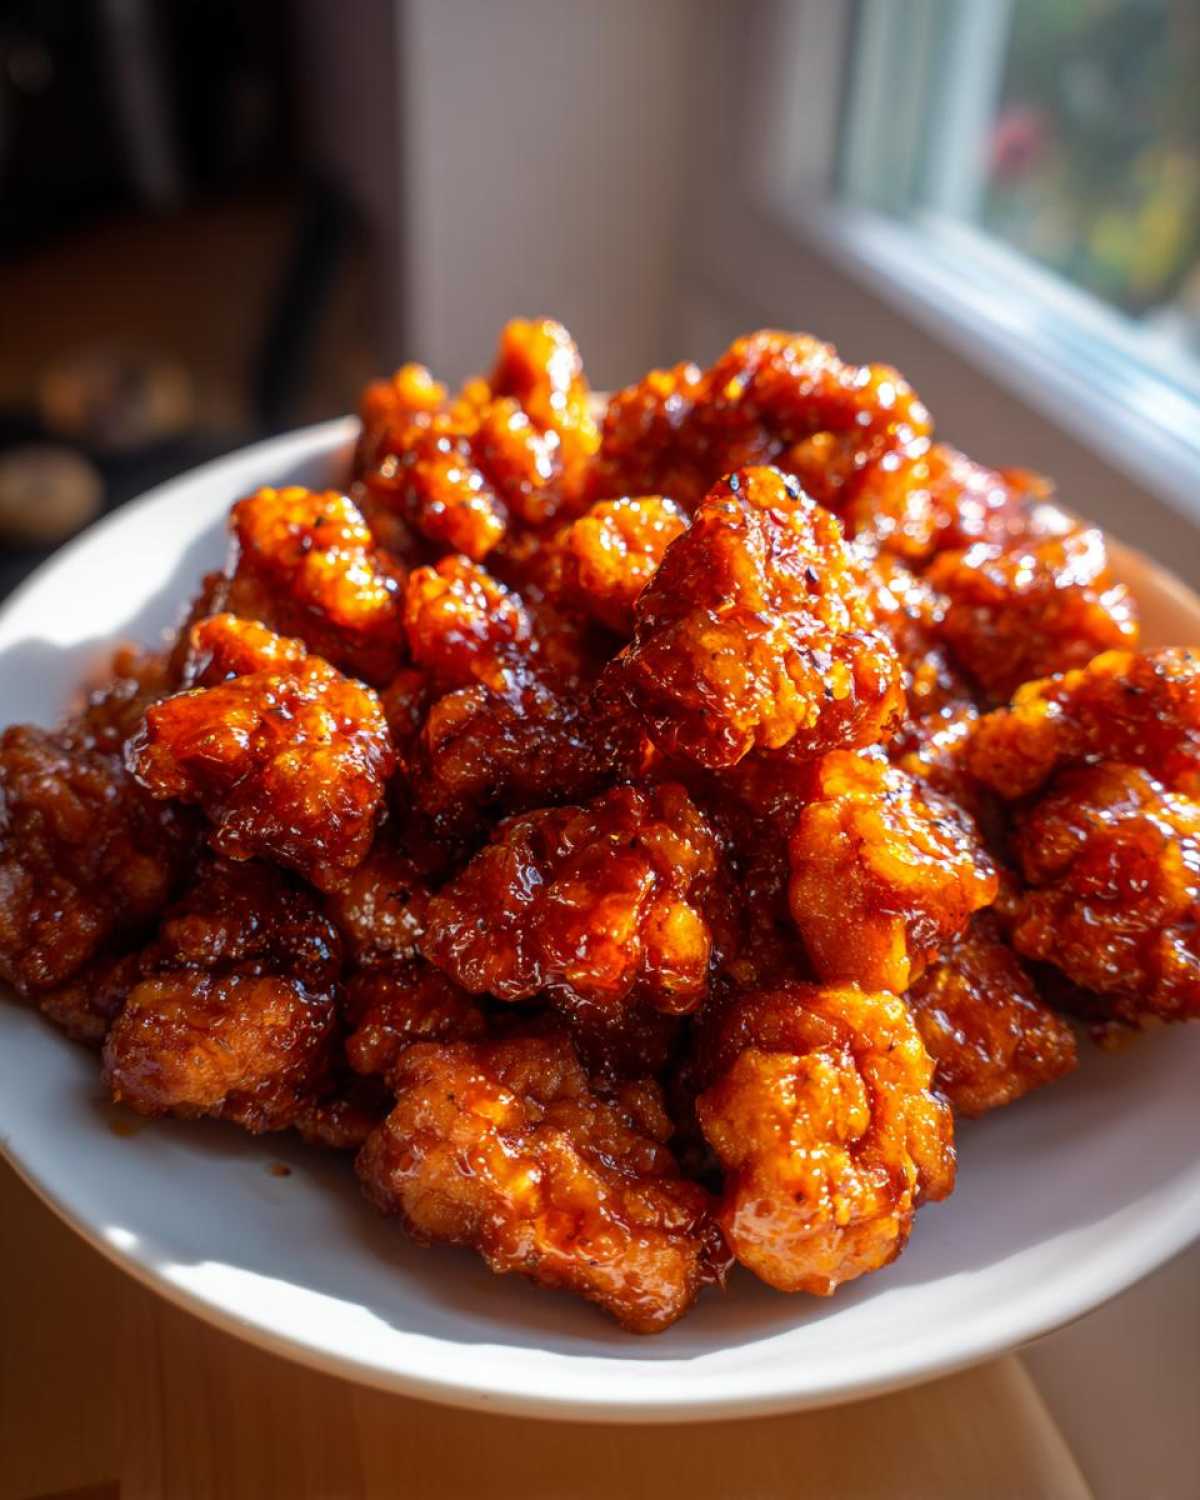
This is the best part! Take your pan with the glorious sauce off the heat source entirely. Bring all those crispy chicken pieces back into the skillet. Now, you just gently toss everything together. You want every bit of that amazing Sticky Orange Glaze to cling to the chicken. Don’t stir it too hard or you’ll break up the coating! Once they’re shining, you’re done. Dinner is served!
Tips for the Best Homemade Orange Chicken
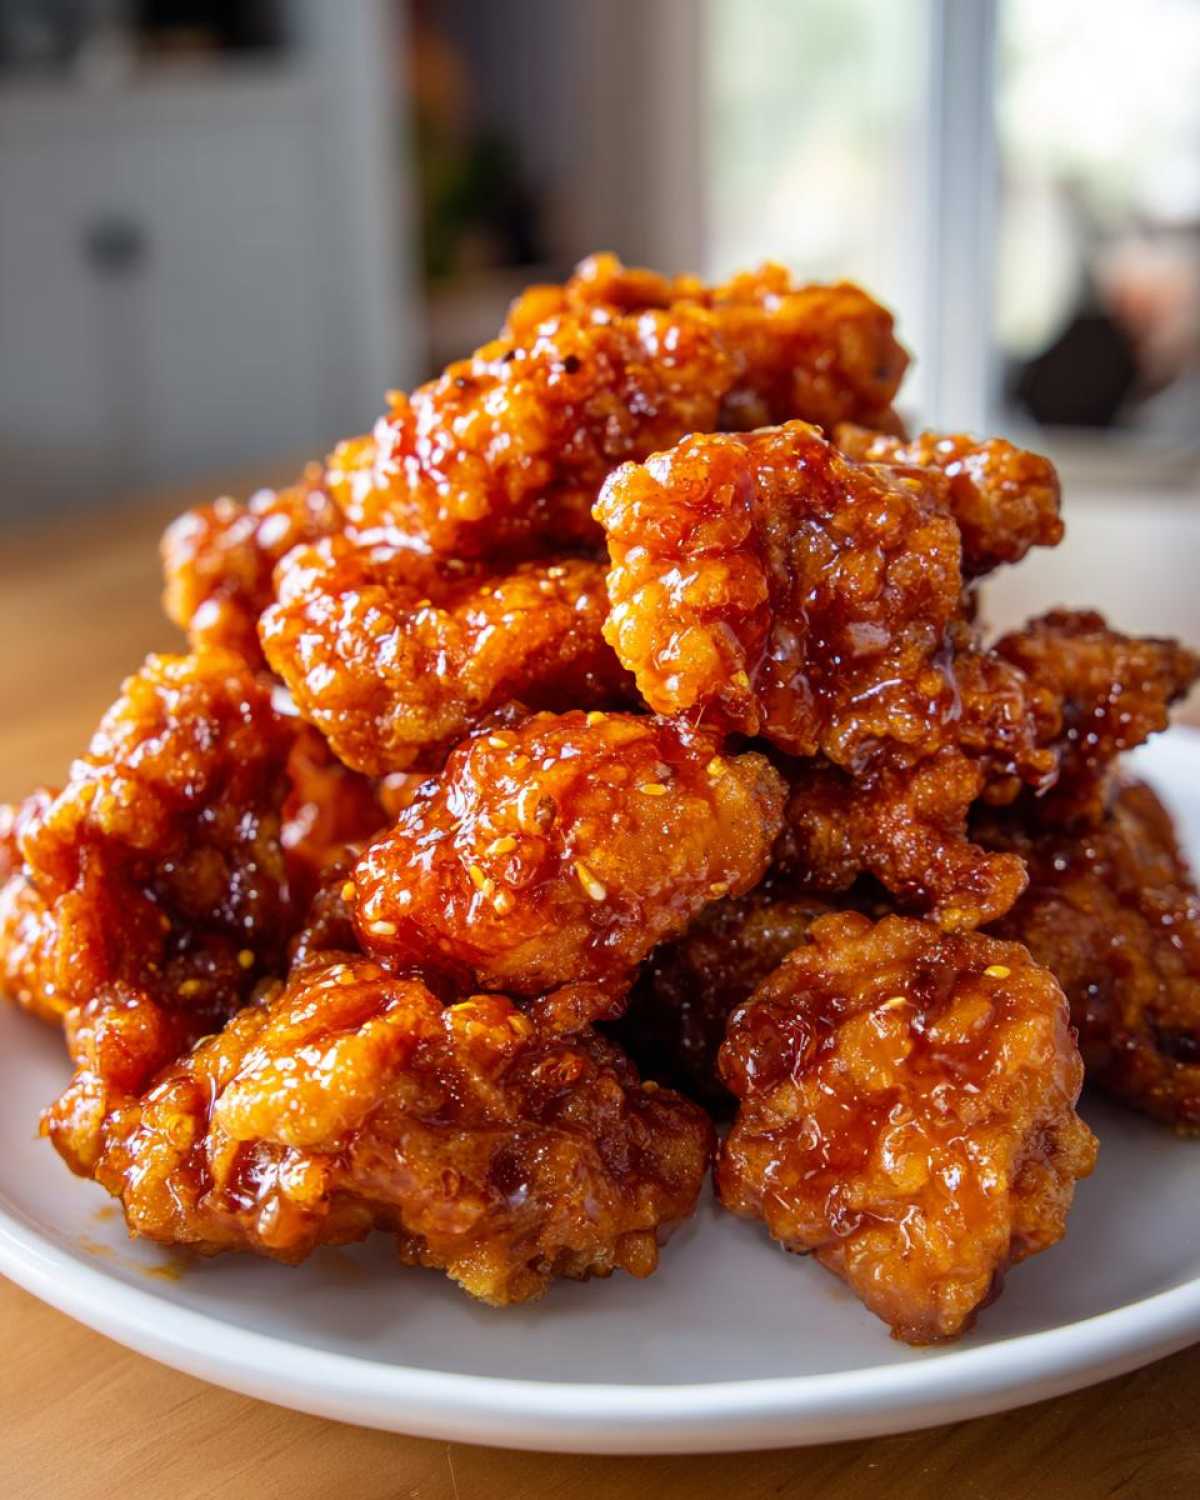
Even though this is a speedy orange chicken recipe meant for weeknights, I always want you to get the best result possible—crispy, saucy perfection! Leo and I tested pretty much every modern kitchen gadget out there to see if we could skip the oil entirely. We found a couple of ways to get that satisfying crunch if you’re trying to keep things lighter or just want less cleanup. If you’re interested in other crispy chicken ideas, you have to check out my coconut tenders recipe next!
Alternative Cooking Methods for Crispy Orange Chicken Recipe
If you hate frying—and I totally get that, the oil splatter can be scary!—you have two fantastic backup plans for achieving that perfect crunch. For an almost hands-off method that still turns out beautifully, try the Baked Orange Chicken Recipe. Just set your coated chicken pieces onto a baking sheet (line it with parchment paper first, always!) and pop them into a 400°F oven for about 15 to 20 minutes. Remember to flip them halfway through so both sides get nice and golden.
And yes, we absolutely tested the air fryer! It’s brilliant for this. If you’re using an Air Fryer Orange Chicken method, you can manage the cooking time even better, usually around 12 to 14 minutes total, shaking the basket halfway. It gives you that restaurant-style crispness with minimal fuss, which is a huge win in my book!
Tips for a Lighter Orange Chicken Recipe Coating
We used the egg wash and flour combination because, frankly, it gives you that superior, hearty, take-out-style crunch. But if you’re looking for a slightly thinner, less substantial coating—maybe you’re making a huge batch and want to save on ingredients—you can totally skip the egg wash! Just dip the chicken pieces directly into the dry flour/cornstarch mixture. It won’t adhere quite as strongly, and it won’t get as thick when fried, but it still produces a delicious, light coating on your chicken. It’s a simple swap when you’re aiming for a lighter flavor profile!
Serving Suggestions for Your Quick Chicken Dinner
Whew! That satisfying, sticky coating is done, and now the best part: plating up your Quick Chicken Dinner! We want this meal to feel special, not rushed, even though it only took 30 minutes to throw together. Honestly, Leo and I usually just stand over the pan and eat it right there, but when company comes over, we try to look a little more refined!
The essential partners for this dish are simple, focusing on sopping up that extra tangy glaze. You absolutely need some fluffy white rice waiting in the bowl to catch all that sauce action. If you’re looking for a quick rice hack instead of plain steam, check out my quick chicken fried rice recipe—it’s another great way to use up leftovers!
We always serve this with a bright, slightly crunchy green vegetable, usually steamed broccoli or snap peas. The slight bitterness of the veggies cuts perfectly through the sweetness of the glaze, making the whole meal feel balanced. Just toss the steamed vegetables lightly with a few drops of sesame oil if you want that extra fragrance. In ten minutes, you’ve got a restaurant-quality spread!
Storage and Reheating Instructions for Leftover Orange Chicken Recipe
Okay, let’s talk about the glorious aftermath! If, by some miracle, you have any of this amazing orange chicken recipe left over—which I doubt, because this is a real crowd-pleaser—you need to store it right so it’s good the next day. The main enemy here is sogginess, right? The sauce and the crispy coating don’t love hanging out together in the fridge for too long.
When I’m packing leftovers for lunch the next day, I try to keep things separate if I can. Store the leftover crispy chicken pieces in one airtight container and put any remaining sauce you have in a tiny separate container. This way, when you reheat the chicken, it won’t turn into a mushy mess absorbing all that glaze overnight. You want to keep that crispiness alive!
Reheating That Sticky Orange Glaze Chicken
If you microwave it? It’ll be hot, sure, but the texture will suffer greatly. We’re aiming for great texture here, remember? So, toss out the microwave if you can! The best way to reheat this is definitely using dry heat, which brings back that crunch we worked so hard to achieve.
Go for the oven or your trusty air fryer. Preheat your oven to about 350°F (175°C) and lay the chicken pieces on a baking sheet lined with foil or parchment paper. Heat them for about 5 to 8 minutes. If you use your air fryer, just a quick 3 to 4 minutes at 375°F (190°C) should crisp them up beautifully.
Once the chicken is hot, gently warm up whatever remaining glaze you saved in a tiny saucepan on the stove. Then, just toss the reheated chicken pieces in that warm, Sticky Orange Glaze right before you serve it up. It’s almost as good as fresh, promise!
Frequently Asked Questions About Our Orange Chicken Recipe
I feel like I could answer questions about this orange chicken recipe all day long! Leo and I get so many messages from people who are worried it won’t turn out right, but honestly, cooking should be fun, not stressful. We’ve definitely wrestled with these questions ourselves while trying to nail that perfect restaurant vibe. If you try this and have other thoughts, feel free to drop a comment or check out more of our ramblings on the general Cookify Me blog!
Can I make this orange chicken recipe vegetarian or vegan?
Oh, that’s a great question! Since this is such a fun base for a Chinese American Dinner, absolutely you can adapt it. Instead of the chicken pieces, you can use extra-firm tofu—just press all the water out first so it crisps up nicely! Or, if you want something with a little more chew, seitan works like a dream in this coating mixture. The sauce itself is naturally vegetarian and vegan if you use standard soy sauce (just double-check your rice vinegar, though most are fine!).
How do I make the sauce spicier for a ‘Better Than Panda Express Chicken’ kick?
This is for all my spice lovers! If you want to take that heat up a notch and really make it your own, you have options beyond the optional sriracha we listed. The easiest way is just to double or triple the amount of sriracha you add along with the sesame oil during the simmer phase. Another trick I love—especially if you want a little visual pop—is tossing in about half a teaspoon of crushed red pepper flakes right when you add the ginger and garlic. That gives it a lovely background heat that definitely elevates the dish beyond the standard mild takeout versions!
What is the best type of chicken cut for this orange chicken recipe?
This is where personal preference truly comes into play, though I always have a slight favorite! If you want the most forgiving cut that stays incredibly tender and moist no matter what, go for boneless, skinless chicken thighs cut into pieces. They just handle the heat better. However, most people use breasts because they are leaner, and they work perfectly fine! Just make sure you watch them closely—about 3-4 minutes per side in the pan is usually their limit before they start to tense up and dry out on you. If you use breasts, make sure they are cut uniformly small.
Nutritional Estimates for This Orange Chicken Recipe
Okay, so if you’re anything like Leo and me, the first thing we do after cooking something amazing is immediately forget about the calorie count because it tastes too good. But since you asked, and for those of you who track things closely—which is totally fine, no judgment here!—I pulled the numbers directly from the recipe details. Please remember these are just rough estimates based on the ingredients we listed and how we portioned things out (four servings in our case).
It’s super important to know that if you use more oil for frying, or if you use one of the baked versions, or if you end up eating a way bigger portion than listed here, these numbers will change! We tried to keep this recipe true to a quick, budget-friendly meal, so the sodium might be a little higher depending on your soy sauce brand. Consistency is key, but exact figures are tricky in a happy, chaotic kitchen like ours!
Here’s the breakdown per estimated serving:
- Serving Size: 1 serving
- Calories: 450
- Sugar: 35 grams
- Sodium: 550 mg
- Total Fat: 12 grams
- Saturated Fat: 2 grams
- Unsaturated Fat: 10 grams
- Trans Fat: 0 grams
- Carbohydrates: 45 grams
- Fiber: 1 gram
- Protein: 38 grams
- Cholesterol: 110 mg
Share Your Happy Chaos Cooking Moments
Well, that’s it! You’ve mastered the ultimate orange chicken recipe, and now it’s time to bring this sticky, crispy goodness into your own kitchen! I sincerely hope this dish brings as much loud, happy chaos to your house as it does to ours. Please, please, please don’t worry if your glaze isn’t perfectly glossy the first time, or if you accidentally drop a piece of chicken while tossing—that’s just the Cookify Me way of showing love!
We are always so excited to see what you all create! If you try out this recipe, take a photo of your beautiful, takeout-beating meal and tag us on social media, or even better, leave a star rating right below this post. Knowing that this recipe helped you whip up a fast, flavorful, Weeknight Asian Recipe absolutely makes my day.
If you have any questions at all—maybe you tried the air fryer method or found a spice blend you love—pop it in the comments below. You can also always reach out to us directly through the contact page. We love hearing from you and sharing recipes that feel achievable and fun. Now go make some noise, turn up the music, and enjoy that amazing Sticky Orange Glaze!
The Ultimate 30-Minute Crispy Homemade Orange Chicken (Better Than Takeout Style)

Skip the delivery! This orange chicken recipe delivers crispy chicken pieces coated in a sticky, sweet, and tangy orange glaze. It tastes better than your favorite takeout spot and is ready for your weeknight dinner in about 30 minutes.
- Prep Time: 15 min
- Cook Time: 15 min
- Total Time: 30 min
- Yield: 4 servings
- Category: Dinner
- Method: Pan-Frying
- Cuisine: Chinese American
- Diet: Low Fat
Ingredients
- 1 pound boneless, skinless chicken breasts or thighs, cut into 1-inch pieces
- 1/2 cup all-purpose flour
- 1/4 cup cornstarch
- 1/2 teaspoon salt
- 1/4 teaspoon black pepper
- 1 large egg, lightly beaten
- 1/4 cup water
- 2 tablespoons vegetable oil, for pan-frying
- 1 cup fresh orange juice
- 1/2 cup granulated sugar
- 1/4 cup rice vinegar
- 2 tablespoons soy sauce
- 1 tablespoon grated fresh ginger
- 2 cloves garlic, minced
- 1 teaspoon sesame oil
- 1 teaspoon sriracha or red pepper flakes (optional)
- 1 tablespoon cornstarch mixed with 2 tablespoons cold water (slurry)
- Zest of 1 large orange
- Cooked white rice and steamed broccoli, for serving
Instructions
- In a medium bowl, combine the flour, 1/4 cup cornstarch, salt, and pepper. In a separate small bowl, whisk together the egg and 1/4 cup water. Dip the chicken pieces first into the egg mixture, then dredge thoroughly in the flour mixture, shaking off excess.
- Heat the vegetable oil in a large skillet or wok over medium-high heat. Add the chicken in a single layer, working in batches if necessary to avoid crowding. Cook for 3 to 4 minutes per side until golden brown and cooked through. Remove the crispy chicken to a plate lined with paper towels.
- While the chicken cooks, prepare the sauce. In a small saucepan, combine the orange juice, sugar, rice vinegar, soy sauce, ginger, garlic, sesame oil, and sriracha (if using). Bring the mixture to a simmer over medium heat, stirring until the sugar dissolves.
- Whisk the cornstarch slurry into the simmering sauce. Continue to cook, stirring constantly, until the sauce thickens and becomes glossy, about 1 to 2 minutes. Remove from heat and stir in the orange zest.
- Return the crispy chicken pieces to the skillet. Pour the sticky orange glaze over the chicken and toss gently until every piece is evenly coated.
- Serve your homemade orange chicken immediately over cooked white rice with steamed broccoli on the side.
Notes
- For extra crispy chicken without deep frying, you can bake the coated chicken at 400°F (200°C) for 15-20 minutes, flipping halfway, before tossing in the sauce.
- If you want a lighter coating, skip the egg wash and just toss the chicken directly in the flour/cornstarch mixture.
- This recipe is budget friendly and a family favorite that beats Panda Express!
Nutrition
- Serving Size: 1 serving
- Calories: 450
- Sugar: 35
- Sodium: 550
- Fat: 12
- Saturated Fat: 2
- Unsaturated Fat: 10
- Trans Fat: 0
- Carbohydrates: 45
- Fiber: 1
- Protein: 38
- Cholesterol: 110