

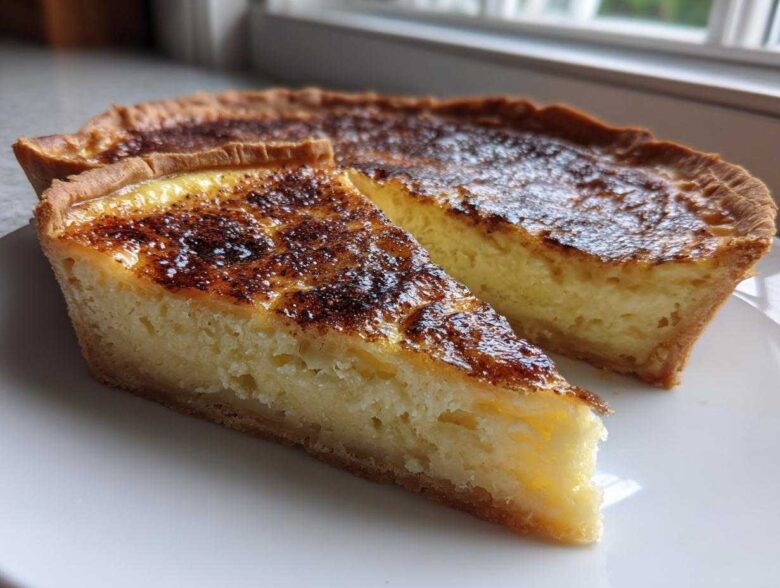
There’s nothing quite like that feeling when you pull a dessert out of the oven that smells like pure nostalgia, right? Forget those complicated layered cakes; sometimes, an **old fashioned dessert** just hits the spot. That’s why I’m handing over the keys to my absolute favorite recipe for **egg custard** pie. This isn’t just another dessert; this is the Old Fashioned, Fail-Proof Baked Egg Custard Pie that actually works every single time. When Leo and I first started Cookify Me, I learned quickly that reliability is everything, which is why I treasure keeping things deeply simple. You can learn more about our chaotic kitchen philosophy over at our whole story. Seriously, this recipe is my secret weapon for getting that perfect, smooth result!
Why This Old Fashioned Egg Custard Pie is Your New Go-To Recipe
If you’ve ever been scared off by custard recipes that end up looking like scrambled eggs, stop worrying right now! This recipe is designed to be completely idiot-proof. It’s the classic baked custard that every grandparent seems to have in their back pocket, and I’m sharing all my small secrets to keep it perfect.
- It delivers a beautiful, creamy egg custard filling without any fancy equipment.
- It uses pantry staples—nothing gourmet or hard to find.
- It smells like the holidays, even if you make it in July!
Achieving That Perfect, Silky Smooth Texture
Listen, the fear of cracking or curdling stops so many people from making this dessert, but that’s where this recipe shines. The secret isn’t a million added stabilizers; it’s all about technique. We whisk gently—we are making a pudding, not meringue! Plus, when you strain that liquid base, you’re filtering out anything that could potentially make things uneven. It guarantees a result so smooth, it feels luxurious.
The Simple Ingredients for a Classic Baked Egg Custard
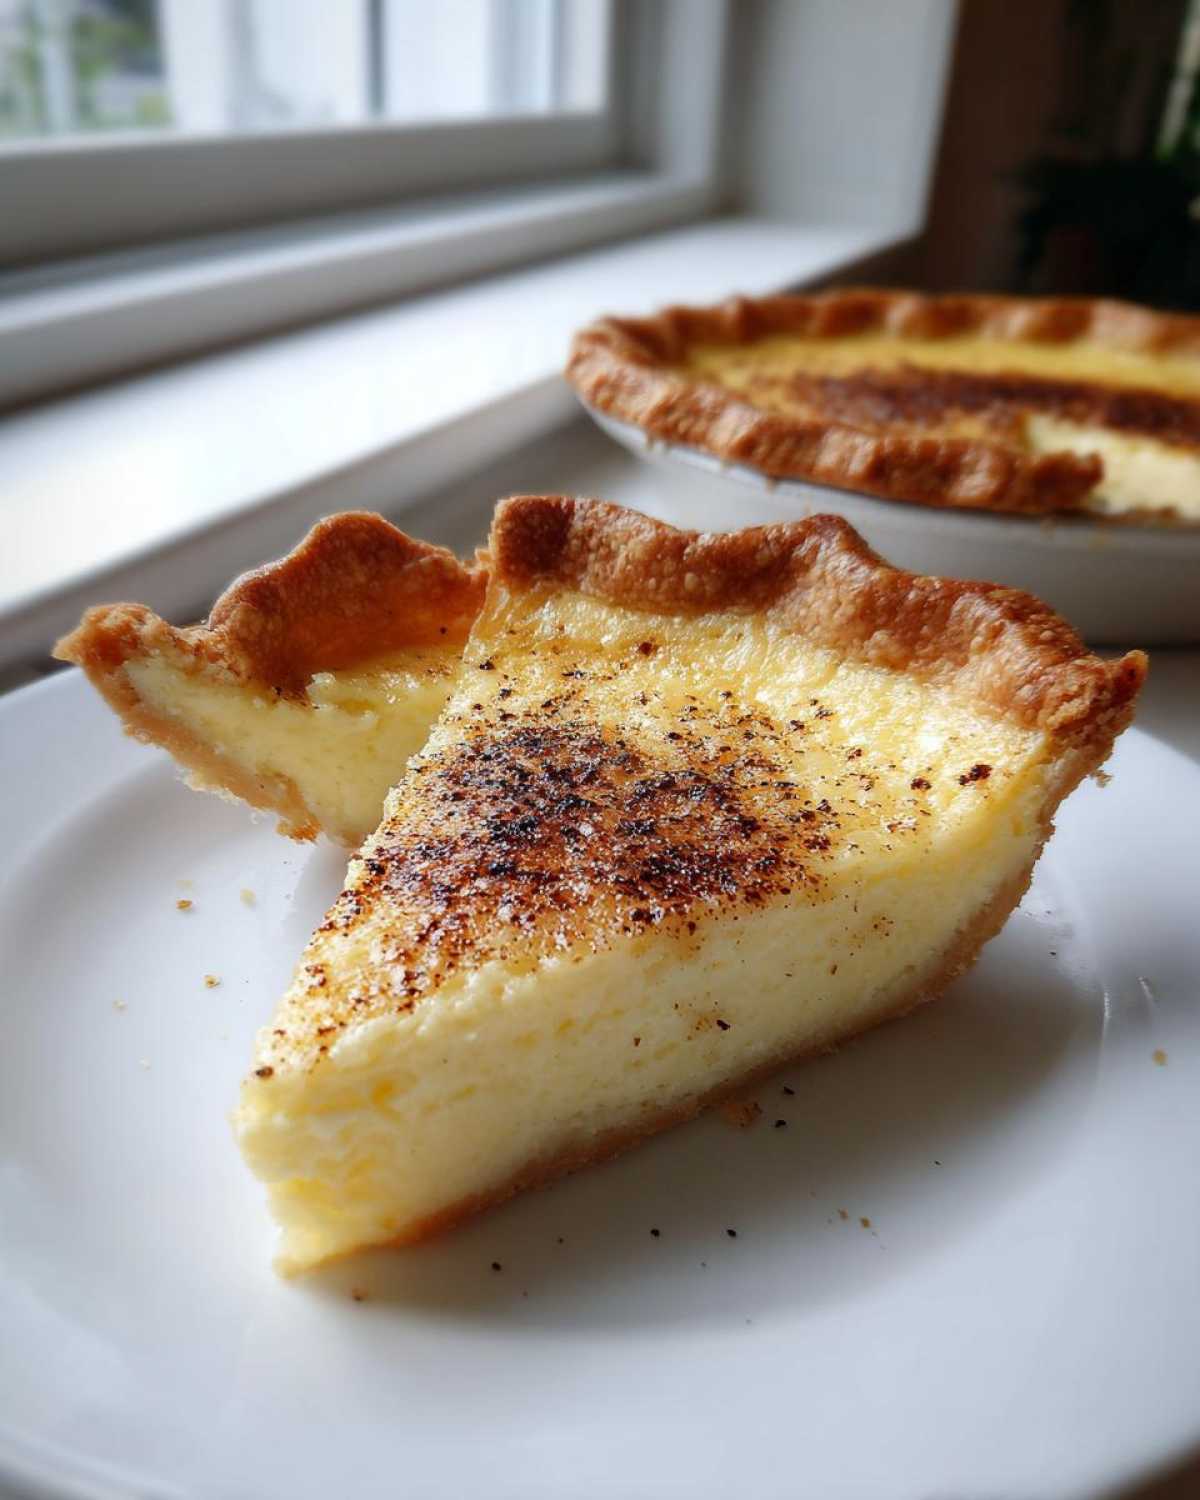
You don’t need a dozen steps to make something incredible. This is the ultimate definition of an easy egg custard recipe. We’re talking eggs, sugar, milk, and vanilla. That’s it! The beauty of this egg custard is how these few, simple ingredients sing together. It proves you don’t need heavy cream or complicated additions for a rich flavor.
Gathering Ingredients for Your Fail-Proof Egg Custard
Okay, this is the exciting part where we gather our simple building blocks! Since we are aiming for that truly homemade egg custard, you’ll notice the ingredient list is wonderfully short. I always try to keep my ingredient lists short because messy shopping trips equal messy countertops, and who needs that drama? I’ve listed everything you need below. Trust me, you likely have most of these sitting in your fridge or pantry right now.
- 1 unbaked 9-inch pie crust (use your favorite homemade or store-bought crust)
- 3 large eggs
- 1/2 cup granulated sugar
- 2-2/3 cups milk (whole milk works best for richness)
- 1 teaspoon pure vanilla extract
- 1/4 teaspoon salt
- Freshly grated nutmeg for topping
Because this is such a pure egg custard recipe, the few ingredients we *do* use really need to shine through. That’s why quality matters!
Essential Ingredient Notes and Substitutions
Let’s talk crust first. Did you know you can totally cheat with a good quality store-bought crust? I do it all the time, especially when I need a quick simple custard recipe on a weeknight! Just make sure you don’t pre-bake it unless the package specifically tells you to; this pie bakes great right in the raw shell.
For the milk, I’m adamant about whole milk here. Skim milk just won’t give you that classic rich, decadent feel we are going for in a traditional custard dessert. Lower fat milk can sometimes make the final texture a little too delicate. And finally, that nutmeg topping? Please, please grate it fresh off the whole spice if you can. The difference in smell when you pull that pie out of the oven is unbelievable compared to the pre-ground stuff!
Step-by-Step Instructions for Your Creamy Egg Custard Filling
Alright, time to put this easy holiday pie together! Since we’ve got everything ready, the actual mixing process flies by—like, fifteen minutes tops. Have your oven preheated to 350°F (175°C) and remember we’re baking this right on a baking sheet in the oven. That’s usually my first line of defense if there’s any tiny leak in the pie shell, just to protect my oven floor!
Here’s the fun part: making that beautiful creamy egg custard filling. It feels like magic when you see all those simple ingredients turn into something so rich.
- Pop that unbaked pie crust right into the 9-inch pie plate.
- In a medium bowl, gently whisk those 3 large eggs until they are just barely combined. Trust me on this point!
- Whisk in the sugar, salt, and vanilla extract until the sugar starts melting into the liquid.
- Slowly pour in the milk while still whisking gently. We want everything incorporated, but not bubbly!
- Here’s the step I never skip: strain that entire liquid mixture through a fine-mesh sieve right into a big measuring cup or pitcher. This is pure genius, I promise.
- Carefully pour that lovely strained mix into your pie shell.
- Finally, hit the top with a light, even dusting of freshly grated nutmeg. It’s the finishing touch!
- Bake for about 45 to 55 minutes. We are looking for edges that look set, but the dead center should still have a tiny, gentle wobble when you nudge the whole thing.
Mixing the Egg Custard Base Without Over-Aerating
This is probably the most important tip from my collection of fail proof baking tips. When you start with the eggs, do not pull out the electric mixer! We are aiming for smooth, not fluffy. If you whip too much air into those yolks and whites, that air expands in the heat, and boom—you get the dreaded cracked top. We want gentle friction with a whisk until things just come together. If you don’t see any dry streaks of egg white, you’re perfect. Keep it calm!
The Secret to a Smooth Egg Custard: Straining and Baking
See Step 5 in the instructions above? That straining step is what elevates this pie from a good dessert to an incredible, restaurant-quality egg custard. If you’re new to this, you might find little strings of egg white (chalazae) or tiny bits of unmixed sugar. Straining just smooths everything out beautifully. When you check for doneness, remember that slight jiggle—it means the heat is just right, and the residual heat will finish the cooking as it cools down. It’s how you get that melt-in-your-mouth feeling!
Mastering the Water Bath for the Best Egg Custard Pie
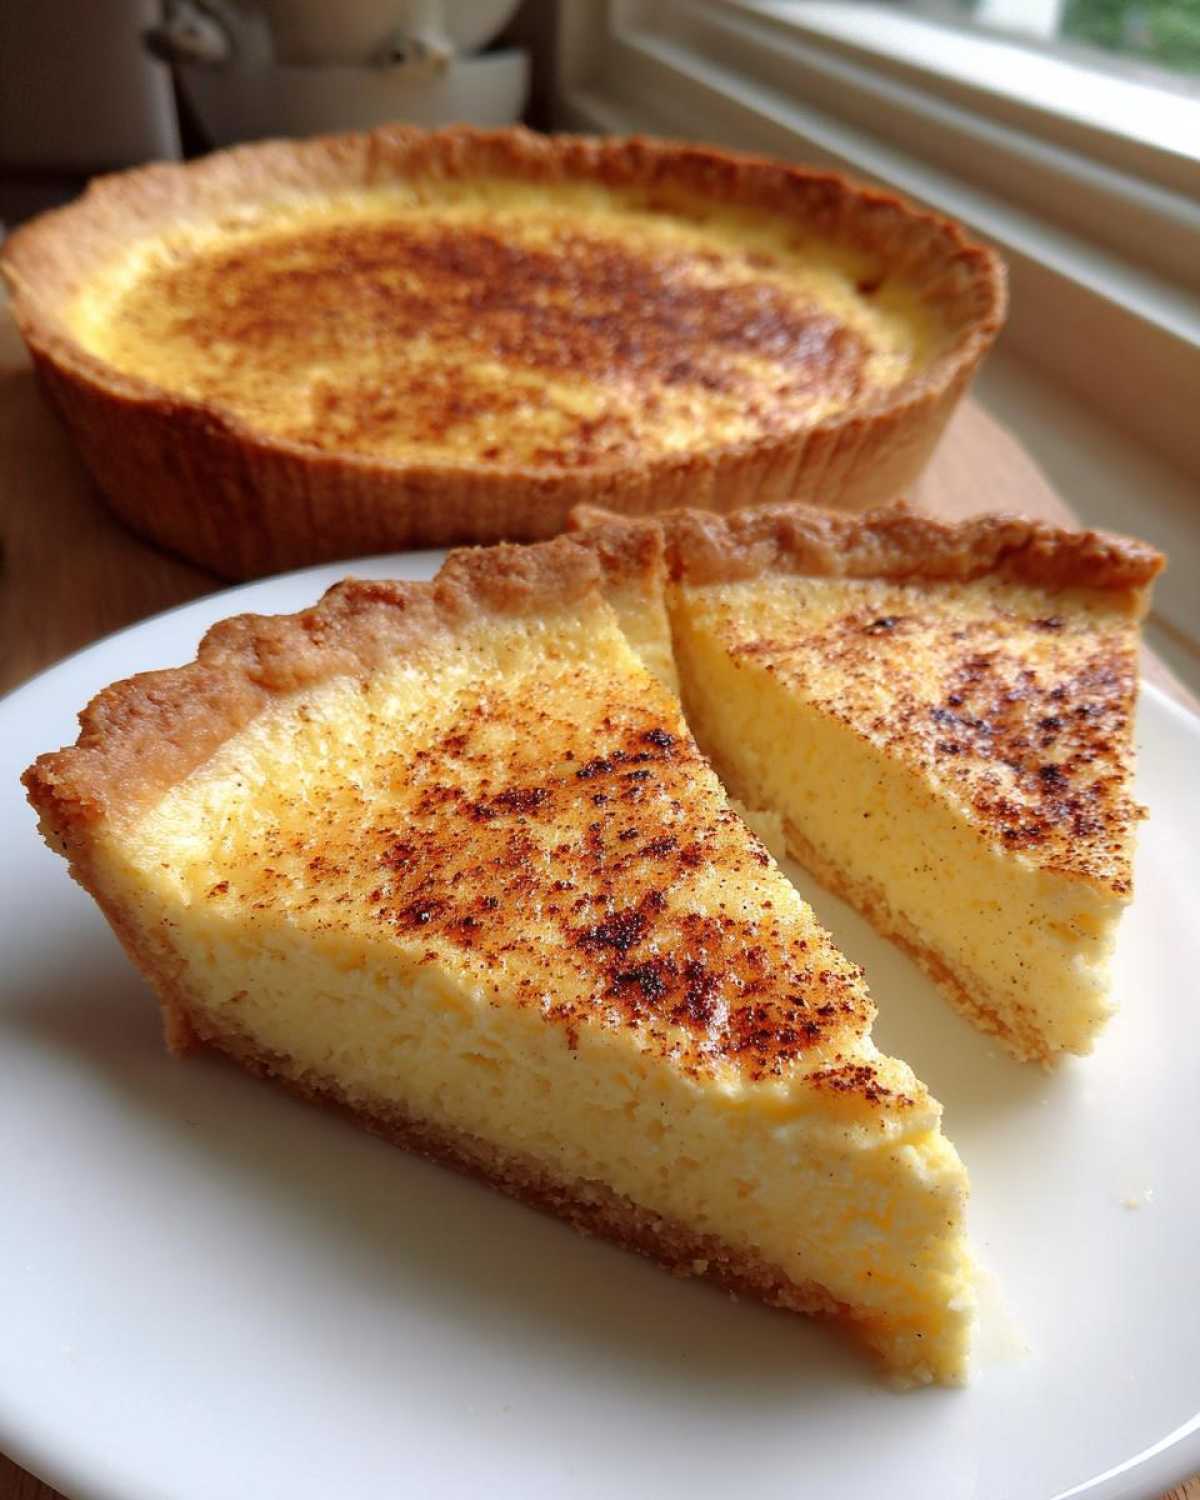
Now, I want to talk about my ultimate secret weapon, especially for those of you who are nervous about getting that perfect, uniform texture. It’s called a water bath, or sometimes folks call it *bain-marie*. It sounds fancy, but honestly, it’s just a simple way to give your pie a gentle, steamy environment while it bakes.
Why do we bother? Well, direct, dry oven heat is harsh! It cooks the edges of the custard way faster than the middle. When the edges set hard before the center is ready, you get that dreaded sinking or cracking. The water bath acts like a cozy, humid blanket around the pie dish.
Here’s exactly how Leo and I set it up for this pie. Grab a larger roasting pan—one that fits easily into your oven. Place your filled pie dish (make sure it’s already sitting on that baking sheet for safety, remember?) right inside that roasting pan.
Next, using a kettle or a large measuring cup, carefully pour hot or boiling water into the roasting pan, making sure the water level comes up about halfway up the sides of your pie plate. Be super careful not to splash any water inside the actual custard! That hot water buffers the heat, ensuring the entire pie cooks evenly and slowly. It’s the real trick to getting a super creamy egg custard filling that stays flawless when it cools.
If you use this setup, you might need to add about 5 to 10 minutes onto your baking time, so keep an eye out for that center jiggle we talked about earlier. This technique is an absolute game-changer for simple baked desserts!
Tips for Success with This Classic Baked Custard
We are so close to that perfect slice of heaven! I know we covered the baking part, but honestly, when it comes to a perfect classic baked custard, the most important steps happen *after* it leaves the oven. If you rush this part, you risk messing up that gorgeous, creamy texture we worked so hard to achieve. Patience truly is the secret ingredient here.
First things first: cooling down time. Never, ever try to slice this pie while it is hot or even warm! It might look set on the edges, but that center is still basically liquid gold. If you cut it too soon, you’ll end up with a runny mess that just won’t hold up. Let it come to room temperature completely on a wire rack—at least two hours. I usually make mine the day before because chilling is the final stage for true structure.
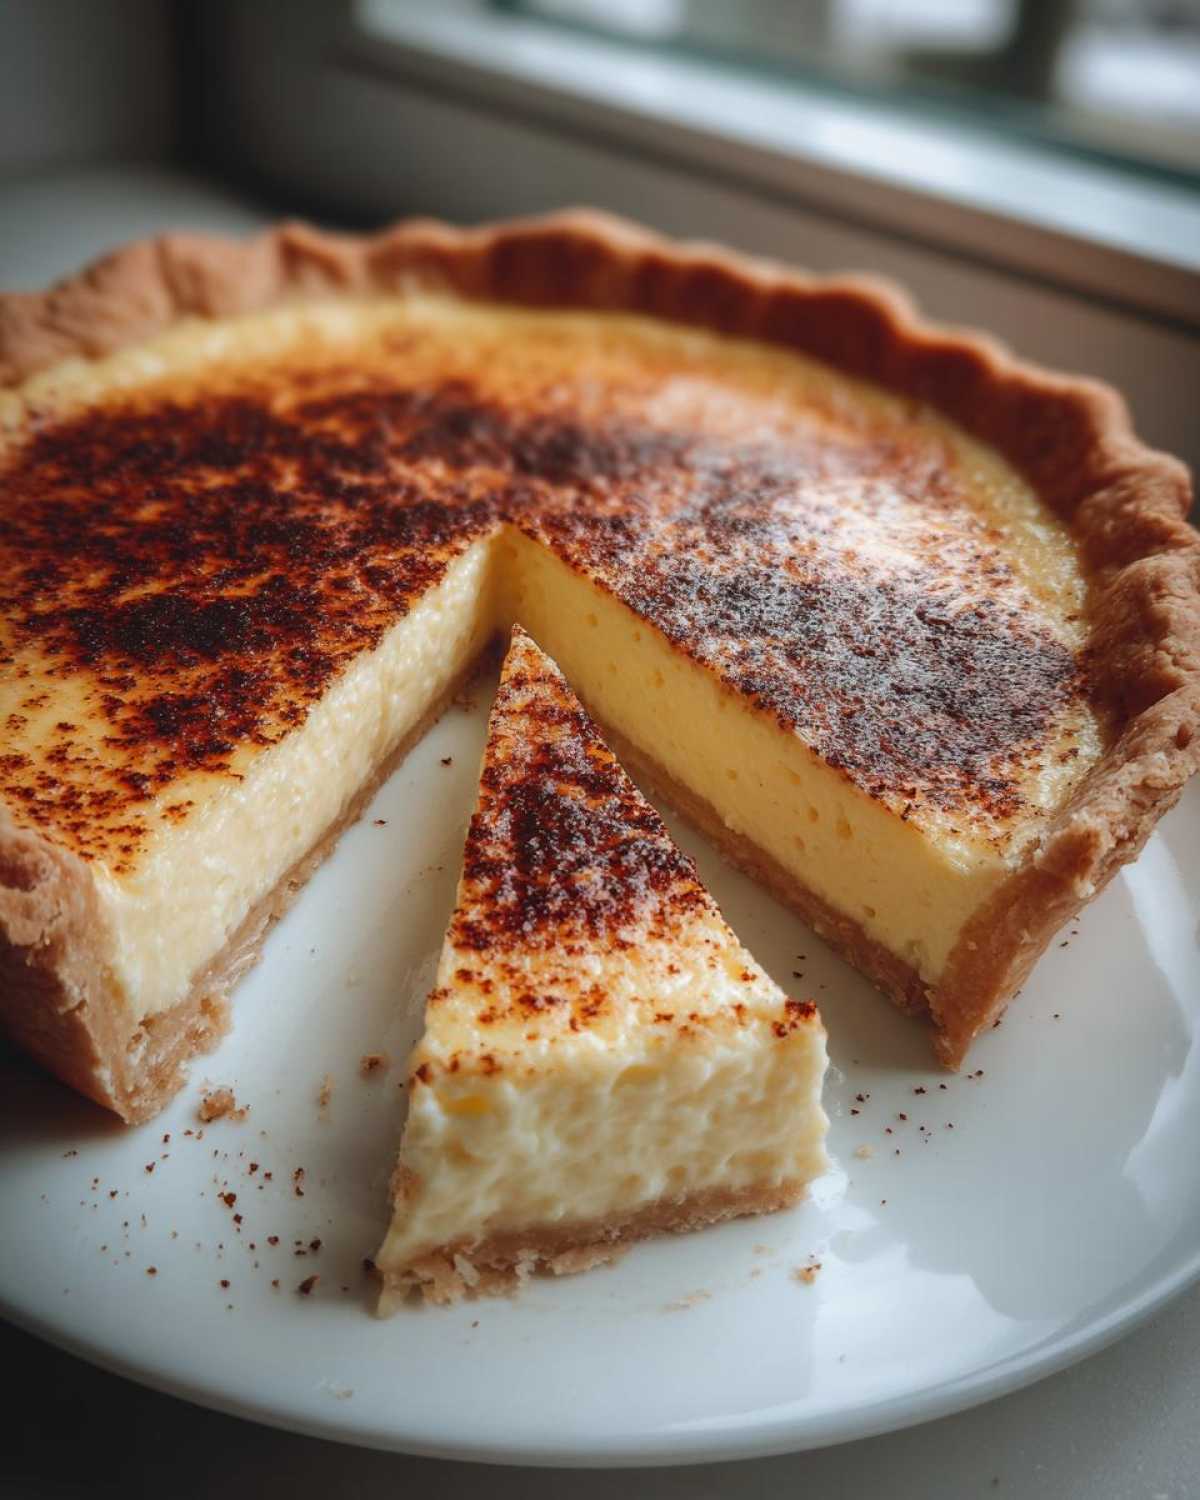
Once it’s cool to the touch, cover it loosely (don’t wrap it tight with plastic wrap when warm, or you risk trapping steam which can cause sogginess) and pop it into the fridge for a minimum of three hours. Four hours is better! This total cool-down time allows the egg proteins to firm up completely, giving you those beautiful, neat squares when you slice into your egg custard. It’s what makes it so rewarding to serve!
Also, remember that little lifeline I mentioned? If you’re looking for other simple desserts that offer that same sense of cozy baking, you have to check out Leo’s favorite slow cooker apple butter recipe. It’s just as easy, requires almost no fuss, and is phenomenal on toast or stirred into oatmeal!
Serving Suggestions for Your Homemade Egg Custard
Okay, once that creamy goodness is perfectly chilled and set, it’s time to show it off! Remember that earthy dusting of fresh nutmeg we put on top? That’s really all this old fashioned dessert needs to shine. It cuts through the sweetness beautifully. If you serve it cold, it’s stunning alongside a really dark roast coffee—the bitterness against the sweet vanilla custard is just *chef’s kiss*.
If you’re looking for something a bit lighter, a few fresh raspberries or very thinly sliced orange segments are fantastic complements. They add just a tiny bit of tartness without weighing down the simplicity of the pie. If you want to see another one of our simple, crowd-pleasing recipes, you could try out our homemade chocolate cake sometime, but honestly, this custard pie is pure comfort! Slice it thick and enjoy the nostalgic flavors!
Storage and Reheating Instructions for Egg Custard
So, you managed to resist eating the whole pie in one sitting? Congratulations! That’s a win in my book. Storing leftovers of this beautiful egg custard is super simple, but you have to treat it gently because it’s so delicate once it’s been sliced.
The short answer is: keep it cold! This pie absolutely needs to stay refrigerated because of that high milk and egg content. Once you cut into it, try to cover those remaining slices carefully. I use plastic wrap, but honestly, I try to place a piece of wax paper directly onto the exposed cut surface first, just so the wrap doesn’t stick and ruin the pretty texture. That extra layer of protection keeps it tasting fresh for days.
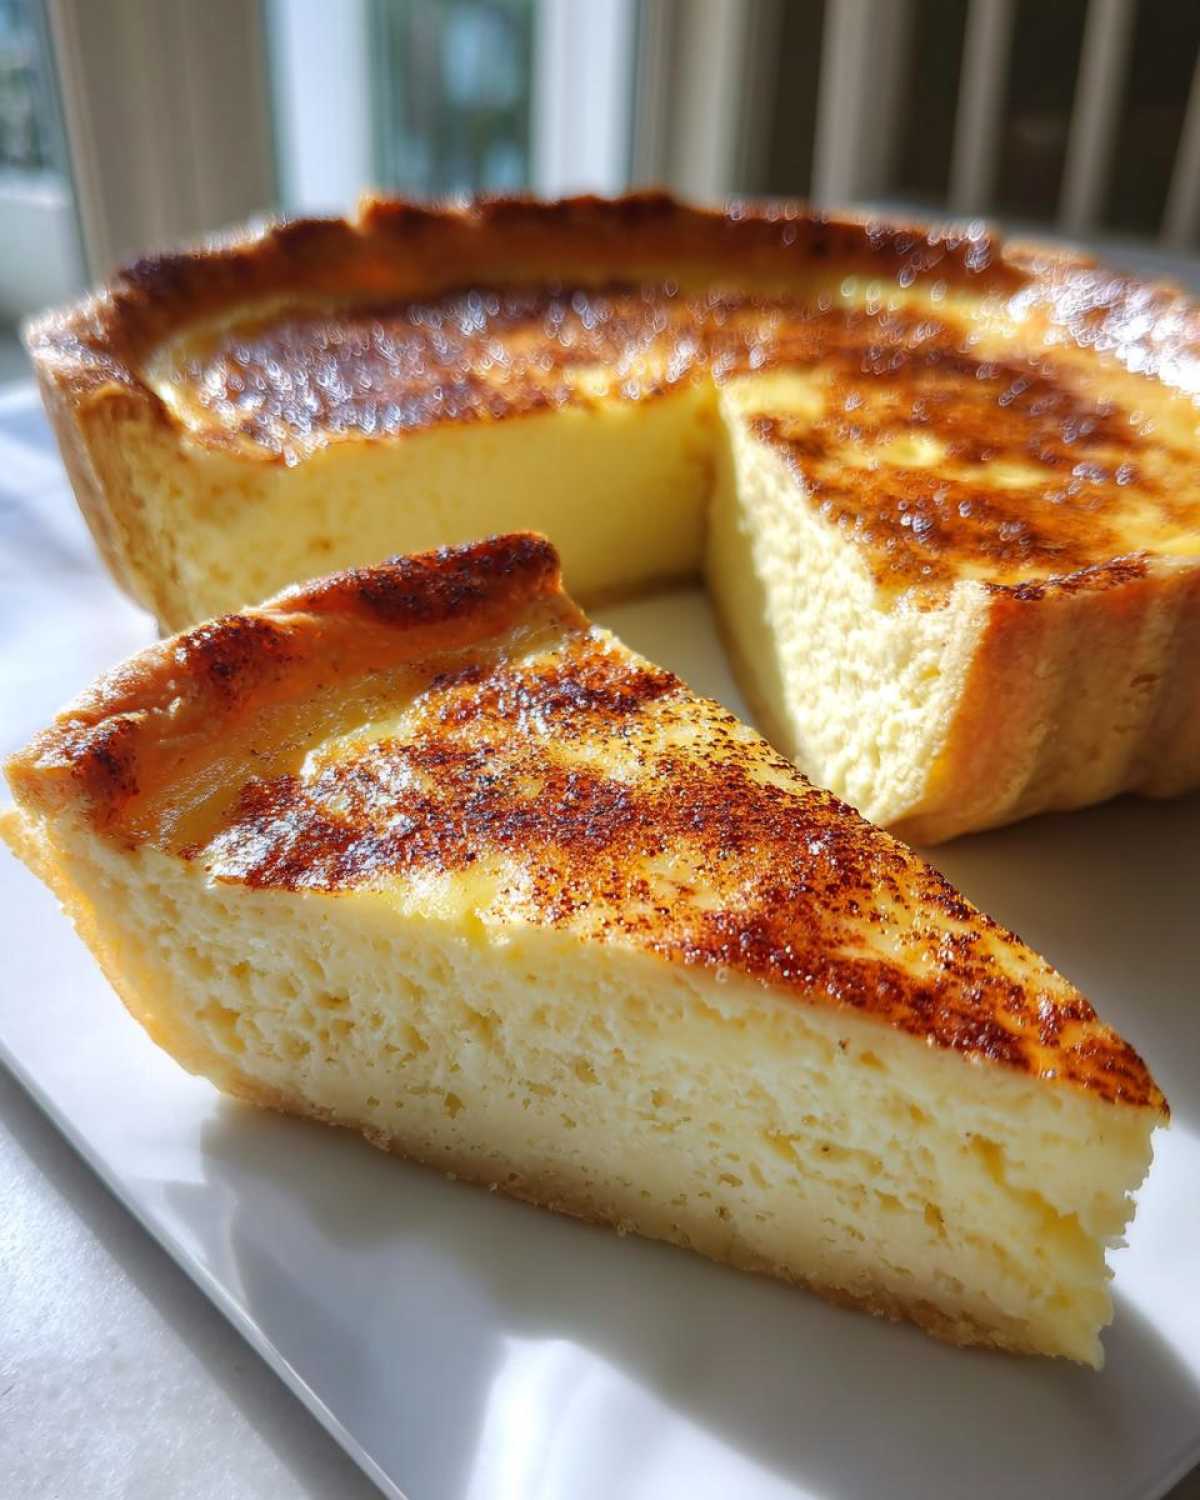
The best way to enjoy leftover egg custard is cold, straight from the fridge. The texture firms up a little more overnight, and honestly, that chilly, creamy sensation is just divine, especially on a hot evening. If you absolutely must warm it up—and I recommend against it for pie slices—you should only warm it slightly at room temperature for about 15 minutes. Microwaving custard is a recipe for disaster; it heats unevenly and can turn rubbery fast. Stick to cold, trust me on this one for the best experience!
Frequently Asked Questions About Making Egg Custard Pie
I figure if you made it all the way here, you probably have a few burning questions—after all, baking is all about experimentation, even when you have a fail proof baking tips guide, right? I get a ton of messages about texture and ingredients, so I pulled together the most common queries I get about this recipe. Let’s solve those last few baking mysteries!
Can I make this simple custard recipe without a pie crust?
Yes, absolutely! If you just want a bowl of that delicious, creamy stuff—that’s a simple custard recipe success right there. If you skip the crust, you are essentially making a straightforward baked custard. You’ll want to pour the liquid mixture into individual ramekins or small oven-safe bowls instead of a pie plate.
A few adjustments are needed: individual portions bake much faster, so start checking them around 30 minutes. You’ll still want to use that water bath technique to keep things super smooth. When they are done, they will be set but still wobble slightly. It’s wonderful for a lighter, crustless comfort food dessert!
Why did my egg custard pie crack on top?
Ugh, the dreaded crack! It happens to everyone, even me sometimes, but usually, it’s because the heat was too uneven or too high, or heaven forbid, you mixed too vigorously. We talked about it before, but this bears repeating because it’s so important for that perfect creamy egg custard filling.
The number one reason for cracking is that the outer edges cooked way faster than the center, causing everything to pull apart as it cools. The best defense against this is the water bath—the gentle, steamy heat cooks everything at the same, slow pace. Secondly, make sure you are only gently whisking those eggs. Air bubbles trying to escape the top layer are the second biggest cause of cracks. Calm hands make for a gorgeous pie!
If you are looking for more general kitchen wisdom from our blog, feel free to browse our latest posts!
Share Your Old Fashioned Dessert Creations
And there it is! Your beautiful, barely-jiggly, perfectly smooth Old Fashioned Egg Custard Pie is ready for its big moment. Making a classic baked custard like this feels like crossing a finish line, doesn’t it? I’m so incredibly proud of you for tackling something that seems simple but requires just a little bit of care!
Now that you’ve mastered the smooth custard technique, I absolutely want to hear all about it. Did you use the water bath? Did you grate your nutmeg fresh? Drop a rating below and let me know how it went! Don’t hold back on the details; we love reading about your kitchen wins (and your hilarious near-misses!).
If you took a picture of that perfect slice—and seriously, who wouldn’t?—tag us on social media! Seeing your version of this beloved old fashioned dessert brings so much joy to our little chaotic kitchen. We are always looking for ways to connect and share these wonderful, simple recipes. If you have any lingering questions, you can always shoot us a message over on the contact page. Happy baking, friends!
PrintGrandma’s Fail-Proof Old Fashioned Egg Custard Pie

You need a reliable, smooth dessert for your next gathering. This classic baked egg custard pie recipe delivers a creamy, tender filling every time, even if you are new to baking. It is a simple, traditional comfort food dessert.
- Prep Time: 15 min
- Cook Time: 50 min
- Total Time: 65 min
- Yield: 8 servings
- Category: Dessert
- Method: Baking
- Cuisine: American
- Diet: Vegetarian
Ingredients
- 1 unbaked 9-inch pie crust (use your favorite homemade or store-bought crust)
- 3 large eggs
- 1/2 cup granulated sugar
- 2-2/3 cups milk (whole milk works best for richness)
- 1 teaspoon pure vanilla extract
- 1/4 teaspoon salt
- Freshly grated nutmeg for topping
Instructions
- Preheat your oven to 350°F (175°C). Place your unbaked pie crust into a 9-inch pie plate.
- In a medium bowl, gently whisk the 3 large eggs until they are just combined. Do not over-beat the eggs, as this incorporates too much air and can cause cracking.
- Whisk in the sugar, salt, and vanilla extract until the sugar mostly dissolves.
- Slowly pour in the milk while continuing to whisk gently. Mix until everything is just combined.
- For the smoothest custard, strain the liquid mixture through a fine-mesh sieve into a measuring cup or pitcher. This removes any bits of chalazae or unmixed egg white.
- Pour the strained custard mixture carefully into the unbaked pie shell.
- Sprinkle the top lightly and evenly with freshly grated nutmeg.
- Bake the pie on a baking sheet (to catch any potential drips) for 45 to 55 minutes. The custard is done when the edges are set, but the center still has a slight jiggle when you gently shake the pan.
- Remove the pie from the oven and let it cool completely on a wire rack. The center will finish setting as it cools.
- Chill the egg custard pie in the refrigerator for at least 3 hours before slicing and serving.
Notes
- For a truly fail-proof, silky texture, use the water bath (bain-marie) method. Place the pie plate inside a larger roasting pan, then pour hot water into the roasting pan until it reaches halfway up the sides of the pie plate before baking.
- If you are using a pre-baked or blind-baked crust, reduce the baking time slightly.
- This recipe uses simple ingredients, making it a great option for an easy holiday pie or a quick comfort food dessert.
Nutrition
- Serving Size: 1 slice
- Calories: 250
- Sugar: 20
- Sodium: 150
- Fat: 12
- Saturated Fat: 6
- Unsaturated Fat: 6
- Trans Fat: 0
- Carbohydrates: 28
- Fiber: 1
- Protein: 8
- Cholesterol: 110