

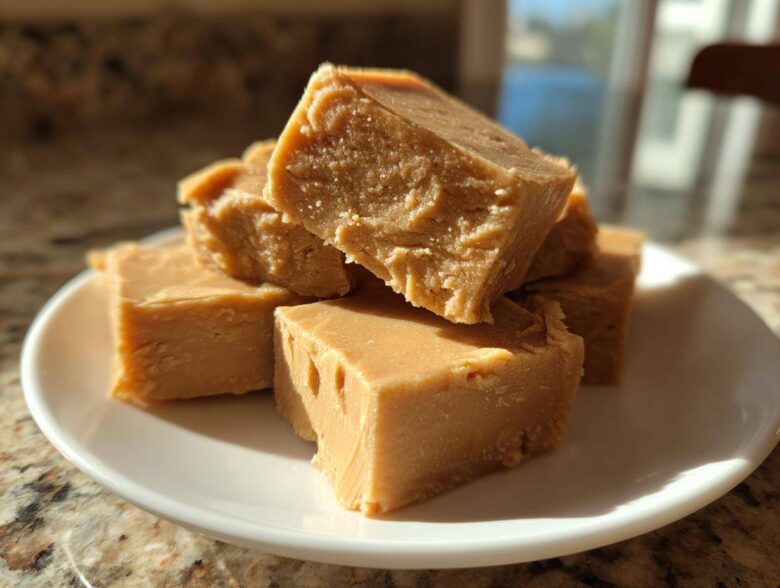
There is truly nothing like that rich, buttery smell that instantly takes you back to Grandma’s kitchen at Christmas. Forget those weird, overly sweet microwave candies! Today, we are going old school, diving deep into the world of pure, nostalgic flavor with my absolute favorite recipe for **penuche fudge**. If you’ve never had it, you are missing out—this isn’t chocolate; it’s the rich, deep sweetness of perfectly cooked brown sugar.
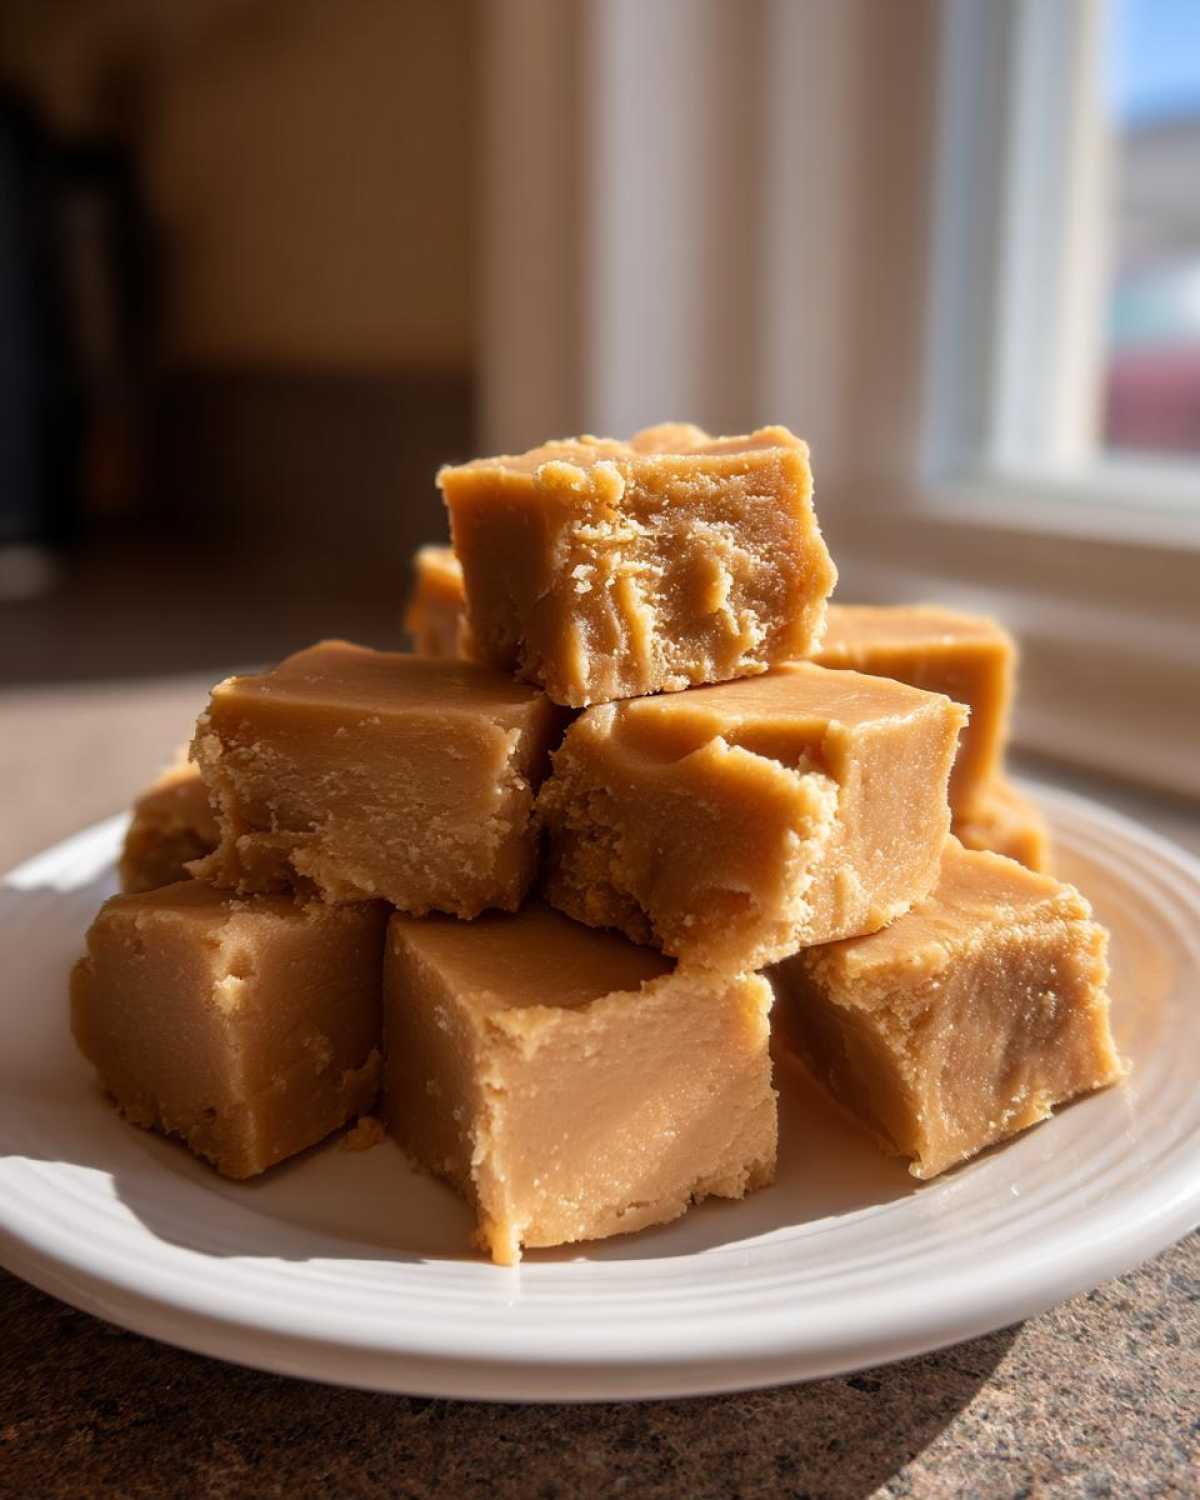
I remember when I first tried making this **old fashioned fudge**. I was terrified of the candy thermometer, honestly! But this method, which is so authentic to classic confectionery, yields the smoothest, melt-in-your-mouth texture you can imagine. Trust me on this one; once you nail the right temperature, this brown sugar fudge will be your new go-to holiday staple. We even made a batch for my niece’s graduation party last year, and they disappeared first off the dessert table!
If you’re interested in learning more about our passion for home baking and how we approach creating reliable recipes, you can always check out our story here.
Why This Old Fashioned Penuche Fudge Recipe Works
So, why should you bother with a thermometer when your phone says there are easy fudge recipes? Because this isn’t just any fudge; it’s the real deal! This recipe promises that deep, slightly caramelized flavor that only comes from true brown sugar cooking. You’re getting genuine old fashioned fudge every single time.
- Uses both white and brown sugar for depth and structure.
- Reliable stovetop method ensures accurate temperature control.
- The final beating stage creates that signature smooth texture.
It takes a little patience, but the result is a piece of classic confectionery that just melts away.
Achieving the Perfect Creamy Texture in Penuche Fudge
The magic happens past the boil! We need that mixture to hit exactly 234 degrees Fahrenheit—that “soft-ball stage.” If you stop short, your penuche fudge will be runny. If you go too far, it gets grainy fast. The real secret, though, is resisting the urge to touch it after you take it off the heat!
Letting it cool undisturbed down to 110 degrees lets the sugar crystals settle just right. Then, when you beat it vigorously, you are forcing those crystals to form tiny, perfectly smooth structures. That’s how you get impossibly creamy vanilla fudge!
Ingredients for Classic Penuche Fudge
Gathering your ingredients is the first step in making what I consider the best brown sugar fudge recipe. Because the flavor relies so heavily on just a few components, quality really matters here! I use specific measurements to ensure that deep, molasses-y, old fashioned fudge taste we’re looking for.
- 2 cups light brown sugar, packed tight
- 1 cup granulated sugar
- 1 cup whole milk (don’t try skim, please!)
- 2 tablespoons unsalted butter
- 1 teaspoon vanilla extract
- 1/4 teaspoon salt
Don’t forget to check out my maple brown sugar baked oatmeal if you love that caramelized flavor profile!
Ingredient Notes and Substitutions for Brown Sugar Fudge Recipe
The star here is the brown sugar. You absolutely must use light brown sugar and pack it firmly into your measuring cup. Dark brown sugar contains too much molasses, and while it’s tasty, it will change the color and make the final penuche fudge taste way too strong. We are aiming for creamy and sweet!
Whole milk prevents scorching better than lower fat options. And here’s a little secret for the nut-lovers: if you snagged some toasted pecans or walnuts, you stir them right in after you take the pan off the heat—just before the vanilla goes in. They’ll suspend perfectly in this wonderful sweet brown sugar dessert.
Equipment Needed for Penuche Candy Making
You don’t need a whole candy shop setup for this, but a couple of items are non-negotiable if you want your penuche candy making to work out! I always grab my heavy-bottomed saucepan because it distributes the heat so evenly; no burnt spots for us!
Most importantly, you need a reliable candy or instant-read thermometer. Trying to guess the soft-ball stage is a highway to grainy candy! That thermometer is your best friend here. You’ll also want an 8×8 pan prepped with parchment paper overhang.
Step-by-Step Instructions: How to Make Penuche
Alright, grab your heavy pot, because this is where the magic—and the potential for drama—happens! Making authentic penuche fudge is all about managing the heat correctly. We aren’t baking; we are performing delicate candy alchemy here, so stay right by the stove. Don’t step away even for a second once those sugars start melting!
Once it’s cooked, you have to forget about it completely for a while. And then, when it’s time, you beat it like you mean it! If you follow these steps exactly, you’ll avoid the gritty texture that ruins so many batches of homemade candy recipes, and you’ll earn that wonderfully smooth finish. If you need to get in touch for any super tricky cooking emergencies, just use our contact page!
Cooking the Penuche Fudge Base to Soft-Ball Stage
First things first: put the sugar, milk, and butter into your sturdy saucepan. Get it going over medium heat and stir constantly until everything is dissolved and you see that butter completely disappear. Now, clip on your candy thermometer—make sure it’s not sitting right on the bottom of the pan, or you’ll get a false reading!
Once the thermometer is set, stop stirring! Let it reach a rolling boil and cook until that temperature hits exactly 234 degrees Fahrenheit. That’s our soft-ball stage, the sweet spot for old fashioned fudge. Once you hit it, yank that pan right off the burner!
Cooling and Beating for Smooth Penuche Fudge
Now comes the hardest part: waiting! You need to remove the thermometer and just let that cooked sugar mixture cool down completely undisturbed until it registers 110 degrees Fahrenheit on the glass—this takes ages, but you can’t rush it. Seriously, walk away! If you try to beat it hot, it just won’t work right.
Once it hits 110°F, toss in your vanilla and salt, and then get ready to beat! Use a heavy wooden spoon or your electric mixer and work the mixture quickly and hard. You’ll see the color change as the gloss disappears, and the mixture thickens right up in your bowl. That’s the moment it transforms into that silky, perfect creamy vanilla fudge. Pour it fast into your prepared pan!
Tips for Success with Your Old Fashioned Fudge
Making delicious, non-gritty old fashioned fudge comes down to avoiding two major pitfalls: burning the sugar or beating it too soon. If you followed the temperature guide, you’re golden on the burning front! But sometimes, even when you wait that crucial time, the mixture seems stubbornly loose.
If your brown sugar fudge recipe seems too stiff while it’s cooling and you’re worried about beating it properly, don’t panic! Gently warm the mixture back up on the very lowest heat setting until it softens just enough to stir again. You’re just trying to make it workable for the final beating phase.
The key is patience during the cooling phase. You want those sugar crystals to settle down. If you rush in to beat it before it reaches 110°F, you’ll end up with a grainy mess instead of that smooth, melt-in-your-mouth texture. For more handy baking advice, feel free to browse our blog archives!
Variations on Penuche Fudge
While the classic preparation makes for a stunning sweet brown sugar dessert on its own, sometimes you want to jazz things up a bit! Since we already mentioned it in the tips, adding nuts is definitely the go-to variation here. We’re talking about toasting up some pecans or walnuts until they smell amazing.
Remember, you fold these right in after you pull the pan off the heat but before you stir in the vanilla. It gives this penuche fudge just the perfect crunch to contrast with that creamy interior. If you’re looking for other fun, sweet treats we’ve tested, you HAVE to see these no-bake cheesecake cups—they are summer perfection!
Storage and Serving Suggestions for Homemade Candy Recipes
Once this gorgeous penuche fudge has set up properly, you’ll want to guard it with your life! The best way to store these squares is right on the counter in an airtight container. It stays perfectly good at room temperature for about a week, sometimes longer. Seriously, this homemade candy recipe doesn’t love the fridge; cold temperatures can sometimes make it a little harder than we want.
When serving, these make the absolute best addition to any holiday fudge guide platter. They pair so beautifully with a strong, hot cup of coffee—the slight bitterness cuts through that sweet brown sugar perfectly. If you’re looking for a great summer pairing instead, try washing it down with my favorite watermelon mint lemonade!
Frequently Asked Questions About Penuche Fudge
I know candy making can feel intimidating, so I gathered a few questions I get all the time about how to make penuche successfully. Don’t worry if you’re thinking about trying some easy fudge recipes for the first time—we’ve all been there!
Can I skip the candy thermometer for this penuche fudge recipe?
Honestly, please don’t try to skip it for this old fashioned fudge! The difference between a perfect, smooth texture and a grainy one is just a few degrees. If you don’t have one, I highly recommend investing in a cheap digital one. Guessing the soft-ball stage is what leads to heartbreak! For non-candy recipes, I sometimes offer shortcuts, but not for this classic confectionery.
Why did my homemade candy turn out grainy or crystallized?
Graininess almost always comes from either stirring the mixture while it’s boiling past 234°F, or cooling it too quickly before beating. If you see coarse crystals right after cooking, it means big sugar crystals formed. If you beat it too soon, those small crystals break apart and feel gritty in your mouth. Patience during the 110°F cooling stage is the real secret to creamy vanilla fudge.
Is there a no-bake variation for this brown sugar fudge recipe?
While this specific recipe relies on cooking the sugar solution to that true soft-ball stage, people *do* make no bake fudge sweets using powdered sugar and condensed milk. However, those won’t have the deep, caramelized flavor of true penuche fudge. If you want that authentic taste, you need the heat! You can find some great condensed milk versions if you search for other easy fudge recipes, but they just aren’t the same.
We want everyone to feel confident reading our recipes, so if you have any privacy concerns or questions about how we use your data, please review our privacy policy.
Estimated Nutritional Data for Penuche Fudge
Now, let’s talk fuel! As much as we adore this penuche fudge, it is definitely a treat, not an everyday snack. These numbers are just estimates, mind you, based on cutting the batch into 36 small squares, so treat them as guides rather than hard facts!
- Approximate Calories: 145 per square
- Total Fat: 4g
- Total Carbohydrates: 27g (with 28g of that being sugar—yep!)
- Protein: 1g
Keep in mind that recipes like this are all about the experience, so measure carefully, but don’t stress too much over single-digit differences! We use real butter, after all!
PrintOld Fashioned Penuche Fudge
Make classic, creamy Penuche Fudge using brown sugar for a rich, old fashioned candy flavor.
- Prep Time: 15 min
- Cook Time: 20 min
- Total Time: 35 min
- Yield: 36 small squares
- Category: Dessert
- Method: Stovetop Cooking
- Cuisine: American
- Diet: Vegetarian
Ingredients
- 2 cups light brown sugar, packed
- 1 cup granulated sugar
- 1 cup whole milk
- 2 tablespoons unsalted butter
- 1 teaspoon vanilla extract
- 1/4 teaspoon salt
Instructions
- Line an 8×8 inch pan with parchment paper, leaving an overhang for easy removal. Lightly grease the paper.
- Combine the brown sugar, granulated sugar, milk, and butter in a heavy-bottomed saucepan.
- Stir the mixture constantly over medium heat until the butter melts and the sugars dissolve.
- Attach a candy thermometer to the side of the pan, avoiding the bottom.
- Stop stirring and bring the mixture to a boil. Cook until the temperature reaches 234 degrees Fahrenheit (soft-ball stage). This usually takes 10 to 15 minutes.
- Remove the pan from the heat immediately. Remove the thermometer.
- Stir in the vanilla extract and salt.
- Let the mixture cool undisturbed until it reaches 110 degrees Fahrenheit. Do not rush this cooling step.
- Once cooled, beat the mixture vigorously with a wooden spoon or electric mixer until it loses its gloss and becomes thick and creamy. This takes several minutes.
- Quickly pour the fudge into the prepared pan and spread evenly.
- Let the fudge set completely at room temperature for several hours before cutting into squares.
Notes
- For a nut variation, stir in 1 cup of toasted pecans or walnuts just before the mixture begins to thicken.
- If the fudge becomes too stiff while beating, you can gently reheat it slightly on low heat until it softens enough to stir again, then cool and beat as directed.
- Use light brown sugar for the best color and flavor profile. Dark brown sugar will result in a deeper molasses taste.
Nutrition
- Serving Size: 1 square
- Calories: 145
- Sugar: 28g
- Sodium: 35mg
- Fat: 4g
- Saturated Fat: 2.5g
- Unsaturated Fat: 1.5g
- Trans Fat: 0g
- Carbohydrates: 27g
- Fiber: 0g
- Protein: 1g
- Cholesterol: 10mg