

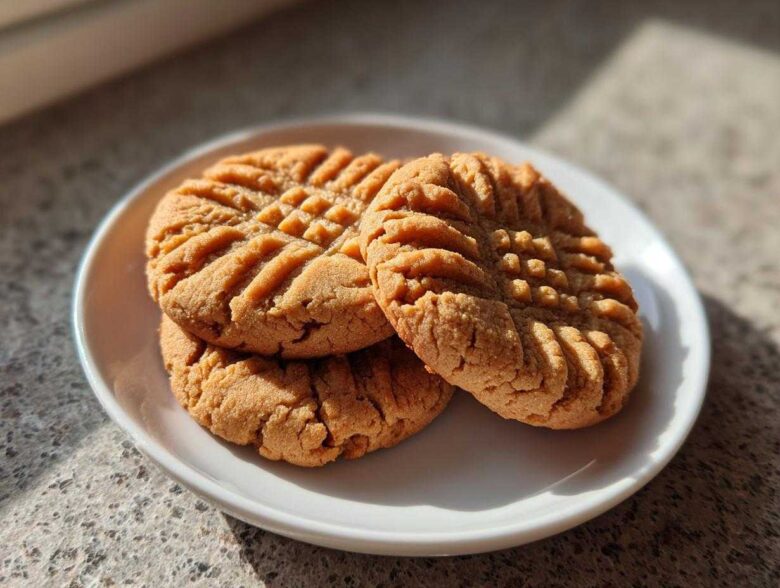
Oh, let’s talk about true comfort baking, because nothing screams cozy nostalgia quite like a fresh batch of classic **Peanut Butter Cookies**. Forget those airy, crumbly versions you sometimes find; I’m sharing the recipe that gets that perfect, slightly chewy center and that iconic, deeply ridged crisscross pattern every single time. Honestly, trying to find the perfect recipe used to drive me mad! I must have tossed out three batches before I landed on this foolproof one that my cousin swore by.
This isn’t just some recipe; it’s our definitive guide to the ultimate, easy Peanut Butter Cookies that taste exactly like the ones from the best neighborhood bakeries. If you’re looking for that unbeatable texture—soft inside, perfectly set outside—you’ve absolutely come to the right place. Trust me, once you master this, you won’t look back!
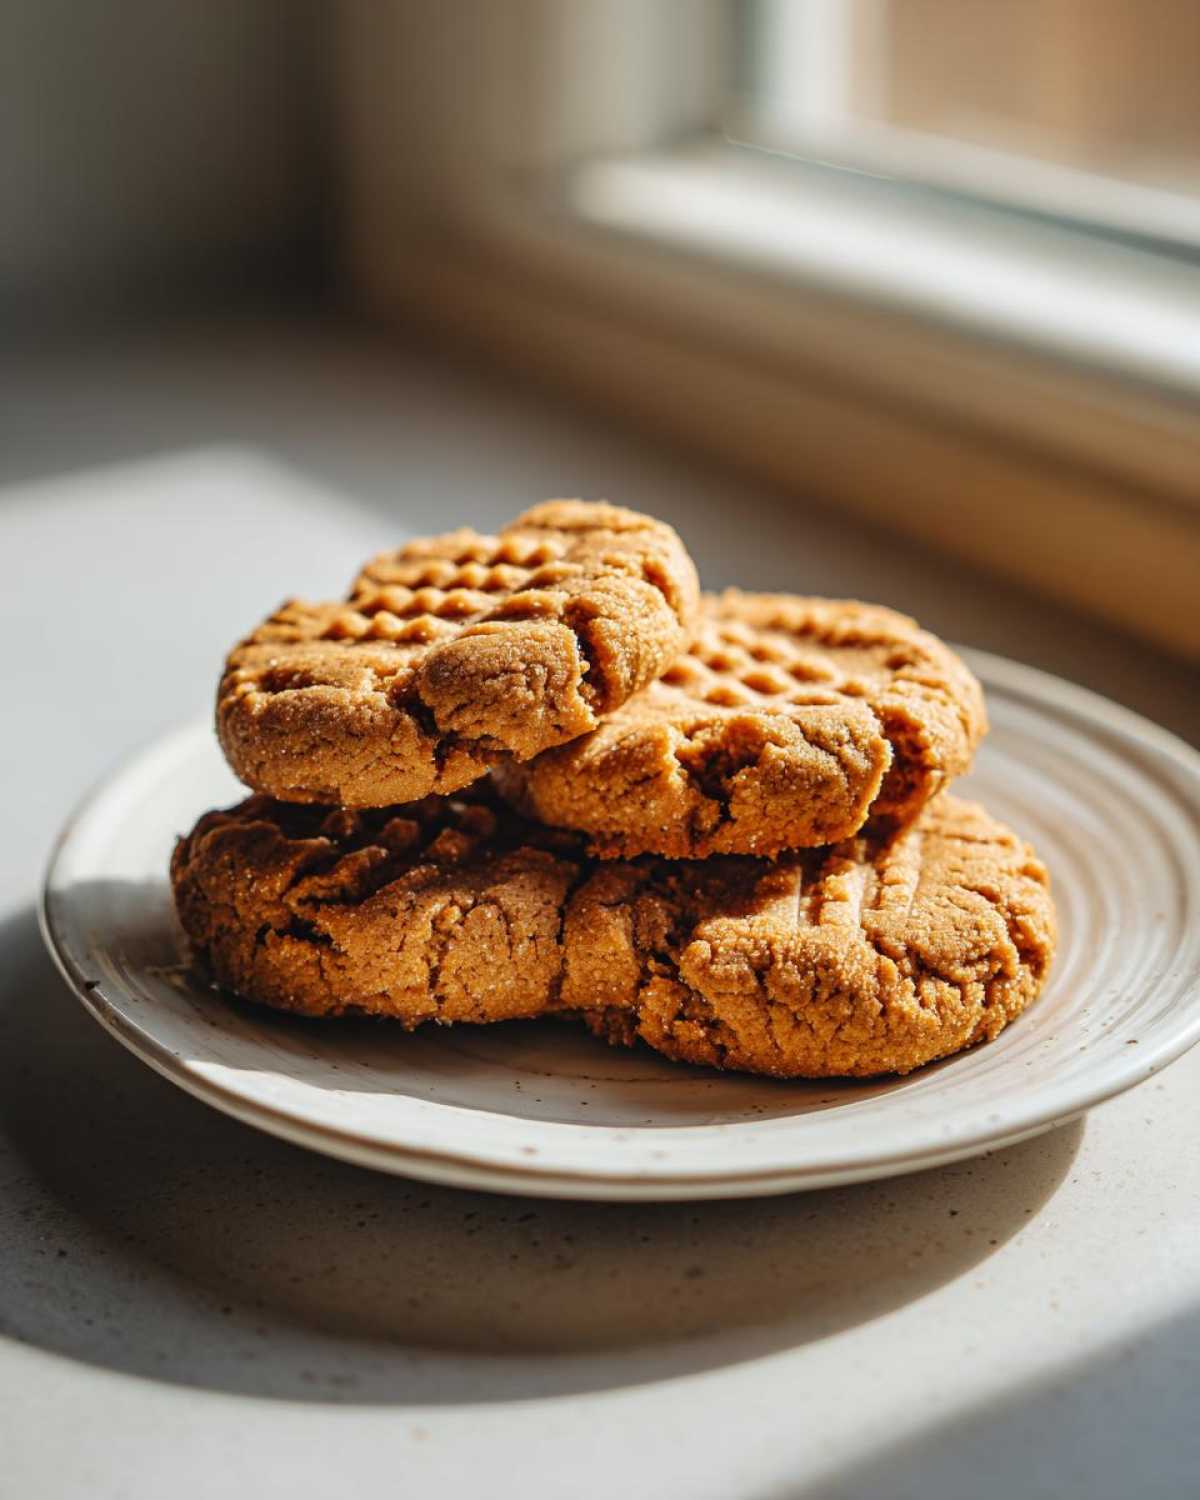
Why This Is the Best Peanut Butter Cookies Recipe
Listen, I’ve tried every trick, added every fancy spice, but this specific combination is what makes these the Best Peanut Butter Cookies out there. It’s all about ratios, you guys! The combination of granulated white sugar and packed brown sugar is our secret weapon here. The brown sugar brings that rich molasses flavor and keeps them from turning into crunchy disks—which, let’s be honest, isn’t what we want!
This is genuinely the most Easy Peanut Butter Cookie Recipe you’ll ever find. Seriously, if you can cream butter and sugar, you can nail these every time. I keep coming back to this one because it’s predictable, fast, and always delivers that nostalgic peanut butter punch.
Achieving Chewy Peanut Butter Cookies Texture
For that perfect pull, you need to thank the brown sugar again, mixed with just the right amount of egg binder. Those Chewy Peanut Butter Cookies everyone dreams about happen because we don’t overbake them! You pull them when they look just barely set. If you want to see a fantastic variation on this classic flavor profile, check out my recipe for peanut butter blossoms; they are amazing!
Essential Ingredients for Perfect Peanut Butter Cookies
Okay, now that we know these are going to be the Perfect Peanut Butter Cookies, we have to talk about the stars of the show—the ingredients! When I look through my recipe card, I see where I used to skimp, and that’s where the cookies went wrong. You need quality, and you need them prepped just right.
For instance, that butter absolutely has to be softened properly. I learned the hard way that cold butter means clumpy dough, and melted butter means super-thin, greasy messes. You want it soft enough that you can press a finger into it easily, but it shouldn’t look greasy or shiny—that’s room temperature, baby! And speaking of the peanut butter, we need to discuss that choice.
The eggs must be room temperature too. Cold eggs stop the creaming process dead in its tracks, and we need that aeration for the lift! If you forget to take them out, don’t sweat it; just place them in a bowl of warm tap water for five minutes. It fixes everything. For more fun peanut butter goodness, you should check out my crazy good Peanut Butter Rice Krispie Treats recipe sometime!
Ingredient Notes and Substitutions for Peanut Butter Cookies
For this classic recipe, I always, always insist on using creamy peanut butter. Crunchy nuts interrupt that smooth texture we are trying to achieve when we smash them with the fork; they also throw off the weight slightly. If you use natural peanut butter (the oily kind), you’ll probably need to drain off some of that excess oil first, or your cookies will spread way too much and look sad!
Also, make sure you’re using real baking soda and baking powder, not substitutes. They look similar, but they do different jobs in making sure these cookies puff just a tiny bit before they set. It’s all about trust here; follow the directions for the ingredients, and these Homemade Peanut Butter Cookies will be flawless!
Gathering Supplies: Equipment for Homemade Peanut Butter Cookies
You don’t need a million fancy gadgets for these beauties, which is another reason I love them! The most important things you’ll need are mixing bowls—a big one for the wet stuff and a medium one for the dry. A handheld or stand mixer really helps with creaming the sugars properly, though a strong arm and a wooden spoon work too. And obviously, you need baking sheets and parchment paper, plus that trusty fork for the smash!
Step-by-Step Guide: How to Make Peanut Butter Cookies
Okay, this is where the magic happens! Mastering How to Make Peanut Butter Cookies relies almost entirely on how you handle the mixing and shaping. Don’t rush the creaming part, and for goodness sake, don’t overmix once the flour comes out. We are aiming for tender here, not hockey pucks!
First things first: get that oven cranked up to 375 degrees F (190 degrees C). This recipe bakes fast, so we need the heat ready to go right when the dough is done. Line your baking sheets with parchment paper; this saves your cleanup time immensely and helps the cookies bake evenly on the bottom.
Mixing the Dough for Perfect Peanut Butter Cookies
Grab that big bowl for your mixer. You start by creaming the softened butter with both the granulated sugar and that packed brown sugar until it looks fluffy and pale—this usually takes a good 3 to 4 minutes. This aeration is crucial for the final texture! Don’t skimp here!
Once that’s light, you beat in the peanut butter, then the eggs one at a time, followed by that splash of vanilla. Everything should look totally combined and smooth before we introduce the dry stuff. In a separate bowl, just whisk together your flour, baking soda, baking powder, and salt—give it a little whisk to make sure the leavening agents are spread throughout.
Now for the most important mixing tip: add the dry ingredients in slowly, mixing ONLY on low speed until you just see the last streaks of flour disappear. If you mix this too long, you activate the gluten, and poof!—gone is the chewiness we worked so hard for.
Forming and Creating the Crisscross Peanut Butter Cookie Recipe Look
Once the dough is made, you roll it! Roll those little dough balls—about 1-inch in size—and space them about two inches apart on your prepared sheets. Remember the note about chilling the dough? If you want truly thick cookies, pop this sheet into the fridge for about 30 minutes here. It stops them from spreading out too much while baking.
Once they are lined up, you have to give them the signature look! Take a fork, dust it lightly with flour if you’re worried about sticking, and gently press down on the dough ball once. Then, rotate the fork 90 degrees and press again to make that perfect crisscross pattern. This flattening step is so key because it physically thins out the cookie just enough so that the inside cooks through before the edges burn.
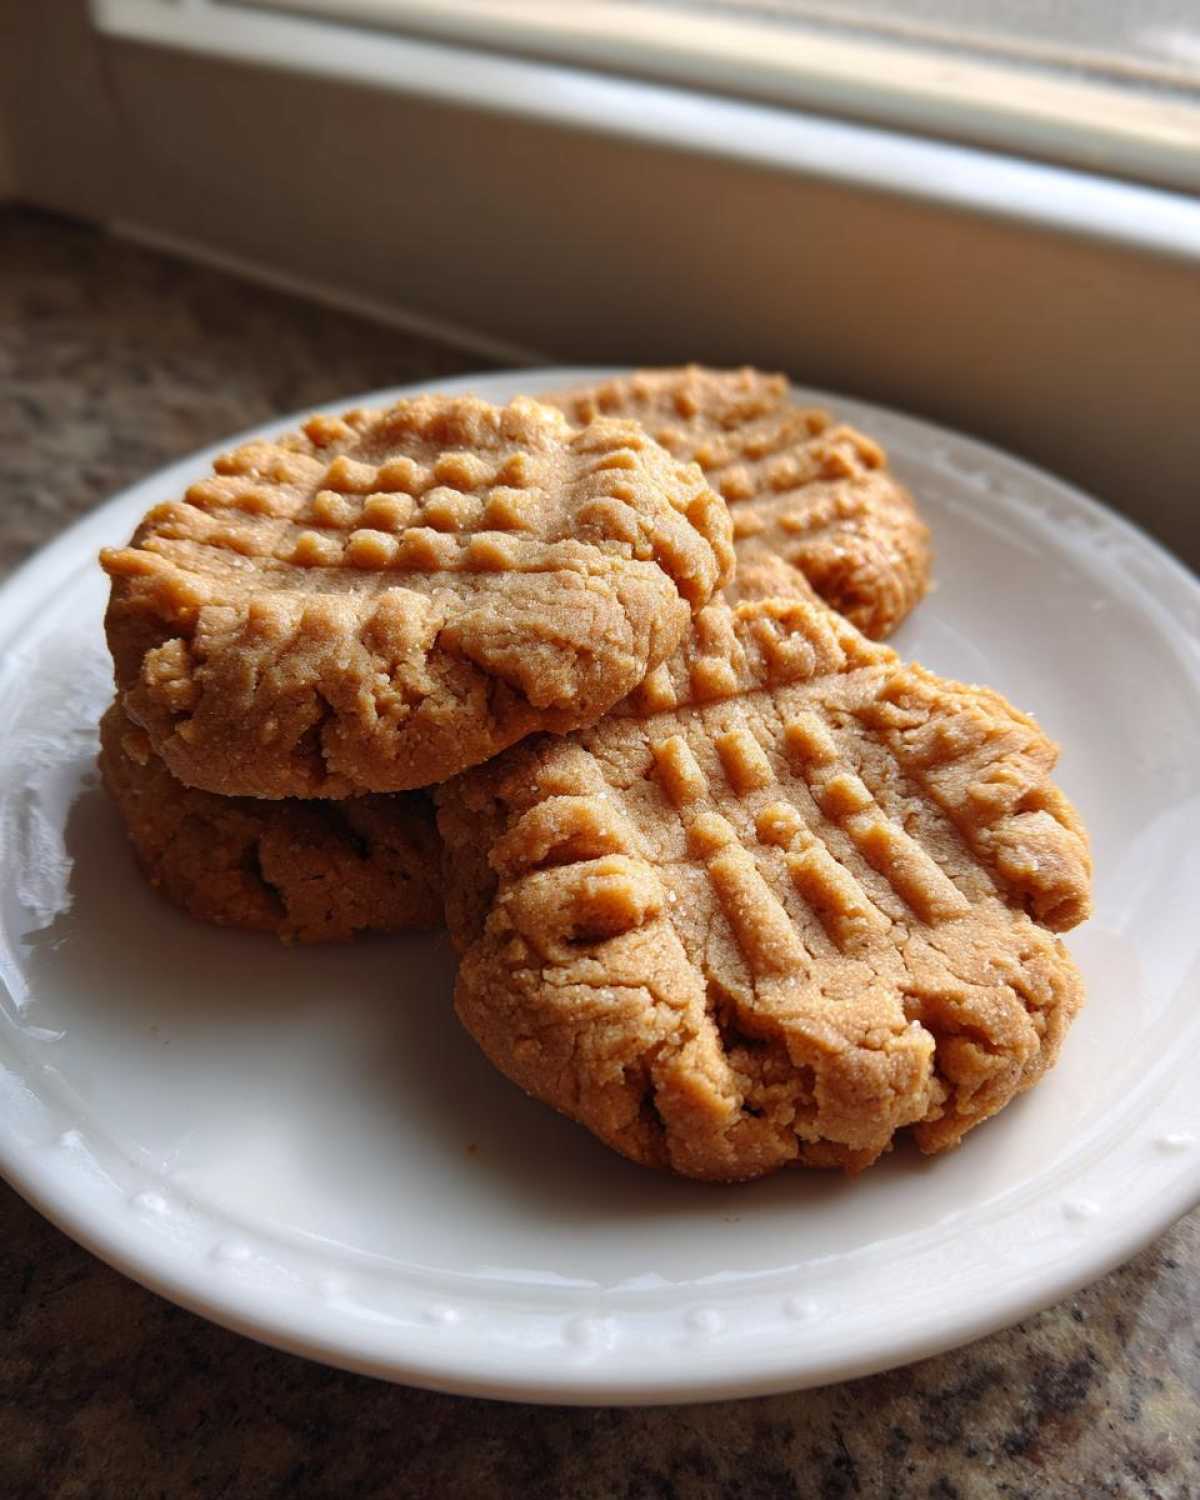
They bake fast, usually 9 to 11 minutes. Watch them closely! They should look lightly golden on the edges, but that center still might look a bit soft when you pull them out. That’s perfect! Let them sit right there on the hot pan for five minutes—seriously, don’t touch them—before moving them over to a wire rack to cool completely. That five minutes on the sheet is when they finish setting up!
If you want to see how I apply similar principles to get crackly tops on my chocolate chip cookies, you absolutely must check out my guide to chocolate chip cookie recipe secrets. It shares my obsession with cooling times!
Tips for Success When Baking Peanut Butter Cookies
Mastering these Homemade Peanut Butter Cookies means knowing a couple of extra tricks up my sleeve. These little Cookie Baking Tips are what separate a good cookie from a great one, trust me! Remember how I mentioned that if you want thicker cookies, chilling the dough is essential?
Seriously, take 30 minutes before you put the fork to them if thick is your goal. Chilled dough melts slower in the oven, keeping that height. Also, texture payoff happens right near the end: pull them out just one minute early if you like that super soft, almost underbaked chew in the middle. If they look ready, they’re probably already overdone by a minute! For something different but just as chewy, check out my favorite oatmeal raisin cookie recipe.
Storage and Reheating for Homemade Peanut Butter Cookies
The best part about making a huge batch of these is having leftovers, right? To keep your Homemade Peanut Butter Cookies tasting fresh and chewy—not stale and crumbly—you have to treat them well. Store them in a truly airtight container at room temperature. Seriously, they need that seal!
They actually taste even better on day two, once the flavors have settled in. If you want to keep them for a week or so, layering them with wax paper helps prevent sticking. Don’t even think about the fridge; it dries them out! If they are a little stiff later on, just zap one for about 10 seconds in the microwave, and it’s like biting into a fresh-from-the-oven treat again.
Peanut Butter Cookie Variations and Flavor Twists
While I absolutely adore this classic crisscross look, sometimes a girl just needs some variety, you know? That’s why learning about Peanut Butter Cookie Variations is so much fun. Because the base recipe is so reliable, you can throw in almost anything and it just works!
My absolute favorite twist is stirring in about a cup of semi-sweet chocolate chips right before you chill the dough. That salty-sweet combination is seriously addictive. Another simple upgrade is a sprinkle of flaky sea salt on top of the dough balls right before you press them with the fork—it just amplifies that peanut butter flavor!
If you want to go for a sophisticated look, try topping them with a drizzle of melted dark chocolate after they’ve cooled completely. For yet another holiday classic, you can easily use this dough as the base for Peanut Butter Blossoms by just pressing a Hershey’s kiss right on top when they come out of the oven!
Frequently Asked Questions About Peanut Butter Cookies
Can I use natural peanut butter for this recipe?
Oh, this is a big one! For this specific Crisscross Peanut Butter Cookie Recipe, I really recommend using the standard, processed creamy peanut butter, like Jif or Skippy. Natural peanut butter separates so easily, and that excess oil makes your cookie dough runny. If you absolutely must use natural peanut butter, let it sit on a paper towel for a good hour to drain off the oil floating on top, or your cookies will spread way too much!
Why did my cookies spread too much in the oven?
Spreading usually happens for two reasons that are totally fixable! First, like I mentioned, if your peanut butter was too oily, they’ll spread thin. Second, and this is huge: make sure your butter wasn’t too warm when you creamed it! If the butter is too soft, the dough structure collapses too fast in the oven. If you’re fighting spreading, try freezing your dough balls for 15 minutes before pressing them—that chilled fat helps hold the shape!
What is the best way to get thick Peanut Butter Cookies?
If you want those Thick Peanut Butter Cookies that look like they came straight from the bakery case, you have two immediate options. You can slightly increase the flour by maybe two tablespoons, but the best trick is chilling the dough. Roll your balls, press that crisscross pattern to flatten them just a little, and then put the whole tray in the fridge for at least 30 minutes before baking. That cold stopping point keeps them from melting outwards too quickly. If you’re looking for more general baking wisdom, my recipe blog has tons of deep dives!
Can I make these cookies gluten-free or vegan?
Absolutely, you can adapt these! To make these simple Peanut Butter Cookies gluten-free, you can swap the all-purpose flour for a good quality 1-to-1 GF blend; just be aware the texture might be slightly less chewy. For vegan versions, replace the butter with a firm vegan butter stick, and use a flax egg instead of regular eggs (one tablespoon of ground flaxseed mixed with three tablespoons of water per egg). They still turn out wonderfully chewy!
Estimated Nutritional Data for Peanut Butter Cookies
Now, I know some of you are tracking macros or just curious about what goes into these little round delights! I pulled the general nutritional information for a batch of these Classic Crisscross Peanut Butter Cookies based on the ingredients list.
Remember, this is just an estimate, guys! Your flour bag size, the brand of peanut butter, or even how much sugar you used in the creaming step can swing these numbers a bit. This is just a general guideline for one cookie, not a guarantee written in stone!
- Serving Size: 1 cookie
- Calories: 160
- Fat: 9g
- Carbohydrates: 19g
- Protein: 4g
- Sugar: 12g
So, they aren’t exactly diet food, haha, but honestly, what perfect cookie is? Enjoy them responsibly, maybe just have one (or three!) instead of a whole sleeve!
PrintClassic Crisscross Peanut Butter Cookies
A simple recipe for making classic, chewy peanut butter cookies with the traditional crisscross fork pattern.
- Prep Time: 15 min
- Cook Time: 11 min
- Total Time: 26 min
- Yield: 3 dozen cookies
- Category: Dessert
- Method: Baking
- Cuisine: American
- Diet: Vegetarian
Ingredients
- 1 cup unsalted butter, softened
- 1 cup granulated sugar
- 1 cup packed brown sugar
- 1 cup creamy peanut butter
- 2 large eggs
- 1 teaspoon vanilla extract
- 2 1/2 cups all-purpose flour
- 1 teaspoon baking soda
- 1/2 teaspoon baking powder
- 1/2 teaspoon salt
Instructions
- Preheat your oven to 375 degrees F (190 degrees C). Line baking sheets with parchment paper.
- In a large bowl, cream together the softened butter, granulated sugar, and brown sugar until light and fluffy.
- Beat in the peanut butter, eggs, and vanilla extract until combined.
- In a separate bowl, whisk together the flour, baking soda, baking powder, and salt.
- Gradually add the dry ingredients to the wet ingredients, mixing on low speed until just combined. Do not overmix.
- Roll the dough into 1-inch balls and place them 2 inches apart on the prepared baking sheets.
- Press each dough ball down with the tines of a fork in a crisscross pattern.
- Bake for 9 to 11 minutes, or until the edges are lightly golden. The centers may look slightly soft.
- Let the cookies cool on the baking sheet for 5 minutes before transferring them to a wire rack to cool completely.
Notes
- For thicker cookies, chill the dough for 30 minutes before rolling and pressing.
- Use creamy peanut butter for the best texture in this recipe.
- If you prefer a chewier cookie, slightly underbake them by about one minute.
Nutrition
- Serving Size: 1 cookie
- Calories: 160
- Sugar: 12
- Sodium: 110
- Fat: 9
- Saturated Fat: 3
- Unsaturated Fat: 6
- Trans Fat: 0
- Carbohydrates: 19
- Fiber: 1
- Protein: 4
- Cholesterol: 20