

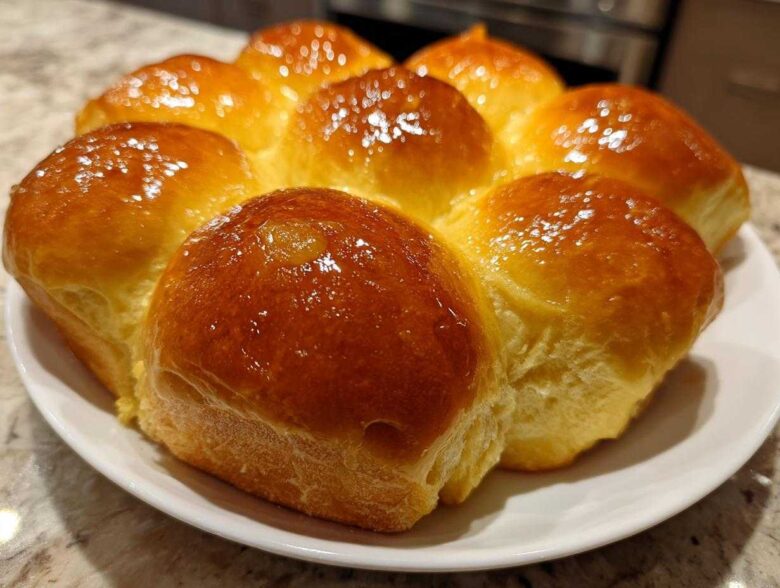
Oh my gosh, is there anything better than that moment when you pull a tray of piping hot, soft, golden bread out of the oven? I swear, the smell alone can cure a tough day. Forget those sad, plastic-wrapped things from the grocery store shelf; we are making REAL bread today! This recipe, which I’m calling The Ultimate Soft and Fluffy Homemade Dinner Rolls (Classic Buttery Recipe), is my happy place. It’s what I turn to when Leo needs cheering up or when we’re prepping for a big holiday meal. These aren’t just any dinner rolls; they are melt-in-your-mouth fluffy and soaked in butter. Trust me, making these from scratch is the best kind of kitchen chaos!
Why You Need These Soft Dinner Rolls Recipe for Your Table
I know what you’re thinking: “Do I really have time to make homemade bread?” Yes! You absolutely do, because these aren’t just bread—they are pure, edible happiness. When you’re done, you’ll realize this Soft Dinner Rolls Recipe is foundational to great Comfort Food Baking. We’re getting that bakery texture, and I even included a little something extra that Leo insists makes them smell like a holiday!
- They are infinitely better than anything you grab on the way home from the store, pinky swear!
- They stay incredibly soft for days; we usually eat them all the first night though!
- You can whip up a batch of amazing apple butter to serve alongside them!
The Fluffy Homemade Bread Promise
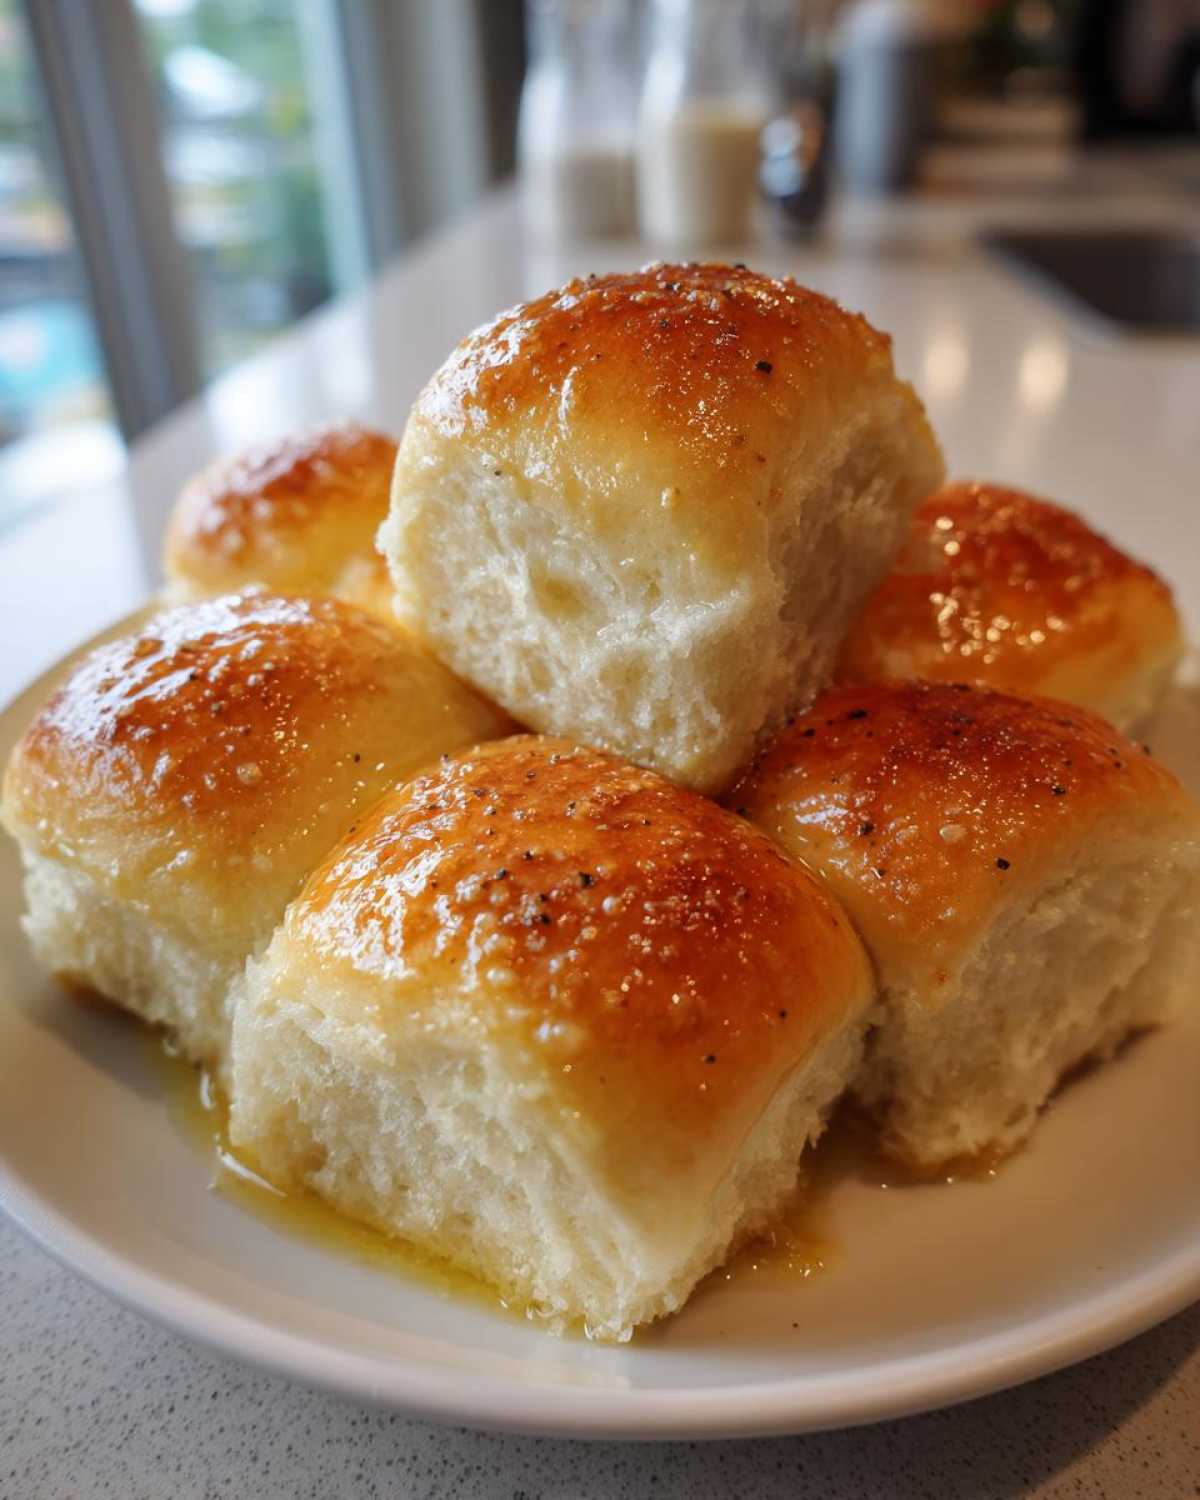
When I say fluffy, I mean it! We are chasing that cloud-like texture here. This dough yields a crumb that pulls apart in delicate strands. It’s light, airy, and practically begs you to slather it with butter immediately after it comes out of the oven. You won’t find this tenderness in a plastic bag, trust me on this one.
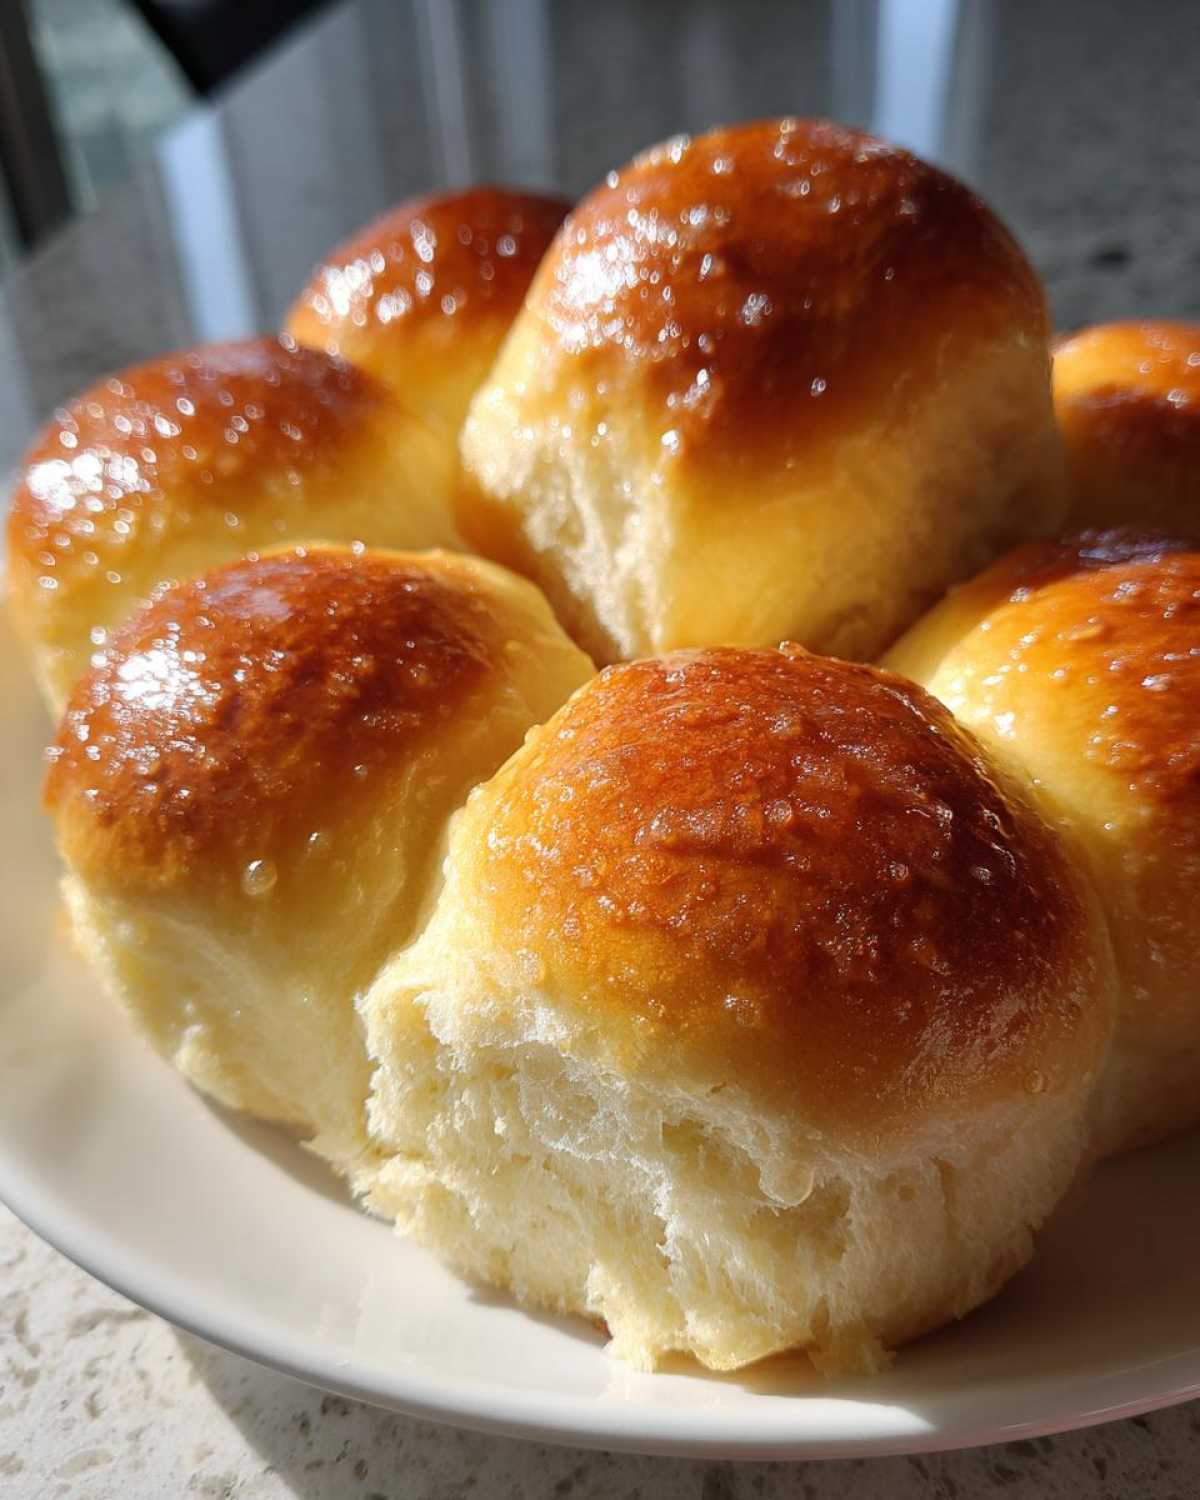
Achieving Buttery Yeast Rolls Perfection
The secret weapon here is the final step: that generous, warm brush of melted butter *right* when they come out. That’s what transforms simple rolls into glorious, rich Buttery Yeast Rolls. It seals in the moisture and gives them that irresistible sheen. They are sweet, savory, and oh-so-buttery!
Essential Ingredients for Perfect Dinner Rolls
Okay, gathering your bits and bobs is the true start of any great baking adventure! To get those perfect, soft discs of joy, you need to treat your ingredients right. My list looks simple, but every single measurement matters when you’re aiming for bakery-quality dinner rolls from scratch. Don’t eyeball that yeast, please!
- 1 cup warm milk (It needs to be that perfect temp, about 110°F—think warm bath water, not tea!)
- 2 1/4 teaspoons active dry yeast (The good stuff!)
- 1/4 cup granulated sugar, divided (We use this for the yeast and the dough structure.)
- 1 large egg, room temperature (This helps everything blend seamlessly.)
- 1/4 cup unsalted butter, melted (For that initial richness.)
- 3 cups all-purpose flour, plus more for dusting (Don’t pack the flour in the cup, though!)
- 1 teaspoon salt (Crucial for flavor, don’t skip it!)
- 1/2 cup (1 stick) unsalted butter, softened, for brushing (This is for the heavenly post-bake shower!)
- 1 teaspoon honey (Optional, but think about our copycat dreams!)
Ingredient Notes and Substitutions
Let’s talk milk temperature, because this is where home bakers often struggle with yeast. If the milk is too cold, your yeast gets lazy and won’t ever foam up. If it’s too hot (like, 130°F hot), you accidentally cook your precious yeast! We need that sweet spot between 105°F and 115°F so those little organisms wake up and get to work puffing up your dough. For extra rich flavor, I always use whole milk, but if you’re out, 2% works just fine. You can even use unsweetened almond or soy milk if you need to keep it dairy-free, though the overall texture might change slightly.
Step-by-Step Instructions for Your Dinner Rolls
Alright, time to get our hands floury! Don’t worry if you’re getting intimidated by yeast; this process moves quickly once you start. We’re following the steps exactly here to make sure your final batch of dinner rolls is pillowy perfection. Remember to preheat that oven to 375°F (190°C) while the dough is doing its final puff! I love making a batch of cheesy crackers while the dough is rising for snacking!
Activating Yeast and Mixing the Dough for Fluffy Homemade Bread
First things first, we wake up the yeast! In a big bowl—the one you’ll mix everything in—gently stir the yeast, 1 teaspoon of sugar, and that warm milk together. You need to sit for about 5 to 10 minutes. If you see foam, like a nice little head on a root beer, you’re golden! That means your yeast is alive and ready to give us some Fluffy Homemade Bread. Next, whisk in the rest of your sugar, the egg, and the 1/4 cup of melted butter until it’s all mixed up happily together.
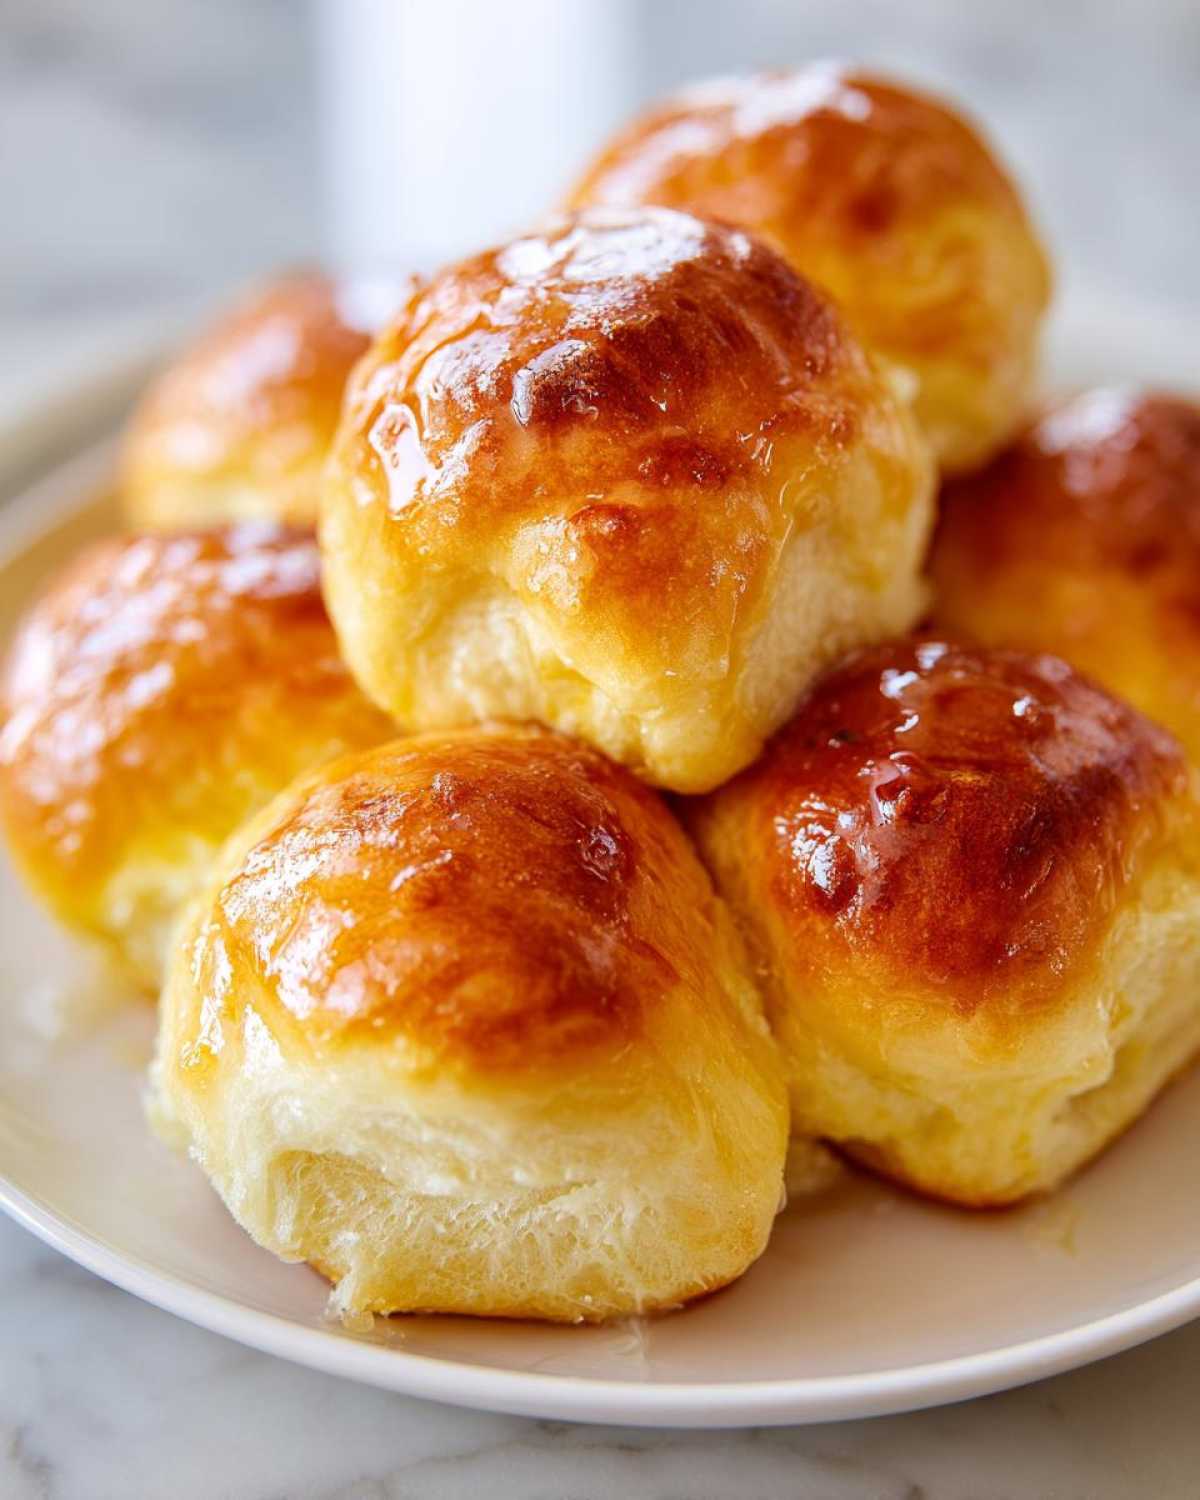
Kneading and the First Rise for Perfectly Risen Rolls
Now for the fun part—getting your hands dirty! Add your flour and salt to the wet mixture and stir until it’s too shaggy to manage easily. Turn that dough out onto your counter where you’ve dusted just a little flour. Knead this for a good solid 6 to 8 minutes. You’re kneading until the dough feels completely smooth and nice and elastic—it shouldn’t be sticky anymore, just soft! Pop it in an oiled bowl, cover it up, and let it chill out somewhere warm until it’s doubled—that usually takes 1 to 1.5 hours. Patience here gets you those Perfectly Risen Rolls!
Shaping and Baking Your Soft Dinner Rolls Recipe
Once doubled, you gently punch the air out—that’s the satisfying part! Divide your dough into 12 equal pieces. I try to make them all the same size so they bake evenly, which helps with that beautiful golden top. Roll each piece into a tight little ball and nestle them close together in your greased 9×13 pan. Cover them again and let them puff up for another 30 to 45 minutes. They should look puffy and close together before they head to the oven for 15 to 18 minutes at 375°F. This shaping and rising process is what guarantees you get that tender, amazing Soft Dinner Rolls Recipe outcome!
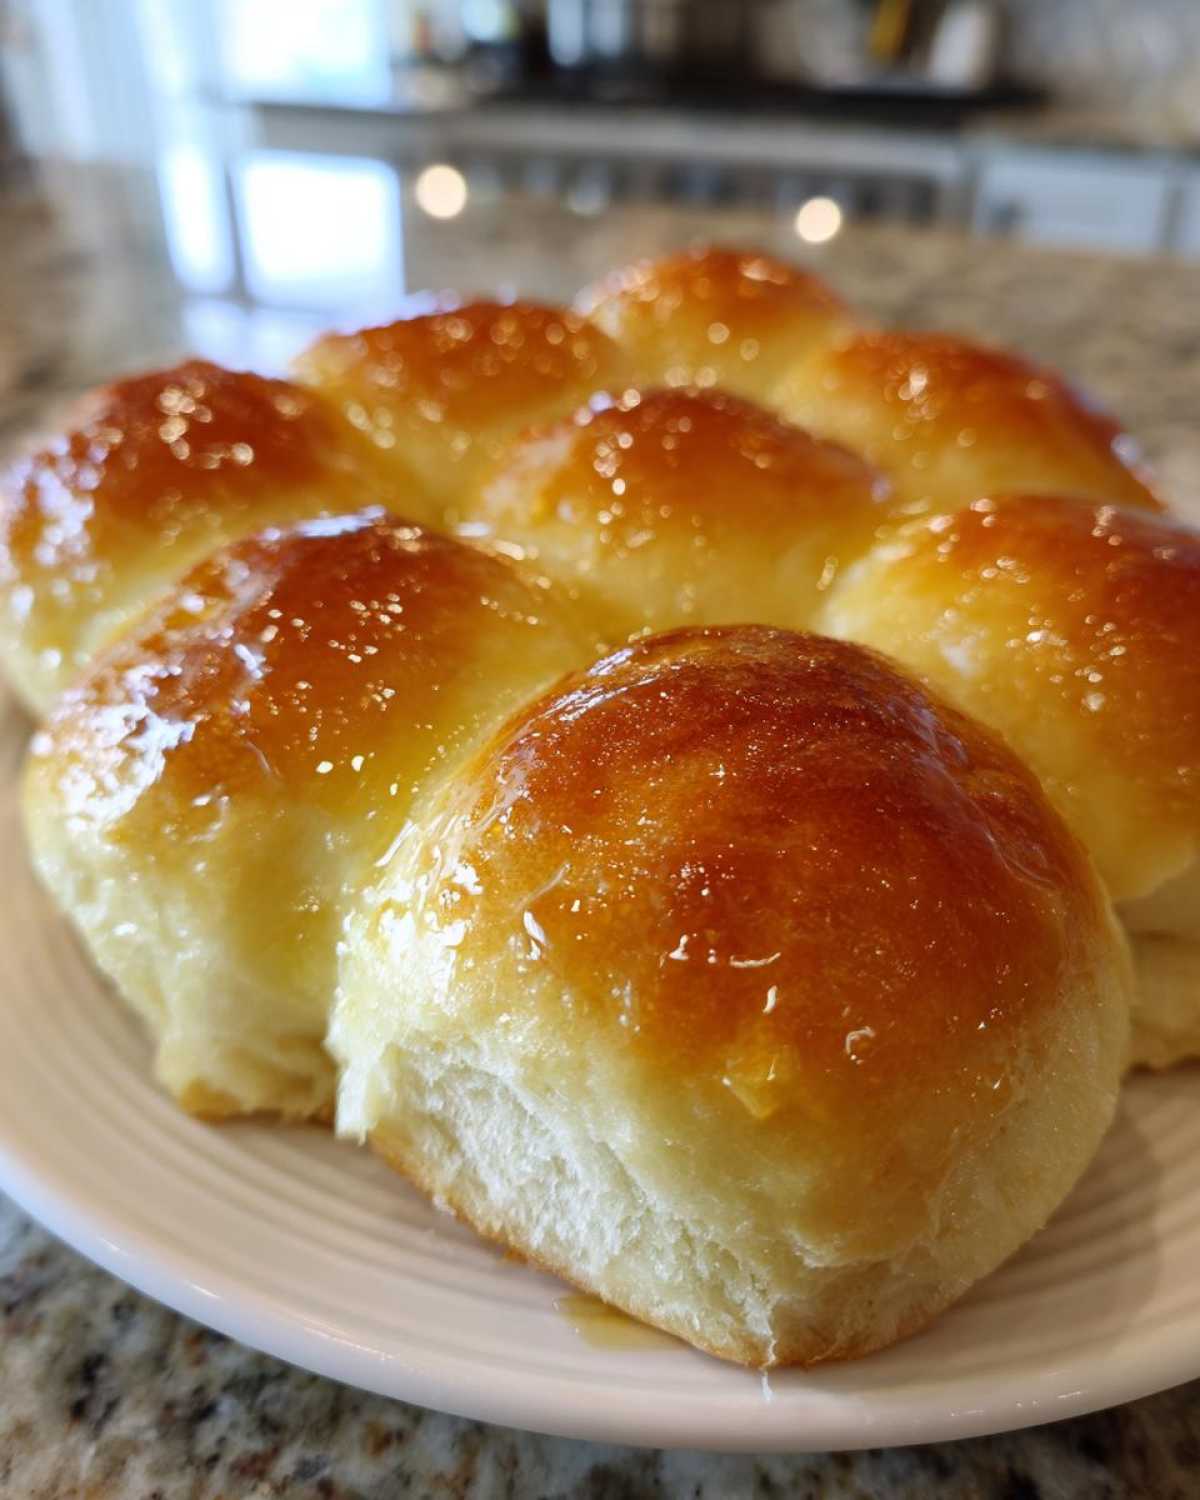
Tips for Success Making Easy Dinner Roll Recipe
Even though this is an Easy Dinner Roll Recipe, sometimes little things can trip us up when baking from scratch. I’ve made enough batches of these wonderful dinner rolls now to know exactly where I used to go wrong. You don’t have to make my mistakes, though! These simple tips will bump up your confidence right away and ensure they come out looking restaurant-worthy.
First, let’s talk about the flour, because this is a classic baking trap. If you just scoop your measuring cup right into the bag of flour, you are compacting it, and you’ll end up using way too much! That leads to dry, stiff rolls, which is the opposite of what we want. Always spoon the flour lightly into your measuring cup, and then level it off with a flat knife. It feels fussy, but it makes a huge difference in the final soft texture.
Second, room. Temperature. Ingredients. I keep mentioning the egg and the butter need to be at room temperature, and I mean it! Cold ingredients don’t combine smoothly with the yeast mixture—especially that melted butter. If the butter hits cold egg, it can solidify weirdly, and that messes up the smooth dough you’re working so hard to achieve. If you forgot to pull them out, just put the egg in a bowl of warm water for five minutes.
Finally, don’t rush the second rise! I know we talked about quick methods, but for the absolute best, fluffiest final product, let them proof until they are truly puffy and have kissed their neighbors in the pan. A good second rise means those rolls puff up beautifully in the oven instead of spreading out flat. Trust the process, and while those rolls get cozy, make my creamy zucchini soup for dipping!
Dinner Roll Variations: From Old Fashioned Dinner Rolls to Copycat Styles
The beauty of a good base recipe is that you can twist it a million different ways! While this recipe is already pretty darn perfect for classic, slightly sweet Old Fashioned Dinner Rolls, we can easily pivot to serve whatever mood strikes us. Having fun with toppings is honestly one of the perks of baking from scratch. You get to tailor the flavor!
If you want something savory instead of sweet for your main course, don’t brush them with plain melted butter. Instead, mix that 1/2 cup of melted butter with about two cloves of minced garlic and a big pinch of dried parsley or oregano. Boom! Instant savory side dish. Or, you could whisk in some smoked paprika for a deep warmth that pairs amazing with chili. You can find some great inspiration on how to deepen flavors over at my guide to caramelized onions, too!
Creating Texas Roadhouse Style Rolls Copycat Topping
Okay, if you want the absolute *showstopper*, we need to talk about the legendary restaurant style. This is how you get that slightly sweet, unbelievably rich finish that makes everyone ask for the recipe! Right after those dinner rolls come out of the oven and are steaming hot, you take that softened butter and quickly mash in 1 teaspoon of honey—that’s essential for that specific flavor profile. Brush it on heavy! Leo says this technique is basically witchcraft. If you want the nitty-gritty details, I saw a great method over on Flavor by Lily that nails the texture blend for the ultimate Texas Roadhouse Style Rolls Copycat finish.
Storage and Make Ahead Dinner Rolls Instructions
Good news! These aren’t just rolls you have to devour the second they come out of the oven. They are fantastic for making ahead, which is a lifesaver when you’re juggling a huge holiday menu. If you want to get ahead of the game, you can plan these as your go-to Make Ahead Dinner Rolls!
For just keeping them overnight or maybe two days (if they last that long!), just store the cooled rolls tightly wrapped at room temperature. A nice big Ziploc bag or an airtight container works so well to keep that buttery softness locked in. Never put them straight into the fridge unless you plan on keeping them for more than three days—the cold air dries out bread so fast, and we absolutely cannot have that happen to our fluffy creations!
Now, for the real lifesaver: freezing. These freeze beautifully, which means you can bake a huge double batch whenever you have the energy. Bake them completely, let them cool down *entirely* on a wire rack—this is important so they don’t steam themselves soggy—then pop them into a heavy-duty freezer bag. Push out as much air as you can. They will keep quality for about three months! When you need them, just pull out what you need, let them thaw on the counter for an hour, and then pop them in a 350°F oven for about 5 minutes just to warm them through and wake that butter back up. You can learn all my best tips for prepping ahead over at my guide on make ahead dinner rolls!
Frequently Asked Questions About Dinner Rolls
We’ve covered a lot here, and I know you’re probably already preheating your oven! But before you go, I wanted to nail down a few common snags people run into when making their first batch of homemade dinner rolls. It’s totally normal to have questions, especially when dealing with active yeast!
Can I make these Quick Dinner Rolls without waiting for two long rises?
Totally! I get it, sometimes regular life doesn’t allow for two hours of rising time. If you are desperate for Quick Dinner Rolls, you can use a trick: put your covered dough bowl in the oven, but turn the oven light on—do NOT turn the unit on! That tiny bit of warmth keeps the dough cozy. It speeds things up, but I have to warn you: these rolls won’t have quite the same heaven-sent fluff as the ones you let patiently double, but they’ll still be delicious!
What temperature should the milk be for Yeast Roll Recipes?
This is super important for happy yeast! For all Yeast Roll Recipes, including ours, you want your milk to be between 105°F and 115°F. If you don’t have a thermometer (I used to just dunk my pinky finger in!), it should feel pleasantly warm, like bath water. Anything hotter than 120°F starts killing off your yeast, and then those bubbles won’t happen. And trust me, we need those bubbles for these soft rolls!
If you’ve got other burning questions about baking from scratch, swing by my main blog page—I answer everything there!
Estimated Nutritional Data for These Dinner Rolls
Okay, I know sometimes tracking what goes into your body is important, even when you’re enjoying pure comfort food! Remember, since these dinner rolls are made from scratch with real butter and flour, these numbers are just my best guess, based on dividing the entire recipe by 12 rolls. The final count can change depending on exactly how much butter you brush on top (and let’s be honest, I always use more than the recipe calls for!).
Treat this information as a guideline, not a gospel truth, but it gives you a good idea of what you’re diving into:
- Calories: Roughly 210 per roll
- Fat: Around 8 grams (that buttery goodness!)
- Saturated Fat: About 5 grams (mostly from the butter)
- Carbohydrates: Around 30 grams
- Protein: About 5 grams
- Sugar: 5 grams (from the milk and added sugar)
- Sodium: Roughly 250 mg
These are fantastic for the holidays or a big family dinner when you know everyone is going to want seconds. Just enjoy them, knowing that homemade is always better than worrying too much over the exact carb count!
Share Your Homemade Dinner Rolls Creations
Phew! We did it! You have officially graduated from just dreaming about soft bread to actually baking it. That’s huge! Honestly, my favorite part about sharing recipes here at Cookify Me is hearing about what you all create in your own kitchens. When you take the time to whip up a batch of these buttery dinner rolls, I truly want to know how it went!
Did they turn out perfectly fluffy? Did you get that amazing rise? Most importantly, did you try soaking them in honey butter and go for that full sweet treat experience? Seriously, drop me a comment below and let me know! A five-star rating helps other bakers know they can tackle this recipe too, and I always check the comments to see if Leo and I can try new variations next time.
If you snapped a picture when they were fresh out of the oven—golden brown and glistening—please tag us on Instagram! Seeing your successful bakes makes my whole day brighter. You can send all your photos and thoughts over through my contact page. Can’t wait to see your gorgeous homemade creations!
PrintThe Ultimate Soft and Fluffy Homemade Dinner Rolls (Classic Buttery Recipe)

You can make incredibly soft, fluffy, and buttery dinner rolls from scratch. This easy recipe delivers bakery-style results perfect for any family meal or holiday gathering, tasting much better than store-bought options.
- Prep Time: 20 min
- Cook Time: 18 min
- Total Time: 1 hour 58 min
- Yield: 12 rolls
- Category: Side Dish
- Method: Baking
- Cuisine: American
- Diet: Vegetarian
Ingredients
- 1 cup warm milk (about 110°F)
- 2 1/4 teaspoons active dry yeast
- 1/4 cup granulated sugar, divided
- 1 large egg, room temperature
- 1/4 cup unsalted butter, melted
- 3 cups all-purpose flour, plus more for dusting
- 1 teaspoon salt
- 1/2 cup (1 stick) unsalted butter, softened, for brushing
- 1 teaspoon honey (optional, for Texas Roadhouse style finish)
Instructions
- Activate the yeast: In a large bowl, combine the warm milk, yeast, and 1 teaspoon of the sugar. Let this stand for 5 to 10 minutes until foamy.
- Mix wet ingredients: Add the remaining sugar, the egg, and the 1/4 cup melted butter to the yeast mixture. Whisk until combined.
- Combine dry ingredients: In a separate bowl, whisk together the flour and salt. Gradually add the flour mixture to the wet ingredients, mixing until a shaggy dough forms.
- Knead the dough: Turn the dough out onto a lightly floured surface. Knead for 6 to 8 minutes until the dough is smooth and elastic. It should feel soft.
- First rise: Place the dough in a lightly oiled bowl, turning to coat. Cover the bowl with plastic wrap or a clean kitchen towel. Let the dough rise in a warm spot for 1 to 1.5 hours, or until doubled in size.
- Shape the rolls: Gently punch down the risen dough. Divide the dough into 12 equal pieces. Roll each piece into a tight ball. Place the dough balls close together in a greased 9×13 inch baking pan.
- Second rise: Cover the pan loosely and let the rolls rise again in a warm place for 30 to 45 minutes, or until puffy.
- Bake: Preheat your oven to 375°F (190°C). Bake the rolls for 15 to 18 minutes, or until they are golden brown on top.
- Apply butter topping: While the rolls are still hot, melt the 1/2 cup of softened butter. Brush the tops generously with the melted butter for that classic buttery flavor.
- Optional Texas Roadhouse finish: If you want a sweet, copycat finish, mix the melted butter with 1 teaspoon of honey before brushing over the hot rolls. Serve warm.
Notes
- For the softest rolls, make sure your milk is warm, not hot, to avoid killing the yeast.
- If you are short on time, you can use the ‘quick rise’ method by placing the covered dough in a slightly warm oven (turned off) with the light on.
- These rolls freeze well after baking. Cool completely, place in an airtight container, and freeze for up to three months. Reheat in the oven or microwave.
Nutrition
- Serving Size: 1 roll
- Calories: 210
- Sugar: 5
- Sodium: 250
- Fat: 8
- Saturated Fat: 5
- Unsaturated Fat: 3
- Trans Fat: 0
- Carbohydrates: 30
- Fiber: 1
- Protein: 5
- Cholesterol: 25