

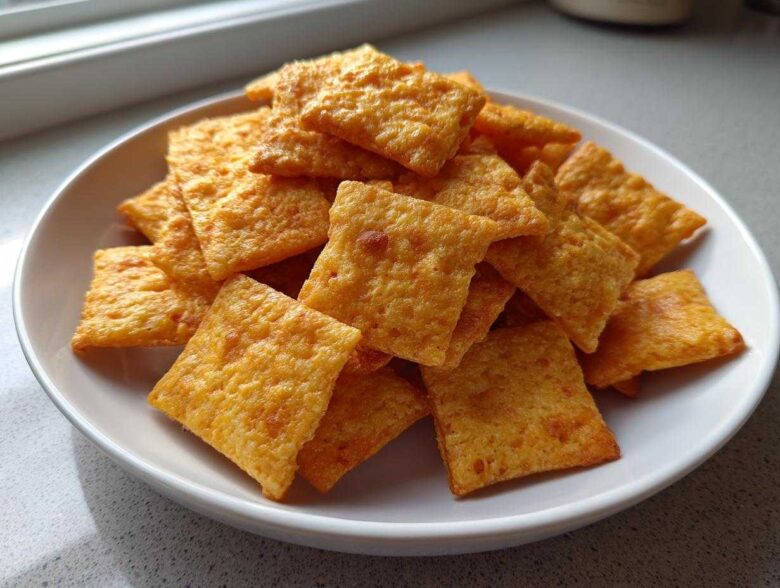
Honestly, why are we still buying those flimsy, flavorless little boxes? I promise you, once you try these homemade **cheese crackers**, you will never go back to the store-bought stuff. Seriously, I developed this recipe because I was tired of reading long ingredient labels just for a simple snack. My mission was finding the absolute best, crispiest **cheese crackers** possible using just four basic things. After a few slightly crumbly, barely-there versions—trust me, getting that perfect crispness took some serious testing!—I landed on this winner. It’s ridiculously easy, packed with real cheddar flavor, and perfect for your next snacking craving.
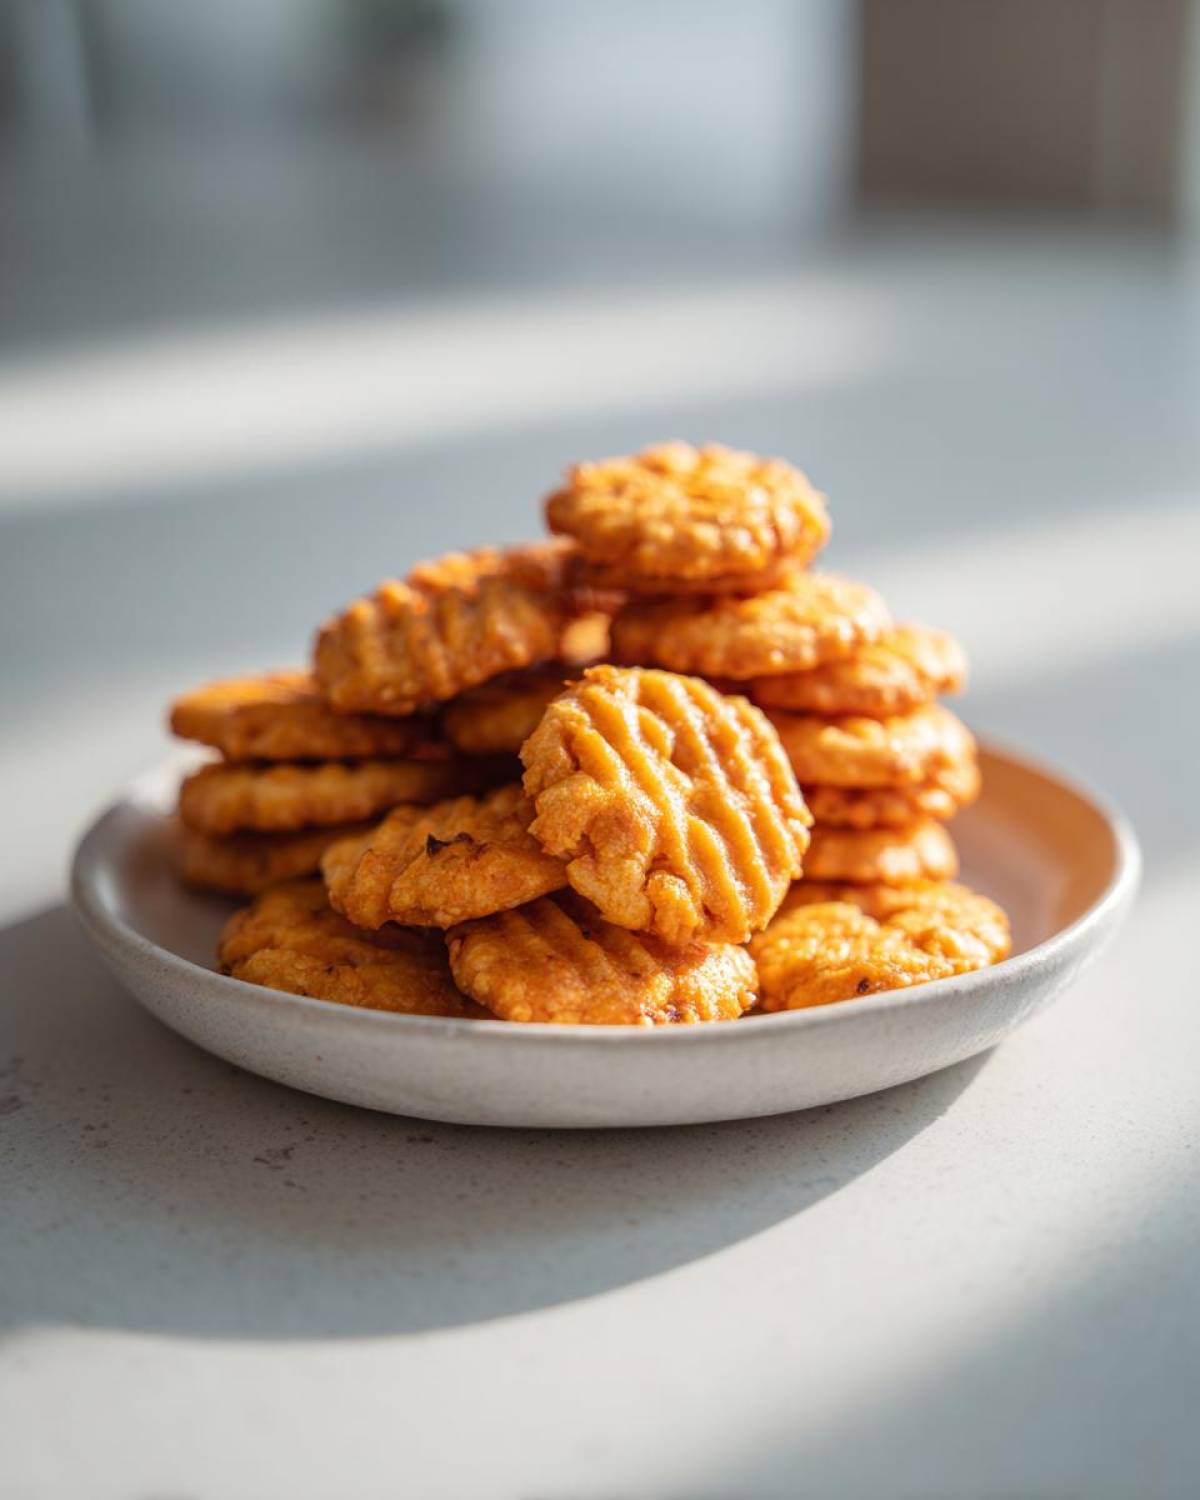
I even link out to my favorite savory homemade Chex mix if you need a bigger batch of crunch for game day. But today? We focus on these cheesy beauties.
Why This Homemade Cheese Crackers Recipe Wins
You want to know why I bother making these? Because they crush the store-bought versions every single time. When you only have four ingredients, you know exactly what you’re getting—nothing fake, just pure cheesy goodness. This formula is my go-to for **easy cheddar cheese crackers** that disappear instantly.
Here’s the breakdown on why this one beats every other recipe I’ve tried:
- They taste so much richer, easily qualifying as **better than store bought crackers**.
- The entire mixing process takes about 10 minutes, max.
- They are surprisingly durable and hold up great in lunchboxes (if you can keep them that long!).
Quick Prep for Perfect Cheese Crackers
I mean it when I say this is simple. Seriously, we are talking four ingredients total! Flour, salt, butter, and cheese. You throw them in the processor, pulse, chill for a bit, and you are ready to roll. This is the definition of an **easy baking project** when you need a quick savory snack.
Achieving Maximum Crunch in Your Cheese Crackers
Texture is everything here! That satisfying snap only comes from rolling the dough super thin—think thinner than a dime, almost translucent in spots. Don’t skip the complete cooling time on the rack after baking, either. That final cool-down is what turns a good bite into truly **crispy homemade crackers**.
Ingredients for the Best Homemade Cheese Crackers
When I say this is almost laughably simple, I mean it. We’re focusing on quality here, because with only four items, every single one counts! To get that deep, sharp flavor that makes these **cheese crackers** addictive, you absolutely must use good cheese. Forget the pre-shredded bag; we need the moisture locked in tightly for those perfect **crunchy cheesy bites**. Because we’re keeping things minimalist, I’ve only listed the core four ingredients needed for the dough itself. You can find my favorite dips and additions later, but for now, grab these things and let’s get started. I promise this short list results in the most satisfying savory zucchini cheese muffins alternative!
- 1 cup all-purpose flour
- 1/2 teaspoon salt
- 8 tablespoons cold unsalted butter, cut into small pieces
- 1 cup sharp cheddar cheese, shredded (make sure it’s sharp!)
Step-by-Step Instructions for Perfect Cheese Crackers
Okay, here is where the magic happens for our incredible cheese crackers! We are using the food processor here, which makes this one of the fastest easy baking projects you’ll ever tackle. Pay close attention during the rolling stage—that is the secret handshake to getting that amazing shatter-crisp result we are aiming for. Don’t rush the chilling, though; that resting time is super important for handling the dough!
Mixing and Chilling the Cheese Crackers Dough
First things first, toss your flour and salt right into the basin of your food processor and give it a quick pulse just to mix things up. Then, drop in those little coins of cold butter. Pulse until it looks like chunky sand or coarse crumbs—about 10 to 12 quick zaps. Next, add all of your shredded sharp cheddar and pulse just a few more times until the mixture looks like it’s *almost* sticking together. Turn it out, press it into a neat disk, wrap it tight, and let it chill in the fridge for a solid 30 minutes. Sets the stage perfectly!
Rolling, Cutting, and Baking Your Cheese Crackers
Heat your oven up to 400°F (200°C) and line those baking sheets with parchment paper—trust me, clean up is way easier this way. Take half your chilled dough and roll it out super, super thin. I aim for about 1/16 of an inch; you should almost be able to see your countertop through it! Use a pizza cutter to slice them into squares. Here’s my big tip: aggressively prick every cracker with a fork—this stops them from puffing up like tiny bubbles. Bake them for 10 to 14 minutes, watching those edges turn gold brown. You have to let them cool completely on a wire rack afterward! That final step is non-negotiable for achieving the ultimate crunchy **cheese crackers**.
Tips for Making the Crispiest Homemade Cheese Crackers
You know I always share my best secrets, and keeping these **cheese crackers** crispy is my number one priority! The recipe notes mentioned a couple of things my grandmother used to drill into me about baking savory snacks. First, roll it thin, thin, thin! If the dough is too thick, you get a chewy bite, and we want a satisfying snap, right? Rolling to 1/16 of an inch is crucial because it ensures all the moisture cooks out evenly.
Also, don’t skimp on the cooling! They might feel soft right out of the oven, but they firm up as they go down to room temperature on the wire rack. If you’re feeling bold and want to experiment beyond the basic cheddar flavor, try adding a tiny pinch of cayenne pepper or some garlic powder right in with the flour. It gives these little **homemade cheese crackers recipe** bites a little zing!
Variations on Classic Cheese Crackers
You know how much I love sticking to the original **4 ingredient crackers**, but if you’re looking to jazz things up, there are some super fun twists you can try! We’re talking about elevating these from simple snacks to something you’d serve at a fancy party. If you’ve been eyeing those Southern-style recipes, try adding a half-teaspoon of smoked paprika and maybe a tablespoon of very finely ground pecans to the dry mix. It adds such a delightful earthy warmth to the cheddar!
Now, I haven’t perfected my own savory homemade Chex mix version yet, but for those watching carbs, you can easily swap out the flour for a 1:1 low-carb blend or even almond flour, though you might need a tiny bit more butter to keep the dough pliable. Be warned, those keto versions bake up faster, so keep a close eye on them! These little tweaks keep the spirit of our **homemade cheese crackers recipe** alive while giving you something new to try next time.
Storage and Reheating Instructions for Homemade Cheese Crackers
The biggest challenge with amazing **cheese crackers** is keeping them crunchy once they cool down. They are truly best the day you make them, but don’t worry! If you have any leftovers—which I doubt, honestly—store them at room temperature in a truly airtight container. Don’t use plastic bags; those let the air sneak right in and make them sad and soft. For the best results, make sure they are totally cooled before sealing them up. If they do lose a little snap overnight, don’t toss them!
Just spread them back out on a baking sheet and pop them back into a 300°F oven for about five minutes. It completely dries them out again and brings back that perfect shatteringly crisp texture. Freshly baked crunch, guaranteed!
Frequently Asked Questions About Cheese Crackers
I know you might have a few lingering questions about transforming simple ingredients into these amazing **crunchy cheesy bites**. Believe me, I tested every crazy idea under the sun when creating this **homemade cheese crackers recipe**. Here are the things I get asked about most often!
Can I use pre-shredded cheese instead of grating my own?
Oh, honey, please don’t if you can help it! Pre-shredded cheese is coated in anti-caking agents, usually potato starch or cellulose, to keep it from clumping in the bag. That stuff actively works against achieving that perfect melt and keeping your crackers super crisp. If you have to use it, try giving it a quick rinse and drying it thoroughly, but grating a fresh block provides the absolute best results for flavor and texture.
Can I make the dough ahead of time and store it longer than 30 minutes?
You certainly can! The dough holds up wonderfully in the fridge—I would say up to three days max. Just make sure it’s wrapped really tightly in plastic wrap so it doesn’t absorb any fridge odors. If you chill it for longer than the suggested 30 minutes, just let it sit on the counter for about 10 to 15 minutes before rolling it out again. It needs to soften up just a hair so it doesn’t crack while you try to roll it thin.
What is the best cheese substitute if I don’t have cheddar?
Sharp cheddar gives us that classic, recognizable flavor, but feel free to experiment! A mix works beautifully. I adore using half sharp cheddar and half Gruyère for an unbelievably gourmet flavor in my **cheese crackers**. You can also swap in Monterey Jack for a milder bite, but avoid super high-moisture cheeses like fresh mozzarella, as they just don’t bake up right.
Is rolling this dough thin really that important for crunchy cheesy bites?
Yes! Yes, it is the most important thing! If you roll them thick, you end up with soft, almost biscuit-like layers instead of a true cracker. We are aiming for thin enough that you can almost see through it—that thinness ensures all the moisture cooks out around the edges, which is how you get that unbeatable snap. For more snack inspiration outside of crackers, check out my list of favorite easy snack recipes!
Serving Suggestions for These Crunchy Cheesy Bites
We’ve nailed the recipe, now what do we pair these incredible **crunchy cheesy bites** with? Serving these **cheese crackers** goes way beyond just eating them standing over the counter, though I certainly do that sometimes! They immediately elevate any spread, turning a simple gathering into a **quick homemade appetizer**. They pair perfectly with a bowl of creamy soup—try them dipped into my broccoli cheddar soup for maximum cheesy impact.
For dipping, you cannot go wrong with a velvety queso dip, like this campfire queso. Or, crumble these up as a superb topping instead of croutons on a hearty salad—trust me, it’s a total game-changer for adding texture to your **simple savory snacks** rotation!
Nutritional Overview of 4 Ingredient Crackers
Now, before anyone gets too worried about how many of these amazing **cheese crackers** they’ve eaten—and trust me, it’s easy to rack up a huge serving size—I have to give my standard disclaimer! The nutritional information I use to calculate these figures is just an estimate. It is based on the specific ingredients and brands I used when testing the recipe. Seriously, if you use a different brand of flour or a slightly sharper cheese, those numbers can change. Serving size matters too, of course! So, consider this information a helpful guide for stocking your pantry, but don’t take these numbers as gospel for counting macros. Eat them, enjoy them, and know they are way better than anything you’d get in a box, no matter the sodium count!
PrintEasy 4-Ingredient Cheddar Cheese Crackers

Make crispy, flavorful cheddar cheese crackers at home using only four simple ingredients. These taste better than store-bought versions and are quick to prepare.
- Prep Time: 15 min
- Cook Time: 14 min
- Total Time: 59 min
- Yield: About 4 dozen
- Category: Snack
- Method: Baking
- Cuisine: American
- Diet: Vegetarian
Ingredients
- 1 cup all-purpose flour
- 1/2 teaspoon salt
- 8 tablespoons cold unsalted butter, cut into small pieces
- 1 cup sharp cheddar cheese, shredded
Instructions
- In a food processor, pulse the flour and salt together.
- Add the cold butter pieces and pulse until the mixture resembles coarse crumbs.
- Add the shredded cheddar cheese and pulse until the dough just begins to come together. Do not overmix.
- Turn the dough out onto a lightly floured surface. Knead briefly, just enough to form a cohesive disk. Wrap the disk in plastic wrap and chill for 30 minutes.
- Preheat your oven to 400°F (200°C). Line two baking sheets with parchment paper.
- Divide the dough in half. On a lightly floured surface, roll out one half very thinly, about 1/16 inch thick.
- Use a pizza cutter or knife to cut the dough into small squares or rectangles. Prick each cracker a few times with a fork.
- Transfer the crackers to the prepared baking sheets.
- Bake for 10 to 14 minutes, rotating the sheets halfway through, until the edges are golden brown and the crackers are crisp.
- Let the crackers cool completely on a wire rack to achieve maximum crispness.
Notes
- For extra flavor, add 1/4 teaspoon of cayenne pepper or garlic powder to the dry ingredients.
- Roll the dough as thinly as possible; this is key for a crispy texture.
- If you prefer a slightly softer cracker, bake for only 10 minutes.
Nutrition
- Serving Size: 5 crackers
- Calories: 85
- Sugar: 0.1
- Sodium: 110
- Fat: 5.5
- Saturated Fat: 3.5
- Unsaturated Fat: 2.0
- Trans Fat: 0.1
- Carbohydrates: 6.5
- Fiber: 0.3
- Protein: 2.5
- Cholesterol: 15