

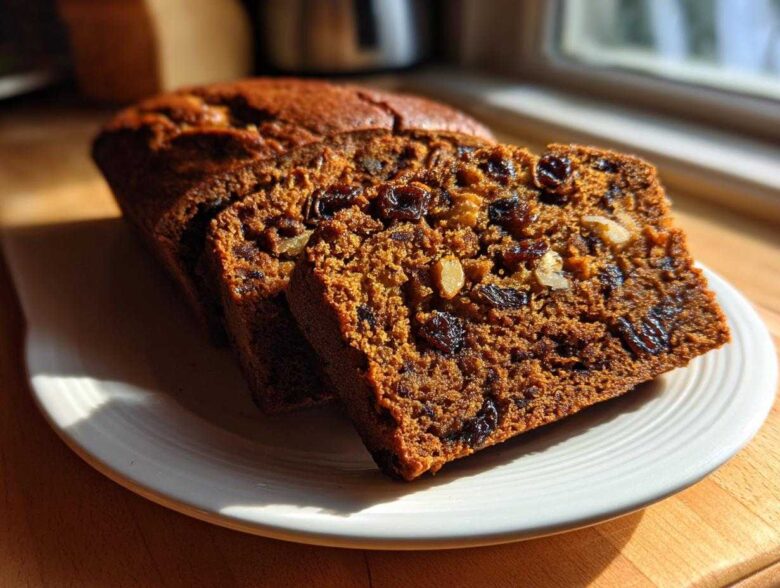
There is just something about that first slice of homemade bread—warm from the oven, filling your whole house with comfort—right? Leo and I have made so many messes trying to perfect baked goods, but this recipe always feels like coming home. This is it, folks: the Easy, Moist, Old-Fashioned Date Nut Bread that never, ever fails us. Forget dry, crumbly loaves; this recipe guarantees moistness, every single time. It’s our go-to for gifting because everyone loves a slice of pure, nostalgic flavor. Trust me on this one; this quick bread is baked with a little extra love from my kitchen to yours!
Why This Easy Date Nut Bread Recipe Works So Well
Okay, so why should you ditch whatever recipe you had planned and make mine instead? Honestly, it comes down to texture and simplicity. Leo always says I take shortcuts, but with baking, I just take the *smart* routes! This isn’t some fussy cake; it’s a true homemade quick bread designed for maximum flavor with minimum fuss.
Here’s what makes this version shine:
- It’s unbelievably moist—seriously, days later it’s still soft!
- It uses simple pantry staples; no weird ingredients required.
- It’s forgiving! Great for beginners who are nervous about baking.
- It tastes exactly like the loaves our grandparents used to make.
Achieving the Best Moist Date Nut Bread Texture
The big secret, which I detail below, is the soaking step. When you pour boiling water over those chopped dates and add the baking soda right then, magic happens. The dates plump up beautifully and release their stickiness into the batter. This guarantees you get that incredible, rich, moist date nut bread texture that you just won’t find in drier recipes.
Quick Bread Baking: Simple Steps for a Classic Quick Bread
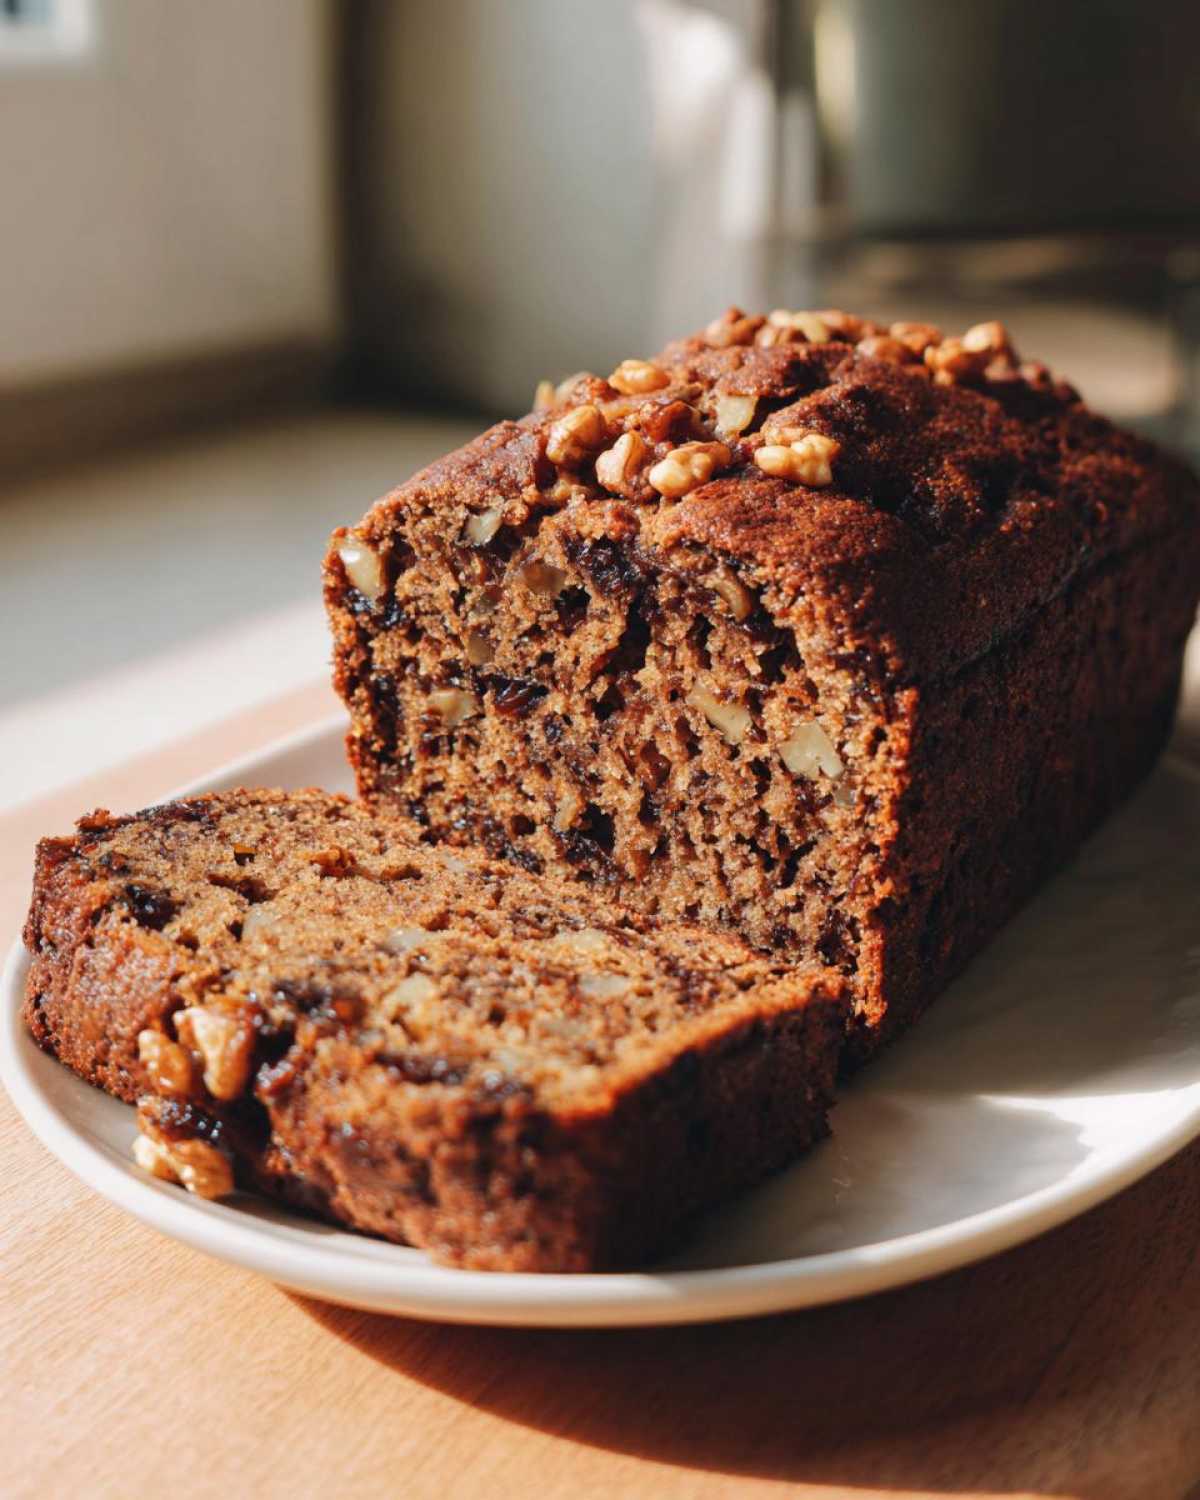
Because this is a quick bread baking recipe, we skip yeast and any complicated resting times. You mix the wet stuff, mix the dry stuff separately, stir them together, and it’s in the oven! We’re talking about an hour total, which is why it’s perfect for a last-minute snack or a speedy weekend bake. It’s truly the definition of a simple spiced bread.
Gathering Ingredients for Your Old Fashioned Nut Bread
Before we get into the mixing—because we MUST treat our ingredients right—let’s talk supplies. Baking is technically science, right? So, we need to be super clear on what we’re using so we can call this an old fashioned nut bread that actually lives up to the name!
When you grab your ingredients, go for quality where it counts. I’ve listed out everything you need for one glorious loaf below. Don’t eyeball the butter amount; use the stick measure! We need that fat ratio to be spot on for the structure we are aiming for.
- 1 cup boiling water (but read my notes below, okay?)
- 1 cup packed pitted dates, chopped (this is important, they must be pitted!)
- 1 teaspoon baking soda
- 1/2 cup (1 stick) unsalted butter, softened (not melted, softened!)
- 1 cup packed light brown sugar (I love the dark stuff, but light works here)
- 2 large eggs
- 1 teaspoon vanilla extract
- 1 3/4 cups all-purpose flour
- 1 teaspoon ground cinnamon
- 1/2 teaspoon ground nutmeg
- 1/4 teaspoon salt
- 1 cup chopped walnuts, plus extra for topping
Ingredient Notes and Substitutions for Date Nut Bread
Here’s where I lean on my intuition to make this date nut bread even better. See that boiling water up top? That’s fine, but if you want to level up the flavor profile? Use strong, room-temperature black tea instead of plain hot water. It just adds such a subtle richness that makes people ask, “What *is* that delicious flavor?”
Also, I know some of you are looking for a more wholesome snack bread. You absolutely can swap out about half of the all-purpose flour for whole wheat flour. Just make sure you compensate slightly if the batter feels *too* thick, though soaking the dates usually keeps things moist enough. This bread is very adaptable, but remember, the classic version uses the white flour for that perfect tender crumb finish!
Oh, and if you happen to be out of walnuts, pecans work beautifully in this recipe, too. I often sneak in pecans if Leo isn’t looking when I’m making a fresh loaf.
Step-by-Step Instructions for Perfect Date and Walnut Bread
Okay, deep breath! This is where we turn ingredients into destiny. Don’t stress, I’ve broken this down into bite-sized pieces. Remember, we need the oven ready to go *before* we even start the main mixing, and patience during cooling is non-negotiable if you want that perfect slice! We are aiming for that sweet spot where this date and walnut bread sets up just right.
- First things first: Preheat your oven to 350°F (175°C). Make sure you grease and flour that standard 9×5 inch loaf pan really well. A sticky loaf is the saddest loaf!
- Now, follow the soaking process—this is critical, so let’s separate it out for clarity.
- Bake the loaf for about 55 to 65 minutes. Keep an eye on it! You want a wooden skewer inserted right in the center to come out clean. If the top starts getting too dark before the middle is done, just gently tent it with some aluminum foil for the last 15 minutes or so.
- Once it’s baked, let it hang out in the pan for a solid 10 minutes. Don’t rush this part! Then, carefully turn it out onto a wire rack to cool completely. This cooling process is what stabilizes the crumb.
Preparing the Dates: The Secret to Moist Date Nut Bread
Seriously, if you skip this step, you might as well stop now! This is the absolute key to moist date nut bread. Take those chopped dates and put them in a small bowl. Pour that full cup of boiling water right over them, and then stir in the baking soda. You have to let this sit for a solid 10 minutes.
Why? Because the heat plumps up the dates so they bake up tender and soft, rather than hard or chewy in your slice. Plus, the baking soda starts its magic right there, partially activating and helping that moisture integrate flawlessly into the final batter. It’s a tiny step that makes a massive difference!
Mixing and Baking Your Homemade Quick Breads
Once the dates are happily sitting, you move to the main stage. In a big bowl, you need to properly cream the softened butter and brown sugar together until it looks light and fluffy. Seriously whip it! Then, beat in the eggs one by one, making sure they are fully incorporated before adding the next, and finally swirl in the vanilla.
In a separate bowl, quickly whisk your flower, spices (cinnamon and nutmeg!), and salt together. Now, the cardinal rule: gradually add the dry mixture to the wet mixture, mixing on low speed *just* until everything barely comes together. Stop mixing when you see a few streaks of flour remaining! If you overmix, Houston, we have a problem—it gets tough. Finally, gently fold in those chopped walnuts. Pour it all into your prepared pan, top with a few extra nuts if you’re feeling fancy, and get those homemade quick breads into the hot oven!
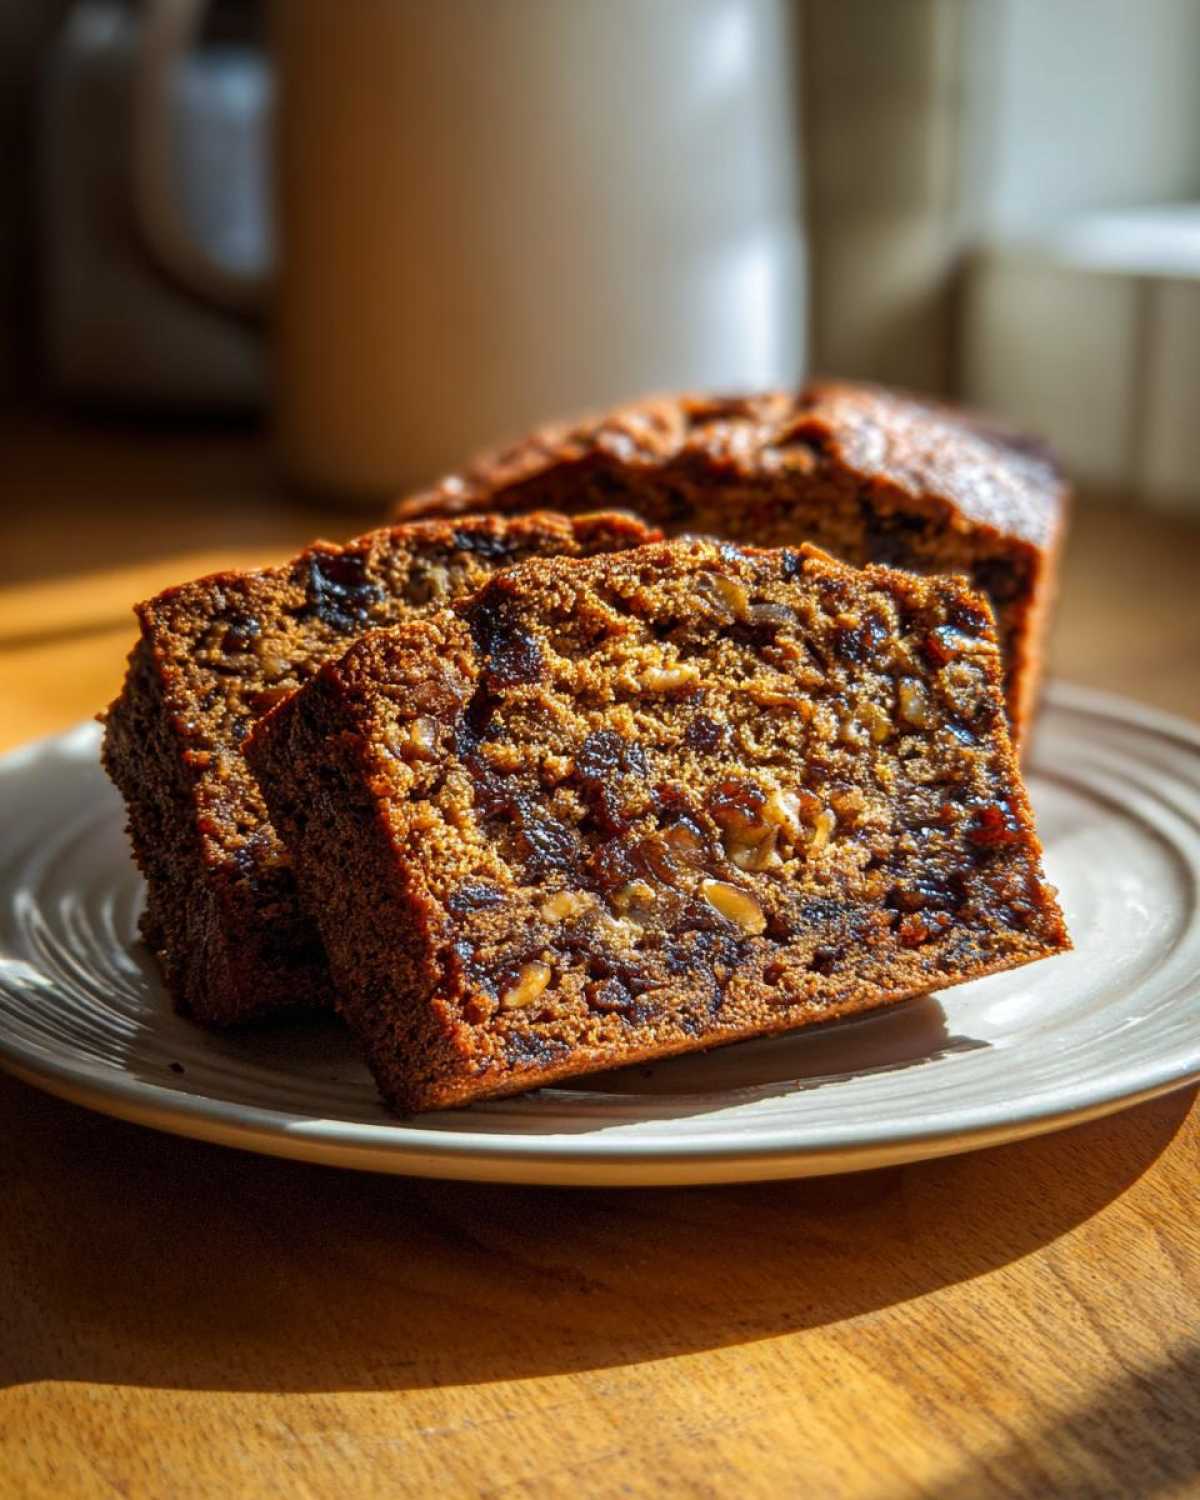
You can find the rest of the steps and details, including topping suggestions, in the main instruction list, especially if you’re curious about my favorite banana variation!
Tips for Success with This Classic Quick Bread
If you’ve made it this far following directions, you are basically a pro already! But because this is a classic quick bread, I have three non-negotiable tips that always save me from a dense, sad loaf. First, please take your butter out hours ahead of time. I know we’re talking about a *quick* bread, but butter that is truly soft—like cool room temperature soft—is what traps the air when creaming with sugar. If it’s cold, you get little hard chunks.
Second, when you add the flour mixture, use the lowest speed on your mixer, or grab a spatula and fold! Overmixing develops the gluten too much, and that is how you turn a tender loaf into something suitable for paving a driveway. Stop stirring when the flour streaks are *almost* gone.
Finally, don’t rely just on the toothpick test. While the toothpick pulling out clean is great, I always give the top of the loaf a very gentle press. If it springs back immediately, it’s done. If your finger leaves a dent, give it five more minutes. You want that springy bounce back! If you nail those little things, you’ll be so happy with the rise on this sweet bread.
Serving Suggestions for Your Date Nut Bread
Honestly, this bread is perfect just slightly warm with a generous smear of butter melting into it. That’s my favorite way to eat it for breakfast, especially on a chilly morning when the spices smell amazing. If you’re looking to dress it up a little, it’s fantastic alongside a hot cup of coffee or tea.
For an afternoon snack, try serving your slices with a dollop of something rich and tangy. We are obsessed with homemade apple butter, which you can find the recipe for right here! That sweet, slightly tart spread complements the sweetness of the dates so well. It transforms a simple loaf into a real treat, perfect for when you need a little afternoon pick-me-up.
Storage and Making Ahead for Holiday Date Loaf
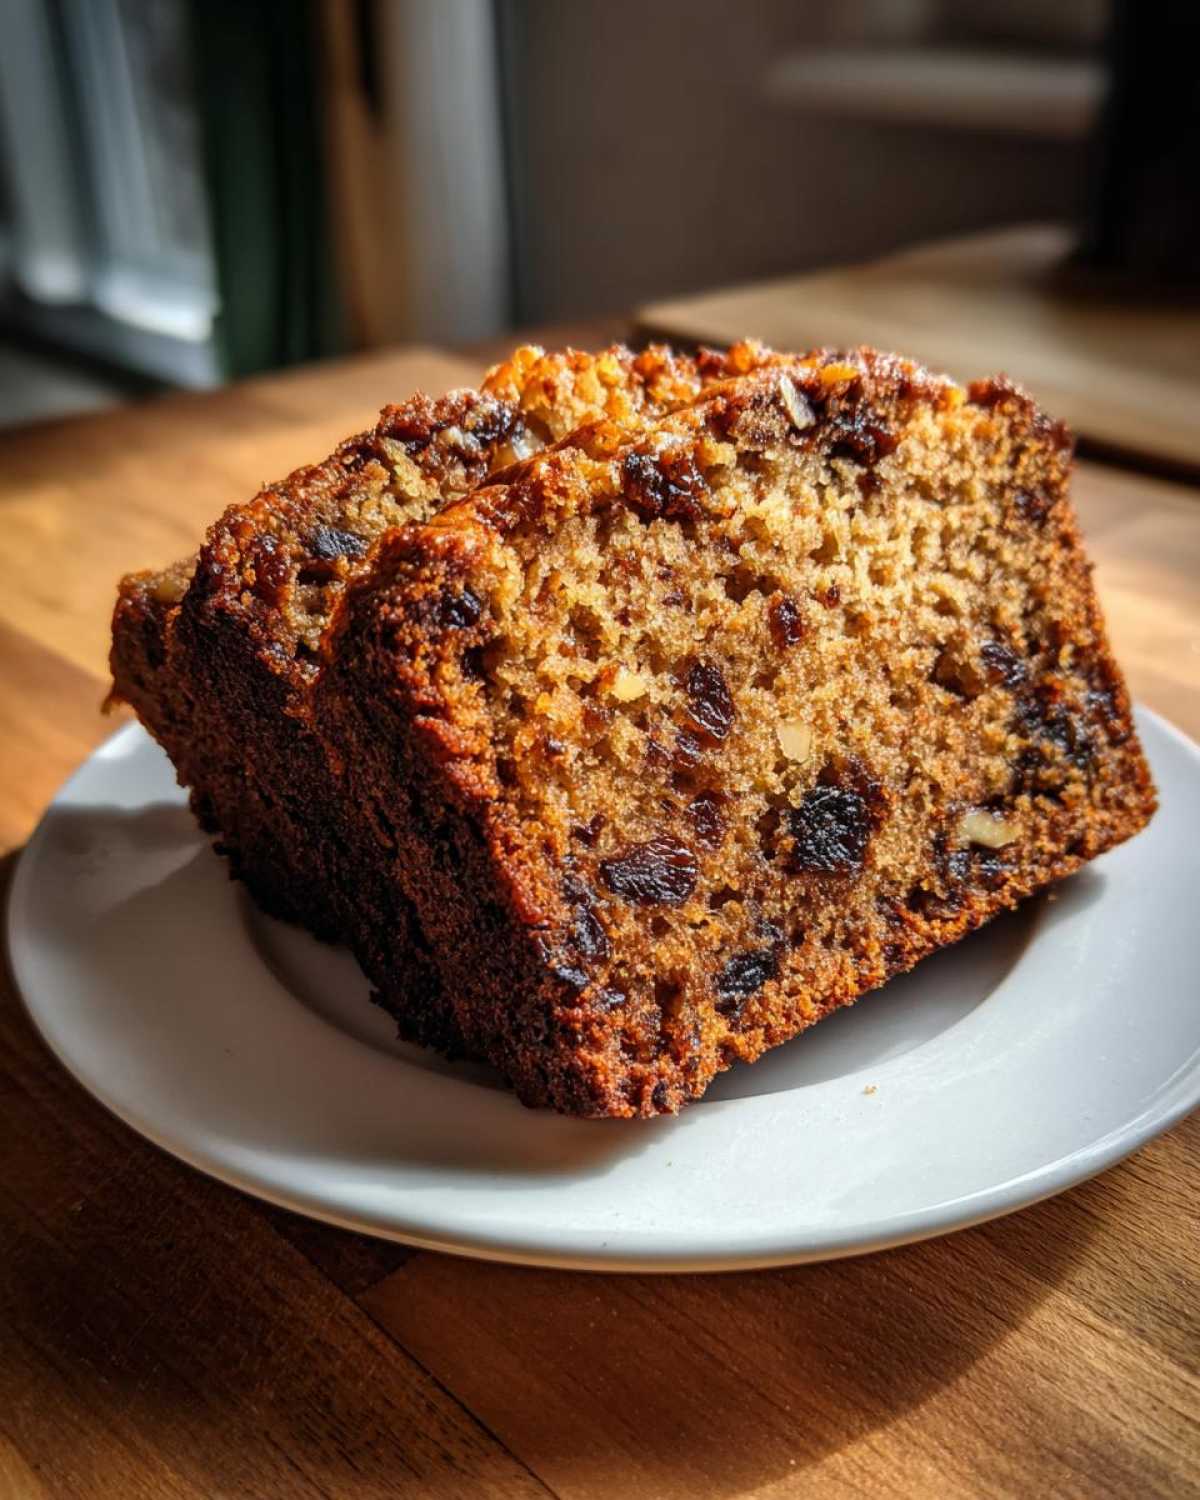
One of the things I love most about this holiday date loaf is that it just keeps getting better, which is a lifesaver when my sister visits or we have the big family gathering. Unlike layer cakes, quick breads are actually better the next day once the spices have had time to really settle into the crumb!
If you’re keeping it on the counter, wrap that cooled loaf up tight in plastic wrap—tighter than you think you need to! Then, you can pop it into an airtight container at room temperature for about three days. Don’t stick it in the fridge unless you absolutely have to, because cold air tends to dry out baked goods faster, and we worked hard for this moistness!
But hello, freezer space! This recipe is amazing for making ahead. If you wrap the completely cooled loaf tightly first in plastic wrap and then foil, it freezes beautifully for up to three months. When you need it, just pull it out the night before and let it thaw on the counter. It tastes almost exactly as fresh as the day you baked it. Seriously, baking a batch ahead of time for gifting is such a satisfying thing to check off the list. You can wrap the slices individually too, which is great for grabbing quick snacks later. For a quick refresh before serving, I sometimes warm individual slices slightly while serving my apple butter alongside!
Variations: From Banana Date Nut Bread to Healthier Options
Even though I absolutely adore this recipe exactly as written—it’s the ultimate comfort food baking staple—I know we all love tinkering! Sometimes you look in the fridge and reality hits: you have overripe bananas staring you down, or maybe you’re just trying to sneak in a little extra fiber. Don’t panic! This simple spiced bread is super adaptable.
The first variation I always have to mention, because who doesn’t love an extra layer of moist goodness? You simply have to try the Banana Date Nut Bread Variation. It is sensational. If you decide to go that route, just swap out about half of the boiling water/soaking liquid for mashed, ripe banana—about one full cup of mash should do the trick. It makes the loaf even richer and definitely bumps up the wholesome snack bread factor!
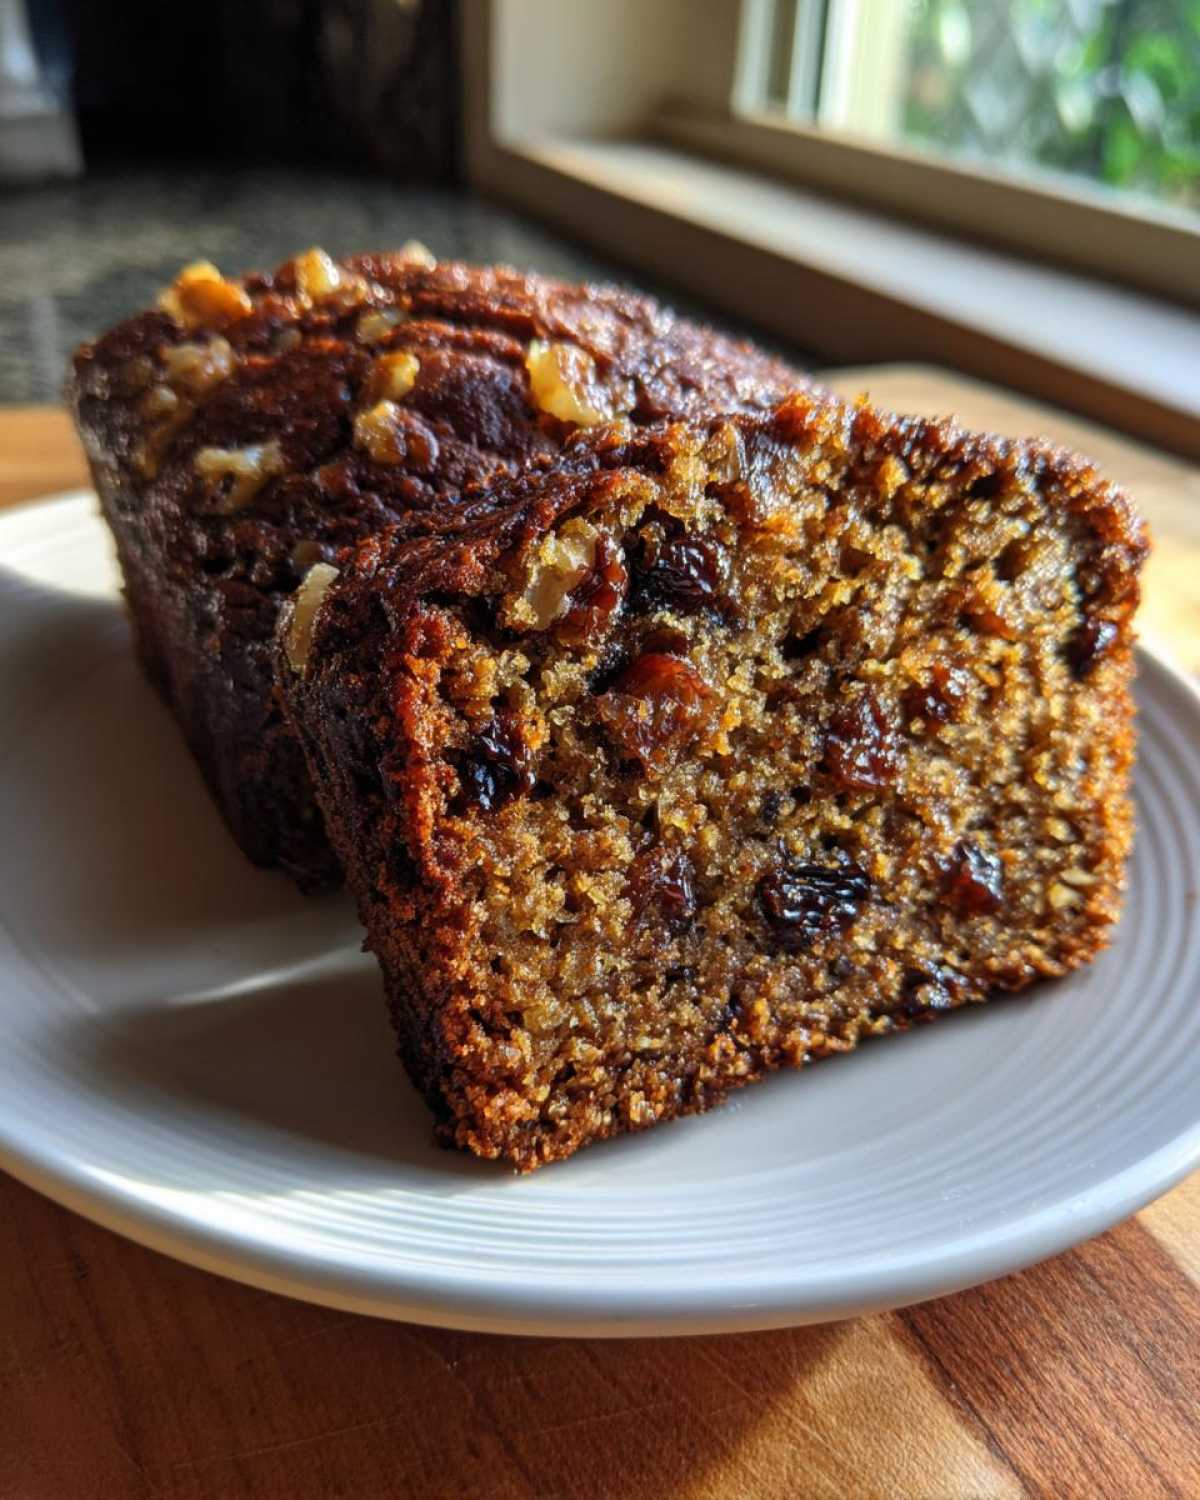
When it comes to making this a more whole-wheat option, remember what I mentioned earlier about flour swaps. You can easily replace up to one-third of the all-purpose flour with whole-wheat flour. It will give the loaf a slightly denser crumb, which isn’t bad at all, just different from the light texture of the all-purpose version. If you’re thinking about sweeteners, you can substitute the brown sugar with pure maple syrup, but you have to be cautious!
If you use maple syrup, reduce the liquid elsewhere in the recipe slightly, because syrup is heavier. If you try making maple syrup substitutions, I highly recommend pairing it with pecans instead of walnuts for a slightly different flavor profile. If that sounds like too much tinkering for your first run, stick to the original recipe! If you love banana bread, you might also want to check out my fantastic chocolate chip banana bread recipe—it’s a classic for a reason!
Frequently Asked Questions About Date Nut Bread
Can I use different nuts besides walnuts in this quick bread?
Absolutely! Walnuts give that classic, slightly bitter crunch that balances the sweetness of the dates, but feel free to mix it up if you prefer. Pecans are my second favorite choice—they are a little softer and richer—so they work wonderfully in this old fashioned nut bread. If you happen to have almonds on hand, coarsely chop those up! Just make sure whatever nut you choose, you toast them very lightly first. Toasting really wakes up their flavor, making your finished loaf taste much deeper, even though this is a simple recipe.
Why did my loaf turn out dense instead of light and soft?
Oh, I hear you! Nothing is more disappointing than a dense quick bread. Usually, this happens for one of two reasons, which we try to avoid in our instructions. First, make sure you aren’t overmixing after you add the flour. Stop stirring as soon as you can barely see dry spots! Second, check that your baking soda is fresh. If the baking soda has expired, it won’t give off the lift needed to make this a beautiful, light slice. When you’re making homemade quick breads, fresh leavening agents are non-negotiable!
What is the best type of date to use for this recipe?
For the absolute best results when baking with dates, I always recommend Medjool dates if you can find them. They are larger, softer, and caramel-y—they practically melt into the batter when soaked! That wonderful texture makes a big difference in how moist your final product is. If you can only find the smaller, harder dates, that’s fine, just make sure you chop them very finely before soaking them in the boiling water.
Is this recipe suitable for a breakfast loaf?
It’s perfect for breakfast! It falls right under our category of wholesome snack bread when you consider the fruit and nuts packed inside. Since it’s not heavily glazed or frosted, it’s really satisfying alongside coffee or tea. If you want to make it even more of a morning delight, try serving it toasted with a little cream cheese spread on top. It’s a much better option than grabbing something sugary on your way out the door!
If you’re looking for more delicious recipes to try in the morning, you can always check out the rest of my favorites over on the Cookify Me blog!
Estimated Nutritional Information for This Wholesome Snack Bread
I’m Sofia, and I’m going to be totally honest: I don’t use a fancy lab to calculate my nutrition data! I’m running around my kitchen, blasting music—Leo is taking photos—so these numbers are my best educated guess based on the ingredients listed. Think of this as helpful guidance for your wholesome snack bread rather than strict dietary fact.
This information is based on that one loaf recipe yielding about 10 generous slices. If you cut bigger slices, which I absolutely support if you’re hungry, the numbers will change, of course!
| Component | Amount per Slice |
|---|---|
| Calories | 310 |
| Sugar | 30g |
| Total Fat | 14g |
| Saturated Fat | 5g |
| Carbohydrates | 45g |
| Fiber | 3g |
| Protein | 5g |
| Cholesterol | 55mg |
A quick note for you guys: These numbers are just estimates based on the ingredients I used when I tested this recipe (using the standard white flour and basic butter). If you swap for maple syrup or use less sugar, naturally, your totals will change! If you need something really specific for tracking your intake, I always recommend calculating it based on the exact brands you use. For example, if you’re pairing this bread with a savory spread like my creamy whipped goat cheese, make sure to account for that too!
PrintEasy, Moist, Old-Fashioned Date Nut Bread
Bake a truly comforting, moist date nut bread that tastes like classic homemade goodness. This easy quick bread recipe is perfect for breakfast, snacking, or holiday gifting.
- Prep Time: 15 min
- Cook Time: 60 min
- Total Time: 75 min
- Yield: 1 loaf (about 10 servings)
- Category: Quick Bread
- Method: Baking
- Cuisine: American
- Diet: Vegetarian
Ingredients
- 1 cup boiling water
- 1 cup packed pitted dates, chopped
- 1 teaspoon baking soda
- 1/2 cup (1 stick) unsalted butter, softened
- 1 cup packed light brown sugar
- 2 large eggs
- 1 teaspoon vanilla extract
- 1 3/4 cups all-purpose flour
- 1 teaspoon ground cinnamon
- 1/2 teaspoon ground nutmeg
- 1/4 teaspoon salt
- 1 cup chopped walnuts, plus extra for topping
Instructions
- Preheat your oven to 350°F (175°C). Grease and flour a standard 9×5 inch loaf pan.
- Place the chopped dates in a small bowl. Pour 1 cup of boiling water over the dates and stir in the baking soda. Let this mixture sit for 10 minutes to soften the dates.
- In a large mixing bowl, cream together the softened butter and brown sugar until the mixture is light and fluffy.
- Beat in the eggs one at a time, mixing well after each addition. Stir in the vanilla extract.
- In a separate medium bowl, whisk together the flour, cinnamon, nutmeg, and salt.
- Gradually add the dry ingredients to the wet ingredients, mixing on low speed until just combined. Do not overmix the batter.
- Gently fold in the chopped walnuts.
- Pour the batter into the prepared loaf pan. Sprinkle a few extra chopped walnuts over the top if desired.
- Bake for 55 to 65 minutes, or until a wooden skewer inserted into the center comes out clean. If the top browns too quickly, loosely tent the loaf with aluminum foil for the last 15 minutes of baking.
- Let the date nut bread cool in the pan for 10 minutes before turning it out onto a wire rack to cool completely. Slice and serve warm or at room temperature.
Notes
- For an extra moist loaf, soak the dates in hot water or strong brewed black tea instead of plain boiling water. This adds depth of flavor.
- If you prefer a sweeter loaf, you can substitute up to half of the all-purpose flour with whole wheat flour for a more wholesome snack bread.
- This classic quick bread freezes well. Wrap the cooled loaf tightly in plastic wrap and then foil before freezing for up to three months.
Nutrition
- Serving Size: 1 slice
- Calories: 310
- Sugar: 30
- Sodium: 180
- Fat: 14
- Saturated Fat: 5
- Unsaturated Fat: 9
- Trans Fat: 0
- Carbohydrates: 45
- Fiber: 3
- Protein: 5
- Cholesterol: 55