

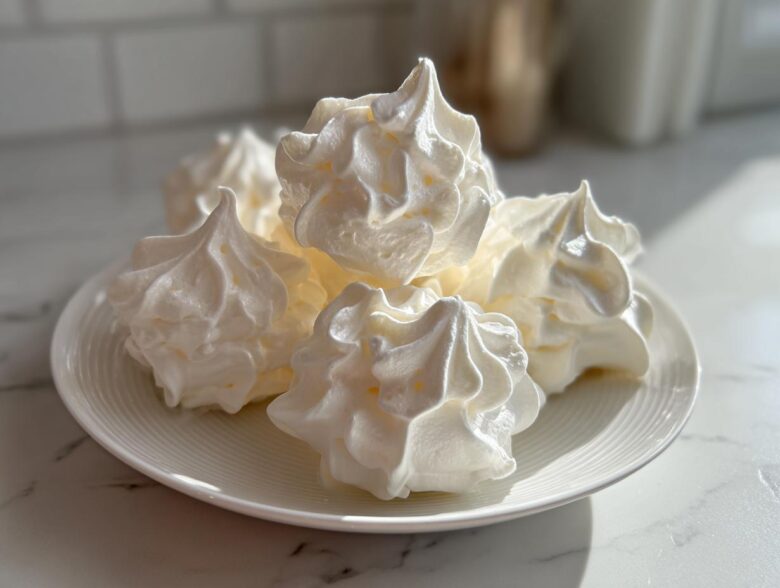
There’s just something magical about a dessert that looks like a cloud and dissolves on your tongue, isn’t there? For me, that magic is found in the perfect batch of meringue cookies. Honestly, they get a bad rap because people think they’re too fussy, but I’m here to tell you: that’s just not true!
Leo and I want our kitchen to be a place where you can conquer anything, even delicate egg white desserts, without stressing out. Forget those stiff, complicated culinary guides. This is my go-to, foundational French meringue recipe because I truly believe cooking should be fun, not intimidating. If you can whip egg whites, you can make these fantastic, light, and airy puffs!
Why You Will Love Making These Easy Meringue Cookies
If you’ve been eyeing those beautiful, pillowy meringues but were scared to try them, put your worries aside! These meringue cookies are built on simplicity. Once you see how few ingredients you need, you’ll be hooked!
- These treats are naturally gluten free meringues; perfect for everyone!
- They bake up beautifully light and airy—honestly, they float away sometimes!
- This recipe is fantastic for anyone just starting out with baking with egg whites.
Texture Perfection: Light and Airy Cookies
The goal here is that incredible contrast. We want them shatteringly crisp on the outside, but that moment when they hit your tongue and turn into soft, sugary clouds? Those are true melt in your mouth cookies, I promise!
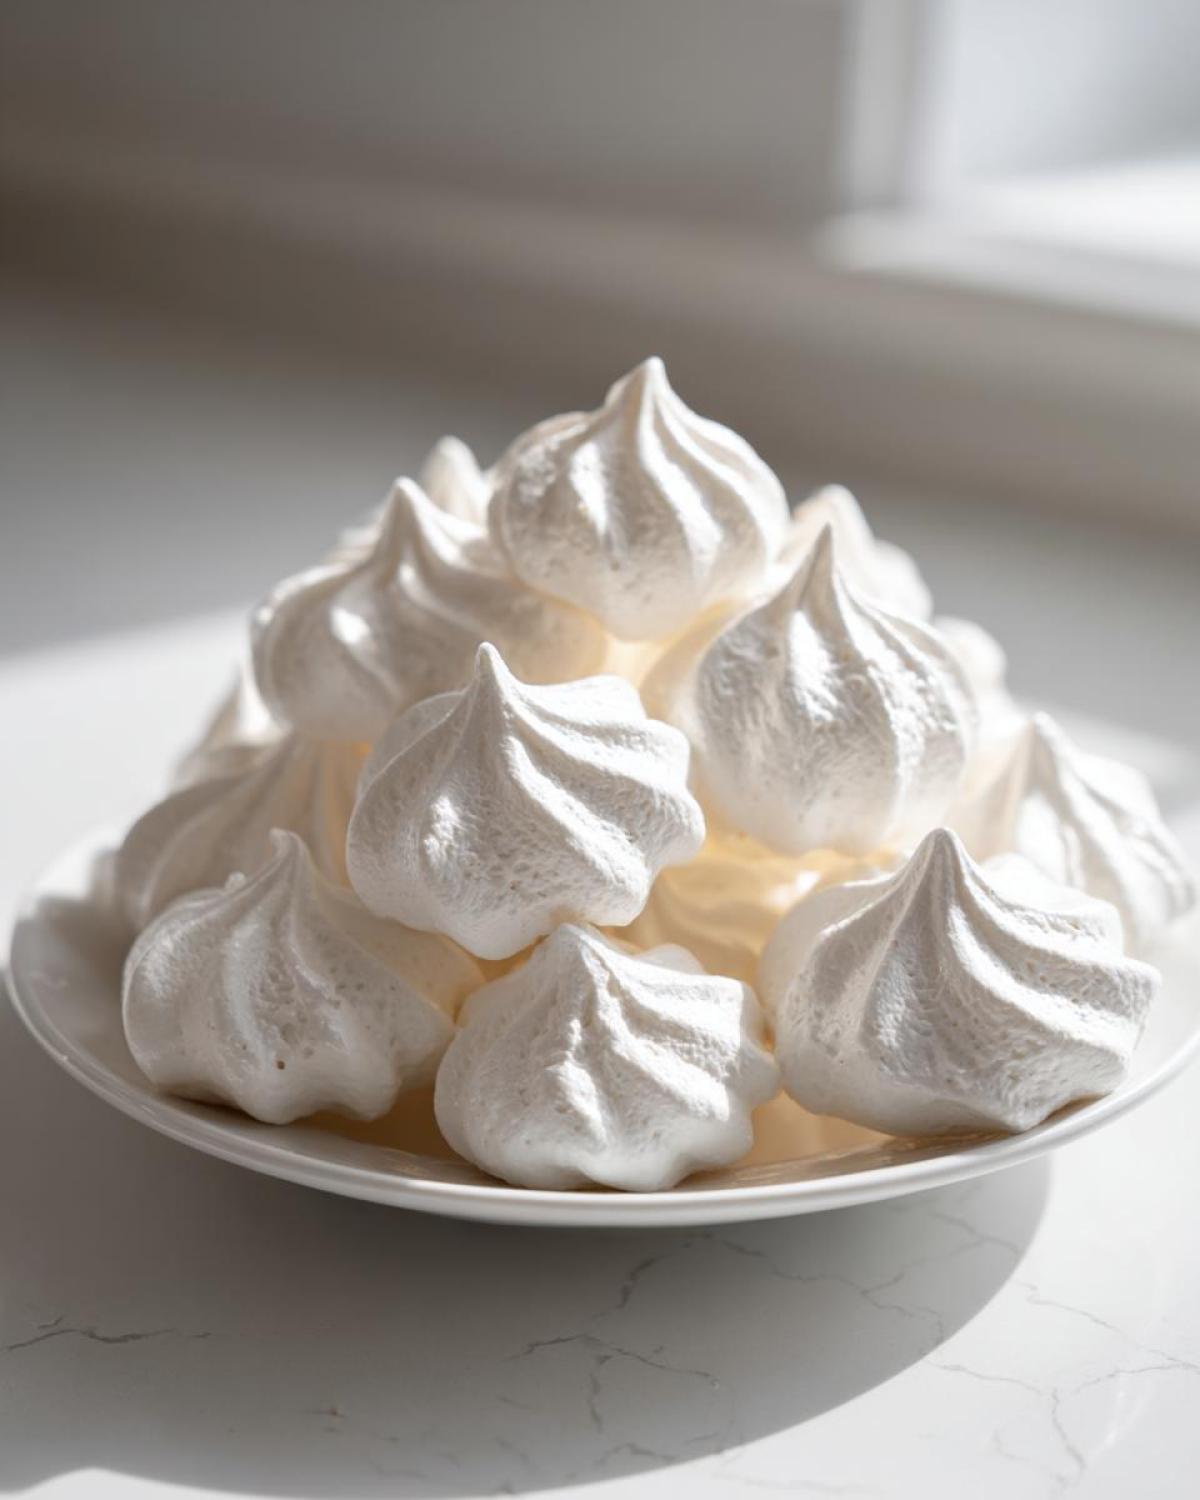
Foolproof Foundation for Your Meringue Cookies
We are using the basic French meringue method here, which is honestly the most straightforward way to start. Trust me, once you master this, baking meringue for beginners won’t feel scary anymore, and you’ll have reliable results every single time.
Gathering Ingredients for Perfect Meringue Cookies
Okay, listen up, because the success of these meringue cookies rests almost entirely on using the right stuff and treating those ingredients right. This recipe is super minimal, which means every single element counts! Don’t try to sneak shortcuts here; the results speak for themselves.
Here is exactly what you’ll need for about three dozen puffs of heaven:
- 4 large egg whites, absolutely room temperature
- 1 cup granulated sugar
- 1 teaspoon pure vanilla extract
- 1/4 teaspoon cream of tartar
- A tiny pinch of salt
Ingredient Notes and Substitutions for Meringue Cookies
First thing: your egg whites *must* be at room temperature. Cold whites just won’t get the volume we need for those super **light and airy cookies**. The cream of tartar is our stabilizer here; it helps keep everything steady while we whip. Don’t skip it! The great news is that because we are only using eggs and sugar, these are naturally gluten free meringues. If you’re feeling wild later, remember that the recipe notes mention swapping some sugar for flavored Jello powder to get those fun colors!
Essential Equipment for Piping Meringue Cookies
Before you even think about cracking an egg, let’s chat about your tools! This isn’t a recipe where you can just use a fork and a mixing bowl, trust me. You need a little bit of machinery for the best results. When making delicate sweet treats like this, preparation wins half the battle.
Here’s the gear I swear by for making perfect meringue cookies every single time:
- A reliable stand mixer (or a powerful hand mixer). This is non-negotiable for getting those stiff peaks!
- Two large baking sheets. You need space between your meringue kisses so they dry evenly.
- Parchment paper. No wax paper! You need parchment paper so your beautiful creations don’t stick to the pan.
- A large piping bag and a star-shaped piping tip. A good sturdy tip gives you those classic ridges, making your meringue kisses recipe look professional!
Make sure that mixing bowl is sparkling clean and bone dry, too! Seriously, I once used a bowl that had a lingering bit of pesto residue, and my egg whites refused to stiffen. It was a disaster!
How to Make Meringue: The Step-by-Step French Meringue Cookies Recipe
Alright, here’s where the real fun starts! Making the base for these meringue cookies is like chemistry, but way tastier. Don’t let the clean bowl rules scare you; once you get past that tiny hurdle, the rest is pure bliss. I actually learned a ton about the science of **How To Make Meringue** from a great guide I found online, which walks through the French method. If you can whip egg whites, you can make these fantastic, light, and airy puffs!
First, preheat your oven—and I mean low! We are basically drying these out, not baking them brown. Set it to the lowest setting you have, usually around 175°F to 200°F is perfect. Get those sheets lined with parchment paper. If you want the crispiest treats, you have to follow these steps precisely.
Whipping Egg Whites to Soft Peaks
Grab those room-temperature egg whites and toss them into your clean mixer bowl with the cream of tartar. Start beating on medium speed—just medium! You want those whites to get foamy and slowly build up volume. We stop right when they look opaque and you see soft peaks forming when you lift the whisk. Don’t overdo it right now!
Achieving Stiff, Glossy Peaks for Your Meringue Cookies
This is the make-or-break moment for that **Perfect Meringue Texture**! With the mixer still running on medium-high, start raining in that sugar, one tiny spoonful at a time. Seriously, wait 30 seconds between additions. If you dump it all in, you’ll end up with sugary soup, not stiff peaks! Once all the sugar is in, crank it up to high until the mixture is blindingly glossy and stands straight up when you lift the whisk. Rub a bit between your fingers—if you feel any sugar grit, keep mixing!
Piping and Preparing Meringue Kisses Recipe
Now that you have that gorgeous, stable meringue, load it straight into your piping bag fitted with a star tip. This is what gives you those picturesque ridges for your **Meringue Kisses Recipe**. Pipe little mounds about an inch apart on the parchment sheets. Give them space to breathe while they dry out!
Baking and Drying Meringue Cookies for Crisp Treats
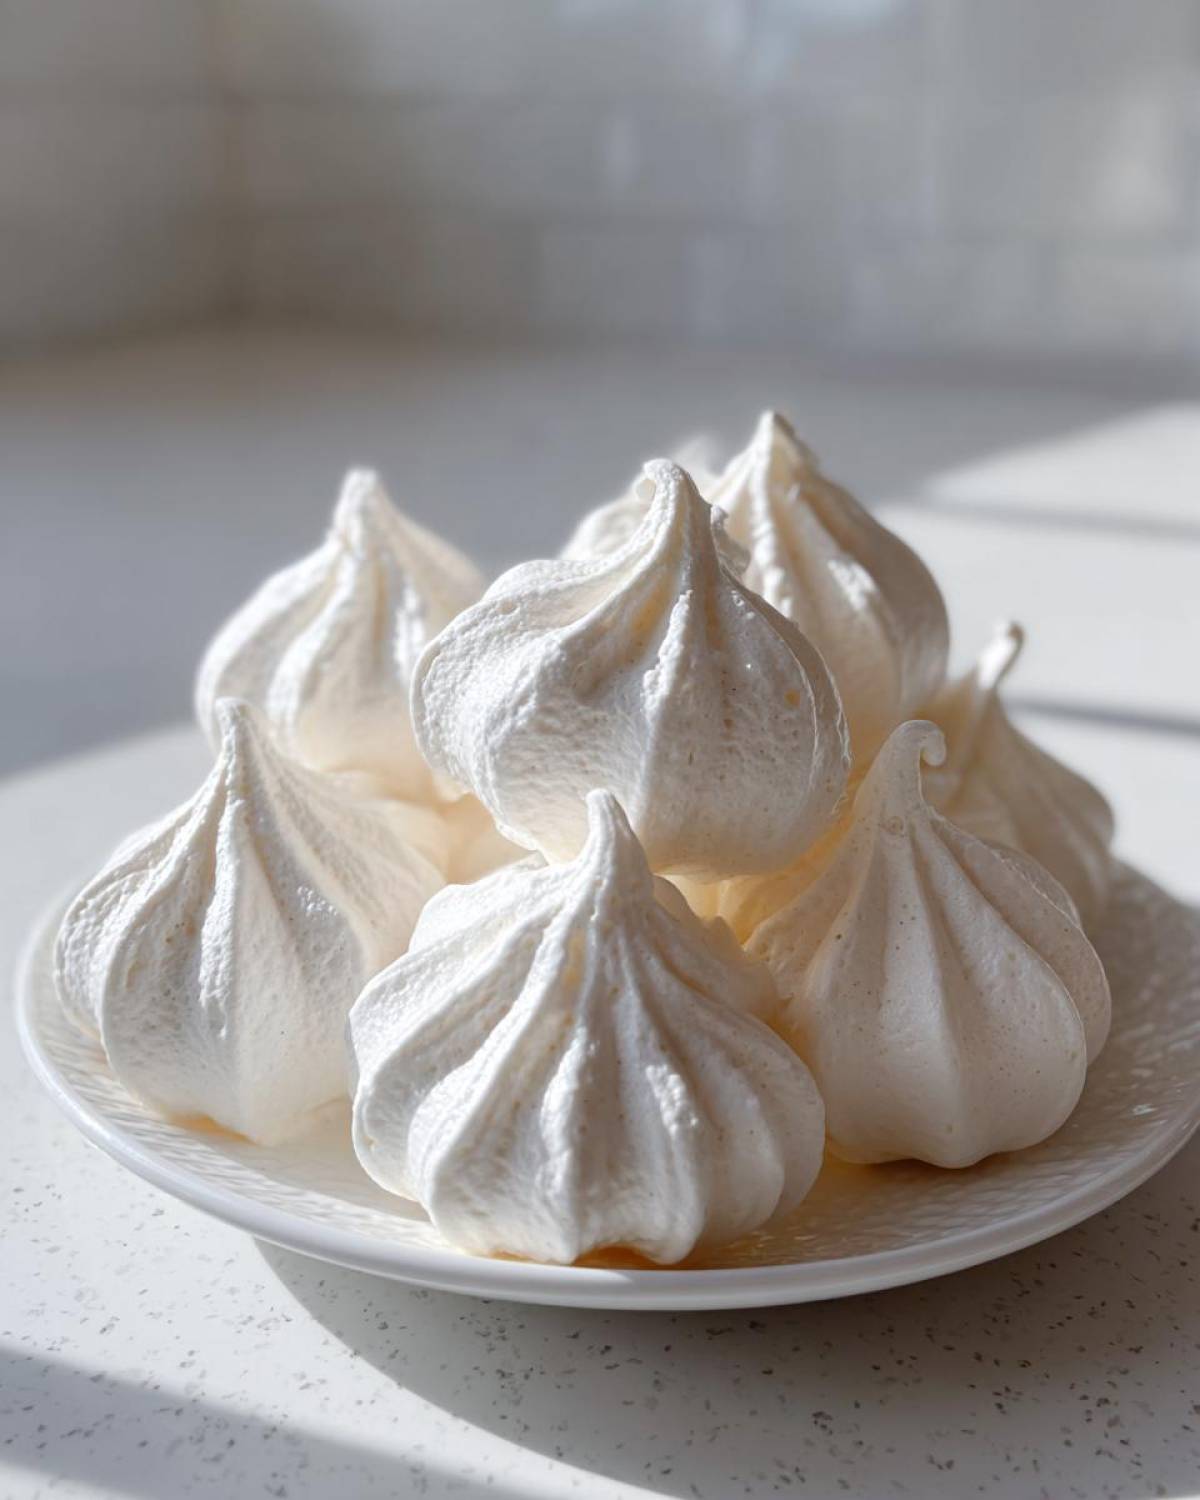
Okay, listen, this is where most people panic, but I promise you, it’s the easiest part! We aren’t actually baking these meringue cookies; we are slowly drying them out to achieve that amazing look and texture. Remember that low oven setting we discussed? Keep it low—somewhere between 175°F and 200°F is your sweet spot. You want them to take their time back there for about an hour and a half to two hours, depending on how big your kisses are.
When they look dry and you can gently wiggle one off the parchment without it sticking, they are done. But here’s the real secret sauce: Don’t even think about pulling them out right away! The biggest cause of cracks and weeping meringue is temperature shock. So, turn the oven OFF, prop the door open just a crack with a wooden spoon, and just leave them in there. Seriously, I leave mine overnight sometimes! This gradual cooling process is what solidifies them into those wonderfully crispy meringue treats you’ve been dreaming about.
Popular Variations for Your Meringue Cookies
If you’ve mastered the classic vanilla batch of meringue cookies—which I hope you have—it’s time to play dress-up! These base recipes are just waiting for you to add your own spin. It’s so much fun customizing these delicate sweet treats for different holidays or just because you feel like it!
I love pulling out different extracts and colors. I get so excited watching people’s faces when they bite into something that looks plain white but tastes like bright raspberry or cool mint. Check out the recipe notes for inspiration, but here are my two favorites that pop up every year.
Festive Peppermint Meringue Cookies
For Christmas or just when I need something extra bright, switching to peppermint is brilliant. You just swap out the vanilla for peppermint extract—be careful, a little goes a long way! I also like to swirl in a few drops of red food coloring right before piping. It makes these beautiful, slightly pink swirls that look like tiny little holiday decorations!
Colorful Jello Meringue Cookie Recipe Ideas
This is the easiest way to get vibrant color and a subtle flavor boost! You just take about one tablespoon of that flavored Jello powder—I love strawberry or lime—and substitute it for an equal amount of your granulated sugar during the whipping phase. You’ll get such gorgeous, sweet, and fruity meringue cookies! If you want to see an example of how I use seasonal flavorings, check out my double chocolate peppermint cookie recipe here, though the meringue version is way simpler. For more on the Jello idea, you can see those colorful beauties over at Tasty Home Plates!
Tips for Success with Delicate Sweet Treats
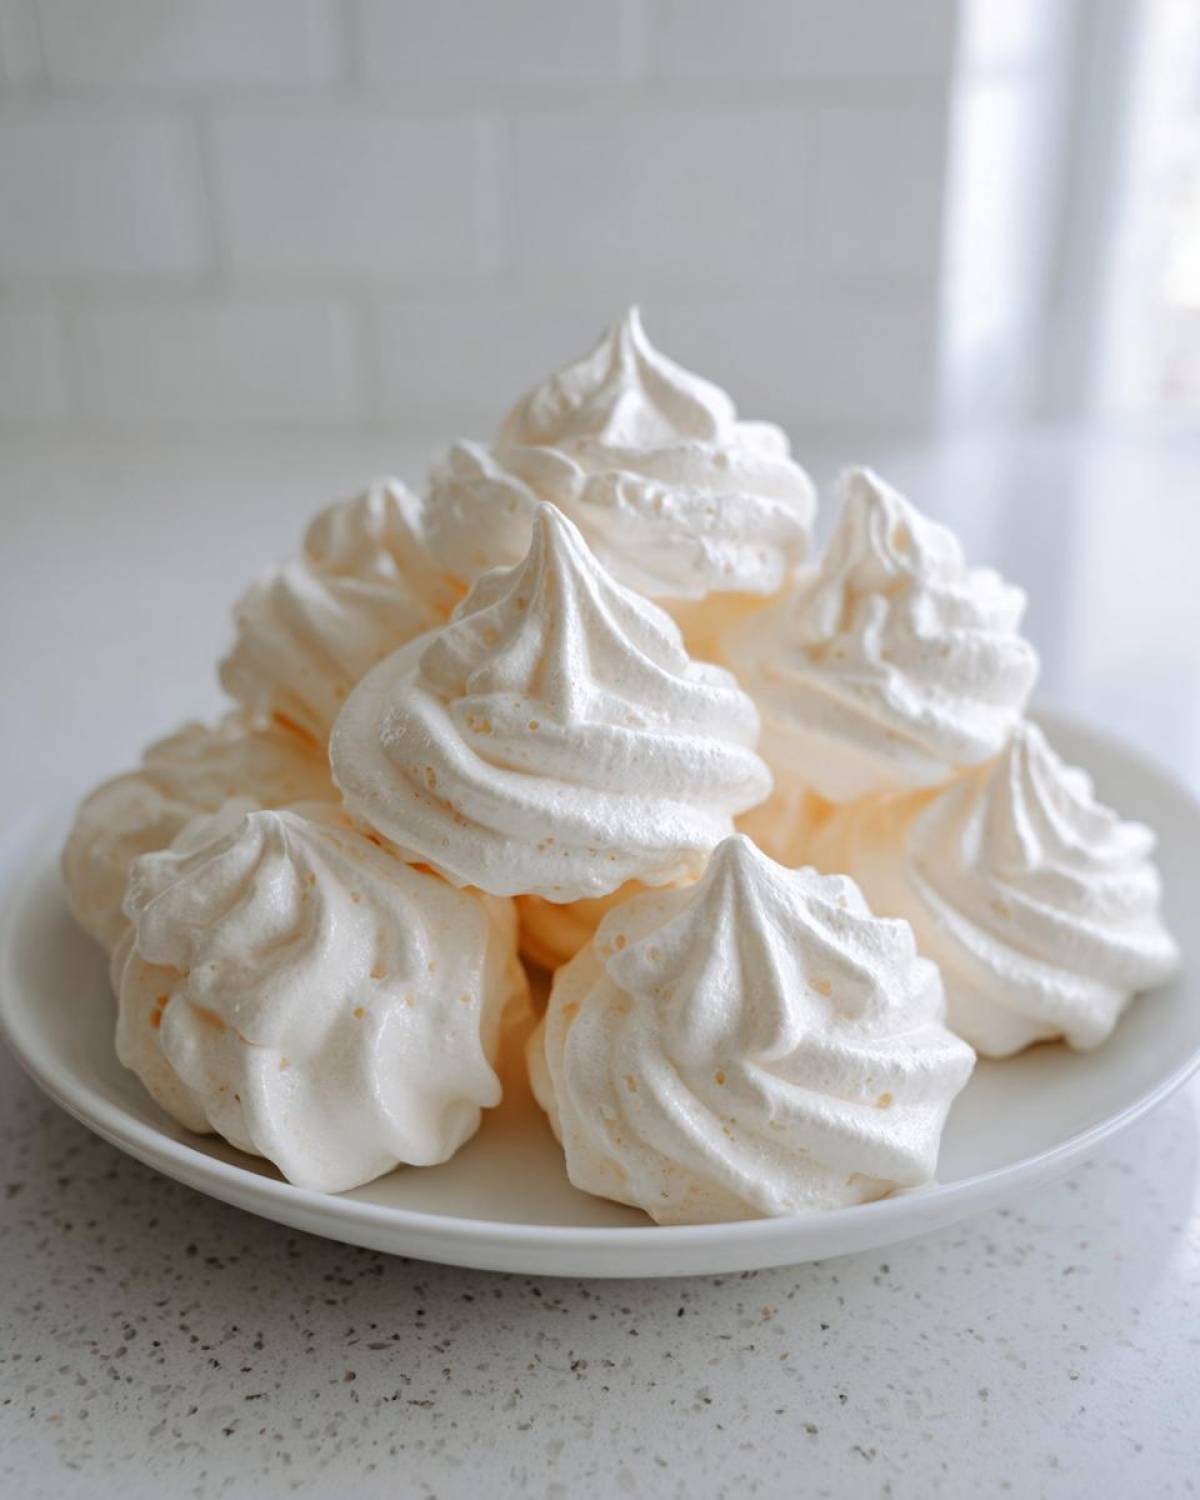
Meringue is gorgeous, but let’s be honest, it’s also a total diva. The absolute number one enemy of any great batch of meringue cookies is humidity. Seriously, call it quits if it’s raining outside! I learned this the hard way when I tried to make a huge batch for Leo’s birthday party—the air felt thick, and even though I baked them forever, they were sticky and weeping sugar glaze by morning. Total mess!
If you want your delicate sweet treats to stay crisp, check the weather forecast before you start! If the air feels damp, save the egg whites for an omelet another day. Also, remember that once cooled, these cookies do not like refrigerators or steamy kitchens. They need a dry, cool spot away from any moisture source to keep their structure.
Storage and Gifting Homemade Meringue Cookies
Once you’ve perfected these beautiful little puffs, you want them to last, right? Storing your freshly baked meringue cookies is super easy, but it does require respecting their need for dryness! Keep them in a truly airtight container—no cheating with just a slightly closed lid! Store them in a cool, dry pantry. If the container feels even slightly humid, they’ll start getting sticky fast.
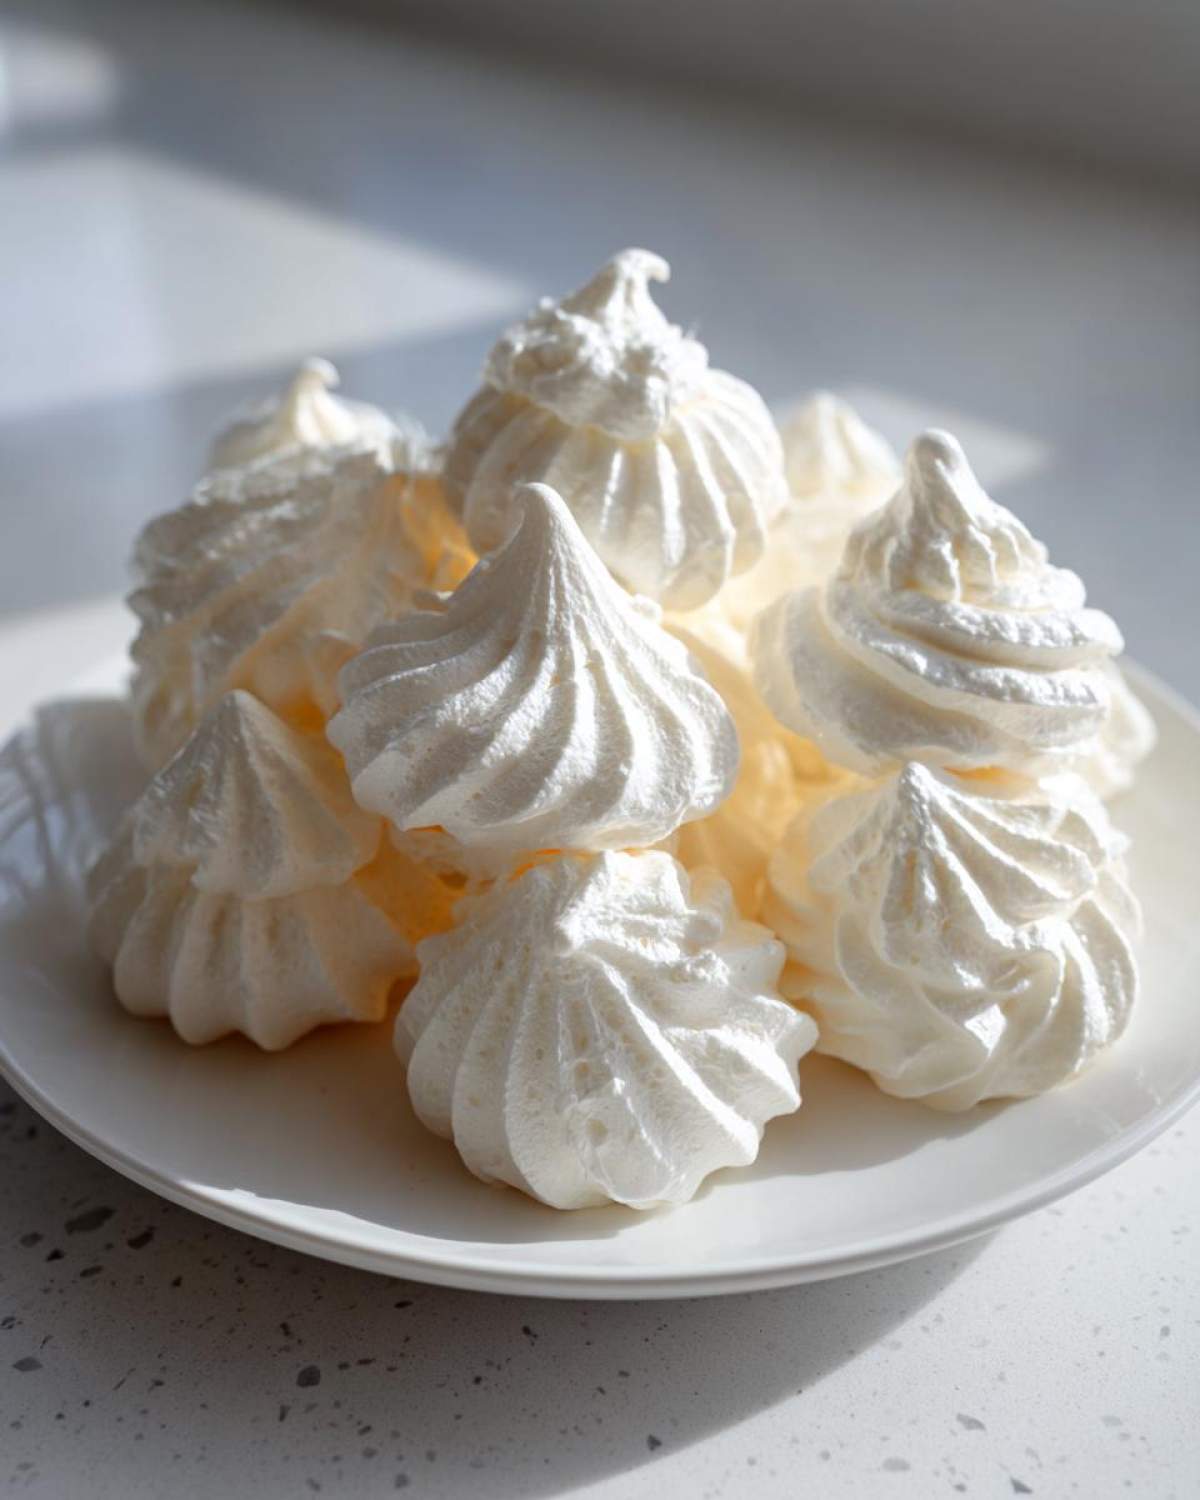
These are also my absolute favorite for homemade meringue gifts because they look so elegant! I wrap them loosely in clear cellophane bags, tied with a pretty ribbon. They look fancy, but since they are so light, they don’t weigh down those cute gift boxes! You can find some great ideas for packaging them up nicely on sites like this one!
Frequently Asked Questions About Meringue Cookies
It’s totally normal to have questions when you’re working with something as light as air! Egg whites can be tricky, but once you know a few secrets, you’ll be whipping these up like a pro. Ask me anything about these little beauties!
Why are my meringue cookies cracking during baking?
Oh, I hate when this happens! Usually, cracking means the temperature inside your oven jumped too fast, or you pulled them out into a cold, humid room too soon. We are drying them, not baking them hard! Make sure your oven is staying super low and consistent, and for the love of all things sweet, let them cool down slowly inside that turned-off oven. That gentle transition is everything for preventing those sad little fissures.
Can I make meringue cookies ahead of time?
You absolutely can! In fact, they are better made ahead of time because they need that long, slow drying process. The caveat is storage! Humidity is the enemy, remember? You can store finished, perfectly crisp meringue cookies in an airtight container for up to a week, but you must keep them in the driest spot in your house. If your kitchen is humid, they will get tacky, which is just the worst.
What is the best way to measure ingredients for meringue cookies?
If you want the best reliability, especially when you’re first learning how to make meringue, grab a kitchen scale! While I usually cook by the seat of my pants (Leo’s fault!), for meringue, precision really shines through. Measuring sugar by weight ensures you have the perfect ratio to stabilize those egg whites, giving you that gorgeous, stiff peak structure we talked about. It’s an easy step that really boosts your baking confidence!
PrintThe Ultimate Easy Meringue Cookies Recipe: Light, Crisp, and Perfect Every Time

Learn how to make light, airy meringue cookies that are crisp outside and melt-in-your-mouth soft inside using this simple French meringue technique. These delicate sweet treats are perfect for gifts or any occasion.
- Prep Time: 20 min
- Cook Time: 120 min
- Total Time: 140 min
- Yield: About 3 dozen
- Category: Dessert
- Method: Baking
- Cuisine: American
- Diet: Gluten Free
Ingredients
- 4 large egg whites, room temperature
- 1 cup granulated sugar
- 1 teaspoon pure vanilla extract
- 1/4 teaspoon cream of tartar
- Pinch of salt
Instructions
- Preheat your oven to the lowest setting, usually between 175°F and 200°F (80°C to 95°C). Line two baking sheets with parchment paper.
- Make sure your mixing bowl and whisk attachment are completely clean and dry. Any trace of fat will prevent the egg whites from whipping properly.
- Place the room temperature egg whites and cream of tartar into the bowl of a stand mixer fitted with the whisk attachment. Beat on medium speed until soft peaks form.
- Slowly add the granulated sugar, about one tablespoon at a time, while the mixer runs on medium-high speed. Wait about 30 seconds between each addition. This slow addition is key to stable meringue.
- Once all the sugar is added, increase the speed to high and beat until the meringue is stiff, glossy, and holds firm peaks. When you lift the whisk, the peak should stand straight up without drooping. Rub a small amount between your fingers; it should feel smooth, not gritty.
- Beat in the vanilla extract until just combined.
- Transfer the meringue to a large piping bag fitted with your desired tip (a star tip creates nice meringue kisses).
- Pipe small mounds or kisses onto the prepared baking sheets, leaving about one inch between each cookie.
- Bake (or dry out) the meringue cookies for 1.5 to 2 hours. The exact time depends on your oven and the size of your cookies. They should lift easily from the parchment paper when done.
- Turn off the oven, prop the door open slightly with a wooden spoon, and let the meringue cookies cool completely inside the oven for at least one hour, or preferably overnight. This drying process ensures they are crisp and prevents cracking.
- Store your finished meringue cookies in an airtight container at room temperature.
Notes
- For Jello Meringue Cookie Recipe variations, substitute 1 tablespoon of the sugar with 1 packet of flavored Jello powder. Add the powder along with the sugar additions.
- For Peppermint Meringue Cookies, add 1/2 teaspoon of peppermint extract along with the vanilla, and swirl in a few drops of red food coloring before piping for a festive look.
- If you are new to baking meringue, use a kitchen scale for the most accurate sugar measurement.
- These are naturally gluten free meringues, making them a great option for many guests.
Nutrition
- Serving Size: 1 cookie
- Calories: 45
- Sugar: 11
- Sodium: 5
- Fat: 0
- Saturated Fat: 0
- Unsaturated Fat: 0
- Trans Fat: 0
- Carbohydrates: 11
- Fiber: 0
- Protein: 0.5
- Cholesterol: 0