

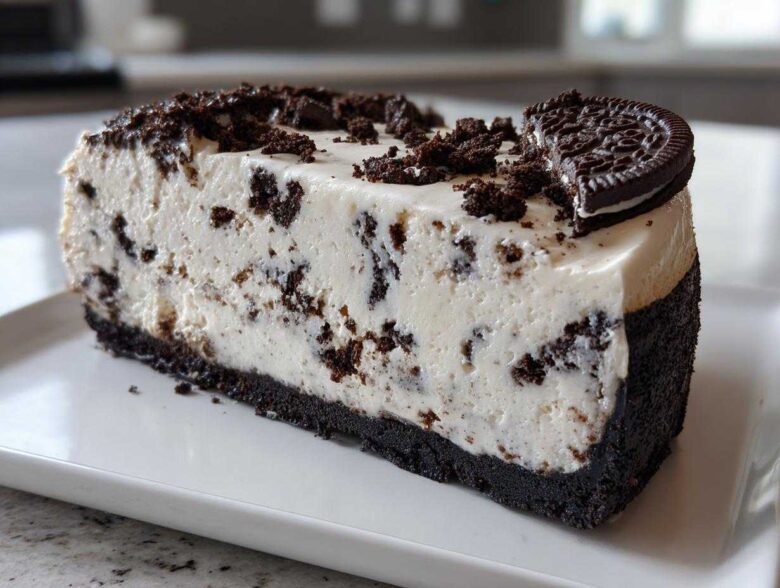
Listen, sometimes you just need a show-stopping dessert that doesn’t involve turning on the oven, especially when friends drop by unexpectedly! We all have those stressful entertaining moments, but this recipe solves everything. My absolute go-to, the dessert I rely on when I need maximum “wow” factor with minimum sweat is my No-Bake Oreo Cheesecake. Seriously, this thing sets up so perfectly creamy and dreamy, you’ll wonder where it’s been all your life. It’s rich, it’s chocolatey, and the best part? It’s practically foolproof. I’ve never brought this cheesecake to a party and had any leftovers. It’s just that good!
Why This No-Bake Oreo Cheesecake Stands Out
When I say this is the *best* version out there, I mean it! It’s the secret weapon in my arsenal for any last-minute gathering. Forget dry crusts or fillings that refuse to set; this recipe uses just the right amount of dairy magic to create the Creamiest No Bake Cheesecake you’ve ever tasted.
Honestly, if you need an Easy Oreo Dessert that looks elegant but requires zero fuss, this is it. It’s pure, indulgent chocolate perfection!
- It sets up beautifully every single time—no cracks!
- The filling is light but intensely creamy, not dense like mortar.
- It travels like a dream for potlucks.
Quick No Bake Treat Time Breakdown
You can whip up the crust and filling in just about 20 minutes active time. That’s right, 20 minutes! Just make sure you respect the chilling time. While the active effort is minimal, committing to that 6+ hours in the fridge is what makes it a truly successful Quick No Bake Treat.
Gathering Ingredients for Your No-Bake Oreo Cheesecake
Okay, ingredient gathering! This is where you set yourself up for success, especially since we aren’t baking anything to correct mistakes. Get this right, and the universe rewards you with the creamiest texture. For the crust, you’ll need 16 of those beautiful Oreo cookies—and I mean crushed finely—mixed with exactly 6 tablespoons of melted butter. Make sure your butter is fully melted, nothing worse than half solid chunks in the crust! If you’ve ever made my fudgy Oreo brownies, you know how important that base is!
Now for the star of the show, the filling! You absolutely must use 16 ounces of full-fat cream cheese, and I cannot stress this enough: it needs to be completely softened to room temperature. If it’s cold, you get lumps, and we simply cannot abide lumps in our No-Bake Oreo Cheesecake!
The other key players are 1 cup of sugar, a teaspoon of vanilla, 1/4 cup of milk, and a huge 12 ounces of thawed whipped topping—that’s the stuff that makes it airy!
- Crust: 16 Oreo cookies (crushed) + 6 Tbsp melted butter.
- Filling: 16 oz softened cream cheese, 1 cup sugar, 1 tsp vanilla, 1/4 cup milk.
- Airiness: 12 oz thawed whipped topping.
- Mix-ins: 8 Oreos, coarsely chopped.
Ingredient Notes and Substitutions for No-Bake Oreo Cheesecake
Listen, don’t try to sneak in low-fat cream cheese here. This recipe relies on that beautiful, full-fat version to hold its structure when it chills. If you don’t have the store-bought whipped topping on hand, you can absolutely use heavy cream, but you’ll need to whip up about 1 1/2 cups of it until it holds soft peaks before folding it in gently. That works perfectly, too!
For a richer, darker flavor that leans into the No Bake Chocolate Cheesecake angle, swap out your regular Oreos for the Double Stuf or the dark chocolate variety in the crust. Trust me, nobody complains about extra chocolate in a dessert named after Oreos!
Step-by-Step Instructions for the Best Oreo Cheesecake
Alright, let’s get this No-Bake Oreo Cheesecake assembly line moving! Since we aren’t baking, preparation is everything. Think of it like layering a beautiful trifle, only this one ends up gloriously firm and sliceable. We’re moving fast in the beginning, but remember, success hinges on patience later on! If you’ve mastered my tips for the no-bake pumpkin pie cheesecake, you know the secret is in the chill time!
Once your crust is ready, we move straight into getting that filling airy and perfect. It’s all about low-speed mixing until things are combined, then the gentle folding comes in—that’s the secret to avoiding a dense brick!
Don’t skip the chilling—I know waiting is the hardest part when you’re staring at this deliciousness, but Step 6 (chilling for six hours minimum!) is non-negotiable. That waiting time is what turns a loose mixture into the Best Oreo Cheesecake texture you deserve.
Creating the Simple Cookie Crust Dessert Base
First things first: those 16 Oreos! Pulse them in your food processor until they look like dark, sandy crumbs. Don’t leave big chunks; we want a smooth foundation. Mix those crumbs with the melted butter until everything is evenly damp—like wet sand on the beach. Grab your 9-inch springform pan and press that mixture down firmly into the bottom. Use the bottom of a measuring cup to really pack it tight. Once it’s solid, get that pan straight into the freezer while you handle the glorious part—the filling!
Achieving the Creamiest No Bake Cheesecake Filling
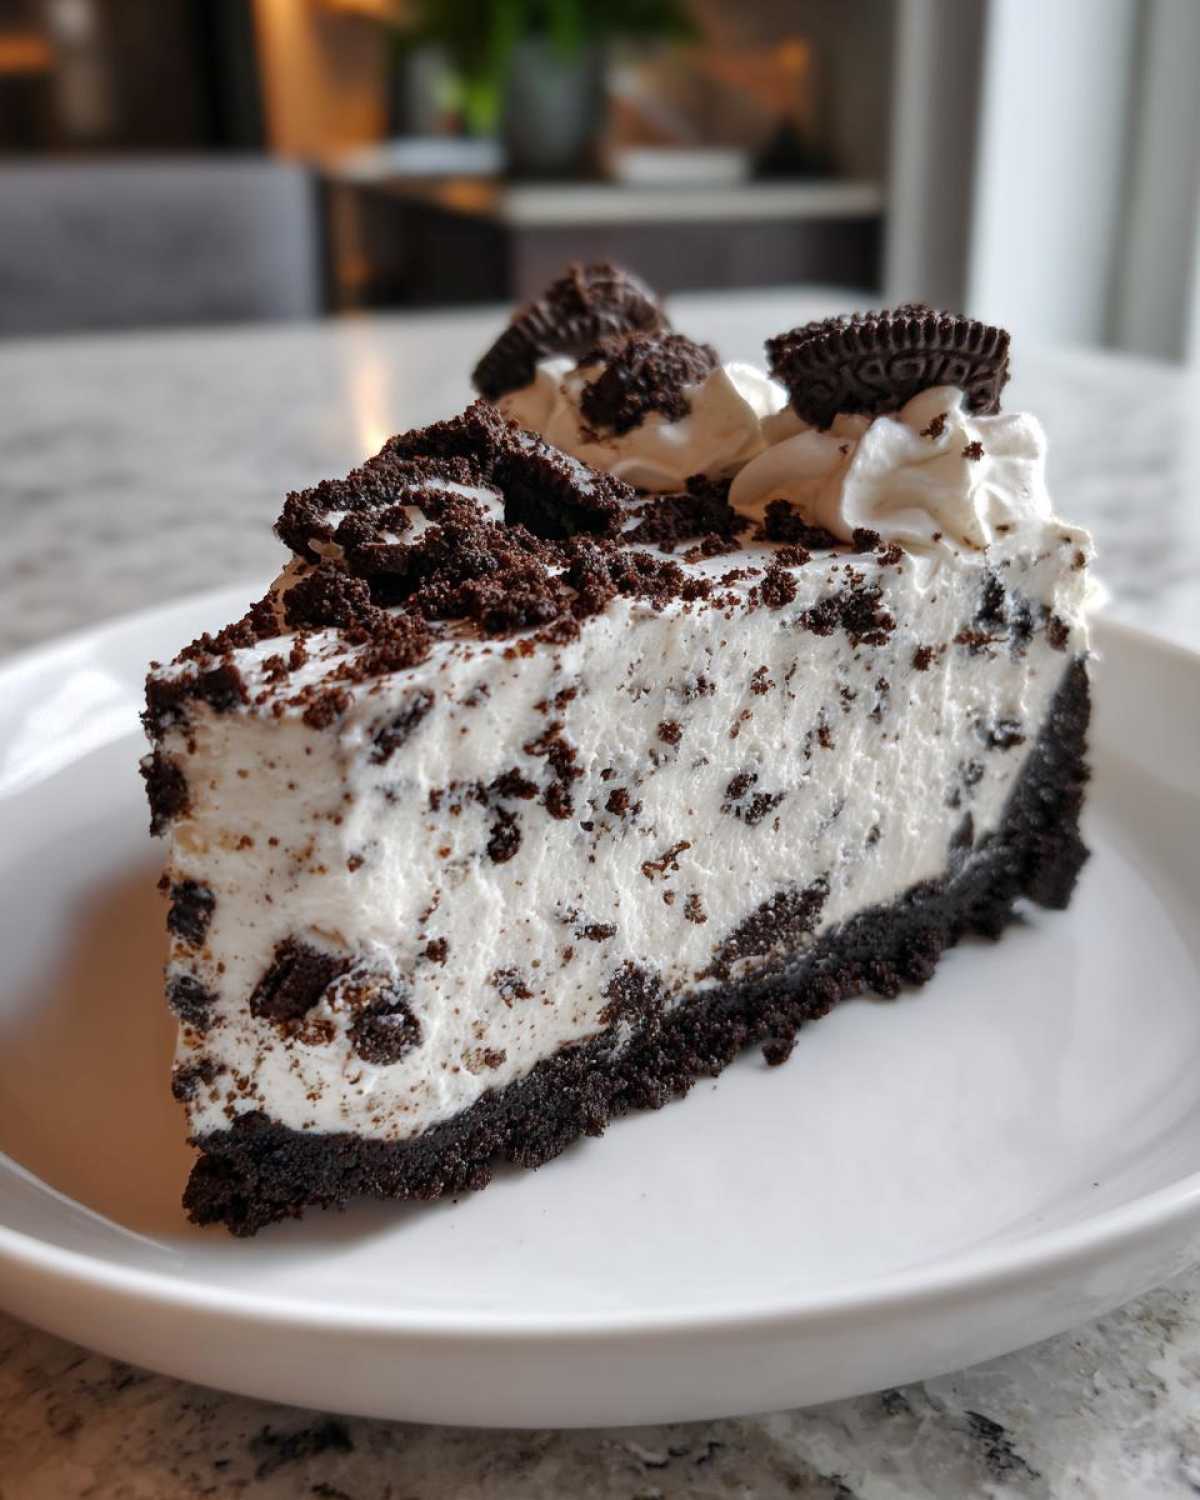
Grab your big mixing bowl! Beat the softened cream cheese first with the sugar, vanilla, and milk until it looks completely smooth. I mean, run the mixer until you can’t see one single lump—scrape the sides down, too! Next, gently fold in that whole 12 ounces of thawed whipped topping. You have to fold, not mix aggressively! We want to keep all that lovely trapped air in there. Finally, just lightly stir in the 8 chopped Oreos. That’s it for the active mixing!
Mastering the Chill Time for Your No-Bake Oreo Cheesecake
If there’s one place people panic about rushing this recipe, it’s the chilling phase, and honestly, I get it! You’ve made this gorgeous, easy dessert and you want to dig in right now, don’t you? But you have to resist the urge, my friend.
That 6-hour minimum—or better yet, leaving it overnight—isn’t just a suggestion; it’s the activation button for the structure. The fats in the cream cheese and the stability from the whipped topping need that pure, cold time to fully solidify around the cookie crumbs. If you cut it short, what you end up with isn’t the Creamiest No Bake Cheesecake; it’s a sloppy puddle that just won’t hold a clean slice.
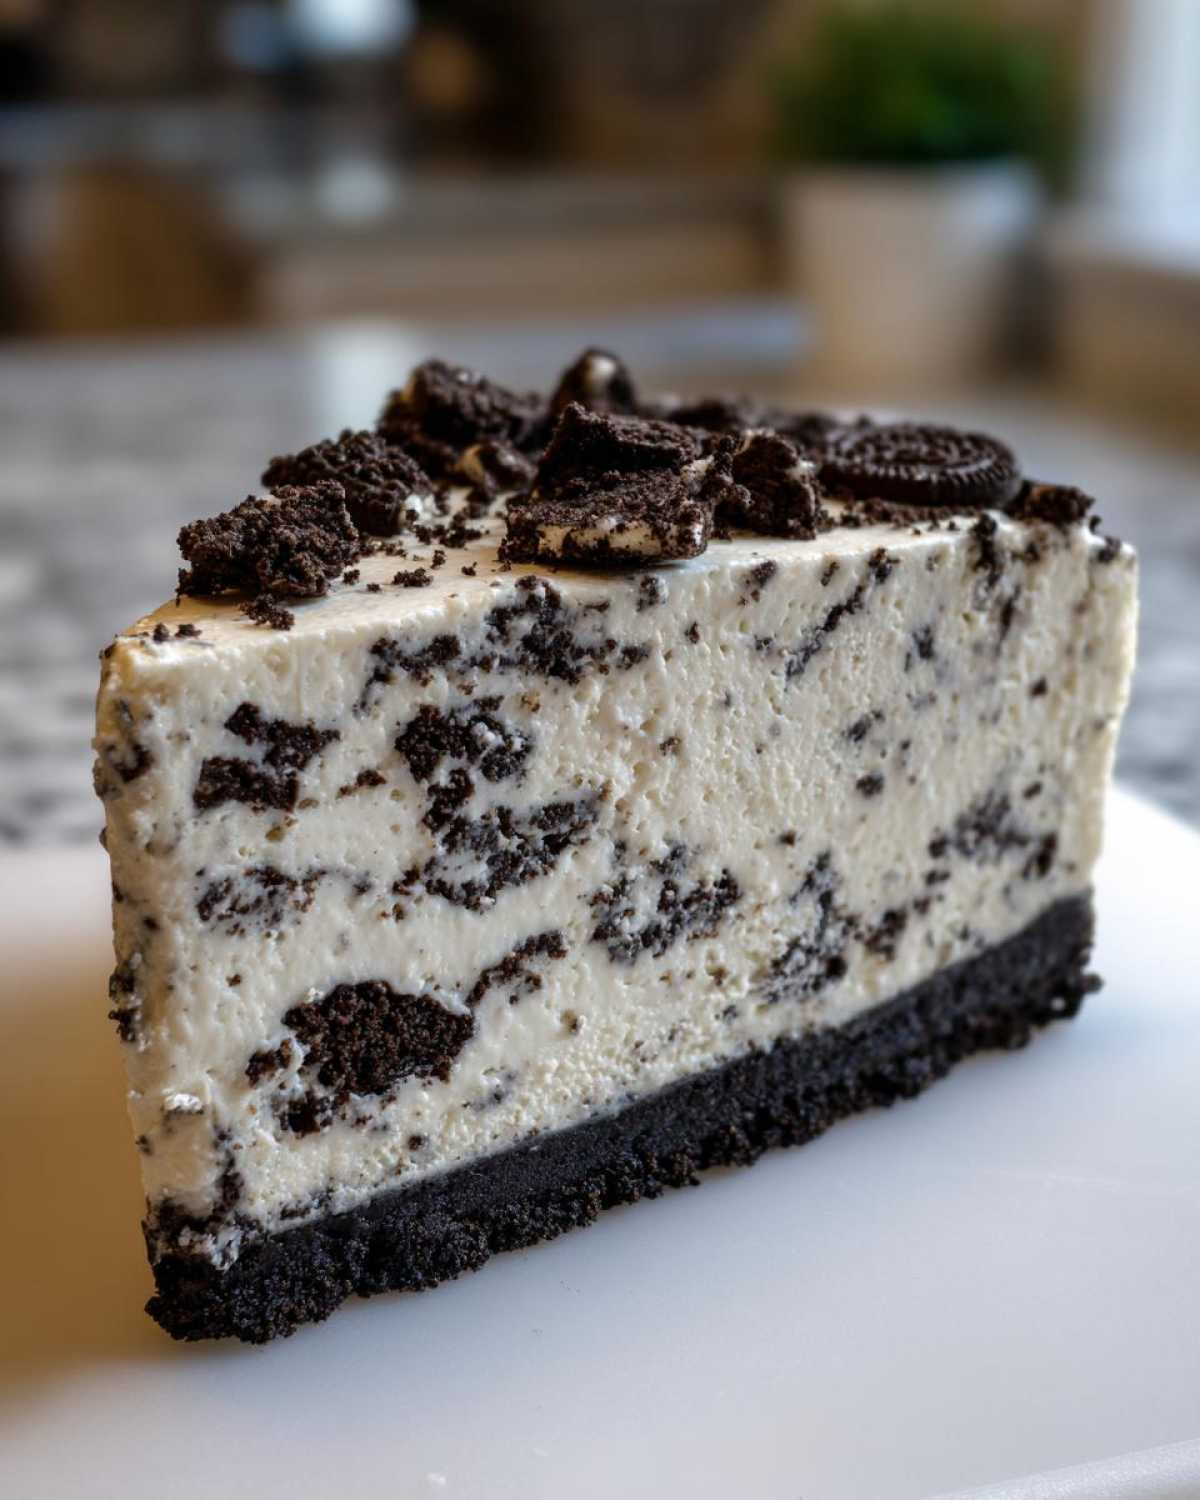
This is the secret to making it a perfect Make Ahead Dessert; plan a day ahead, and your results will be spectacular. Trust me, the wait is worth that firm, sliceable reward! If you want to get ahead, you can check out some great tips for making desserts in advance right over here: make ahead dessert guidelines.
Presentation Tips for a Party Ready Cheesecake
The moment of truth! Your amazing No-Bake Oreo Cheesecake has finished chilling, and now we have to make it look as incredible as it tastes. This is where you take your simple, delicious creation and turn it into a centerpiece worthy of any gathering. A messy slice can ruin the moment, so we focus on clean cuts and beautiful decoration first.
For the optional topping, remember the recipe suggestion: beat heavy cream with just a tablespoon of powdered sugar until you hit stiff peaks. Whipping that up fresh looks so much better than anything that comes out of a can! You can use a piping bag for elegant swirls, or just use an offset spatula to spread it nicely across the top. Then, pile those remaining crushed Oreos on top—don’t be shy with the sprinkle!
The Hot Water Trick for Perfect Slices
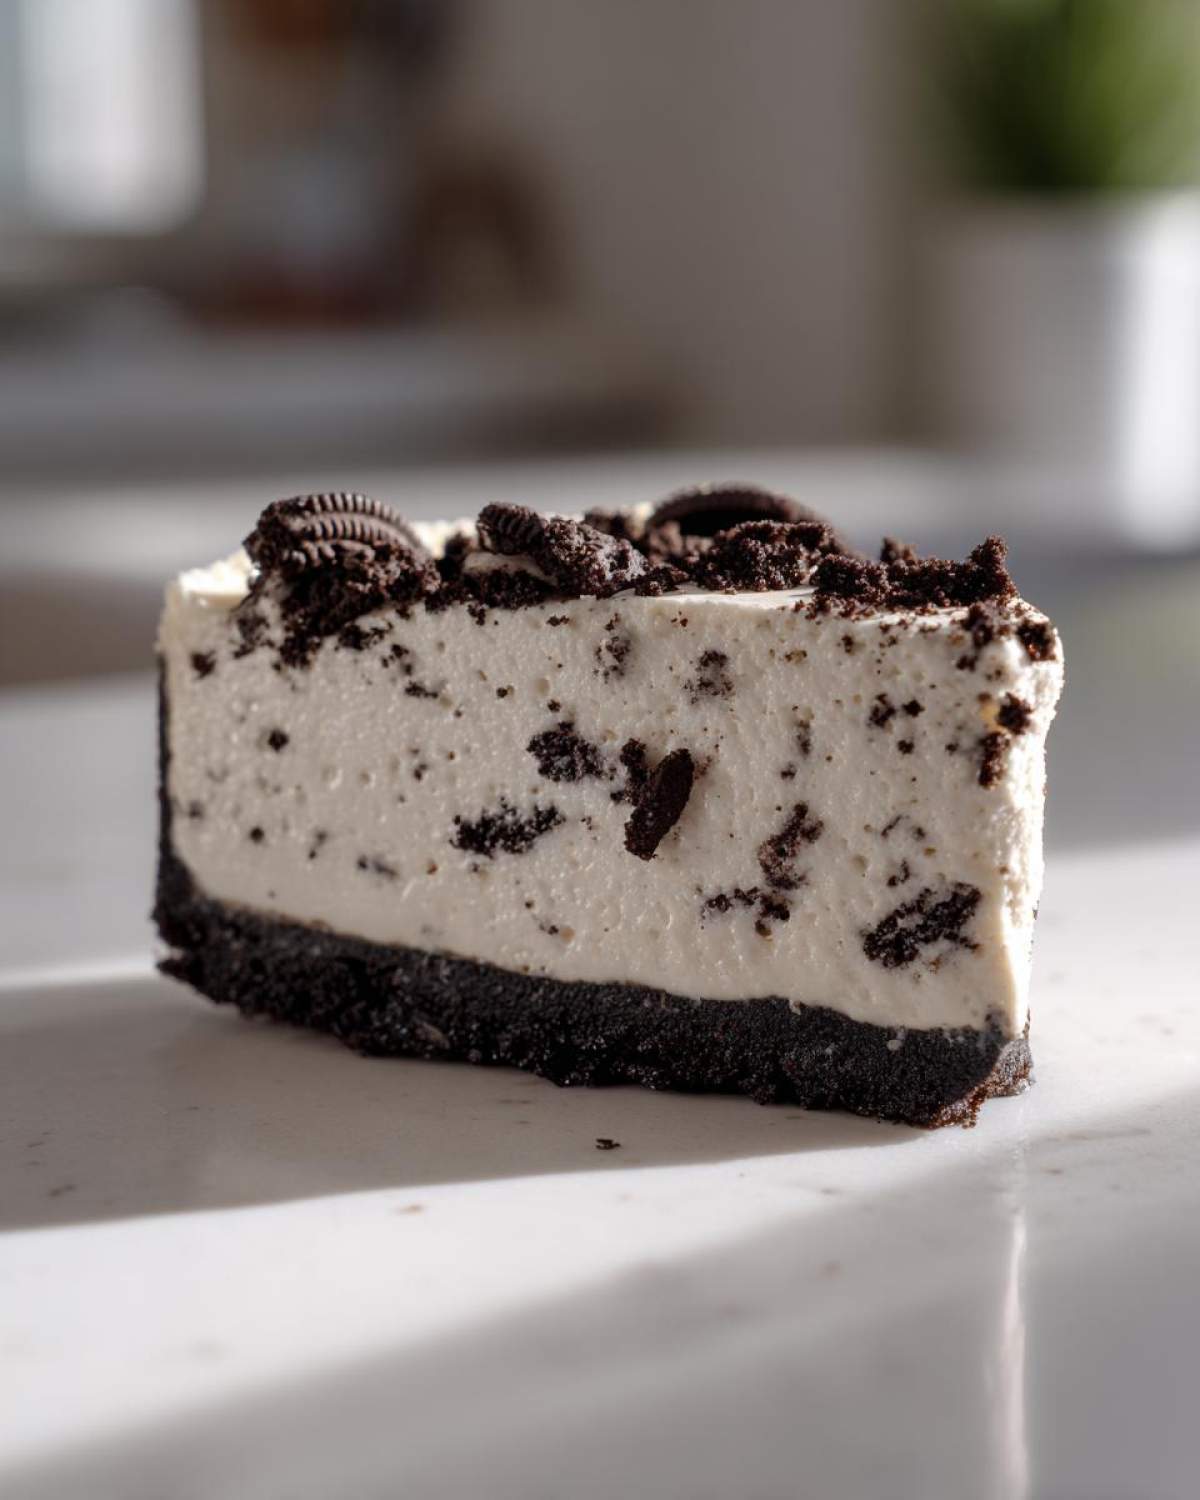
This is the most important piece of advice for serving any cheesecake, baked or not! If you just try to slice it cold, the filling will drag and smear the beautiful topping. My trick, which I learned the hard way after ruining one beautiful presentation, is simple: get a tall glass of very hot water.
Dip a long, thin knife completely into the hot water for about 15 seconds. Wipe the knife completely dry with a clean paper towel—we don’t want any drips! Then, make one smooth, clean cut straight down through the cheesecake. Repeat that dip-wipe-cut process for every single slice. It makes serving this Party Ready Cheesecake so easy, and every slice looks professional!
If you’re looking for other easy, presentation-worthy treats that rely on kitchen hacks, you might enjoy my ideas for Peanut Butter Rice Krispie Treats; presentation is key there, too!
Serving Suggestions for Deep Dish Oreo Style
Since we often use a springform pan, releasing the sides is thrilling, but sometimes that crumb crust sticks underneath. Remember the recipe note about running a thin knife around the edge first? Do that gently! If you want that deep-dish look without the height, use a slightly wider springform pan, which makes the slice slightly shorter but gives you more surface area for toppings.
No matter how you serve it, make sure it’s cold. This No-Bake Oreo Cheesecake really shines when it’s rock-solid cold from the fridge. The contrast between the hard cookie crust and the creamy filling is best right out of that chilling environment!
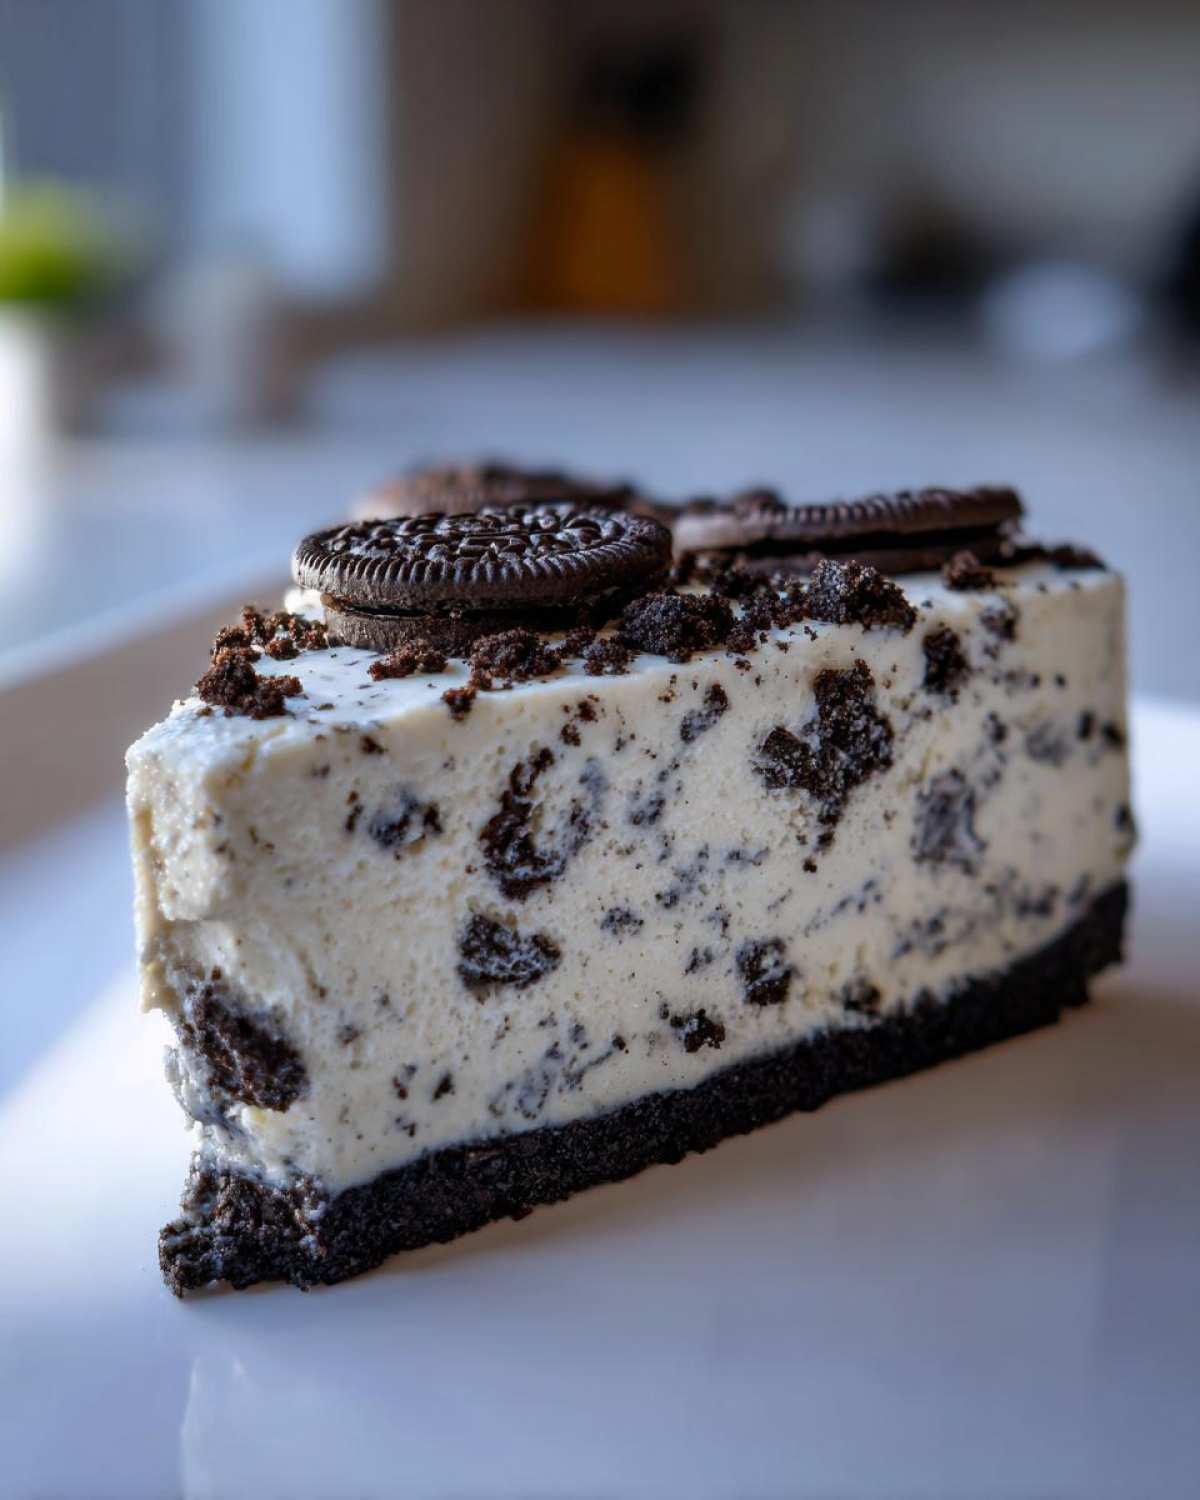
Variations on the Classic No-Bake Oreo Cheesecake
One of the best things about a simple base recipe like this No-Bake Oreo Cheesecake is that it’s begging to be played with! While I swear by the classic cookie and cream combo, sometimes you just want to mix things up a bit. I’ve tried a few twists over the years that still offer that amazing, easy dessert experience without needing to turn on the stove for baking.
For instance, if you’re a total coffee fanatic like me, you can take this right into mocha territory. Before beating your cream cheese, just mix in a teaspoon of instant espresso powder. It blends right into the sugar and cream cheese, giving you a subtle coffee kick that pairs unbelievably well with the dark chocolate cookies. It turns it into a decadent, grown-up No Bake Chocolate Cheesecake!
Now, if you’re looking at your pantry and realizing you’re low on those extra Oreos, don’t sweat it! You can definitely try crushing up some Nilla Wafers or Biscoff cookies for the crust instead. That gives you a totally different flavor profile, and sometimes I experiment with making an almost Crustless Oreo Dessert Alternative by just using a layer of whole, crushed Oreos on top instead of a full crust underneath, though you need extra chilling time for that!
Another fun idea I stole from a friend was the “Peanut Butter Bomb.” After you fold in the main whipped topping, gently fold in about half a cup of smooth peanut butter. It makes the whole filling unbelievably rich and savory-sweet. You still use the Oreos in the filling, of course, but the peanut butter adds such a depth! If you love cheesecake variations, you should check out my recipe for the Pecan Pie Cheesecake for a taste of traditional baking, but this no-bake version always wins when time is short.
Remember, whatever you choose, the core structure relies on the cold and the whip, so keep those elements respected, and you’re golden!
Storage and Make Ahead Dessert Guidelines
The absolute best part about this No-Bake Oreo Cheesecake is that it truly shines as a Make Ahead Dessert. You should absolutely plan to refrigerate it for at least six hours, but honestly, keeping it covered tightly in the fridge for up to three days is perfect.
Since we aren’t baking anything, there’s absolutely no need to worry about reheating it—it needs to stay cold to maintain that fantastic, firm texture.
Just make sure you cover the whole springform pan well with plastic wrap or foil so it doesn’t pick up any fridge smells. It’s so convenient when you can just pull a gorgeous dessert out the day before a party!
Frequently Asked Questions About No Bake Cheesecake Recipe
I always get questions about this recipe because people are so nervous about no-bake recipes setting up right. Don’t worry! That’s why I’m here to share all the little tricks I’ve learned over years of testing. If you follow the chilling advice, you’ll have no issues making this No-Bake Oreo Cheesecake!
Can I use a different type of cookie for the No-Bake Oreo Cheesecake crust?
Absolutely, you can, but you need to be ready for a flavor change! If you swap the Oreos for something like graham crackers, you are instantly getting away from that intense dark chocolate flavor this recipe is famous for. You’ll get a much sweeter crust. If you use chocolate graham crackers, that’s a great middle ground! Remember to still use the exact amount of melted butter to bind those crumbs together, no matter what cookie you crush up.
What do I do if my No Bake Cheesecake filling is too soft?
Argh, the dreaded soft filling! This almost always comes down to one of two things: either you didn’t chill it long enough, or, more commonly, you over-mixed the whipped topping. When you fold the whipped topping in, mix just until the white streaks disappear—no faster! If it’s too soft after the required 6 hours, just pop it back in the fridge. If it’s still soft the next day, it likely means there wasn’t quite enough fat/stabilizer in there, so next time, make sure that cream cheese is perfectly soft, not warm!
It’s important to remember that since this is a No Oven Dessert, there’s no baking to correct watery mixtures. Patience during chilling is the best tool we have!
Do I have to use the chopped Oreos in the filling?
Honestly, no, but why would you skip that joy? Those chunks of cookie embedded throughout the creamy filling are what give you that satisfying texture contrast instead of just smooth creaminess. You can skip them if you absolutely must, or you could try adding some nice chocolate chips instead if you’re feeling extra adventurous. But for the classic result, keep those chopped Oreos in there!
For more tips on planning ahead on your baking schedule, I have some storage notes you might find helpful over at my slow cooker apple butter post—it seems random, but the planning mindset is the same: easy homemade apple butter slow cooker recipe!
Estimated Nutrition Facts for This No-Bake Oreo Cheesecake
Look, I bake for love, not for counting every little thing, but I know some of you are curious about what you’re diving into! Here are the estimated breakdown figures for one slice of this absolutely decadent No-Bake Oreo Cheesecake. Remember, these are just estimates, because what brand of cream cheese you use can change the numbers slightly!
- Calories: Roughly 450
- Total Fat: Around 30g
- Carbohydrates: About 40g
- Protein: A modest 5g
This is a treat, not a health shake, so enjoy it guilt-free! If you’re looking for lighter inspiration after this indulgence, you can always check out my recipe for the easy creamy zucchini soup—it’s packed with goodness!
PrintThe Ultimate No-Bake Oreo Cheesecake
A simple recipe for a creamy, rich cheesecake using Oreo cookies for the crust and filling, requiring no oven time.
- Prep Time: 20 min
- Cook Time: 0 min
- Total Time: 6 hr 20 min
- Yield: 10 servings
- Category: Dessert
- Method: No Bake
- Cuisine: American
- Diet: Vegetarian
Ingredients
- 24 Oreo cookies, divided
- 6 tablespoons unsalted butter, melted
- 16 ounces cream cheese, softened
- 1 cup granulated sugar
- 1 teaspoon vanilla extract
- 1/4 cup milk
- 12 ounces frozen whipped topping (like Cool Whip), thawed
- 8 Oreo cookies, coarsely chopped (for mixing in)
- 1/2 cup heavy cream (for optional topping)
- 1 tablespoon powdered sugar (for optional topping)
Instructions
- Prepare the crust: Place 16 Oreo cookies in a food processor and pulse until fine crumbs form. Mix the crumbs with the melted butter until fully combined. Press the mixture firmly into the bottom of a 9-inch springform pan. Place the crust in the freezer while you prepare the filling.
- Make the filling: In a large bowl, beat the softened cream cheese, granulated sugar, vanilla extract, and milk with an electric mixer until the mixture is smooth and creamy. Scrape down the sides of the bowl as needed.
- Fold in the whipped topping: Gently fold the thawed whipped topping into the cream cheese mixture until just combined. Do not overmix.
- Add Oreos: Fold in the 8 coarsely chopped Oreo cookies.
- Assemble: Pour the filling over the chilled crust in the springform pan and spread evenly.
- Chill: Cover the pan loosely with plastic wrap and refrigerate for at least 6 hours, or preferably overnight, until the cheesecake is firm.
- Garnish (Optional): If using, beat the heavy cream and powdered sugar until stiff peaks form. Spread or pipe the whipped cream over the set cheesecake. Sprinkle with remaining crushed Oreos or whole cookies for decoration.
- Serve: Carefully run a thin knife around the edge of the pan before releasing the springform side. Slice and serve cold.
Notes
- For a deeper chocolate flavor, use dark chocolate Oreos for the crust.
- If you prefer a firmer topping, you can substitute the whipped topping in the filling with 1 1/2 cups of heavy cream whipped to soft peaks before folding in.
- To make slicing easier, dip your knife in hot water and wipe it clean between each cut.
- Chill time is crucial; do not rush the setting process for the best texture.
Nutrition
- Serving Size: 1 slice
- Calories: 450
- Sugar: 35g
- Sodium: 320mg
- Fat: 30g
- Saturated Fat: 18g
- Unsaturated Fat: 12g
- Trans Fat: 0.5g
- Carbohydrates: 40g
- Fiber: 1g
- Protein: 5g
- Cholesterol: 75mg