

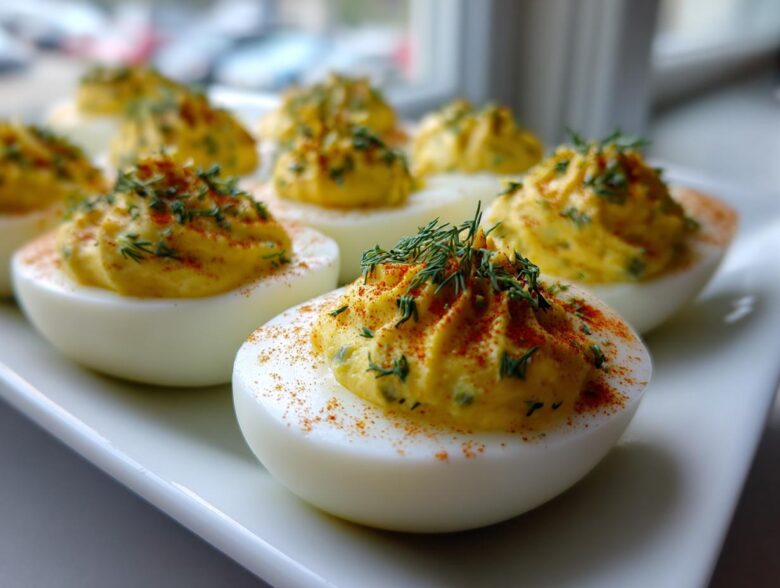
If there’s one thing that screams “party!” or “summer picnic!” it’s a platter piled high with those magical little egg halves. You just can’t beat a classic, right? But let’s be honest, every host has a story about a batch that ended up runny or tasted too much like straight mustard. Well, I’m here to save your next gathering because I finally perfected this recipe for Classic Deviled Eggs with Dill Pickle Relish! This is the definitive version, folks. After making hundreds of these things for everything from backyard BBQs to holiday spreads, my secret is all about balance—seriously creamy filling meeting just the right pop of tangy flavor. Trust me, these go faster than anything else on the table.
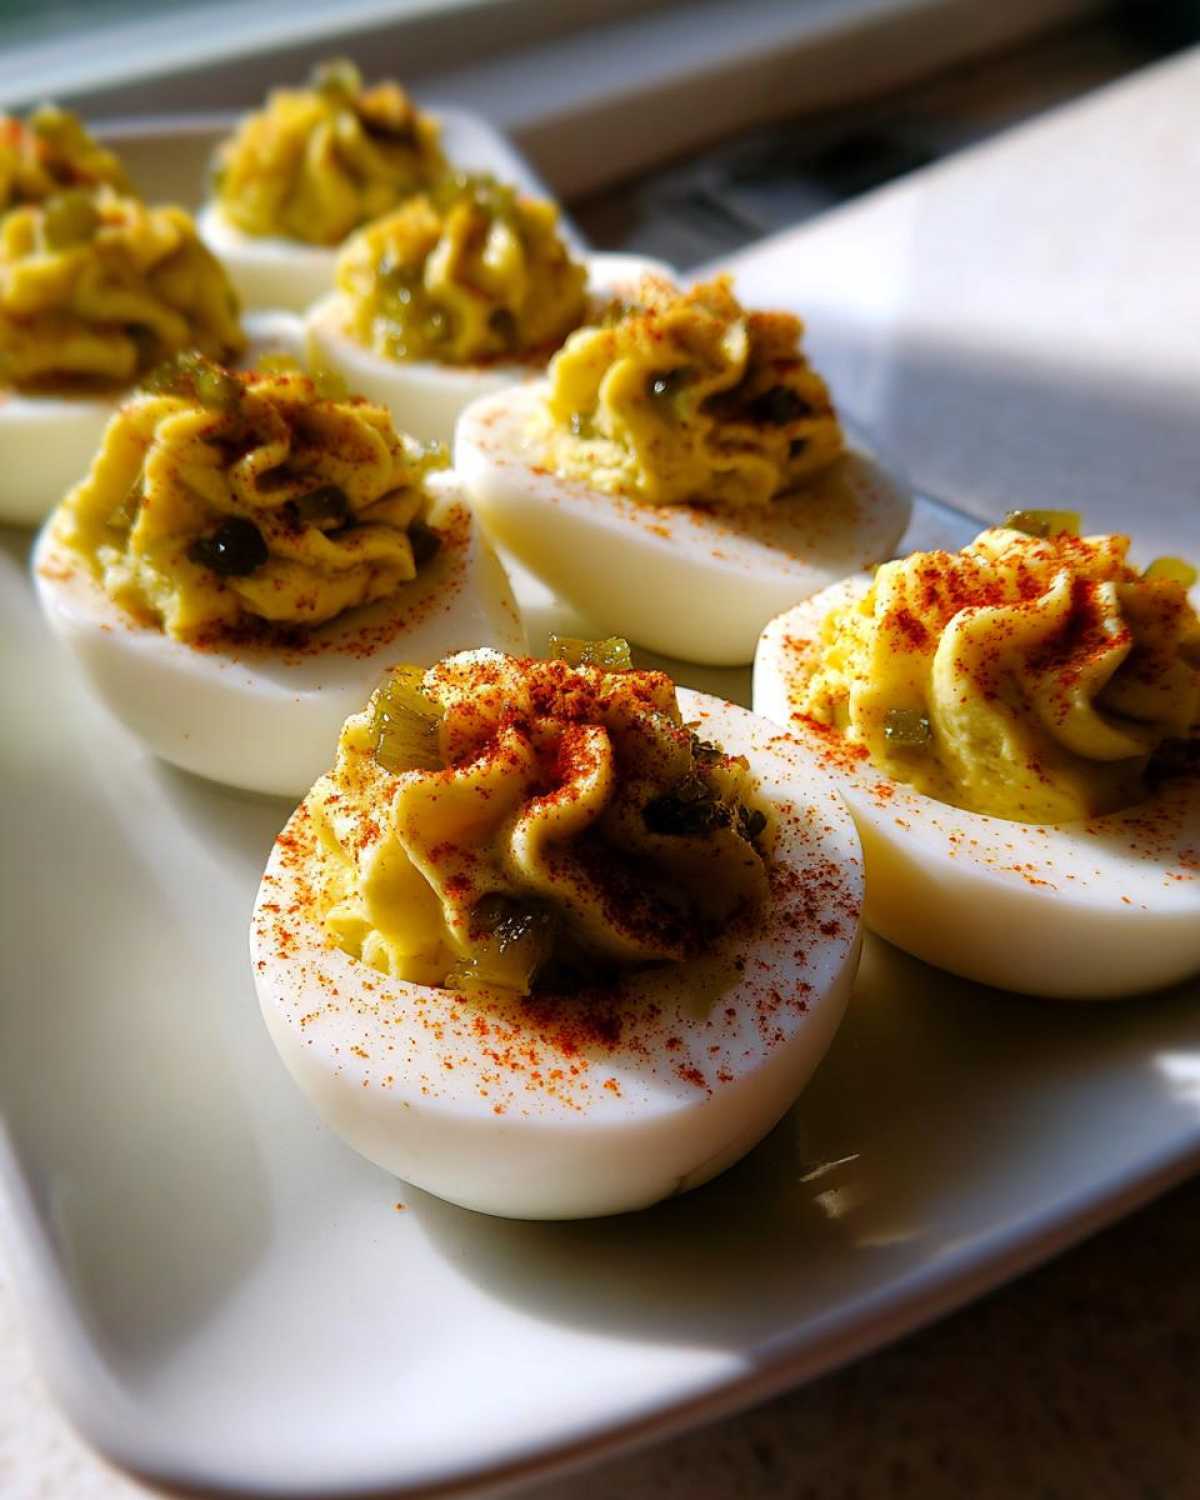
Why This Classic Deviled Eggs with Dill Pickle Relish Recipe Works
Honestly, making a great deviled egg is easy, but making the *best* one—the one people ask the recipe for—takes a little finesse. These aren’t just any deviled eggs; they are reliable, delicious, and they disappear instantly. This recipe guarantees you end up with the Best Party Appetizer around! Forget flimsy fillings or bland yolks. We nail both the texture and the flavor profile every single time, making them true Crowd Pleasing Snacks. You can read more tips over at our main cooking tips page.
- They are utterly foolproof once you nail the consistency of the filling.
- The bright, tangy flavor cuts through the richness of the yolk perfectly.
- This method allows for easy prep ahead of time, which is a lifesaver!
Achieving the Perfect Creamy Egg Filling
Texture is everything in a deviled egg, right? You want that incredible, smooth, velvet feel. The secret? Patience when it comes to the yolks! You need to mash them until they are totally fine dust first—I mean *really* mash them before anything else goes in. This extra step ensures you get that glorious, lump-free, Creamy Egg Filling that feels luxurious on the tongue.
The Tang Factor: Dill Pickle Relish Integration
This is where we separate the good eggs from the unforgettable eggs! The dill pickle relish brings that signature zesty punch we all crave. But here’s the catch: you absolutely must drain it really well before mixing it in. Excess liquid is the enemy of a sturdy filling. We want the pickle flavor throughout, not a soupy mess sliding right out of the egg white!
Gathering Ingredients for Classic Deviled Eggs with Dill Pickle Relish
Okay, gathering your supplies is half the fun! Getting the right stuff makes all the difference between a good batch and the absolute best batch of Classic Deviled Eggs with Dill Pickle Relish you’ve ever had. Remember, precision matters here, especially with the relish because we don’t want soggy whites! You’ll need a dozen of your best eggs—I’ll tell you a secret about those in a minute!
- 12 large eggs (the stars of the show!)
- 1/2 cup mayonnaise (use the good stuff, it’s worth it)
- 2 tablespoons yellow mustard (classic choice, no fancy Dijon here)
- 1/4 cup dill pickle relish, drained really, really well
- 1 teaspoon white vinegar (just a tiny splash for brightness!)
- 1/4 teaspoon salt
- 1/8 teaspoon black pepper
- Paprika, for that gorgeous finishing dust
Ingredient Notes and Substitutions
Let’s talk specifics so you don’t run into trouble. First, for peeling success, don’t use eggs you bought yesterday! Slightly older eggs peel like a dream—that’s a huge time-saver when you’re rushing to get these done. And I can’t stress this enough: make sure that dill pickle relish goes through a fine-mesh sieve first. We need zing, not water! If you’re out of yellow mustard, you could technically use Dijon in a pinch, but for that true *classic* vibe, yellow is the gold standard here.
Step-by-Step Instructions for Classic Deviled Eggs with Dill Pickle Relish
Alright, this is where the magic happens for what I consider the most straightforward and Easy Deviled Eggs Recipe out there. We’re going through the whole process here, from getting perfectly cooked eggs to plating them up looking amazing. Don’t rush the chilling time, though; that’s crucial for structure when you’re using them as Quick Snack Prep for a big event!
You can check out some extra fun ideas on our main recipe page if you need inspiration between steps.
Mastering the Perfect Hard Boiled Eggs
The base of any good deviled egg is a perfectly cooked white and yolk that isn’t green around the edges! Put your eggs in a pan and cover them with cold water. Bring that water up to a full, rolling boil over high heat. The second it’s bubbling hard, kill the heat, cover the pot immediately, and just let them sit there, untouched, for exactly twelve minutes. That timing is key! As soon as the timer goes off, splash them straight into an ice bath and let them chill completely—about ten minutes. This sudden stop in cooking ensures they peel beautifully.
Creating the Tangy Egg Salad Filling
Once peeled and halved—yolks carefully scooped out into a bowl—it’s time for the filling. Mash those yolks with a fork until they are the finest powder you can manage. No lumps allowed if you want that perfect texture! Now, add your mayonnaise, mustard, the well-drained pickle relish, vinegar, salt, and pepper. Mix it all together until you have a cohesive, smooth mixture. Taste it right here! This is your chance to dial in that exact level of tang you are looking for in your final Tangy Egg Salad Filling.
Filling and Presentation Tips for Classic Deviled Eggs with Dill Pickle Relish
Now that the filling is ready, gently pile it back into the egg white halves. If you’re feeling fancy, grab a piping bag with a star tip—it makes them look instantly professional, perfect for Holiday Finger Foods! If you’re in a rush, a small spoon works fine, just make a little swirl on top. Once they are filled, put them on your serving platter and chill them for at least 30 minutes. Right before you serve them up, dust them lightly with paprika for that signature colorful finish.
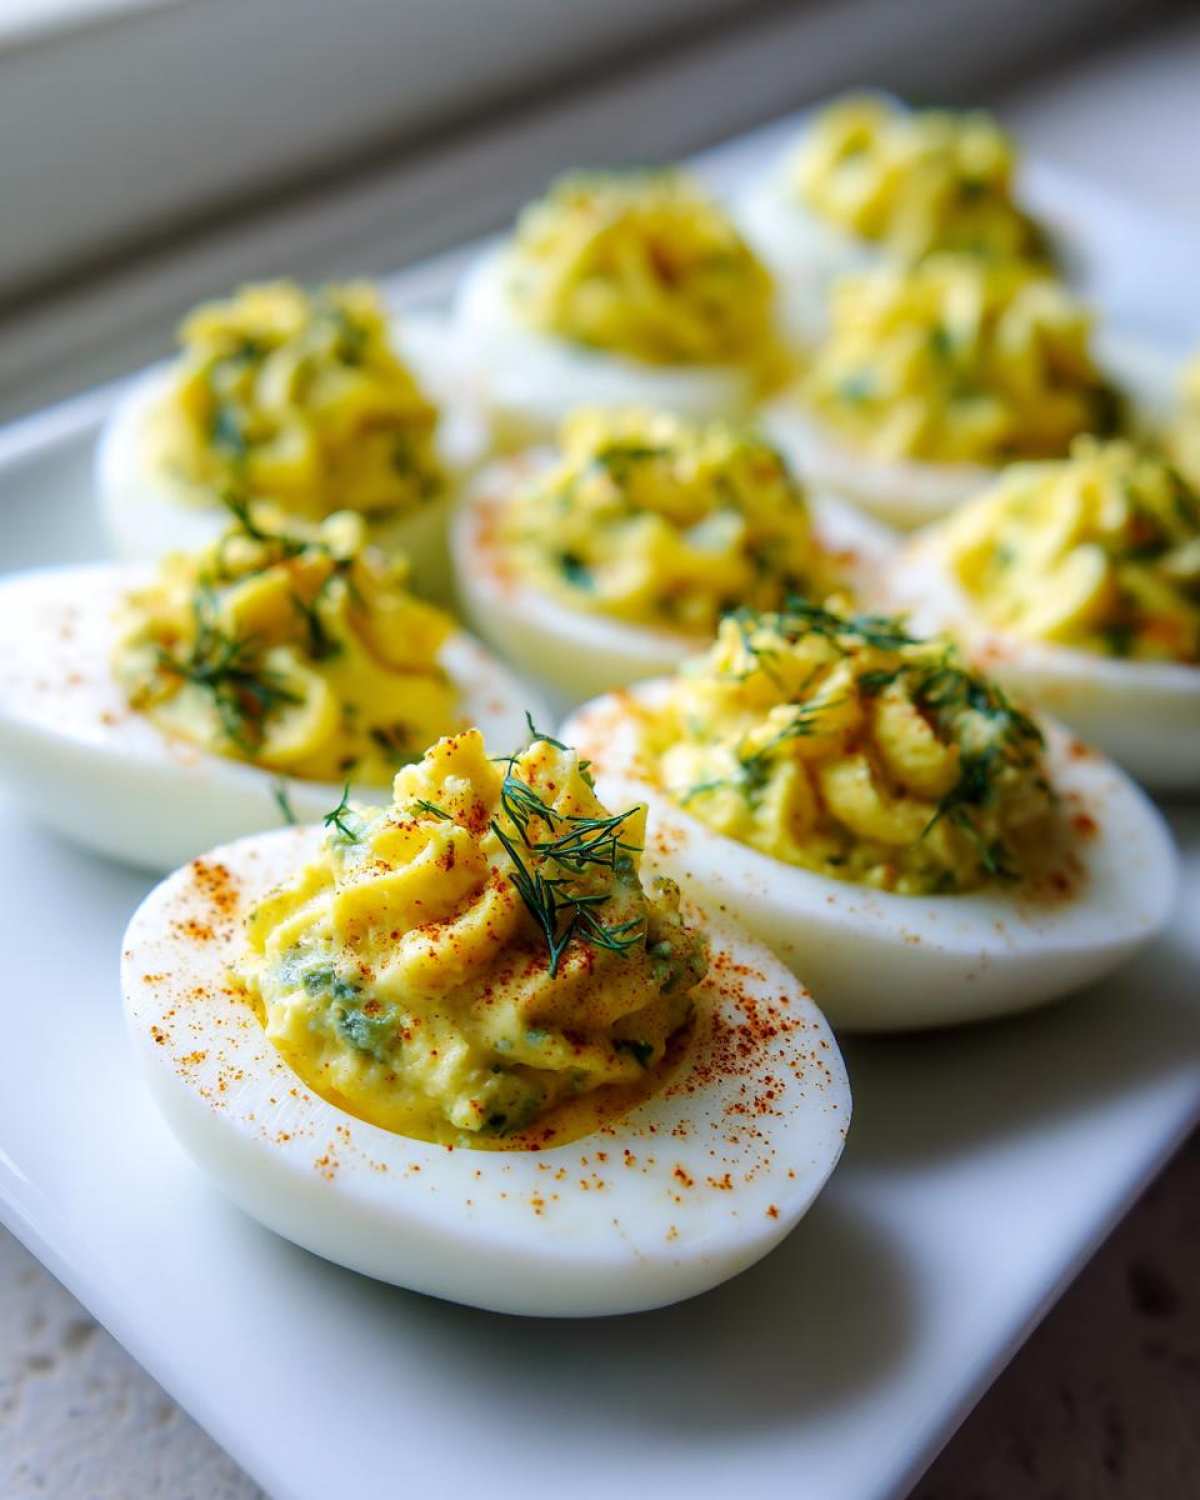
Tips for Success with Your Classic Deviled Eggs with Dill Pickle Relish
Even with a great recipe, sometimes things happen in the kitchen! When I’m making a huge batch of these Classic Deviled Eggs with Dill Pickle Relish for a party, I always lean on a few troubleshooting secrets. The biggest headache is usually runny filling, but that almost always means your relish wasn’t drained well enough. Squeeze that relish between paper towels; don’t just let it sit in a colander!
Peeling is another big one. If you’re struggling, remember the trick: use eggs that aren’t straight-from-the-farm fresh. Also, the immediate shock of the ice bath is non-negotiable—it shrinks the egg slightly away from the membrane, making peeling so much easier. You can find even more handy storage advice over at our recipe section.
Make Ahead and Storage for Classic Deviled Eggs with Dill Pickle Relish
One of the reasons this is my favorite recipe for big events is how well it handles advance prep! If you’re planning a massive spread, you absolutely want to make the filling ahead of time. This is a fantastic trick for creating genuine Make Ahead Appetizers. You can easily combine the yolks, mayo, mustard, vinegar, and the drained pickle relish up to a full day in advance. Just store that beautiful, creamy mixture in an airtight container in the coldest part of your fridge.
However, a word of warning: do *not* fill the egg whites until you are ready to serve, or at least within a couple of hours. The acids in the relish and vinegar, while delicious, can start to break down the egg white texture if left soaking overnight. Store the empty, peeled egg white halves separately, covered tightly. When it’s time to go, pipe or spoon the filling back in, dust with paprika, and you are instantly done! You can get more timing secrets on our general baking tips page.
Serving Suggestions for Classic Deviled Eggs with Dill Pickle Relish
These little bites are so versatile! They are an absolute must-have as a Classic Potluck Staple because they travel relatively well, especially if you keep them chilled. If you’re planning a warm-weather spread, they easily become the highlight of your Best Summer Appetizer lineup. They are rich, but that vinegar and dill cut right through, making them feel surprisingly light!
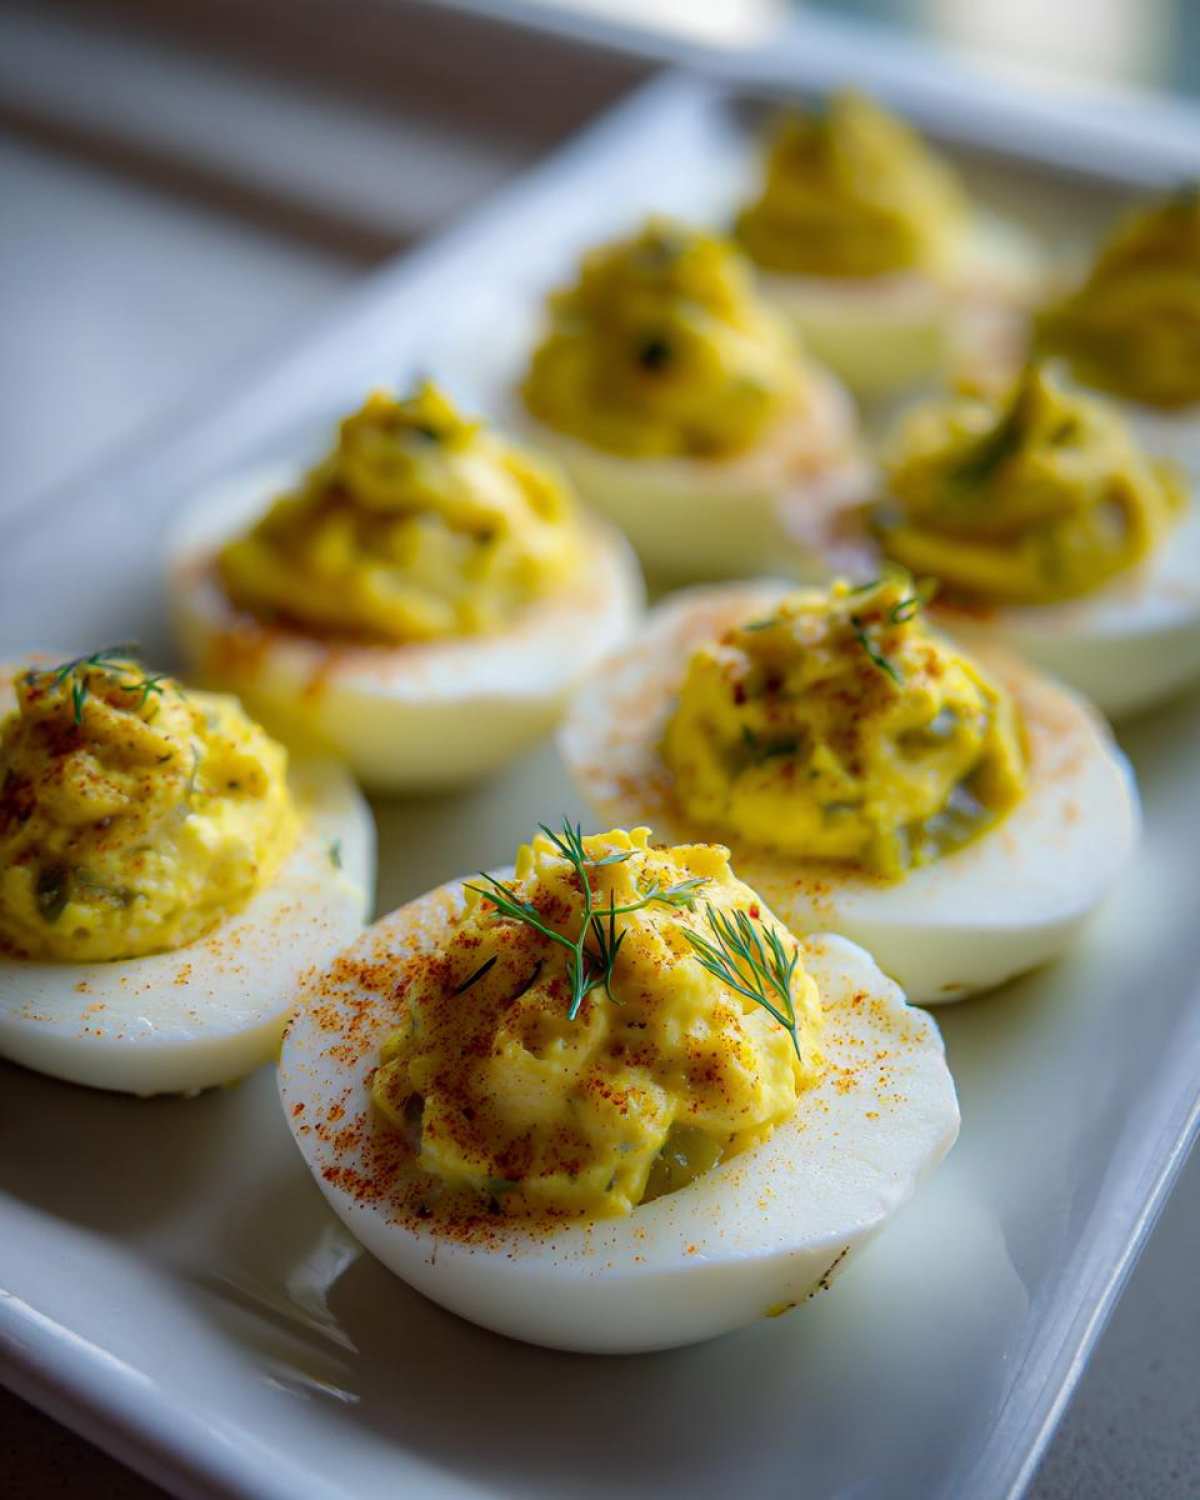
When I serve them, I always put them on a big platter surrounded by things that contrast nicely. Think crisp celery sticks and carrot rounds arranged around the edges. I also love having simple, plain water crackers nearby. People grab a cracker, top it with a deviled egg half, and it makes for a perfect, self-contained little bite. You can grab some other platter arrangement ideas over at our main recipe index for when you need inspiration!
Frequently Asked Questions About Classic Deviled Eggs with Dill Pickle Relish
How do I prevent my deviled egg filling from becoming too runny?
Oh, the runny filling struggle is real! The absolute number one way to keep things firm is proper draining of the relish—really press it dry. Also, be careful not to overdo that teaspoon of vinegar; it adds brightness, but too much liquid will turn your beautiful, Creamy Egg Filling into soup. Stick to the recipe amounts, and use full-fat, good quality mayonnaise!
Can I use sweet pickle relish instead of dill pickle relish in this classic recipe?
You certainly *can*, but it changes the vibe completely! This recipe is built around the sharp, savory notes of dill for that authentic flavor. If you swap in sweet relish, you’ll get a much sweeter, almost dessert-like taste. You lose that essential “zing” and your result will lean more toward a classic picnic salad flavor than a sharp, Tangy Egg Salad Filling.
What is the best way to transport Classic Deviled Eggs with Dill Pickle Relish to a picnic?
If you’re bringing these as a reliable Picnic Food Idea, stability is key! Never just pile them in a standard container—they’ll slide around. Invest in a dedicated deviled egg carrier tray; they lock each half into place perfectly. If you don’t have one, use a shallow container with strips of lettuce glued down with a dab of cream cheese at the bottom to keep the whites from shifting.
Estimated Nutritional Data for Classic Deviled Eggs with Dill Pickle Relish
You know I always like to be upfront with you, even about the numbers! These estimates are based on the standard ingredients for two halves of my Classic Deviled Eggs with Dill Pickle Relish recipe. Keep in mind that because everyone uses a different brand of mayo or slightly different sized eggs, these are just a good guideline for what you can expect from this Simple Picnic Side Dish. For full product disclaimers, you can always check out our official nutrition notes here.
- Serving Size: 2 halves
- Calories: 90
- Fat: 7g
- Protein: 4g
- Carbohydrates: 1g
- Sodium: 120mg
Share Your Experience Making This Classic Deviled Eggs with Dill Pickle Relish
That’s it—you’re officially inducted into the club of people who make the absolute best deviled eggs! I sincerely hope you enjoyed whipping up this batch of Classic Deviled Eggs with Dill Pickle Relish. Seriously, I want to hear all about it! Did they disappear in under five minutes like mine always do?
Don’t be shy! Head down to the comments section right now and let me know what you thought. Did you stick strictly to the classic formula, or did you try a little extra sprinkle of black pepper? If you have any fun presentation ideas or personal twists, please share them with the community! Dropping a quick rating also helps other cooks know that this recipe is a guaranteed winner.
If you need to get in touch with me directly about anything, whether it’s a substitution question or just to send me praise (kidding… mostly!), you can always reach out via my contact page. Happy cooking, everyone!
PrintClassic Deviled Eggs with Dill Pickle Relish
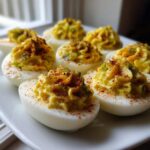
A traditional recipe for creamy deviled eggs featuring the tangy flavor of dill pickle relish.
- Prep Time: 20 min
- Cook Time: 12 min
- Total Time: 32 min
- Yield: 24 halves
- Category: Appetizer
- Method: Boiling and Mixing
- Cuisine: American
- Diet: Vegetarian
Ingredients
- 12 large eggs
- 1/2 cup mayonnaise
- 2 tablespoons yellow mustard
- 1/4 cup dill pickle relish, drained well
- 1 teaspoon white vinegar
- 1/4 teaspoon salt
- 1/8 teaspoon black pepper
- Paprika, for garnish
Instructions
- Place eggs in a large saucepan and cover with cold water by one inch. Bring the water to a rolling boil over high heat.
- Remove the pan from the heat, cover it, and let the eggs stand for 12 minutes.
- Immediately transfer the eggs to an ice bath (a bowl of ice water) and let them cool completely, about 10 minutes.
- Peel the cooled eggs. Slice each egg in half lengthwise. Gently scoop the yolks into a medium bowl. Place the egg white halves on a serving platter.
- Mash the yolks thoroughly with a fork until no lumps remain.
- Add the mayonnaise, mustard, drained pickle relish, vinegar, salt, and pepper to the mashed yolks. Mix until the filling is completely smooth and creamy.
- Spoon or pipe the yolk mixture back into the hollows of the egg white halves. For piping, use a star tip for a decorative look.
- Chill the deviled eggs for at least 30 minutes before serving.
- Just before serving, lightly dust the tops of the filling with paprika.
Notes
- To achieve easy peeling, use slightly older eggs rather than very fresh ones.
- Drain the pickle relish thoroughly; excess liquid will make the filling runny.
- You can use a piping bag and star tip to make the presentation look professional.
- Make the filling up to one day ahead and store it covered in the refrigerator. Fill the egg whites just before serving.
Nutrition
- Serving Size: 2 halves
- Calories: 90
- Sugar: 0.5
- Sodium: 120
- Fat: 7
- Saturated Fat: 2
- Unsaturated Fat: 5
- Trans Fat: 0
- Carbohydrates: 1
- Fiber: 0
- Protein: 4
- Cholesterol: 100