

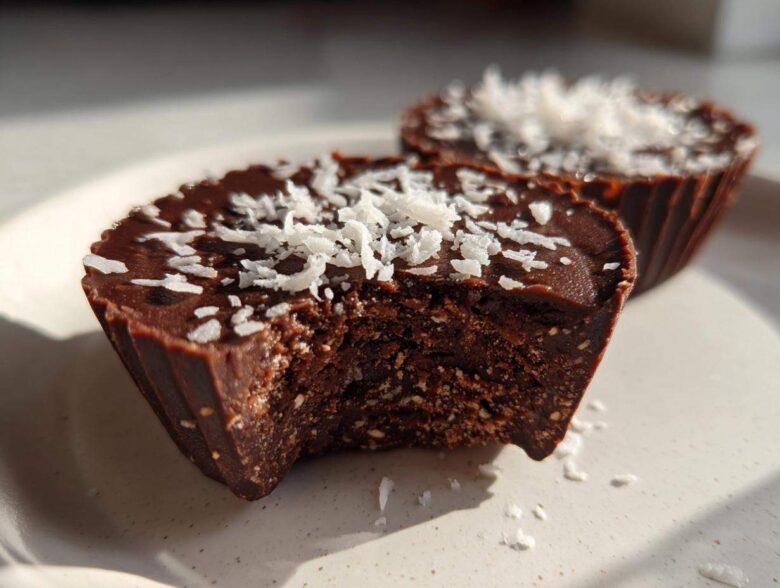
Hey everyone! If your life feels way too hectic but your gym schedule demands fuel, I totally get it. Some days, the thought of firing up the oven is just too much, right? That’s why I rely on my secret weapon for quick, guilt-free energy: these **No-Bake Chocolate Coconut Protein Cups**! Seriously, these are my go-to for tossing into my work bag or having ready after a crazy workout. They come together faster than my coffee brews, and since they use wholesome ingredients, I feel great eating them. Forget complicated baking; we’re talking about mixing, pressing, and chilling our way to the best high-protein snack you’ll ever try. You absolutely need this recipe in your life. You can check out more of my quick kitchen hacks over at my main blog page if you’re into that sort of thing!
Why You Need These No-Bake Chocolate Coconut Protein Cups
Okay, so why are these the absolute best things for your busy life? Honestly, it’s the convenience factor that wins me over every single time. I don’t have time for fuss, and I bet you don’t either!
- No oven required means zero preheating and way less cleanup!
- They pack a massive protein punch—seriously fueling for hours.
- They are perfectly portioned for snacking any time you need a boost. Find lots of my other quick recipes in the Snacks category!
- Grab and go perfection! Toss a few in a container and you’re set for the week.
Essential Ingredients for Perfect No-Bake Chocolate Coconut Protein Cups
The backbone of any great no-bake treat is picking the right binders, and these protein cups rely on quality ingredients to hold their shape without any oven magic. Pull out your measuring cups because precision matters here, trust me. We’re aiming for that perfect, slightly fudgy texture!
First, we need 1 cup of unsweetened shredded coconut; make sure it’s shredded, not flakes, for the best structure. Then, grab 1/2 cup of your protein powder—I used vanilla, but unflavored works too. Measure out 1/4 cup of cocoa powder; if yours tends to clump up like mine does sometimes, give it a quick sift before you add it!
For the binders, you need 1/4 cup of creamy peanut butter or almond butter. Crucially, the 3 tablespoons of coconut oil needs to be fully melted but never hot—just liquid gold. Finally, 3 tablespoons of maple syrup pulls it all together for sweetness, plus a teaspoon of vanilla extract and a tiny pinch of salt to balance that chocolate. If you are looking for other great recipes that use similar binders, check out my Blueberry Greek Yogurt Protein Muffins for comparison!
Ingredient Notes and Substitution Options
Different proteins behave differently, so listen up! Whey or casein gives a slightly firmer cup, whereas plant-based powders might make the mixture a touch softer, meaning you might need 1 extra teaspoon of oil to compensate. If you can’t do nuts, sunflower seed butter is a fantastic swap for that creamy richness. For sweetness, if you’re avoiding sugar, a few drops of liquid stevia works, but start small because those little drops are powerful!
Equipment Needed for Easy Protein Cups Recipe
Since we aren’t baking anything, the equipment list is super simple, which I love! You definitely need a standard 12-cup muffin tin. Don’t forget the paper liners, of course; trying to peel these sticky cups out of the tin directly is a nightmare I won’t wish on anyone!
Grab a medium mixing bowl—nothing fancy, just something you can really stir in well. A sturdy spatula or a heavy wooden spoon is essential for mixing everything into that thick dough. That’s it! Minimal dishes means happy me!
Step-by-Step Instructions for No-Bake Chocolate Coconut Protein Cups
Alright, this is where the magic happens, and trust me, it’s so fast you’ll blink and miss it! First things first, grab that 12-cup muffin tin and line every single spot with a paper liner. This is non-negotiable if you want easy removal later!
Next, get your dry crew together in a medium bowl: that shredded coconut, your protein powder, the cocoa powder, and that tiny pinch of salt. Stir them up super well so everything is evenly distributed before we add the wet stuff. Don’t skip this dry mix step!
Now, pour in the peanut butter, that melted coconut oil, the maple syrup, and the vanilla right over the top of the dry ingredients. Grab your sturdy spatula or spoon—we’re mixing now! Keep folding and stirring until you get one big, thick, uniform dough. If it feels horribly dry and crumbly like sand, add water or milk, just a teaspoon at a time, until it finally sticks together when you squeeze it.
Once you have that perfect dough, it’s time to press! Divide the mixture evenly into those 12 lined cups. You really need to press it down firmly into the bottom of each liner. I use the back of a small measuring spoon for this; you want them compact! If you want that extra touch, sprinkle the reserved coconut right on top now. Then, and this is the “baking” step, pop the whole tray into the freezer for at least one hour until they are rock solid. For other easy no-bake fun, you should see my Oreo ball recipe—it uses a similar technique!
Tips for Perfect No-Bake Chocolate Coconut Protein Cups Setting
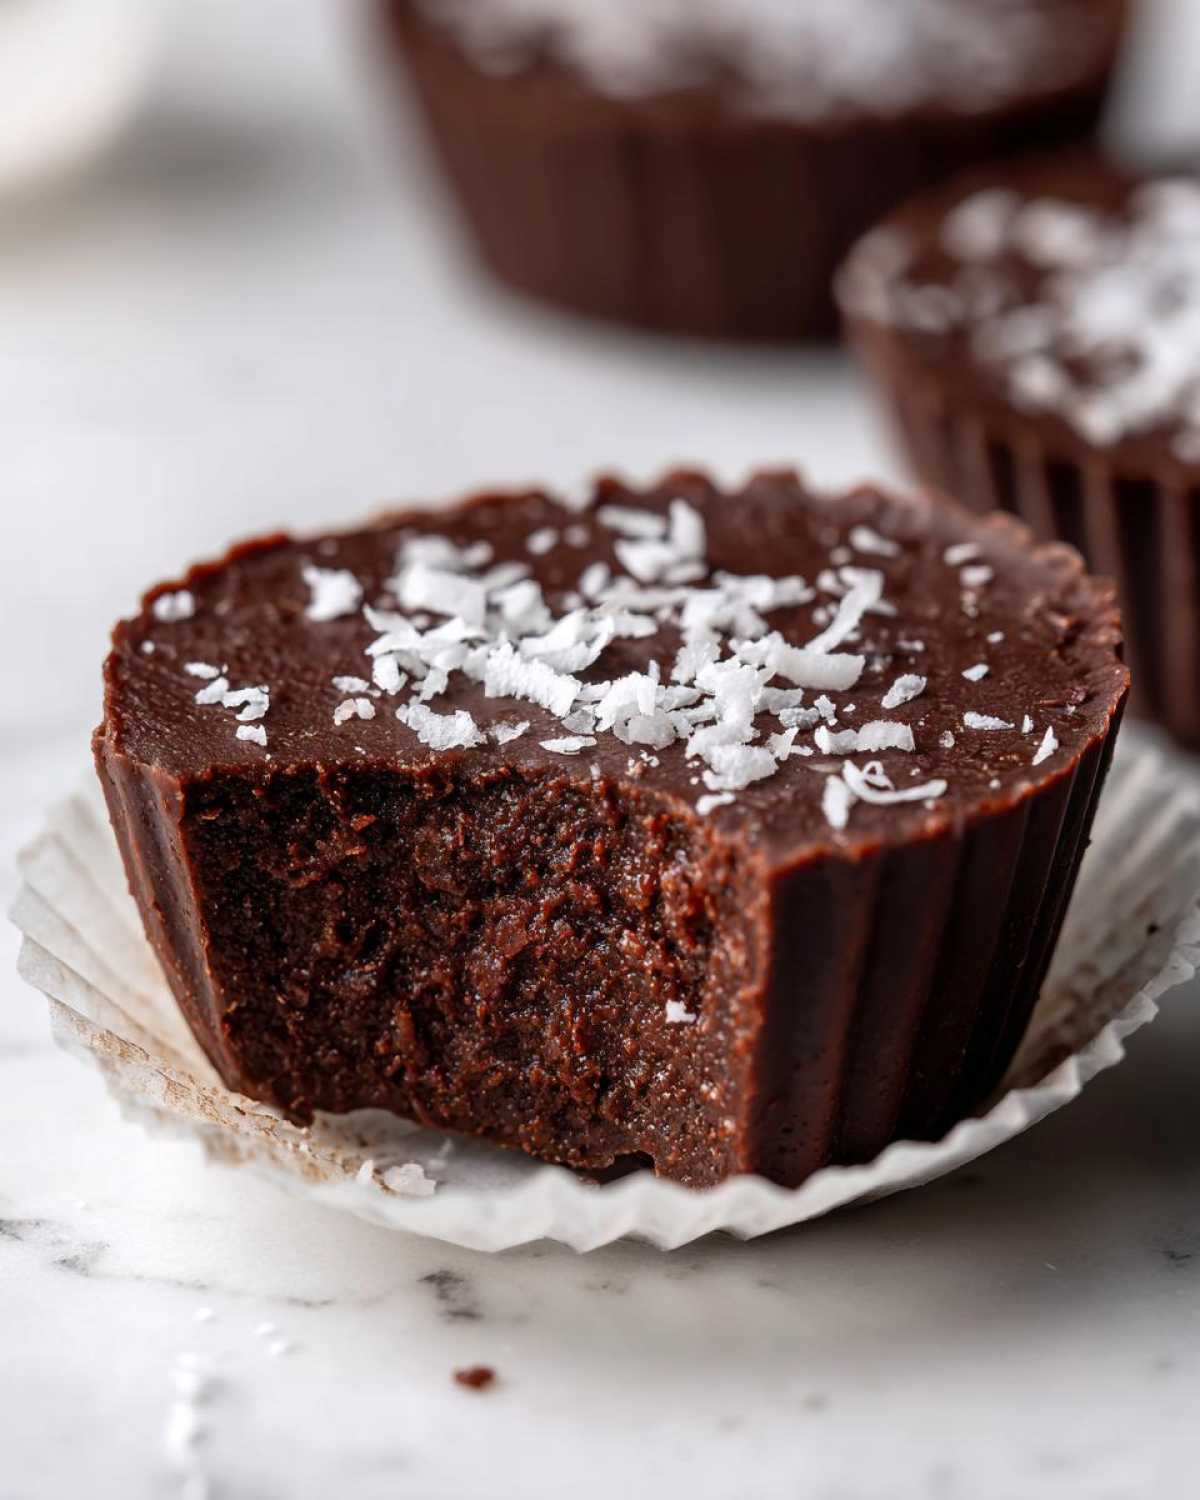
Setting time is when patience pays off! If your cups feel too soft after an hour, just leave them in the freezer a bit longer. If they seem too crumbly before you even press them, you just need a tiny bit more melted oil or sweetener. My best tip? Give them a gentle tap once they’re frozen solid—if the whole cup doesn’t wiggle slightly in the liner, they are perfect and ready to grab!
Making Chocolate Coconut Snacks for Meal Prep Protein Snacks
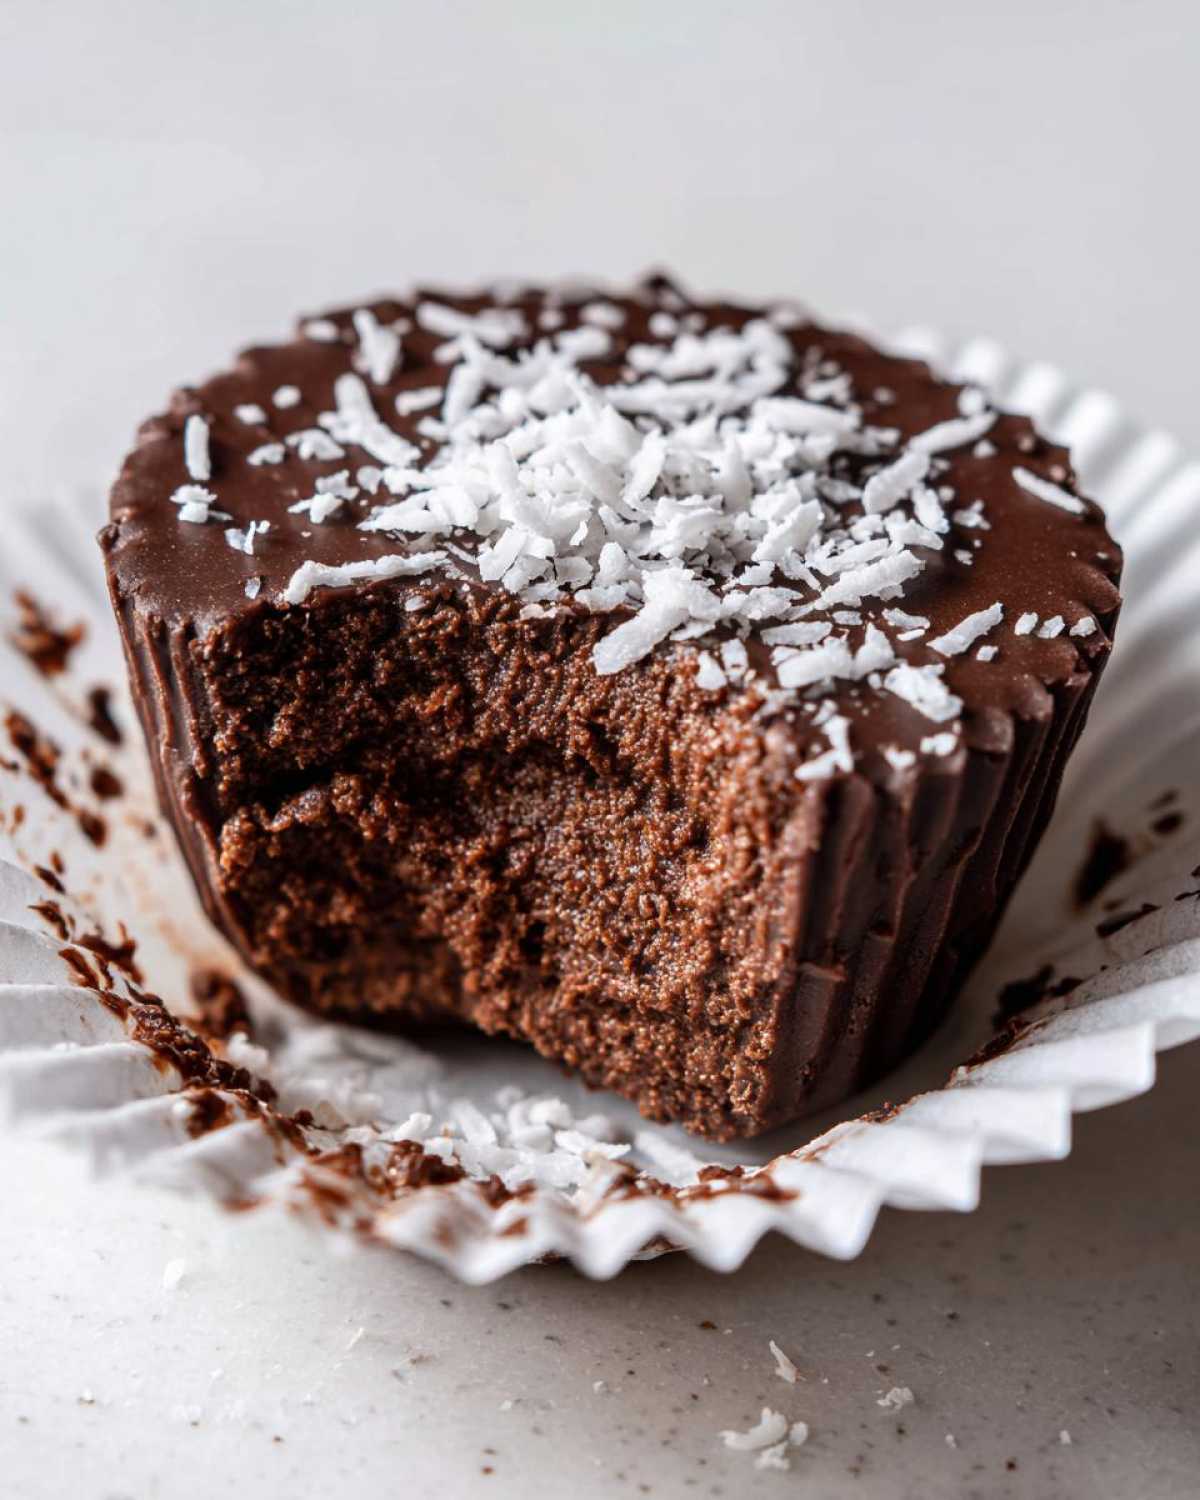
This is where these little powerhouses really shine! Because they’re loaded with coconut oil and protein, they are amazing for batch prepping on a Sunday afternoon. If you are looking for great meal prep protein snacks that don’t take up your whole day, these are your answer.
Storage is pretty straightforward, but where you keep them changes the texture. For snacking throughout the week, keep them in an airtight container in the fridge; they stay nice and firm for about 10 days. If you make a huge batch, which I always do, they freeze beautifully!
Seriously, freeze them individually on a baking sheet first, and once solid, transfer them to a freezer bag. They hold up perfectly for up to two months, making them dependable high protein snack ideas for when life gets hectic. Just grab one straight from the freezer, and it thaws in about five minutes on the counter!
Variations for Your High Protein Snack Ideas
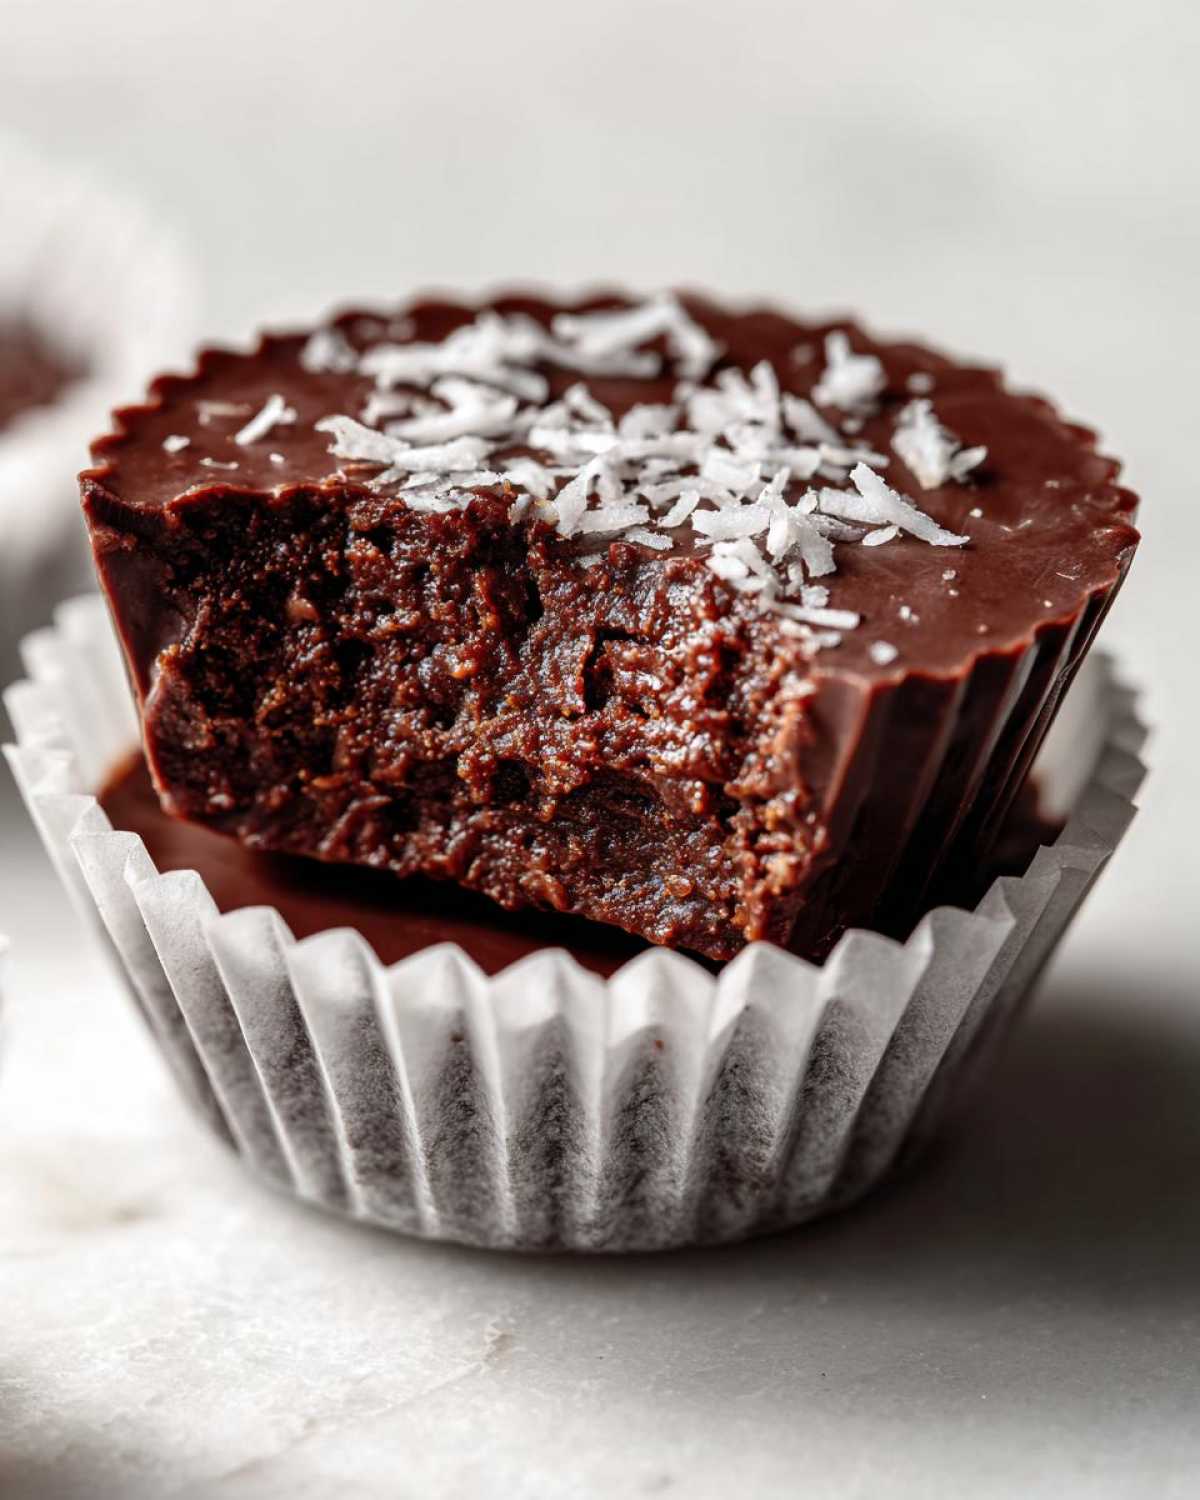
The base recipe is honestly perfect as is, but why stop there when we can customize things? I love swapping out ingredients slightly depending on what protein powder I have on hand! If you happen to have some almond extract, add just half a teaspoon along with the vanilla—it gives these snacks a totally gourmet, almost marzipan-like flavor that is divine.
Another fun trick is mixing up the texture. If you happen to have some mini dark chocolate chips lying around, toss in about two tablespoons when you mix the dough. They stay gooey in the fridge, which is just heavenly! For another simple, mix-in friendly recipe, check out my peanut butter crispy treats for inspiration.
Or, if you want to get really wild, substitute half the shredded coconut with unsweetened cashew butter instead of nut butter. It makes these ultra-creamy, almost like a homemade protein fudge! Honestly, the possibilities are endless when you stick to that core binder ratio.
Serving Suggestions for Quick Protein Dessert
These little cups are so versatile; they hit the spot any time of the day! I often grab one straight from the fridge to pair with a big mug of hot coffee in the morning. They are just the right size to cut the bitterness without being overly sweet.
If you want to turn this into a real quick protein dessert experience, try warming one up slightly! Pop it in the microwave for about 10 seconds—the coconut oil softens up, and it gets this amazing, gooey, fudge-like texture. Serve it with a scoop of vanilla coconut yogurt. So simple, so satisfying!
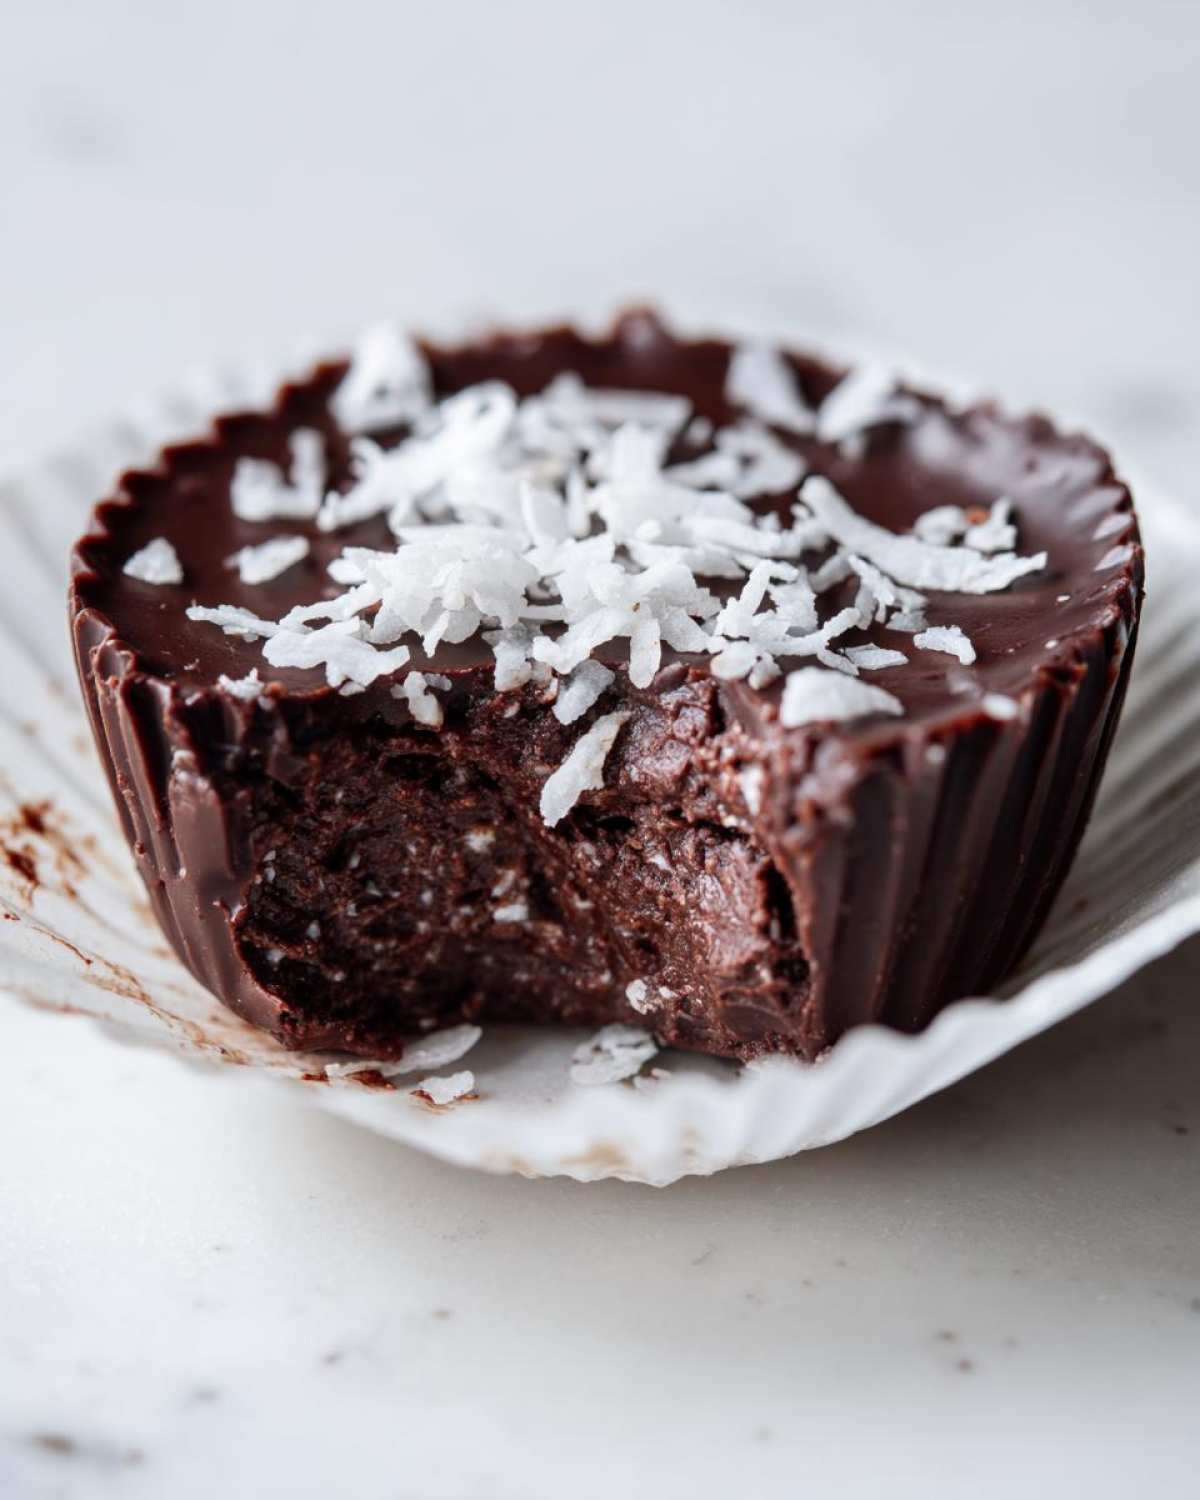
Frequently Asked Questions about No-Bake Chocolate Coconut Protein Cups
I know when I find a new recipe, I always have a million little questions rolling around, so let’s tackle a few common ones about these easy protein cups recipe right now!
Can I make these Keto or Low Sugar Protein Bites?
Yes, you totally can tweak them! The maple syrup brings in the sugar, so if you skip that and use liquid stevia or monk fruit drops instead, you’ll significantly lower the sugar content. The coconut oil is fine for keto, but you’d need to swap the maple syrup for a keto-friendly syrup substitute to keep the binder the same consistency. Since this recipe is so adaptable, it works great as a treat in most snack plans!
What if I don’t have coconut oil? Can I use regular oil?
Oh, that’s a common one! Coconut oil is key here because it goes rock solid when chilled, which helps hold the cup shape perfectly, almost like a **Homemade Protein Fudge**. If you use regular oil, the cups will stay a lot softer in the fridge, so you might have to keep them in the freezer for a firmer bite. If you use regular oil, you might even need less of it, but honestly, just stick it in the freezer for guaranteed firmness!
Can I use a different protein powder than what you suggested?
Absolutely! I mentioned this briefly, but I want to stress it: almost any protein powder will work for these **Chocolate Coconut Snacks**. The consistency changes slightly—whey sets up firmer than pea protein, for example. If you use a very absorbent powder (like casein), just be ready to add an extra splash of liquid, like water or almond milk, just a teaspoon at a time, until your mix resembles that perfect thick dough!
Are these Gluten Free Protein Treats?
This recipe is naturally gluten-free, which is fantastic news! As long as your protein powder is certified gluten-free (most major brands are, but always double-check the label!), you are good to go. These are great alternatives to baked goods when you need quick, simple, fuss-free snacks. You can find my thoughts on other GF baking alternatives over on my soup recipe page if you’re looking for savory ideas too!
Estimated Nutrition Facts for No-Bake Chocolate Coconut Protein Cups
Now, before you start digging in, it’s always responsible to look at what we’re putting into our bodies! Remember, since these are homemade and you might be subbing ingredients, these numbers are just my best estimate based on the core recipe. I usually reference my official nutritional disclaimer page for general serving guidelines.
- Serving Size: 1 cup
- Calories: 180
- Protein: 10g
- Fat: 14g
- Carbohydrates: 10g
- Sugar: 7g
That 10 grams of protein per little cup? That’s fantastic fuel to power through an afternoon slump or crush that next workout!
PrintNo-Bake Chocolate Coconut Protein Cups
Make these simple, no-bake protein cups using chocolate, coconut, and your favorite protein powder. They are quick to prepare and perfect for meal prepping.
- Prep Time: 15 min
- Cook Time: 0 min
- Total Time: 1 hour 15 min
- Yield: 12 cups
- Category: Snack
- Method: No-Bake
- Cuisine: American
- Diet: Vegetarian
Ingredients
- 1 cup unsweetened shredded coconut
- 1/2 cup vanilla or unflavored protein powder (plant-based or whey)
- 1/4 cup cocoa powder
- 1/4 cup creamy peanut butter or almond butter
- 3 tablespoons coconut oil, melted
- 3 tablespoons maple syrup or honey
- 1 teaspoon vanilla extract
- Pinch of salt
- 2 tablespoons extra shredded coconut for topping (optional)
Instructions
- Line a standard 12-cup muffin tin with paper liners.
- In a medium bowl, combine the shredded coconut, protein powder, cocoa powder, and salt. Mix well until fully combined.
- Add the peanut butter, melted coconut oil, maple syrup, and vanilla extract to the dry ingredients.
- Stir everything together using a sturdy spoon or spatula until a thick, uniform dough forms. If the mixture seems too dry, add 1 teaspoon of water or milk at a time until it holds together.
- Divide the mixture evenly among the 12 muffin liners, pressing the mixture down firmly into each cup.
- If using, sprinkle the remaining shredded coconut on top of each cup.
- Place the muffin tin in the freezer for at least 1 hour to set completely.
- Store the finished protein cups in an airtight container in the refrigerator or freezer.
Notes
- For a lower sugar option, substitute the maple syrup with a few drops of liquid stevia, adjusting to taste.
- If you prefer a firmer texture, use whey or casein protein powder; plant-based powders may result in a slightly softer cup.
- You can substitute the nut butter with sunflower seed butter for a nut-free version.
Nutrition
- Serving Size: 1 cup
- Calories: 180
- Sugar: 7g
- Sodium: 45mg
- Fat: 14g
- Saturated Fat: 8g
- Unsaturated Fat: 6g
- Trans Fat: 0g
- Carbohydrates: 10g
- Fiber: 3g
- Protein: 10g
- Cholesterol: 0mg