

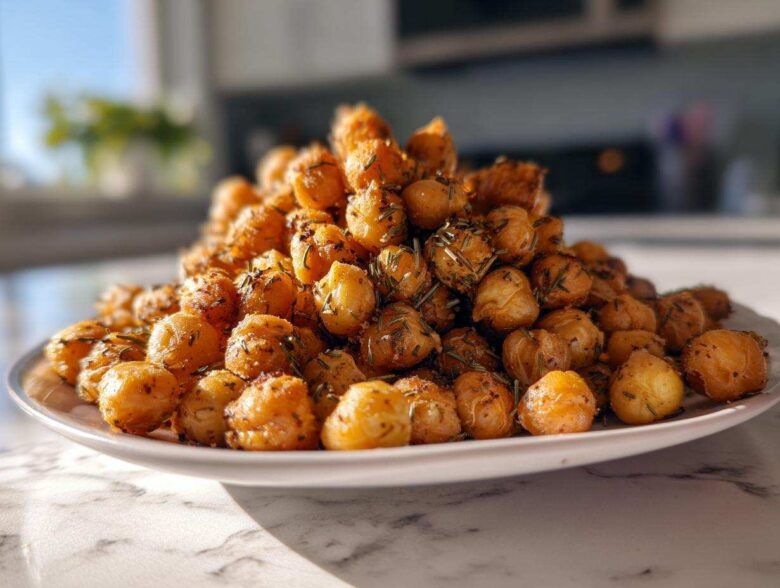
If you’ve ever tried making crispy chickpeas only to end up with something resembling tiny, sad little pebbles of mush, then welcome! I know, I’ve been there about a dozen times. I used to think you needed hours of baking and praying to the kitchen gods to get that perfect crunch from a humble can of beans. But trust me, the game changed entirely once I brought my air fryer into the mix. We aren’t doing soggy things today; we are aiming for shatteringly crisp delight! I’m sharing my absolute, can’t-fail recipe for Air Fryer Crispy Garlic Herb Chickpeas, and I promise, the steps we take make all the difference.
This method is foolproof, especially when it comes to ditching that wet exterior that ruins everything. I spent weeks testing shaking times and oil ratios just so you don’t have to! If you’re just looking for a phenomenal snack that’s packed with savory flavor, this is it. Let’s get cooking!
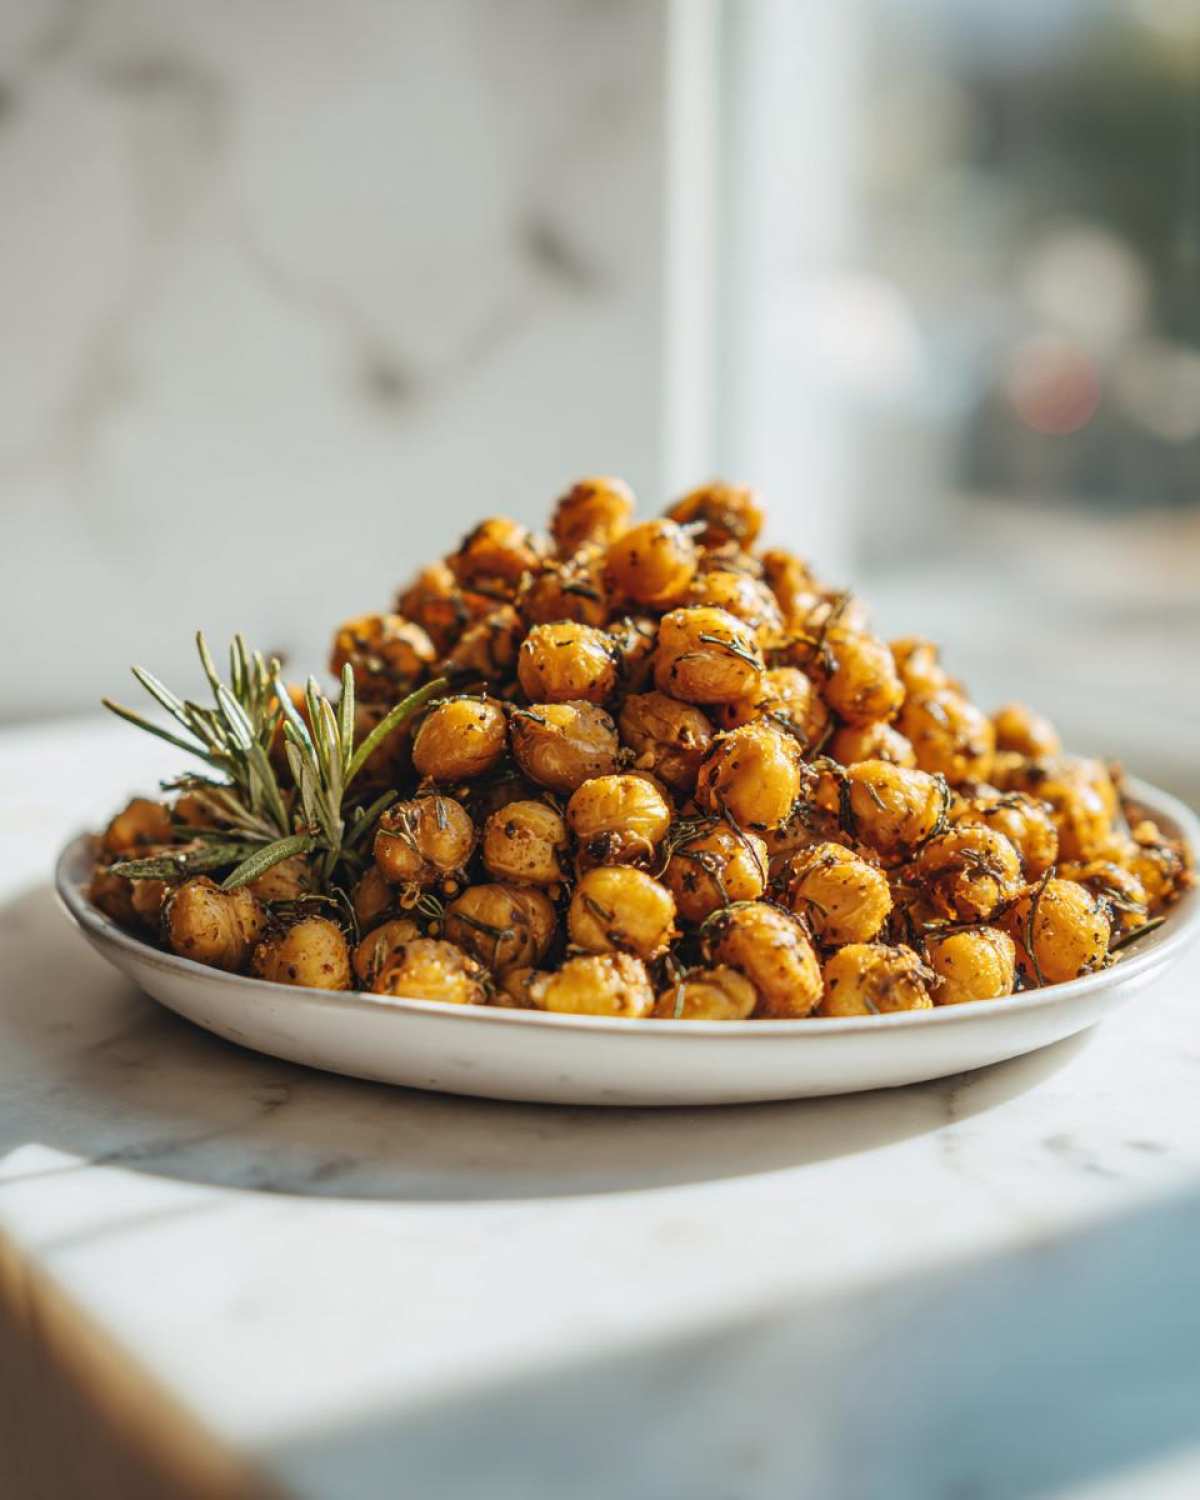
Why This Air Fryer Crispy Garlic Herb Chickpeas Recipe Delivers Maximum Crunch
What sets this recipe apart from all the slightly disappointing ones you’ve tried before? It’s all about aggressive dehydration and the right kind of seasoning application. Honestly, I used to skip the drying part and wondered why I ended up with soft centers. Never again! This method guarantees texture you can hear.
- We use a preheat cycle to blast away initial dampness right when the chickpeas hit the basket.
- The oil-to-seasoning ratio is calibrated so the herbs toast, they don’t steam.
- We shake frequently—seriously, don’t skip that step!
Following these steps leads to the best Air Fryer Crispy Garlic Herb Chickpeas you’ll ever make.
The Secret to Truly Crispy Roasted Chickpeas Air Fryer Texture
You have to torture the moisture out of these little guys before they ever see the basket. If you think rinsing them well is enough, you’re mistaken! I use two full paper towels, and I scrub them a bit. Removing loose skins helps too; they just burn and make things bitter otherwise.
When you think they are dry, dry them once more. This might sound extreme, but I promise, moisture is the enemy of crunch here. Once they are dusty-dry to the touch, they are ready for their oil coat!
Gathering Ingredients for Your Air Fryer Crispy Garlic Herb Chickpeas
Okay, time to collect our treasures! Don’t go reaching for anything fancy here; these simple pantry staples are about to become your new favorite obsession. Since we are aiming for the best crunch, the quality and preparation of these few items matter more than the quantity. Remember, getting those dry chickpeas for air fryer success counts for everything!
Here’s exactly what you need:
- One standard 15-ounce can of chickpeas (don’t forget to rinse them!).
- Just about one tablespoon of olive oil—we need just enough to coat, not drown them.
- One teaspoon of garlic powder—this is my secret weapon for flavor without burning!
- A half teaspoon each of dried rosemary and dried thyme.
- A pinch of salt and pepper to taste.
Ingredient Notes and Flavor Customization
My grandmother always taught me that fresh is usually best, but when using high heat like an air fryer, we have to be smart! That’s why I insist on garlic powder here. If you try to use fresh minced garlic, I guarantee it burns to black dust before the chickpeas even start getting golden. Stick to the powder for the savory punch we want!
If rosemary and thyme aren’t your jam, don’t sweat it. Feel free to swap those out for smoked paprika, a little bit of cumin, or even some dried oregano. The main thing is that the spice—whether it’s herbs or powders—adheres well to the oiled surface of those super-dry chickpeas. That’s where the flavor locks in!
Step-by-Step Instructions: How to Make Crispy Chickpeas Air Fryer Style
This is where the magic happens! You’re just about 20 minutes away from having the crunchiest, most flavorful Air Fryer Crispy Garlic Herb Chickpeas in your life. I always make a double batch because they disappear so fast. Before you even touch the bowl, you need to get that air fryer warmed up; it’s essential for achieving that snap right away. This whole process moves pretty quickly once you have your super-dry chickpeas ready to go.
Here’s exactly how I run through the process:
- First things first—preheat that air fryer! Set it to 380°F (195°C) for about 5 minutes. You want it hot and ready to work.
- Make sure those chickpeas are totally rinsed and then, seriously, pat them down until they barely feel damp.
- Toss them lightly in your olive oil first. Then sprinkle on all your seasonings—the garlic powder, rosemary, thyme, salt, and pepper—and toss again until every single bean looks well-coated.
- Place them gently into the air fryer basket. Please, please, please don’t pile them up! They need space to breathe and circulate air, so use a single layer or split them into two smaller batches if your basket is tiny.
- Now, set the timer for 15 minutes.
If you want more crunchy tips for your next batch, check out this great air fryer favorite!
Setting the Best Air Fryer Chickpea Temperature
When it comes to the best air fryer chickpea temperature, I found that high heat works best, but you have to watch your seasoning burn time. 380°F (195°C) is the sweet spot. It’s hot enough to drive out the remaining internal moisture quickly, creating that wonderful crispy shell, but it’s usually not so hot that the herbs burn completely before the insides are done. Lower temps, like 350°F, just dry them out slowly, and they sometimes end up tougher instead of crisper.
The Crucial Shaking Technique for Even Air Fryer Crispy Garlic Herb Chickpeas
This is the most active part of the cooking, and it’s what separates the crunchy from the clumpy! After the first 5 minutes of cooking, pull that basket out (careful, it’s hot!). Give it a really vigorous shake—you want those chickpeas tumbling around to expose untouched sides to the heating element. Do this exact same vigorous shake every 5 minutes until your total cook time hits 15 to 20 minutes. It ensures even cooking across the whole batch, so you don’t end up with perfect crunch on the top layer and soft sadness underneath!
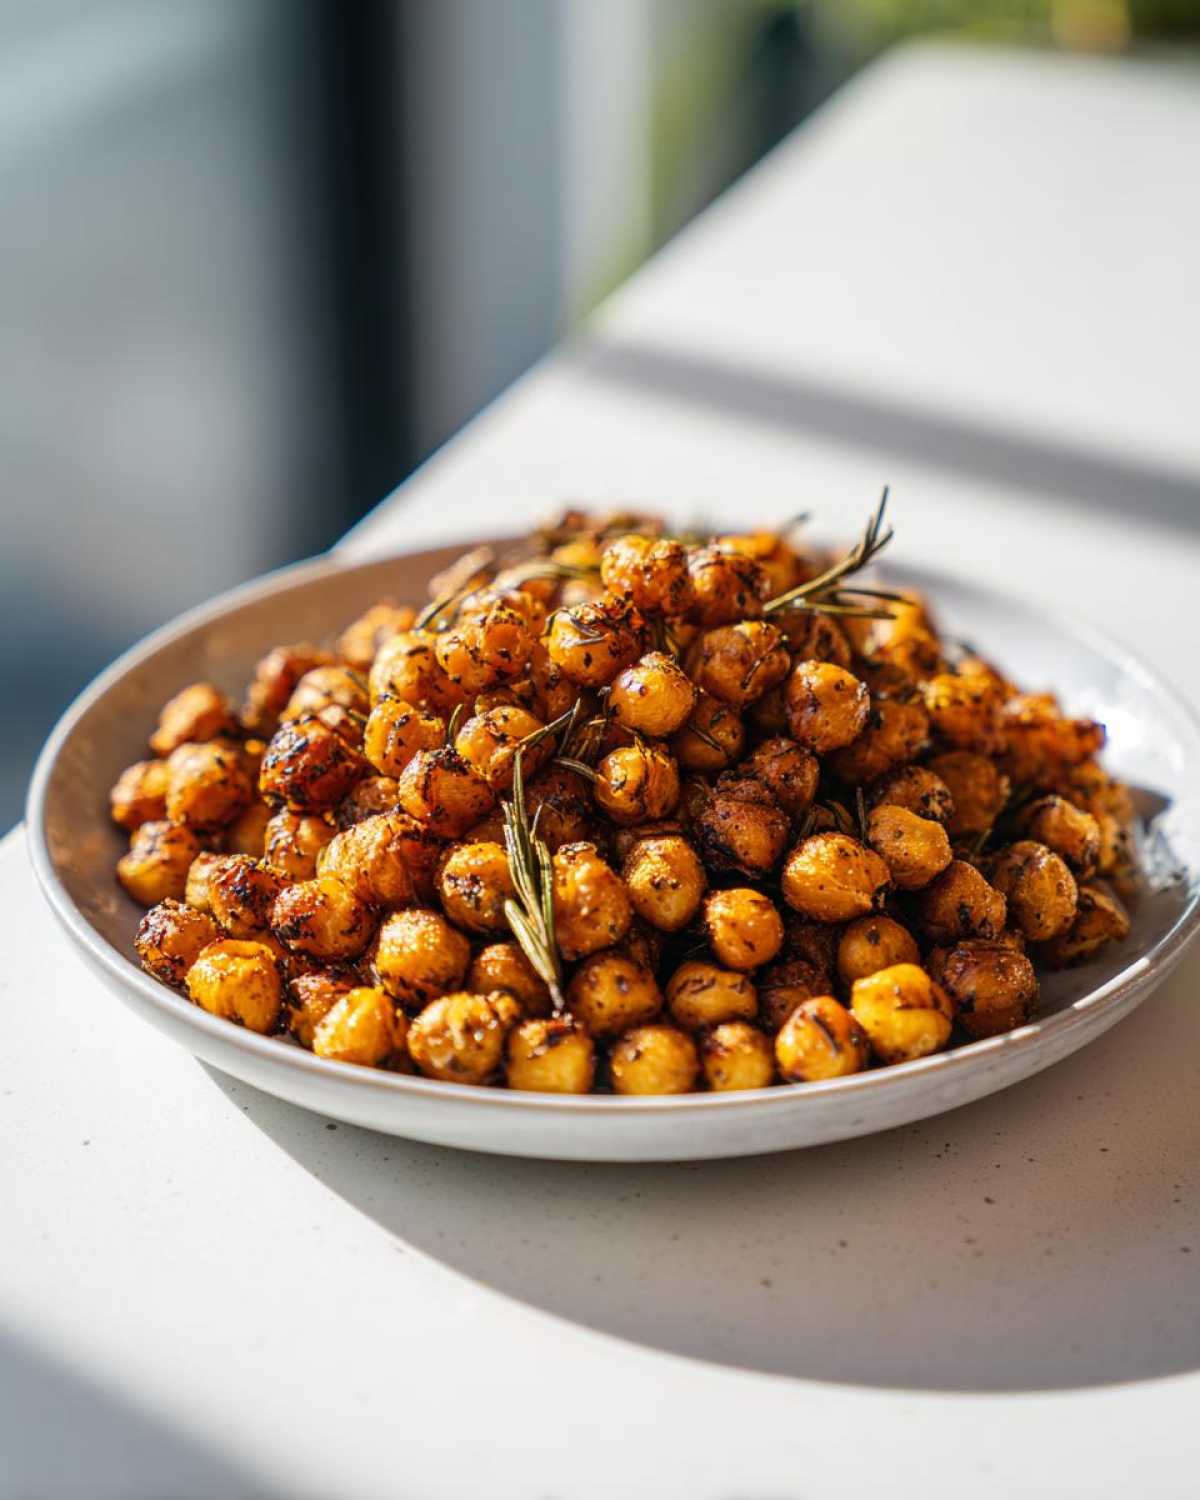
Tips for Success with Your Air Fryer Crispy Garlic Herb Chickpeas
Even though the instructions are straightforward, I’ve learned a few secret owner-operator tricks over the years that just guarantee perfection every single time. If you want to go from ‘pretty good’ to ‘I might never buy store-bought snacks again,’ listen up! These little nudges are why my recipe always works, even when my air fryer gets stubborn.
First off, let’s talk about those pesky skins. When you’re drying those rinsed chickpeas between the towels, you’ll notice tiny little flakes starting to come off? Those are the skins! I actively take a minute to rub them off and discard them. Those skins have a tendency to catch the heat, turn dark quickly, and taste bitter before the rest of the chickpea is crunchy. It’s extra effort, but it cleans up the final flavor immensely.
Secondly, you absolutely cannot cheat the single-layer rule. If you pile them up, you are essentially steaming the bottom layer! If you have a smaller air fryer, you must run two separate batches. Think of it like air frying in shifts. It takes longer overall, sure, but you get 100% crunchy results instead of 50% crunchy, 50% steamed disappointment. It’s worth the extra five minutes of waiting!
Also, and this is huge: Let them cool before you judge the crunch! When they first come out of the basket, they’ll be hot and firm, but maybe just slightly less than you hoped for. As they sit on the counter for 5 to 10 minutes, they continue to dry out slightly and firm up. That’s when the satisfying *snap* finally develops. Don’t put them away hot or you trap steam!
If you want to dive deeper into other exciting air fryer recipes for your countertop companion, check out my latest blog posts!
Serving Suggestions for Your Garlic Herb Chickpeas Snack
Now that you’ve achieved peak crispiness—seriously, I hope you heard that crunch when you ate the first tester batch—what on earth do you do with them all? These Garlic Herb Chickpeas Snack gems are so versatile, you’ll want to make them weekly. Forget chips; this is your new go-to healthy crunch!
I always keep a jar of these handy because they turn even the most boring weeknight meal into something special. Here are my three absolute favorite ways to put these crispy little guys to work:
- The Ultimate Salad Topping: Seriously ditch the croutons. When you sprinkle these over your Tuesday afternoon salad, they bring texture, protein, and that amazing savory herb flavor right into the greens. They make the perfect easy roasted chickpea topping. My favorite combo is a simple wedge salad with ranch dressing—the crunch against the cool lettuce is just heavenly.
- Soup Power-Up: This is something Mom always did! Think about topping a creamy tomato soup or a hearty lentil stew. Instead of crumbling crackers on top, just drop a spoonful of these right before serving. They act as a wonderful, flavorful garnish and add that perfect finishing texture to your healthy air fryer appetizer spread or dinner side.
- Straight Out of the Jar (The Obvious One): Sometimes, you just need a good desk snack while you’re catching up on emails or planning your next baking adventure. They are satisfying enough that you don’t feel guilty, but they’re savory enough that you don’t crave something sugary moments later. I grab a small bowl while I’m making my loaded avocado toast just to manage my hunger!
Honestly, once you smell that garlic and herb blend coming out of the machine, you’ll find ways to sprinkle them everywhere!
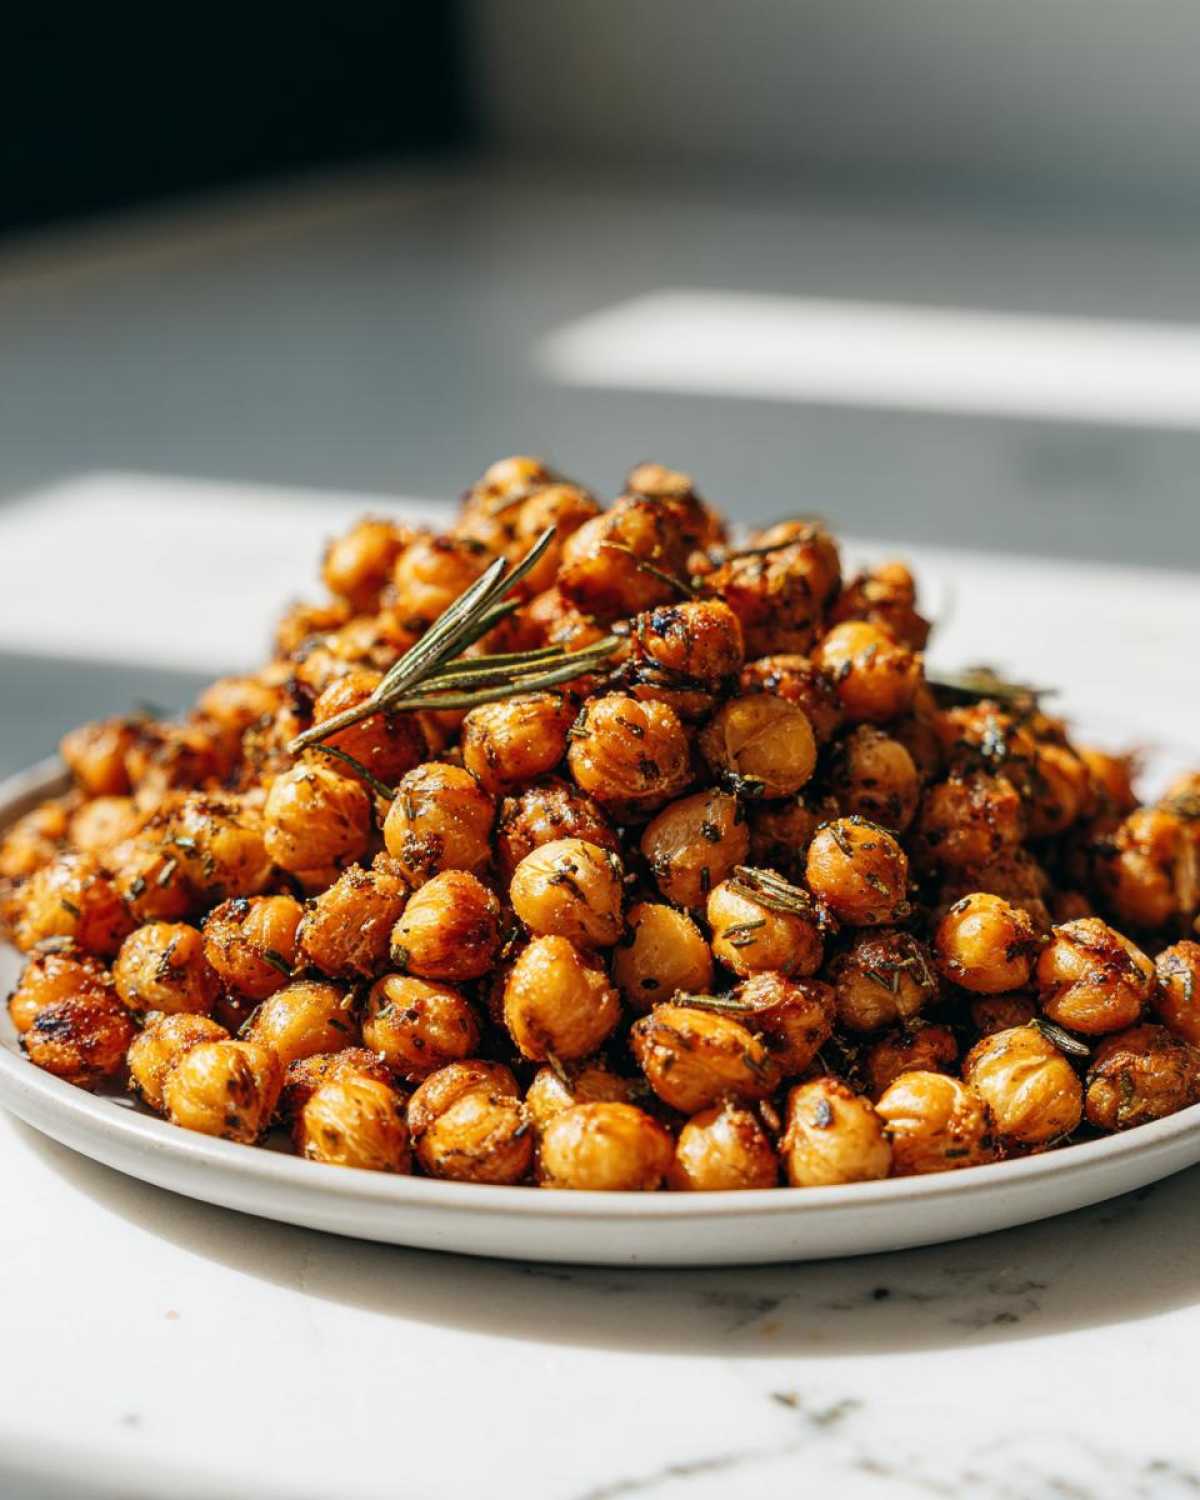
Storage and Reheating Instructions for Air Fryer Crispy Garlic Herb Chickpeas
Alright, this is the part where people often mess up the wonderful work they just did! You’ve nailed the crunch, the flavor is spot on, and now you want to save half for later. Listen closely: do *not* put your perfectly crunchy Air Fryer Crispy Garlic Herb Chickpeas into an airtight container. I learned this the hard way!
If you seal them up while they are still cooling or even after they are completely cool, the trapped humidity immediately starts turning that beautiful crisp shell soft again. It’s heartbreaking, I know. The secret is to let them cool completely on the counter—like, for a solid twenty minutes—and then transfer them to a paper bag or a container that has the lid sitting slightly ajar. We need them to breathe so the crunch lasts!
When it comes to reheating, it’s a little tricky because they are already cooked and roasted. Honestly, I rarely reheat mine; I just make what I plan to eat! But if you insist on reviving them because they sat out too long, pop them back into the air fryer. Skip the oil—you don’t want to burn the spices twice—and run them at 350°F (175°C) for just 3 to 4 minutes. Shake them once halfway through. That short blast of dry heat usually brings back about 80% of the original snap. If they were completely soggy, though, it might be time to crumble them over a soup instead!
Frequently Asked Questions About Air Fryer Chickpeas Recipe
I love hearing from you all, and usually, the questions I get after people try this recipe revolve around texture or making slight swaps. It’s totally normal when you’re trying to master a new appliance like the air fryer! Here are some of the most common things readers ask me about the Air Fryer Chickpeas Recipe.
I’ve tried to cover everything from achieving that perfect crunch to adjusting the seasoning for different tastes. If I missed anything, please feel free to reach out via my contact page!
Can I make these Air Fryer Crispy Garlic Herb Chickpeas without oil?
This is the big one, right? The truth is, oil acts as a fantastic heat transfer agent and helps create that non-stick barrier so the surface can dry out before the interior overcooks. If you want true crunch, you need *some* fat. However, if you are trying to cut back as much as possible, I have a suggestion for an “almost oil-free” method.
Use a high-quality olive oil cooking spray instead of tossing them in 1 tablespoon of liquid oil. You want the lightest possible coating—just enough to help the seasonings stick and protect the outer shell from burning too fast. If you skip the oil entirely, you are going to end up with dry, hard, and possibly burnt legumes instead of the wonderfully crisp result we are after with these Herb Roasted Chickpeas Method beans.
Why do my chickpeas taste a little ‘beany’ even after air frying?
That usually points back to the drying step! If you don’t get them super dry before seasoning, the residual moisture heats up and steams slightly, which leaves behind that characteristic canned ‘beany’ taste we are desperate to get rid of. Remember what I said about rubbing them aggressively between the towels? That step is crucial. Also, make sure you’re using enough salt—sometimes overpowering the natural flavor with good seasoning helps eliminate that earthy background note.
Can I use dried chickpeas instead of canned for this snack?
Yes, you absolutely can make truly outstanding Vegan Crunchy Snack with Air Fryer results using dried chickpeas, but you can’t skip the soaking and pre-cooking! Dried legumes need to be soaked overnight, then simmered on the stove until they are tender but still hold their shape perfectly. After they are cooked and tender, you *must* completely dry them out using the same towel trick we use for the canned ones before tossing them in seasoning and air frying. It’s a much longer process, but the final texture is often even superior!
What if I want a smokier flavor instead of garlic herb?
Flavor adjustments are the best part! If you’re looking for a smoky vibe, ditch the rosemary and thyme entirely. My favorite combination for a smoky flavor profile is swapping in 1 teaspoon of smoked paprika (use sweet or hot, depending on your preference), 1/2 teaspoon of cumin, and maybe just a tiny dash of cayenne pepper. Keep the garlic powder, though—it’s too good to lose!
Will these work as a topping if I have to store some for later?
They are best eaten the day you make them, but if you store them correctly in a non-airtight container on the counter, they generally hold up well enough to function as a great Easy Roasted Chickpea Topping the next day. If they lose a little crunch, just zap them in the air fryer for 2 to 3 minutes at 380°F again. They usually perk right back up!
Understanding the Nutritional Profile of This Savory Air Fryer Legumes Snack
I often get asked about the macros when people see how addictive these little snacks are! It’s one of the best parts about using legumes instead of processed chips—you get fiber and protein in every crunchy bite. While exact numbers change depending on exactly how much oil clung to the beans, I ran these through my standard tracker so you have a good idea of what you’re munching on.
When serving just half the recipe (about 1/2 cup serving), you are looking at something that feels like a real treat but keeps you feeling full:
- Calories: Around 190 per serving
- Fat: About 7g (Mostly heart-healthy unsaturated fats from the olive oil, which is great!)
- Protein: A solid 9g in that small bowl!
- Total Carbohydrates: 27g, with 7g coming from fiber, which really helps slow things down.
- Sugar: Super low at just 2g.
It’s a wonderful, satisfying little addition to any clean eating plan. Remember, these figures are just estimates based on using standard canned chickpeas and one tablespoon of oil total shared between two servings, as calculated from my base recipe. For the most accurate details, you can always check out the full nutrition breakdown over on our policy page, but these numbers should give you a great benchmark for enjoying this vegan crunchy snack with air fryer!
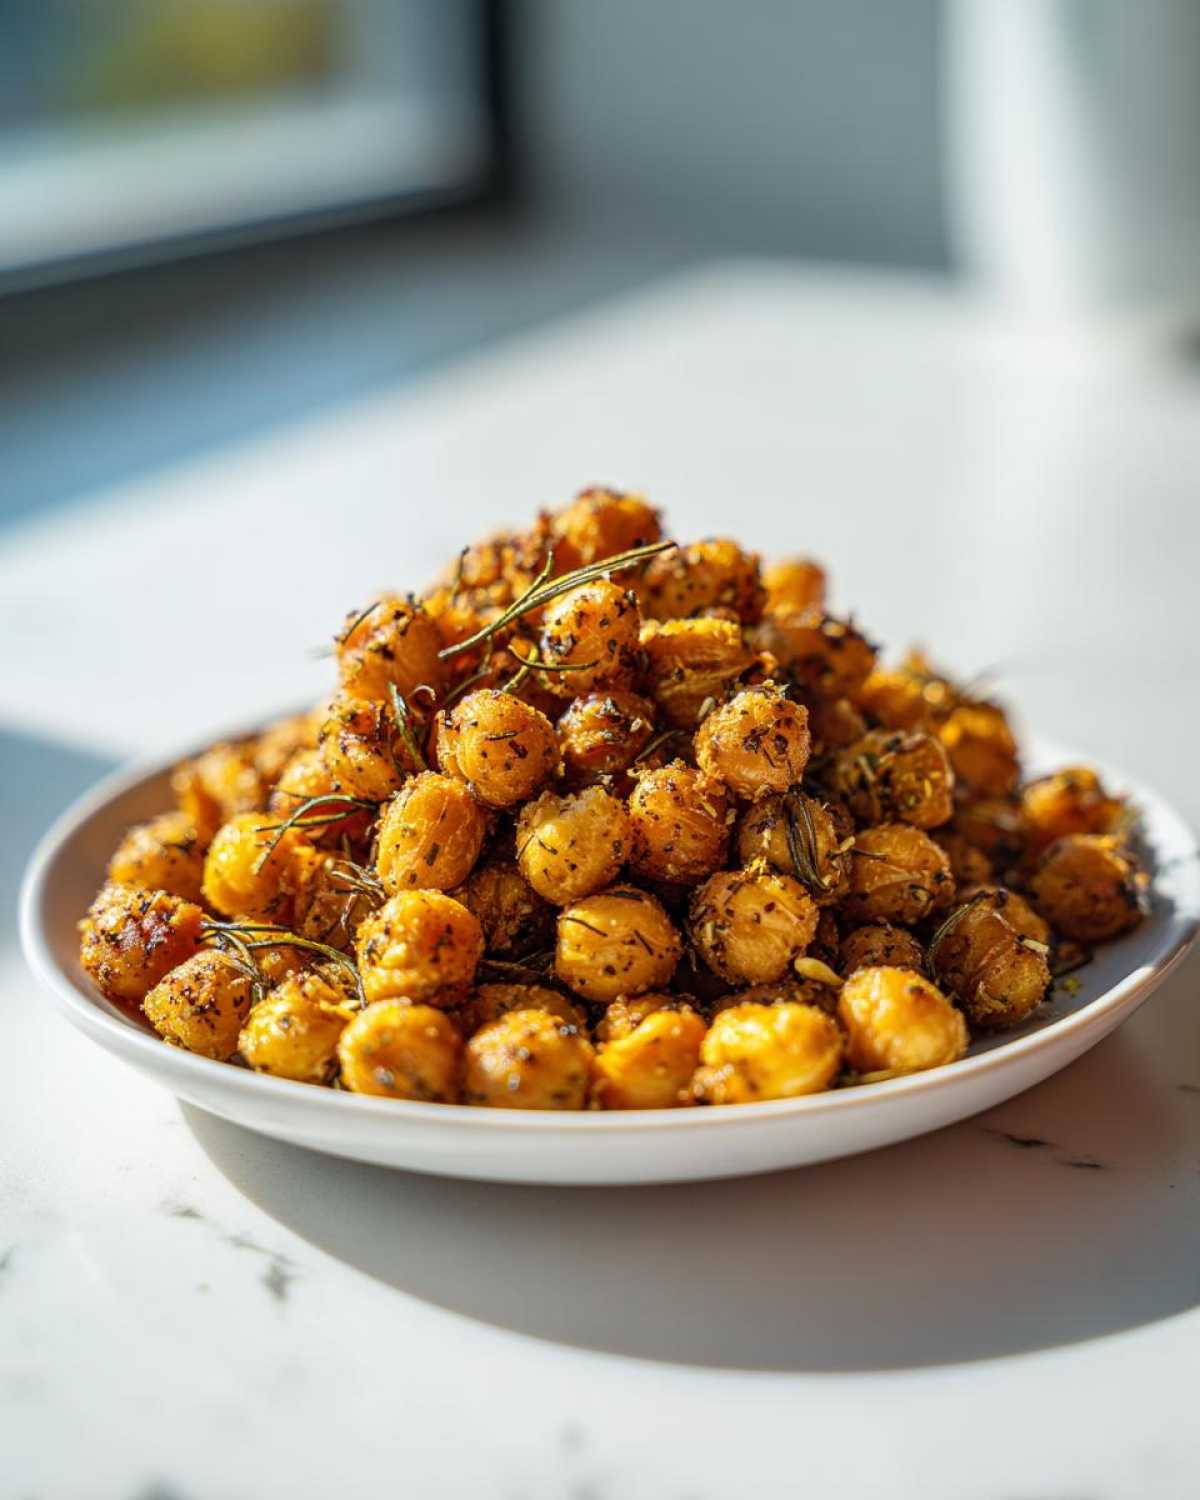
Share Your Perfect Air Fryer Crispy Garlic Herb Chickpeas
Whew! Now your kitchen should smell like a little herb garden collided with a delicious savory snack machine. I sincerely hope you managed to snag a few handfuls before they cooled down enough to store. That first taste of ultra-crispy garlic herb goodness right out of the basket is seriously unbeatable, isn’t it?
I put my heart into perfecting this method so you wouldn’t have to waste a single can of perfectly good chickpeas on mediocre results. Now I desperately want to see what you think of these Air Fryer Crispy Garlic Herb Chickpeas!
Did you try my trick about removing the skins? Or maybe you went off-script and added smoked paprika? Tell me everything! Leave a comment below letting me know what rating you’re giving this recipe. If you snapped a photo of your crunchy batch looking gorgeous on your snack plate, please tag me on social media! I love seeing your creations and cheering you on in the kitchen. It really makes my day when I hear that something I shared helped make your snacking life crunchier and happier. You can see more of my kitchen adventures over on the About Us page!
Happy crunching, friends!
PrintAir Fryer Crispy Garlic Herb Chickpeas

Make genuinely crunchy garlic herb chickpeas using your air fryer. This recipe focuses on removing moisture for maximum crispiness.
- Prep Time: 5 min
- Cook Time: 20 min
- Total Time: 25 min
- Yield: 2 servings
- Category: Snack
- Method: Air Frying
- Cuisine: American
- Diet: Vegan
Ingredients
- 1 (15-ounce) can chickpeas, rinsed and thoroughly dried
- 1 tablespoon olive oil
- 1 teaspoon garlic powder
- 1/2 teaspoon dried rosemary
- 1/2 teaspoon dried thyme
- 1/4 teaspoon salt
- 1/4 teaspoon black pepper
Instructions
- Preheat your air fryer to 380°F (195°C) for 5 minutes.
- Rinse the canned chickpeas well under cold water.
- Place the rinsed chickpeas on a clean kitchen towel or paper towels. Pat them completely dry. Removing surface moisture is key to crispiness.
- In a medium bowl, toss the dried chickpeas with olive oil until lightly coated.
- Add the garlic powder, rosemary, thyme, salt, and pepper. Toss again until the spices adhere evenly to the chickpeas.
- Transfer the seasoned chickpeas to the air fryer basket in a single layer. Do not overcrowd the basket; work in batches if necessary.
- Air fry for 15 to 20 minutes, shaking the basket vigorously every 5 minutes to promote even browning and crisping.
- Check for crispness after 15 minutes. They should be golden brown and firm to the touch.
- Remove from the air fryer and let them cool slightly before serving. They will crisp up more as they cool.
Notes
- For extra dryness, you can gently rub the chickpeas between two towels after rinsing to remove the loose skins. Discard any skins that come off.
- If you prefer fresh garlic flavor, use 1/2 teaspoon of garlic powder and 1/2 teaspoon of onion powder instead of fresh garlic, as fresh garlic tends to burn at high air fryer temperatures.
- Store cooled, crispy chickpeas in a container that is not airtight to maintain crunch.
Nutrition
- Serving Size: 1/2 cup
- Calories: 190
- Sugar: 2
- Sodium: 250
- Fat: 7
- Saturated Fat: 1
- Unsaturated Fat: 6
- Trans Fat: 0
- Carbohydrates: 27
- Fiber: 7
- Protein: 9
- Cholesterol: 0