

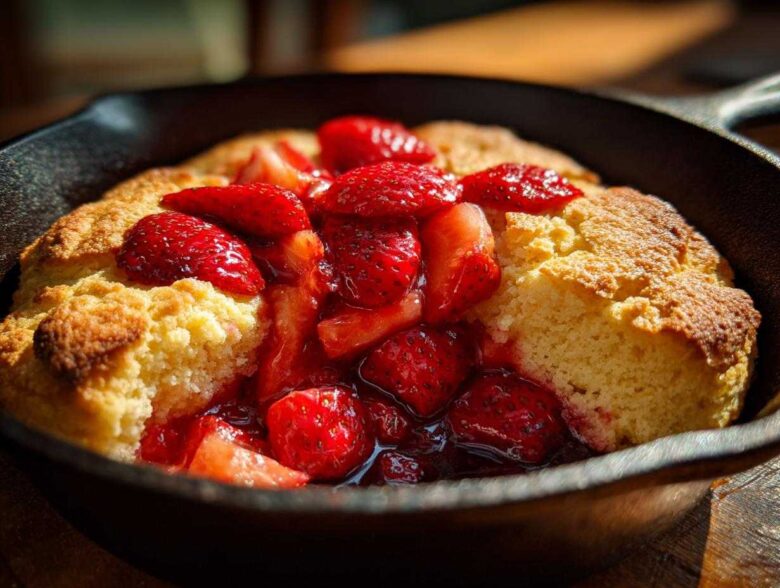
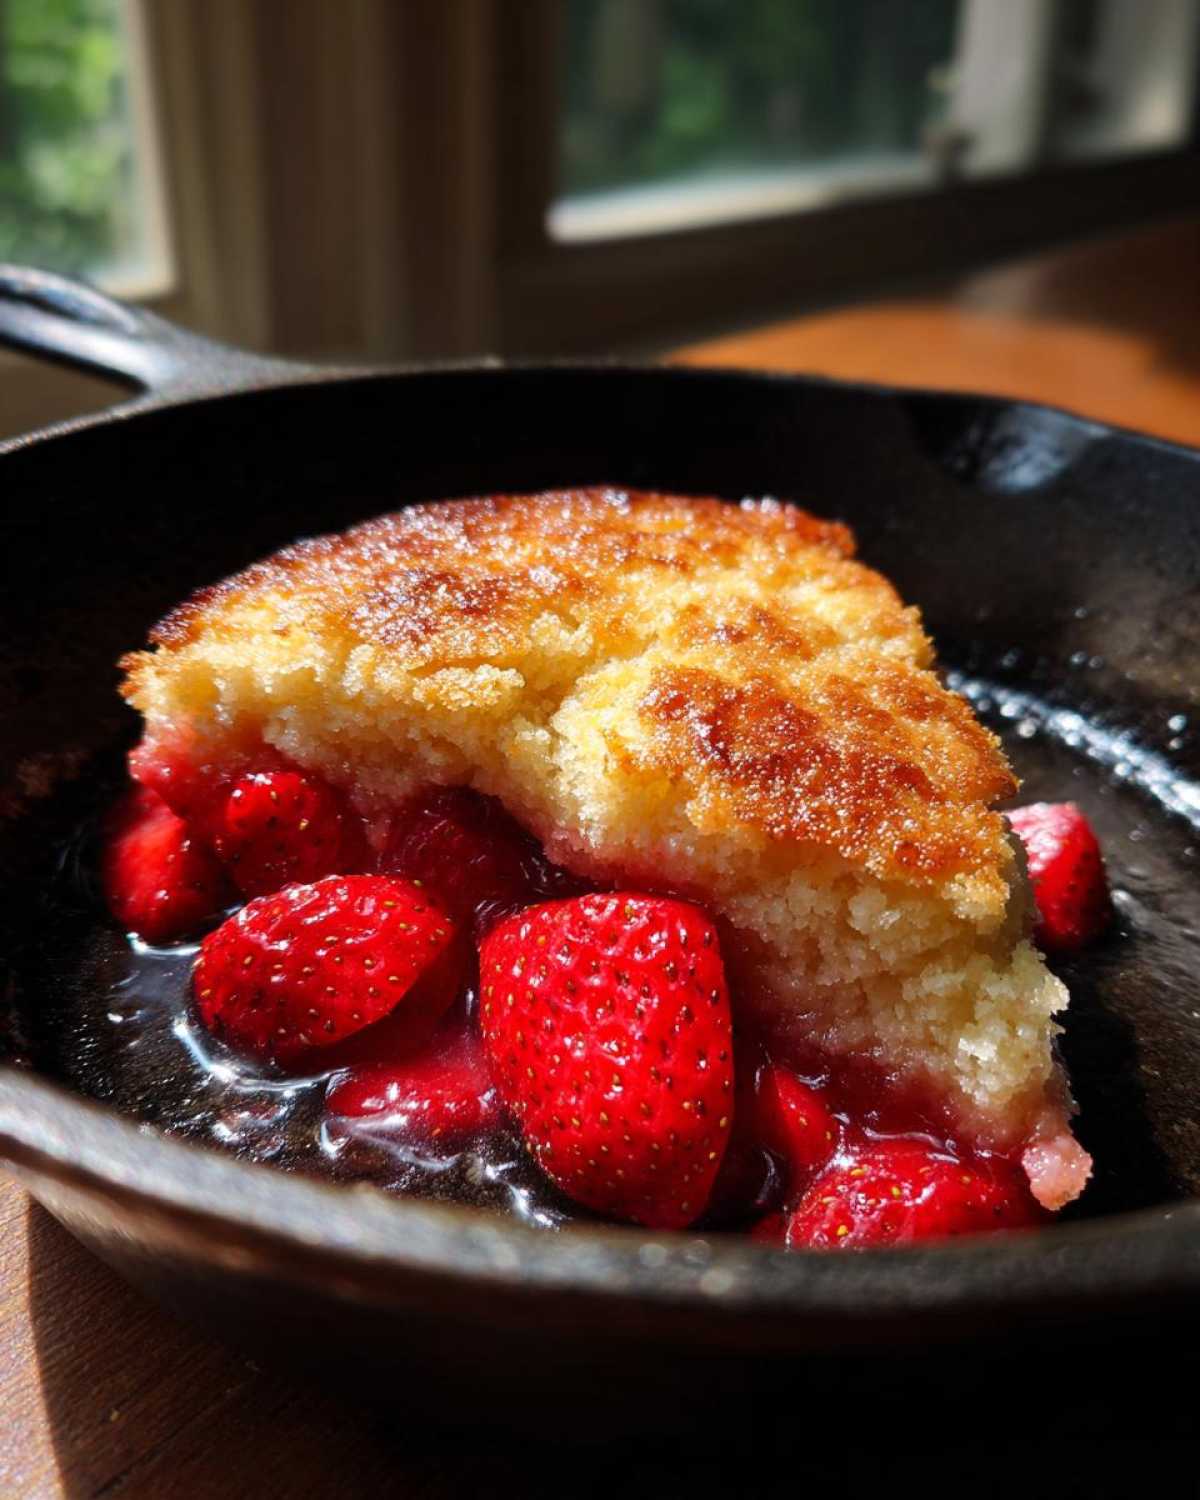
Oh, summertime! There is nothing better than a dessert that tastes rich and indulgent but doesn’t require a ton of fuss or, worse, dirtying every single dish in my kitchen. That’s exactly what you get here with this amazing Gluten-Free Strawberry Shortcake Skillet. Seriously, forget the layering, forget the mess—we are making the rustic biscuit topping right on top of the berries, all in one pan.
I discovered that baking directly in cast iron is actually fantastic for gluten-free baking, too. The even heat distribution helps the delicate GF flour set up without getting that weird gummy layer some recipes end up with. It’s simple, it’s quick, and it tastes like pure sunshine.
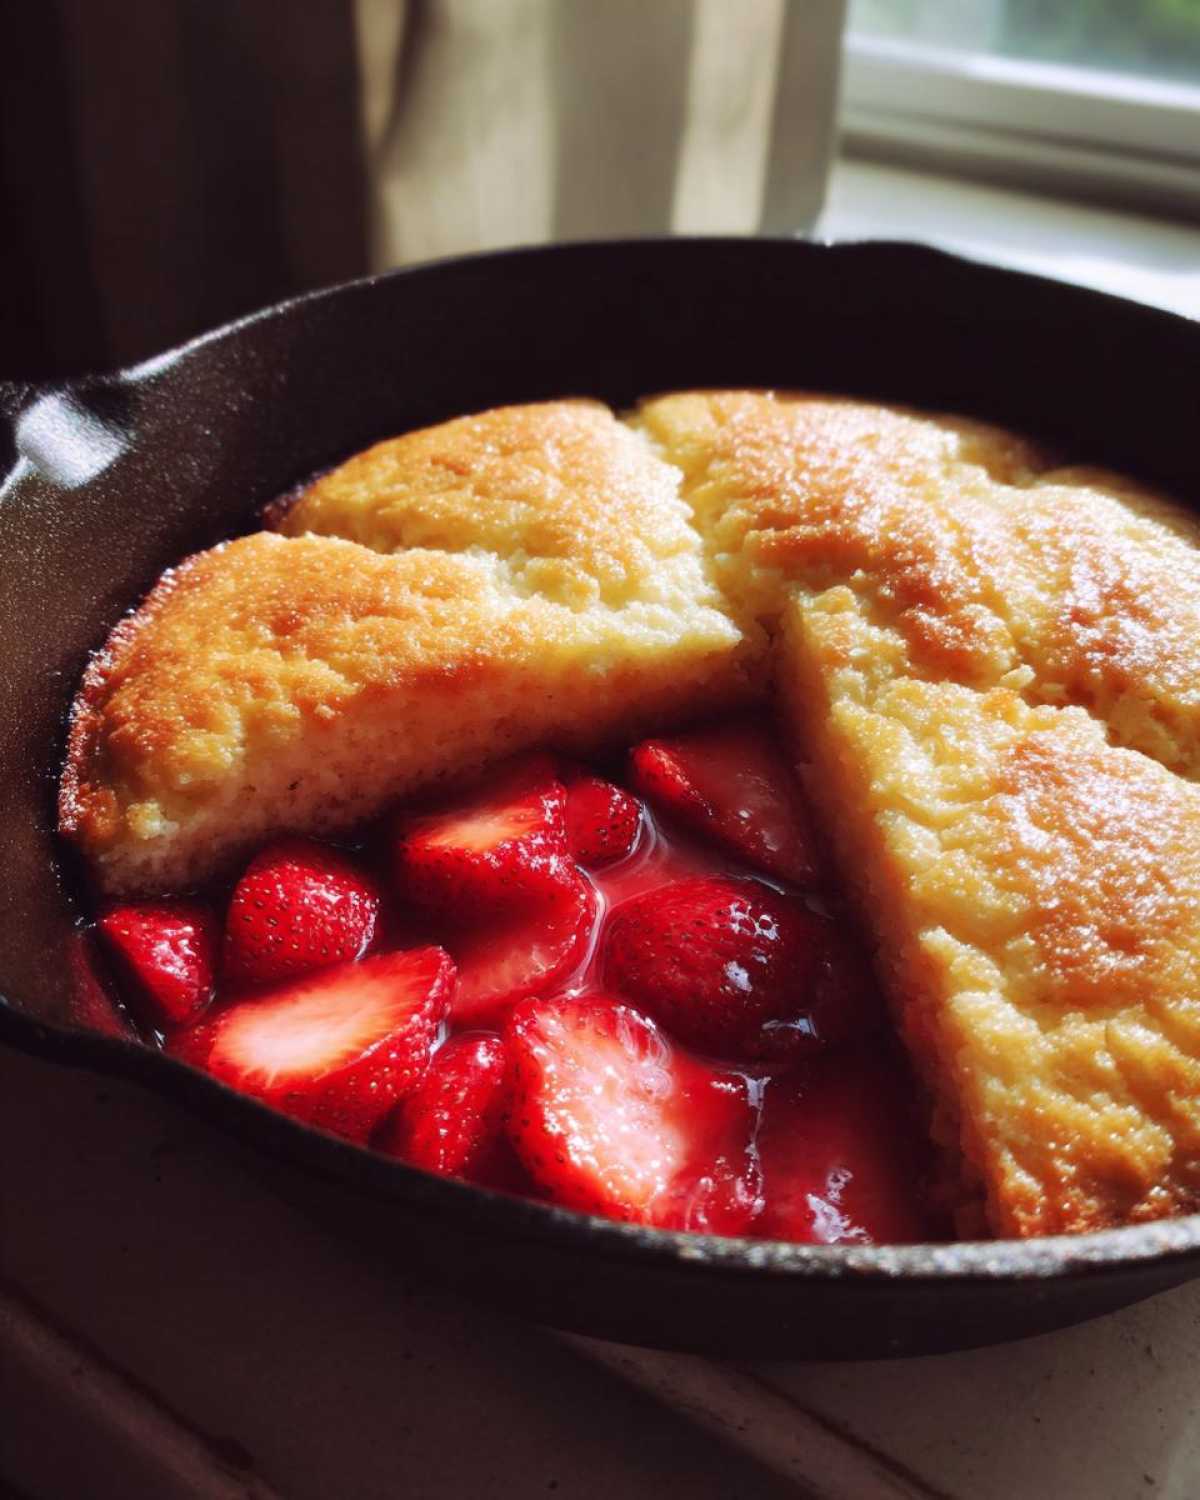
Why You Will Love This Gluten-Free Strawberry Shortcake Skillet
Trust me, this isn’t fussy baking; this is joy baked in a pan. When you need a last-minute summer treat, this recipe delivers big flavor without any stress. And since it’s all in one skillet, cleanup is basically a dream!
- It is the ultimate One Pan Strawberry Dessert—the fruit cooks underneath while the biscuit bakes perfectly on top!
- Completely compliant! This recipe is naturally dietary friendly, perfect for keeping everyone happy at your summer cookout.
- Those fresh strawberries get wonderfully jammy thanks to a little sugar and lemon juice right in the bottom of the pan—so much flavor!
- Perfectly tender biscuit topping. We use a simple drop technique that achieves that classic shortcake texture but without all the rolling and cutting.
- It’s a Quick Gluten Free Fruit Dessert; you can have this from start to finish in under 45 minutes total!
- It looks so rustic and gorgeous coming right out of the oven in the skillet. Seriously great for photos!
If you loved how simple the Cherry Dump Cake was, you are going to be obsessed with how easy this strawberry version is!
Essential Ingredients for Your Gluten-Free Strawberry Shortcake Skillet
Okay, let’s talk ingredients because getting the right components is half the battle, especially when you’re baking gluten-free. For this Gluten-Free Strawberry Shortcake Skillet, we only need about an ounce of stuff, which is lovely! The most crucial part, without question, is the flour blend. You absolutely must use a reliable all-purpose gluten-free flour blend that already contains xanthan gum. Think of the xanthan gum as the binder that wheat flour normally handles!
I’ve tried nearly every brand out there, and using a trusted blend, like the one I usually use for my coconut flour pancakes, makes all the difference in texture here. If you skimp on the quality of the blend, the biscuit topping just won’t have that beautiful crumb we’re after.
For the Strawberry Base
- 2 cups fresh strawberries, hulled and sliced
- 1/4 cup granulated sugar (for strawberries)
- 1 tablespoon lemon juice
For the Gluten Free Biscuit Topping Recipe
- 1 1/2 cups gluten-free all-purpose flour blend (with xanthan gum—remember this!)
- 2 teaspoons baking powder
- 1/4 teaspoon salt
- 1/4 cup cold unsalted butter, cut into small pieces
- 1/4 cup granulated sugar (for topping)
- 1/2 cup milk (dairy or non-dairy works fine here!)
- 1 large egg, lightly beaten
- 1 teaspoon vanilla extract
How To Make Skillet Shortcake GF: Step-by-Step Instructions
Putting this Gluten-Free Strawberry Shortcake Skillet together is honestly so satisfying because you see it come together right in the pan. We aren’t doing fancy layers here; we are making a lovely, edible centerpiece! Just follow these steps, and you’ll nail that perfect rustic look every time.
Preparing the Fruit and Oven
First things first, get your oven preheated to 375°F (190°C). Make sure whatever skillet you are using is safe to go in there! Once the oven is warming up, grab your skillet and toss in those sliced strawberries, the 1/4 cup of sugar meant for the fruit, and the lemon juice. Give it a good, gentle mix. Let that sit right on the stovetop while you whip up the topping; those strawberries need a little time to start waking up!
Mixing the Gluten Free Biscuit Topping
Now for the biscuit magic! In a separate bowl, whisk together your GF flour blend, baking powder, and salt until they are happy and combined. This is where you add the second portion of sugar for the topping. Keep that butter *ice cold*! You need to cut it into the dry mix using a pastry blender or even just your fingertips until it looks like coarse gravel or those coarse crumbs we talk about with apple butter. In another small bowl, quickly beat your egg, milk, and vanilla together.
Assembling and Baking the Rustic Strawberry Dessert Skillet
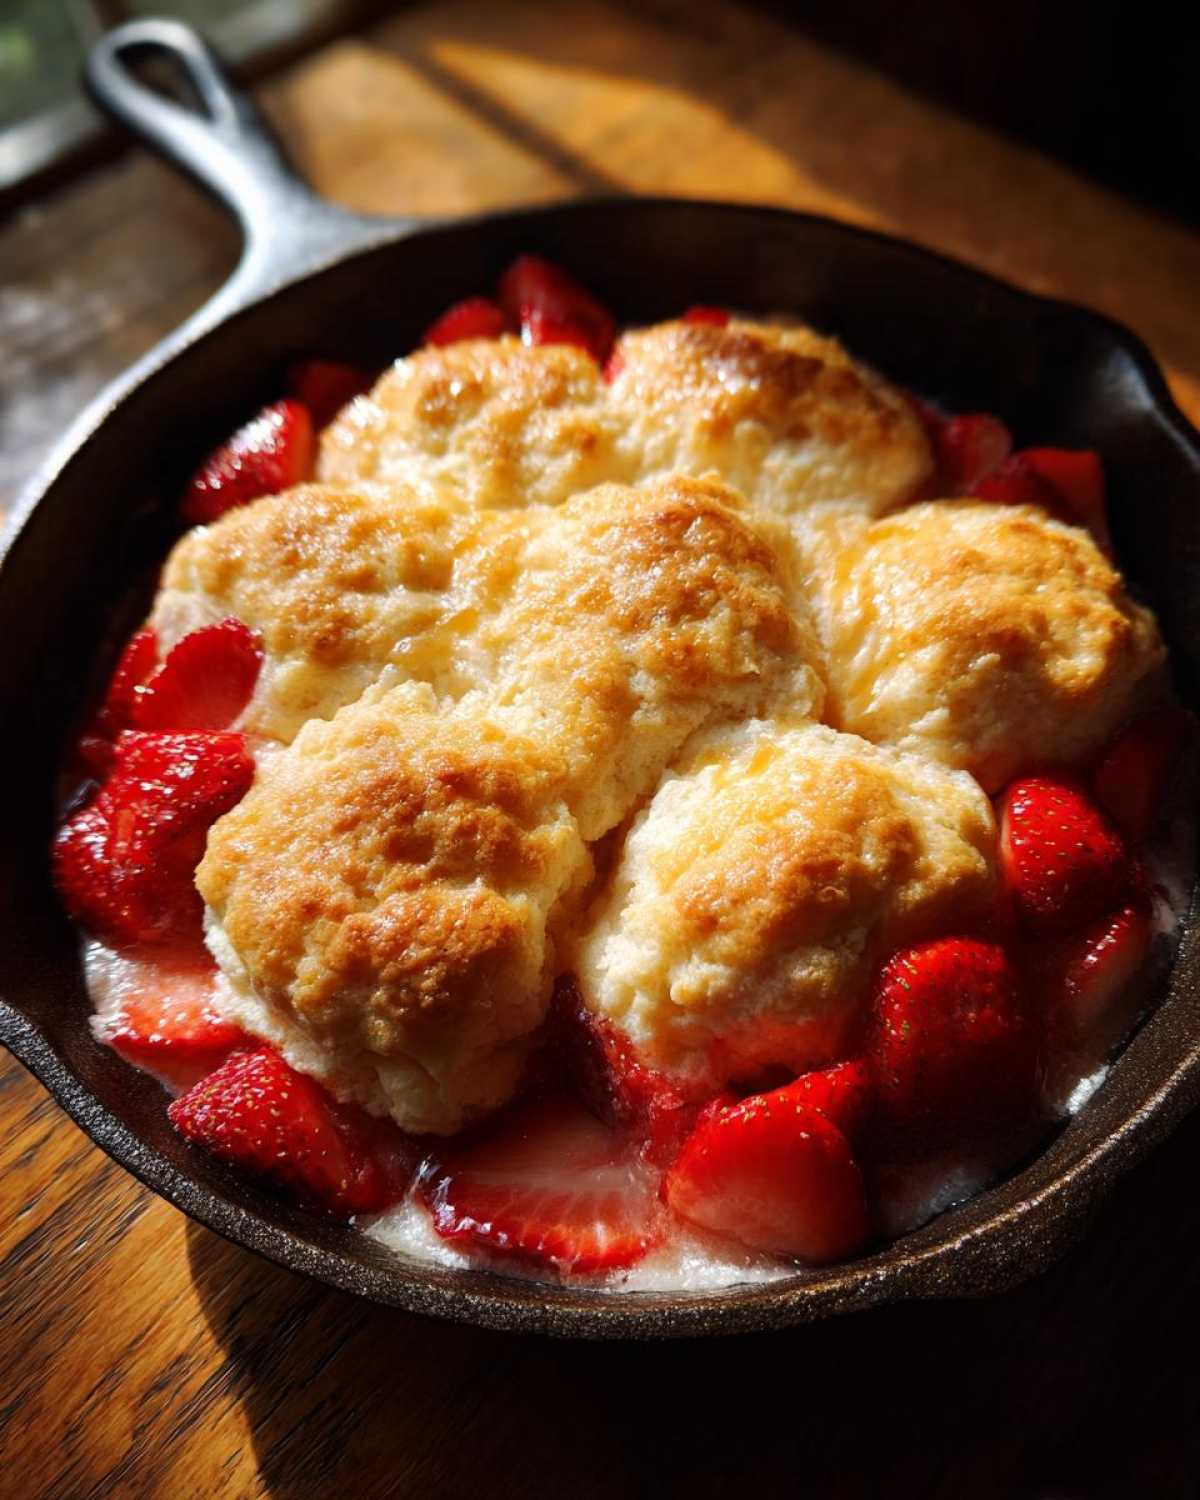
Time to bring it home! Pour those wet ingredients into the crumbly dry mixture and stir just until you see everything come together. Don’t you dare overmix, or that GF topping will get tough! Drop spoonfuls of that batter evenly over the top of your strawberries in the skillet. Don’t worry about covering every berry; those little gaps are what let the fruit bubble up beautifully!
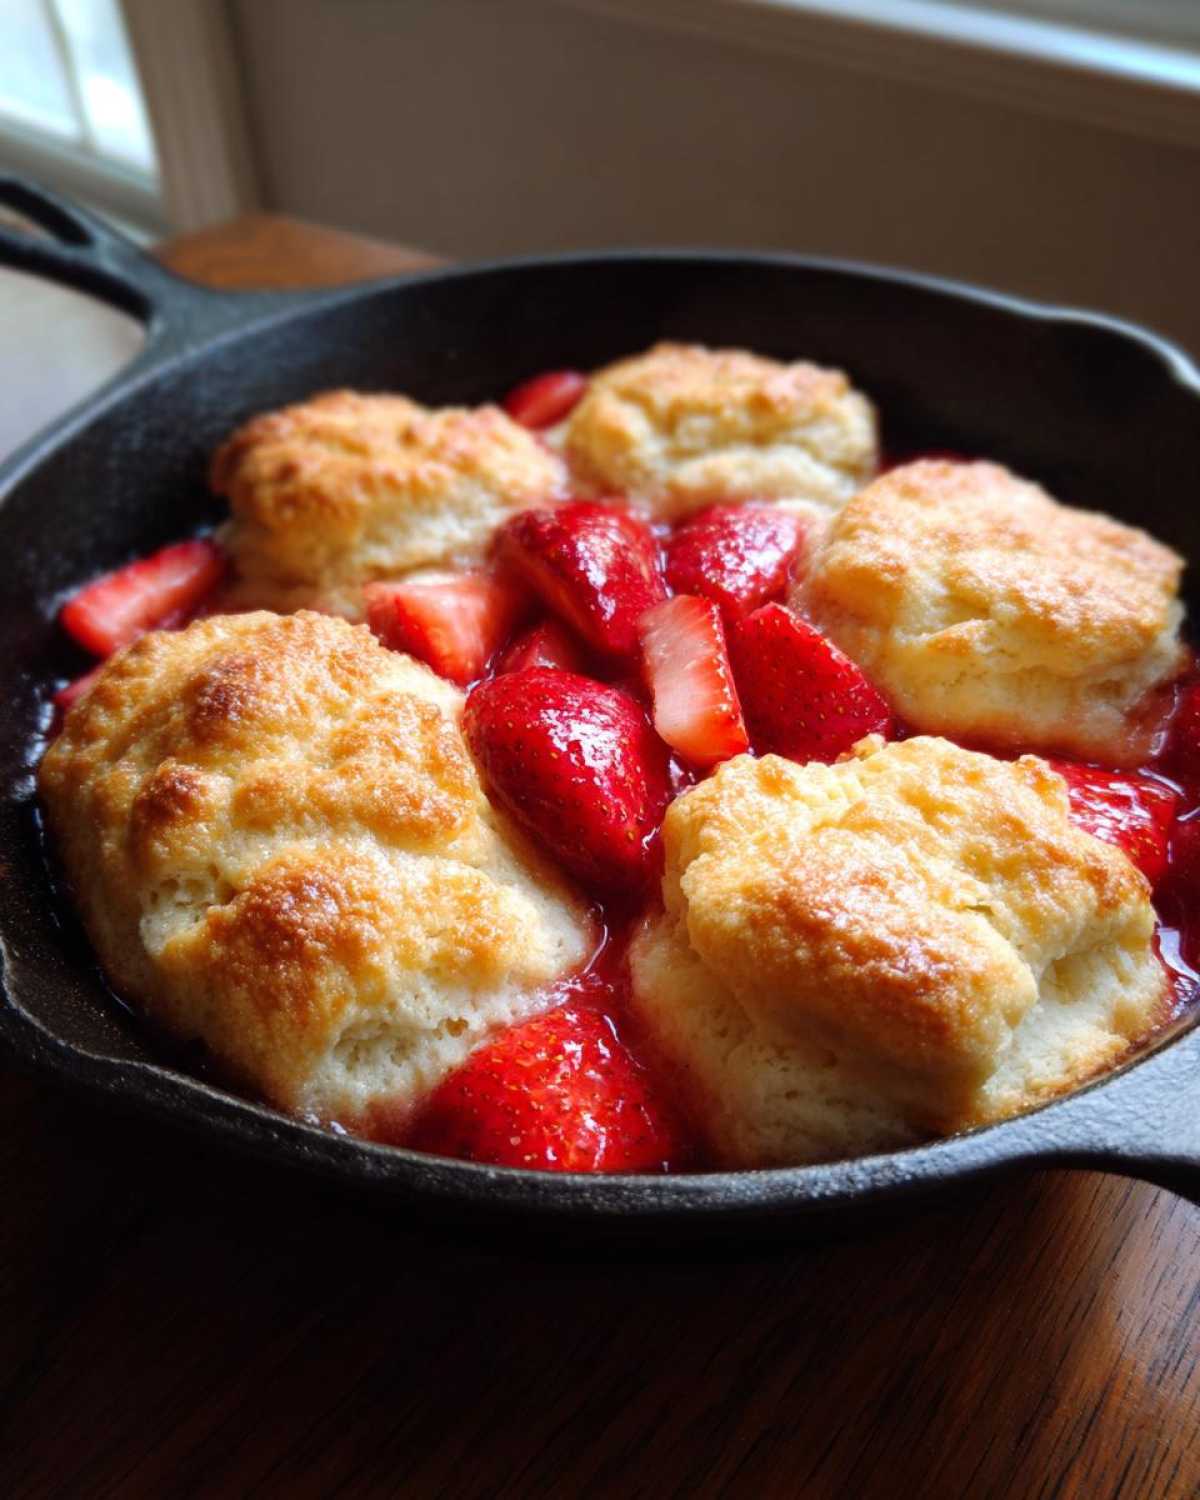
Pop the whole thing into the hot oven and bake for 25 to 30 minutes. You want the biscuits golden brown on top and a toothpick inserted in one of the center biscuits to come out clean. Seriously, wait 10 minutes before digging in, or you’ll burn your tongue on that molten fruit!
Tips for Success with Your Gluten Free Skillet Dessert
Baking gluten-free in cast iron has its own little quirks, but once you know them, you’ll have no trouble succeeding with this Gluten Free Skillet Dessert. My biggest piece of advice is that cold butter thing we talked about—don’t skip chilling it! If the butter melts before it hits the oven, your biscuit topping will turn flat and dense instead of fluffy and light, which is the opposite of what we want in a good shortcake.
Also, pay attention to your flour blend variation. If you happen to use a blend *without* xanthan gum, you absolutely must add about a half teaspoon of it in with your dry ingredients. Trust me on this one; that gum gives the structure GF baking desperately needs, especially when it’s sitting right on top of juicy fruit. For other great tips on making sure your baked goods turn out perfectly every time, check out my secrets for perfect chocolate chip cookies; the principles of creaming and temperature are highly related!
Ingredient Notes and Substitutions for the Gluten Free Strawberry Shortcake Skillet
I know ingredient swaps can feel scary when you’re dealing with gluten-free baking, but don’t you worry! We’ve got a couple of easy outs built right into this Gluten Free Strawberry Shortcake Skillet recipe. The biggest thing is that flour blend, like we talked about before. If your favorite GF blend is completely gum-free—meaning no xanthan gum—you need to add about 1/2 teaspoon of pure xanthan gum yourself right into those dry ingredients. It’s non-negotiable for keeping those biscuits from crumbling into dust!
Want to make this dairy-free? That’s super simple too! Swap out the cold butter for solid coconut oil, and just use any non-dairy milk you prefer, whether it’s almond, oat, or soy. It works just as beautifully in this topping. You can find more substitution tips in my guide on moistening banana bread—the science of fat replacement is similar!
Serving Suggestions for This Easy Gluten Free Fruit Cobbler
The best part about this Easy Gluten Free Fruit Cobbler is how adorable it looks served right out of the pan! You absolutely must let it cool for those first ten minutes; that lets the juices settle down just a hair. Once it’s safe, bring the heavy skillet right to the center of your table.
We always serve this warm, not scorching hot. A massive dollop of fresh whipped cream is practically mandatory—it melts beautifully into the warm biscuit tops, and the cool cream is the perfect contrast to the sweet berries. If you have dairy-free guests, a scoop of vanilla non-dairy ice cream is amazing too! If you need a quick side dip for other things, check out my cream cheese fruit dip recipe, although honestly, the berries are great all by themselves!
Storage and Reheating Instructions for the Gluten-Free Strawberry Shortcake Skillet
So, if you actually manage to have leftovers of this amazing Gluten-Free Strawberry Shortcake Skillet—which I seriously doubt you will—storage is simple enough. You need to cover the skillet tightly with foil or transfer the leftovers to an airtight container. If you leave it out on the counter, it’s fine for about a day, but I usually pop mine into the fridge just to keep those strawberries fresh.
The next day, the biscuit topping will be a bit softer, like a true cobbler. That’s okay! The best way to revive it is to put a serving or two back in the oven at about 325°F for maybe five minutes. If you’re in a huge rush, the microwave works, but only zap it for 15 to 20 seconds. Too long, and that GF batter gets tough, which is completely sad!
Frequently Asked Questions About the Gluten Free Strawberry Shortcake Skillet
I get so many questions about this recipe, which I honestly take as a huge compliment! It means you’re excited to bake it, and that’s my favorite thing. Most questions revolve around the skillet method or dealing with gluten-free flours, so let’s tackle those right here. If these don’t cover it, feel free to send me a message, though I usually check my comments on my white chicken lasagna soup post weekly!
Is a Cast Iron Skillet necessary for this Gluten Free Strawberry Shortcake Skillet?
Nope, it’s not strictly *necessary*, but honestly, it’s my top recommendation! Cast iron is amazing because it heats evenly from the bottom all the way up the sides. This even heat is wonderful for ensuring those fresh strawberries turn jammy without scorching while the biscuit topping gets perfectly golden. If you have one, definitely go for that classic Cast Iron Strawberry Cobbler texture. If you don’t have one, any heavy-bottomed, oven-safe skillet will work just fine! Just keep a closer eye on the edges during baking.
Can I use fresh strawberries that are not perfectly ripe?
Oh, that happens all the time when you’re trying to get baking right away! Yes, you can absolutely use slightly under-ripe strawberries here. The magic combination of the 1/4 cup of sugar and that tiny splash of lemon juice we mix them with does a fantastic job of coaxing out the moisture and softening them up as they bake beneath the topping. Just make sure you give them that full 10 minutes of resting time after they come out of the oven so the juices can thicken up a bit before serving.
What is the best Gluten Free Biscuit Topping Recipe alternative if I don’t have xanthan gum?
This is the biggest hurdle in any good GF recipe! If you bought a commercial blend that happens to be missing xanthan gum, you must replace it, or your topping **will** crumble—it won’t hold together like a biscuit. I strongly advise finding a blend that already includes it, which is easiest. If you can’t swap the flour, you’ll need to add about half a teaspoon of pure xanthan gum to that dry mix. If you happen to have psyllium husk powder, that works as a binder too, but it usually requires slightly more liquid, so stick to xanthan gum if you can for this biscuit recipe!
Nutritional Estimates for This Summer Gluten Free Baking Idea
Now, I always preach that baking should be about joy, not obsessive counting, but since we are dealing with GF flours and sugars, people always ask about the numbers for this Summer Gluten Free Baking Idea. Here’s the general breakdown based on 4 servings! Keep in mind these are just handy estimates; the exact numbers will shift depending on whether you use regular milk versus almond milk, or if you load up on the whipped cream (which you totally should!).
- Serving Size: 1 serving
- Calories: 350
- Fat: 14g
- Carbohydrates: 52g
- Protein: 6g
- Sugar: 25g
Just remember, this is a guide, not a strict mandate! For the full details on how we estimate these figures, you can always check out the fine print on my disclaimer page. If you want to see how these simple measurements translate into a hearty meal, you should definitely look at the nutrition for my turkey pumpkin chili recipe!
PrintGluten-Free Strawberry Shortcake Skillet

Make a simple, rustic strawberry shortcake entirely in one skillet. This recipe uses a gluten-free biscuit topping baked over fresh strawberries.
- Prep Time: 15 min
- Cook Time: 30 min
- Total Time: 45 min
- Yield: 4 servings
- Category: Dessert
- Method: Baking
- Cuisine: American
- Diet: Gluten Free
Ingredients
- 2 cups fresh strawberries, hulled and sliced
- 1/4 cup granulated sugar (for strawberries)
- 1 tablespoon lemon juice
- 1 1/2 cups gluten-free all-purpose flour blend (with xanthan gum)
- 2 teaspoons baking powder
- 1/4 teaspoon salt
- 1/4 cup cold unsalted butter, cut into small pieces
- 1/4 cup granulated sugar (for topping)
- 1/2 cup milk (dairy or non-dairy)
- 1 large egg, lightly beaten
- 1 teaspoon vanilla extract
- Optional: Whipped cream for serving
Instructions
- Preheat your oven to 375°F (190°C). If using a cast iron skillet, ensure it is oven-safe.
- In the skillet, combine the sliced strawberries, 1/4 cup sugar, and lemon juice. Toss gently and set aside while you prepare the topping.
- In a medium bowl, whisk together the gluten-free flour blend, baking powder, and salt.
- Cut in the cold butter using a pastry blender or your fingers until the mixture resembles coarse crumbs.
- Stir in the 1/4 cup sugar for the topping.
- In a separate small bowl, whisk together the milk, egg, and vanilla extract.
- Pour the wet ingredients into the dry ingredients and mix until just combined. Do not overmix the batter.
- Drop spoonfuls of the biscuit batter evenly over the strawberry mixture in the skillet, leaving small gaps between the mounds.
- Bake for 25 to 30 minutes, or until the topping is golden brown and a toothpick inserted into the center of a biscuit comes out clean.
- Let the skillet cool for 10 minutes before serving warm, topped with whipped cream if desired.
Notes
- If your gluten-free flour blend does not contain xanthan gum, add 1/2 teaspoon to the dry ingredients.
- For a dairy-free version, substitute the butter with solid coconut oil and use non-dairy milk.
- You can cook this on a stovetop over low heat if you have a tight-fitting lid, but baking yields a better biscuit texture.
Nutrition
- Serving Size: 1 serving
- Calories: 350
- Sugar: 25
- Sodium: 180
- Fat: 14
- Saturated Fat: 8
- Unsaturated Fat: 6
- Trans Fat: 0
- Carbohydrates: 52
- Fiber: 3
- Protein: 6
- Cholesterol: 55