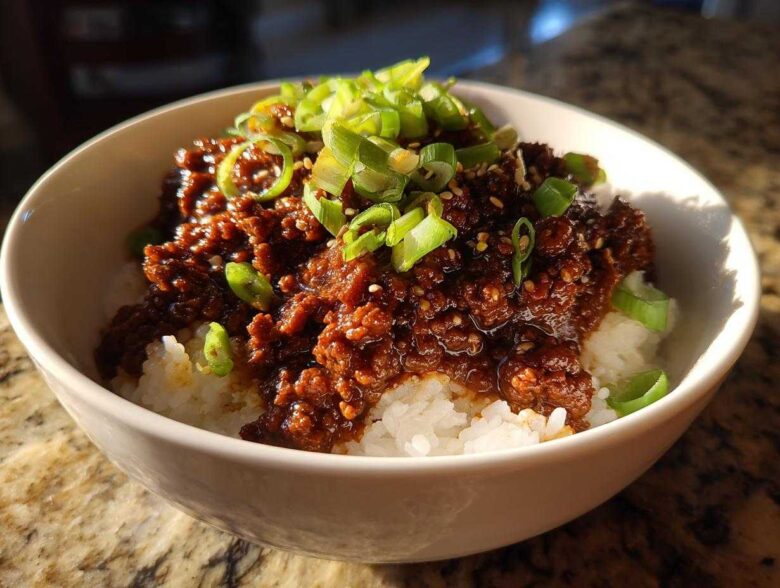
Oh my goodness, are you tired of that 5 PM panic where you realize you need dinner on the table in twenty minutes but all you have is ground beef and a dream? Me too! That used to be my life until I finally cracked the code on making complex, savory Asian meals at lightning speed. Seriously, learning to master my pressure cooker changed everything, especially for those nights I crave big flavor. This recipe right here is the ticket to solving that dinner disaster instantly. We’re talking rich, sweet, garlicky beef that tastes like it simmered all day, but it comes together so fast. Get ready, because these incredible Instant Pot Korean Beef and Rice Bowls are about to become your new weeknight hero. You definitely need to check out my tips for other quick Asian stir-fries when you have leftover sauce, too!
Why This Instant Pot Korean Beef and Rice Bowls Recipe Works Fast
If you’re looking for the fastest way to a satisfying dinner, the pressure cooker really shines here. You dump everything in, seal it up, and walk away. It’s the definition of hands-off cooking, which means I can unload the dishwasher or help with homework while my dinner is developing deep, delicious flavor!
The real magic of these Instant Pot Korean Beef and Rice Bowls is how they shrink the cooking time without sacrificing taste.
- Ten minutes of prep time is all you need—no extra sautéing required!
- The high pressure forces the sauce—all that garlic, ginger, and soy—right into the ground beef almost instantly.
- It’s a true one-pot wonder for the main component of your meal.
Prep Time vs. Pressure Cook Time Breakdown
Honestly, I love that the recipe details tell you exactly how fast this is. We’re talking just 10 minutes to put everything into the pot. Once you seal it up, the actual cooking time is only 8 minutes under high pressure! You’ll need a few extra minutes for the device to come up to pressure and then for the release, but factoring in a 5-minute Natural Release, the whole beef part is done in about 20 minutes total. That used to take me 45 minutes on the stovetop just to get the sauce to reduce properly!
Gathering Ingredients for Your Instant Pot Korean Beef and Rice Bowls
Okay, I know looking at a list of ingredients can sometimes feel overwhelming when you’re trying to rush dinner. But trust me, these flavor boosters are worth grabbing! Because we are tossing everything right into the Instant Pot liner before we even start cooking, there’s virtually no extra chopping or bowl washing involved, which is the BEST part of making these Instant Pot Korean Beef and Rice Bowls.
We are using super simple stuff here, but the balance is key. And if you’re making this for the first time, you absolutely have to check out my recipe for quick refrigerator dill pickles—they make an amazing tangy side dish that cuts right through the richness of the beef!
Essential Beef and Sauce Components
The foundation starts with 1.5 pounds of ground beef. We’re not searing it first, nope! Everything goes in raw. For the sauce, you’ll need low-sodium soy sauce—always low sodium, friends, because we’re adding brown sugar! Make sure that ¼ cup of brown sugar is nicely packed in there so you get that deep, molasses flavor that sings with the beef. Don’t forget the sesame oil, rice vinegar, four cloves of minced garlic, and a tablespoon of freshly grated ginger. If you want a little kick like I do sometimes, toss in a teaspoon of gochugaru, which are those beautiful Korean chili flakes.
Toppings and Rice for Assembling the Instant Pot Korean Beef Bowls
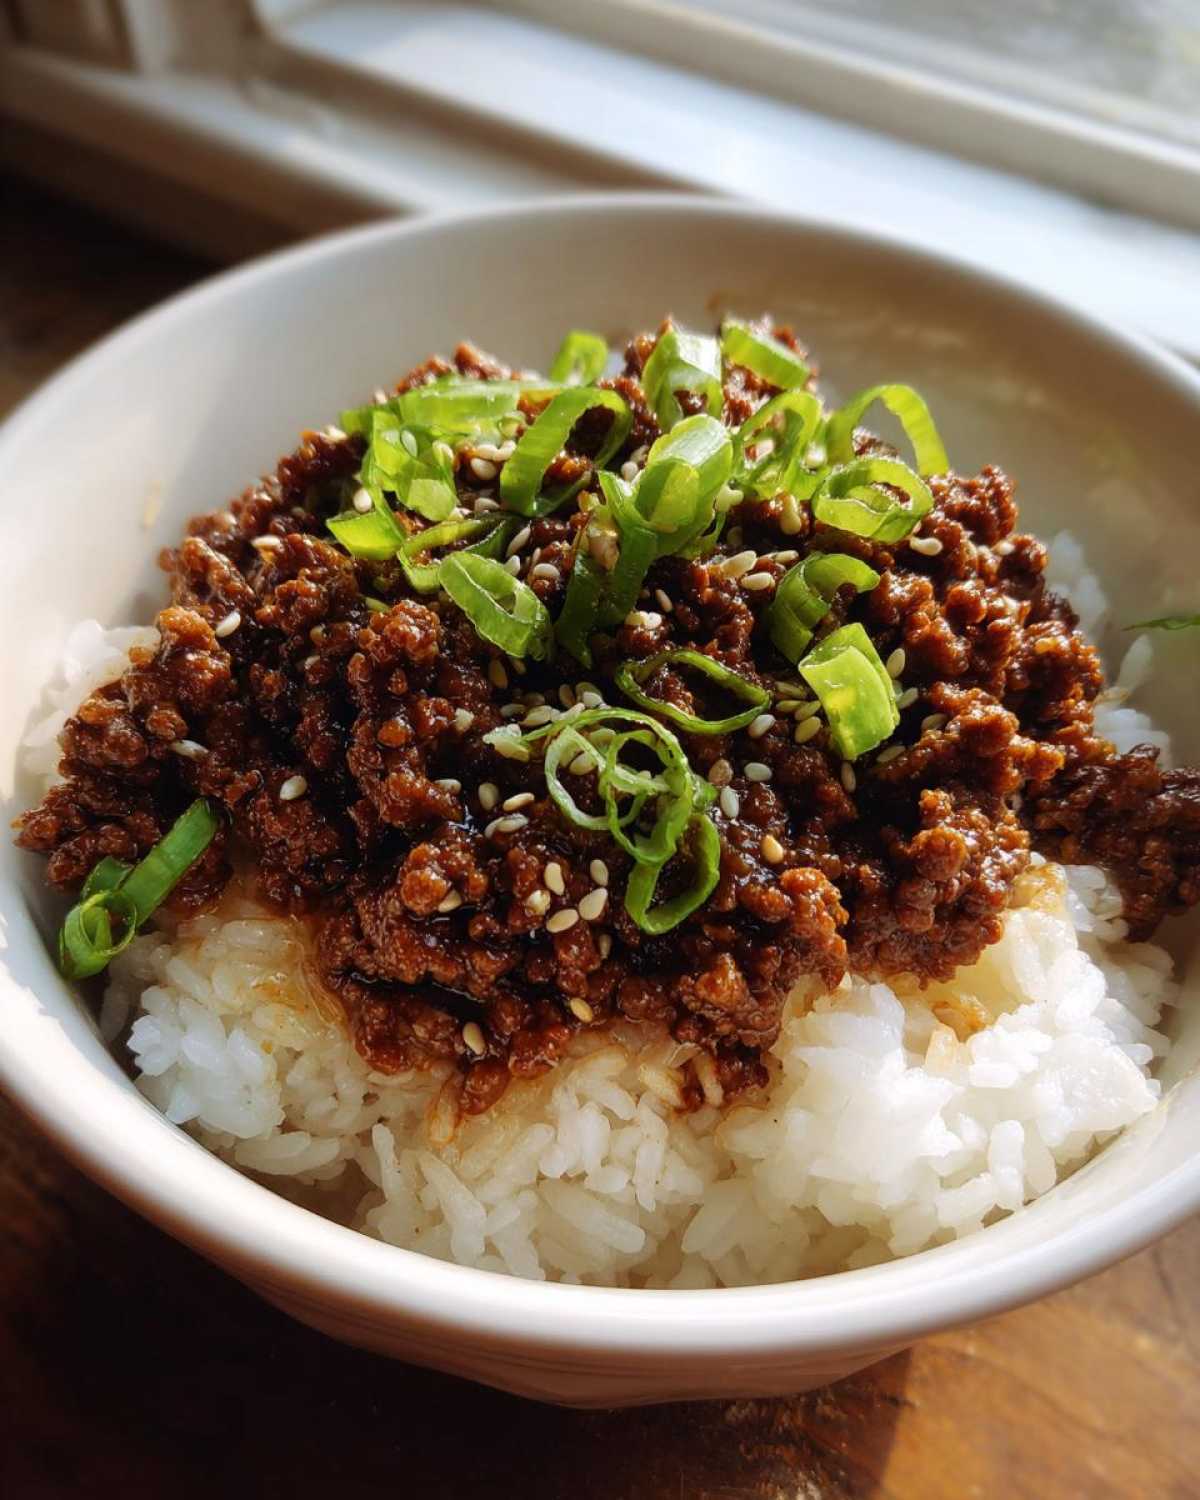
Once the beef comes out tender and saucy, it’s all about assembly! Make sure you have about 4 cups of cooked rice ready to go. You can cook that separately, or hey, you can even clean out the IP liner and use the pressure cooker to make your rice if you’re feeling adventurous! For toppings, keep it fresh and crunchy. I always grab sliced green onions and a generous sprinkle of toasted sesame seeds. If you have some kimchi hiding in the fridge, pull that out too—it adds the perfect fermented tang that makes the whole bowl pop.
Step-by-Step: How to Make Easy Pressure Cooker Korean Beef Recipe
This is where the pressure cooker does all the heavy lifting! The best part about this Easy Pressure Cooker Korean Beef Recipe is that we aren’t dirtying any extra pans for searing or simmering the meat first. Everything—the ground beef, all those amazing sauce ingredients—goes right into the metal pot.
My little trick, which I firmly believe gives the meat that initial flavor boost, is to gently stir everything together *just* enough to loosen the ground beef before sealing the lid. I don’t mix it hard, just enough so it’s not one giant frozen clump. You’ll want to check out my pulled chicken recipe; the principle of layering ingredients directly is the same!
Loading the Pot and Setting Pressure
First, get your 1.5 pounds of ground beef directly into the liner. Now, pour in all your flavor makers: the soy sauce, the brown sugar, that vinegar, garlic, ginger, and the optional chili flakes. Then, pour in your ½ cup of water or broth over the top. Secure that lid tightly, making absolutely sure the little steam valve is set to the sealing position—this is super important, or you’ll get a steamy mess!
Next, hit that Manual or Pressure Cook button. For ground beef, the time is wonderfully short: set it for 8 minutes on High Pressure. That’s it! Don’t touch it until that countdown is done.
Pressure Release and Sauce Thickening for Savory Korean Beef Bowls
Once the timer goes off, we need to be patient for just a minute. You must let it do a Natural Pressure Release (NPR) for 5 minutes. This lets the meat relax a bit before you flip that little valve for the Quick Release (QR) of any leftover steam. When you open it up, the beef will look cooked, but the sauce will be thin—that’s expected!
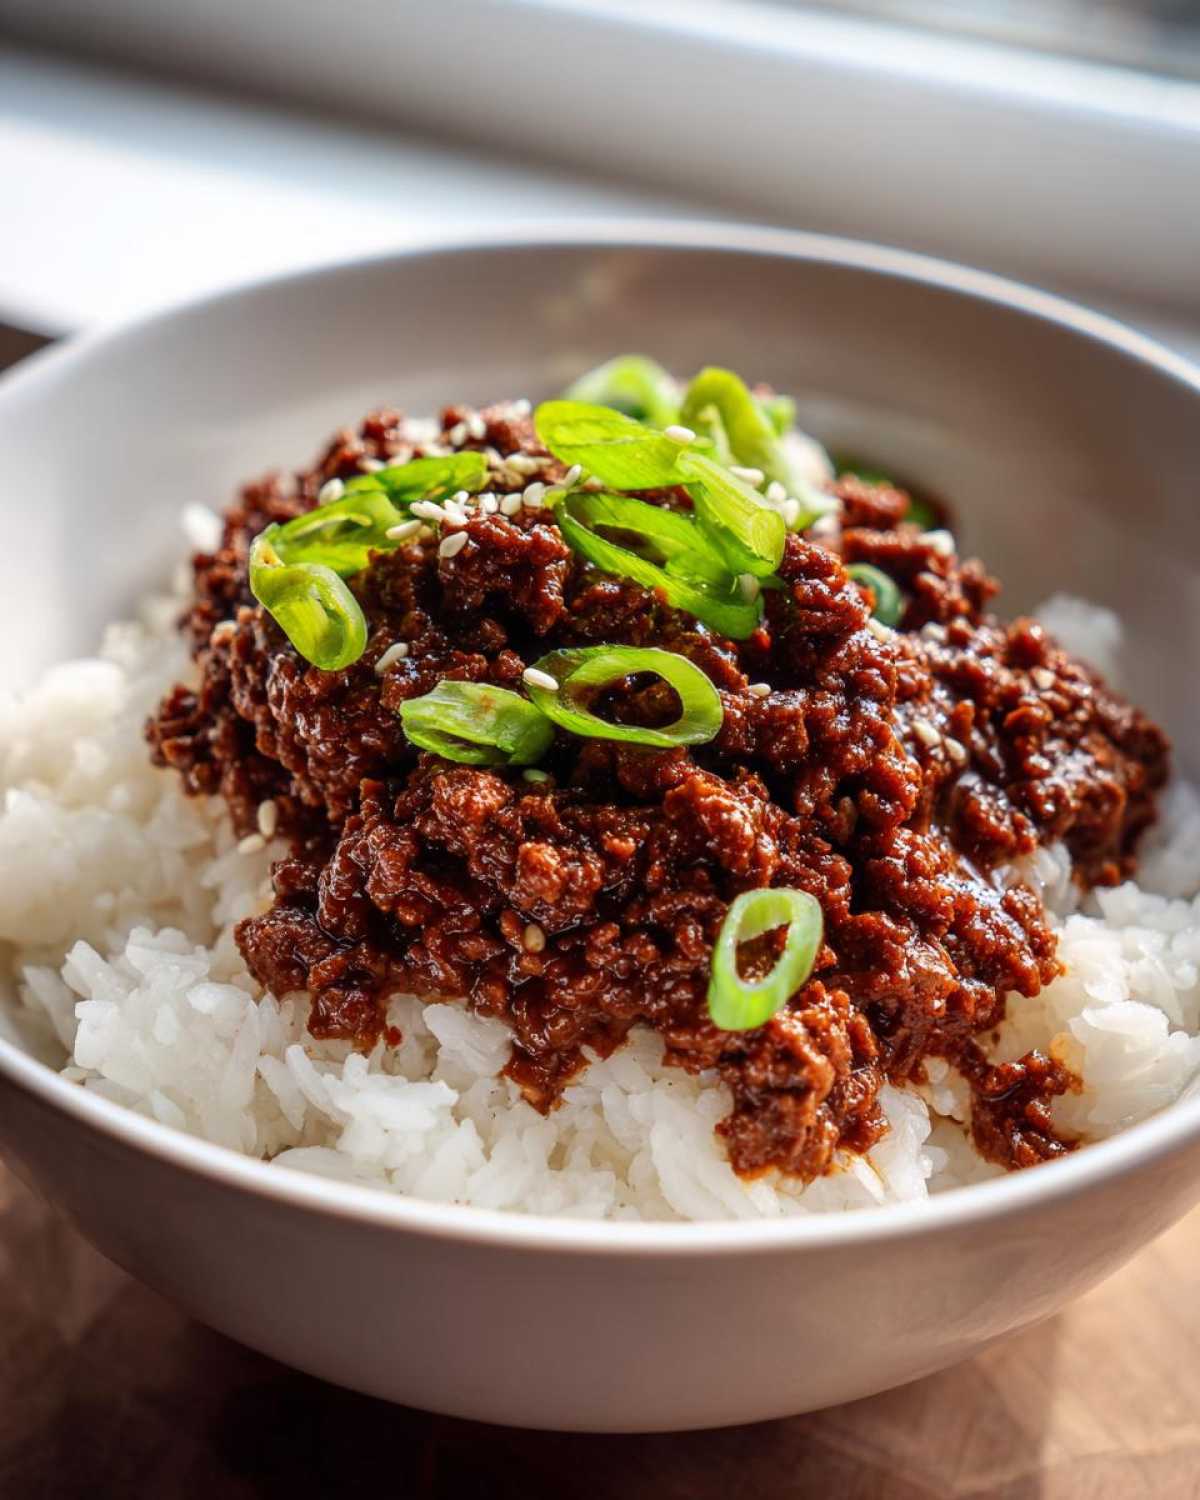
Switch your IP to Sauté mode, Normal setting. While it heats back up, quickly mix up your cornstarch slurry (2 tablespoons cornstarch to 2 tablespoons cold water). Slowly whisk that slurry into the simmering beef mixture. Keep stirring until the sauce bubbles and thickens up beautifully, which only takes a minute or two. That rich, glossy coating is what makes these Savory Korean Beef Bowls absolutely irresistible.
Tips for Perfect Instant Pot Sesame Garlic Beef Texture
I love working with ground beef in the Instant Pot because it handles high pressure so well, but I want you to know you aren’t stuck with just the mince! If you happen to have some beef chuck roast hanging out in the freezer, this recipe is fantastic for shredding too. Recognizing that people use different cuts of meat is how recipes really become family staples, don’t you think?
This flexibility is why I feel confident calling this the best recipe for Instant Pot Sesame Garlic Beef.
Ground Beef vs. Shredded Beef Cooking Variations
If you swap the ground beef for chuck roast—which you should totally try next time for a heartier meal—you need to adjust the cooking time significantly. Ground beef cooks fast, hence the 8 minutes. But those tougher chunks of roast need more time to break down until they are fork-tender.
For the roast version, you’ll cook it for a full 30 minutes on High Pressure. When that timer finally goes off, you absolutely must allow a full Natural Pressure Release (NPR). A Quick Release just won’t cut it for roast meat; letting it stand lets those juices settle back into the fibers. Once you shred that beef, you can add your cornstarch slurry right on the Sauté setting just like we did before, but the texture in your Instant Pot Korean Beef Bowls will be wonderfully different!
Assembling Your Quick Korean Beef and Rice Dinner
Okay, the best part! The beef is thick, glossy, and perfectly flavored—now we make it look as good as it tastes. Getting the presentation right turns a simple meal into something really special, even if you’re just eating it on the couch!
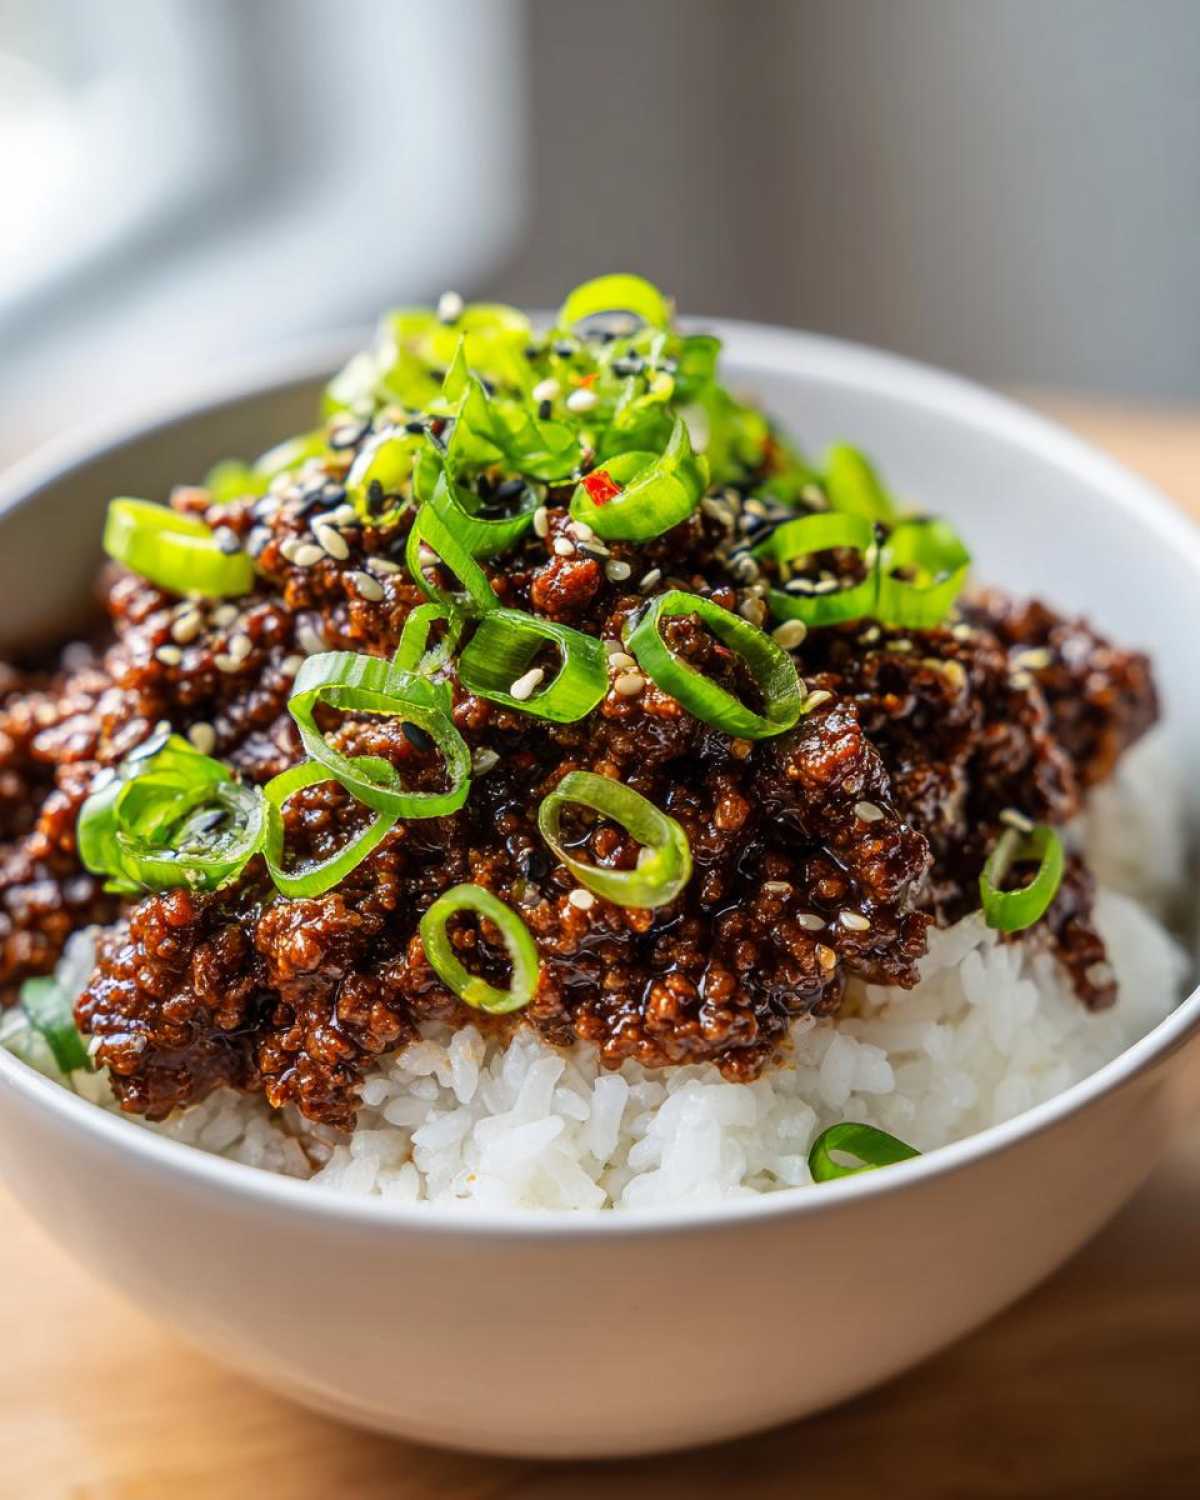
For a perfect Quick Korean Beef and Rice Dinner presentation, start by giving your cooked rice a nice dome shape in the center of your bowl. Don’t just dump it in there; use a measuring cup or a small bowl to pack it slightly so it holds its shape a little. This gives the beef something beautiful to sit on top of.
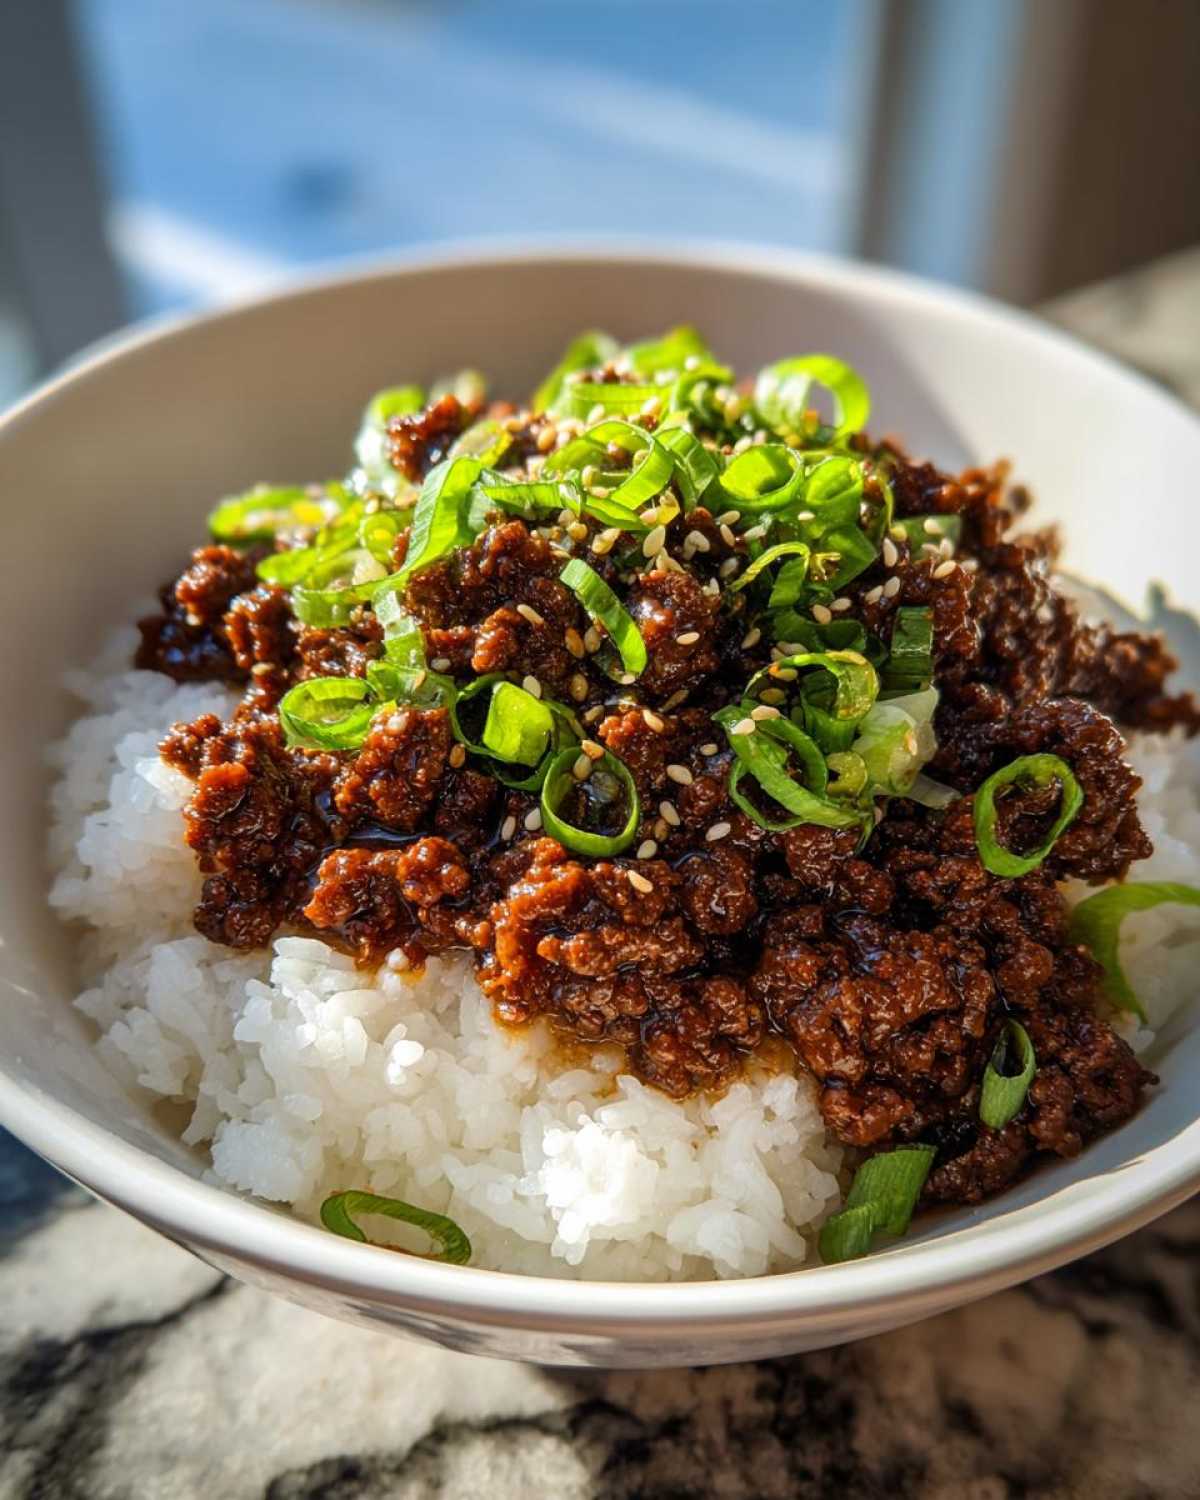
Next, spoon your saucy, savory beef right over the top of that rice mound. I like to let some of that gorgeous excess sauce drizzle down the sides. Then, go wild with the toppings! I told you the fresh green onions and toasted sesame seeds are essential—they add such necessary color and crunch. If you managed to whip up some quick pickled cucumbers or pulled out some kimchi, tuck those pieces around the edges for a beautiful pop of color. It’s fresh, savory, and ready in minutes. If you want more bowl inspiration, you should check out my easy spicy tuna rice bowl recipe!
Ingredient Notes and Substitutions
I want you to feel super confident tackling this recipe, even if your pantry is looking a little sparse today! A few ingredients here might seem specialty, but honestly, they are easy to swap out or skip if needed. If you don’t like heat, totally skip the gochugaru—it’s optional, remember? The beef will still be amazing.
If rice vinegar isn’t in your cupboard? Apple cider vinegar works fine in a pinch, though it’s a bit sharper. Don’t sweat the fresh ginger if you’re out; about ½ teaspoon of ground dried ginger powder will do the trick, but use it sparingly because dried spices are stronger than fresh!
The cornstarch slurry is the backbone of our thick sauce, so try not to skip that step. If you make these Instant Pot Korean Beef Bowls often, you should stock up on some basics like sesame oil, which lasts forever and adds that irreplaceable nutty finish to almost any Asian dish.
Storage and Reheating Instructions for Weeknight Korean Meal Prep
I always make a double batch of this beef because having leftovers is the real definition of weeknight success! Store any extra Instant Pot Korean Beef and Rice Bowls components in an airtight container in the fridge. It keeps beautifully for up to four days. Honestly, the flavor sometimes gets even better the next day because the beef soaks up even more of that garlicky sauce.
When you’re ready to reheat, I strongly recommend using the stovetop if you have a minute. Just toss the beef and rice into a skillet over medium heat, maybe adding a tablespoon of water or broth to loosen things up before you stir. If you are truly in a rush, the microwave works fine, but give it a good stir halfway through heating so you don’t end up with hot spots! If you love planning meals ahead, make sure you check out my recipe for easy chicken fried rice too; it’s another great meal prep lifesaver!
Frequently Asked Questions About Instant Pot Korean Beef Bowls
When you’re making a recipe for the first time, you always have questions buzzing around, right? I’ve tested this dish about a hundred times so I think I’ve already figured out the answers to most of them! These little tips should help you get your Instant Pot Korean Beef Bowls perfect on your first try.
Can I use frozen beef in the Instant Pot for this recipe?
Oh, absolutely! That’s one of the huge perks of the Instant Pot. If you are starting with a perfectly fine, but completely frozen, pound of ground beef, you can still totally use this recipe. You’ll only need to add about 5 minutes to the high-pressure cook time. So instead of 8 minutes, set it for 13 minutes. Just make sure you still use the 5-minute Natural Pressure Release before quick releasing the rest of the steam. It’s a lifesaver when you forget to thaw!
What is the best rice to serve with Pressure Cooker Korean Flavors?
For the most authentic texture that soaks up all that savory sauce, I really love using short-grain white rice. It has that classic sticky consistency that just goes perfectly with Korean dishes. You could also use brown rice if you prefer, but you’ll need to add a little extra liquid (maybe another ¼ cup of broth) and bump the pressure time up to about 20 minutes, followed by a full NPR. If you want to keep it all in the machine, you can wash out the liner after the beef is done, add your rice and water, and run a separate rice cycle!
How spicy is this Instant Pot Asian Dinner Recipe?
Truthfully, if you leave out the gochugaru—those optional Korean chili flakes—this recipe is really just savory, sweet, and garlicky. It has zero heat! If you *like* heat, but maybe you don’t have gochugaru on hand, you can swap it out for a teaspoon of Sriracha or a pinch of standard red pepper flakes. You can stir that heat in right at the end when you’re thickening the sauce. That way, people who don’t want the spice can skip it entirely, but the heat lovers get their kick!
If you’re looking for another amazing one-pot meal that uses a similar flavor profile, you have to try my recipe for creamy garlic butter chicken pasta—it’s just as easy, just a different cuisine!