

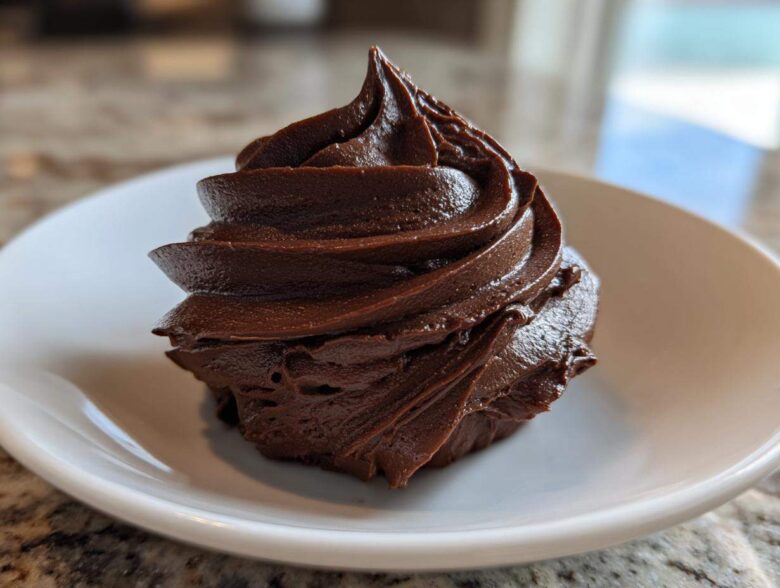
Look, we’ve all been there. You spend hours baking the most perfect, moist chocolate cake, and then you ruin the whole experience with sad, stiff, grainy frosting that tastes like gritty sugar paste. Ugh, I remember one time I tried making it for my sister’s birthday, and it ended up looking like gritty mud! Since then, I swore I would never settle for less than perfection. That’s why I’m sharing this, my ultimate guide to the **Chocolate Buttercream Frosting** that works every single time. Trust me, once you master this formula, you’ll never go back to that stuff you buy in a can. This recipe guarantees a batch that is unbelievably smooth, deeply flavorful, and absolutely dreamy for piping onto any dessert, like my famous homemade chocolate cake.
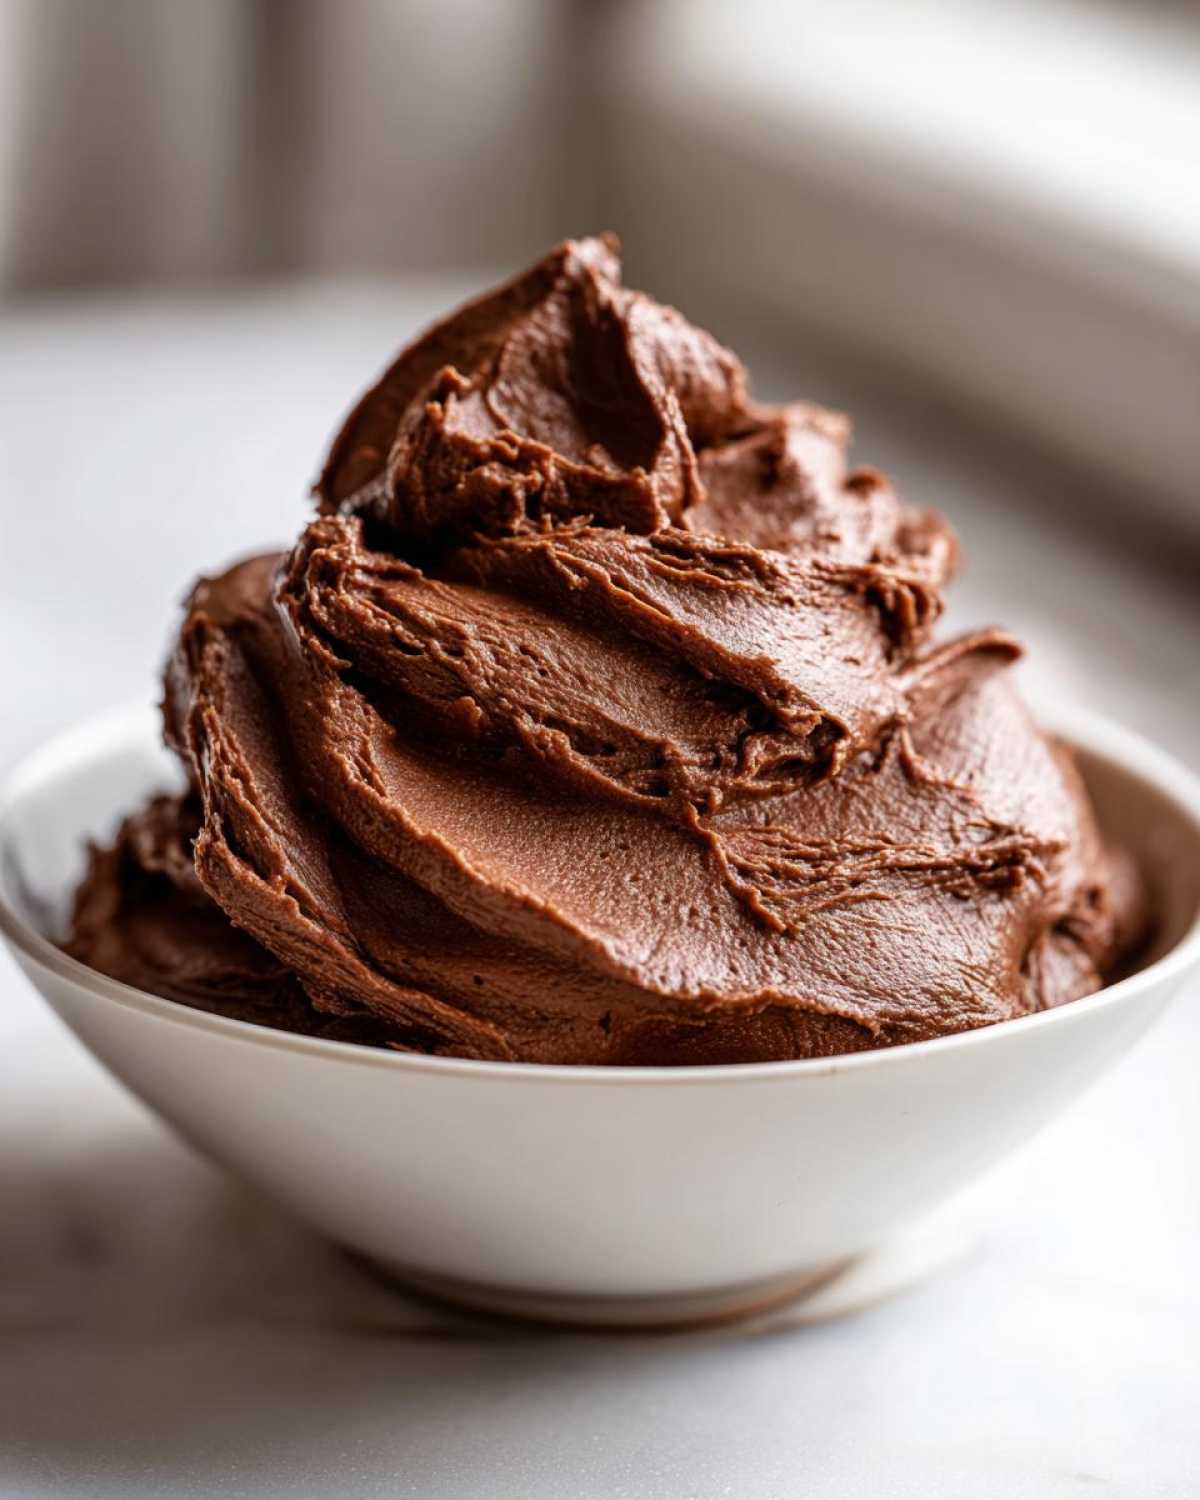
Why You Will Love This Classic Chocolate Buttercream Frosting
This isn’t just another recipe; it’s the foolproof formula your baking needs. Forget complicated steps or fancy ingredients. Here’s why this frosting is now my absolute go-to:
- It whips up into an incredibly **fluffy chocolate frosting for cakes** in less than 10 minutes.
- The texture is silky smooth—seriously, zero graininess guaranteed!
- It holds stiff peaks beautifully, making it the **pipeable chocolate frosting** you’ve always dreamed of for decorations.
- It’s an incredibly **easy chocolate frosting** that tastes rich but uses simple pantry staples.
Essential Ingredients for Perfect Chocolate Buttercream Frosting
The secret to this incredible frosting is paying attention to the quality and preparation of just a few core elements. Don’t skimp here, because these ingredients are doing all the heavy lifting to create that rich texture. You’ll see I’ve underlined a few things because they are non-negotiable for the best results!
- 1 cup unsalted butter, **fully softened to room temperature**. If it’s cold, your frosting will be lumpy, period.
- 3 1/2 cups powdered sugar, **sifted**. This is crucial for that smooth chocolate frosting texture we’re chasing!
- 1/2 cup unsweetened cocoa powder, **sifted**. Sifting keeps those dry pockets out entirely.
- 1/2 teaspoon salt to cut the sweetness.
- 1 teaspoon vanilla extract—don’t leave this out!
- 4 to 6 tablespoons heavy cream or whole milk, depending on how thick you want it.
If you’re looking for a deeper color for your next baking project, grabbing Dutch-process cocoa powder is the way to go!
Equipment Needed for Making Chocolate Buttercream Frosting
While this recipe is simple, you really need the right gear to get that airy texture. For the best results, grab your stand mixer—or a good electric hand mixer works just fine if you don’t have a stand. You’ll also want a large mixing bowl, a fine-mesh sieve for sifting, and rubber spatulas for scraping down the sides. Having those tools ready means you can dive right into mixing without pausing!
Step-by-Step Guide: How to Make Chocolate Buttercream Frosting
Okay, let’s get down to the fun part! Making this frosting is fast, but the technique matters if you want that professional, glossy finish. We’re going to follow the instructions, but I’m going to tell you exactly what to look for after each step so you know you’re on the right track toward the best chocolate buttercream recipe there is.
Creaming the Butter Base for Smooth Chocolate Buttercream Frosting
Before anything touches that butter, make sure it’s perfectly soft—I mean, cool to the touch but easily mashed. Pop that softened butter into your mixer bowl and beat it on medium speed for a couple of minutes. You’re looking for it to change texture, getting pale yellow and almost fluffy. This is where you build the air needed for that perfect structure! Don’t rush it; this creates the **chocolate frosting smooth texture** we all crave; it shouldn’t look greasy or dense.
Incorporating Dry Ingredients for Rich Chocolate Frosting Guide
Now for the sugar and cocoa! Set your mixer down to the absolute lowest speed—we are trying to avoid a cocoa snowstorm in the kitchen, trust me on this one! Slowly add your sifted powdered sugar and cocoa powder, waiting until most of the dry stuff is absorbed before adding the next cup. Once it’s mostly combined, toss in the salt and vanilla. Then, we crank up the speed! This is where the magic happens to make an easy homemade frosting.
Once the dry stuff is in, beat it on medium-high for a good three minutes. This extra beating time helps dissolve the sugar crystals, which is the secret to a non-grainy result. After that time, you’ll start adding your heavy cream, one tablespoon at a time. Keep watching it as you beat it again for another two minutes until it’s light, airy, and ready for spreading!
Tips for Achieving Perfect Pipeable Chocolate Frosting Texture
Getting that stiff, gloriously **pipeable chocolate frosting** that holds sharp edges when you decorate is all about finding that sweet spot with your liquid and sugar ratio. I’ve learned that temperature is your best friend here. If your butter gets too warm (like, looks shiny), the whole batch will get soupy fast. If that happens, just stick the whole bowl in the fridge for ten minutes while you clean up a bit, then bring it back to the mixer. You can check out some other cool kitchen tips on the general blog while you wait!
To thicken things up to that **whipped chocolate frosting** stage needed for piping, add more sifted powdered sugar, just a tablespoon at a time, mixing well in between each addition. If the frosting is too stiff for spreading, slowly drizzle in a teaspoon of heavy cream. The real secret weapon, though, is that final long beat! After everything is combined, you need to whip this **Chocolate Buttercream Frosting** on medium-high for at least two full minutes. That extra air incorporation makes it lighter and prevents it from collapsing on your beautiful layer cake!
Ingredient Spotlight: Best Cocoa Powder for Frosting
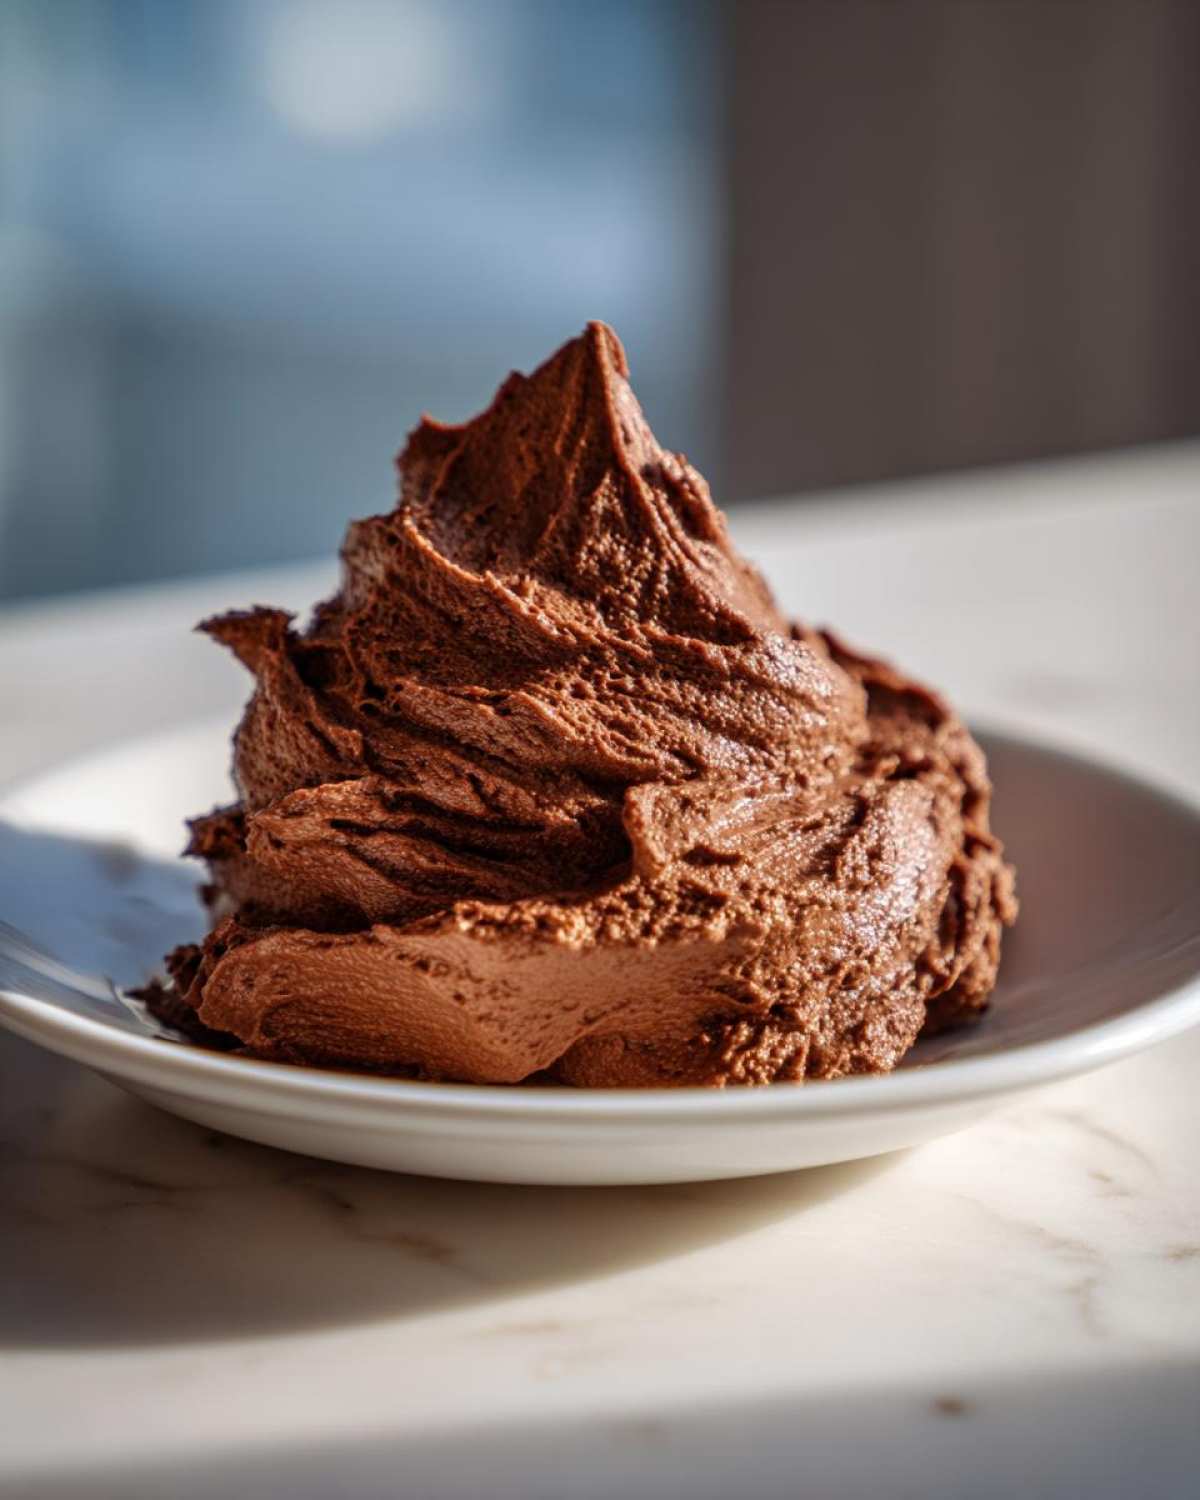
Choosing your cocoa powder is actually a bigger deal than you might think when you are aiming for a truly decadent topping. I mostly stick to standard unsweetened cocoa powder for a classic, slightly sharper chocolate flavor, which is perfect for balancing very sweet cakes.
However, if you want that deep, dark, almost mysterious flavor that screams ‘rich chocolate frosting guide,’ you absolutely need to use Dutch-process cocoa powder. It’s been treated to be less acidic, which gives you that gorgeous, deep brown color right off the bat. Either one works great for a smooth texture, but Dutch-process really boosts that dark, indulgent chocolate experience!
Troubleshooting Common Issues with Your Chocolate Buttercream Frosting
Even with the best recipe, sometimes things go a bit sideways in the kitchen. Don’t panic! Fixing your **Chocolate Buttercream Frosting** is usually super simple if you know the cause. The biggest boo-boo everyone faces is grainy texture. If you’re tasting sugar crystals, that means you didn’t beat it long enough in the second stage! Just turn your mixer up to medium-high and beat it for three or four more minutes. That extra time and friction will dissolve those stubborn sugar bits, giving you that smooth finish you need for your cupcake frosting chocolate recipe.
Now, what if it’s too runny? That usually means your butter was too warm, or you added too much milk. The solution for this is always more of the dry ingredient that stabilizes it: powdered sugar. Add a quarter cup at a time until it firms up to a spreadable consistency. If your butter starts separating and looks greasy instead of beautifully emulsified, turn off the mixer immediately! Take a scoop of the firmer, unmelted butter from the side of the bowl and beat *that* into the separated mixture one tiny chunk at a time until it comes back together smoothly. This trick always saves my batch and gets me closer to that perfect, **no grain chocolate frosting**!
Storage and Reheating Instructions for Homemade Chocolate Frosting
This frosting is so good you’ll probably want to make a double batch, right? If you have leftovers, good news: it keeps really well! You can leave your classic chocolate buttercream covered tightly at room temperature for up to three days—perfect if you’re frosting a cake over a weekend. For longer storage, pop it into the fridge for up to two weeks, though it will firm up hard as a rock.
Here’s the crucial part if you refrigerate it: never spread it cold! Take it out about an hour before you plan to use it. Once it’s softened enough to squish, put it back in the mixing bowl and give it a good, speedy whip for about a minute. This re-incorporates the air and brings back that light, fluffy texture, making it ready for your brownie topping recipe!
Frequently Asked Questions About Chocolate Buttercream Frosting
I get so many questions about adjusting this recipe, so I thought I’d pull the most common ones right here. If you have other burning questions about your cupcake frosting chocolate recipe, drop them in the comments!
Can I use oil instead of butter for this frosting?
Oh, I wouldn’t recommend it if you want that rich, classic taste and silky texture! Butter is essential because it holds air when you cream it, which is what gives you that lovely **fluffy chocolate frosting for cakes**. Oil will make it taste greasy and much harder to pipe nicely. Stick to room temperature butter for the best results, always.
How do I make this frosting darker and richer?
Like I mentioned earlier, if you want a really deep color and intense flavor, swap out the regular cocoa powder for Dutch-process cocoa powder. It’s naturally darker and less acidic. Another trick for a deeper flavor in your **rich chocolate frosting guide** is to increase the vanilla extract slightly, or even add a tiny splash of strong brewed coffee instead of milk—it enhances the chocolate flavor beautifully without making it taste like coffee!
What is the best cake to pair with this chocolate buttercream frosting?
Hands down, this works best on a classic, tender chocolate cake, just like my favorite chocolate chip cookie recipe base turned into cake! But honestly, it’s also amazing on yellow cake or even salted caramel cupcakes. Since this is a very rich frosting, it pairs wonderfully when the cake itself isn’t overly sweet, making it the ultimate topping!
PrintClassic Chocolate Buttercream Frosting
A simple recipe for smooth, rich chocolate buttercream frosting perfect for cakes and cupcakes.
- Prep Time: 10 min
- Cook Time: 0 min
- Total Time: 10 min
- Yield: About 3 cups
- Category: Dessert Topping
- Method: Mixing
- Cuisine: American
- Diet: Vegetarian
Ingredients
- 1 cup unsalted butter, softened
- 3 1/2 cups powdered sugar, sifted
- 1/2 cup unsweetened cocoa powder, sifted
- 1/2 teaspoon salt
- 1 teaspoon vanilla extract
- 4 to 6 tablespoons heavy cream or milk
Instructions
- Beat the softened butter in a large bowl with an electric mixer until creamy, about 2 minutes.
- Gradually add the sifted powdered sugar and cocoa powder to the butter mixture, beating on low speed until combined.
- Add the salt and vanilla extract. Increase the mixer speed to medium-high and beat for 3 minutes.
- Add the heavy cream one tablespoon at a time until you reach your desired consistency. Beat for an additional 2 minutes until the frosting is light and fluffy.
- If the frosting is too thick, add a little more cream. If it is too thin, add a little more sifted powdered sugar.
Notes
- Use room temperature butter for the smoothest texture.
- Sift the powdered sugar and cocoa powder to prevent lumps in your frosting.
- For a darker, richer flavor, use Dutch-process cocoa powder.
- If the frosting seems grainy, beat it longer on medium-high speed to incorporate air and dissolve the sugar.
- Store covered at room temperature for up to 3 days or refrigerated for up to 2 weeks. Bring to room temperature and re-whip before using if refrigerated.
Nutrition
- Serving Size: 1/4 cup
- Calories: 350
- Sugar: 45g
- Sodium: 80mg
- Fat: 19g
- Saturated Fat: 12g
- Unsaturated Fat: 7g
- Trans Fat: 0.5g
- Carbohydrates: 48g
- Fiber: 1g
- Protein: 2g
- Cholesterol: 60mg