

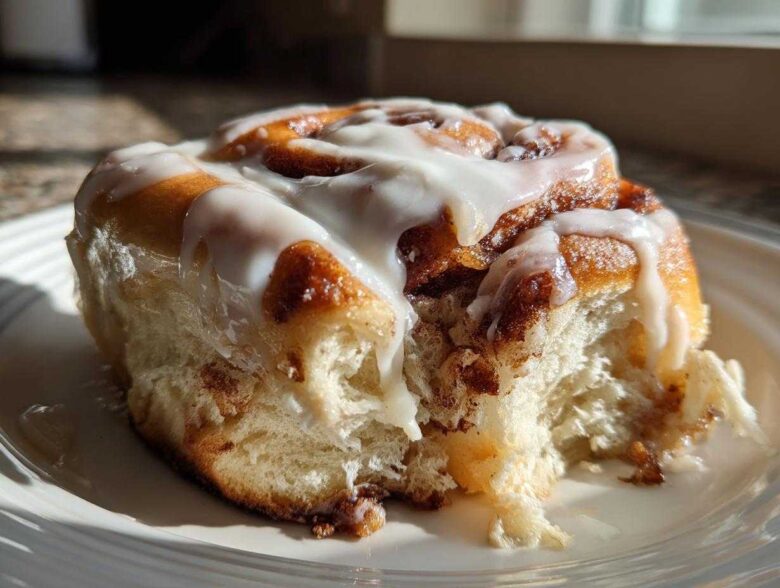
Oh my gosh, is there anything better than waking up to that unmistakable, warm, sugary cloud escaping the oven? Seriously, if I could bottle the smell of a baking cinnamon roll, I’d be rich! I’m telling you right now, forget those dry, sad rolls wrapped in plastic. This recipe right here is my absolute, 100% foolproof method for getting those bakery-quality, fluffy, pull-apart cinnamon rolls that make the whole house smell like heaven. Leo has worked so hard to nail this sweet breakfast recipe, using yeast just right so even if you think you’re scared of dough, you can master this. If you want to know more about the messy cooks behind this site, check out our story right here. Get ready for the best breakfast ever!
Why This Homemade Cinnamon Roll Recipe is Your New Favorite Sweet Breakfast Recipe
This isn’t just another recipe you pull out once a year. This is the one you’ll want every Sunday morning! What makes these the best cinnamon roll you’ll ever make? It’s all about balance. We found the magic ratio where the gooey cinnamon filling meets that pillowy, soft yeast roll dough so nothing leaks out into the pan. Truly, you’re getting bakery-quality results at home, which is a huge win!
- We guarantee those unbelievably gooey centers everyone fights over.
- The instructions for easy yeast activation mean nearly zero stress.
- The final product is the quintessential soft, fluffy homemade pastry.
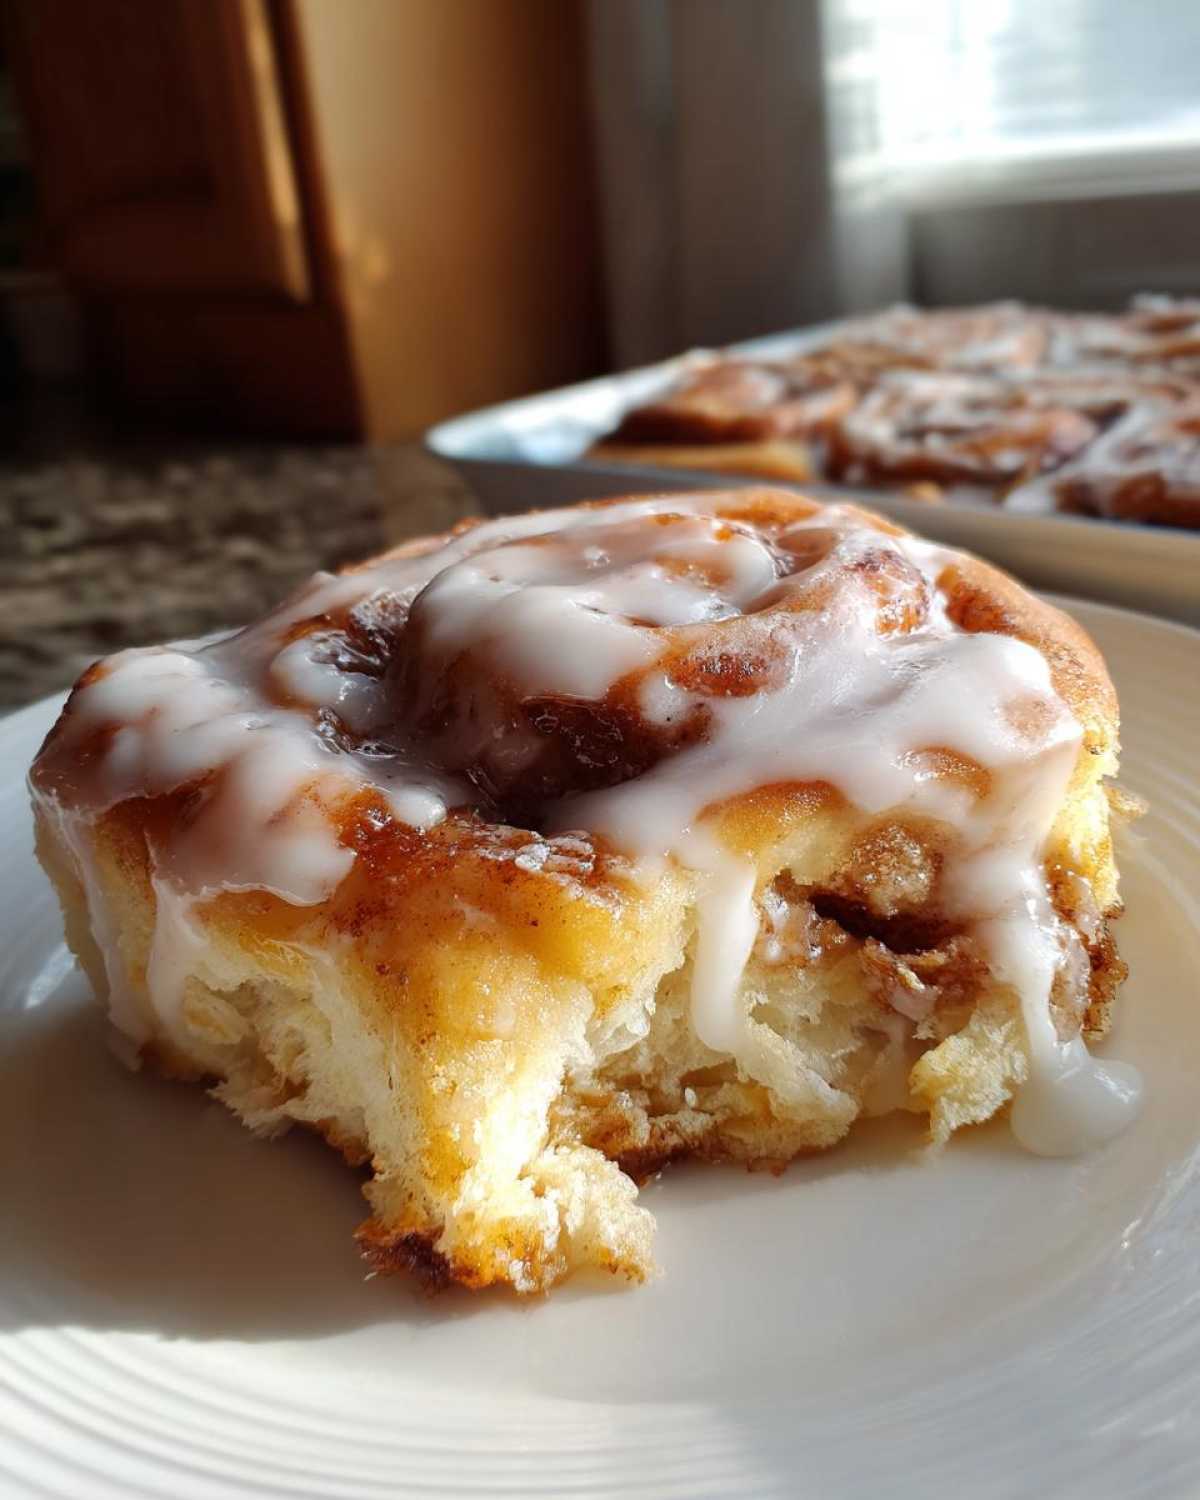
Achieving the Best Cinnamon Roll Texture
If you want texture this dreamy, you gotta respect the dough. The most important thing is giving your mixer enough time—we’re talking a solid 5 to 7 minutes of kneading after the shaggy mass forms. You want it smooth and elastic, trust me! Also, don’t cheat the ingredient temperature. If your milk and eggs are cold, the yeast throws a tantrum and won’t bloom properly. Room temperature ingredients are the key to a happy, high-rising yeast roll recipe.
Essential Ingredients for Perfect Cinnamon Rolls
Okay, so for the best cinnamon roll you’ve ever had, you can’t just wing it. We’ve listed everything out exactly as we use it, because sometimes the difference between good and *amazing* is half a teaspoon of salt or making sure your butter is truly softened. Don’t panic; we’ve broken it down into three groups so you can shop for them easily. This is the list that gives you that classic, sweet breakfast recipe quality.
- For the Dough:
- 1 cup whole milk, warm (about 110°F)
- 2 1/4 teaspoons active dry yeast
- 1/2 cup granulated sugar, plus 2 tablespoons for yeast
- 1/2 cup unsalted butter, softened
- 2 large eggs, room temperature
- 4 cups all-purpose flour, plus more for dusting
- 1 teaspoon salt
- For the Filling:
- 1 cup packed light brown sugar
- 2 tablespoons ground cinnamon
- 1/2 cup (1 stick) unsalted butter, melted
- For the Cream Cheese Icing:
- 8 ounces cream cheese, softened
- 1/2 cup (1 stick) unsalted butter, softened
- 3 cups powdered sugar, sifted
- 1 teaspoon vanilla extract
- 2 tablespoons milk, or as needed
Ingredient Notes and Substitutions
I get asked all the time if you can swap things out, especially since we want this to be an easy cinnamon rolls experience. Here are a few things I’ve learned:
- When it comes to the milk, please use whole milk if you can swing it! The higher fat content is what keeps this yeast roll recipe rich and tender. Skim milk just doesn’t give us the same results.
- We specify active dry yeast. If you happen to only have instant yeast, you can skip the blooming step (Step 1) and just dump it right into the flour mixture when you add the other dry stuff, though I always like proofing it first just to make sure it’s alive!
- The butter for the filling *must* be melted, but don’t let it get hot! If it’s hot, it will melt the sugar mixture into a liquid mess rather than a spreadable paste. We want pockets of cinnamon goodness, not a swamp!
Step-by-Step Instructions for Soft Cinnamon Rolls
Alright, this is where the magic of making an incredible sweet breakfast recipe really happens! Don’t worry if you’re new to yeast—we’re walking through every single stage. The whole process takes a couple of hours because that dough needs time to get happy and puffy, but most of that is just waiting around, which is perfect for cleaning up before the baking even starts!
Mastering the Dough Kneading and First Rise
First up, wake up that yeast! It needs warm milk and a little sugar to get bubbly and foamy. That foam tells you it’s ready to work its magic. Once everything is mixed, the stand mixer does most of the heavy lifting. You want to mix it on medium speed for about 5 to 7 minutes. I remember the first time Leo made this, he stopped kneading too early. I told him, “Babe, it still looks bumpy!” When it’s *perfectly* right for a great homemade cinnamon roll, the dough pulls cleanly away from the sides of the bowl and feels smooth—almost like playdough, but soft!
Once it’s smooth, pop it in a greased bowl, cover it tight, and let it chill out in a warm spot for about an hour until it’s doubled. Don’t rush this first rise; it builds all the structure for those fluffy layers.
Tips for Rolling and Filling Your Cinnamon Roll Log
When the dough is ready, gently punch it down—it’s so satisfying! Then, roll it out on a lightly floured surface into a big rectangle, aiming for 12 by 18 inches. Don’t stress if it’s not exact. The absolute key here is the butter: Brush that melted butter right to the very edges! That ensures a gooey center all the way through when you slice it.
Next, dump that spiced brown sugar mix evenly on top! Start rolling tightly from the long side until you have a firm log. To cut it cleanly without squishing all that precious filling out, ditch the knife for the first few cuts and use a piece of unflavored dental floss stretched underneath. Slide it under, cross the floss over the top, and pull tight. It slices through cleaner than anything! Cut 12 even rolls and nestle them into your prepared pan for their second puff.
Creating the Perfect Cream Cheese Icing for Your Cinnamon Roll
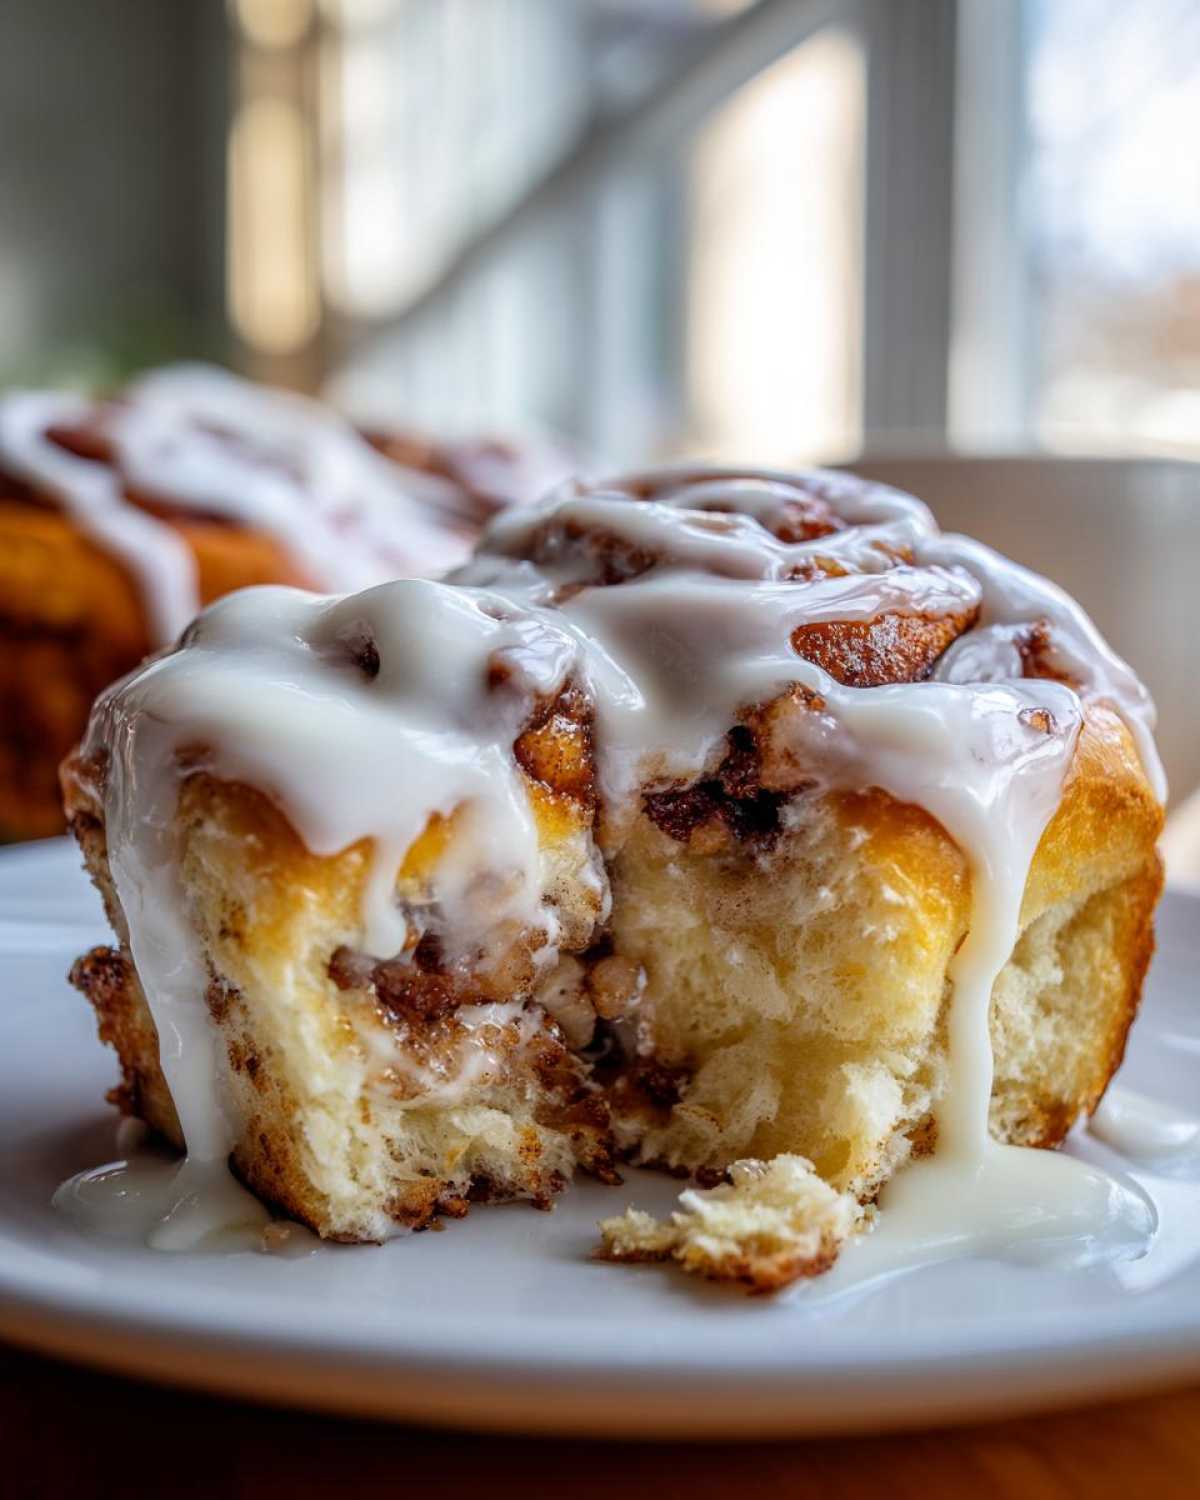
You’ve baked the perfect rolls, but the final step—the crowning glory—is the icing! A great cream cheese icing makes these homemade cinnamon rolls go from delicious to completely legendary. Seriously, once you taste this tangy, sweet topping, you’ll never use plain vanilla glaze again. The trick to bakery-quality icing is temperature and technique. You absolutely cannot rush the softening stage here.
First thing: make sure your cream cheese AND butter are truly softened. I mean soft enough that your finger leaves a deep dent without struggle. If they are cold, you’ll end up with pea-sized clumps in your icing, and nobody wants that! Pop them in the mixer first and beat them solo until they are perfectly smooth and creamy. This builds the base texture for our delicious topping.
Next, we tackle the powdered sugar. Please, please, please sift it! Powdered sugar tends to clump up because it usually has a little cornstarch in it to prevent caking, but when it meets the mixer blades, it explodes into a dusty cloud if you don’t sift first. Add the sifted sugar and the vanilla extract gradually while the mixer is on low speed—we don’t want a sugar snowstorm in the kitchen! Once it’s mostly combined, you can bump up the speed.
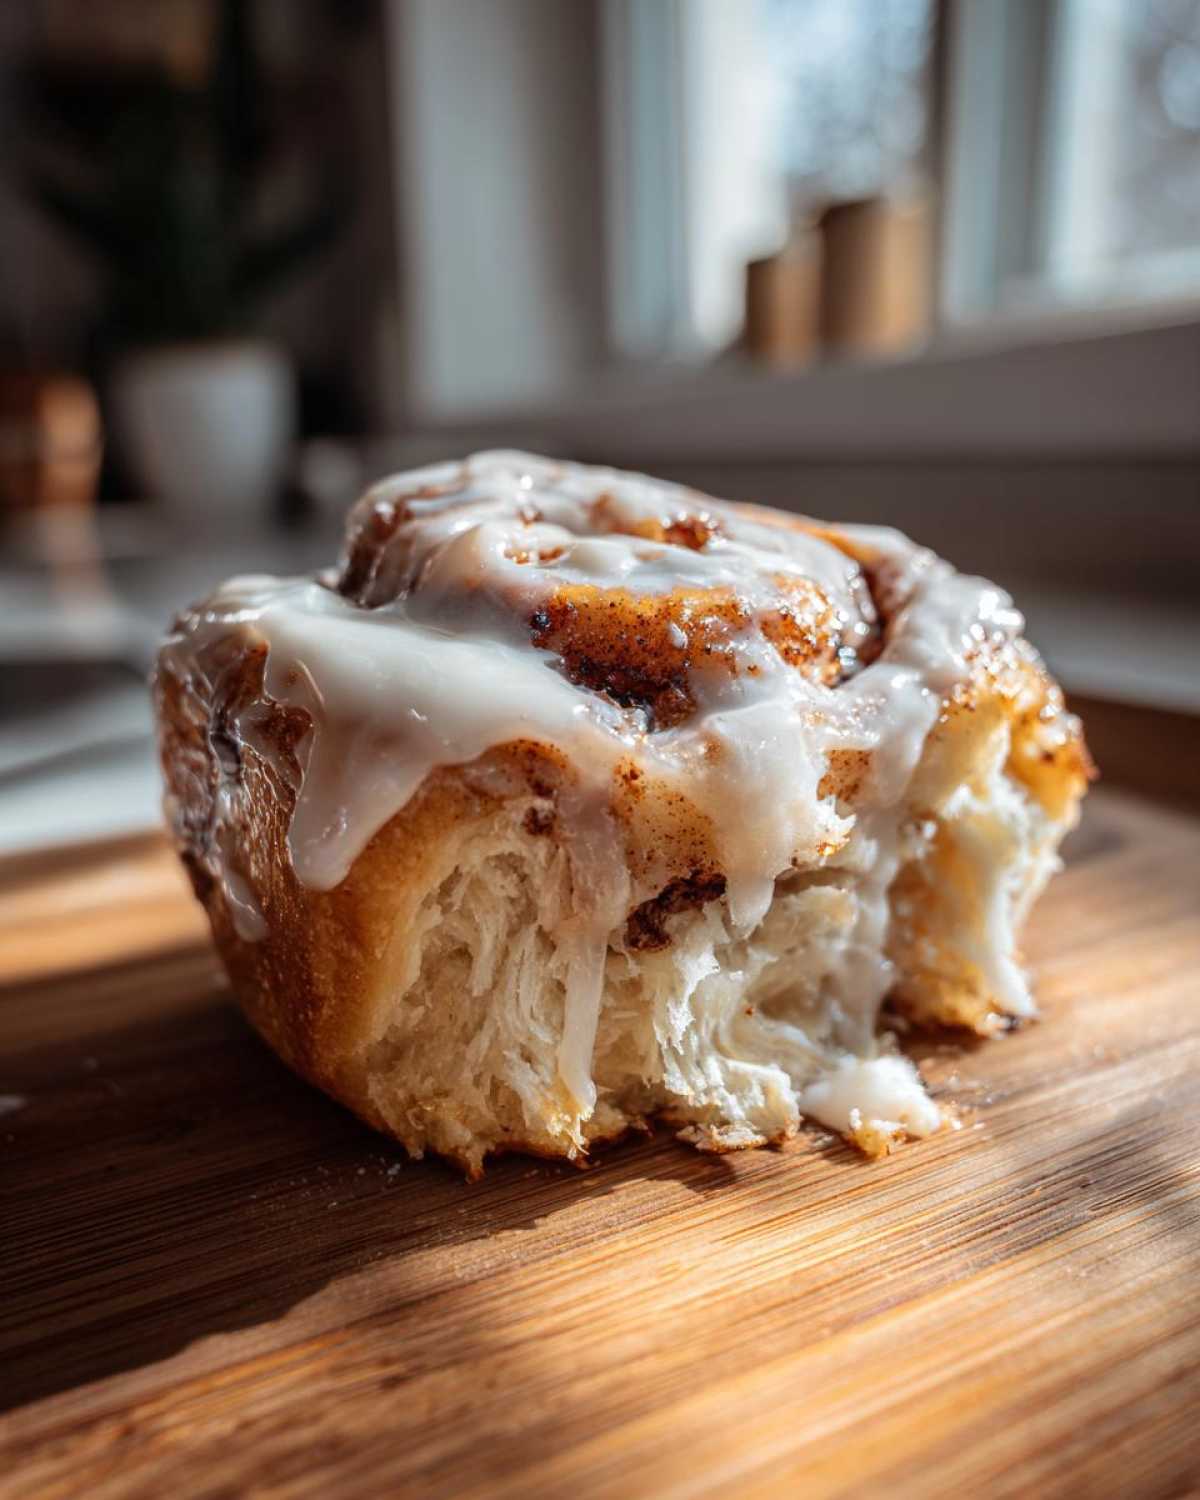
Now for consistency. You want a thick, spreadable topping that drips just a little bit down the sides of your hot cinnamon roll, but it shouldn’t be runny. If it looks too stiff after you’ve mixed everything, add that milk in, just one tablespoon at a time. I usually need about two, but every brand of powdered sugar is different. Once it’s thick, fluffy, and beautifully white, get ready for the best part: slather that glorious cream cheese icing all over those hot rolls right out of the oven. The heat melts it just enough to make everything perfectly decadent!
Tips for Success with this Yeast Roll Recipe
Even though this yeast roll recipe is super forgiving, no one wants sticky insides or rolls that won’t rise! We’ve all been there, so let me share a few sneaky tricks to ensure every batch of your homemade cinnamon rolls turns out right. If your kitchen is cold—and mine usually is in the morning—don’t stress about the first rise. Instead of just letting the bowl sit on the counter, pop it inside your oven with *only* the oven light on. It creates the perfect little warm environment, like a dough spa!
Also, remember the note about baking? For extra insurance against dry tops, try covering the pan loosely with foil for the first 15 minutes of baking time. Once they’re nicely puffed up, pull that foil off so the tops can turn that beautiful golden brown. If you happen to be making these for a big crowd, check out our recipe for homemade apple butter; it makes a fantastic alternative topping!
Make-Ahead and Storage for Soft Rolls
My favorite part about working with good dough is that it plays nicely with advanced planning! If you want to get a massive head start on serving up these sweet breakfast treats, you can definitely make the dough the night before. Once the first rise is done, punch it down gently, wrap the entire lump super tight in plastic wrap, and stick it in the fridge. It’ll hold up overnight beautifully.
When you’re ready the next morning, let it sit on the counter for about an hour to warm up a little before you roll and fill it. For storage after they are baked? Keep your leftover cinnamon roll goodies in an airtight container at room temperature. If they seem a little stiff the next day (which they shouldn’t, thanks to all that butter!), just microwave one for about 10 seconds. It instantly brings back that fresh-from-the-oven softness!
Serving Suggestions for Your Homemade Pastry
Honestly, once these soft cinnamon rolls come out dripping with that sweet cream cheese icing, they practically serve themselves! But if you’re putting on a spread for brunch—maybe for a special weekend breakfast—you want a few things to balance out all that glorious richness. These homemade pastry creations shine on their own, but presentation is everything, right?
First things first: coffee. Duh! But not just any coffee. Since we’ve got all those warm spice notes going on, you might want to try making a special blend. I’ve got a recipe for a homemade maple cinnamon latte that pairs perfectly with the spice in the rolls themselves. It just doubles down on the cozy factor!
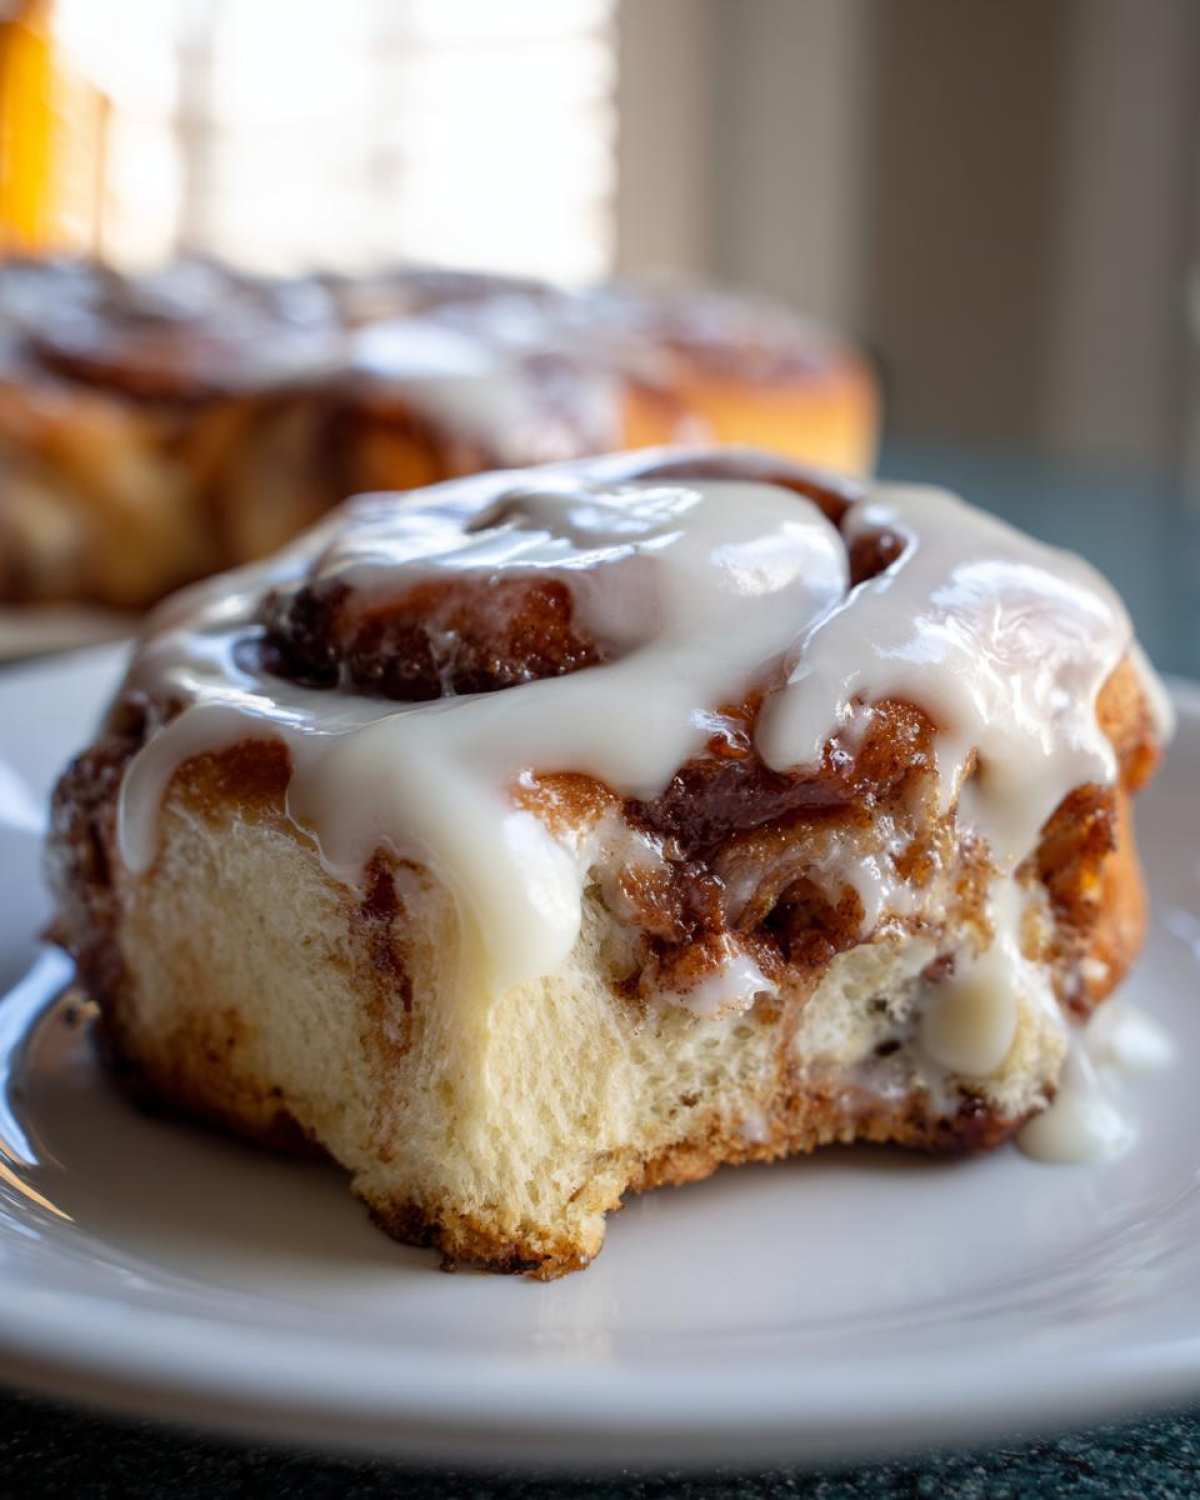
If you’re looking for something fresh to cut through the sweetness, stick to simple fruit. A big bowl of bright red strawberries or some sliced oranges works wonders on the table. It adds a nice bit of color and makes everyone feel slightly less guilty about eating three rolls. And remember, serve them warm! If they cooled down while you were setting the table, just pop them in the microwave for 10 seconds. Seriously, warm icing and warm dough: that’s the goal!
Frequently Asked Questions About Making Cinnamon Rolls
I know that when you’re diving into a baking project this delicious, you’re going to have questions! That’s totally normal. Below, I gathered some of the things Leo and I get asked most often about making these easy cinnamon rolls. Hopefully, this helps you avoid any last-minute kitchen panics!
Can I use instant yeast instead of active dry yeast?
Yes, you absolutely can, and it’s a great shortcut! If you only have instant yeast, you can skip that whole Step 1 where you wait for it to get foamy. Just mix the instant yeast right in with your flour, salt, and the rest of the sugar. It’s one of the ways to make this an even more streamlined, easy cinnamon roll experience. The dough might rise a little faster, so keep an eye on it!
How do I prevent the filling from leaking out when I slice them?
This is the secret to getting the absolute best cinnamon roll texture—no crusty, bare edges! Make sure your butter layer is spread completely edge-to-edge on that rectangle. When you roll the dough, roll it as tightly as you possibly can without tearing it. The dental floss trick I mentioned is a lifesaver here because a sharp pull slices through without shoving the filling around. If you see a little bit ooze out, don’t sweat it; that just means extra deliciousness on the bottom of your pan!
How long do these soft cinnamon rolls stay fresh?
Because we use so much butter and cream cheese in the dough and the icing, these stay incredibly soft for a couple of days, way better than most baked goods. Don’t leave them sitting out to dry, though! Store them airtight at room temperature. If you want them to last longer, you can freeze them baked (without icing) for up to three months. For reheating, just zap them for 15 seconds in the microwave. They are truly the best cinnamon roll, even on day two!
If you’re looking for more inspiration and all our chaotic kitchen adventures, you can always check out our main blog page!
Nutritional Estimates for This Cinnamon Roll Recipe
Okay, friends, let’s talk honestly for a second. Are these the lightest breakfast you’ll ever eat? Nope! Are they worth every single spectacular, gooey, buttery bite? YES! Baking is about joy, and these homemade cinnamon rolls bring a serious dose of it. Since we use real butter and a good amount of sugar for that perfect texture and flavor, the numbers are hearty.
I always suggest treating these more like a weekend treat or a special occasion than an everyday breakfast. I pulled together the numbers based on the exact ingredients we used, but remember, these are just estimates. If you use lighter milk or slightly less sugar in your icing, your final count is going to change a bit. It really depends on what brands you’re grabbing off the shelf!
- Serving Size: 1 roll
- Calories: 550
- Sugar: 55g
- Sodium: 350mg
- Fat: 30g
- Saturated Fat: 18g
- Unsaturated Fat: 12g
- Trans Fat: 0g
- Carbohydrates: 70g
- Fiber: 2g
- Protein: 8g
- Cholesterol: 85mg
See? They pack a punch! But when that warm cinnamon roll hits your mouth, you won’t be thinking about milligrams—you’ll just be thinking about how amazing life is for that one perfect moment. Enjoy every single decadent mouthful!
Share Your Bakery-Quality Cinnamon Roll Creations
Now that you have successfully tackled the dough, the filling, and that glorious icing, I absolutely need to see what you made! Making Leo’s foolproof recipe is only half the fun; the best part is seeing them come to life in your kitchen. Seriously, when you pull those piping hot, gooey cinnamon rolls out of the oven, snap a picture!
We live for seeing your successes! Tag us on social media so we can ooh and aah over your perfect spirals and beautiful layers. Knowing that our little recipe brought a sweet breakfast moment to your home? That’s why we do this whole crazy thing!
If you loved this sweet breakfast recipe—and I know you will—please leave us a rating right here on the page! Five stars really helps other people find this recipe, and we genuinely read every single piece of feedback you leave. It helps us figure out what we’re doing right and what messy projects we should tackle next. If you have any super specific questions that weren’t covered, or if you just want to tell us how much cinnamon you accidentally added, you can always jump over to our contact page. We can’t wait to hear about your amazing homemade pastry!
PrintLeo’s Foolproof Homemade Cinnamon Rolls with Cream Cheese Icing

Make bakery-quality soft, fluffy homemade cinnamon rolls that fill your house with amazing aroma. This easy yeast roll recipe delivers gooey centers and a perfect sweet glaze.
- Prep Time: 45 min
- Cook Time: 25 min
- Total Time: 145 min
- Yield: 12 servings
- Category: Breakfast
- Method: Baking
- Cuisine: American
- Diet: Vegetarian
Ingredients
- 1 cup whole milk, warm (about 110°F)
- 2 1/4 teaspoons active dry yeast
- 1/2 cup granulated sugar, plus 2 tablespoons for yeast
- 1/2 cup unsalted butter, softened
- 2 large eggs, room temperature
- 4 cups all-purpose flour, plus more for dusting
- 1 teaspoon salt
- For the Filling:
- 1 cup packed light brown sugar
- 2 tablespoons ground cinnamon
- 1/2 cup (1 stick) unsalted butter, melted
- For the Cream Cheese Icing:
- 8 ounces cream cheese, softened
- 1/2 cup (1 stick) unsalted butter, softened
- 3 cups powdered sugar, sifted
- 1 teaspoon vanilla extract
- 2 tablespoons milk, or as needed
Instructions
- Activate the yeast: In a large bowl, combine the warm milk and 2 tablespoons of sugar. Sprinkle the yeast over the top and let it sit for 5 to 10 minutes until foamy.
- Make the dough: Add the remaining 1/2 cup sugar, softened butter, eggs, flour, and salt to the yeast mixture. Mix with a stand mixer on low speed until a shaggy dough forms. Increase the speed to medium and knead for 5 to 7 minutes until the dough is smooth and elastic.
- First rise: Place the dough in a lightly oiled bowl, turning to coat. Cover the bowl with plastic wrap and let it rise in a warm spot for 1 to 1.5 hours, or until doubled in size.
- Prepare the filling: While the dough rises, mix the brown sugar and ground cinnamon together in a small bowl. Set aside.
- Roll the dough: Gently punch down the risen dough. Turn it out onto a lightly floured surface. Roll the dough into a large rectangle, about 12 by 18 inches.
- Fill the dough: Brush the melted butter evenly over the entire surface of the dough. Sprinkle the cinnamon-sugar mixture over the butter, covering it completely.
- Shape the rolls: Starting from the long edge, tightly roll the dough into a log. Pinch the seam closed.
- Slice the rolls: Use a sharp knife or unflavored dental floss to cut the log into 12 equal rolls, about 1.5 inches thick each.
- Second rise: Arrange the rolls in a greased 9×13 inch baking dish. Cover the dish loosely and let the rolls rise again for 30 to 45 minutes until puffy. Preheat your oven to 375°F during the last 15 minutes of the rise.
- Bake: Bake the cinnamon rolls for 20 to 25 minutes, or until they are golden brown on top.
- Make the icing: While the rolls bake, beat the softened cream cheese and butter together until smooth. Gradually add the powdered sugar and vanilla extract. Add milk one tablespoon at a time until you reach a thick, spreadable consistency.
- Glaze and serve: Remove the rolls from the oven. Immediately spread the cream cheese icing generously over the hot rolls. Let them cool slightly before serving your homemade pastry.
Notes
- For extra soft rolls, cover the pan with foil for the first 15 minutes of baking, then remove the foil to brown the tops.
- If your kitchen is cold, place the dough bowl inside your oven with just the light on to create a warm spot for rising.
- You can make the dough the night before, let it rise once, punch it down, wrap it tightly, and refrigerate. Bring it to room temperature before rolling and filling.
Nutrition
- Serving Size: 1 roll
- Calories: 550
- Sugar: 55
- Sodium: 350
- Fat: 30
- Saturated Fat: 18
- Unsaturated Fat: 12
- Trans Fat: 0
- Carbohydrates: 70
- Fiber: 2
- Protein: 8
- Cholesterol: 85