

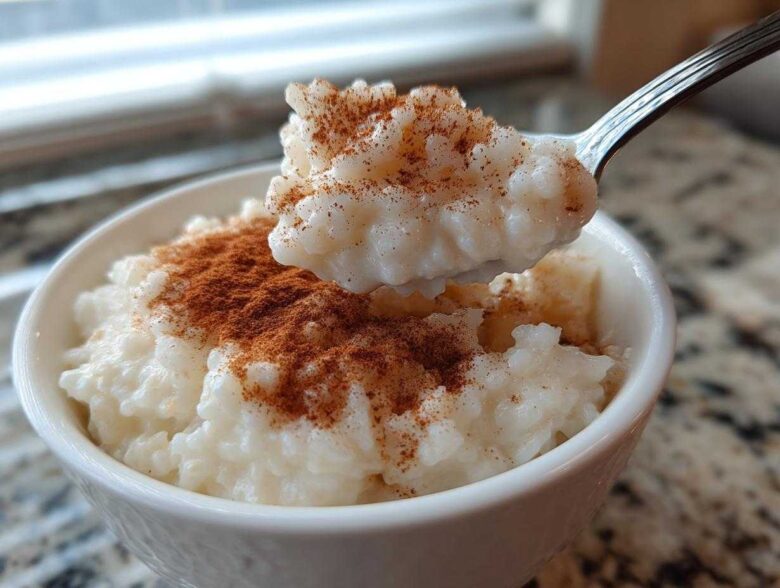
Listen, if there’s one dish that instantly transports me back to simpler times—maybe watching Leo burn toast while the music blasted too loud—it’s a bowl of rich, cozy comfort food. And nothing cries ‘home’ louder than perfect, slow-cooked **rice pudding**. Forget those runny, flavorless versions you scoop out of a can! We’re talking about making the creamiest, old-fashioned batch of magic right here on the stovetop. It’s surprisingly easy, honestly. You just need patience, the right rice, and maybe a good nineties playlist to keep you stirring. Trust me, once you make this, you’ll never go back to the boxed stuff again. Leo says it tastes like hugs; I say it tastes like winning! If you want to know more about our chaotic kitchen journey, you can always check out our story over on the About Us page.
Why This Old Fashioned Rice Pudding Recipe is Your New Comfort Dessert Idea
I know we all look for those super quick recipes, but sometimes, the best things—the true **Nostalgic Sweet Treats**—require a little time spent standing over the stove. This isn’t my grandmother’s recipe, but it absolutely captures that comforting, old-fashioned feeling we all crave. Seriously, it uses just five main ingredients! That’s why it makes my list of favorite **Comfort Dessert Ideas**. We’re not complicating things here; we’re just focusing on making it *perfectly* creamy, the way it’s supposed to taste.
Achieving the Best Rice Pudding Texture
If you want that thick, luxurious mouthfeel that defines **rice pudding**, you have to go slow and use the right grain. That’s the secret to the **Best Rice Pudding Texture**! Forget the long-grain stuff most people keep for savory dishes. We need short-grain rice, like Arborio, because it releases its starch slowly as it cooks down with the milk. That starch is what creates that naturally thick, velvety sauce you dream about. It’s magic, I tell you, and it only happens on the stovetop when you give it time.
Ingredients for Your Simple 5 Ingredient Dessert Rice Pudding
You won’t even believe how few things you need for a seriously next-level **rice pudding**. This is what makes it one of my favorite **Easy Homemade Pudding** options when I need a sweet fix fast! Seriously, we’re keeping this super pared down because the quality of the milk and rice does all the heavy lifting. Don’t substitute if you can help it, especially the rice choice—that’s crucial for the texture we’re chasing! If you’re looking for another great, minimal recipe, check out this awesome old-fashioned recipe link for comparison!
- 1 cup short-grain white rice (Arborio or medium-grain works best—this is key!)
- 4 cups whole milk (Don’t reach for skim, please; we need that fat for the creaminess!)
- 1/2 cup granulated sugar
- 1 teaspoon vanilla extract
- 1/4 teaspoon ground cinnamon (plus extra for topping—be generous!)
- Pinch of salt
How to Make Creamy Rice Pudding on the Stovetop
Okay, this is where the real love happens—the actual cooking of our **rice pudding**. Since this is a stovetop recipe, it feels really hands-on, which I love. You need to be present for the slow magic to occur, which is perfect for me because it means I can put on one of my favorite sassy indie playlists and just stir away! If you’re looking for tips on more great cooking projects, check out our main recipe index. The goal here is creamy, thick, and deeply satisfying, just like the best versions you find. We aren’t rushing this masterpiece!
Prepping the Rice and Initial Simmer for Stovetop Rice Pudding
First things first, don’t skip rinsing your rice! I know, it seems like an extra boring step, but trust me. We rinse it in a fine-mesh sieve until the water runs almost clear. Why? We’re washing off the surface starch. If we leave all that extra powder in there, our **Stovetop Rice Pudding** gets gummy instead of silky. Once it’s drained, just toss the rice, milk, sugar, cinnamon, and salt into a heavy-bottomed pot. Medium heat gets it started, but watch closely!
The Slow Cook: Developing the Creamy Rice Pudding Texture
Once you see that first small bubble—that’s your cue to turn the heat way, way down. We need a gentle simmer, barely there. This is the crucial 45 to 60 minutes. You must stir often, maybe every five to seven minutes. This constant attention is what forces that starch out and binds the milk into that signature thick sauce. Don’t walk away too long! If you want to see why patience pays off in indulgence, check out this guide on achieving the creamiest texture. When the rice is tender and the mixture is clinging heavily to the spoon, you’re golden.
Flavor Variations: Vanilla Cinnamon Pudding and Beyond
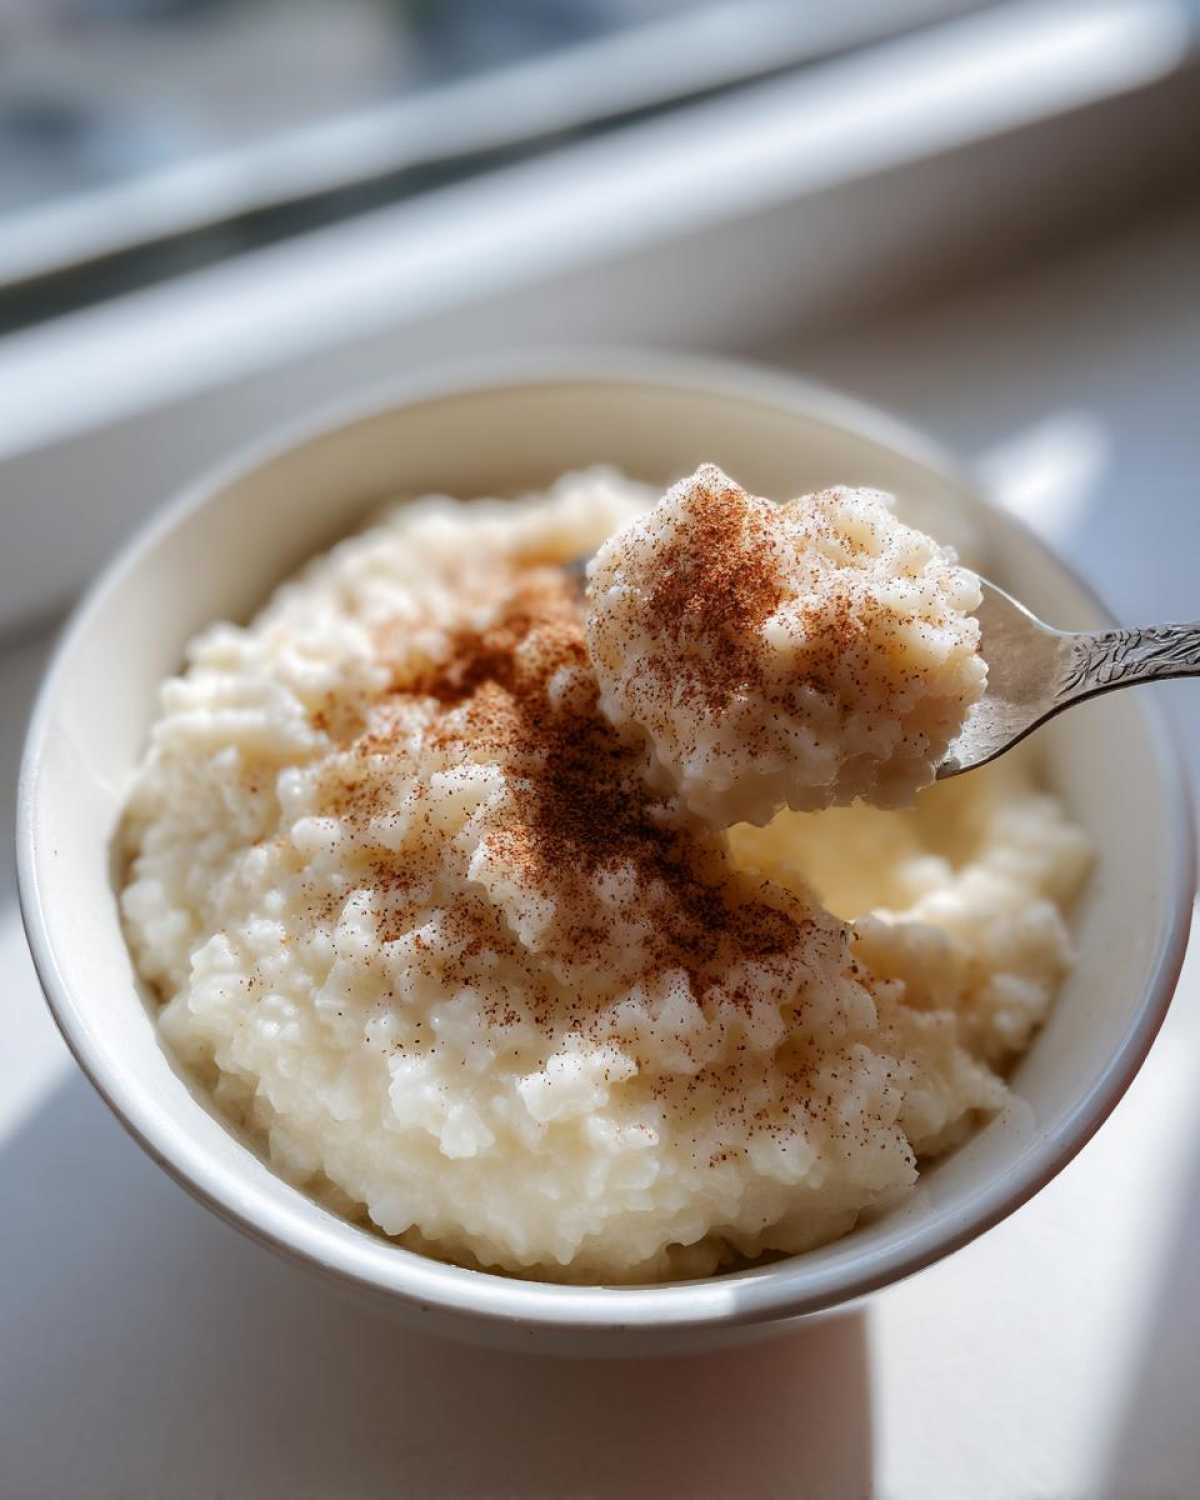
So, we have our perfect base—creamy, slow-cooked **rice pudding**. But because we’re at Cookify Me, we know that while the base recipe is sacred, sometimes a little extra sparkle is needed! I always include that teaspoon of vanilla extract because it makes the whole thing smell like a hug, but we can definitely play up the spice profile here. Don’t feel pressured to change this, though; sometimes simple is best, especially when you’re craving that **Vanilla Cinnamon Pudding** flavor.
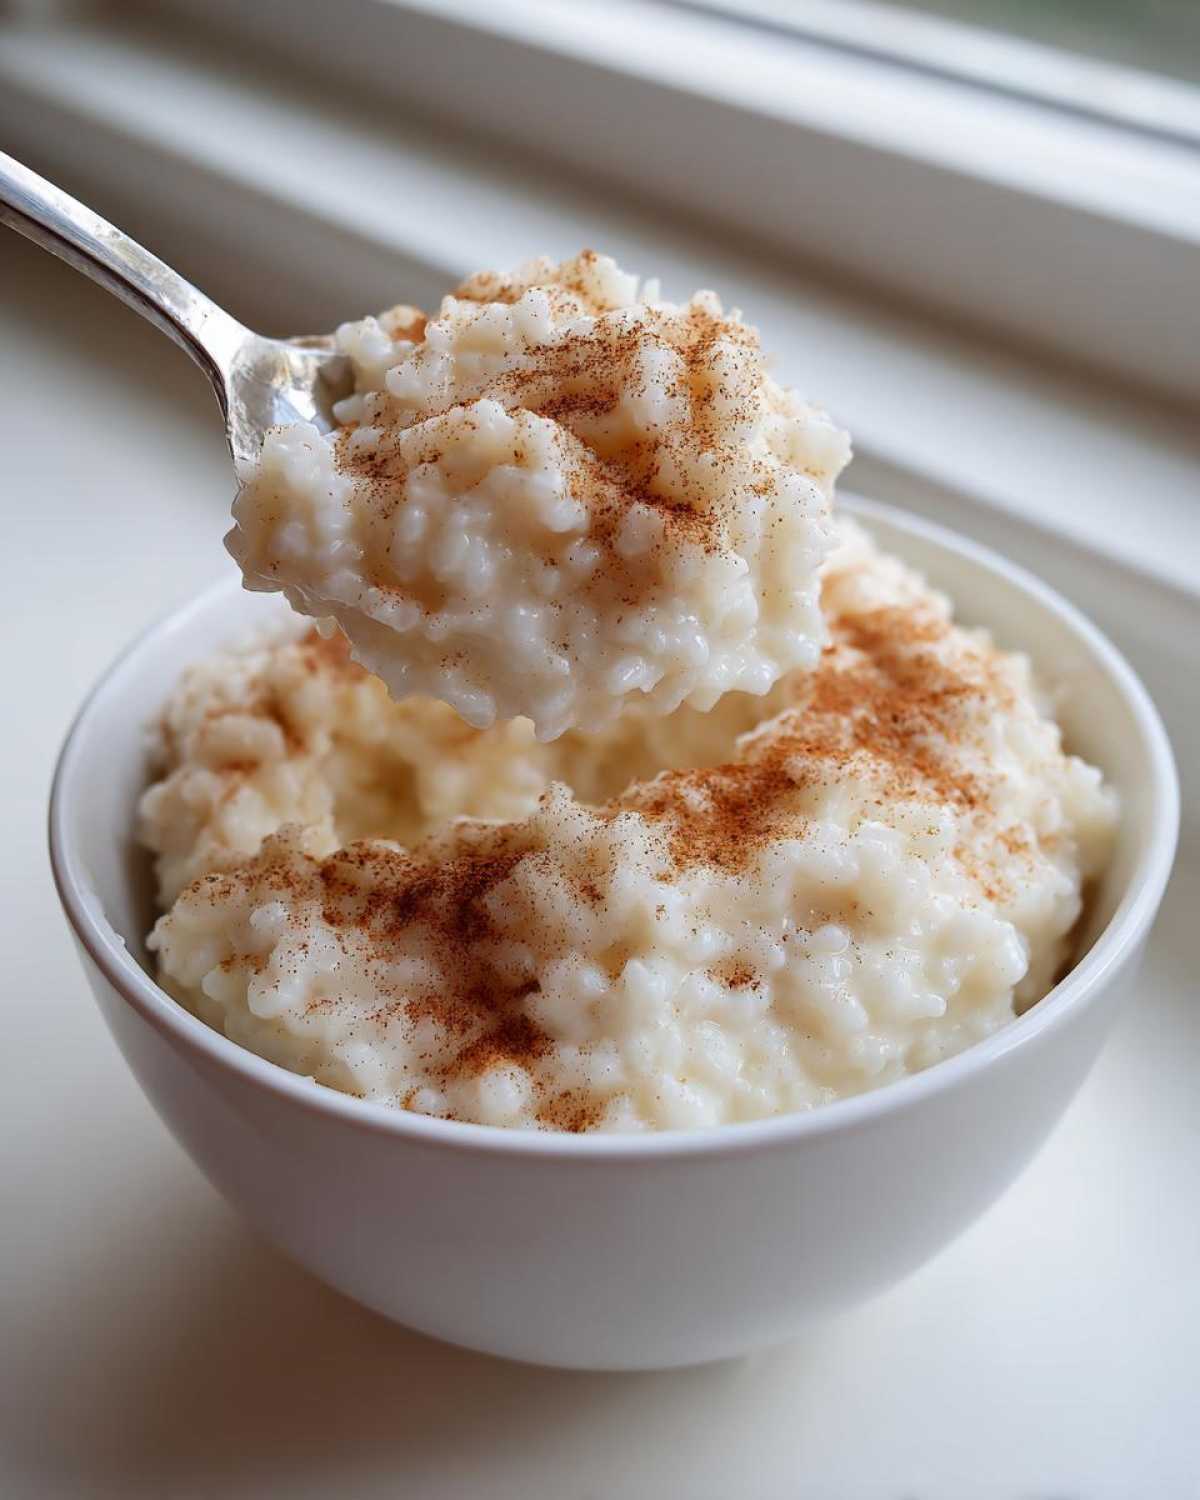
When I feel like jazzing things up, especially when I make a big batch that I plan to chill entirely, I might gently grate in a tiny pinch of fresh nutmeg along with the cinnamon. It deepens that cozy spice note beautifully without overpowering the sweet rice. Leo, bless his adventurous heart, sometimes pushes for a bit of fresh lemon zest right at the end—just the yellow part, of course! A little citrus cuts through the richness and makes it taste almost decadent. It’s a total game-changer for a cold bowl!
If you’re serving this warm for a real special treat, just stick to that beautiful dusting of cinnamon on top right before serving. If you want to see how others add things like raisins or even a drizzle of maple syrup, check out this classic guide over here. But honestly, the simpler you keep it, the more that pure, creamy texture shines through. That’s the goal, remember?
Tips for Success with Your Easy Homemade Pudding
Even when you nail the slow simmer on the stove, sometimes this **Easy Homemade Pudding** needs a little nudge when it comes to final consistency. That’s totally normal! The biggest thing to remember is that this pudding will thicken up a lot on its own as it cools off. So, if you take it off the heat and it seems just a touch too thin—don’t panic!
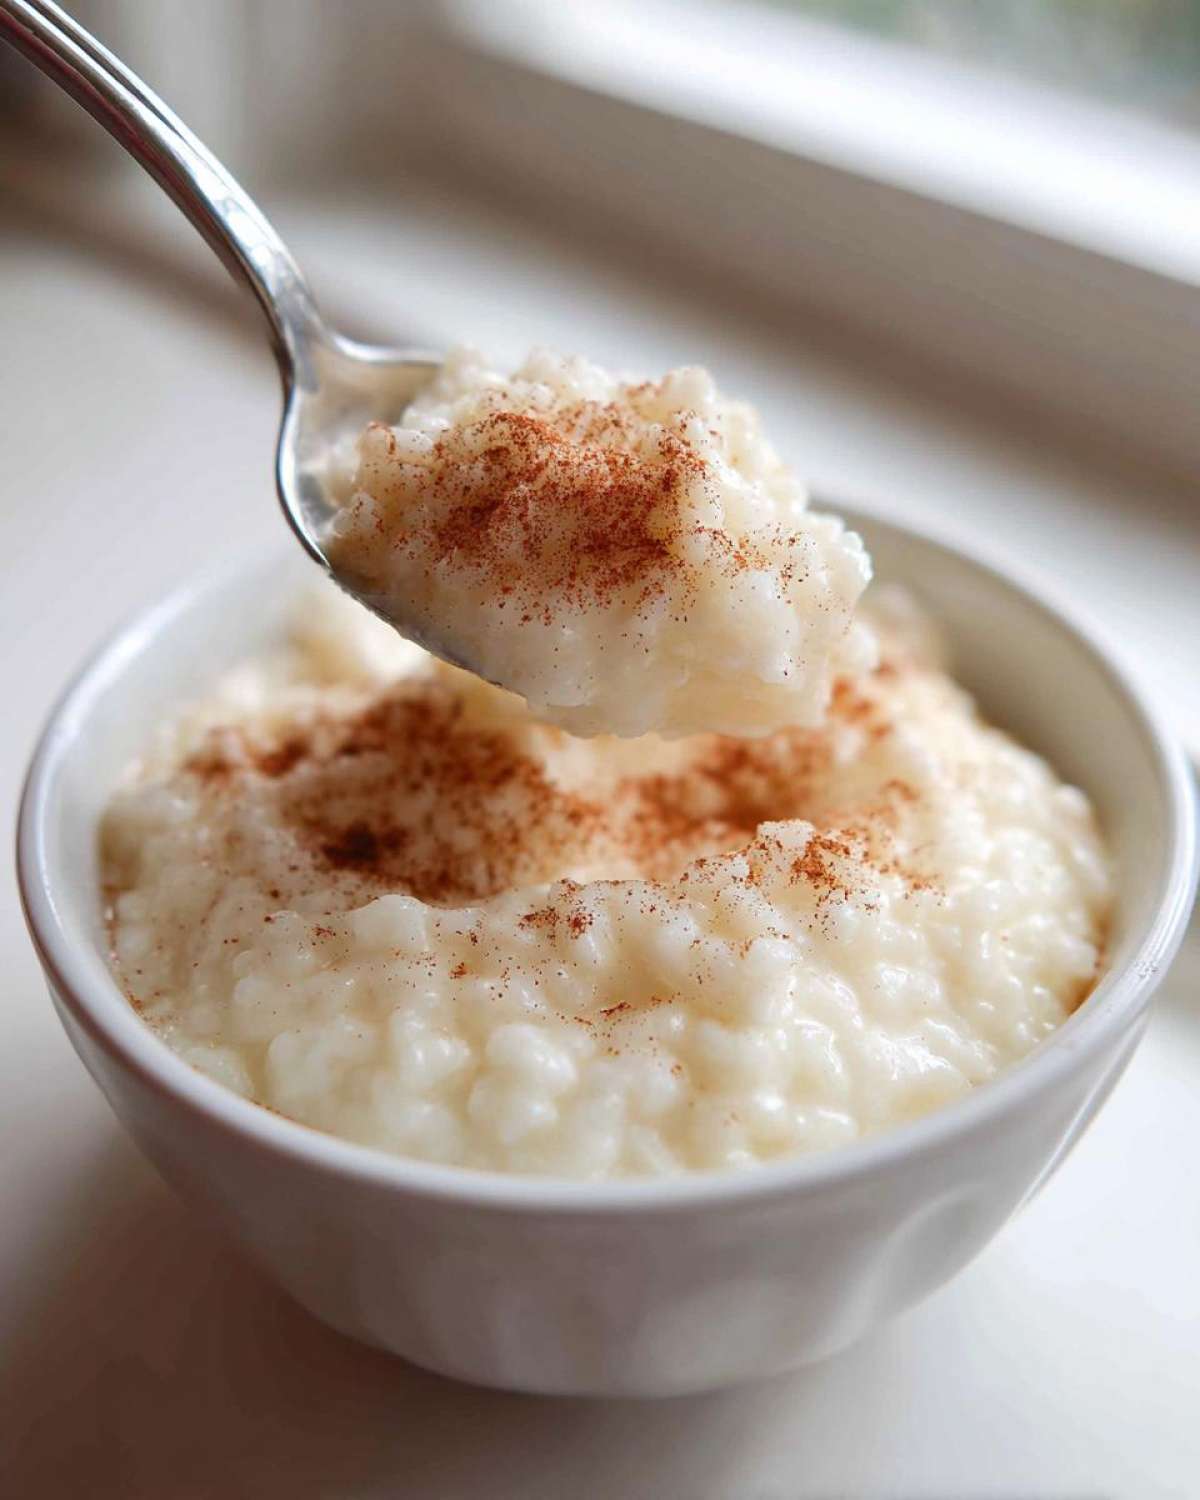
If it gets almost solid while cooling (which happens if I leave it on the counter too long while decorating cupcakes or something!), just grab a splash of extra whole milk and whisk it in until it loosens up to the perfect spoonable texture. Don’t even think about adding more sugar at this stage; you need that liquid back.
Now, for the dreaded skin. If you aren’t going to eat this entire batch immediately (good luck!), the trick to avoiding that weird, rubbery skin on top is simple: cover it directly. Take a piece of plastic wrap—you know, the plastic wrap that always tangles in the drawer—and press it gently right on the surface of the pudding before chilling. It traps the steam just underneath and keeps the top smooth and perfect until you’re ready to enjoy it later!
Serving Suggestions for Warm Pudding Desserts
So, the great pudding debate: Do you eat it hot or cold? Honestly, there’s no wrong answer here, but they create totally different experiences! When this **rice pudding** comes right off the stove, it’s looser, silkier, and just ridiculously comforting. That’s when I think it truly shines as an **Ultimate Comfort Dessert**, perfect for a chilly evening.
If you serve it warm, I highly recommend keeping it simple. A generous, final dusting of that lovely ground cinnamon right on top is usually all it needs. The smell alone is incredible! If you love a bit of richness—and who doesn’t?—a tiny pat of unsalted butter melting slowly into the warm surface is decadent beyond belief. It adds a richness that cools rice pudding just can’t replicate on its own.
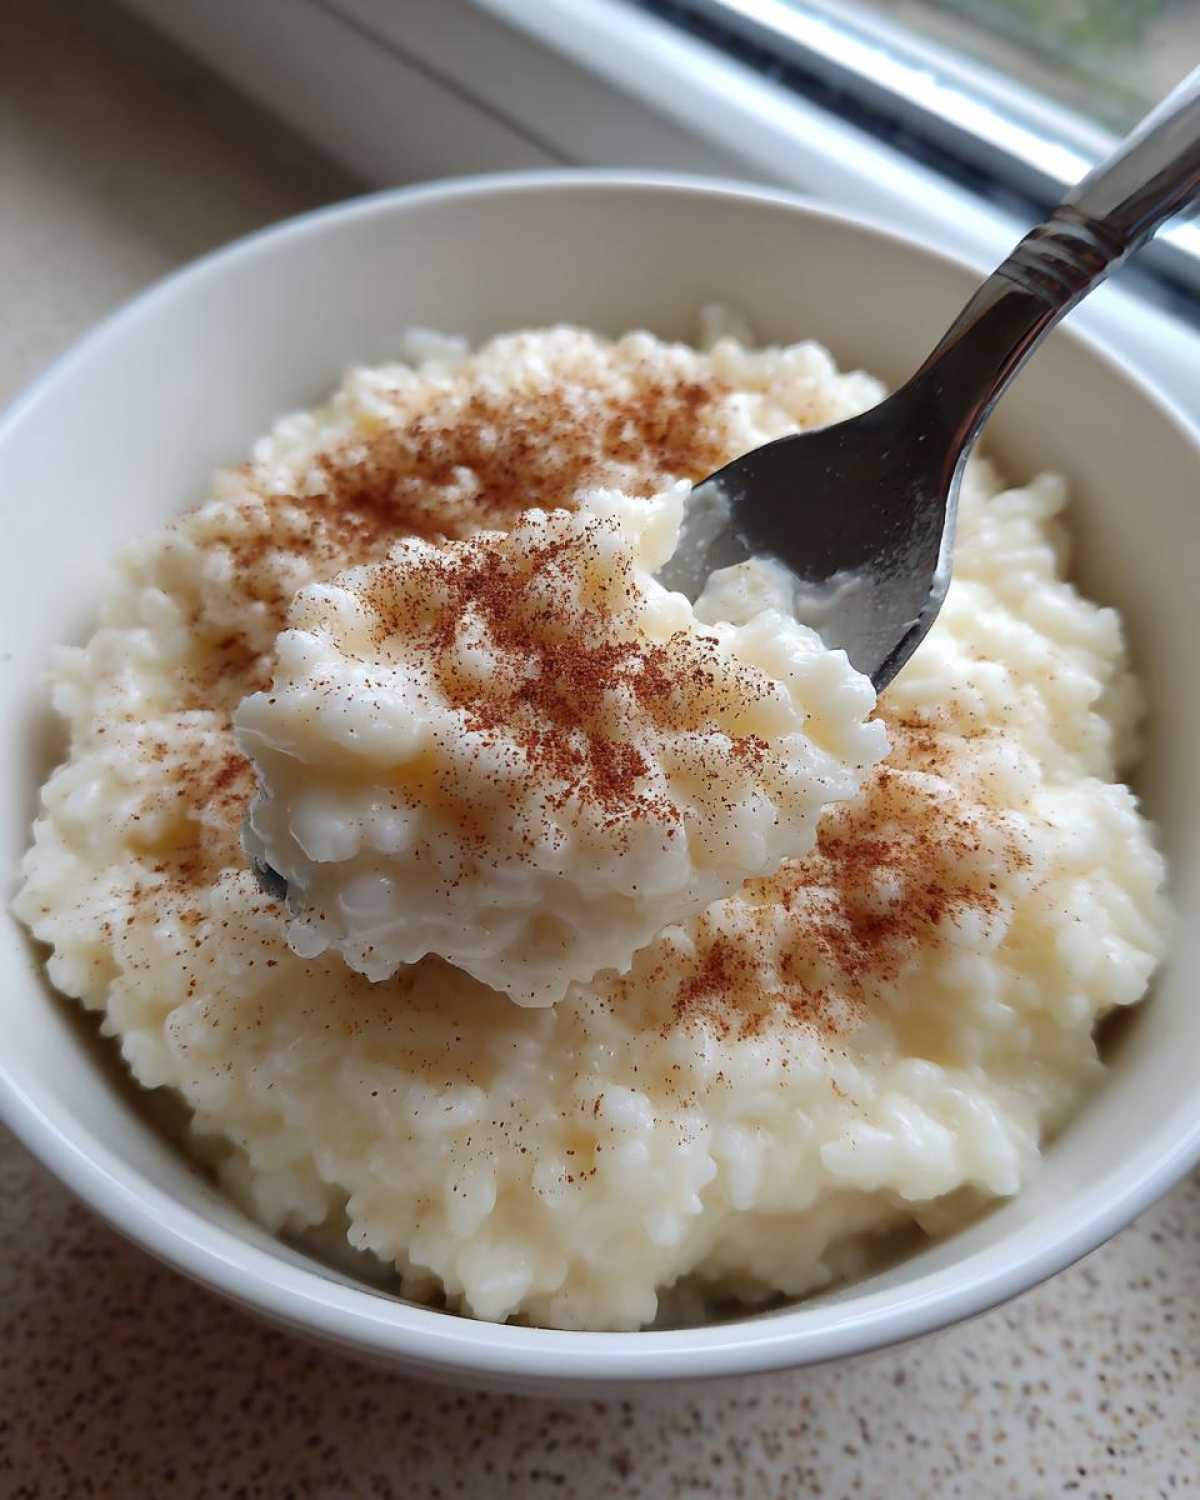
Now, if you decide to chill it down later on, it firms up beautifully, becoming almost spoonable like a thick custard. When it’s cold, I sometimes like to break up one of Leo’s favorite cookies right on top! If you want a recipe for some amazing toppings, check out our secrets for the best chocolate chip cookies—a little crumble on cold pudding is amazing! But whatever you choose, savor that moment. These **Warm Pudding Desserts** are best enjoyed slowly, maybe while listening to some quiet jazz.
Make Ahead Dessert: Storing Your Creamy Rice Pudding Recipe
This is the part that makes this **rice pudding** truly perfect for our busy lives: it works beautifully as a **Make Ahead Dessert**! I often cook a double batch on Sunday because, Leo and I seriously cannot stop eating the leftovers, and it tastes just as good, if not better, the next day. You can definitely keep this **Creamy Rice Pudding Recipe** in the fridge for up to four days. It’s a weeknight lifesaver!
Now, you need to know what happens when the cool sets in: it gets significantly thicker. Like, almost solid, depending on how much milk you used initially. Don’t panic when you pull it out on Tuesday night straight from the cold! That creamy texture you loved when it was warm returns easily.
When you’re ready to eat those leftovers, just scoop out your portion into a bowl and stir in just a splash—maybe a tablespoon or two—of fresh cold milk. Stir vigorously until it smooths out again. If you didn’t chill it perfectly and you want that almost-hot experience, you can microwave it for 30 seconds, but stirring in the extra milk does most of the reviving work. It’s heavenly cold too, but if you’re craving that cozy stovetop feel, this trick saves the day!
If you love making big batches of comfort treats for later, you should see how easy it is to make a huge pan of peanut butter rice krispie treats ahead of time! It’s the same concept: make it once, enjoy it all week long. For some other great tips on making sure your stored pudding stays perfect, check out what the folks at Emily at Home suggest for keeping that pudding silky smooth!
Frequently Asked Questions About Classic Dessert Recipes
I always get questions when I share this **rice pudding** recipe because everyone wants that perfect, nostalgic bowl. It’s so simple, but timing makes all the difference! I’ve gathered up the most common things people ask me about making this one of their go-to **Classic Dessert Recipes**. Hopefully, these quick answers help you get that ideal creamy texture every single time!
Can I use long-grain rice instead of short-grain for this rice pudding?
You absolutely *can*, but I really, really wouldn’t recommend it if your goal is super creamy **rice pudding**! Long-grain rice, like Basmati or Jasmine, holds its shape really well—that’s great for savory side dishes. But when you cook it down in milk, it stays distinct and chewy rather than dissolving slightly to create that velvety sauce. For this recipe, you really want that short-grain or Arborio rice to get that lush, almost spoonable texture. It’s worth the extra trip to the store!
Is this recipe better warm or chilled?
Oh, that’s like asking me to choose a favorite child! They are both amazing, but they offer completely different experiences. When it’s piping warm, it’s looser, silkier, and it feels like the warmest hug you could ask for—it really shines as an **Ultimate Comfort Dessert** right off the stove. However, when you chill it down completely, it sets up much firmer, almost like a very soft custard. I like the cold version best for a light breakfast the next day, actually! Either way, you’re winning.
What is the difference between this stovetop rice pudding and baked versions?
The main difference comes down to texture control and the dreaded skin! With this **Stovetop Rice Pudding**, because I’m stirring it constantly over low heat, I have total control over how thick it gets and I can pull it off the heat exactly when I want that perfect tenderness. Baked versions, while delicious and hands-off, almost always develop that thick, baked skin on top unless you seal the surface with plastic wrap, just like I talked about earlier. Stovetop is just a bit more predictable for that ultra-smooth consistency.
Sharing Your Cozy Food Recipes Experience
So there you have it, my friends! This is our go-to, no-fuss method for making the most satisfying, unbelievably **creamy rice pudding** you’ve ever spooned up. It really is the perfect addition to our collection of **Cozy Food Recipes**, because what’s more comforting than a warm bowl of sweet, spiced grain?
Now that you know all my silly secrets—like why you have to rinse the rice and why I always blast pop music while stirring—I really, really want to hear from you! Did you try it? Did you use a different rice grain? Did you dare to add raisins, or did you keep it perfectly classic?
Don’t be shy! We built Cookify Me to be a conversation, not just a monologue. Drop a comment below with your thoughts, tell me how it turned out, or give this recipe a star rating so others know it’s worth the 60 minutes of gentle stirring!
If you have any super specific questions—maybe about scaling the recipe for a giant party or what happens if you accidentally use sweetened condensed milk instead of sugar (don’t do that!)—you can always reach out directly through our Contact page. We love hearing from you and seeing how you bring a little flavor and chaos into your own kitchens. Happy cooking!
PrintOld-Fashioned Stovetop Creamy Rice Pudding

Make the creamiest, most comforting old-fashioned rice pudding right on your stovetop. This simple recipe delivers that nostalgic texture you crave using just a few basic ingredients.
- Prep Time: 5 min
- Cook Time: 60 min
- Total Time: 65 min
- Yield: 4 servings
- Category: Dessert
- Method: Stovetop
- Cuisine: American
- Diet: Vegetarian
Ingredients
- 1 cup short-grain white rice (Arborio or medium-grain works best)
- 4 cups whole milk
- 1/2 cup granulated sugar
- 1 teaspoon vanilla extract
- 1/4 teaspoon ground cinnamon (plus extra for topping)
- Pinch of salt
Instructions
- Rinse the rice under cold water in a fine-mesh sieve until the water runs mostly clear. Drain well.
- Combine the rinsed rice, whole milk, sugar, cinnamon, and salt in a heavy-bottomed saucepan.
- Place the saucepan over medium heat. Stir frequently to prevent the rice from sticking to the bottom.
- Bring the mixture to a gentle simmer. Once simmering, reduce the heat to low. You want a very low, slow bubble.
- Continue to cook, stirring every 5 to 7 minutes, for 45 to 60 minutes. The pudding is done when the rice is tender and the mixture has thickened significantly. It should coat the back of a spoon heavily.
- Remove the saucepan from the heat. Stir in the vanilla extract.
- The pudding will thicken more as it cools. Serve warm immediately, or transfer to a bowl, cover the surface directly with plastic wrap to prevent a skin from forming, and chill completely for a firm, cold dessert.
Notes
- For the ultimate creamy rice pudding texture, stir often, especially during the last 20 minutes of cooking.
- If the pudding becomes too thick while cooling, stir in a splash of milk until you reach your preferred consistency.
- This recipe is great for a quick make-ahead dessert; it keeps well in the refrigerator for up to four days.
Nutrition
- Serving Size: 1 cup
- Calories: 320
- Sugar: 28
- Sodium: 110
- Fat: 8
- Saturated Fat: 4.5
- Unsaturated Fat: 3.5
- Trans Fat: 0
- Carbohydrates: 55
- Fiber: 1
- Protein: 10
- Cholesterol: 25