

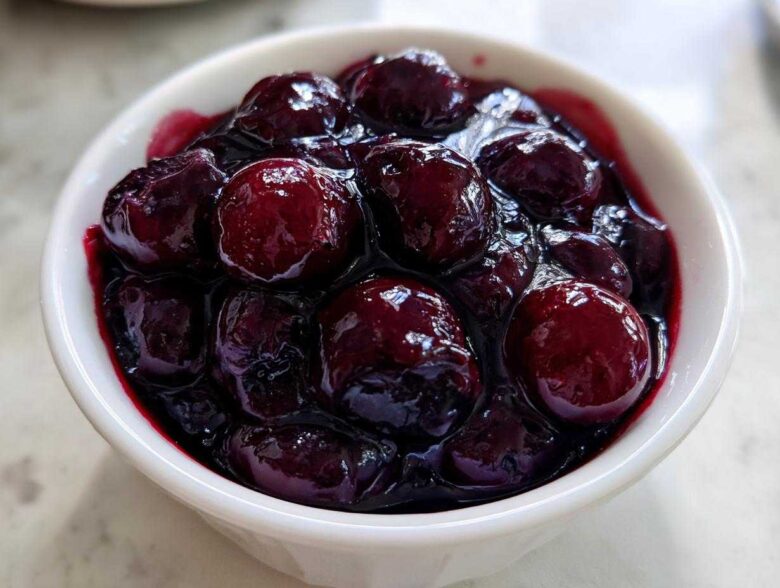
Stop right there. Seriously, put down that bottle of store-bought syrup. I’m telling you, nothing beats the real deal. That stuff is mostly corn syrup and red dye number whatever, but ours? Ours tastes like sunshine and real, juicy berries! I spent what felt like years trying to get the perfect balance of sweet and tart for my Sunday morning stack of pancakes. And guess what? I finally cracked the code for amazing **homemade blueberry syrup**. This recipe is so simple—truly, it’s faster than driving to the grocery store—and it transforms plain breakfast food into a five-star brunch event. Trust me, once you try this stovetop blueberry syrup, you’ll never go back!
Why This Homemade Blueberry Syrup Recipe Stands Out (EEAT Focus)
I know you might think making syrup sounds fussy, but that’s what makes this recipe so great! It’s foolproof, even if you’ve never cooked anything thicker than water before. We’re skipping all the weird stabilizers and artificial nonsense that mass-produced stuff uses. This is just pure fruit goodness, and that makes all the difference in flavor.
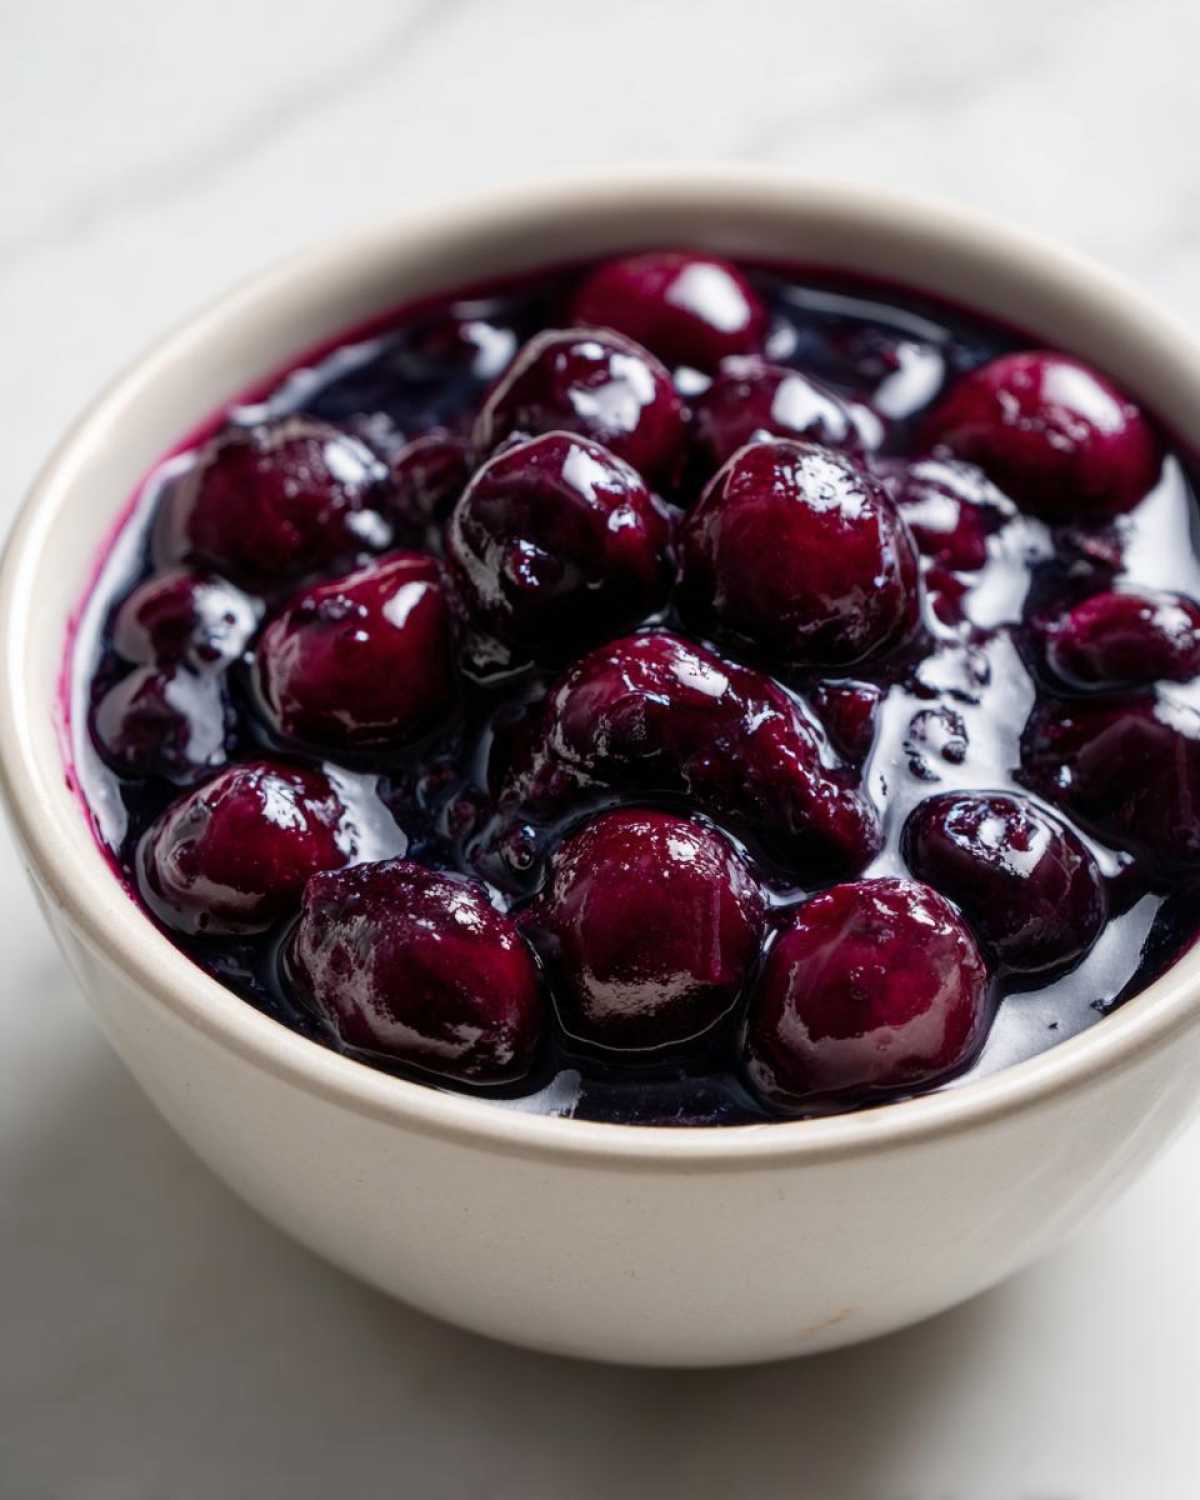
- You control the sugar! If you like it tart, cut back a little. It’s totally flexible.
- It uses actual fruit—fresh or straight from the freezer!
- You get that vibrant, natural purple color—no dyes needed here.
It really is the most easy blueberry syrup recipe imaginable. Whether you’re making breakfast for the family or just trying to jazz up your Sunday yogurt, this is your go-to topping. You can find more fun breakfast ideas over at my breakfast hub!
Quick Preparation: Making Homemade Blueberry Syrup Fast
Honestly, the prep time is practically zero; I spend more time finding the right saucepan! You only need 5 minutes to toss everything in the pot. The whole cooking process, from the first bubble to removing it from the heat, takes about 20 minutes total. That means you can whip up a batch of this homemade waffle syrup while your batter is resting. How great is that?
Gathering Ingredients for Your Homemade Blueberry Syrup
Okay, let’s talk about what you actually need to make this magic happen. Forget complicated store runs for this how to make blueberry syrup from scratch project. You only need four simple things that I bet you already have, or can grab easily!
- 2 cups fresh or frozen blueberries (Yes! Frozen works perfectly for this stovetop blueberry syrup!)
- 1 cup granulated sugar
- 1 cup water
- 1 tablespoon lemon juice
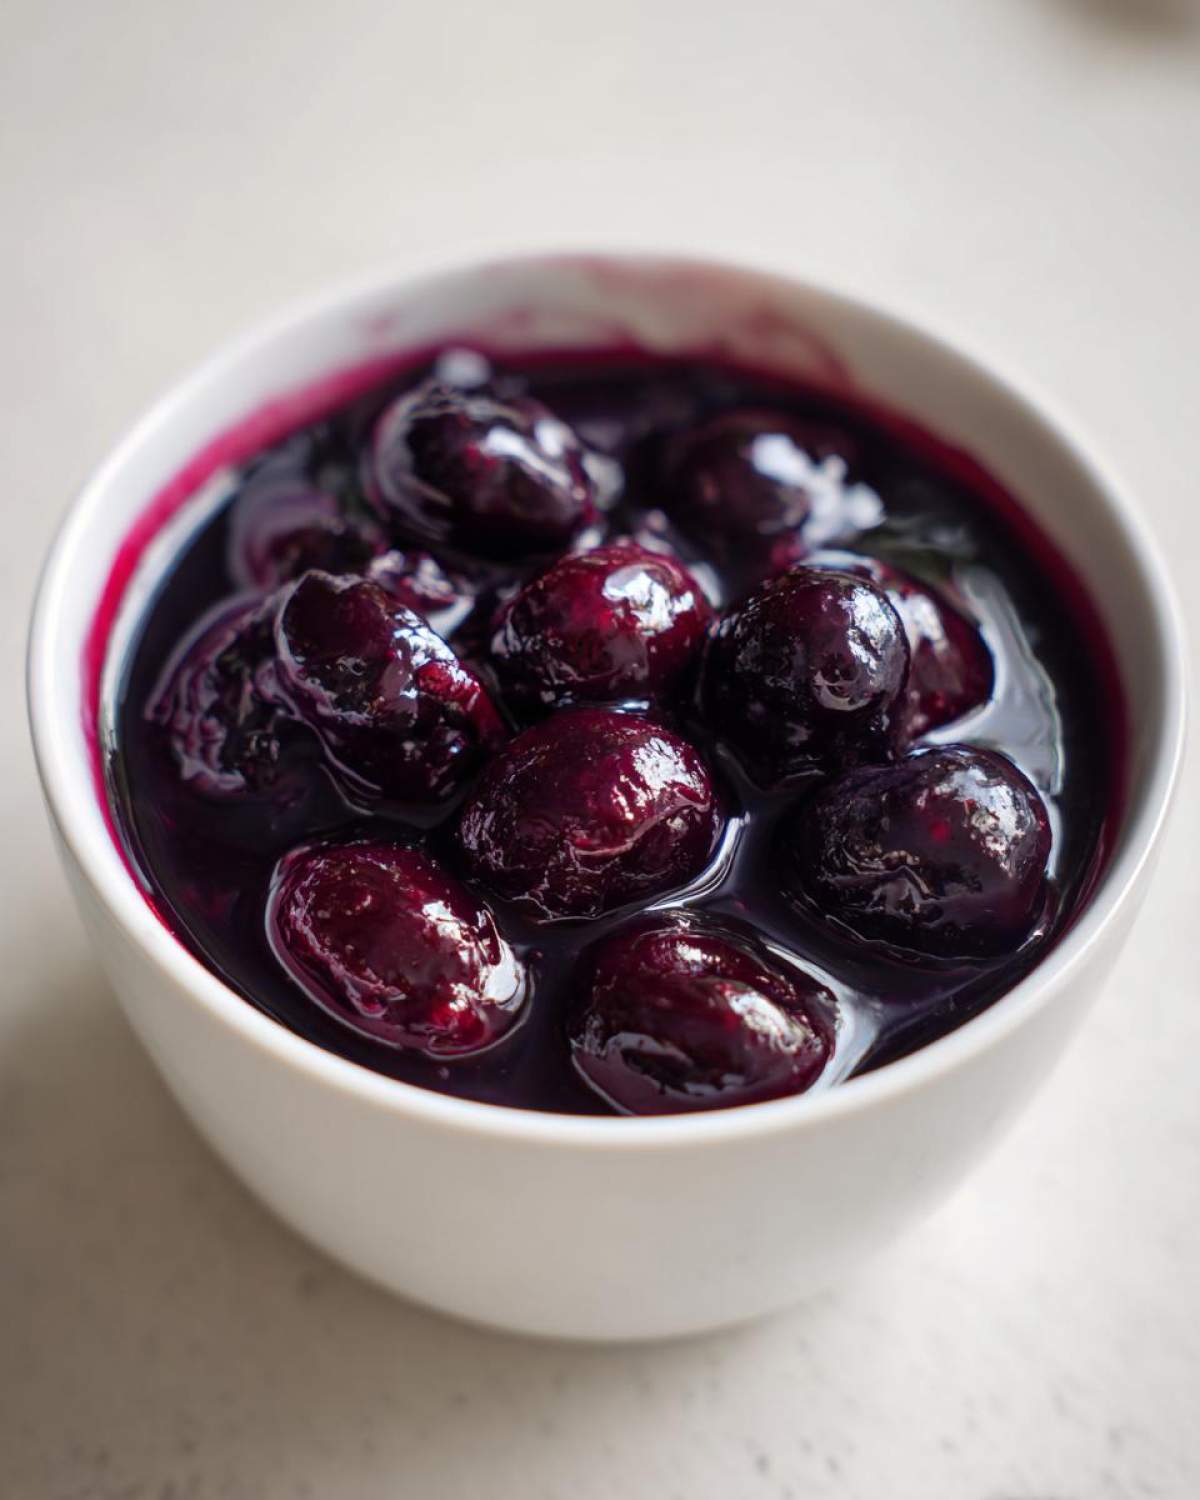
That’s it! See? Quick, easy, and no weird additives. I love that we aren’t messing around with pectin here; this is a naturally thickened syrup.
Ingredient Notes and Substitutions for Homemade Blueberry Syrup
While the recipe above is my gold standard, you can play around a little bit. If you want it less sweet, you can try swapping out maybe a quarter cup of that granulated sugar for maple syrup, but be warned—it changes the consistency slightly and adds that maple flavor profile. Also, if you happen to have beautiful wild blueberries on hand, absolutely use those! They give the syrup a deeper, earthier flavor. Remember, this is totally a no pectin blueberry syrup recipe, so we rely on the natural breakdown of the fruit and a good simmer to get that gorgeous thickness.
Step-by-Step Instructions: How to Make Blueberry Syrup from Scratch
Okay, this is where the magic happens, and honestly, it’s so easy you’ll feel like you cheated! Grab your medium saucepan—no need for fancy equipment here—and toss in your blueberries, your sugar, and the water. Put that over medium-high heat.
The most important thing at this stage is stirring until you see that sugar completely disappear. Once it’s dissolved, immediately turn your heat down to low. We don’t want a rolling boil anymore! Now we simmer. You’ll let this bubble gently for about 15 to 20 minutes, stirring every so often just to make sure things aren’t sticking to the bottom. During this time, the berries start breaking down, and that liquid slowly starts morphing into syrup. Right before you pull it off the heat, stir in that tablespoon of lemon juice; it just wakes up the flavor!
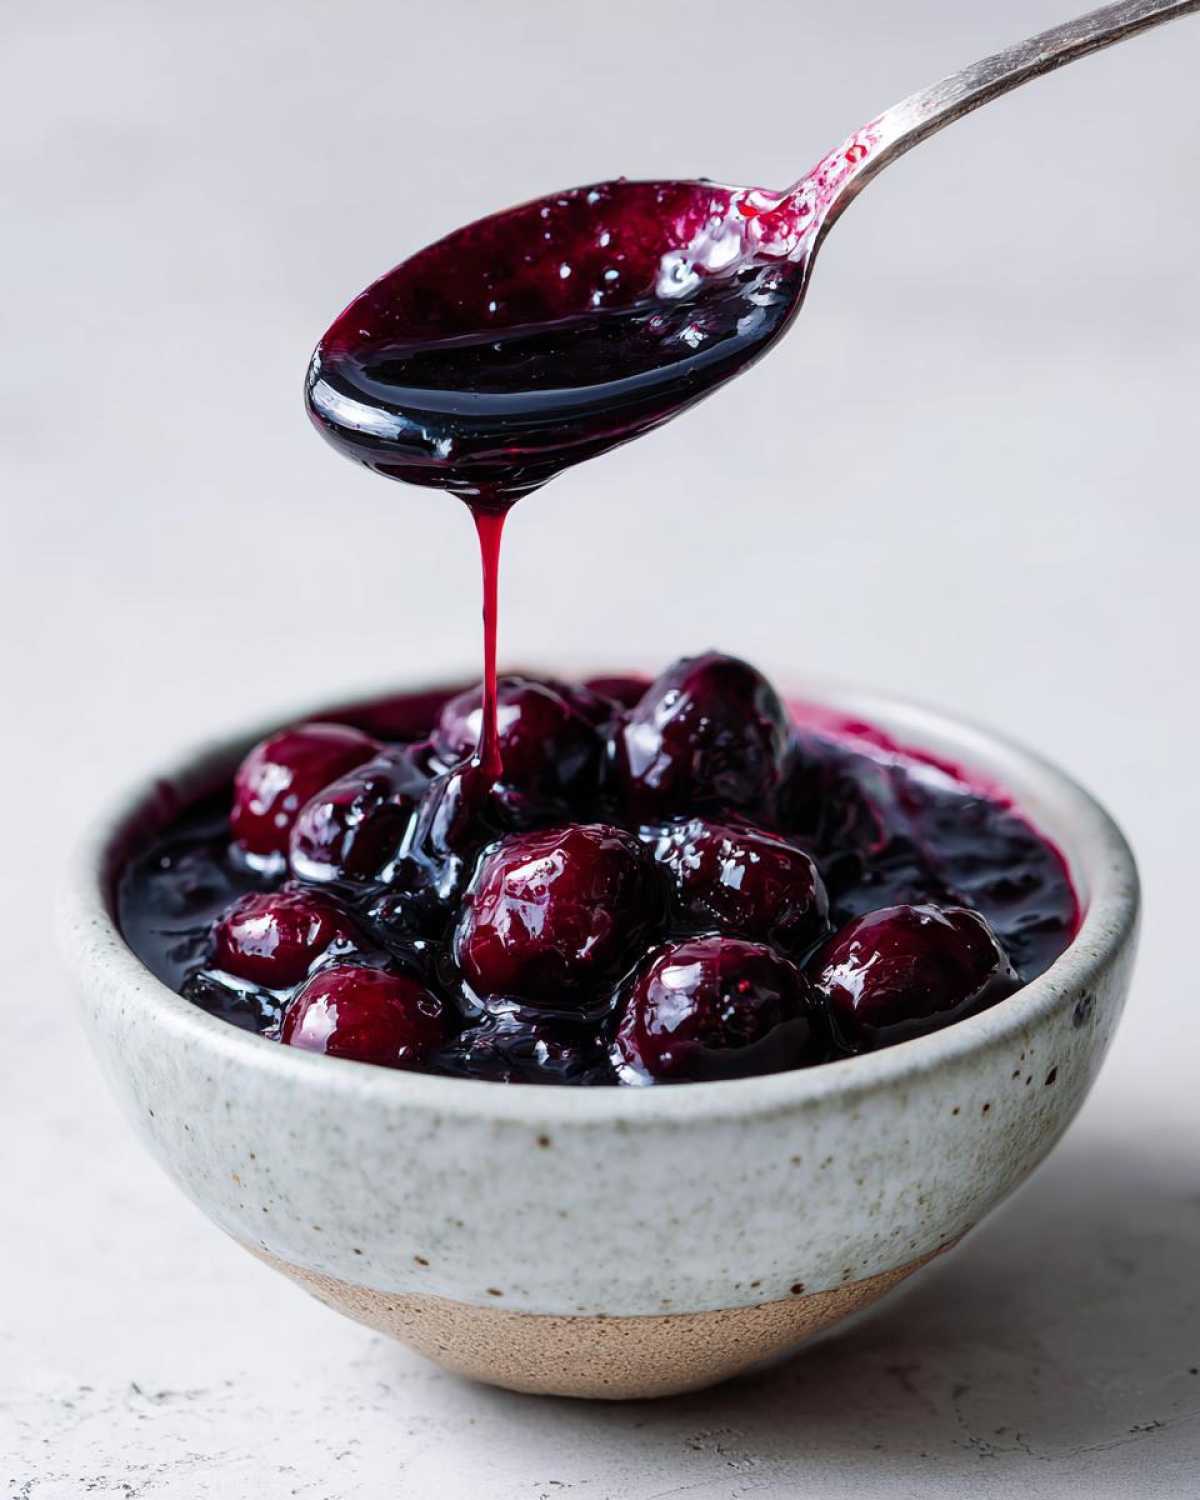
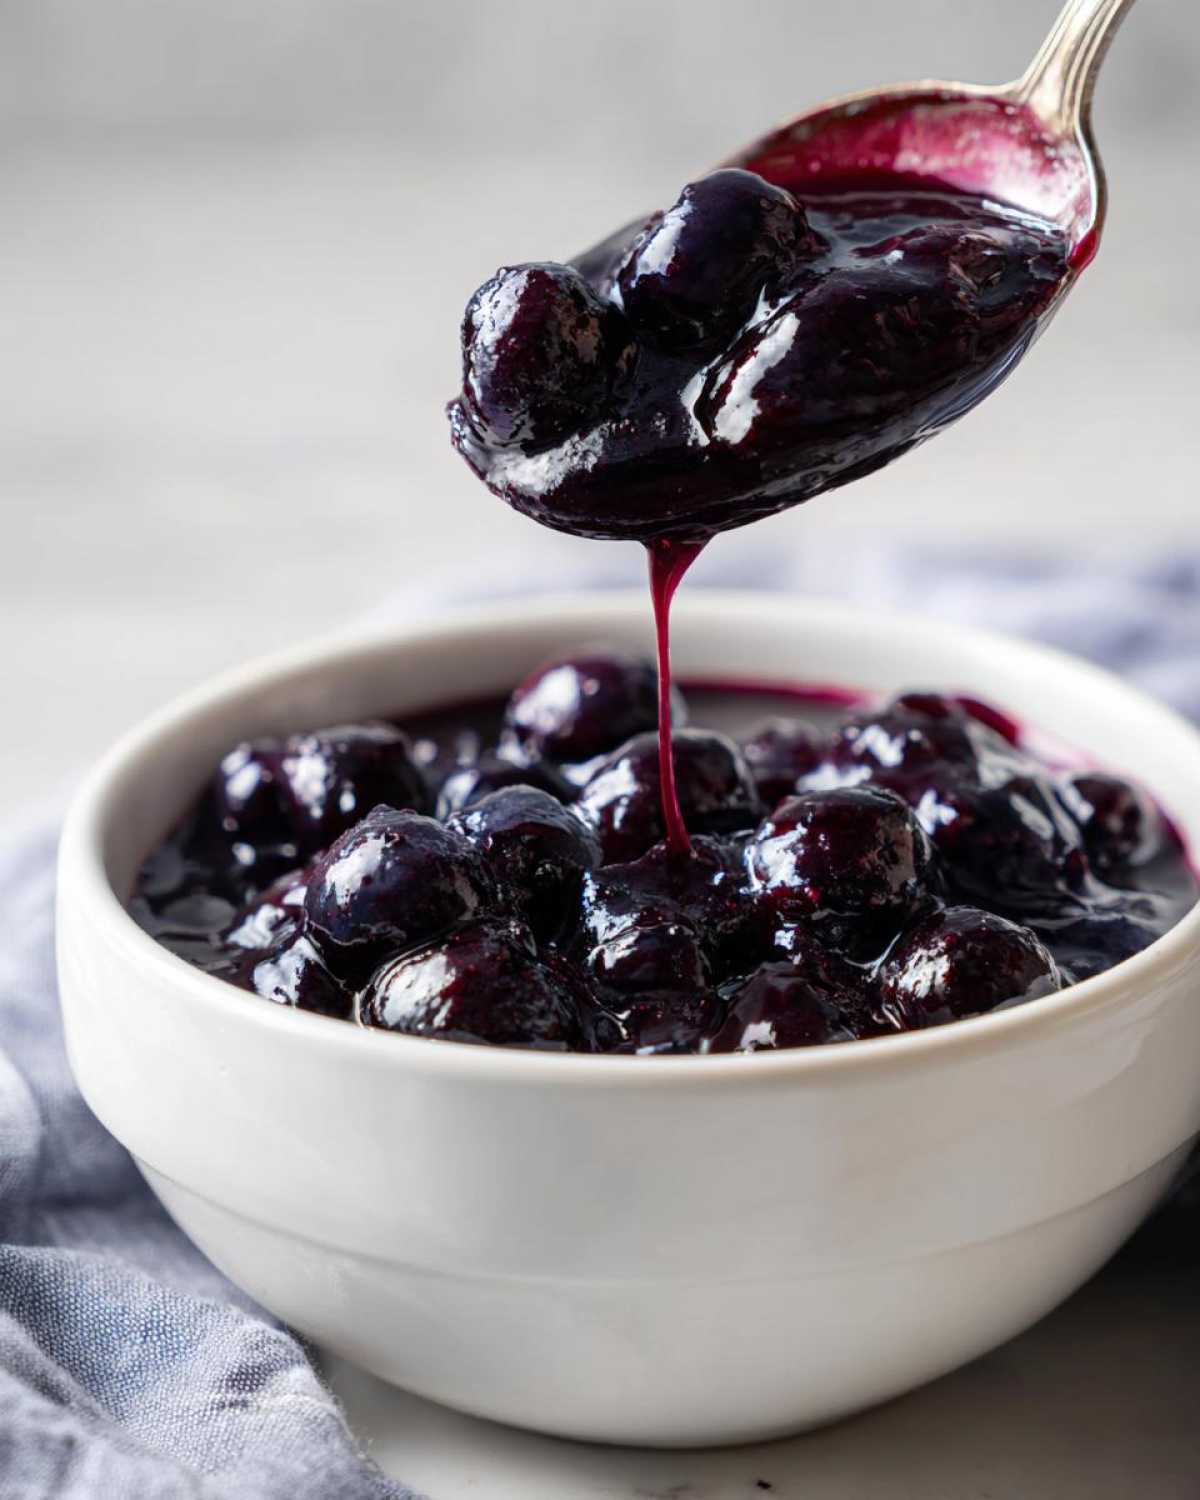
It looks nice and glossy, but don’t forget you can customize the texture! Check out these two ways to get exactly what you want:
Achieving Perfect Consistency: Tips to Thicken Homemade Syrup
If you let the syrup simmer the full 20 minutes and it still seems a bit thin for your liking, don’t panic! That’s totally normal because it thickens way up as it cools down. If you want it super, super thick—like a restaurant-grade coating—you have a second option. Just mix up 1 teaspoon of cornstarch with 1 tablespoon of cold water until it’s totally smooth, then whisk that slurry into your simmering mixture. It will start thickening right away! For more tips on making tasty toppings, you can peek at my homemade applesauce guide!
Straining: Optional Step for Smooth Homemade Blueberry Syrup
This is purely a preference call, seriously. After you remove the pan from the heat, you have to decide: smooth or chunky? If you hate bits in your syrup, strain the whole mixture through a fine-mesh sieve over a bowl. Give those cooked-down berry solids a good gentle press with the back of a spoon to squeeze out every last drop of that rich liquid. If you love those little pops of fruit, just skip straining entirely! For me, sometimes I strain it, sometimes I don’t—it just depends on whether I’m serving picky eaters that morning!
Best Blueberry Topping for Pancakes and Beyond: Serving Suggestions
Now that you’ve got this glorious, fragrant, homemade blueberry syrup cooling, you might be thinking, “Okay, but what do I do with a whole jar of it?” Oh, honey, the blueberry syrup uses are endless! Obviously, the king use is pouring it generously over a stack of freshly made pancakes. It’s truly the best blueberry topping for pancakes you will ever taste, especially if you want a thick, flavorful layer.
But don’t stop there! Drizzle some over vanilla ice cream or swirl it into plain yogurt for a quick, beautiful breakfast treat. It’s also fantastic mixed into plain cottage cheese. If you are feeling fancy, this syrup makes an incredible mixer for cocktails—think gin fizzes or sparkling water with a splash of this bright syrup. If you’re looking for the main event, check out my recipe for banana pancakes to go with it! Seriously, this topping deserves a bigger stage than just breakfast. For more ideas on breakfast treats, my guide to homemade waffle syrup also brings the heat!
Storage and Shelf Life for Your Homemade Blueberry Syrup
The best part about making your own syrup is that you can keep that fresh flavor around for a while! Since we didn’t use commercial preservatives, we need to be smart about storage. The general rule of thumb I use for this homemade blueberry syrup is simple: keep it chilly and covered.
Once your syrup has cooled completely—and I mean totally cooled, don’t rush this step—pour it into a clean, airtight container. Glass jars are my favorite because they seal so well. Stored this way in the refrigerator, it stays absolutely delicious for about two weeks. Trust me, it rarely lasts that long in our house!
Now, what if you made a GIANT batch, or you want to save some for next year’s holiday waffle bar? That’s where canning comes in! While this recipe is designed as a quick stovetop syrup, I know a lot of people like turning their natural fruit syrup recipes into shelf-stable jars. If you decide to put it through a proper water bath canning process, it can last much longer on your pantry shelf. For the exact methods on safe sealing and processing times, you definitely want to check out some dedicated preservation guides!
Troubleshooting Common Homemade Blueberry Syrup Issues
Listen, even the best cooks run into little hiccups, especially when dealing with fruit and sugar. Don’t let a small issue stress you out; we can fix almost anything that happens with your homemade blueberry syrup. The two biggest things that tend to throw people off are consistency—either it’s too thin or it’s too thick!
If you let your syrup cool and you gasp because it’s runny—more like juice than syrup—don’t worry! You just need to reheat it gently. Put it back on the stovetop over low heat. You can simmer it uncovered for another 5 to 7 minutes, just watching carefully. This evaporated water content will help it thicken up as it reheats. If you’re nervous about overcooking it, try adding a tiny bit more sugar, stirring until it melts, and letting it go five more minutes.
Now, the opposite problem: the syrup got super thick, almost gummy, after cooling? This happens if you simmered it too long initially, which cooks out too much water. Luckily, syrup is very forgiving! Just scoop the thick syrup back into a pot, add a couple of tablespoons of fresh water at a time, stir it well, and heat it until that water incorporates. It will loosen right up. For more deep dives into kitchen knowledge, check out my general kitchen blog!
Very rarely, if you overheated the sugar mixture badly or used slightly different berries, you might see some slight crystallization after it sits for a few days. If that happens, just gently warm the syrup again with a tiny squeeze of fresh lemon juice. That acid usually helps dissolve any sugar granules that are clinging to the sides or the bottom of your jar. Cooking is just science, and we are winning today!
Frequently Asked Questions About Making Blueberry Syrup
Can I use frozen berries for this recipe?
Absolutely, yes! Thank goodness for frozen fruit, right? You don’t need to thaw the berries first, either. Just toss those frozen ones straight into the pot with the water and sugar. They might take an extra minute or two to start bubbling since they are colder, but otherwise, the process is exactly the same. It works perfectly for my homemade blueberry syrup!
How do I make this syrup less sweet?
Sugar is what helps syrup set and preserve, but I totally get wanting less sweetness. If you want to dial it back, reduce the sugar by about 1/4 cup in the initial recipe. To compensate for the slight texture loss, I recommend either simmering an extra 5 minutes, or going ahead and using that cornstarch slurry trick we talked about to ensure it still thickens up nicely as it cools.
What’s the difference between this and a fresh blueberry sauce recipe?
That’s a great question! A fresh blueberry sauce often uses less liquid (sometimes none at all!) and is usually cooked just long enough to break down the fruit, maybe 10 minutes max. It’s usually thicker and intended for immediate use as a topping. My syrup recipe uses equal parts water to berries and needs that longer simmer time to create a thinner, pourable consistency, which is what makes it a perfect, classic homemade waffle syrup.
How long does this homemade waffle syrup last?
If you’ve strained it and kept it tightly sealed in the fridge, you can enjoy this syrup for about two weeks. Since it relies on the lemon juice for a little bit of preservation, it stays vibrant that whole time. If you notice any mold forming or it smells ‘off,’ toss it immediately, but honestly, it’s so good it never lasts long enough for me to worry about that!
Understanding the Nutrition in Homemade Blueberry Syrup
So, let’s talk about what’s going into the dish when you pour this glorious syrup over your breakfast. Since this is just fruit, sugar, and water, you already know it’s going to have some naturally occurring sugars, right? But it still lets you control exactly how much ends up on your plate!
Based on the 2 cups of sugar we use, here are my best estimates for a 1/4 cup serving size. Remember, because we’re using real fruit, your results can vary slightly depending on the size of your berries and how much you reduce the liquid.
- Calories: Around 180
- Sugar: About 40 grams
- Carbohydrates: Roughly 46 grams
- Fat: Zero!
This is why I love making it at home; you know exactly what you’re skipping—those weird artificial colors and stabilizers! Feel free to check out my general site disclaimer if you want more background on how these numbers are calculated. Enjoy your breakfast!
Share Your Homemade Blueberry Syrup Creations
Alright, my friend, that’s it! You are officially armed with the knowledge to make the absolute best, brightest, most flavorful homemade blueberry syrup imaginable. I mean it—your pancakes are waiting for this upgrade!
Now, the only thing left to do is get cooking! When you finally pull that beautiful, thick, purple syrup off the stove, I truly want to see what you’ve created. Did you use it on pancakes? Waffles? Maybe you whipped up a fancy cocktail with it? Don’t keep that deliciousness to yourself!
Head down below and leave me a comment! Tell me how long you simmered yours and what your favorite part of the flavor turned out to be. If you’re feeling generous, give the recipe a shining 5-star rating! Your feedback helps others feel confident trying this simple fruit syrup guide, too.
And hey, once you conquer this recipe, don’t stop there! Keep exploring the world of homemade fruit goodness. If you want to move onto something equally delicious but maybe a little zesty next time, let me know what you try first. If you ever have questions while you’re cooking up a batch, don’t hesitate to reach out to me directly through my contact page!
PrintHomemade Blueberry Syrup
A simple recipe for making fresh blueberry syrup from scratch on the stovetop.
- Prep Time: 5 min
- Cook Time: 20 min
- Total Time: 25 min
- Yield: About 1.5 cups
- Category: Topping
- Method: Stovetop
- Cuisine: American
- Diet: Vegetarian
Ingredients
- 2 cups fresh or frozen blueberries
- 1 cup granulated sugar
- 1 cup water
- 1 tablespoon lemon juice
Instructions
- Combine blueberries, sugar, and water in a medium saucepan.
- Bring the mixture to a boil over medium-high heat, stirring until the sugar dissolves.
- Reduce the heat to low and simmer for 15 to 20 minutes, stirring occasionally. The blueberries will break down, and the liquid will thicken slightly.
- Stir in the lemon juice during the last minute of simmering.
- Remove the saucepan from the heat. For a smooth syrup, strain the mixture through a fine-mesh sieve, pressing gently on the solids to extract all the liquid. Discard the solids. If you prefer a thicker syrup with fruit pieces, skip the straining step.
- Allow the syrup to cool completely before using. It will thicken more as it cools.
Notes
- For a thicker syrup without straining, simmer for an additional 5 to 10 minutes, or mix 1 teaspoon of cornstarch with 1 tablespoon of cold water and stir this slurry into the simmering syrup until it thickens.
- Store the cooled syrup in an airtight container in the refrigerator for up to 2 weeks.
- You can use wild blueberries for a different flavor profile.
Nutrition
- Serving Size: 1/4 cup
- Calories: 180
- Sugar: 40
- Sodium: 1
- Fat: 0
- Saturated Fat: 0
- Unsaturated Fat: 0
- Trans Fat: 0
- Carbohydrates: 46
- Fiber: 1
- Protein: 0
- Cholesterol: 0