

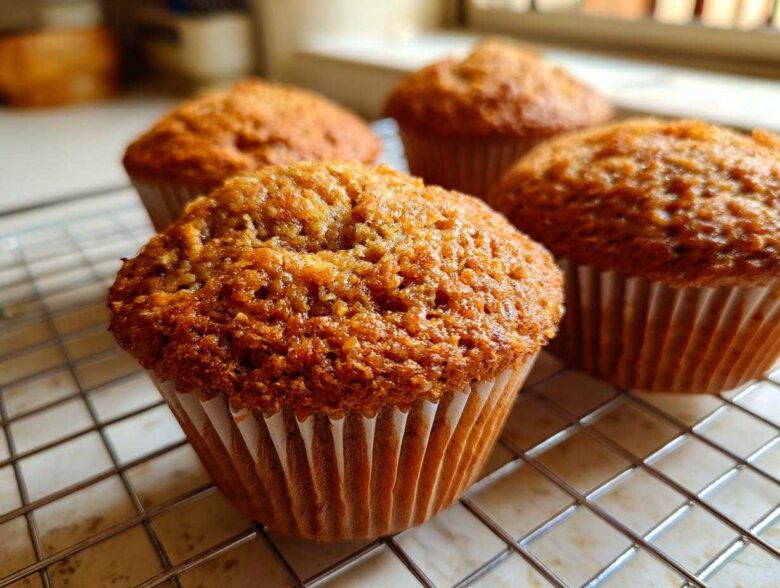
Oh my gosh, mornings around here can be absolute chaos, right? Between trying to find Leo’s keys and remembering if we fed the cat, sometimes breakfast feels like a logistical disaster waiting to happen. That’s exactly why I hold these honey bran muffins so close to my heart! They are the absolute champion of my weekly meal prep game.
When you need something genuinely wholesome—packed with fiber for that real, satisfying start—but you can’t spend an hour baking, this recipe is your answer. Seriously, these are some of the moistest, naturally sweetened fiber bombs you’ll ever make. They’re proof that healthy doesn’t have to mean dry or boring. I’ve tested this easy muffin recipe enough times to know it works perfectly every single time, whether I’m packing them for a quick work lunch or grabbing one with my coffee before running out the door.
If you’re looking for those perfect grab-and-go treats that keep you full until lunchtime without weighing you down, stick with me. We are about to cookify your morning routine! Don’t forget, if you need more ideas for that early rush, check out my secrets for ultra-moist banana bread too!
Why These are the Best Honey Bran Muffins for Your Week
Okay, so why should you ditch those sad, crumbly, store-bought options and make these instead? Because these **healthy bran muffins** hit all the right notes. They’re the perfect marriage of ‘good for you’ and ‘actually tastes like dessert.’ We’re talking high fiber here, folks, which is awesome for feeling satisfied!
- They rely on natural sweetness—hello, golden honey!
- They offer incredible texture thanks to that magical liquid ingredient.
- They practically bake themselves, making them the ultimate **meal prep muffins**.
Honestly, I tested everything—regular milk, almond milk, sour cream—but nothing beat the results of this particular combination. They turn out beautifully every time!
Achieving Maximum Moisture in Your Honey Bran Muffins
If you hate dry muffins, you are in the right place. The secret sauce for these **honey bran muffins** staying tender and never cardboard-like, even on day three, is definitely the dairy. I spent a good weekend experimenting to see which worked best.
It boils down to buttermilk. Its acidity reacts perfectly with the baking soda to give you lift, but more importantly, it tenderizes the whole grain flour. If you don’t have buttermilk on hand, plain yogurt works nearly identically since it has that same tang and thickness. It’s my go-to substitution if I’ve run out!
Gathering Ingredients for Your High Fiber Breakfast Honey Bran Muffins
Okay, let’s stop just talking about how great these are and actually get them into the oven! Since we want these **honey bran muffins** to be truly amazing—super moist and flavorful—we need to be a little specific about a few things. It’s not rocket science, but following the small details for our high fiber breakfast heroes makes all the difference.
Here is what you’ll need. Just lay it all out on the counter before you start mixing so you don’t forget anything.
- One and three-quarters cups of whole wheat flour. Make sure you scoop this lightly and level it off, don’t pack it in!
- One cup of wheat bran. And please, I beg you, use actual wheat bran, not bran flakes—they absorb liquid totally differently, and we need that fiber magic!
- One teaspoon of baking soda and one teaspoon of baking powder.
- Half a teaspoon of salt.
- Half a cup of lovely honey. This is where all our natural sweetness comes from.
- A quarter cup of vegetable oil. Any neutral oil works here.
- One large egg. Make sure it’s sitting out for a bit so it’s not ice cold.
- One whole cup of buttermilk. Remember what I said about tang? It needs to be cool to room temp. If you’re using yogurt instead, make sure you have one full cup ready. If you need more ideas on using yogurt in baking, check out my blueberry yogurt muffins post!
- One teaspoon of vanilla extract for depth.
- And finally, half a cup of raisins, if you like them. Leo always insists we add them, but they’re totally optional!
That’s it! Simple pantry staples creating unbelievably satisfying results. Get everything measured, and we can move on to the mixing part!
Step-by-Step Instructions to Make Perfect Honey Bran Muffins
Now that all our ingredients are gathered, it’s time for the fun part—mixing! This is where technique becomes super important, especially if you want those fluffy, light centers in your **honey bran muffins**. Don’t worry; Leo and I have made enough batches that we can walk you through the non-negotiables to avoid flat, dense muffins.
First things first: get that oven hotter than you think you need to! Preheat your oven right now to 400 degrees F. Line a standard 12-cup muffin tin with paper liners. I hate scrubbing muffin tins, so don’t skip the liners, trust me!
- In a big bowl, this is the home for your dry stuff. Whisk together the whole wheat flour, the wheat bran, baking soda, baking powder, and salt. Just give it a good swish until everything looks happy and uniform.
- In a smaller bowl, we mix the wet ingredients. Whisk that beautiful honey, oil, egg, buttermilk, and vanilla extract until they look like they belong together. It doesn’t have to be perfect, just incorporated.
- Now, here’s the make-or-break moment for any muffin! Pour all the wet ingredients into the dry ingredients bowl.
Mixing Wet and Dry Components for Better Honey Bran Muffins
Gently, gently, gently! Take a spatula and mix just until you see the flour streaks disappear. I’m serious here—stop mixing when you still see a few lumps! If you overmix, you develop too much gluten, and suddenly your **honey bran muffins** turn into little hockey pucks. Lumps are your friends in this scenario; they are the sign of a tender crumb to come, I promise!
Once it’s *almost* combined, fold in those optional raisins. Don’t go crazy folding them in, either; just two or three quick turns of the bowl and you’re done.
Spoon the batter into your prepared cups. They should only be about two-thirds full. Don’t let them overflow or you’ll get those sad, joined-at-the-hip muffins.
Baking Times and Testing for Done-ness in Your Honey Bran Muffins
Pop those lined cups into that 400°F oven. They bake quickly because of that high heat! Set your timer for 15 minutes, but check them around 15 to 18 minutes. How do you know they are done? The toothpick test is classic, but for these moisture-rich **honey bran muffins**, you want a toothpick inserted into the center to come out clean, maybe with just a couple of moist crumbs clinging to it. If it’s wet batter, send them back in for two more minutes.
Once they pass the test, let them chill out in the hot tin for just five minutes—this helps them firm up slightly before you move them to a wire rack to cool completely. If you want more baking inspiration for your breakfast routine, you should definitely browse the other recipes tagged there!
Expert Tips for Making the Best Honey Bran Muffins
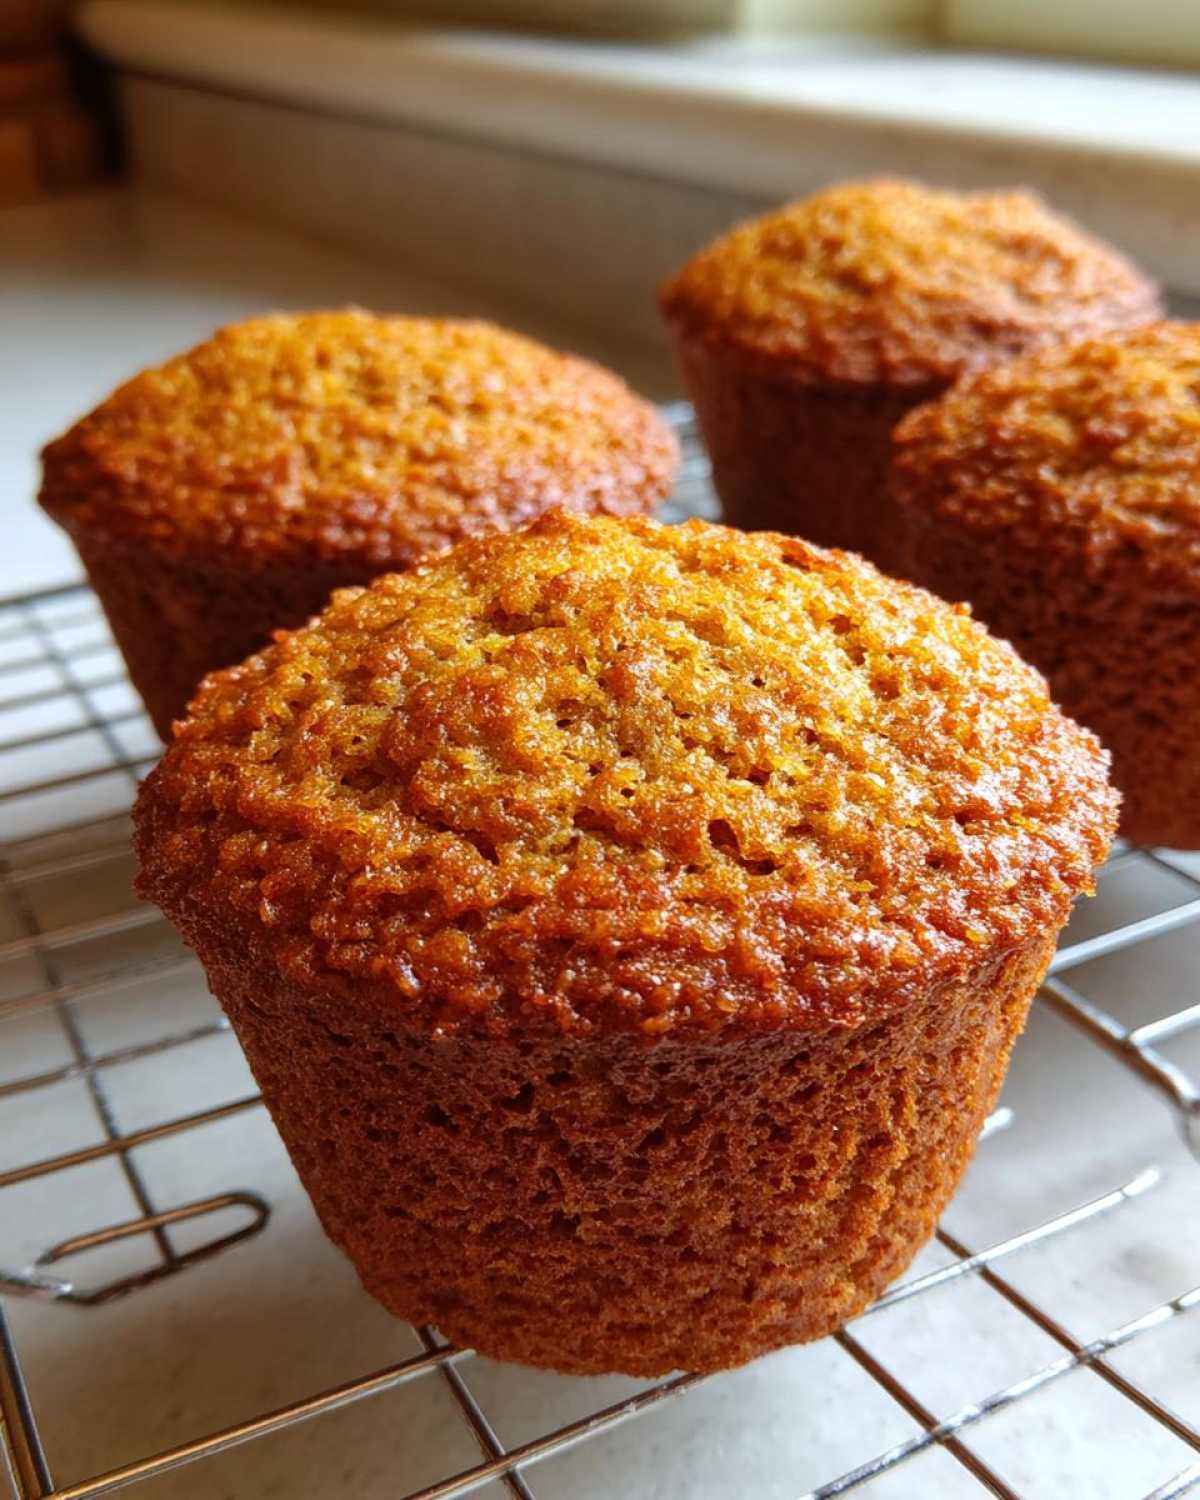
Okay, baking is fun, but getting those truly *perfect* results—the ones that look like they came from a fancy bakery—that takes a few insider secrets. Since Leo and I have wrestled with thousands of bowls of batter over the years, I’ve picked up some tricks to ensure your **honey bran muffins** turn out consistently amazing. These aren’t in the main steps because they are the little details that separate ‘good’ from ‘great’!
First, let’s talk temperature. Cold ingredients are the enemy of fluffy muffins! Make sure your egg and your buttermilk (or yogurt!) are either at room temperature or only slightly chilled. When cold ingredients hit that creamed wet mixture, they seize up, stop emulsifying properly, and bam—you get denser muffins. We want loft, people!
Also, when measuring flour and bran, please don’t scoop directly from the bag! That packs it down way too tight. Use a spoon to fluff up the flour in its container, spoon it gently into your measuring cup, and then level it off with a knife. This tiny change ensures you aren’t adding an extra tablespoon of dry stuff, which steals moisture.
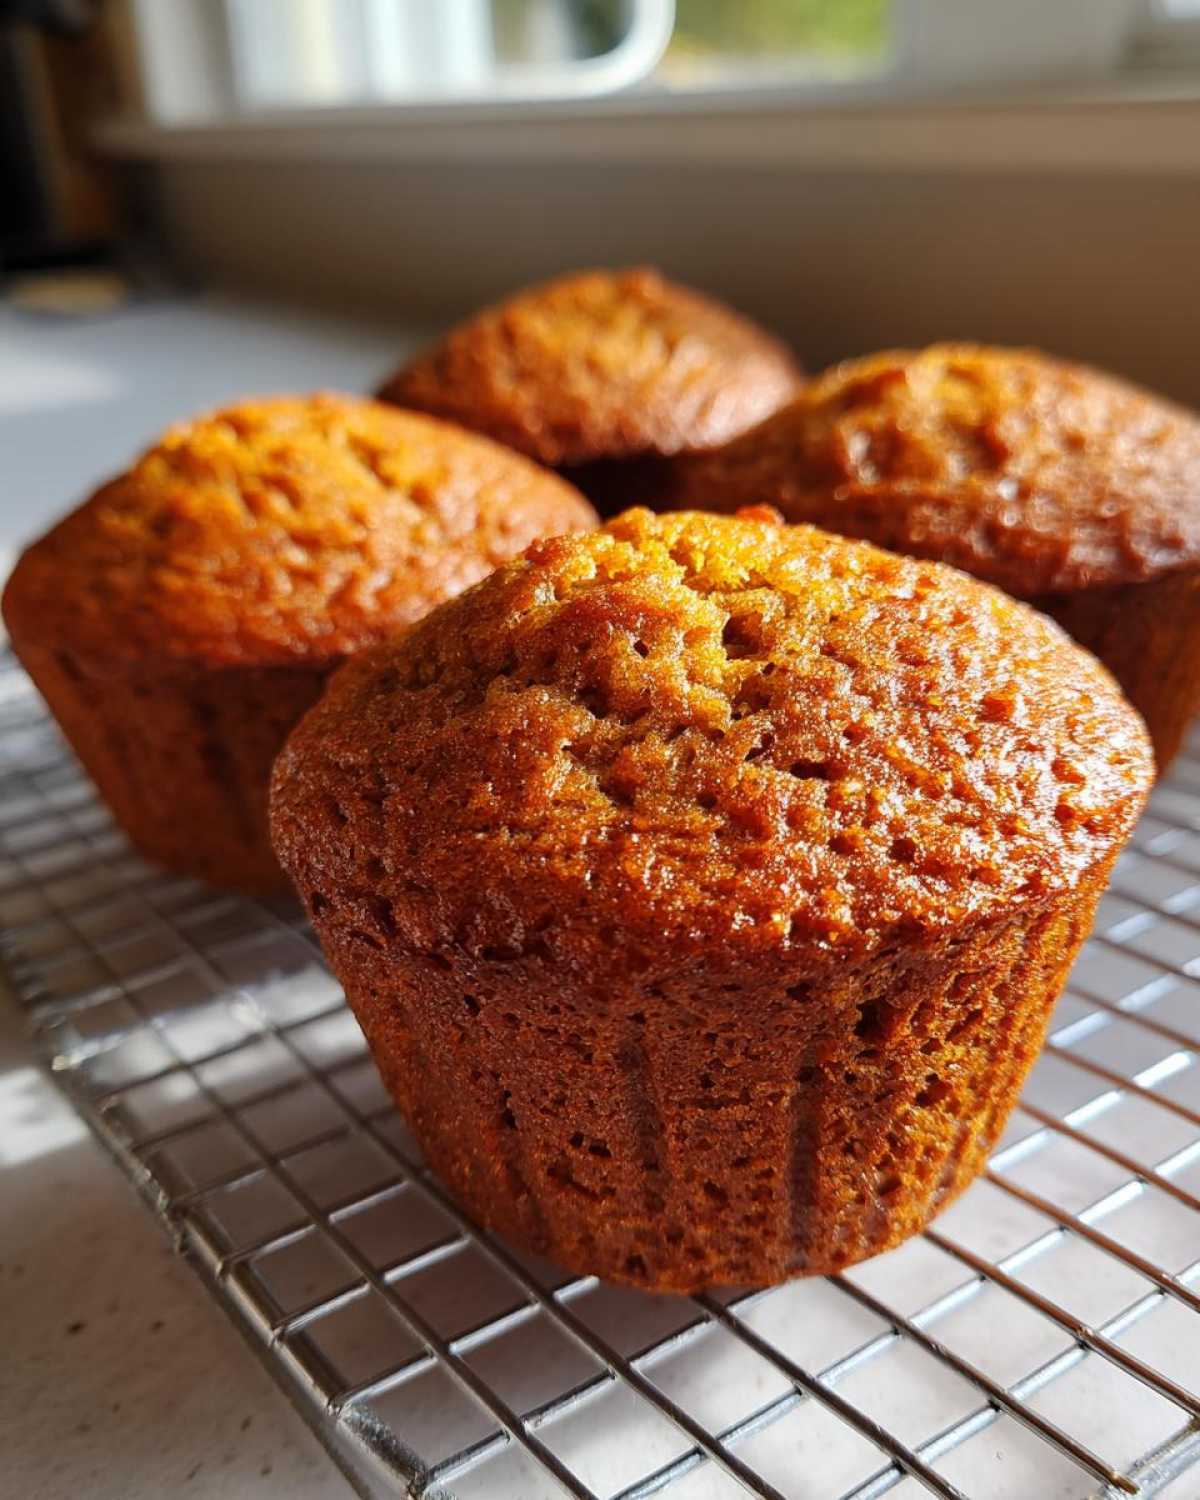
And for that beautiful dome? That comes from that high initial heat—400°F is critical! It gives the baking soda and powder a huge, quick boost before the muffin sets. After about five minutes, I usually lower it to 375°F if I’m planning a long bake, just to prevent the tops from scorching before the middle is done, but sticking to 400°F for the full 18 minutes usually works best for this specific high-fiber batter.
Ingredient Notes and Substitutions for Honey Bran Muffins
Let’s dive into swapping things out, because I know sometimes you have to work with what you have in the pantry. The substitution chart I referenced earlier for buttermilk vs. yogurt is the most common question I get for this recipe. If you use plain yogurt, make sure it’s unsweetened, and use a full cup to replace the buttermilk—it works beautifully for that tangy tenderness!
What about mix-ins? Raisins are classic, but if you have picky eaters or just prefer something bright, dried cranberries are a fantastic swap. They keep that chewy texture but add a lighter sweetness. Leo even convinced me once to try chopped walnuts, and those made for a really sturdy, satisfying **whole grain muffin**—great for a very early morning.
A quick note on the flour: While this recipe calls for whole wheat flour throughout, if you’re a total beginner or just testing the waters of whole grains, you absolutely could use half whole wheat and half all-purpose flour. But if you want that deep, nutty flavor and the full fiber punch that makes this recipe amazing, stick with 100% whole wheat flour. It’s worth it! For more of my tips on getting the most out of your baking sessions, take a look at how I handle my banana bread—same principles apply!
Making Honey Bran Muffins for Breakfast on the Go
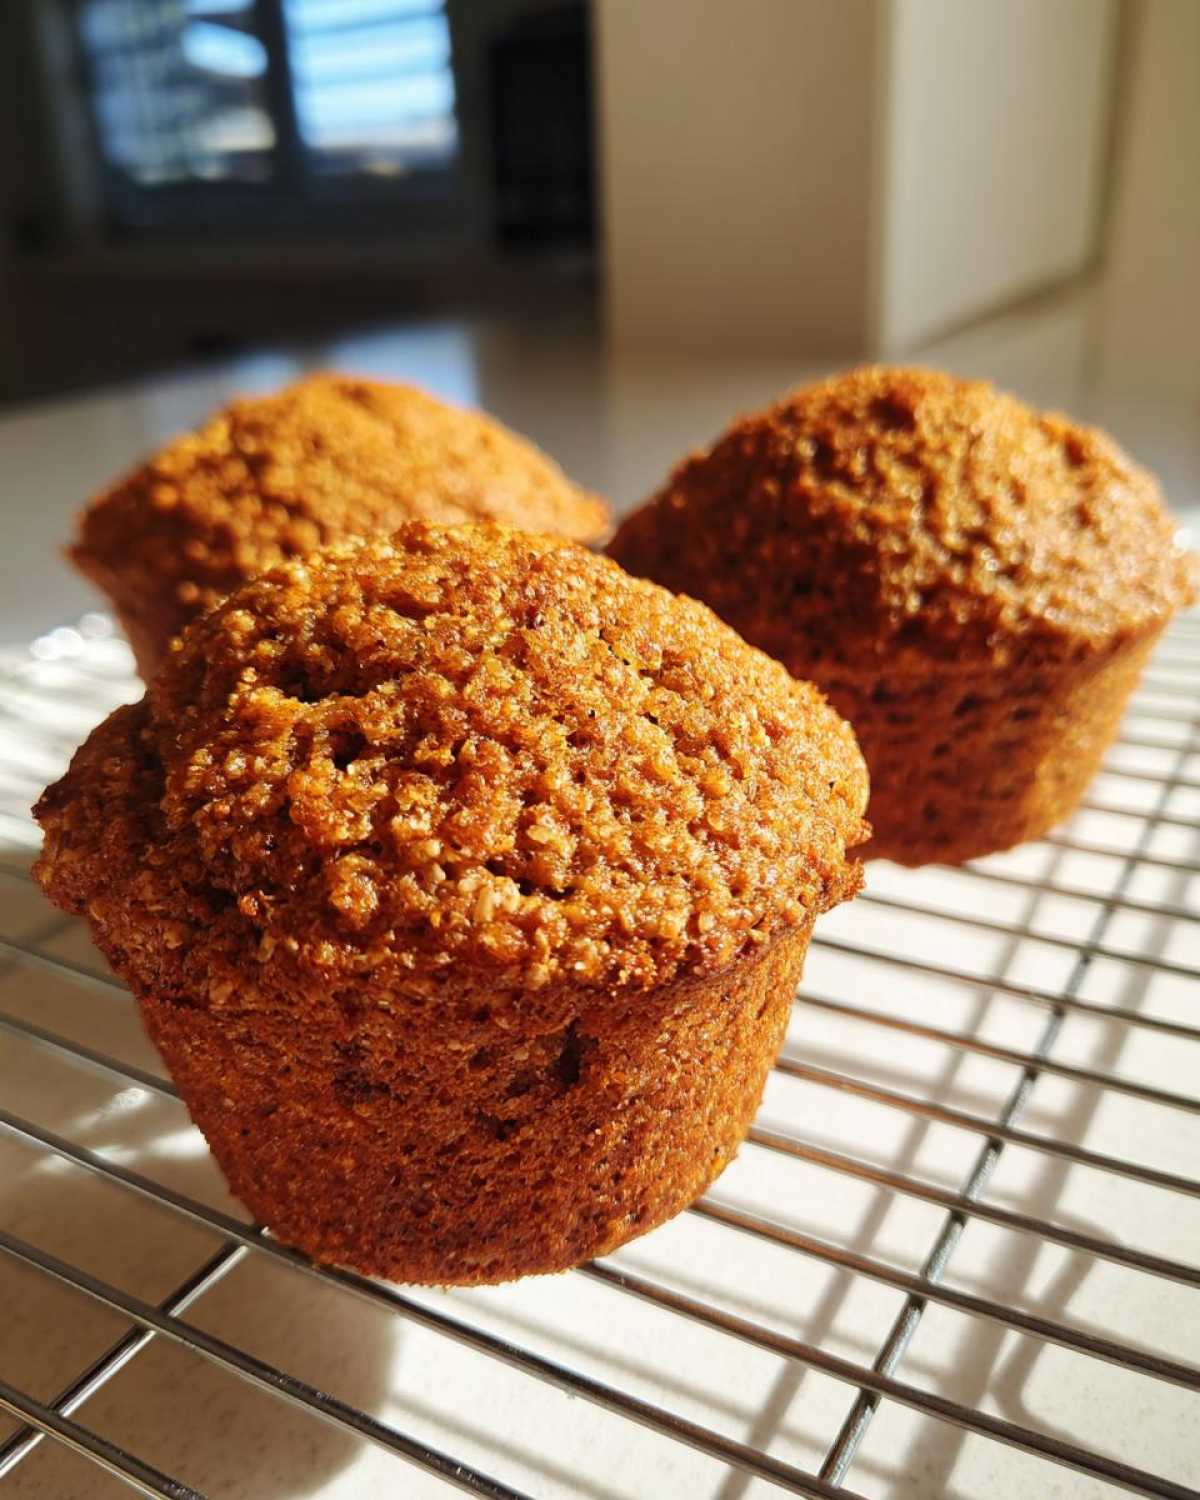
If there’s one thing that defines my weekday mornings, it’s speed. That’s why making a big batch of these honey bran muffins on Sunday is non-negotiable. They truly shine when we talk about **breakfast on the go** because they are sturdy, flavorful, and require zero thought once they’re baked.
Think about it: You pull one or two out of the freezer, toss it in your bag, and you have a balanced, filling snack or meal ready for that commute or desk breakfast. We call these my official **meal prep muffins** because they work so well just sitting in a zip-top bag on the counter for a few days (though they rarely last that long here!).
The 12-muffin yield is perfect for setting aside three or four for immediate snacking and freezing the rest. Because they have that great structure and they aren’t overly delicate, they hold up beautifully to being stacked in plastic containers. Seriously, if you’re tired of sacrificing nutrition for speed, this is the answer.
If you also rely on make-ahead breakfasts, you might want to check out my recipe for apple oatmeal breakfast cookies! They share that same wholesome, portable vibe.
Storage and Reheating Instructions for Honey Bran Muffins
Don’t you hate it when you bake a glorious double batch of something amazing, and then it goes stale by Wednesday? That won’t happen here, trust me! Keeping these honey bran muffins fresh is incredibly easy, and honestly, they taste just as good (maybe even a little better!) the next day because the flavors have time to deepen.
For short-term freshness—say, you plan to eat them within three or four days—just leave them on the counter. Cool them completely first, which is crucial! Then toss them into an airtight container. I usually just line a large Tupperware with a paper towel on the bottom to catch any ambient moisture, put the muffins in, and put the lid on tight. They stay soft and springy that way.
But here’s the absolute best part: these are fantastic freezer muffins! If you’re like me and you sometimes bake big batches just in case, follow these steps:
- Let every single muffin cool down completely on the rack. Do not, under any circumstances, put warm muffins in a plastic bag. You’ll end up with swampy muffins, and nobody wants that tragedy.
- Once cool, slide them into a heavy-duty, freezer-safe zip-top bag. Squeeze out as much air as you can before sealing.
- Toss them in the freezer for up to three months. Yes, three MONTHS! They hold up that well.
When you need a quick breakfast, thawing is painless. Just pull what you need out the night before and let them thaw on the counter overnight. If you forget (which happens to me weekly!), you can pop them straight from the freezer into the microwave for about 15 to 20 seconds. They come out perfectly soft and warm, ready for whatever chaos the morning brings!
Common Questions About These Whole Grain Muffins
I totally get it—when you find a great recipe like this one for **honey bran muffins**, you have a million little questions before you commit to using up your good wheat bran. Leo always says I overthink the details, but getting these little things right is what keeps us from having baking fails! I’ve compiled some of the questions I always get asked about these whole grain muffins so we can troubleshoot upfront.
Can I use maple syrup instead of honey in these bran muffins?
Oh, that’s a great question about honey sweetened baking! Yes, you absolutely can substitute it, but a word of caution: maple syrup is thinner than honey. If you use the exact same volume (1/2 cup), your batter might end up a tiny bit looser. Also, maple syrup has a distinctly different, woodsy flavor compared to honey’s floral sweetness. It still tastes fantastic, but the flavor profile shifts slightly. If you’re okay with that substitution, use a 1:1 swap! If you want to keep the texture perfect, maybe reduce other liquids by a tablespoon or two if you notice your batter seems too thin.
How do I make these honey bran muffins dairy-free?
We get asked about dairy a lot! Since the buttermilk is so important for that tender crumb, we can’t just swap it for regular water. The trick here is making your own dairy-free buttermilk substitute! Take one cup of unsweetened almond milk or soy milk, and whisk in one tablespoon of apple cider vinegar or lemon juice. Let it sit on the counter for about five minutes until it curdles slightly. That’s your replacement for the buttermilk. This trick keeps the acidity needed to activate the baking soda, ensuring your **healthy bran muffins** still get great lift without any dairy!
Are these honey sweetened baking muffins suitable for kids?
Absolutely! I think these are fantastic for kids because they sneak in so much fiber without tasting like cardboard. Since we are using honey instead of refined sugar, they get a natural sweetness that kids love. If you skip the raisins—which some little ones aren’t fans of—they become super plain and easy to grab. Leo’s niece asks for these specifically because they are perfectly portioned and not overly sweet. They are definitely one of our favorite **kid friendly muffins**!
If you end up trying fun mix-ins like chocolate chips or berries instead of raisins, you’ll want to check out my recipe for cranberry oatmeal cookies for more ideas on how to naturally sweeten things!
Nutritional Estimate for Your High Fiber Breakfast
I always think it’s good to know what you’re fueling up with, especially when you’re aiming for a truly high fiber breakfast like these bran muffins. Now, remember that Leo and I are just home cooks who use standard measuring cups, not nutritionists in a lab! So, treat these numbers as a solid ballpark estimate, okay?
These values are calculated based on the recipe using all the listed ingredients, assuming the optional raisins are included, and based on the 12-muffin yield. If you use oil instead of vegetable oil, or a different type of honey, the final count might shift a bit. If you want to check out some other surprisingly nutritious recipes we love, you should look at our loaded avocado toasts!
Here’s the breakdown per one muffin:
- Serving Size: 1 muffin
- Calories: 195
- Sugar: 12g (Mostly from natural honey and raisins!)
- Sodium: 180mg
- Fat: 7g
- Saturated Fat: 1g
- Unsaturated Fat: 6g
- Trans Fat: 0g
- Carbohydrates: 31g
- Fiber: 3g (That’s where the good stuff is!)
- Protein: 5g
- Cholesterol: 25mg
See? It’s a great, balanced start to the day. You get fiber, a little protein, and natural energy without a huge sugar spike. Happy baking!
Share Your Kitchen Chaos and Successes
Whew! That’s it! You’ve made the best, moistest honey bran muffins, and I am so excited for you to enjoy them. Whether you’re eating them hot out of the oven or pulling one out of the freezer next Tuesday morning, I really hope they bring a little slice of happy calm to your busy day.
When you make these, seriously, snap a picture! We live for seeing your baking adventures over on social media. Tag us so Leo can snag a photo for a feature. We want to see if you went for the raisins or added those walnuts Leo suggested—no judgment if you even added chocolate chips!
If you loved how simple and flavorful this recipe was, do me a huge favor and leave us a rating on the recipe card above. We’re always aiming for five stars, and every rating helps other people realize that cooking doesn’t have to be stressful to be delicious. If you want to know more about our philosophy here at Cookify Me—where we celebrate the messy, fun side of food—you can read all about our story next on the About Us page.
Just remember our motto: it’s not about perfection, it’s about getting flour on your nose and having fun doing it. Happy cooking!
PrintMoist Honey Bran Muffins for Easy Meal Prep
Make these wonderfully moist, high fiber bran muffins sweetened naturally with honey. They are perfect for a quick breakfast on the go and freeze well.
- Prep Time: 15 min
- Cook Time: 18 min
- Total Time: 33 min
- Yield: 12 muffins
- Category: Breakfast
- Method: Baking
- Cuisine: American
- Diet: Vegetarian
Ingredients
- 1 3/4 cups whole wheat flour
- 1 cup wheat bran
- 1 teaspoon baking soda
- 1 teaspoon baking powder
- 1/2 teaspoon salt
- 1/2 cup honey
- 1/4 cup vegetable oil
- 1 large egg
- 1 cup buttermilk
- 1 teaspoon vanilla extract
- 1/2 cup raisins (optional)
Instructions
- Preheat your oven to 400 degrees F. Line a 12-cup muffin tin with paper liners or grease it well.
- In a large bowl, whisk together the whole wheat flour, wheat bran, baking soda, baking powder, and salt.
- In a separate medium bowl, whisk the honey, vegetable oil, egg, buttermilk, and vanilla extract until combined.
- Pour the wet ingredients into the dry ingredients. Mix them gently until just combined. Do not overmix; a few lumps are fine.
- Fold in the raisins, if you are using them.
- Divide the batter evenly among the 12 muffin cups, filling each about two-thirds full.
- Bake for 15 to 18 minutes, or until a toothpick inserted into the center comes out clean.
- Let the muffins cool in the pan for 5 minutes before transferring them to a wire rack to cool completely.
Notes
- For extra tenderness, you can substitute plain yogurt for the buttermilk, using the same 1 cup measurement.
- These muffins freeze well. Cool them completely, place them in a freezer-safe bag, and freeze for up to three months. Thaw them overnight on the counter or microwave them briefly.
- If you want a sweeter muffin, add 1/4 cup of packed brown sugar along with the honey.
Nutrition
- Serving Size: 1 muffin
- Calories: 195
- Sugar: 12
- Sodium: 180
- Fat: 7
- Saturated Fat: 1
- Unsaturated Fat: 6
- Trans Fat: 0
- Carbohydrates: 31
- Fiber: 3
- Protein: 5
- Cholesterol: 25