

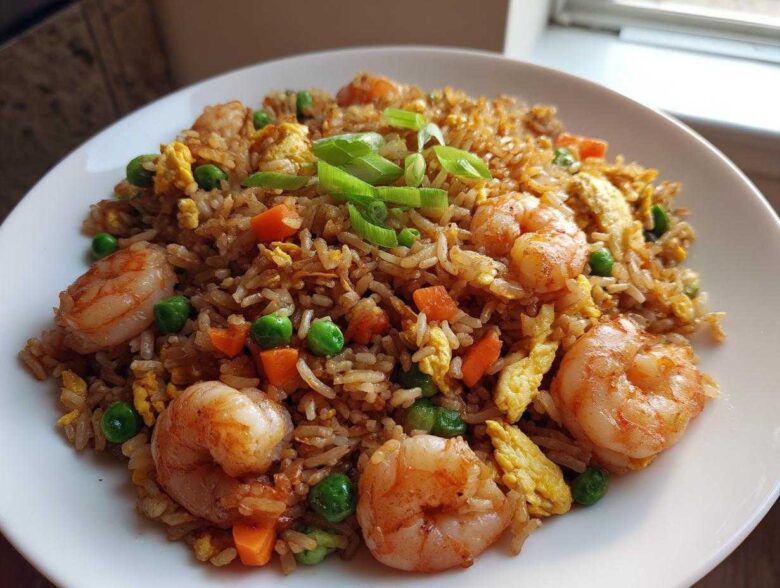
You know that feeling, right? It’s 6 PM, you’re starving, and all you can think about is that perfect, savory aroma of takeout shrimp fried rice. But then you remember delivery takes forever, and who knows how much oil they really use?
Well, I cracked the code for you. I spent way too much time perfecting this shrimp fried rice recipe so you can beat the delivery driver every single time. Seriously, my absolute best version is ready in under 30 minutes, making it a go-to recipe from my newest posts over at this link. The real magic, the secret that keeps it from getting gummy and sad, is all about the rice.
Trust me when I say you must use cold, day-old rice. It took a few mushy kitchen disasters before I finally understood why professionals always harp on that rule. Once you get that texture right, you are halfway to serving up the most satisfying, flavorful rice bowls you’ve ever had at home. This is the one!
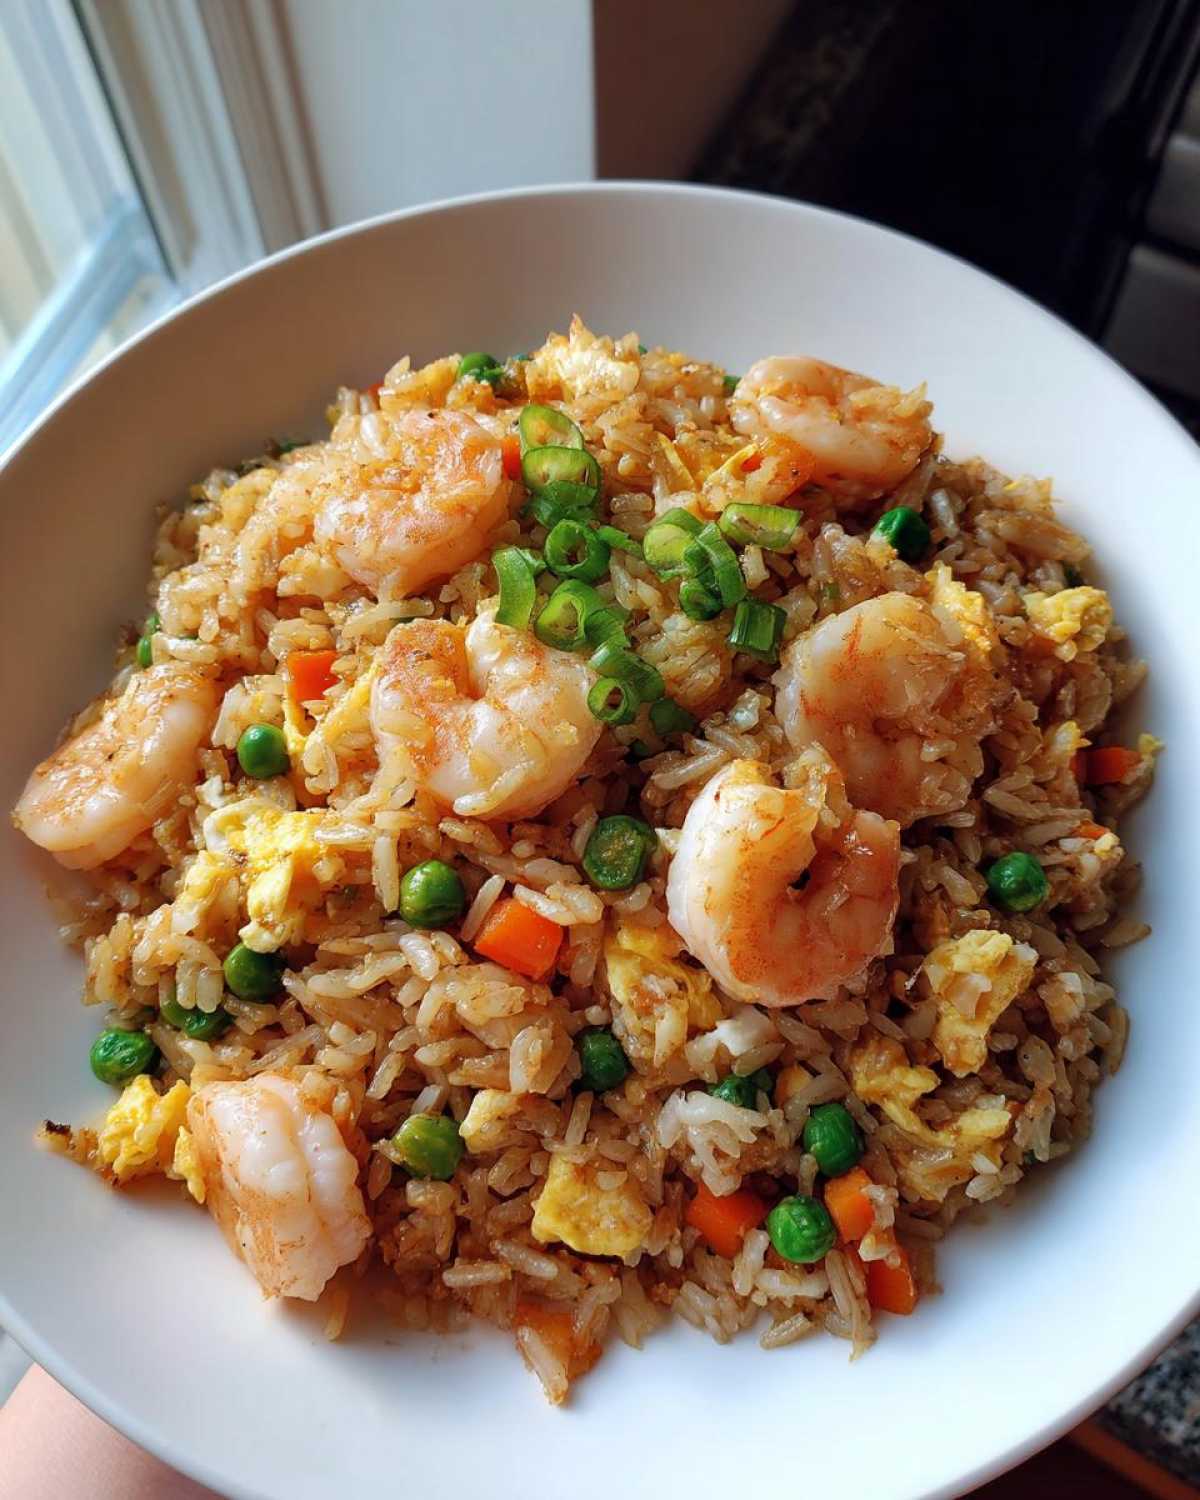
Why This Shrimp Fried Rice Recipe Delivers Better-Than-Takeout Flavor
I know what you’re thinking: how is this just 25 minutes total? That’s because I streamlined everything here, focusing only on the steps that boost flavor without slowing us down. This isn’t just *a* shrimp fried rice recipe; it’s the one that stops my family from dialing the local Chinese place. We get big, satisfying flavor in a perfect, one-pan package.
What makes it taste so good? It comes down to a couple of non-negotiable things:
- The perfect blend of savory sauces—that rich mix of soy and oyster sauce is key.
- High heat cooking to toast the rice just right.
- A super quick process that locks in the shrimp flavor.
If you love easy dinner recipes that taste like you spent way more time on them, keep reading!
Speed and Simplicity: A True Weeknight Asian Cuisine Solution
We are aiming for under 30 minutes here, folks—the total time is just 25 minutes! The best part? Everything happens in one skillet. Seriously, no separate bowls for cooking eggs and then adding them back in later (we’re mixing them right in the pan!). This makes cleanup for this *One Pan Rice Dish* practically non-existent. It’s ideal for those hectic nights when you need *Weeknight Asian Cuisine* but can’t handle a sink full of dishes.
The Secret to Perfectly Fluffy Rice in Your Shrimp Fried Rice Recipe
If you take one piece of advice from this entire guide about making the best *shrimp fried rice recipe*, let it be this: you cannot use rice straight from the cooker. It will turn into savory mush, and nobody wants that! It has to be cold, day-old rice. When the rice is chilled, the grains firm up and lose that surface moisture. That stiffness allows them to separate beautifully when they hit the hot oil, giving you that fantastic, individual grain texture you look for in *Homemade Fried Rice*.
Essential Ingredients for Your Shrimp Fried Rice Recipe
Okay, listen up, because the magic in this shrimp fried rice recipe lies in having the right things ready to go *before* the heat goes on. Since this is a fast stir-fry, you don’t want to be scrambling to measure sauces while the garlic burns! I’ve listed everything you need below. Remember, this is for four generous servings, so scale up if you’re feeding a crowd! Having these ingredients on hand makes this one of the best Weeknight Asian Cuisine solutions.
- We start with just 1 tablespoon of vegetable oil necessary for the initial sear.
- 8 ounces of raw shrimp, make sure they are peeled and deveined—no one wants a shell surprise here!
- 2 cloves of garlic, minced super fine. You want that punch of flavor right away.
- A cup of frozen peas and carrots mix. Easy peasy and adds that color we need.
- Crucially, 3 cups of cold, day-old cooked white rice. I cannot stress this enough for the best texture!
- 2 large eggs, lightly beaten. They cook so fast, so have them ready to pour.
- For that salty, savory foundation: 3 tablespoons of soy sauce.
- Just a touch of oyster sauce—1 tablespoon—to give it depth.
- 1 teaspoon of toasted sesame oil, added right at the very end for that aromatic finish.
- And finally, 2 scallions, sliced thinly for garnishing and mixing in for freshness.
Ingredient Notes and Substitutions for This Shrimp Fried Rice Recipe
If you’re cooking for someone who doesn’t love seafood, don’t fret! This recipe is super adaptable. You can absolutely swap out the shrimp for equal weight in diced chicken breast or firm tofu if you want a different twist on your shrimp fried rice recipe. Just cook your protein first, remove it, and bring it back in at the end, just like we do with the shrimp.
When it comes to the soy sauce, I typically use regular soy sauce because I like the saltiness, but if you are sensitive to sodium, you can definitely use low-sodium soy sauce. If you do that, taste before adding too much, though! And if you want to make this dish a little spicy, a dash of sriracha mixed in with the soy sauce is a fantastic addition to this dish.
Step-by-Step Instructions for the Best Shrimp Fried Rice Recipe
Okay, this part is exciting because it happens fast! We are moving quickly through the cooking process for this shrimp fried rice recipe. You absolutely need a wok or your largest skillet, and everything needs to be prepped and measured out on the counter. Seriously, don’t wander off once the heat is up! The whole cooking sequence is designed to give you that restaurant-quality texture in about 15 minutes of actual cooking time. Following these steps is how you master how to make fried rice that doesn’t disappoint.
Perfecting the Shrimp and Egg Cook in This Quick Seafood Meal
First things first: the shrimp have to cook perfectly, which means fast! Heat about 1 teaspoon of your oil in that hot pan over medium-high heat. Throw in your shrimp. You only need 2 to 3 minutes, and I mean it! They should just turn pink and opaque. The second they look done, scoop them out and put them somewhere safe, like a clean bowl. If you leave them in, they turn rubbery—and rubbery shrimp is a tragedy!
Next, we move onto the eggs. Add the rest of your oil to the same pan—don’t wipe it out! That little bit of shrimp flavor is good! Toss in your minced garlic and let it cook for just 30 seconds until you smell it, but not a second longer. Then, add your frozen peas and carrots and stir-fry those for about two minutes. Now, here’s the trick for the eggs: push all those veggies over to one side of the skillet. Pour your lightly beaten eggs onto the empty side. Let them sit for just a few seconds until they start setting up, then scramble them quickly until they are just cooked. Break them up with your spatula and mix them right back in with the veggies. Easy, right?
Stir-Frying the Rice and Combining Sauces for a Flavorful Rice Bowl
This is where we bring in the star. Add that cold, day-old rice to the center of the pan. You need to use your spatula to break up any clumps you find right away. Stir-fry this mixture for a good 3 to 4 minutes. You want the rice to get nice and hot, maybe even lightly toasted in spots—that adds flavor! Don’t rush this part; you’re drying out the surface moisture.
Now, bring those beautiful, already-cooked shrimp back into the pan. Immediately drizzle that soy sauce, the oyster sauce, and the fragrant sesame oil right over everything. Toss it all together super fast, for about 1 minute, making sure every single grain gets coated in that tasty sauce. We’re tossing quickly here because we don’t want the cold rice to steam and get soft; we want that excellent, drier texture for our Flavorful Rice Bowls. Finally, throw in those sliced scallions, toss one last time, and serve this amazing shrimp fried rice recipe immediately!
Tips for Success When Making Homemade Fried Rice
Now that you have the step-by-step for this incredible shrimp fried rice recipe, I want to share a few extra tricks I learned hanging out in restaurant kitchens years ago. These tiny details elevate your dish from ‘pretty good home cooking’ to something that tastes just like your favorite spot downtown. Getting restaurant-level results with your Homemade Fried Rice is totally achievable, but it requires high heat and total commitment!
Here are my top secrets for maximizing flavor and texture:
- Use High Heat—And Don’t Crowd the Pan: You need real heat; medium-high is the absolute minimum. You want the rice to kiss the hot metal and toast, not steam in its own moisture. If you are doubling this recipe, please cook it in two separate batches! Crowding the pan drops the temperature instantly, and you’ll end up with soggy rice instead of perfectly separated grains.
- Taste Before You Plate: This is a huge one for seasoning. After you toss everything with the soy and oyster sauce, take a tiny pinch of the rice mixture onto a spoon and taste it. Does it need a tiny splash more soy sauce? Maybe a pinch of salt? Since everyone’s soy sauce varies in salinity, tasting it right before you serve ensures this shrimp fried rice recipe is seasoned perfectly for *your* palate.
- Prep Your Scallions Separately: I told you to mix the scallions in at the end, but here’s the refinement: save about half of those lovely green slices for garnish *after* it’s plated. The raw scallions on top give you an awesome, sharp freshness that cuts through the richness of the sauce. The ones cooked into the rice get soft and mellow, but the fresh ones offer a great textural contrast.
Follow those three rules, and I promise your next batch of *Garlic Fried Rice* will blow your mind. It really comes down to honoring the stir-fry technique!
Storage and Reheating Instructions for Leftover Rice Recipes
One of the greatest things about making a big batch of shrimp fried rice is having leftovers for lunch the next day! This is where using that cold, day-old rice really pays off again, because leftovers made from fresh, warm rice never reheat well—they just get gummy.
When you’re done eating your amazing Leftover Rice Recipes creation, you need to store it correctly so it stays delicious. Make sure your leftover shrimp fried rice recipe cools down slightly, but definitely get it into the fridge within two hours. Pop it into an airtight container. It should keep beautifully for about three days in the refrigerator. Don’t try to keep it longer than that, though; nobody wants questionable seafood leftovers!
Now, for the reheating part—this is crucial to keeping that lovely texture we worked so hard to achieve in the first place. Forget the microwave if you can help it! While the microwave is fast, it tends to reheat steam and can soften the rice kernels, making them a little sticky.
The absolute best way to reheat this shrimp fried rice is back in a hot skillet or wok. Add just a tiny splash of water or maybe a teaspoon of neutral oil to the pan first. Heat it over medium-high heat and toss it frequently. That gentle heat will wake up the flavors and toast the rice slightly again without turning it into mush. It only takes about 4 to 5 minutes. If you must use the microwave because you are in a total rush, only heat it in 30-second bursts, giving it a good stir between each burst to distribute the heat evenly. That way, you’re preserving the integrity of this fantastic shrimp fried rice recipe!
Frequently Asked Questions About This Shrimp Fried Rice Recipe
I get so many questions after people try this winning shrimp fried rice recipe for the first time! It’s so simple that folks sometimes worry they missed a step, or they wonder how to tweak it for their family’s specific tastes. No problem at all! Here are some of the questions I see most often popping up about converting this into the perfect Garlic Fried Rice experience.
Can I use fresh rice instead of day-old rice for this shrimp fried rice recipe?
Oh, I really, really wish you could, but please don’t try it if you are aiming for that amazing restaurant texture! Freshly cooked rice is full of moisture. When you toss it into a hot wok for this shrimp fried rice recipe, it steams instead of fries. That’s what gives you that sticky, clumped-up mess that tastes more like porridge than glorious fried rice. Day-old rice, which has been refrigerated, dries out just enough so the grains stay distinct and chewy when they hit the heat. It’s the magic trick that separates the decent fried rice from the show-stopping stuff!
How can I adapt this recipe for a Family Friendly Dinner Idea?
This recipe is already a fantastic Family Friendly Dinner Idea because it’s so fast, but if you have really picky eaters or very small children, you can easily adjust the flavor intensity. The main thing is to tame the sodium slightly. You can use half the amount of soy sauce and oyster sauce called for, and instead of tossing in the optional sriracha (if you decide to add it), serve that on the side as an optional drizzle for the adults.
Also, if shrimp isn’t a universal hit in your house that week, just increase the peas and carrots, or toss in some leftover rotisserie chicken you’ve shredded up. The base technique for this shrimp fried rice recipe is so solid that it handles substitutions like a champ, keeping things easy for you!
Estimated Nutritional Data for This Savory Comfort Food
Listen, while we’re focusing on taste and speed here, I know some of you are keeping track of what goes into your body, and that’s cool! This shrimp fried rice recipe is surprisingly balanced for a takeout classic. It’s a lovely, satisfying Savory Comfort Food that packs a good protein punch without completely blowing your macros for the day.
Because we control every single drop of oil and every sprinkle of sauce, you know exactly what you’re getting, which is a huge win over sneaky delivery places! Below are the estimated numbers per serving for this recipe, based on our ingredient list. Please remember these are just estimates, of course. If you use a ton more oil or a different type of rice, things will shift!
- Calories: Around 380 per serving. Not bad for a full dinner!
- Protein: We get about 22 grams in there, thanks to the shrimp and eggs! A great boost.
- Total Fat: Roughly 14 grams total. Most of this comes from the good fats in the oil and shrimp.
- Carbohydrates: About 45 grams, mainly from the rice.
- Sodium: This is the big one to watch, sitting around 850mg. That’s mostly from the soy and oyster sauces, so if you were using low-sodium soy sauce, this number would drop noticeably.
I think that’s a pretty solid trade-off for something so unbelievably delicious and ready in just 25 minutes. It definitely beats calling for a greasy alternative when you’re craving amazing Garlic Fried Rice!
Share Your Experience Making This Shrimp Fried Rice Recipe
Listen folks, this is my absolute favorite shrimp fried rice recipe, but I want to know what YOU think once you make it! Cooking should be a shared joy, and honestly, seeing your creations is the best part of having this little corner of the internet.
Once you’ve whipped up this amazing quick seafood meal and discovered how easy it is to make great Homemade Fried Rice in under half an hour, please come back and leave a rating for me. Did you give it 5 stars? Or maybe you think it needs even more garlic next time?
I especially love hearing about your little tweaks! Maybe you added a squeeze of lime at the end, or perhaps you used leftover ham instead of shrimp that night. Your substitutions help everyone else reading this guide too. Don’t be shy—drop a comment below detailing your favorite addition or how you managed to make your rice extra toasty!
If you loved how fast and flavor-packed this was, please share it with a friend who always complains they don’t have time to cook dinner. Sharing recipes is how we keep the good food magic going!
PrintEasy Better-Than-Takeout Shrimp Fried Rice: Ready in 30 Minutes
Make delicious, restaurant-quality shrimp fried rice quickly using day-old rice. This one-pan recipe is perfect for a fast weeknight dinner.
- Prep Time: 10 min
- Cook Time: 15 min
- Total Time: 25 min
- Yield: 4 servings
- Category: Dinner
- Method: Stir-Frying
- Cuisine: Asian
- Diet: Low Lactose
Ingredients
- 1 tablespoon vegetable oil
- 8 ounces raw shrimp, peeled and deveined
- 2 cloves garlic, minced
- 1 cup frozen peas and carrots mix
- 3 cups cold, day-old cooked white rice
- 2 large eggs, lightly beaten
- 3 tablespoons soy sauce
- 1 tablespoon oyster sauce
- 1 teaspoon sesame oil
- 2 scallions, thinly sliced
Instructions
- Heat 1 teaspoon of vegetable oil in a large skillet or wok over medium-high heat. Add the shrimp and cook for 2 to 3 minutes until pink and opaque. Remove the shrimp from the skillet and set aside.
- Add the remaining 2 teaspoons of vegetable oil to the skillet. Add the minced garlic and cook for 30 seconds until fragrant.
- Add the frozen peas and carrots to the skillet. Stir-fry for 2 minutes until heated through. Push the vegetables to one side of the skillet.
- Pour the beaten eggs into the empty side of the skillet. Scramble the eggs until just set, then break them up with your spatula and mix with the vegetables.
- Add the cold rice to the skillet. Break up any clumps with your spatula. Stir-fry for 3 to 4 minutes until the rice is heated through and slightly toasted.
- Return the cooked shrimp to the skillet. Pour the soy sauce, oyster sauce, and sesame oil over the rice mixture. Toss everything together quickly until the rice is evenly coated and heated through, about 1 minute.
- Stir in the sliced scallions. Serve immediately.
Notes
- Using cold, day-old rice prevents the fried rice from becoming mushy.
- For extra flavor, use medium-high heat throughout the stir-frying process.
- You can substitute chicken or tofu for the shrimp if desired.
Nutrition
- Serving Size: 1 serving
- Calories: 380
- Sugar: 4
- Sodium: 850
- Fat: 14
- Saturated Fat: 3
- Unsaturated Fat: 11
- Trans Fat: 0
- Carbohydrates: 45
- Fiber: 2
- Protein: 22
- Cholesterol: 150