

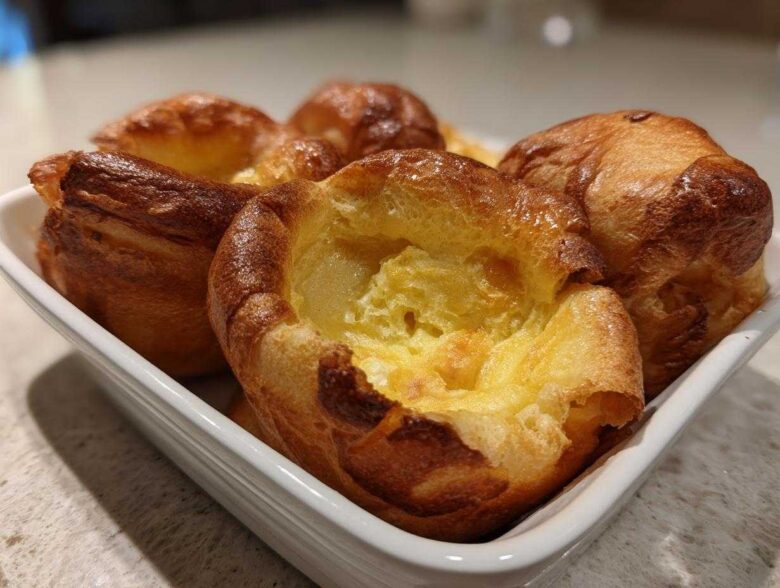
Trust me, figuring out how to nail those soaring, golden-brown beauties is one of the biggest kitchen mysteries out there. You see them on TV, all puffed up and impossibly crispy, and you think, “Why do mine always end up looking like sad, slightly browned pancakes?” Leo and I learned the hard way—we once substituted lukewarm oil for smoking-hot fat, and the results were… well, they were flat, and that’s why we absolutely needed a foolproof Yorkshire pudding recipe in our arsenal. After a few hilarious disasters that nearly set off the smoke alarm (sound familiar? Check out our story here), I finally found the perfect technique that guarantees an epic rise every single time. We aren’t professional chefs, but we are great at figuring out what works under pressure, and this method is solid gold for your next roast dinner. If you want that perfect crispy exterior hugging a light, airy interior, you need to pay attention!
Why This is the Best Yorkshire Pudding Recipe You Will Ever Make
I’ve tried just about every trick out there, but this specific method is what finally gave me those towering, fluffy Yorkshire puddings your heart desires. Skip the fancy stuff; the magic here is all in management—absolutely scorching hot fat and letting that simple flour and milk batter chill out. Seriously, if you nail those two things, you’ve won the game. This recipe delivers consistently crispy Yorkshire puddings that get that beautiful golden color without ever collapsing into a puddle of disappointment.
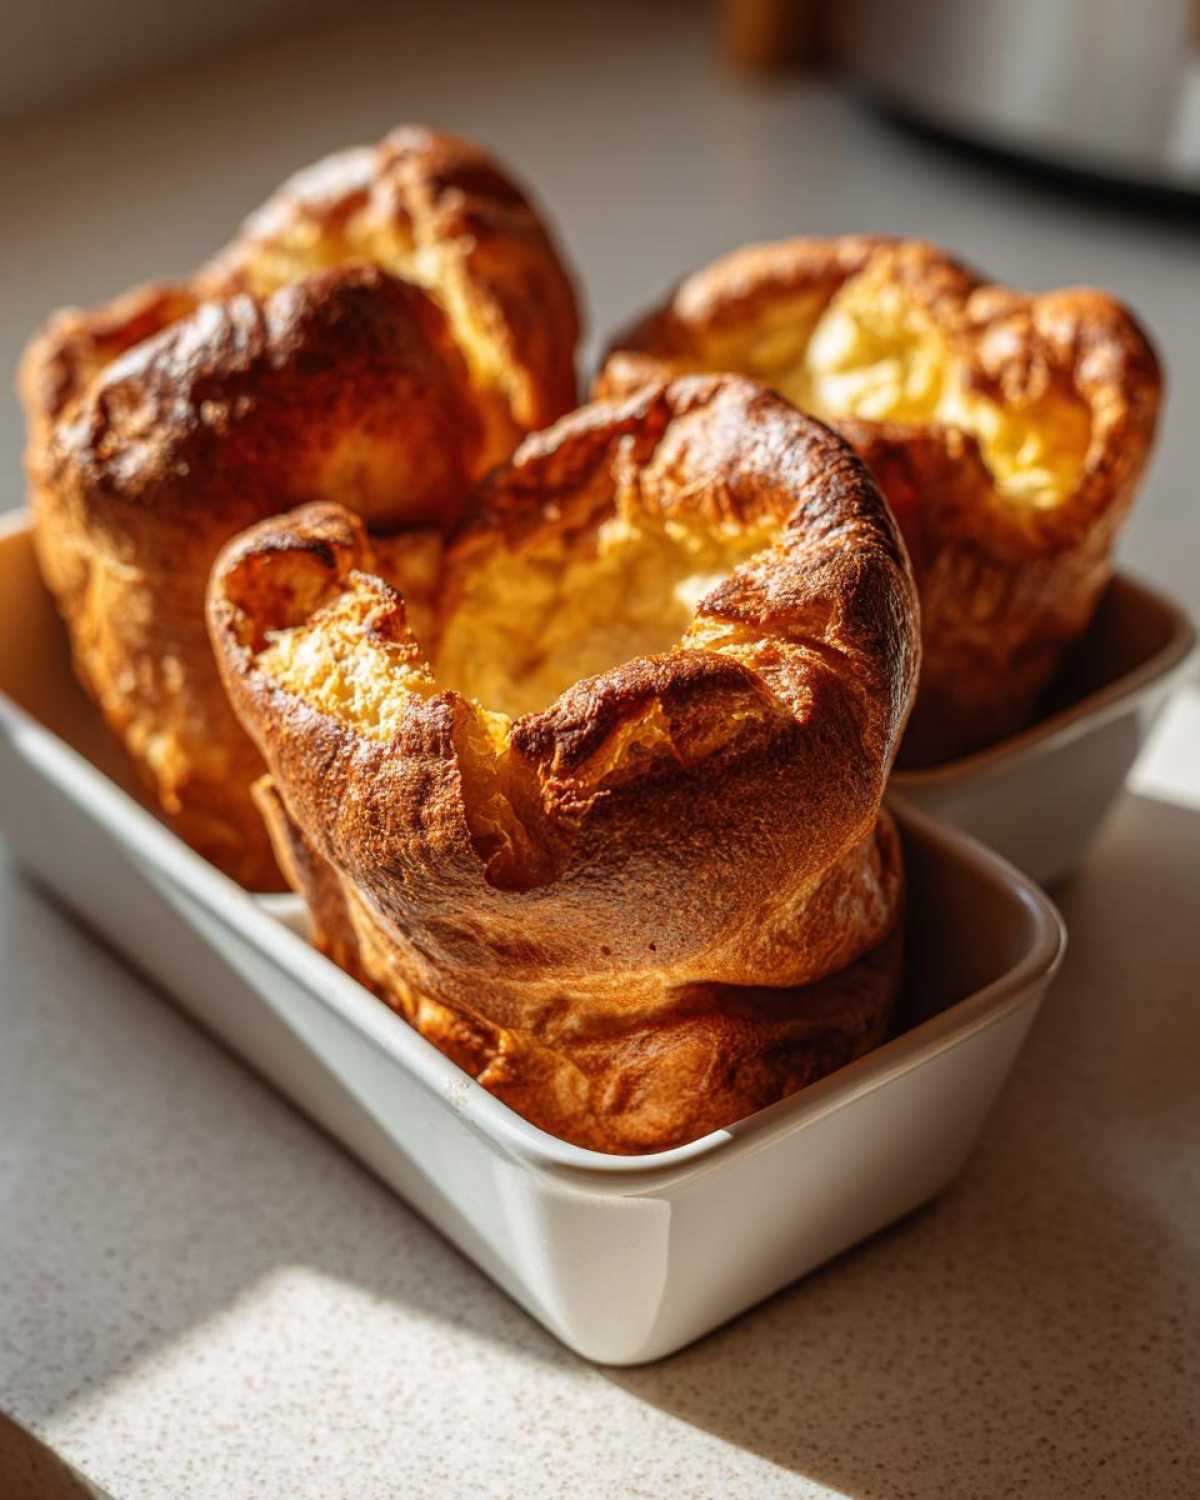
We spent ages tweaking the measurements to make sure it was truly foolproof Yorkshire puddings material. You don’t need to be a culinary genius or even Gordon Ramsay to get this right. It’s about respecting the heat and giving the gluten a little break so it bakes up light and proud. Honestly, they are the best roast dinner accompaniments you can possibly make!
Ingredients for Perfect Yorkshire Pudding
Okay, time to talk ingredients! The beauty of a proper Yorkshire Pudding Recipe is that it relies on pantry staples, which makes it fantastic for saving a few pennies, even if Leo insists we splurge on the good stuff. We’re making 12 individual puddings here, perfect for piling high next to a great roast. We need four big eggs, one cup of standard all-purpose flour, and one cup of whole milk. Don’t even think about reaching for skim milk; the fat content in whole milk actually helps them puff up nicely. And salt, just a half teaspoon to make the flavor pop.
Now for the fat. If you’re serving roast beef, you absolutely must use beef dripping if you can get it—it gives that authentic, rich flavor that nothing else touches. If dripping isn’t your thing, high-heat vegetable oil will still work spectacularly well. The fat goes straight into the tin, which is crucial, so make sure you have about four tablespoons ready to go before we even think about heating the oven.
Ingredient Notes and Substitutions for Your Yorkshire Pudding
The secret to keeping this recipe easy but reliable lies in these few core items. Remember, we’re aiming for those beautifully puffed-up, puffy popovers! If you’re cooking for someone gluten-free, don’t stress! You can swap out that all-purpose flour for a good quality gluten-free blend that already has xanthan gum in it. That keeps the texture surprisingly close to the real thing.
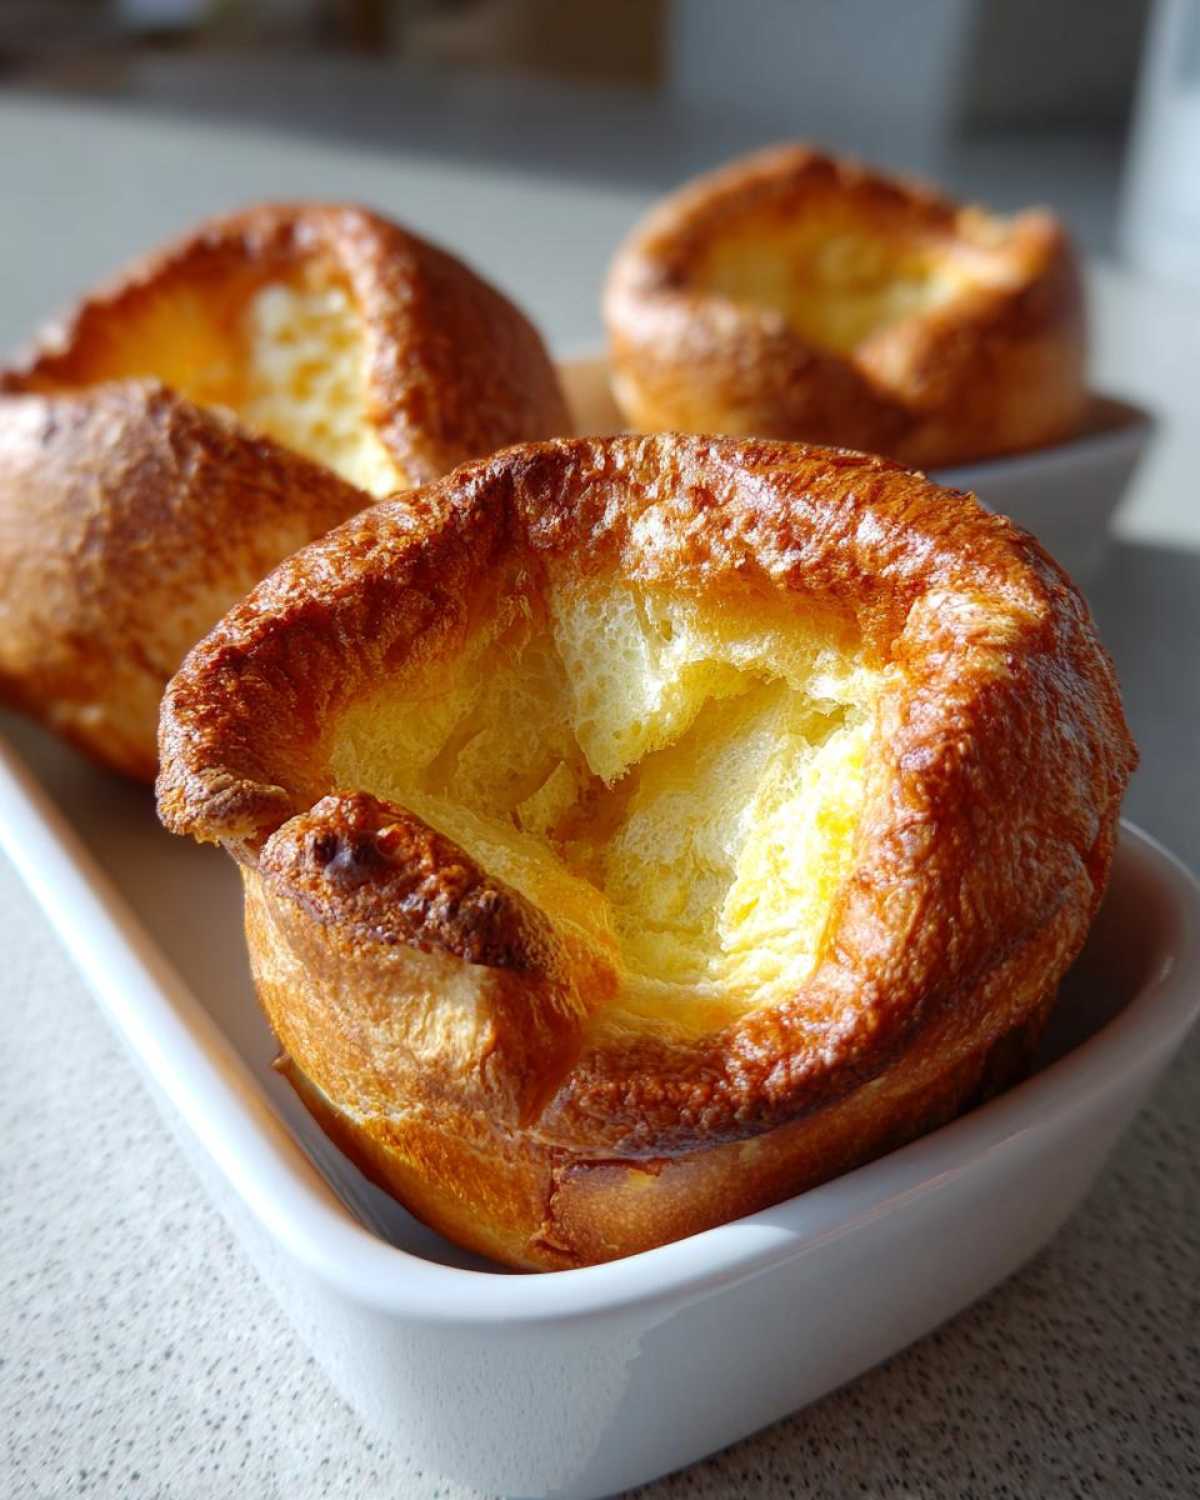
Also, these step-by-step instructions are perfect for making individual Yorkshire puddings in a muffin tin, which I love because everyone gets their own perfectly shaped one. If you’re making one giant one for a crowd, just use a 9×13 roasting dish instead, but the baking time will change slightly!
How to Make Yorkshire Puddings: The Foolproof Steps
Alright, this is where the magic—and the potential for disaster—happens! But don’t worry, following these exact steps is how we get those spectacular, puffy results every time. First up, forget the batter for a second; we need to prep the tin and the oven. Pop your tin—whether it’s a muffin tray or a big roasting pan—into the oven and crank that temperature up to 450°F (230°C). You must add your chosen fat (dripping, please!) into each hole first. We need that fat to become volcanically hot. This extreme heat is what launches your Yorkshire pudding into the stratosphere!
While the oven is roasting that fat, you can finally mix your batter. Then, for the love of gravy, let it rest! Want to double down on success? Check out these lovely creamy baked mashed potatoes that pair perfectly with these puddings, found right here.
Preparing the Batter: Secrets to Fluffy Yorkshire Puddings
When you’re mixing, treat those ingredients gently! You want to whisk your eggs, flour, and salt together first until it looks decent. Then, slowly, slowly drizzle in that milk while you keep whisking until the whole thing is liquidy and smooth—think thin cream, not thick pancake mix. The absolute non-negotiable part of this process, the real one of the pudding batter secrets, is resting it. Whether you let it sit on the counter for a minimum of 30 minutes or stash it in the fridge overnight, resting allows the gluten to relax. This relaxation factor is what prevents the structure from hardening too fast, giving you those airy, light interiors.
The Critical Step: Heating the Fat for Maximum Yorkshire Pudding Rise
This is the make-or-break moment. When you pull that tray out, the fat should be shimmering, maybe even just starting to smoke a tiny bit. If it’s not smoking, you’re not ready! You need that extreme sear when the batter hits the tin. That immediate shock of heat creates steam so fast it forces the batter up, up, up, turning it into those gorgeous, puffy popovers just seconds after you pour. Work quick: pour your batter evenly into the scorching fat—listen for that satisfying sizzle!—and slide it RIGHT back into that hot oven. And please, for the next 15 minutes, do not, under any circumstances, peek!
Tips and Tricks for Achieving Golden Brown Puddings
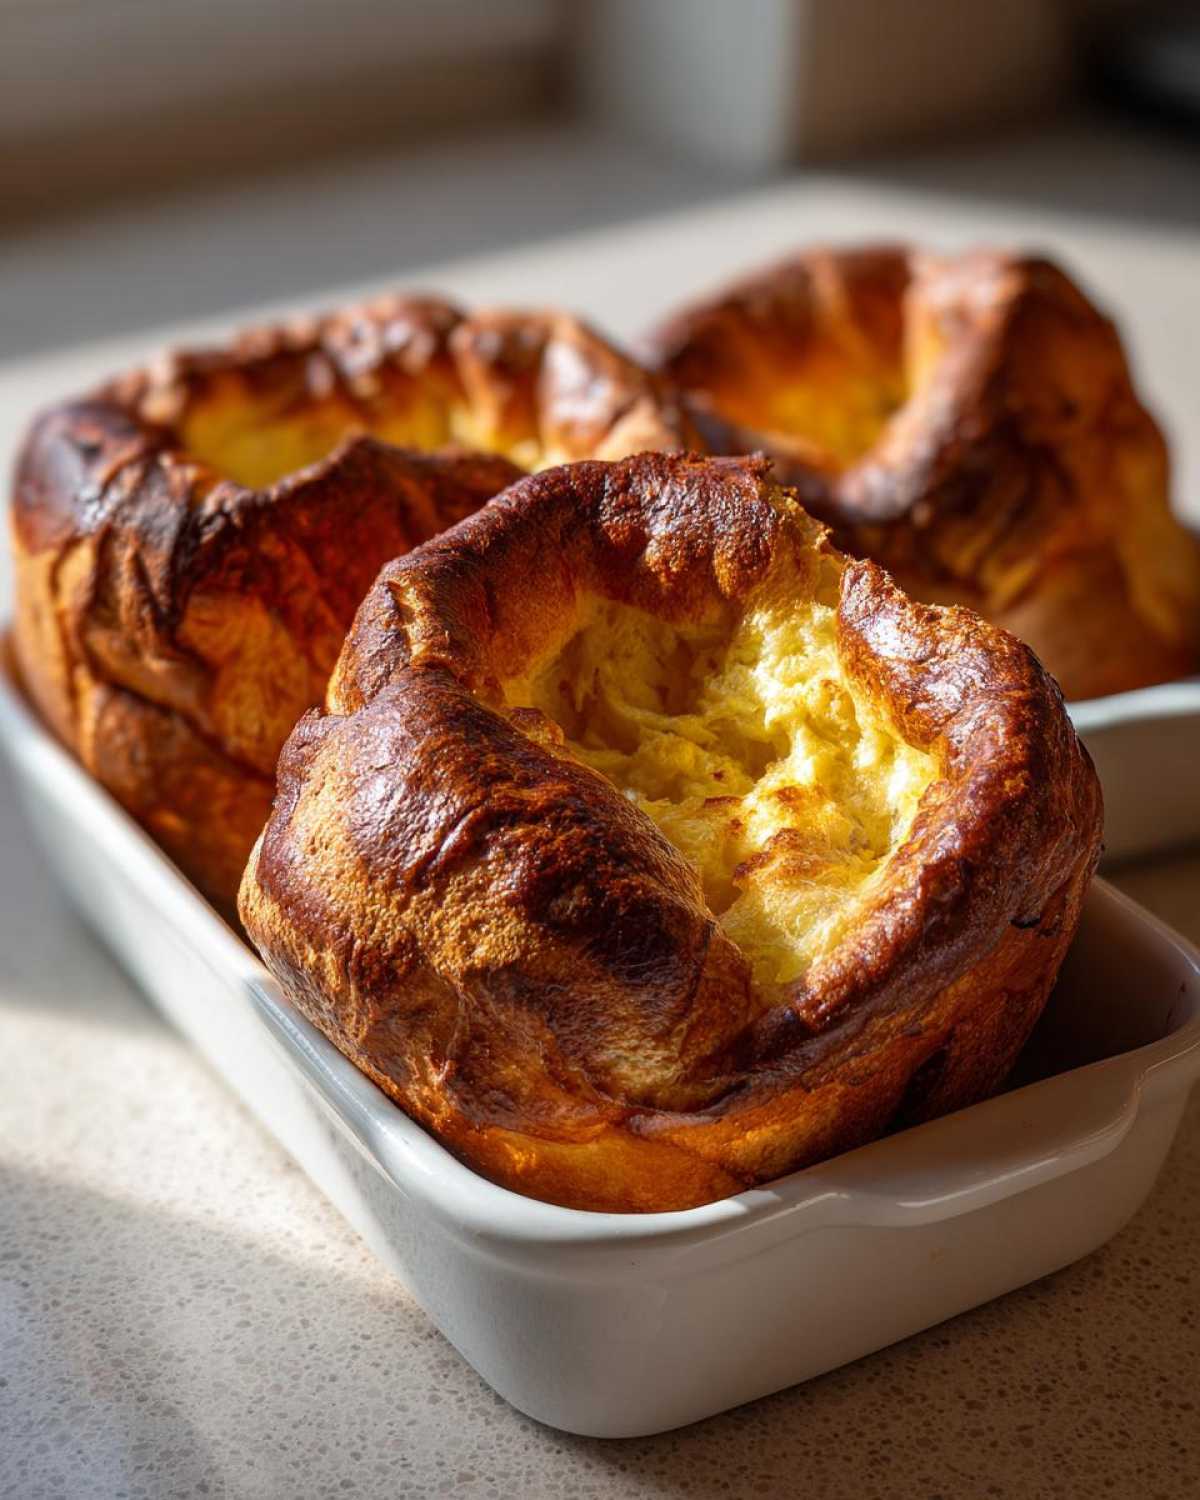
When it comes to mastering Yorkshire Pudding Tips and Tricks, I swear by the notes Leo helped me compile after my first successful batch. I remember when I finally got them to puff up perfectly—they looked like little edible hot air balloons! I yelled for Leo to stop taking photos of his gravy and look at the oven. The absolute number one rule is the heat of the fat. If that beef dripping or oil isn’t smoking hot, your puddings will only ever be flat and sad. They need that immediate, aggressive heat to start rising properly.
Another huge piece of advice is about patience once they are in the oven. You think you’ve waited long enough, but you haven’t! Do not open the oven door for at least the first 15 minutes of baking time. Opening the door drops the ambient temperature too quickly, and gravity instantly wins. They’ll collapse right before your eyes, and you’ll be left with sunken domes instead of those beautiful golden brown puddings.
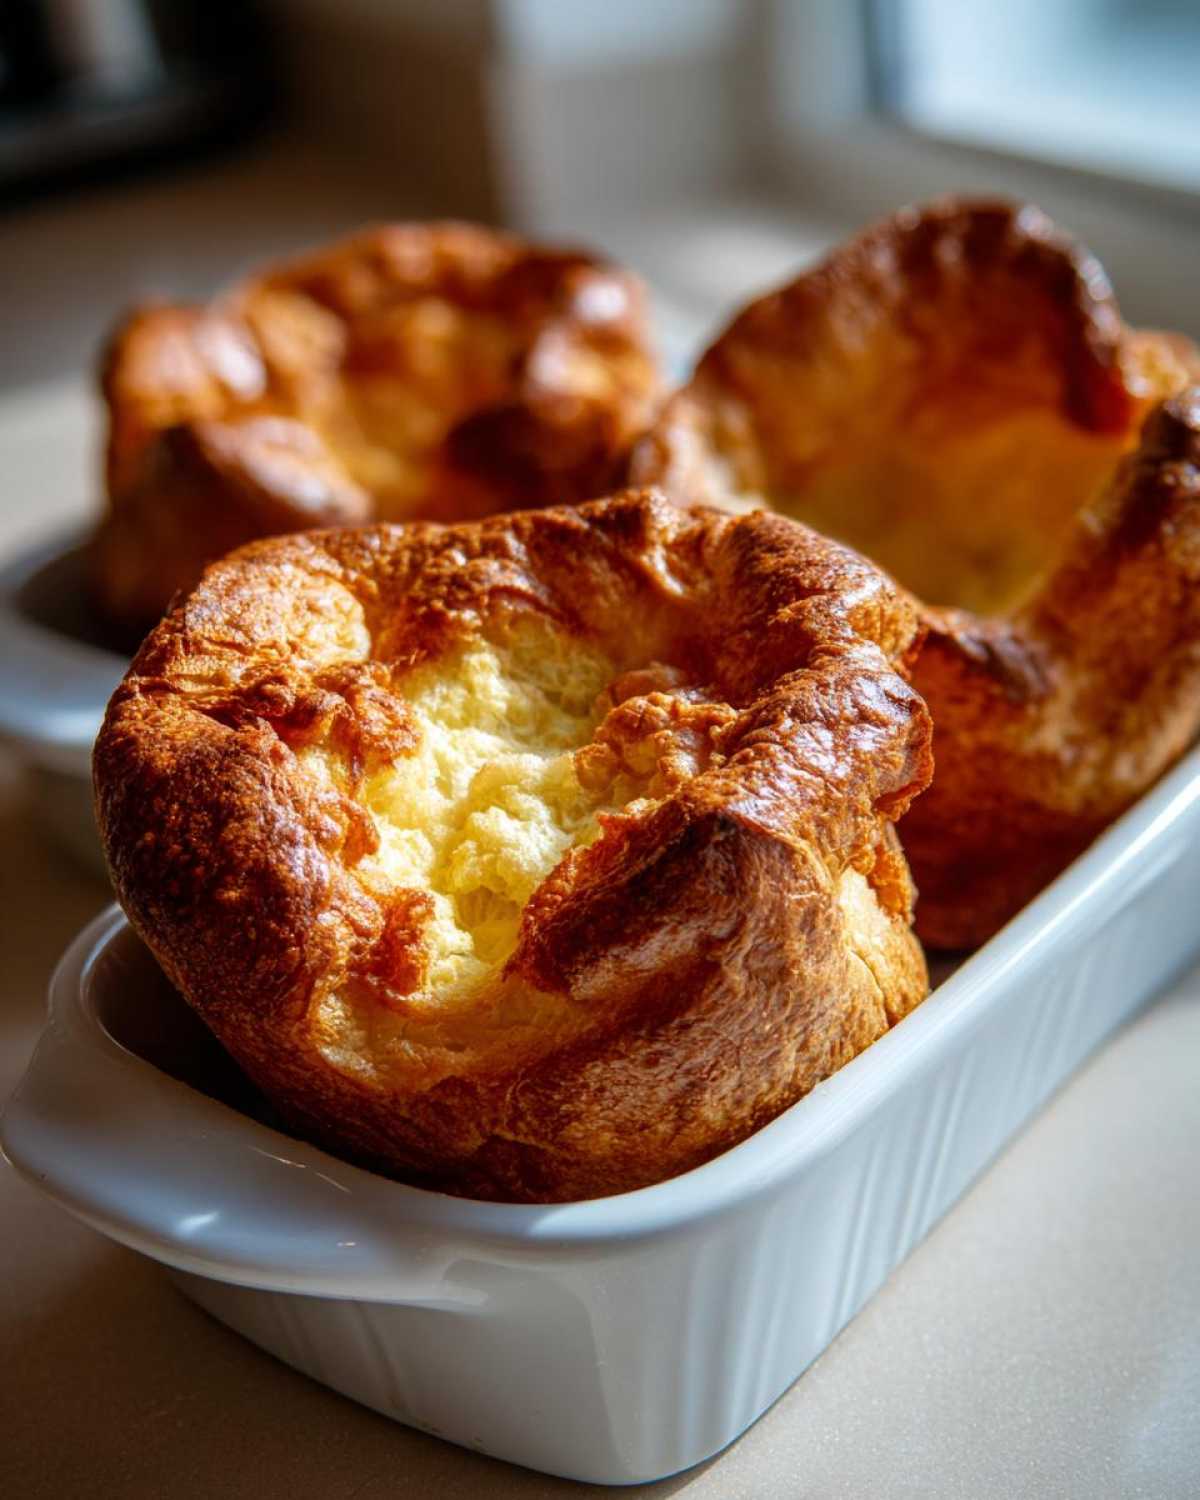
Oh, and don’t forget: individual puddings need about 20 to 25 minutes total. If you make one giant pudding instead of individual ones, it will need longer because the heat has to penetrate deep into the center. Trust me on the heat, and trust me on the resting time for the batter—that’s the real magic dust!
Serving Your Traditional British Side Dish
The ultimate joy of making perfect Yorkshire puddings is serving them! These aren’t just any baked goods; they are the quintessential traditional British side dish that absolutely demands a spot on your table, especially when you’ve got roast beef sizzling away. I like to pull mine straight from the oven and get them onto the platter immediately while they are still aggressively crisp and puffed up like little clouds—they deflate a bit, but that’s normal!
They are the finest of all roast dinner accompaniments because they are basically little edible gravy sponges. We usually serve them piled high, ready for drowning in rich beef gravy, but they are also fantastic alongside chicken or even this hearty turkey chili I love making when it’s too cold for a full roast dinner. You can check out that chili recipe here! Get them hot and serve them fast!
Variations on the Classic Yorkshire Pudding Recipe
Just because we are sticking close to tradition doesn’t mean we can’t tweak things a little for allergies or just because we bought a gigantic roasting tin! The beauty of this Easy Yorkshire Pudding Batter is that it’s incredibly adaptable. We settled on the 12-hole muffin tin because everyone gets a perfect, individual pudding, but sometimes you need one giant showstopper, right?
If you’re making one large pudding instead of Individual Yorkshire Puddings—maybe for a crowd that loves gravy splashing—just pour all the batter into a large 9×13 inch pan. Just remember, because it’s so deep, it needs a bit longer in that super-hot oven to ensure the middle cooks through properly.
Also, if you’re dealing with dietary restrictions, don’t feel left out! I actually tried the recipe using a special blend for my cousin who can’t have wheat, and it worked like a charm. You’ll want to make sure your gluten-free blend already contains xanthan gum, which is what gives it structure. You can see how easily I adapted it over on this resource. So whether you need a Gluten Free Yorkshire Pudding or just one massive one, this basic foundation handles it all beautifully.
Addressing Popular Questions About Yorkshire Puddings
It’s funny, even with the best Yorkshire Pudding Recipe right here, people still have questions! That’s totally fair—this is one of those dishes where a tiny mistake can lead to disappointment. I’ve gathered up the most common things I hear, especially from friends panicking before a big roast dinner. Let’s clear up any last-minute worries so you can focus on getting that fat smoking hot!
Are Yorkshire Puddings Expensive to Make?
Are they expensive? Gosh, no! This is one of my favorite things about mastering this Classic English Recipe. You are literally using flour, milk, and eggs, which are some of the cheapest staples in the pantry. I saw one recipe floating around that claimed to make puddings for mere pennies per batch—and they were right! They are inherently inexpensive to make, which is why I think they became such a beloved staple for the traditional Sunday roast. You get amazing flavor and volume for next to nothing. Perfect for us budget-conscious folk!
Should I Try the Gordon Ramsay Yorkshire Pudding Method?
Oh, the celebrity chef debate! Look, I admire the man’s confidence, and I’m sure Chef Ramsay’s way works well for him. But I’m going to be brutally honest: If you’re a home cook who sometimes distracts themselves with loud music while baking (guilty!), sticking to this tried-and-true method with the resting batter and the scorching fat is way safer. This recipe ensures you get towering, fluffy Yorkshire puddings without the pressure of copying a world-famous chef. My loyalty is to the reliable rise, not the famous name!
What is the best fat to use for Yorkshire Pudding?
This is where we talk flavor payoff! If you are making a proper Traditional British Side Dish to go alongside roast beef, you simply must use beef dripping. It infuses the pudding with this deep, savory richness that is just unbeatable. It’s the flavor bomb! However, if you don’t have dripping—or if you are making these for a vegetarian—high-heat vegetable oil works just fine. It still gets hot enough to achieve that massive rise, but you miss out on that quintessential, meaty depth. Either way, make sure that fat is shimmering and smoking before you pour the batter!
Storage and Reheating Instructions for Yorkshire Puddings
If you’re somehow lucky enough to have leftovers of these perfect little things—which I never do, they vanish immediately—storing them is easy enough. Just let them cool completely first, then pop them into a good airtight container. They’ll keep happily in the fridge for a couple of days. But here’s the critical part: never, ever try to reheat Yorkshire puddings in the microwave! They turn instantly sad and soggy. Instead, put them straight into a hot oven (around 375°F is fine) for about five to eight minutes. That blast of dry heat brings back the crunch beautifully so they taste almost freshly baked. You want that satisfying crackle, not a chew!
Share Your Perfect Yorkshire Pudding Success
Honestly, now that you know all my secrets—the smoking fat, the rested batter, the strict ‘no-peeking’ rule—I need you to go make these! Seriously, get yourself a pound of beef roasting this weekend and treat yourself to the best Yorkshire Pudding Recipe you’ll ever trust.
When you pull that tray out and see 12 beautiful, towering, crispy golden clouds staring back at you, you have to tell someone! We love hearing your victories. Did they puff higher than ever before? Did your family actually stop talking long enough to compliment your cooking? I want to see the evidence!
Snap a picture of your gorgeous batch of Individual Yorkshire Puddings once they’re piled high with gravy, and tag us on social media. And if you want to see what kind of beautiful chaos Leo and I are currently cooking up—or maybe see what music we’re blasting—check out our main blog page! Drop a rating below once you try them. We put so much work into making this the foolproof Yorkshire puddings guide, and knowing it works for you means the world to us!
PrintThe Perfect Foolproof Yorkshire Pudding: Crispy Outside, Fluffy Inside

You need a reliable recipe for classic British Yorkshire Puddings that puff up tall, stay crispy, and have a light, airy center. This simple method guarantees success for your next Sunday roast.
- Prep Time: 10 min
- Cook Time: 25 min
- Total Time: 35 min
- Yield: 12 individual puddings
- Category: Side Dish
- Method: Baking
- Cuisine: British
- Diet: Vegetarian
Ingredients
- 4 large eggs
- 1 cup all-purpose flour
- 1 cup whole milk
- 1/2 teaspoon salt
- 4 tablespoons beef dripping or vegetable oil (for the tin)
Instructions
- Place a 12-hole muffin tin or a large roasting tin into the oven. Add about 1 teaspoon of beef dripping or oil into each hole. Heat the oven to 450°F (230°C). You need the fat to be smoking hot.
- While the fat heats, make the batter. Whisk the eggs, flour, and salt together in a bowl until smooth. Gradually whisk in the milk until you have a thin, smooth batter, similar to thin cream. Do not overmix.
- Let the batter rest at room temperature for at least 30 minutes, or chill it in the refrigerator for up to 24 hours. Resting helps the gluten relax, leading to a better rise.
- Once the fat is smoking hot, carefully remove the tin from the oven. Work quickly.
- Pour the batter evenly into the hot fat, filling each hole about halfway. The batter should sizzle immediately when it hits the fat.
- Return the tin immediately to the hot oven. Do not open the oven door for the first 15 minutes.
- Bake for 20 to 25 minutes, or until the puddings are well risen, deep golden brown, and very crispy.
- Serve immediately with your roast dinner and gravy.
Notes
- The secret to tall Yorkshire Puddings is extremely hot fat. If the fat isn’t smoking, your puddings will not rise properly.
- For individual puddings, use a 12-hole muffin tin. For one large pudding, use a 9×13 inch roasting pan.
- If you want to make Gluten Free Yorkshire Pudding, substitute the all-purpose flour with a good quality gluten-free blend containing xanthan gum.
- If you are serving roast beef, the beef dripping adds the most authentic flavor.
Nutrition
- Serving Size: 1 pudding
- Calories: 110
- Sugar: 1
- Sodium: 150
- Fat: 6
- Saturated Fat: 2
- Unsaturated Fat: 4
- Trans Fat: 0
- Carbohydrates: 10
- Fiber: 0
- Protein: 4
- Cholesterol: 55