

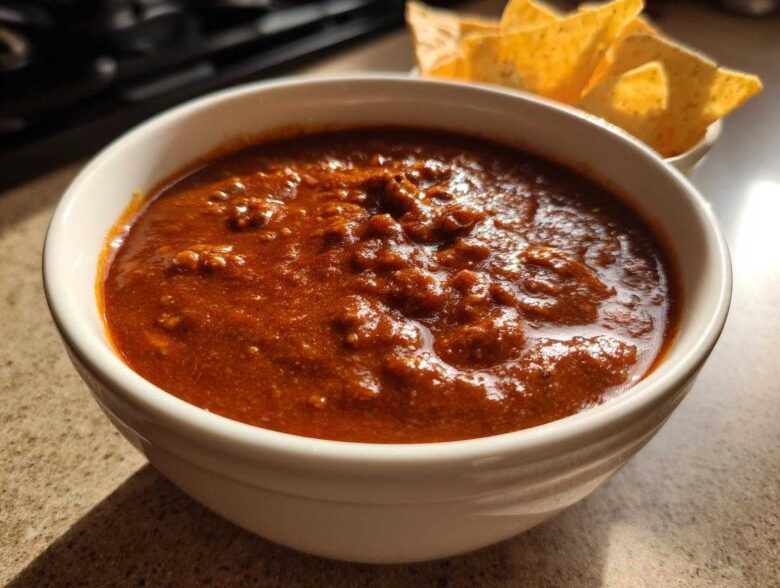
Oh my gosh, you guys, if you are hosting a party, a game day takeover, or even just have a sudden, desperate need for melty, cheesy goodness, stop whatever you are doing! I used to stress about appetizers way too much, fumbling with spices and chopping things endlessly. Then I found the holy grail of simplicity. This amazing, creamy chili cheese dip requires just three ingredients. Seriously, three! The first time I threw this together—it took me about five minutes of actual work—it vanished before the first commercial break. It’s that good, and it proves the best comfort food is sometimes the easiest!
Why This 3-Ingredient chili cheese dip is the Ultimate Easy Appetizer Recipe
When you need something fast but want it to taste homemade—not like it came straight out of a dusty corner of the pantry—this is the recipe you turn to. Forget complicated steps; this Easy Appetizer Recipe is all about maximizing flavor with minimum effort. Honestly, the best Simple Dip Recipe is the one I don’t have to think too hard about when guests are walking through the door!
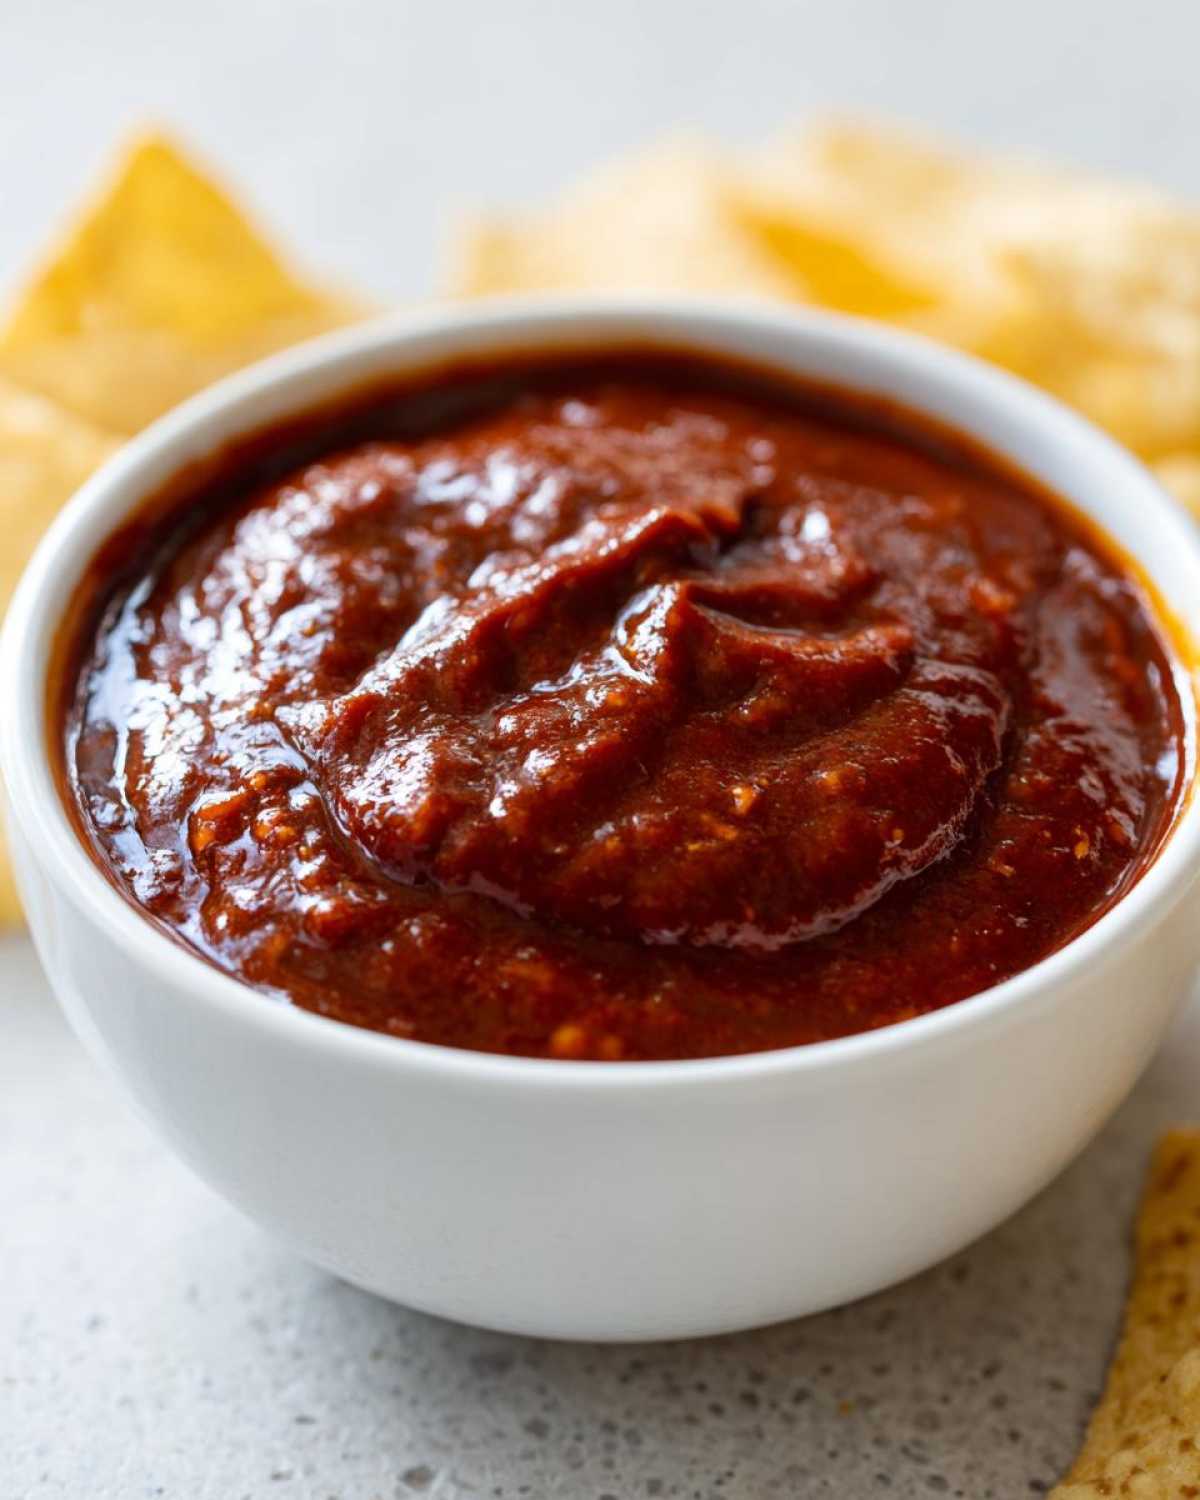
- It’s ridiculously crowd-pleasing; everyone loves melty cheese and chili.
- It’s ridiculously fast, which means less time hovering over the stove.
- It’s sturdy! Perfect for scooping up big piles of chips.
I even love that I can find ideas for serving it with robust dips like Cowboy Caviar if I want to switch things up later.
Quick Party Dip Preparation Time
This is where this recipe truly shines as a Quick Party Dip. Seriously, you only spend about five minutes actively working on it! Prep time is clocked at an unbelievably efficient five minutes. Then, whether you let it simmer on the stovetop for about 20 minutes or let the Crockpot handle it, you have tons of time to get everything else ready before the doorbell rings. It’s an appetizer miracle!
Gathering Ingredients for Your Creamy Cheese Dip chili cheese dip
Okay, let’s talk ingredients. This is the part where people look at the list and think I must be kidding them. Nope! This is truly what makes this an amazing Creamy Cheese Dip. No fancy block of shredded cheese required here—thank goodness!
You only need three things, and I need you to be specific about the quantities so your Homemade Chili Dip melts perfectly:
- One (10.75 ounce) can of condensed cream of mushroom soup, and don’t even think about trying to thin it out! Keep it undiluted.
- One (15 ounce) can of chili—but listen closely—it has to be chili *with no beans*. We want pure meat and sauce for maximum cheesiness!
- One (8 ounce) package of cream cheese. Make sure this is softened to room temperature before you start mixing, or you’ll be stirring forever!
That’s it. That’s the whole list for this delicious dip that works great as a Simple Dip Recipe.
Ingredient Notes and Simple Dip Recipe Swaps
Now, I do have a couple of little tricks up my sleeve based on what I keep in my pantry. If you’re making this for a crew that likes a little kick—like for those big Game Day Snacks—go ahead and grab the hot chili instead of the regular stuff. A dash of liquid smoke or your favorite hot sauce works wonders too, especially if you want to bump up the flavor profile without adding anything extra to the three-ingredient structure.
My favorite swap, though? If you aren’t a huge mushroom fan, but you want even MORE cheese factor, swap out that can of cream of mushroom soup for a can of cream of cheddar soup instead. It is phenomenal and just pushes that cheesy comfort food vibe over the top. But honestly, even the mushroom soup adds a subtle savoriness that I adore!
How to Make the Best Stovetop chili cheese dip
We are going straight to the stovetop for the fastest result! This is how I make my famous (and ridiculously easy) chili cheese dip when I need it ready in under half an hour. Grab a medium saucepan—nothing too deep, just wide enough to stir easily. Toss in your undiluted cream of mushroom soup, that can of no-bean chili, and your softened brick of cream cheese.
Now, here’s the absolute must-know instruction to keep this dip smooth: Stir constantly over medium-low heat. You need to keep things moving so that cream cheese melts evenly and doesn’t scorch on the bottom. The most important warning I can give you is this: DO NOT LET IT BOIL! If it boils, the texture starts to break, and it gets kind of grainy instead of that perfect, silky smoothness you want. Once it’s all melted together and piping hot, take it right off the heat. You’ve done it!
If you want to check out another fantastic skillet appetizer, you should definitely look up my recipe for S’mores Skillet Dip sometime—it’s wildly different but just as fun to make!
Crockpot Dip Method for Hands-Off chili cheese dip
Look, I love my stovetop method, but sometimes I don’t even want to stand there stirring for 20 minutes, you know? That’s why having a Crockpot Dip option for this chili cheese dip is a genuine lifesaver, especially when you’re hosting a huge group or watching the big game. This is where you can truly step away and focus on, well, anything else!
The process couldn’t be easier. Just toss those same three ingredients—the undiluted soup, the no-bean chili, and the softened cream cheese—right into your slow cooker insert. There’s zero prep needed other than softening that cheese first.
Set your slow cooker to LOW and let it hang out for about two hours. That low, slow heat is wonderful for getting everything integrated without scorching. You do need to remember to stir it every 30 minutes or so just to help that cream cheese break down completely and incorporate smoothly. By the end of those two hours, you’ll have the silkiest, warmest dip imaginable. It stays perfect for serving, too! If you leave it on the ‘Warm’ setting, it’ll be ready whenever folks start grabbing chips. If you need inspiration for another great slow cooker recipe, check out my recipe for Slow Cooker Buffalo Chicken Dip!
Tips for Success with Your Homemade Chili Dip
Honestly, making the dip is the easy part—the real success comes in keeping it perfect while people are sampling it! Even though this chili cheese dip is super hearty, it can sometimes get a little stiff if it sits too long, especially if you’re using the stovetop method and trying to keep it hot over a very low, direct flame.
The secret, and this is a huge one for consistency, is having a little bit of liquid nearby for touch-ups. If you notice it starts looking really thick, almost like a paste rather than a pourable dipping sauce, don’t panic! Grab either milk or water—start with just one tablespoon. Stir that milk or water in really well over low heat. You’ll be amazed how quickly it loosens up without watering down that gorgeous cheesy flavor.
Also, remember how I said not to boil it on the stove? That rule applies when reheating too! If you’ve refrigerated leftovers, never just blast it in the microwave. It gets patchy and can seize up. Instead, put it back in that saucepan over medium-low heat, stirring often until it melts back into a smooth consistency. If you’re feeling adventurous later, you can always turn this into a fun Campfire Queso Dip idea by serving it right in a Dutch oven!
My final pro tip for any party dip is presentation! Use a nice, heavy serving bowl—ceramic works best because it holds heat well. If you’re using the slow cooker, make sure you transfer it to the ‘Keep Warm’ setting right away. Keeping the heat consistent is the easiest way to ensure every single scoop of this Homemade Chili Dip is as gloriously melty as the first!
Serving Suggestions for this Cheesy Comfort Food chili cheese dip
We’ve made the perfect, gloriously melty chili cheese dip, and now comes the fun part: deciding what to dip into this wonderful Cheesy Comfort Food! Since this recipe is so rich and deeply flavored, it really shines when paired with something crunchy or sturdy enough to handle a big scoop. Don’t shy away from loading up your dipper!
For the true game-day experience, plain, sturdy tortilla chips are always the MVP. I like the scoops because they physically hold more dip, which is crucial when you realize how fast this is going to disappear. Cracker fans, you can’t go wrong with robust crackers—the buttery ones really complement the savory chili notes.
If you need to lighten things up a tiny bit, veggie sticks are wonderful! Carrots, celery, and thick slices of cucumber are great for scooping. But here’s where I get really festive during football season: turn it into a fully loaded snack situation! You can drizzle a little of this warm dip over a platter of chips and load everything with toppings—think jalapeños, sour cream, green onions, and maybe some crumbled salty bacon. If you want to go all out, check out my recipe for Loaded Sheet Pan Nachos for inspiration on layering!
This dip is truly an ideal candidate for Appetizers for a Crowd because it’s so easily scalable and keeps warm so well. Whether it’s three people watching TV or thirty people for the holidays, nobody ever turns down a bowl of this amazing dip. Just make sure you have a dedicated spot set aside for it so you can keep it nice and warm!
Storage & Reheating Instructions for Leftover chili cheese dip
Now, if your party went really well, you might end up with some leftover chili cheese dip. Which, honestly, is the best kind of problem to have because that next-day dip is fantastic! Since this recipe relies on that lovely melty cream cheese base, we need to treat the leftovers right so they don’t turn into a solid brick of sadness in the fridge.
First thing’s first: Get it cooled down and stored quickly! Transfer any remaining dip into a sturdy, airtight container. If you leave it sitting out much longer than an hour or two after the party is over, you risk food safety issues, and nobody wants that. Once sealed tightly, it should happily hang out in the refrigerator for about four days. It solidifies quite a bit in there, so be prepared for that!
When you are ready to enjoy your second-day dip, the reheating process matters! I am going to stress this again because I learned the hard way: Don’t even try the microwave for the whole batch. It gets super hot in spots and stays cold in others, and the texture gets weirdly rubbery. If you are just eating a small bowl, the microwave is okay, provided you only heat it in 30-second bursts and stir thoroughly between each burst.
For the best result, always treat this like you are making it fresh. Transfer the chilled dip back into your saucepan. Turn the heat to medium-low. Just like before, stir constantly! As it starts to warm up, you will likely need to add a splash of liquid back in to get that perfect, saucy consistency—a tablespoon of milk or even just water does the trick here. Stir until it’s smooth, hot, and ready for dipping again. That’s how you keep this amazing chili cheese dip tasting great for days!
Frequently Asked Questions About This Simple Dip Recipe
When you are making something this easy, sometimes the questions pop up about small variations. People always write in asking about the beans or how to best manage logistics for big events. Don’t stress! I’ve answered the most common things I hear about making this dip perfect every single time.
Can I use a different type of chili in this recipe?
Yes, absolutely! But you have to be intentional about what you use. I always specify no-bean chili because the texture is everything in this recipe—we want velvet, not chunky bits of kidney bean fighting the cream cheese. If you only have chili with beans on hand, you can certainly use it, but I highly recommend draining off as much of the liquid as possible first. Alternatively, if you want a serious kick that goes beyond basic spice, use a bowl of hot chili or even turkey chili if you prefer lighter meat. The point is that the chili flavor carries the whole dip!
Is this recipe suitable for Tailgating Food Ideas?
Oh my gosh, yes! This is practically invented for Tailgating Food Ideas. It’s sturdy, it travels well, and frankly, it’s so simple you can make it the night before and just keep it warm. For tailgating, I strongly, strongly recommend using the Crockpot method we talked about earlier. You can plug that little slow cooker right into your truck’s inverter or use a warming tray if you’re allowed shore power. It stays perfectly hot and ready for dipping the entire pre-game, and honestly, it’s better than anything you’ll find at the vendor stands!
If you don’t have a slow cooker, you can assemble the ingredients cold the night before, keep them refrigerated overnight, and then just cook it right before you head out. But the best way to keep it warm on-site is definitely the slow cooker. If you’re looking for other great ways to feed a crowd on the road, check out my guide to Creamy Taco Pasta Skillet—it travels just as well!
Nutritional Estimates for This Warm Dip Recipe
Now, I know we are making this amazing, indulgent chili cheese dip for flavor and fun, not for counting macros, but I always get asked about the details! It’s important to remember that since we are making this with pantry staples like canned soup and chili, the numbers can jump around depending on the brands you buy. So, please treat this information as a general guideline rather than gospel.
These estimates are based on a standard serving size of about half a cup when dividing the recipe yield by six servings. It’s quite rich, as you can imagine, but that’s what makes it such great Cheesy Comfort Food!
- Serving Size: 1/2 cup
- Calories: Roughly 250 per serving
- Total Fat: About 20 grams (Watch that saturated fat, it’s high!)
- Protein: A solid 10 grams, thanks to that cream cheese and chili!
- Carbohydrates: Low, around 8 grams
- Sugar: About 5 grams
- Sodium: High, around 650 mg (canned goods are salty, just a heads up!)
I always recommend tasting your chili before mixing it in if you’re concerned about sodium; swapping low-sodium products where possible can help cut that number down significantly. If you love soup-based cheesy dips, you really should try my Broccoli Cheddar Soup Recipe next—it’s another stunner!
Share Your Game Day Snacks Experience
Okay, now that you’ve made the easiest, creamiest dip known to mankind, I absolutely have to hear about it! Seriously, this is my favorite part of sharing recipes. I want to know what you dipped into it! Were you serving this amazing chili cheese dip alongside the big college game? Did you use sturdy tortilla chips, or did you go healthier with celery sticks?
When you try this out, please come back and tell me! Drop a rating right below this section—give it anywhere from one to five stars so I know how epic your batch turned out. And if you experimented, PLEASE leave a comment detailing your variation. Did you add smoked paprika? Did you use ground turkey instead of beef in your chili base? I love seeing how you adapt my simple recipes for your own needs.
If you snapped a photo of your cheesy spread, tag me on social media! Seeing my recipes out in the wild, especially as part of someone’s perfect spread of Game Day Snacks, truly makes my day. It’s all about sharing the simple deliciousness, right? I’m always looking for new ways to improve my process, so head over to the About Us page if you want to learn more about how this site came to be!
Storage & Reheating Instructions for Leftover chili cheese dip
Now, if your party went really well, you might end up with some leftover chili cheese dip. Which, honestly, is the best kind of problem to have because that next-day dip is fantastic! Since this recipe relies on that lovely melty cream cheese base, we need to treat the leftovers right so they don’t turn into a solid brick of sadness in the fridge.
First thing’s first: Get it cooled down and stored quickly! Transfer any remaining dip into a sturdy, airtight container. If you leave it sitting out much longer than an hour or two after the party is over, you risk food safety issues, and nobody wants that. Once sealed tightly, it should happily hang out in the refrigerator for about four days. It solidifies quite a bit in there, so be prepared for that!
When you are ready to enjoy your second-day dip, the reheating process matters! I am going to stress this again because I learned the hard way: Don’t even try the microwave for the whole batch. It gets super hot in spots and stays cold in others, and the texture gets weirdly rubbery. If you are just eating a small bowl, the microwave is okay, provided you only heat it in 30-second bursts and stir thoroughly between each burst.
For the best result, always treat this like you are making it fresh. Transfer the chilled dip back into your saucepan. Turn the heat to medium-low. Just like before, stir constantly! As it starts to warm up, you will likely need to add a splash of liquid back in to get that perfect, saucy consistency—a tablespoon of milk or even just water does the trick here. Stir until it’s smooth, hot, and ready for dipping again. That’s how you keep this amazing chili cheese dip tasting great for days!
Frequently Asked Questions About This Simple Dip Recipe
When you are making something this easy, sometimes the questions pop up about small variations. People always write in asking about the beans or how to best manage logistics for big events. Don’t stress! I’ve answered the most common things I hear about making this dip perfect every single time.
Can I use a different type of chili in this recipe?
Yes, absolutely! But you have to be intentional about what you use. I always specify no-bean chili because the texture is everything in this recipe—we want velvet, not chunky bits of kidney bean fighting the cream cheese. If you only have chili with beans on hand, you can certainly use it, but I highly recommend draining off as much of the liquid as possible first. Alternatively, if you want a serious kick that goes beyond basic spice, use a bowl of hot chili or even turkey chili if you prefer lighter meat. The point is that the chili flavor carries the whole dip!
Is this recipe suitable for Tailgating Food Ideas?
Oh my gosh, yes! This is practically invented for Tailgating Food Ideas. It’s sturdy, it travels well, and frankly, it’s so simple you can make it the night before and just keep it warm. For tailgating, I strongly, strongly recommend using the Crockpot method we talked about earlier. You can plug that little slow cooker right into your truck’s inverter or use a warming tray if you’re allowed shore power. It stays perfectly hot and ready for dipping the entire pre-game, and honestly, it’s better than anything you’ll find at the vendor stands!
If you don’t have a slow cooker, you can assemble the ingredients cold the night before, keep them refrigerated overnight, and then just cook it right before you head out. But the best way to keep it warm on-site is definitely the slow cooker. If you’re looking for other great ways to feed a crowd on the road, check out my guide to Creamy Taco Pasta Skillet—it travels just as well!
Nutritional Estimates for This Warm Dip Recipe
Now, I know we are making this amazing, indulgent chili cheese dip for flavor and fun, not for counting macros, but I always get asked about the details! It’s important to remember that since we are making this with pantry staples like canned soup and chili, the numbers can jump around depending on the brands you buy. So, please treat this information as a general guideline rather than gospel.
These estimates are based on a standard serving size of about half a cup when dividing the recipe yield by six servings. It’s quite rich, as you can imagine, but that’s what makes it such great Cheesy Comfort Food!
- Serving Size: 1/2 cup
- Calories: Roughly 250 per serving
- Total Fat: About 20 grams (Watch that saturated fat, it’s high!)
- Protein: A solid 10 grams, thanks to that cream cheese and chili!
- Carbohydrates: Low, around 8 grams
- Sugar: About 5 grams
- Sodium: High, around 650 mg (canned goods are salty, just a heads up!)
I always recommend tasting your chili before mixing it in if you’re concerned about sodium; swapping low-sodium products where possible can help cut that number down significantly. If you love soup-based cheesy dips, you really should try my Broccoli Cheddar Soup Recipe next—it’s another stunner!
Share Your Game Day Snacks Experience
Okay, now that you’ve made the easiest, creamiest dip known to mankind, I absolutely have to hear about it! Seriously, this is my favorite part of sharing recipes. I want to know what you dipped into it! Were you serving this amazing chili cheese dip alongside the big college game? Did you use sturdy tortilla chips, or did you go healthier with celery sticks?
When you try this out, please come back and tell me! Drop a rating right below this section—give it anywhere from one to five stars so I know how epic your batch turned out. And if you experimented, PLEASE leave a comment detailing your variation. Did you add smoked paprika? Did you use ground turkey instead of beef in your chili base? I love seeing how you adapt my simple recipes for your own needs.
If you snapped a photo of your cheesy spread, tag me on social media! Seeing my recipes out in the wild, especially as part of someone’s perfect spread of Game Day Snacks, truly makes my day. It’s all about sharing the simple deliciousness, right? I’m always looking for new ways to improve my process, so head over to the About Us page if you want to learn more about how this site came to be!
PrintEasy 3-Ingredient Creamy Chili Cheese Dip

Make this simple, creamy chili cheese dip using only three ingredients. It is perfect for game days, parties, or any gathering.
- Prep Time: 5 min
- Cook Time: 20 min
- Total Time: 25 min
- Yield: 6 servings
- Category: Appetizer
- Method: Stovetop
- Cuisine: American
- Diet: Vegetarian
Ingredients
- 1 (10.75 ounce) can condensed cream of mushroom soup, undiluted
- 1 (15 ounce) can chili, no beans
- 1 (8 ounce) package cream cheese, softened
Instructions
- Combine the cream of mushroom soup, chili, and cream cheese in a medium saucepan.
- Heat over medium-low heat, stirring constantly until the cream cheese is fully melted and the mixture is smooth and hot. Do not boil.
- Alternatively, place all ingredients in a slow cooker. Cook on low for 2 hours, stirring occasionally until smooth.
- Serve warm with tortilla chips, crackers, or vegetables.
Notes
- For a spicier dip, use hot chili or add a dash of hot sauce.
- If the dip thickens too much while serving, stir in a tablespoon of milk or water to reach your desired consistency.
- You can substitute cream of cheddar soup for cream of mushroom soup for a stronger cheese flavor.
Nutrition
- Serving Size: 1/2 cup
- Calories: 250
- Sugar: 5
- Sodium: 650
- Fat: 20
- Saturated Fat: 12
- Unsaturated Fat: 8
- Trans Fat: 0.5
- Carbohydrates: 8
- Fiber: 1
- Protein: 10
- Cholesterol: 55