

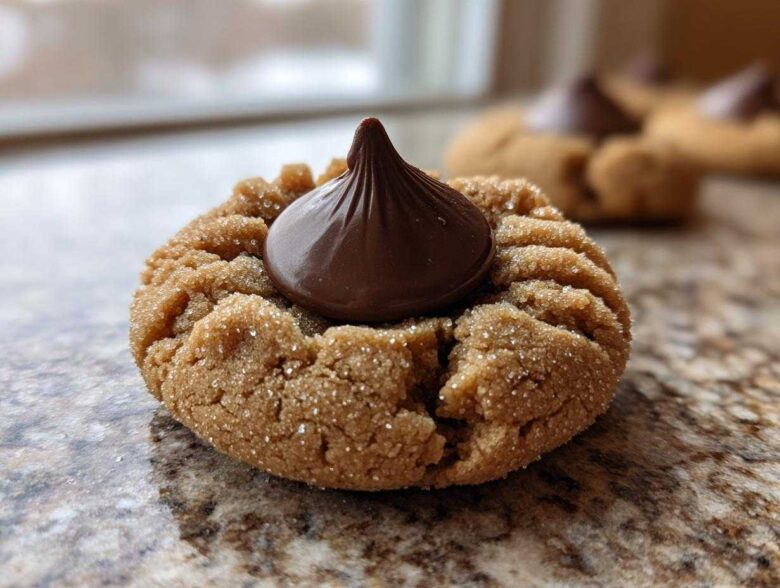
Oh my goodness, when that first chill hits the air, my thoughts immediately jump to the cookie tins we used to fill every December. There’s nothing that screams ‘home for the holidays’ quite like a perfect, slightly cracked peanut butter cookie topped with that shiny chocolate surprise, right? I’ve been messing with this recipe for what feels like forever—maybe since I was tall enough to reach the counter—to nail down the absolute greatest version of the Peanut Butter Blossom. And trust me, I have cracked the code.
This isn’t just some standard recipe; this is the guarantee of the Best Classic Soft and Chewy Peanut Butter Blossoms you’ll ever taste. Forget those dry, crumbly versions! I want texture, that satisfying chew, and a peanut butter flavor that truly shines through. I think you’ll love how simple these are, too. They come together so fast, which is perfect because you know you’re making about a dozen batches once you taste the first one!
If you want to know a little more about the crew behind this wonderful site, you can always sneak a peek over at the About Us page. But first, let’s get these cookies mixed!
Why This Peanut Butter Blossom Recipe Stands Above the Rest (Soft Chewy Cookies)
I’m telling you, cookie fatigue is real, especially during the holidays when you start baking everything in sight! What makes my Peanut Butter Blossom recipe the one you need in your life is that it solves the biggest problem: getting that perfect balance. We aren’t aiming for delicate shortbread here; we want cookies that hold up to a frantic holiday schedule.
These are truly some of the best Soft Chewy Cookies you will ever make. They stay that way, too! This is my go-to for Easy Christmas Baking because even if they sit out for a bit while you’re wrestling the tree or wrapping gifts, they don’t turn into little rocks.
Achieving the Perfect Soft Peanut Butter Blossom Texture
The secret to that heavenly chewiness is all in the sugar ratio. We use way more dark brown sugar than granulated sugar. That molasses content locks in moisture, plain and simple! We also start by creaming that butter and sugar really well until it’s light. This whips air in, which keeps the cookie from getting overly hard when it bakes up. It’s science, but delicious science!
The Classic Holiday Appeal of Peanut Butter Blossom
There’s just something timeless about a peanut butter cookie topped with a little piece of chocolate. This is firmly in the Classic Holiday Cookies category for a reason! It’s an iconic look, and it’s such a crowd-pleaser. It transitions perfectly from an after-school snack to a required Family Favorite Dessert at any big gathering. Honestly, what’s the point of holiday baking if you don’t include a classic like this?
If you want to check out how I handle the crust on another holiday favorite, take a peek at my lattice crust tutorial—the patience required for pastry is similar to nailing the perfect cookie texture!
Essential Ingredients for Perfect Peanut Butter Blossom Cookies
Okay, let’s talk ingredients for a second because these Peanut Butter Blossom cookies are surprisingly simple, but quality really matters here if you want that melt-in-your-mouth, classic flavor profile. We aren’t using a million things, so the few items we do use need to be spot on! This list is what ensures you get the ultimate Peanut Butter Dessert experience.
You absolutely need:
- 1 cup unsalted butter, softened (and I mean properly softened, not melted!)
- 1 cup granulated sugar
- 1 cup packed brown sugar—don’t skimp on packing this one tight!
- 2 large eggs
- 1 teaspoon vanilla extract
- 1 cup creamy peanut butter
- 2 1/2 cups all-purpose flour
- 1 teaspoon baking soda
- 1/2 teaspoon baking powder
- 1/2 teaspoon salt
- 1/4 cup extra granulated sugar just for rolling
- About 1 bag of Hershey’s Kisses, unwrapped (yes, the standard milk chocolate ones!)
If you’re looking to ramp up the healthy factor elsewhere in your week, check out my notes on classic protein muffins, but for this recipe, stick to the classics!
Ingredient Notes and Substitution Tips for Your Peanut Butter Blossom
First things first: the peanut butter. I insist on creamy here, folks. Crunchy is fine if you absolutely must, but creamy blends into the batter better, which supports the soft texture we are aiming for. Also, your butter and eggs must be at room temperature. If they are cold, the creaming step will fail, and your cookies will be heavy. Seriously, take them out an hour before you plan to hit that mixer switch!
And about those chocolate kisses? You really need the real deal Hershey’s Kiss for that classic look and signature melt. They are engineered to soften perfectly right when the cookie comes out of the oven. Other generics just don’t have that same magic, in my humble opinion!
Step-by-Step Instructions for Making Classic Peanut Butter Blossom
Time to get our hands dirty! This is where the magic really happens, and I promise, it moves fast once you get going. First things first: turn that oven on! We need it roaring hot at 375 degrees Fahrenheit. Get your baking sheets lined with parchment paper, too; it saves cleanup time later, which means more time eating cookies.
We begin by creaming the butter, the full cup of white sugar, and all that glorious brown sugar until it’s fluffy and light—don’t rush this part! Then, we beat in those two eggs one at a time. Once those are mixed in nicely, toss in your peanut butter and that teaspoon of vanilla. Mix until it all looks like one happy, creamy mess.
In a separate bowl—this keeps things tidy—whisk together your flour, baking soda, baking powder, and the salt. Now, the crucial part: slowly add the dry stuff to the wet stuff. And I mean *slowly*. Don’t dump it all in! Mix on low speed until you see it just barely come together. If you overmix the flour, you’ll deflate all that lovely air we just whipped in, and bye-bye chewiness!
Preparing the Dough and Rolling the Peanut Butter Blossom Balls
Once your dough is just combined, it’s time for the sugar coating! Pour that remaining 1/4 cup of granulated sugar into a shallow dish. Take about a one-inch scoop of dough and roll it gently between your palms into a perfect little marble. Then, roll that ball in the sugar until it’s lightly coated all over. That sugar coating gives the finished Peanut Butter Blossom those fantastic cracks around the edge. Give them space, about two inches apart, on your parchment-lined sheets.
Baking and Adding the Chocolate Kiss to Your Peanut Butter Blossom
Bake these babies at 375 degrees for only 8 to 10 minutes. This timing is everything. You are looking for the edges to look just set and barely starting to turn golden, but the center should still look a little soft. If they look fully done, they’re already overdone for this recipe!
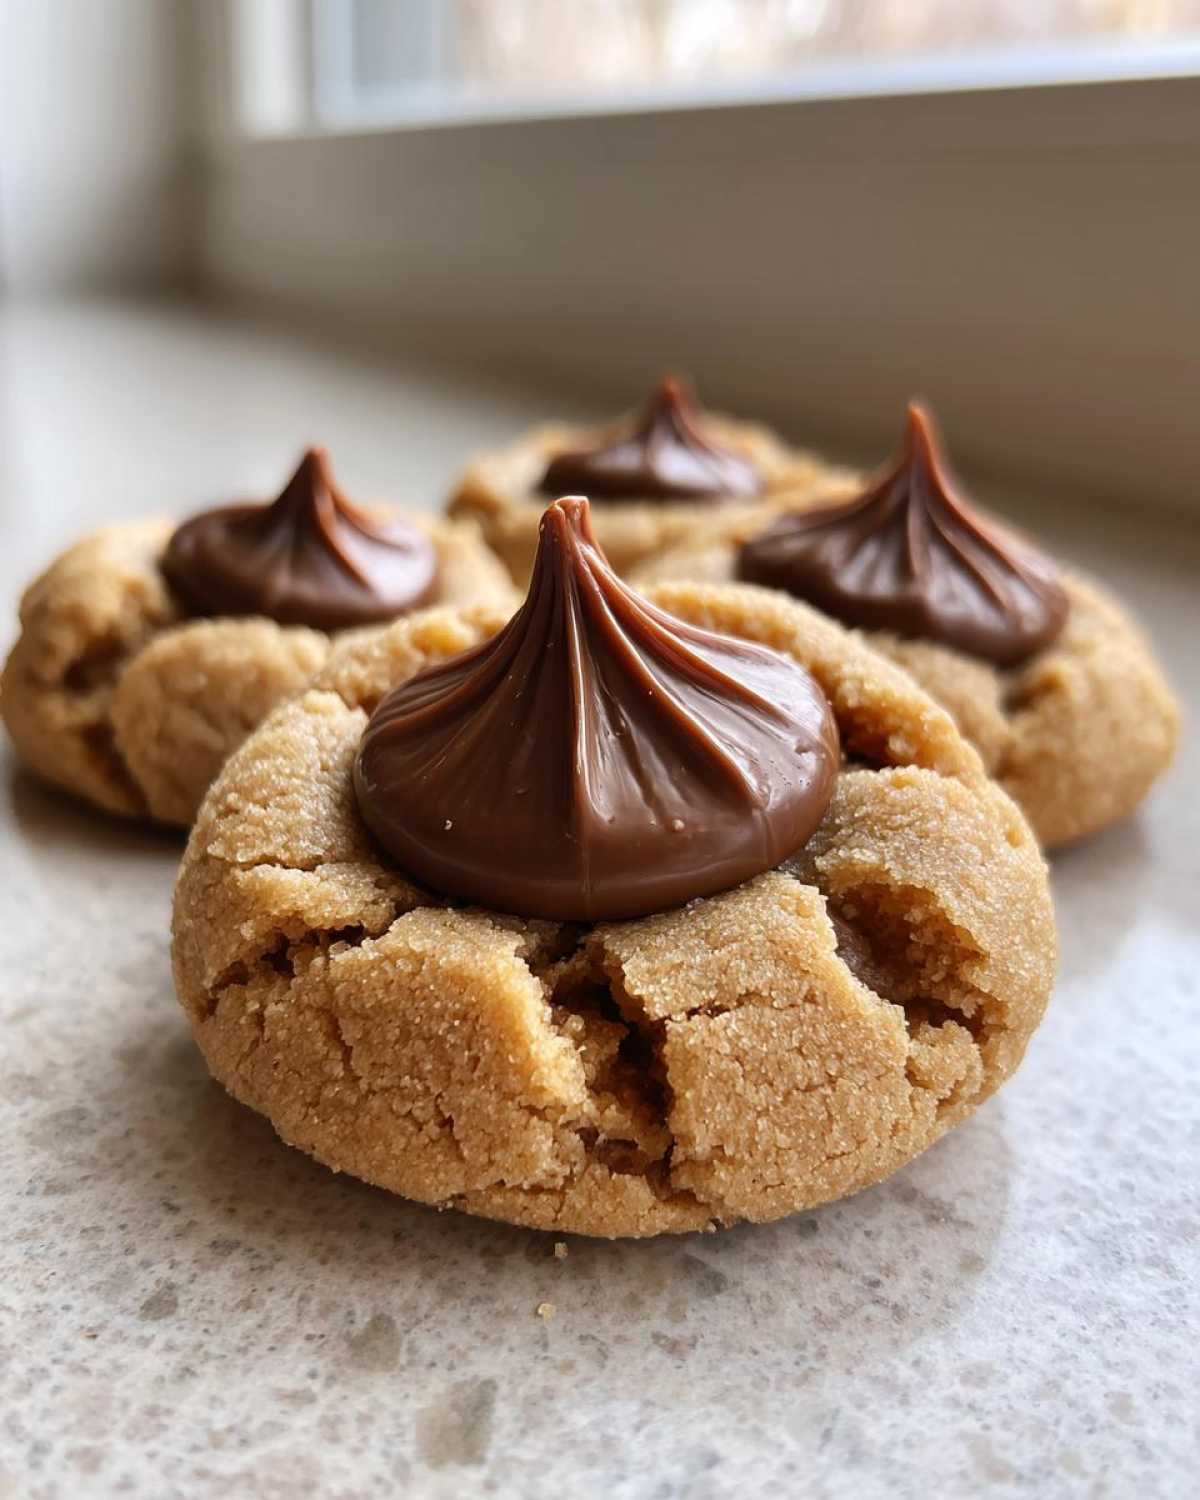
As soon as you pull them out of the oven—and I mean right that second—gently press one unwrapped Hershey’s Kiss right into the center of each warm cookie. The residual heat from the cookie does the work of melting the chocolate slightly so it adheres perfectly. If they are too hot, the Kiss might melt into soup, so watch that timing! Let them sit right on that hot pan for five minutes before carefully moving these precious Homemade Kisses Cookies to a wire rack to cool down completely. For more great tips on easy baking, you can look over my guide to no-bake chocolate oatmeal cookies!
Tips for Success with Your Homemade Kisses Cookies
Now that you’ve mixed, baked, and dressed your beautiful Peanut Butter Blossom cookies, let me share a couple of crucial tips I learned over the years about making sure these Homemade Kisses Cookies are perfect, every single time. We want maximum chew and minimal melting disaster!
Baking time is your biggest lever here. Seriously, do not overbake them! If you see those edges turning dark brown, you’ve gone too far, and they won’t be soft anymore. Pull them when they still look a little soft in the very center—that residual heat handles the rest of the cooking.
If you happen to melt the chocolate a bit too much, don’t panic! Just wait about five minutes after they come out of the oven before you press in the Kiss. That slight cooling time really helps the cookie stabilize while still warming the chocolate enough. If you are interested in switching up the spice profile in the future, I have a whole post on chai-spiced oatmeal cookies you might enjoy for inspiration!
Storage and Make Ahead Tips for Your Peanut Butter Blossom
The best part about Peanut Butter Blossom cookies? They are fantastic for making ahead! Since the holidays get absolutely crazy, planning ahead for those large dessert spreads or parties is a total lifesaver. These cookies are so sturdy, they qualify as some of the best Make Ahead Christmas Cookies you can whip up.
You have two great options here. First, for the baked cookies: keep them in a really good, airtight container at room temperature. Do not put them in the fridge! That cold air will suck the moisture right out of them, and we worked so hard for that soft texture. Stored correctly, they stay great for a solid week, though, let’s be real, they never last that long in my house.
My real secret weapon, though, is freezing the dough balls. Roll them into balls, coat them in the required sugar, and then arrange them on a baking sheet to freeze solid—you can put the sheet right in the freezer. Once they’re rock hard, toss those frozen balls into a heavy-duty freezer bag. You can freeze them for up to three months!
When you suddenly realize you need a HUGE batch for an impromptu gathering, just pull them out and bake them straight from frozen. You might need to add about 2 or 3 extra minutes to the baking time, but that’s it! You get fresh-baked wonderfulness without the hassle of mixing on baking day. If you’re looking for another quick make-ahead treat, peep my recipe for apple cider donut muffins—they freeze beautifully too!
Variations on the Classic Peanut Butter Blossom
While the classic recipe using creamy peanut butter and milk chocolate Kisses is pure perfection, sometimes a cook just needs to tinker a little! These variations keep that essential soft cookie base intact but give you a little extra flavor kick. It’s still a super Simple Cookie Recipe, I promise.
You can try swapping out the peanut butter for almond butter or sunflower seed butter if you’re looking for a different nutty note. My favorite small adjustment for a grown-up crowd is sprinkling flaky sea salt right on top of the chocolate Kiss after you press it in. It really amps up the Chocolate Peanut Butter Cookies flavor profile!
If you’re curious about how peanut butter fares when baked into muffins, don’t forget to check out my slightly healthier take on peanut butter protein muffins for another day!
Frequently Asked Questions About Peanut Butter Blossom
You’re probably getting ready to whip up a batch of these incredible Peanut Butter Blossom cookies, but maybe you have a little question hiding in the back of your mind. That’s totally normal! Even with a Simple Cookie Recipe, sometimes the timing throws people off. Here are the things I get asked most often about getting these Chocolate Peanut Butter Cookies just right.
Can I use crunchy peanut butter in this peanut butter blossom recipe?
You totally can! If you love that extra texture in your cookie—and who doesn’t love a good crunch now and then—go for it. Just know that replacing the creamy peanut butter with crunchy will change the final texture of the cookie slightly. The classic, soft, chewy cookie relies on the smooth peanut butter blending seamlessly into the dough. Crunchy will give you a slightly more rustic, textured bite, but they will still be delicious!
How do I stop the chocolate kiss from melting completely?
This is the million-dollar question, isn’t it? The goal is to warm the Kiss just enough so it sticks without melting into a pool of chocolate gravy. The key is timing, timing, timing! You must press the Kiss into the cookie the absolute second the pan comes out of the hot oven. Don’t wait even a full minute. If you see them melting too much, that means your oven runs hot, or you left them in for ten minutes instead of eight. If disaster strikes, pull the pan out, wait a solid five minutes for the cookies to cool just a hair, and then press them in. That pause saves the day!
If you have any other burning questions after baking your batch, feel free to drop us a line over at the contact page. Happy baking!
Estimated Nutritional Information for Peanut Butter Blossom
Now, I know some of you are as curious about the numbers as you are about the ingredients! While these gorgeous Peanut Butter Cookies are definitely a treat to be enjoyed during the holidays, I always like to give a rough idea of what’s in that perfect little bite.
Please keep in mind that these figures are just an estimate based on the standard ingredients I use, measuring per cookie (and remember, this recipe yields about 3 dozen!). The exact nutritional information can definitely shift based on the brands you buy and how big you roll those dough balls.
Here’s what you can generally expect in one of these delightful cookies:
- Serving Size: 1 cookie
- Calories: 180
- Sugar: 14g (That molasses in the brown sugar!)
- Fat: 9g
- Protein: 3g
- Carbohydrates: 23g
Seriously, for such a decadent-tasting Old Fashioned Cookie, 180 calories isn’t too shabby, especially when you factor in that satisfying hit of peanut butter flavor!
If you ever need to double-check the fine print on any of the recipes here, you can always review our full site disclaimer. Enjoy your baking!
Share Your Best Peanut Butter Blossom Creations
Alright, my fellow bakers, now it’s your turn! You’ve got the ultimate formula for the softest, chewiest Peanut Butter Blossom cookies on the block. I truly hope you loved the process as much as I do—there is just something about rolling those sugar-coated balls before they go into the oven that feels like pure tradition.
I am dying to know how your batch turned out! Did you manage to press the Kisses in without messing up the gorgeous cracks around the edges? Did your family devour them in under an hour? I want all the details!
Please, if you have a minute, leave a rating below. That star count helps other people who are scrolling around looking for the perfect holiday cookie recipe feel confident trying this one out. And if you snapped a picture of your finished batch—especially those perfect chocolate tops—tag me! I absolutely love scrolling through your creations; it makes all these hours spent testing recipes so worthwhile.
We’re building a real community here, and sharing your successes—and maybe even how you fixed a tiny hiccup—is how we all get better at this wonderful hobby. Remember, when you’re done baking and ready to settle in, you can always review our Terms and Conditions if you have any questions about site usage!
Happy baking to you all, and thank you for trying out my family’s favorite holiday treat!
PrintThe Best Classic Soft and Chewy Peanut Butter Blossoms

Make soft, chewy peanut butter blossom cookies topped with a chocolate kiss. This is an easy, classic holiday cookie recipe.
- Prep Time: 20 min
- Cook Time: 10 min
- Total Time: 30 min
- Yield: About 3 dozen cookies
- Category: Dessert
- Method: Baking
- Cuisine: American
- Diet: Vegetarian
Ingredients
- 1 cup unsalted butter, softened
- 1 cup granulated sugar
- 1 cup packed brown sugar
- 2 large eggs
- 1 teaspoon vanilla extract
- 1 cup creamy peanut butter
- 2 1/2 cups all-purpose flour
- 1 teaspoon baking soda
- 1/2 teaspoon baking powder
- 1/2 teaspoon salt
- 1/4 cup extra granulated sugar for rolling
- About 1 bag Hershey’s Kisses, unwrapped
Instructions
- Preheat your oven to 375 degrees Fahrenheit. Line baking sheets with parchment paper.
- In a large bowl, cream together the softened butter, 1 cup granulated sugar, and brown sugar until light and fluffy.
- Beat in the eggs one at a time, then mix in the vanilla extract and peanut butter until combined.
- In a separate medium bowl, whisk together the flour, baking soda, baking powder, and salt.
- Gradually add the dry ingredients to the wet ingredients, mixing on low speed until just combined. Do not overmix.
- Place the remaining 1/4 cup of granulated sugar in a shallow dish.
- Roll the dough into 1-inch balls. Roll each ball in the extra sugar to coat lightly.
- Place the sugared dough balls about 2 inches apart on the prepared baking sheets.
- Bake for 8 to 10 minutes, or until the edges are lightly set but the centers still look slightly soft.
- Immediately upon removing the cookies from the oven, gently press one unwrapped Hershey’s Kiss into the center of each warm cookie. The residual heat will soften the chocolate slightly.
- Let the cookies cool on the baking sheet for 5 minutes before transferring them to a wire rack to cool completely.
Notes
- For the softest cookies, do not overbake. Remove them when the edges are just starting to turn golden.
- If the chocolate kisses melt too much, wait 5 minutes after taking the cookies out before pressing them in.
- You can chill the dough for 30 minutes before rolling if your dough feels too soft to handle.
Nutrition
- Serving Size: 1 cookie
- Calories: 180
- Sugar: 14g
- Sodium: 110mg
- Fat: 9g
- Saturated Fat: 4g
- Unsaturated Fat: 5g
- Trans Fat: 0g
- Carbohydrates: 23g
- Fiber: 1g
- Protein: 3g
- Cholesterol: 25mg