

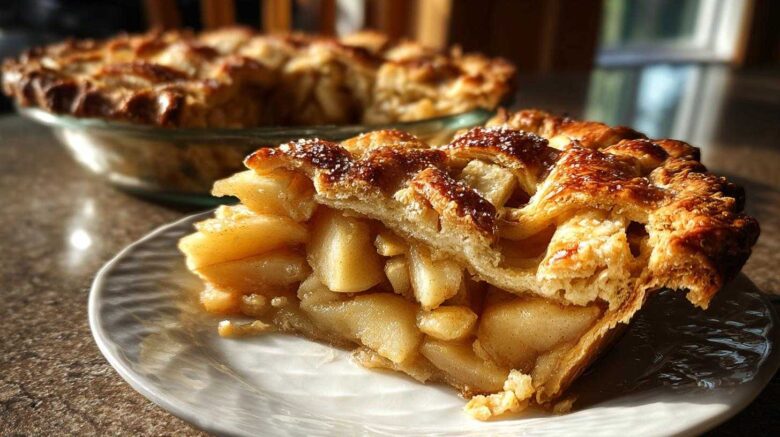
There’s something truly magical about a Classic Apple Pie (Lattice Crust). It’s the smell that fills your home, a warm hug of cinnamon and baked apples. I remember my first attempt at a lattice crust; it felt like a true test of my kitchen skills! My grandma always said a good lattice was like a warm embrace. This pie is pure comfort. It’s perfect for those crisp fall days. It brings back so many happy memories of family gatherings. This recipe is a keeper. It’s simple yet stunning. You’ll love making it.
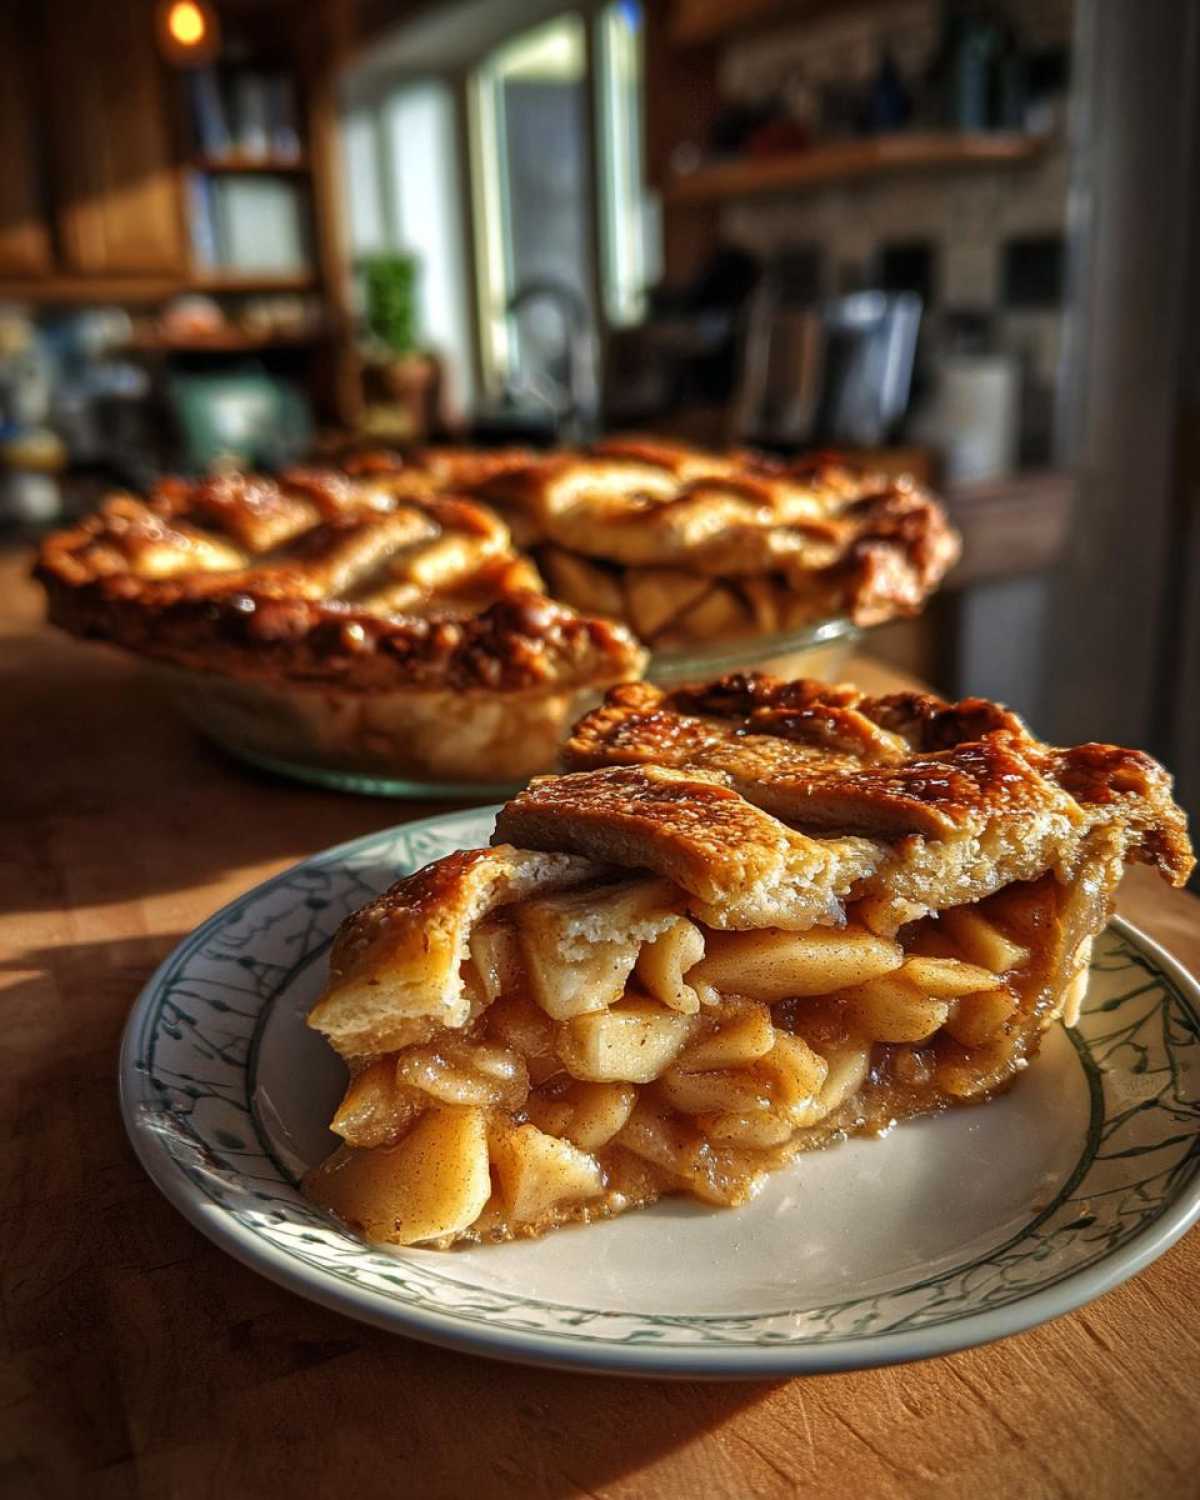
Why You’ll Love This Classic Apple Pie (Lattice Crust)
- It’s perfect for fall gatherings.
- You’ll get a beautiful homemade lattice design.
- The apple filling is spiced just right.
- It’s easy enough for beginners.
- It tastes like pure comfort.
Ingredients for Your Classic Apple Pie (Lattice Crust)
Gathering your ingredients is the first step to baking success. For this beautiful pie, you’ll need one recipe for a double pie crust, chilled. Make sure it’s divided into two discs. You’ll also need 6 cups of thinly sliced peeled apples, which usually means about 6 medium apples. I love using a mix of Honeycrisp and Granny Smith for the best flavor!
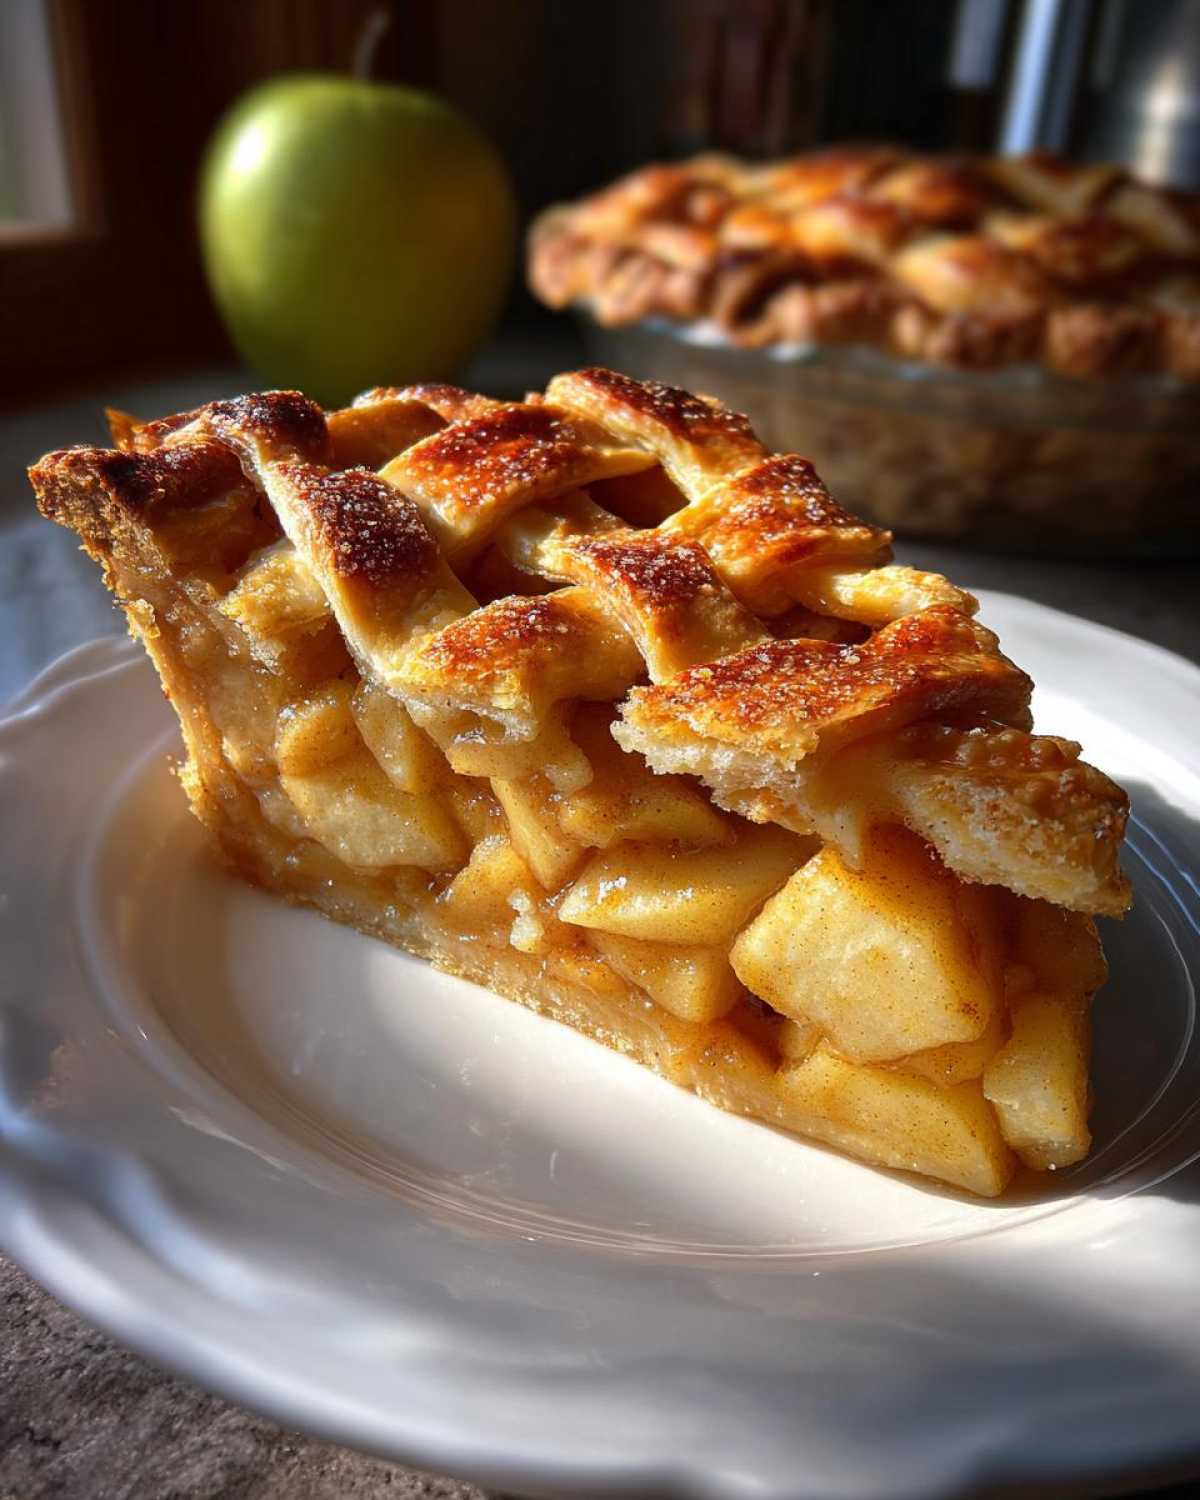
Next up, sweeten things with 3/4 cup granulated sugar and thicken the filling with 1/4 cup all-purpose flour. Warm spices are key, so grab 1 teaspoon ground cinnamon and 1/4 teaspoon ground nutmeg. A tablespoon of lemon juice brightens everything up. Don’t forget 2 tablespoons of unsalted butter, cut into small pieces, to dot over the filling.
For that lovely golden sheen, prepare an egg wash with 1 large egg, lightly beaten, and 1 tablespoon milk. If you like a little sparkle, have 1 tablespoon of coarse sugar ready for sprinkling on top. It really makes the lattice pop!
Choosing the Best Apples for Your Classic Apple Pie (Lattice Crust)
Picking the right apples makes all the difference in your classic apple pie. I find that firm apples hold their shape beautifully during baking. Varieties like Honeycrisp, Fuji, or Granny Smith are fantastic choices.
My secret? I often use a mix! Combining a sweeter apple like Honeycrisp with a tart one like Granny Smith creates a more complex and delicious flavor. It’s like a flavor party in every bite!
How to Prepare Your Classic Apple Pie (Lattice Crust)
Alright, let’s get baking! First, get your double pie crust ready. Divide it into two discs. Wrap them up and pop them in the fridge for at least 30 minutes. This chilling step is super important. It makes the dough easier to work with and gives you a flakier crust.
While the dough chills, let’s make the filling. Grab a big bowl. Toss in your sliced apples, sugar, flour, cinnamon, and nutmeg. A squeeze of lemon juice adds a nice brightness. Mix it all gently so those apples are coated perfectly.
Time to preheat your oven! Set it to 400°F (200°C). Get a 9-inch pie plate ready. Roll out one dough disc on a floured surface. Make it into a 12-inch circle. Carefully drape it into your pie plate. Trim the edges, leaving about a half-inch hanging over.
Pour that lovely apple mixture into the crust. Dot the top with those little butter pieces. They melt and make the filling so rich! Now, roll out the second dough disc. This one should be an 11-inch circle. Cut it into strips, about half an inch wide.
This is where the magic happens! Arrange those strips over the apples. Weave them to make a beautiful lattice. Trim the ends of the strips. Crimp the edges of the pie to seal everything up. It looks so pretty!
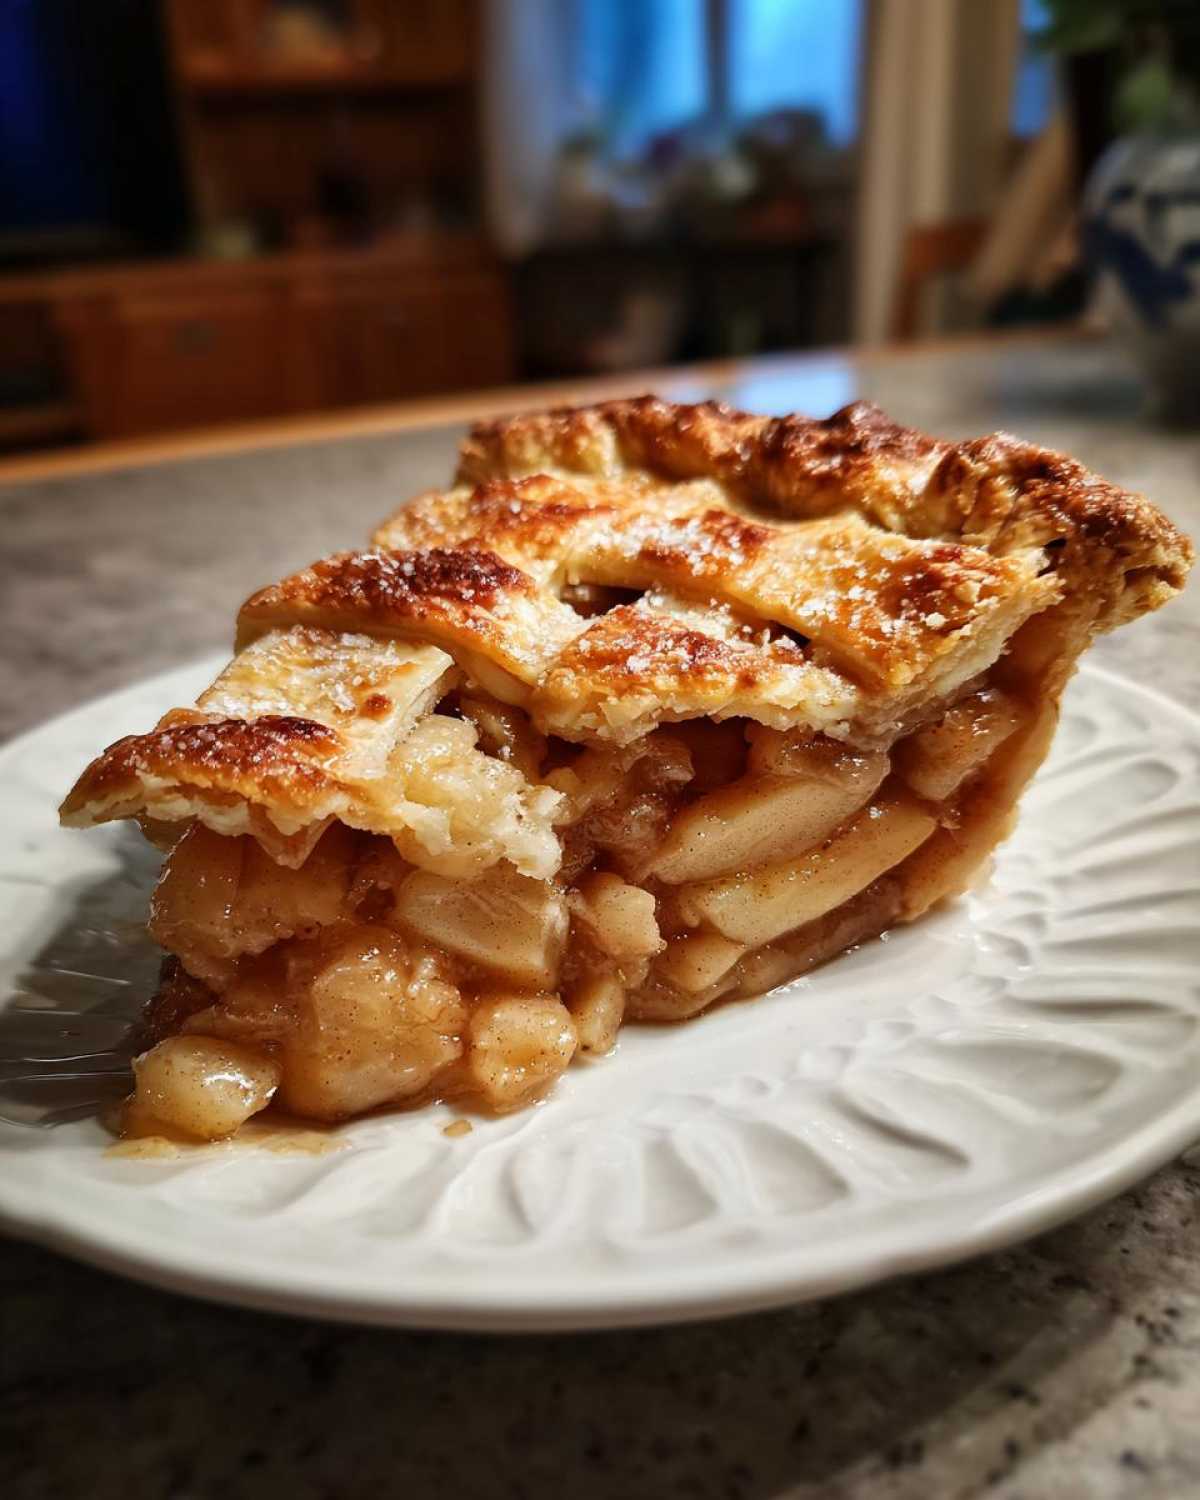
For that golden glow, whisk an egg with a tablespoon of milk. Brush this mixture over the lattice. Sprinkle with coarse sugar if you like. It adds a lovely crunch. Place the pie on a baking sheet. This catches any drips. Bake for 20 minutes at 400°F (200°C).
Now, lower the oven temp to 375°F (190°C). Bake for another 30 to 40 minutes. You want the crust to be golden. The filling should be bubbly. If the edges brown too fast, loosely tent the pie with foil. This is Leo’s trick! He always says it saves the crust.
Finally, let your pie cool on a wire rack. This is crucial! Give it at least 2 to 3 hours. The filling needs time to set. If you cut it too soon, it’ll be runny. Patience is key here, but oh, it’s so worth it!
Crafting the Perfect Lattice for Your Classic Apple Pie
Creating the lattice top is my favorite part! It feels so rewarding. Take your second rolled-out dough circle. Cut it into even strips, about half an inch wide. A pizza cutter works wonders here.
Lay about half the strips parallel across the pie filling. Fold back every other strip halfway. Lay a new strip perpendicular to the first set. Unfold the folded strips. Now, fold back the strips you didn’t fold before. Lay another perpendicular strip. Keep going back and forth. It’s like weaving a basket!
Press the edges gently to seal the lattice to the bottom crust. Trim any excess dough. This pattern makes the pie look so special. Don’t worry if it’s not perfect. Mine never are! That’s part of its homemade charm.
Tips for a Perfect Classic Apple Pie (Lattice Crust)
Want your classic apple pie to be amazing? I’ve picked up a few tricks! For the apples, using a mix of firm varieties like Honeycrisp and Granny Smith gives the best flavor. Trust me on this one!
Always make sure your pie dough is well-chilled before you roll it out. This stops it from getting tough. It really helps you get that flaky crust we all love.
If you notice the crust edges browning too quickly, Leo’s tip is a lifesaver. Loosely tent the pie with aluminum foil. This protects those pretty edges. It’s a simple fix for a common problem.
Lastly, patience is your best friend when it comes to the filling. Letting the pie cool completely for a few hours is essential. It lets the filling set properly. This means no runny slices!
Serving and Storing Your Delicious Classic Apple Pie
This classic apple pie is pure comfort. Serve it warm, maybe with a dollop of vanilla ice cream. A swirl of whipped cream is also lovely. It’s perfect after dinner.
Got leftovers? No worries! Store your pie covered at room temperature for up to two days. If it’s warmer than 70°F (21°C) in your kitchen, refrigerate it.
To reheat, place a slice in a 350°F (175°C) oven. Warm it for about 10-15 minutes. This brings back that lovely crispness. Enjoy every bite!
Frequently Asked Questions About Classic Apple Pie (Lattice Crust)
Got questions about your classic apple pie? I’ve got some answers!
What if I don’t have a lattice pie crust recipe? No problem! You can simply cut vents in the top crust. Or, use cookie cutters to make fun shapes from the dough. A full top crust with slits works too. It’s all about making it your own.
How do I stop my apple pie from being too watery? The key is the flour or cornstarch in the filling. Make sure you toss the apples well. Also, letting the pie cool completely is vital. This lets the juices thicken up nicely. Using firm apples helps a lot too.
Can I use frozen apples for this classic apple pie recipe? Yes, you can! Thaw them first. Gently pat them dry with paper towels. You might need a little extra thickener, like flour, because frozen apples release more moisture. Don’t overmix them when thawing.
Why does my crust get soggy on the bottom? Make sure your oven is fully preheated. Baking the pie on a lower rack can also help. Some bakers even pre-bake the bottom crust slightly (called blind baking) for extra crispness. But usually, a hot oven and enough flour in the filling do the trick.
Nutritional Estimate for Classic Apple Pie (Lattice Crust)
Please remember that the nutritional information for this classic apple pie is an estimate. It can change based on the specific ingredients and brands you use.
Generally, one slice contains about 350-400 calories. You can expect around 25-30g of sugar and 18-22g of fat. These numbers are just a guide. Enjoy your delicious homemade pie!
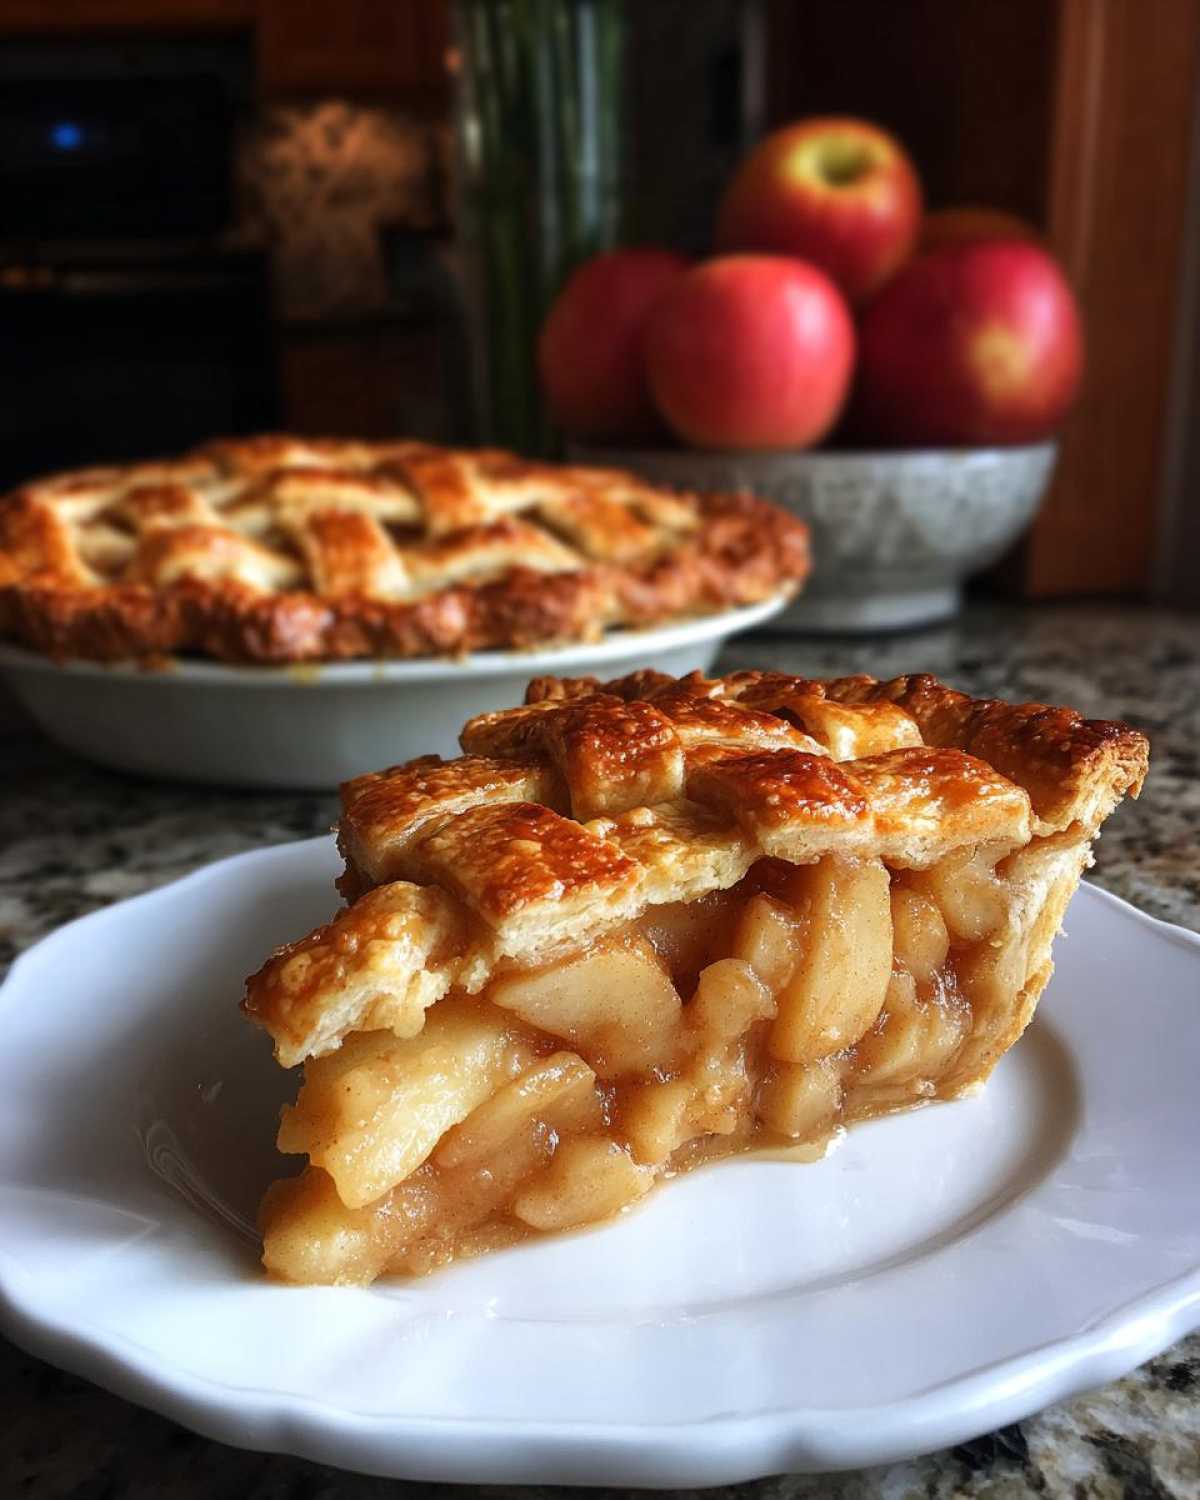
Warm Apple Pie: Bake Nostalgic Comfort
Bake a classic apple pie with a beautiful lattice crust. This recipe is perfect for fall baking and celebrates homemade comfort.
- Prep Time: 30 minutes
- Cook Time: 50-60 minutes
- Total Time: 2 hours 30 minutes (includes chilling time)
- Yield: 8 servings
- Category: Dessert
- Method: Baking
- Cuisine: American
- Diet: Vegetarian
Ingredients
- 1 recipe for double pie crust
- 6 cups thinly sliced peeled apples (about 6 medium apples)
- 3/4 cup granulated sugar
- 1/4 cup all-purpose flour
- 1 teaspoon ground cinnamon
- 1/4 teaspoon ground nutmeg
- 1 tablespoon lemon juice
- 2 tablespoons unsalted butter, cut into small pieces
- 1 large egg, beaten (for egg wash)
- 1 tablespoon milk (for egg wash)
- 1 tablespoon coarse sugar (optional, for topping)
Instructions
- Prepare your double pie crust according to your favorite recipe. Divide into two discs, wrap in plastic wrap, and chill for at least 30 minutes.
- In a large bowl, combine the sliced apples, granulated sugar, flour, cinnamon, nutmeg, and lemon juice. Toss gently to coat the apples evenly.
- Preheat your oven to 400°F (200°C).
- On a lightly floured surface, roll out one disc of pie dough into a 12-inch circle. Carefully transfer it to a 9-inch pie plate. Trim the edges, leaving about a 1/2-inch overhang.
- Pour the apple filling into the pie crust. Dot the top of the filling with the small pieces of butter.
- Roll out the second disc of pie dough into an 11-inch circle. Cut it into 1/2-inch wide strips.
- Arrange the dough strips over the apple filling in a lattice pattern. Trim the ends of the strips and crimp the edges of the pie to seal.
- In a small bowl, whisk together the beaten egg and milk. Brush this egg wash over the lattice crust.
- Sprinkle with coarse sugar, if desired.
- Place the pie on a baking sheet (to catch any drips). Bake for 20 minutes at 400°F (200°C).
- Reduce the oven temperature to 375°F (190°C) and continue baking for another 30-40 minutes, or until the crust is golden brown and the filling is bubbly. If the crust starts to brown too quickly, you can loosely tent it with foil.
- Let the pie cool on a wire rack for at least 2-3 hours before slicing and serving. This allows the filling to set properly.
Notes
- Any firm apple variety like Honeycrisp, Fuji, or Granny Smith works well for this pie. A mix of varieties can add complexity to the flavor.
- For a deeper flavor, you can add a pinch of ground cloves or allspice to the apple filling.
- Ensure your pie crust is well chilled before rolling to prevent it from becoming tough.
- If your oven tends to run hot, consider using a pie shield or aluminum foil around the edges of the crust to prevent over-browning.
Nutrition
- Serving Size: 1 slice
- Calories: Approximately 350-400
- Sugar: Approximately 25-30g
- Sodium: Approximately 200-250mg
- Fat: Approximately 18-22g
- Saturated Fat: Approximately 8-10g
- Unsaturated Fat: Approximately 10-12g
- Trans Fat: Less than 1g
- Carbohydrates: Approximately 45-50g
- Fiber: Approximately 3-4g
- Protein: Approximately 3-4g
- Cholesterol: Approximately 30-40mg