

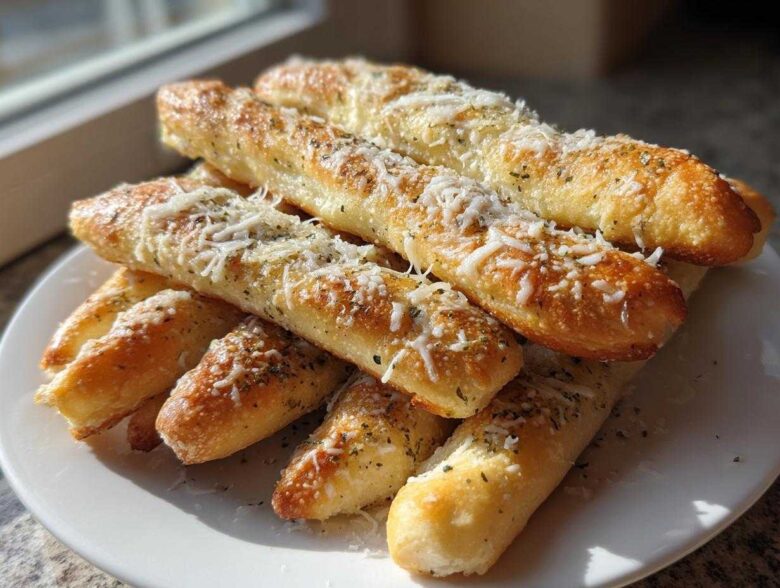
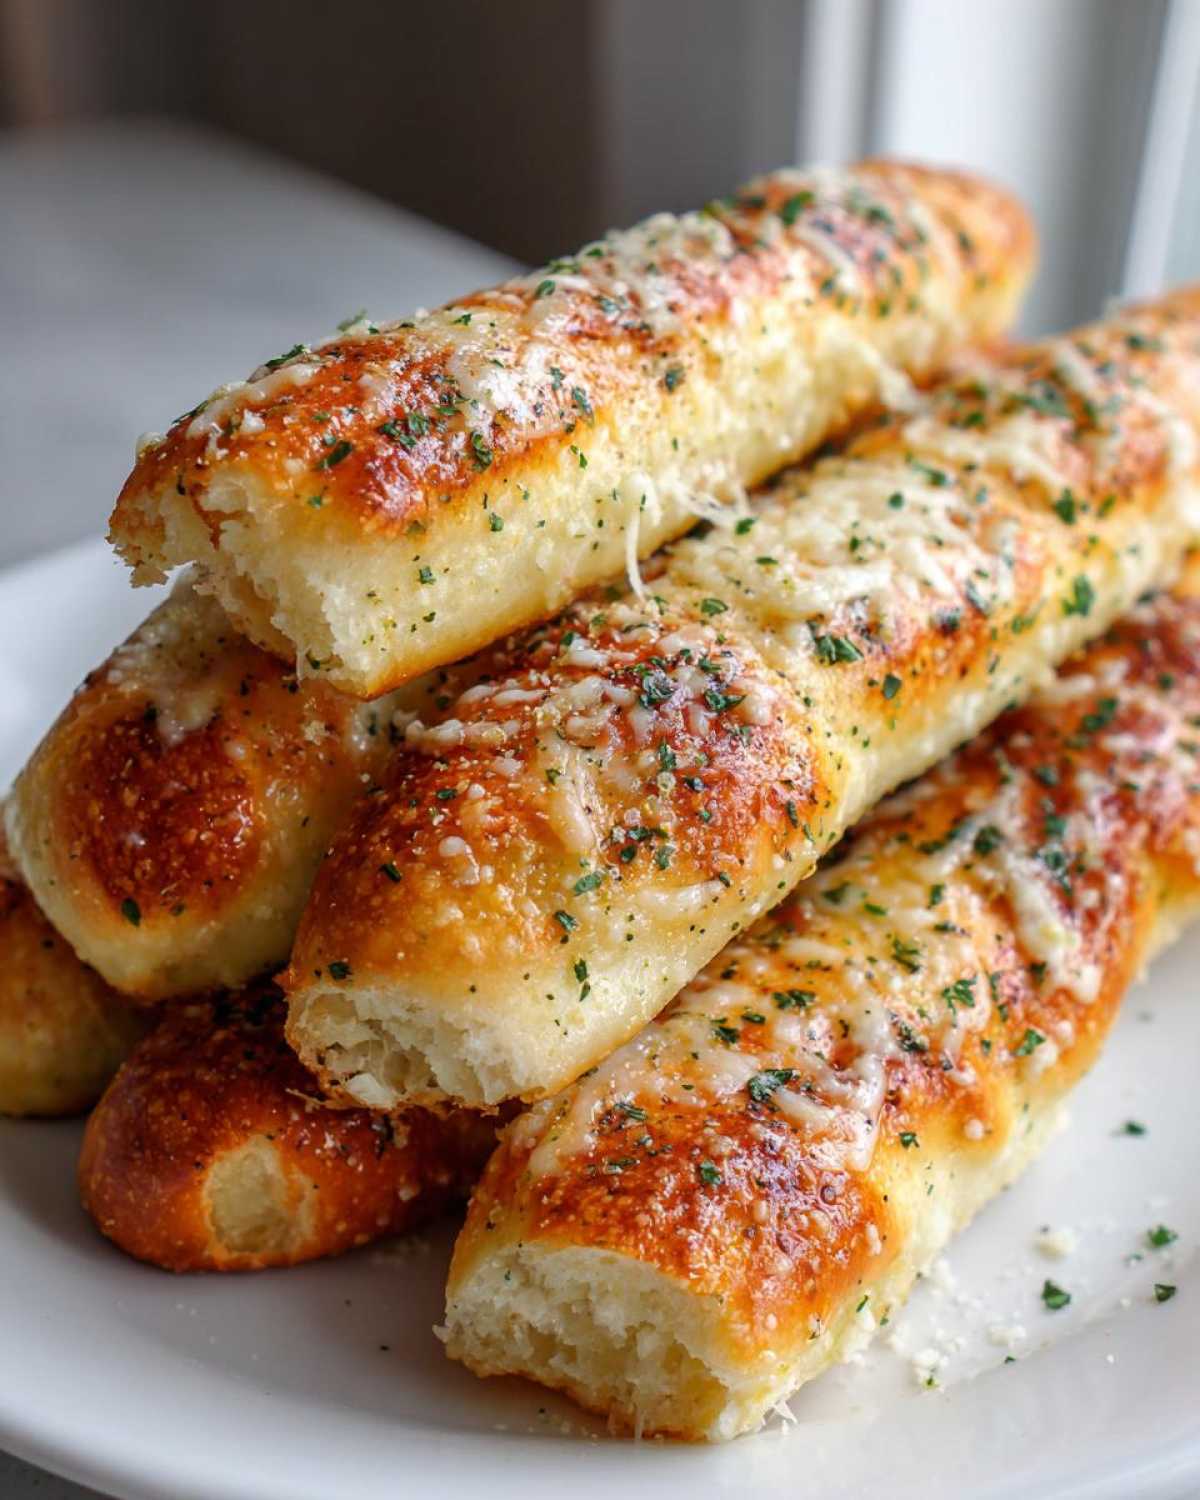
Does anyone else get that intense, specific craving for those warm, pillowy, slightly salty breadsticks you get at that famous Italian chain? You know the ones! I’m Sofia, and trust me, Leo and I have spent countless evenings chasing that perfect soft and chewy texture. Well, guess what? We finally nailed it! Forget takeout; these Olive Garden Copycat breadsticks are so easy to make from scratch, and they come out better than the original, loaded with that incredible garlic butter. I thrive on turning those restaurant dreams into achievable reality right here in our messy kitchen, and these breadsticks are my latest happy chaos creation for you. If you want to see the story behind our journey to perfect dough, check out our little adventure in baking!
Why You Will Love These Soft & Chewy Breadsticks
I’m not exaggerating when I say these are the best homemade dipping sticks you’ll ever make! They hit every single craving we usually have when we walk into a busy restaurant. Trust me, once you try this recipe, you’ll be ditching the frozen stuff for good.
- They are genuinely quick! Even with the rising time factored in, this whole process gets dinner rolls on the table in under two hours.
- That signature soft, fluffy texture is spot on—they are perfectly chewy breadsticks, not dry little crusts.
- The Garlic Parmesan Breadsticks topping is simple but packs a punch with fresh garlic and herbs.
- This is a true copycat recipe that rivals the restaurant version, making any weeknight feel like a celebration.
Essential Ingredients for Perfect Homemade Breadsticks Recipe
Okay, let’s talk stuff. You grab what you need from the pantry, get your setup ready, and we can whip up these glorious Garlic Parmesan Breadsticks. I’ve broken down what you need for the dough and what you need for that glorious, shiny coating that makes them irresistible. Honestly, the secret here is fresh ingredients—especially that butter! If you’re looking for an excuse to make a creamy white pizza sauce to dip these in later, you should totally check out my creamy ricotta pizza recipe. It pairs perfectly!
For the Breadstick Dough
- 1 1/2 cups warm water (It has to be right around 110°F—too hot and you kill the yeast, too cold and it gets lazy!
- 2 1/4 teaspoons active dry yeast
- 2 tablespoons granulated sugar (This feeds our yeast buddies!)
- 4 cups all-purpose flour, plus more for dusting
- 1 teaspoon salt
- 1/4 cup olive oil, plus more for greasing
For the Garlic Parmesan Breadsticks Topping
This is where the magic happens, people! Don’t skimp on the butter here; we want truly Buttery Breadsticks. Fresh minced garlic is non-negotiable for the best aroma!
- 1/2 cup (1 stick) unsalted butter, melted
- 4 cloves garlic, minced (Yes, four! Don’t be shy!)
- 1 teaspoon dried Italian seasoning
- 1/2 teaspoon salt
- 1/4 cup grated Parmesan cheese
Step-by-Step Instructions for Olive Garden Breadsticks Copycat
Alright, here’s where we stop dreaming of restaurant breadsticks and start making them! Don’t let the dough part scare you; it’s actually super straightforward. We’re going to follow the recipe exactly to guarantee that soft, chewy texture everyone raves about. If you’ve ever wanted to tackle a true homemade dough recipe, this is your moment. If you want to check out my tips on making an easy no-knead loaf sometime for a break, you can peek at those too!
Activating the Yeast and Mixing the Homemade Dough Recipe
First things first: we wake up the yeast! Grab your large bowl and mix that warm water (remember, 110°F is the sweet spot), the yeast, and the sugar. Just stir it calmly and let it chill out for about 5 to 10 minutes. If it gets foamy and bubbly on top, you’re good to go—that means the yeast is alive and ready to work for us! Once it’s foamy, throw in your flour, that teaspoon of salt, and the olive oil. Mix it all up right there until it just starts to come together into a messy, shaggy ball of dough. That’s exactly what we want before we get our hands dirty.
Kneading and First Rise for Soft Breadsticks
Now, turn that shaggy mess out onto a lightly floured counter. Get ready to work those muscles just a little bit! You need to knead this dough for a solid 5 to 7 minutes. Keep pushing, folding, turning, until it feels smooth and springy when you poke it. Once it’s nice and happy, find a bowl you oiled up—this stops it from sticking—and plop the dough in there. Give it a quick turn so the top gets a little oil too. Cover it up tight and stick it somewhere warm for about 1 to 1.5 hours. We need it to totally double in size. Don’t rush this part; this long rest builds the body of our soft breadsticks.
Shaping, Second Rise, and Baking the Breadsticks
When the dough looks HUGE, gently punch all that air out—it’s so satisfying! Now, we divide. I usually cut mine into 16 even pieces. Take each piece and gently stretch it out into a long strip, aiming for about 10 to 12 inches long. Lay those strips carefully on a parchment-lined baking sheet. Now, cover them very loosely and let them sit for just 20 minutes while your oven gets roaring hot—400°F (200°C) is what we need. See? You’re getting so efficient! Once they’ve puffed up just a tiny bit more, pop them into the hot oven for about 10 to 12 minutes until they look perfectly golden.
Creating the Signature Garlic Butter Topping
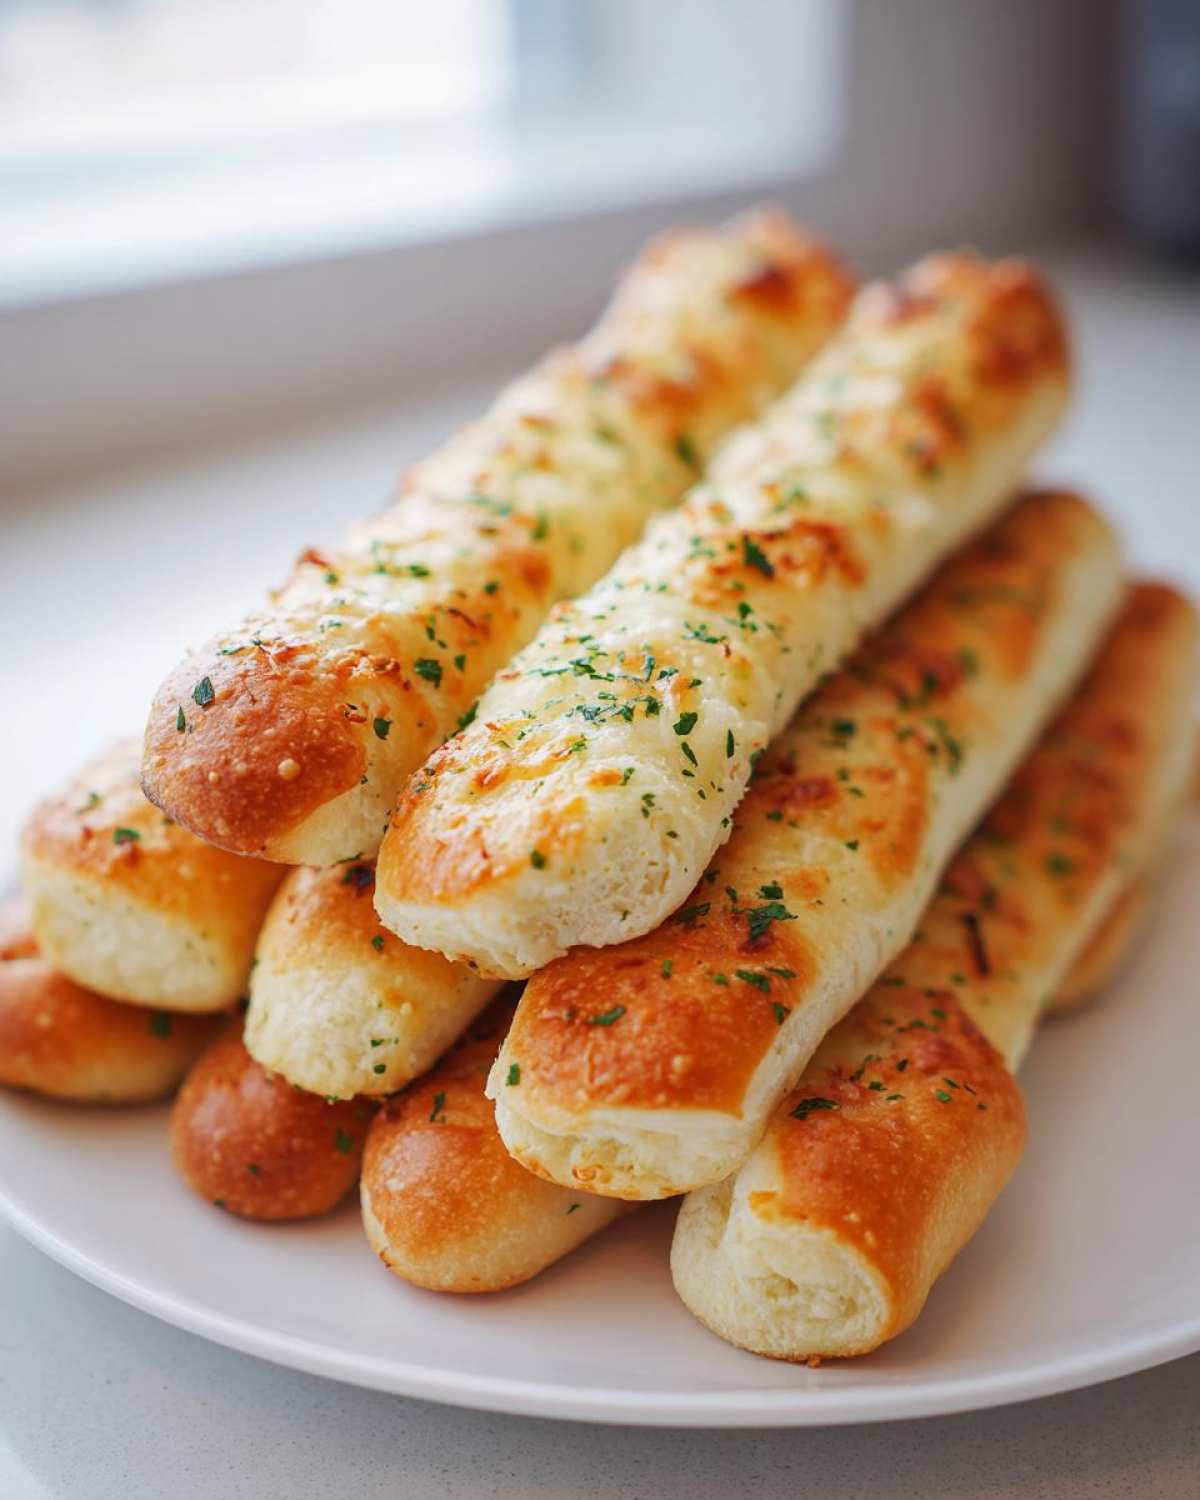
While those beauties are baking, get your topping game ready! Melt that stick of butter down in a small saucepan over low heat—keep an eye on it! Toss in your minced garlic, Italian seasoning, and that last half teaspoon of salt. You only want to cook this for about 1 minute; we want the garlic to smell amazing, not burn and get bitter! The second those breadsticks come out of the oven, you MUST dump them right into a big bowl. Pour that steaming garlic butter right over the top and toss them around gently until every single stick is coated and glistening. Finish with a big shower of that grated Parmesan cheese, and you’re done!
Tips for Success with Restaurant Style Breadsticks
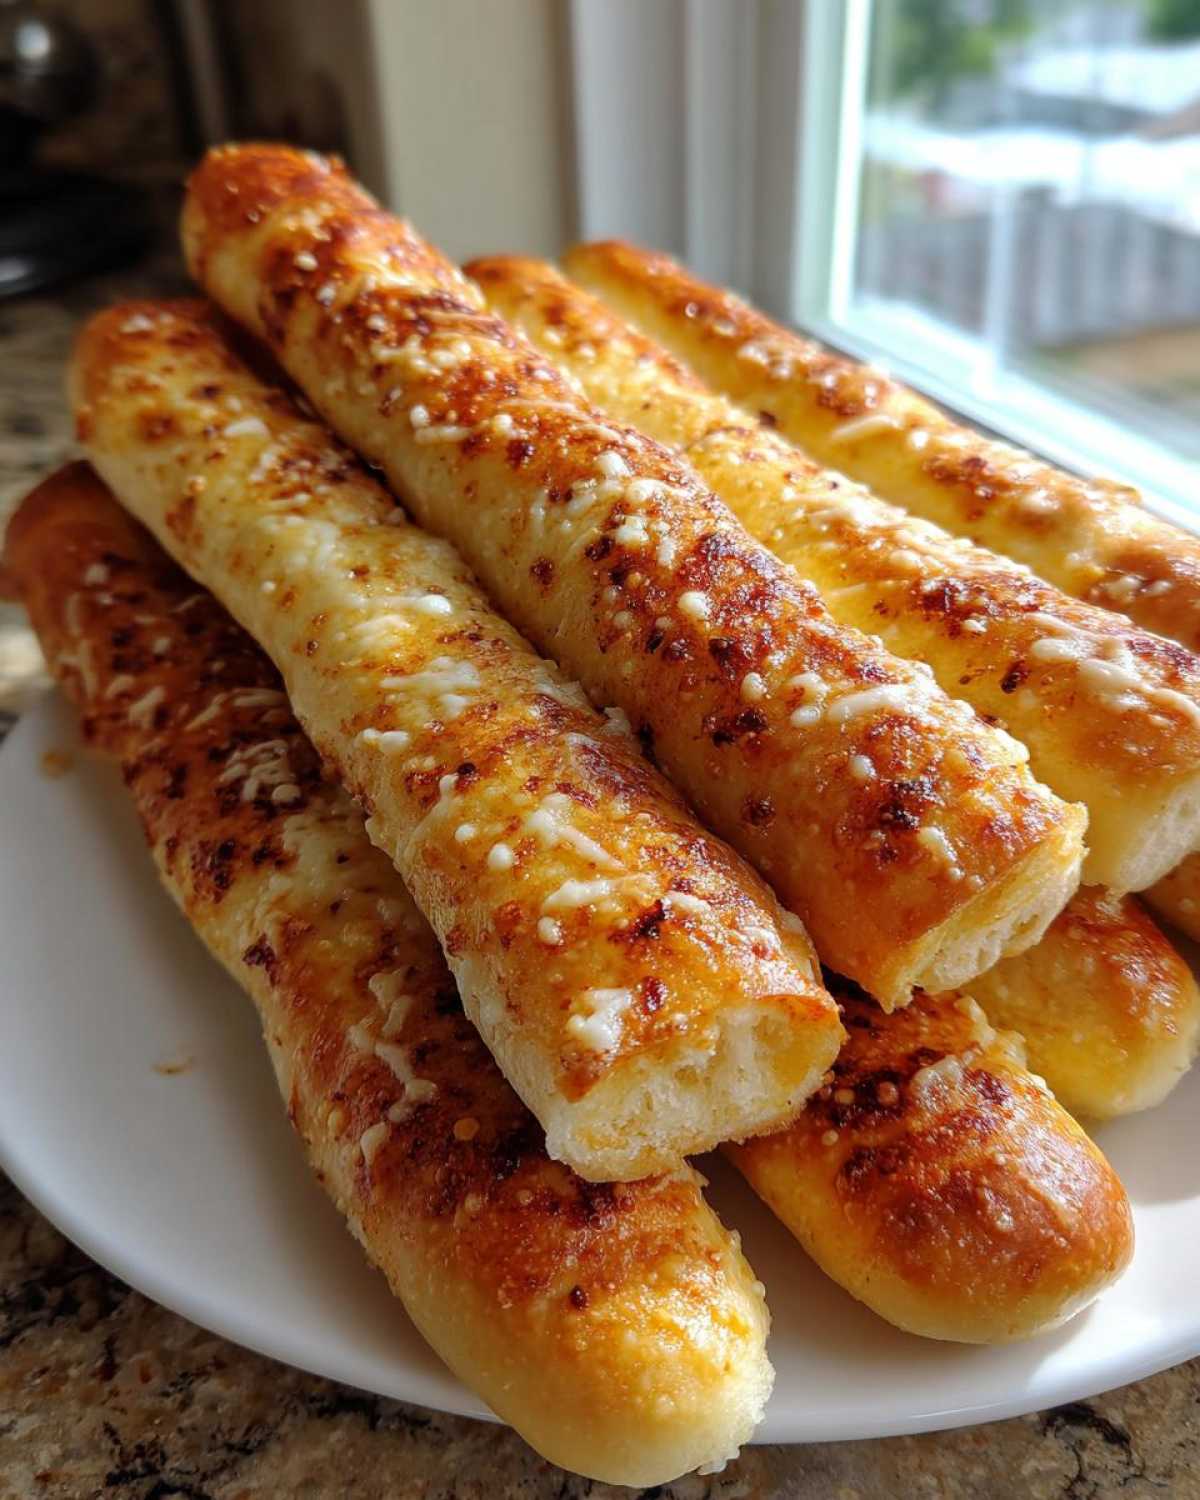
Listen, I know baking dough from scratch can feel a little intimidating, especially when you’re trying to nail that perfect texture. My number one piece of advice for achieving true Restaurant Style Breadsticks is patience during the initial mix. Don’t just dump the flour in! When I first tried kneading, I panicked if the dough felt sticky and kept adding flour, which resulted in rock-hard sticks. Wrong move! If your dough feels too wet when you turn it out, just keep kneading; it will come together eventually. Trust the process, not just the look of the shaggy blob.
Also, don’t forget the subtle little things! If you’re adding mozzarella for those Cheesy Breadsticks, wait until the last two minutes of baking. If you add it too early, the cheese melts into the butter and pools instead of stretching beautifully. If you want to learn more about tweaks like this, I talk a lot about specific adjustments in my post about cookie secrets—the principles of patience and temperature are the same!
Variations: Making Cheesy Breadsticks or Other Breadsticks
Okay, so the base recipe is fantastic, but I know half of you already have visions of gooey cheese dancing in your heads. You see, these breadsticks are so versatile! Since we know everyone searches for Cheesy Breadsticks, let’s talk about how to easily upgrade ours.
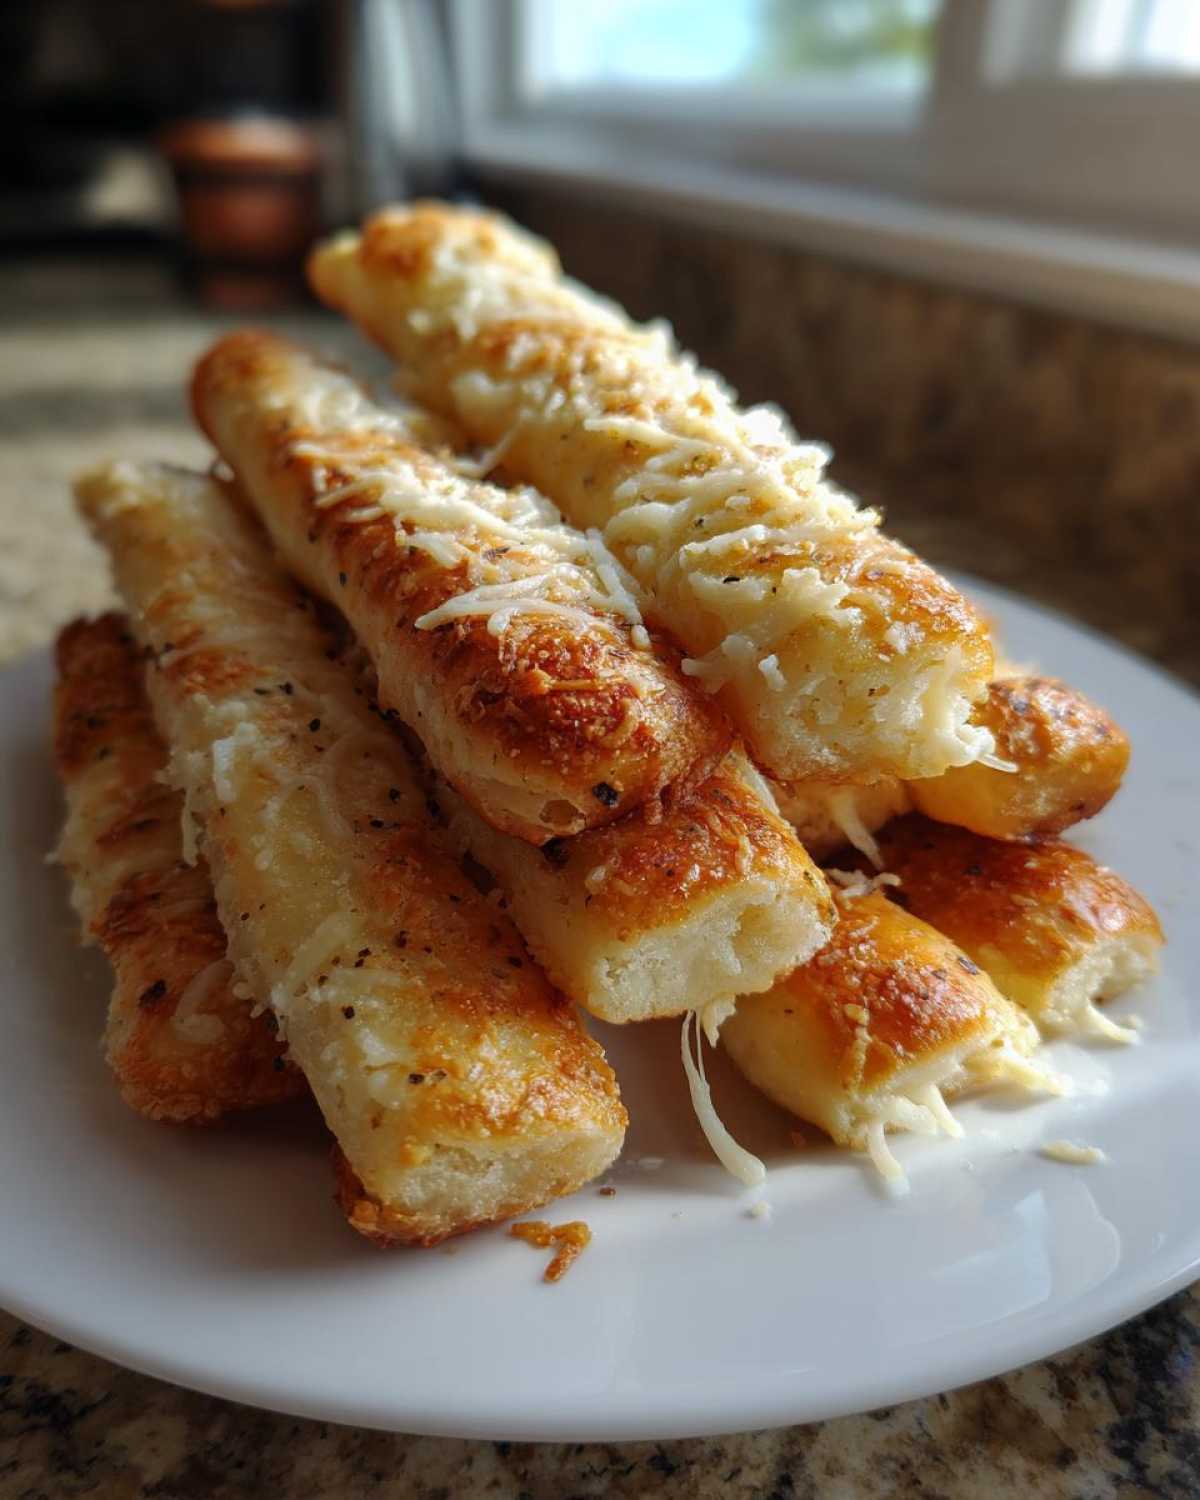
Remember those notes I slipped in? We are going to use them! For that amazing cheesy pull, just wait until your breadsticks have about 2 to 3 minutes left in the oven. You want them mostly golden, but still needing a little color. Peel the oven door open carefully (don’t burn yourself!) and quickly sprinkle your shredded mozzarella evenly over the top of the sticks. Close the door and let them bake until the cheese is melted and bubbly. Then, pull them out and smother them with that incredible garlic butter topping we already made—the residual heat melts everything perfectly.
Now, for the real quick fix, because sometimes life gets crazy and we need Easy Breadsticks *now*. If you are absolutely pressed for time, you can skip the whole yeast process using a store-bought dough, like refrigerated pizza dough. Just flatten it out, cut it into strips, and bake it according to the package directions until golden. Now, here’s the bummer: the texture won’t be quite the same as the soft, fluffy ones made from scratch. It tends to be a little flatter, but hey, it still tastes amazing dunked in sauce!
If you are looking for another way to incorporate way too much cheese into your dining experience, I highly recommend checking out my recipe for ultimate cheesy garlic pull-apart bread. It’s basically the same flavor profile, just in a big, shareable loaf!
Storage and Reheating Instructions for Buttery Breadsticks
Listen, I know these are so good you usually eat them all in one sitting, but on the rare chance you have some leftover, we need to talk about keeping them perfect. These Buttery Breadsticks are best eaten fresh, of course, but leftovers store surprisingly well!
Toss any remaining sticks into an airtight container. They can stay on the counter for a day or maybe two, but honestly, the fridge keeps them firm longer. When you’re ready for round two, please, please skip the microwave! It turns them rubbery way too fast.
The best way to reheat them is in the oven. Just spread them on a baking sheet at 350°F (175°C) for about 5 to 7 minutes. They warm right through, and that little bit of heat brings the butter and garlic right back to life. Instant satisfaction!
Frequently Asked Questions About Homemade Breadsticks
When Leo and I first started fiddling with the yeast and flour, we had a million questions, too! It’s totally normal to wonder about timing and texture when trying a Homemade Breadsticks Recipe for the first time. I rounded up the questions I hear most often, so you can skip my initial fumbling and go straight to the golden, buttery results!
Can I make these breadsticks ahead of time?
Yes, you absolutely can! This is excellent for planning dinner parties. You can handle the dough preparation—steps 1 through 4 (Kneading and First Rise)—the day before. Once it’s risen, punch it down, coat it lightly in oil, cover it, and stick the whole bowl in the fridge overnight. It will rise a little slower in the cold, which is totally fine. Then, the next day, just let it warm up slightly on the counter for about 30 minutes, roll it out, and get right to baking! This is wonderful when you need Make Ahead Breadsticks.
How do I get my breadsticks extra chewy?
Ah, the secret to genuinely Chewy Breadsticks lies in that gluten development! Don’t skimp on the kneading time in step 3—you really need those 5 to 7 minutes. Gluten needs work to get elastic and stretchy, which gives you that wonderful pull when you tear a stick apart. Also, that first long rest (Step 4) is crucial. Letting the dough relax and rise slowly allows the gluten strands to relax evenly, preventing them from tightening up like a rubber band when you bake them. Patience equals chewiness here, my friends!
What is the best dip for these Italian Breadsticks?
Since we are aiming for that classic Italian Breadsticks vibe, you have so many delicious options! Marinara sauce, warmed up with a little extra oregano sprinkled on top, is a no-brainer for dipping. But if you want something richer, my homemade garlic butter is almost too good to dip *in* anything else! For a real treat, sometimes Leo will whip up a quick pesto mayo, which is just a spoonful of pesto mixed into mayonnaise. It’s super easy and adds a great, slightly herby kick!
If you’re looking for more quick appetizer ideas that don’t involve yeast, you should check out my recipe for quick cheese crackers. They satisfy that salty snack craving too!
Nutritional Estimate for These Garlic Breadsticks Recipe
Okay, now for the grown-up stuff! I always feel a little guilty after eating half a dozen of these amazing Garlic Breadsticks straight from the bowl, so I looked up the estimate. Remember, this is just a ballpark figure because I never measure out the butter bits that fly off when I’m tossing them! Leo always jokes that the sodium content is high because I’m smiling so much while cooking, but that’s just my love language talking.
Please take these numbers as a general guide for one breadstick. If you’re eating them alongside a giant bowl of pasta or sneaking in extra cheese (and trust me, you totally should!), the final tally will change. We’re aiming for flavor and fun here, not calorie counting, but transparency is important to me!
Here is what we estimate for one of these soft, glorious sticks:
- Serving Size: 1 breadstick
- Calories: 180
- Fat: 8g (A good chunk of that is that delicious butter!)
- Saturated Fat: 4g
- Trans Fat: 0g
- Cholesterol: 15mg
- Carbohydrates: 23g
- Fiber: 1g
- Sugar: 1g (Mostly from feeding the yeast!)
- Protein: 4g
- Sodium: 250mg
Share Your Happy Chaos: Rate This Recipe
Whew! We made it to the end, and now I genuinely hope your kitchen smells like a delicious fusion of garlic and melted butter! Truly, nothing makes me happier than knowing you managed to pull off these incredible, soft breadsticks right at home. Leo is probably already taking pictures of the leftovers we definitely won’t have!
If you loved how easy these were, or if you had a wonderful kitchen moment—maybe you danced while kneading the dough or successfully convinced your kids they were practically free Olive Garden—please let me know! We built this space to share the joy and the mess.
Take a second and rate this copycat recipe right now! Five stars if you think these are the best Buttery Breadsticks you’ve ever baked. And while you’re feeling enthusiastic, drop a comment below and tell me what you served them with. Was it pasta? A big salad? Or did you just eat them standing over the sink like I usually do? I love reading your stories!
If you’re still hungry for more fun recipes and kitchen experiments, you can always check out our main recipe index! And hey, if you tried my suggestion to make the cheesy version, check out this pin for recipe inspiration on cheesy garlic breadsticks—we are always looking for new ways to add more cheese!
Happy baking, and remember to embrace the happy chaos!
PrintThe Ultimate Soft & Chewy Olive Garden Copycat Breadsticks with Garlic Parmesan Butter
You can make soft, chewy breadsticks just like the famous restaurant version right in your own kitchen. This easy recipe gives you that perfect texture and a rich garlic butter topping.
- Prep Time: 25 min
- Cook Time: 12 min
- Total Time: 1 hour 37 min
- Yield: 16 breadsticks
- Category: Appetizer
- Method: Baking
- Cuisine: Italian-American
- Diet: Vegetarian
Ingredients
- 1 1/2 cups warm water (110°F)
- 2 1/4 teaspoons active dry yeast
- 2 tablespoons granulated sugar
- 4 cups all-purpose flour, plus more for dusting
- 1 teaspoon salt
- 1/4 cup olive oil, plus more for greasing
- 1/2 cup (1 stick) unsalted butter, melted
- 4 cloves garlic, minced
- 1 teaspoon dried Italian seasoning
- 1/2 teaspoon salt
- 1/4 cup grated Parmesan cheese
Instructions
- Activate the yeast: In a large bowl, mix the warm water, yeast, and sugar. Let this mixture sit for 5 to 10 minutes until it becomes foamy. This shows the yeast is active.
- Make the dough: Add the flour, 1 teaspoon of salt, and 1/4 cup of olive oil to the yeast mixture. Mix until a shaggy dough forms.
- Knead the dough: Turn the dough out onto a lightly floured surface. Knead for about 5 to 7 minutes until the dough is smooth and elastic.
- First rise: Lightly grease a clean bowl with olive oil. Place the dough in the bowl, turning it once to coat. Cover the bowl with plastic wrap or a clean kitchen towel. Let the dough rise in a warm spot for 1 to 1.5 hours, or until it has doubled in size.
- Shape the breadsticks: Gently punch down the risen dough. Divide it into 16 equal pieces. Roll each piece into a long, thin strip, about 10 to 12 inches long. Place the shaped breadsticks on baking sheets lined with parchment paper.
- Second rise: Cover the shaped breadsticks loosely and let them rest for 20 minutes while you preheat your oven to 400°F (200°C).
- Bake: Bake the breadsticks for 10 to 12 minutes, or until they are lightly golden brown.
- Prepare the topping: While the breadsticks bake, melt the butter in a small saucepan over low heat. Stir in the minced garlic, Italian seasoning, and 1/2 teaspoon of salt. Cook for about 1 minute until fragrant.
- Finish and serve: Immediately transfer the hot breadsticks to a large bowl. Pour the garlic butter mixture over them and toss gently to coat completely. Sprinkle with grated Parmesan cheese. Serve warm as a dinner side dish or appetizer.
Notes
- For a cheesy breadstick variation, sprinkle mozzarella cheese over the sticks during the last 2 minutes of baking, then add the garlic butter after they come out of the oven.
- If you are short on time, you can use a good quality store-bought pizza dough, but the texture will be slightly different from this homemade dough recipe.
- If you want that classic restaurant look, brush the tops lightly with an egg wash before baking.
Nutrition
- Serving Size: 1 breadstick
- Calories: 180
- Sugar: 1
- Sodium: 250
- Fat: 8
- Saturated Fat: 4
- Unsaturated Fat: 4
- Trans Fat: 0
- Carbohydrates: 23
- Fiber: 1
- Protein: 4
- Cholesterol: 15