

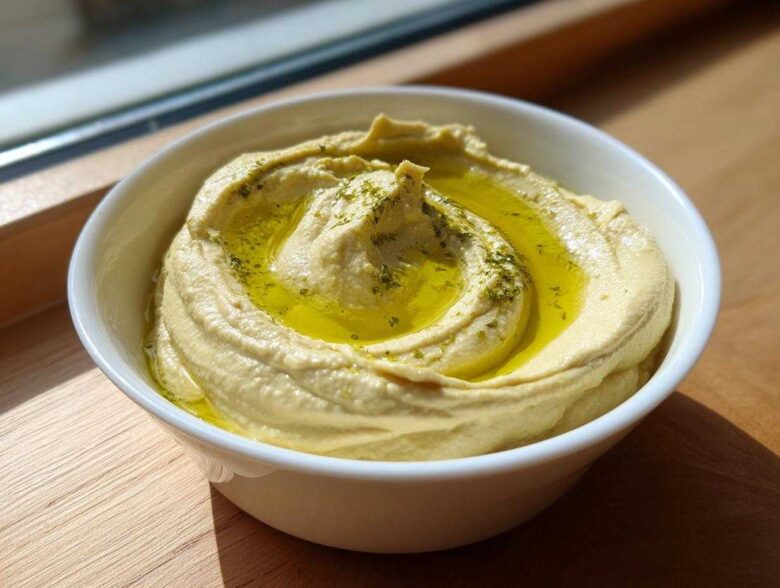
Oh my gosh, are you ready to ditch that sad, grainy tub of store-bought dip forever? Seriously, making homemade **Hummus** changed my entire appetizer game. I used to think getting that silky-smooth texture was impossible unless you owned some crazy industrial machine, but I finally cracked the code after years of trying! This isn’t just another dip; this is hands-down the Best homemade hummus recipe you will ever try.
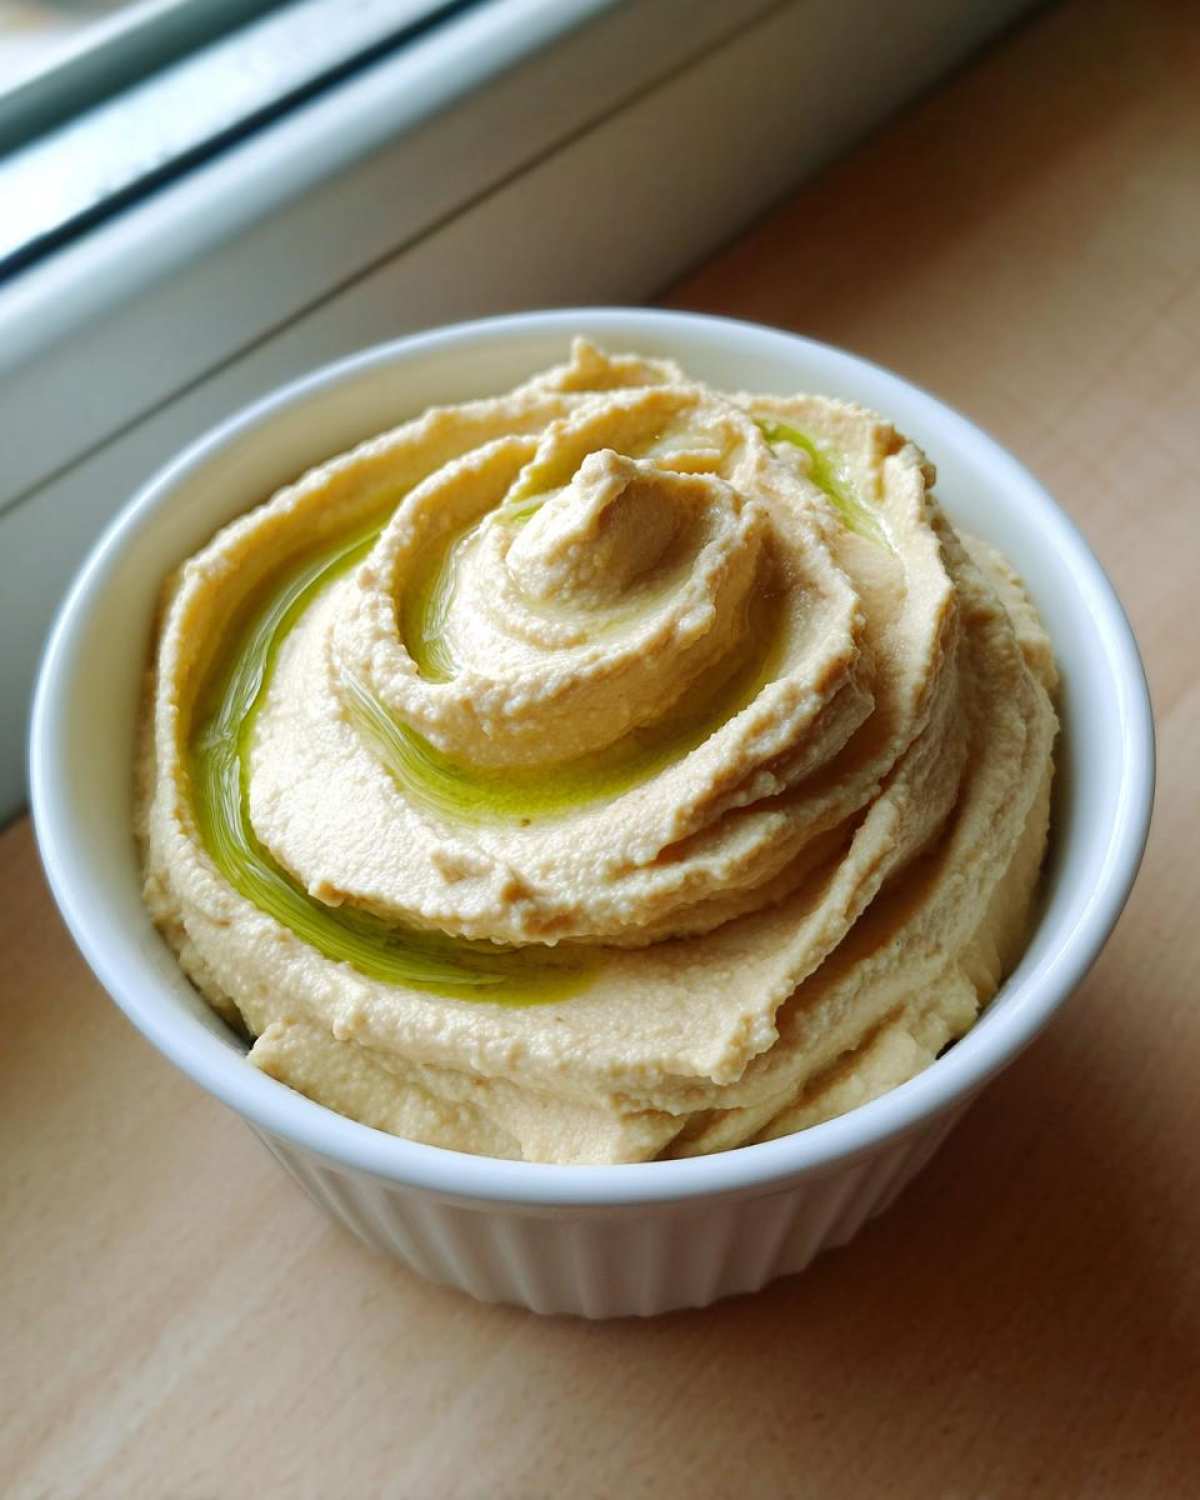
I spent way too many Sundays staring into my food processor, wondering why my chickpea dip resisted creaminess. But trust me, once you try my little boiling trick—and yes, we are peeling the chickpeas, don’t roll your eyes yet!—you’ll get that perfectly elegant, velvety mouthfeel that professionals brag about. It’s all about technique, and I’m so excited to share every single secret with you so your Garlic lemon chickpea spread is the star of every party. You can explore more tips on my blog right here: my favorite cooking adventures.
Why This Classic Creamy Hummus Recipe Works So Well
Look, I’m not going to lie; mediocre hummus is everywhere, and it’s usually gritty! We are aiming for something different here. This texture isn’t magic; it’s pure science applied simply. If you follow these foundational steps, you get that rich, luxurious mouthfeel every time, making this the go-to Best homemade hummus recipe for everyone.
The way we treat those chickpeas before they even hit the processor is what separates the good from the absolute best. It’s why people keep asking me for the recipe for my spread. Forget those recipes that just dump everything in and blend for thirty seconds. We’re putting in the work for supreme smoothness! If you’re curious about other great dips, check out my notes on apple butter slow cooker method for inspiration.
Achieving Smooth Hummus Texture Secrets
The biggest trick for achieving those famous Smooth hummus texture secrets revolves around two things. First, we boil the canned chickpeas with a little baking soda first. Sounds weird, right? But that little bit of soda breaks down the skins and the starches on the outside of the chickpea, which helps everything break down way easier later on.
Second, and this is the part I hated doing but now insist upon? Peeling them! Yes, you peel them after they soften up. It sounds tedious, but once you see how light and fluffy the resulting Hummus is, you’ll never skip it. Peel what you can, and the rest will blend away during that long processing time we talk about later!
Ingredients Needed for Perfect Homemade Hummus
Gathering your ingredients is the easy part, just make sure you have everything measured out before you start processing! Honestly, the best results come from using high-quality tahini—it makes such a difference in the final flavor of the **Hummus**. If you’re missing something for another project, I sometimes look up ideas on my favorite baking substitutes.
You’ll need the absolute basics here, but don’t eyeball the lemon juice; fresh is non-negotiable for that bright flavor!
- 1 (15-ounce) can chickpeas, drained and rinsed (and don’t throw away that liquid—that’s liquid gold!)
- 1/2 cup tahini (the really good, runny kind!)
- 1/4 cup fresh lemon juice (I mean FRESH, squeezed yourself!)
- 2 cloves garlic, minced (I use a microplane for mine so it disappears)
- 1/2 teaspoon ground cumin
- 1/2 teaspoon salt
- 1/4 cup ice water (or that reserved chickpea liquid we saved)
- 2 tablespoons olive oil, plus more for drizzling at the end
Ingredient Notes and Substitutions for Your Hummus
Okay, so sometimes people can’t find good tahini, or maybe they have an allergy. That’s fine! We can work around it. If you absolutely must skip the tahini in your **Hummus**, you can swap it out! Use 1/4 cup of sunflower seed butter instead. It changes the flavor profile slightly, but it still gives you that essential creamy body.
Also, remember what I said about saving that liquid from the can? That’s called aquafaba, and it’s fantastic for making your **Hummus** ridiculously fluffy when you stream it in during the last minute of blending. If you don’t use it all, just make sure to seal up your leftovers tightly and pop them in the fridge. They last great for about five days!
How to Make Hummus: Step-by-Step Instructions
This is where the magic happens! Seriously, following these steps in order is the difference between okay chickpea dip and the incredible, **Best homemade hummus recipe** you can imagine. Overall, you’re looking at about 15 minutes of active prep time and 10 minutes of simmering/processing. It’s so quick! If you’re looking for other easy weeknight wins, I swear by my baked mashed potatoes when I need comfort food fast.
When you’re ready to learn **How to make hummus from scratch** that rivals any deli, grab your food processor and let’s get blending!
Preparing Chickpeas for Creamy Hummus
Do not skip this pre-treatment, okay? It’s your first step toward heavenly, smooth **Hummus**. Take your drained and rinsed canned chickpeas and toss them into a little saucepan. Add about a teaspoon of baking soda—that’s the key activator! Cover them with regular water and bring it all to a rolling boil. Let them simmer gently for about 10 minutes.
When they are done, drain them super well and give them a good rinse. This softens them up beautifully, making it much easier for your food processor to turn them into velvety smooth perfection. If you are feeling ambitious (and I highly encourage it!), this is the time to peel off those little skins while they are still warm. It’s fiddly, but it pays off big time for the **Best homemade hummus recipe**!
Processing for the Ultimate Smooth Hummus Texture
Okay, chickpeas are ready! Throw those softened guys into your food processor bowl along with the tahini, lemon juice, minced garlic, cumin, and salt. Let that run for a full minute. You need to scrape down the sides once to make sure everything gets incorporated evenly.
Now, this next part takes patience, but it builds volume! With the motor running, start drizzling in that ice water or reserved chickpea liquid, a little bit at a time. It needs to run for a good two to three minutes while you add the liquid. You’ll see it start to lighten up and get fluffy—that’s the aeration happening! Finally, while it’s still running, slowly stream in your olive oil. Keep processing for one minute more until you can’t see any grit left. Taste it! Does it need more salt? More zingy lemon? Adjust it now before you declare it done!
Serving Suggestions for Your Garlic Lemon Chickpea Spread
We finally have the best homemade **Hummus** ready, so what do we do with this incredibly creamy masterpiece? Sure, you can grab some pita bread—and you absolutely should!—but don’t limit your incredible creation to just dipping. This spread works wonders in so many contexts. I love using it as a flavorful base layer on toasted sourdough instead of mayonnaise. It makes for the best healthy breakfast toast ever!
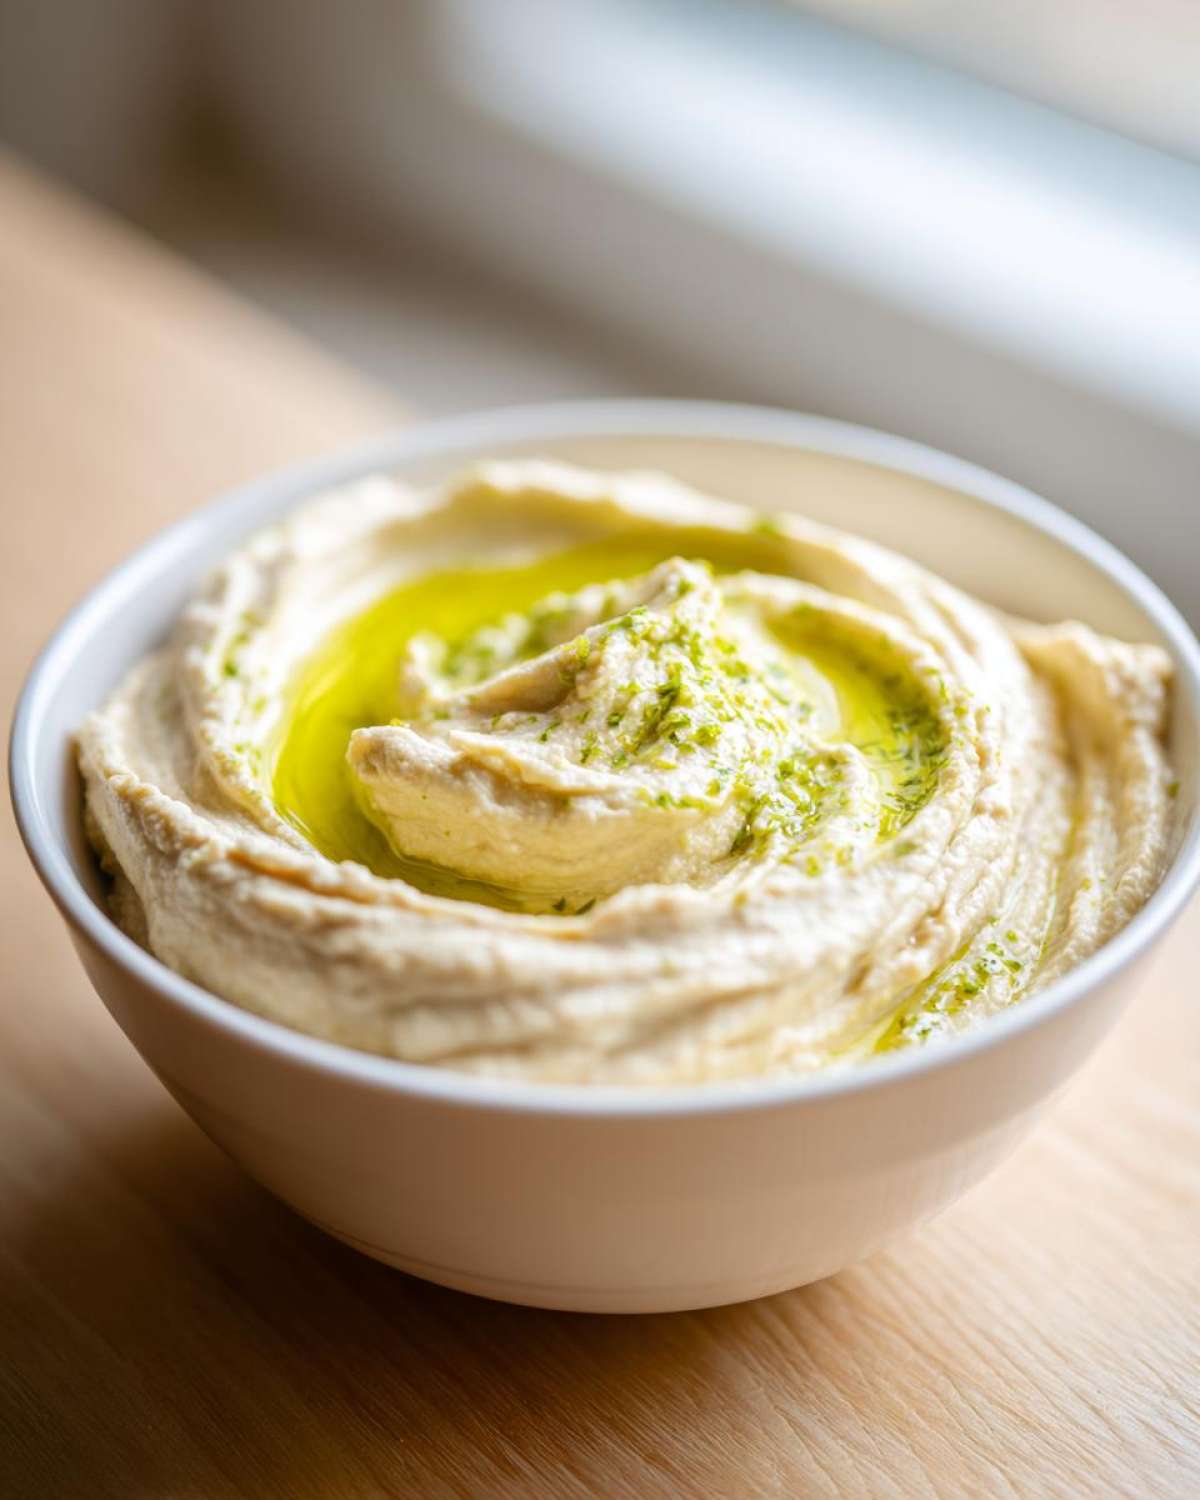
This bright, zesty flavor is perfect for any platter, making it essential for your next Mediterranean appetizer recipes spread. Think about piling this onto skewers with grilled veggies, or using it as the secret sauce in your wrap sandwich. Seriously, this easy chickpea dip recipe begs to be drizzled and customized!
Hummus Topping Variations to Try
Once you get that perfect smooth texture, the fun really begins with toppings. This is where you can really personalize your **Hummus**! Forget boring olive oil; let’s dress this thing up.
- A heavy sprinkle of smoked paprika and toasted pine nuts is classic; you can’t go wrong.
- Try layering on some finely chopped fresh cilantro and a squeeze of lime juice for a brighter flavor profile.
- For a hearty touch, spoon on some roasted red peppers or warm sautéed mushrooms right into the center.
- A drizzle of chili oil gives this vegetarian dip a fantastic kick!
Storage and Reheating Instructions for Hummus
Okay, so you hopefully made a huge batch because you know how fast this stuff disappears! Let’s talk about keeping your masterpiece fresh. Since this is the Best homemade hummus recipe, we want to make sure it tastes just as amazing tomorrow as it does right now. Good news: this **Hummus** stores really well, but you do need to follow a couple of rules.
For Hummus storage and expiration, you want to transfer any leftovers into the smallest airtight container you have. That minimizes the surface area exposed to the air, which keeps it from drying out as quickly. I’ve found that if you press a little piece of plastic wrap directly onto the surface of the dip before putting the lid on, it works like a charm for squeezing out air!
You can definitely keep this in the fridge for about five days. If you’re planning way ahead, you can freeze it, but be warned: the texture might change slightly once it thaws—it sometimes gets a little less silky. If you are freezing it, transfer it to a freezer-safe zip-top bag and lay it flat! When you’re ready to eat it, let it thaw overnight in the fridge. If you need a quick fix for dinner soon, I often reheat leftovers slightly when making a big batch of turkey pumpkin chili!
Troubleshooting Common Hummus Issues
Even with the best homemade strategy, sometimes our food processor decides to play hardball. Don’t panic if your **Hummus** isn’t coming out perfectly smooth the first time! I’ve been there, staring at that gritty paste, wondering where I went wrong. Usually, it comes down to one or two simple fixes that we can correct right now.
If you find your batch looks more like mashed chickpeas than silky velvet, don’t stress. It means we need to revisit the structure. If you’re looking for other quick fixes in the kitchen, you should check out my notes on how to make creamy zucchini soup; sometimes a blender can save the day there, too!
Here are the common hiccups and what to do:
- My Hummus is Grainy or Gritty: This is almost always fixed in those first two steps! Did you boil the chickpeas with baking soda? If you skipped that, you can try simmering them longer next time. But for THIS batch, you just need more time processing. Dedicate an extra two minutes to just blending, scraping down the sides frequently, and slowly dripping in that ice water. The friction creates heat and helps smooth everything out.
- My Hummus is Too Thick: This happens if your tahini was super thick, or maybe your chickpeas were drier than average. The fix is easy! Just add liquid, one tablespoon at a time, while the motor is running. Use reserved chickpea liquid or plain ice water until you hit that dreamy, spreading consistency.
- My Hummus is Too Thin or Runny: Oops, overdid the liquid! This one is harder to fix completely, but you can try this: Add an extra half-cup of plain, drained chickpeas to the food processor and blend them in aggressively. The extra solids should bind up the excess moisture.
- My Hummus Tastes Bland: This is the easiest fix of all! Add more salt and more lemon juice. A good squeeze of fresh lemon juice wakes up the flavor of the tahini and garlic instantly. Taste, adjust, blend for 10 seconds, taste again!
Frequently Asked Questions About Hummus
I always get so many great questions once people start making this **Hummus** recipe at home! It’s such a foundational dish, and everyone wants to tweak it a little bit for their own needs. I’ve gathered the ones I hear most often about this Easy chickpea dip recipe right here for you. If you’re looking for other great make-ahead meals, check out my notes on white chicken lasagna soup.
Can I make creamy hummus without tahini?
Yes, you absolutely can! I know tahini can be pricey or sometimes just plain hard to find depending on where you shop. Like I mentioned before, if you need a substitute for your **Hummus**, use about 1/4 cup of sunflower seed butter stirred in. It adds that necessary fat and body to keep it from being grainy. The flavor will lean a little nuttier, but it’s still completely delicious and super smooth!
Is this hummus recipe suitable for meal prepping?
Oh, totally! This is one of my favorite make-ahead dips for parties. Since we focused on that really robust, creamy texture, it holds up beautifully in the fridge. Just make sure you store it sealed tight—I talked about pressing plastic wrap right onto the surface earlier in the storage section. It stays fantastic for about five days, easily getting you through a busy week of snacking!
Do I really need to peel the chickpeas?
This is the million-dollar question! If you’re aiming for just *good* chickpea dip, maybe you can skip it. But if you want that *silky, elegant, dream-like* texture that makes this the Best homemade hummus recipe, then yes, peeling is the secret weapon! Think of the skins as tiny bits of grit that won’t dissolve no matter how long you blend. If you boil them first with baking soda, they should slip right off with just a little effort, and the payoff is huge!
Why is my hummus too thin even after processing?
If your **Hummus** is too watery, it usually means your tahini was runnier than mine, or you added too much ice water during the middle blending stage. Don’t worry, it’s salvageable! The easiest fix is to blend in an extra half-cup of drained, *un-boiled* canned chickpeas. The extra starch from the raw, drained chickpeas will absorb that extra liquid and thicken everything up fast. Blend for an extra minute after adding them!
Nutritional Estimates for This Healthy Vegan Dip Recipe
I know a lot of you are looking for a great snack that keeps well and fits into a healthy diet, and honestly, this is it! Because we’re using simple, whole ingredients like chickpeas and tahini, this **Hummus** is totally packed with good stuff. It’s naturally vegan, which is fantastic, and it has a good dose of protein to keep you feeling full!
Now, quick disclaimer: these numbers are just estimates based on the ingredients I listed, and they can change slightly depending on the brand of tahini or how much oil you swirl on top. If you want to see how this compares to other healthy options, I sometimes check out my notes on creamy chicken tortilla soup for balance!
Here is what you might expect in a standard 1/4 cup serving size of this delicious **Hummus**:
- Serving Size: 1/4 cup
- Calories: 250
- Fat: 18g (Lots of healthy unsaturated fats here!)
- Saturated Fat: 2g
- Trans Fat: 0g
- Cholesterol: 0mg
- Carbohydrates: 18g
- Fiber: 6g
- Sugar: 3g
- Protein: 8g
Share Your Best Homemade Hummus Creations
Okay, now that you have made the smoothest, creamiest **Hummus** of your life, I really, *really* want to hear about it! Did the baking soda step work miracles for you? Did peeling those chickpeas feel worth it in the end? Tell me everything!
Snap a photo of your gorgeous bowl—especially if you tried one of those fancy topping combinations we talked about. Seeing your creations always makes my day!
Please jump down to the comments section below and let me know which step made the biggest difference for your Easy chickpea dip recipe. A star rating helps other cooks decide if they should dive in next! If you’re looking for something totally different next time, you can always check out my recipe for Peanut Butter Rice Krispie Treats when you need a sweet fix!
PrintClassic Creamy Homemade Hummus
Make smooth, creamy hummus from scratch using simple techniques for the best texture.
- Prep Time: 15 min
- Cook Time: 10 min
- Total Time: 25 min
- Yield: 4 servings
- Category: Appetizer
- Method: Food Processing
- Cuisine: Middle Eastern
- Diet: Vegan
Ingredients
- 1 (15-ounce) can chickpeas, drained and rinsed (reserve liquid)
- 1/2 cup tahini
- 1/4 cup fresh lemon juice
- 2 cloves garlic, minced
- 1/2 teaspoon ground cumin
- 1/2 teaspoon salt
- 1/4 cup ice water (or reserved chickpea liquid)
- 2 tablespoons olive oil, plus more for serving
Instructions
- If using canned chickpeas, place them in a saucepan with 1 teaspoon baking soda and cover with water. Bring to a boil, then simmer for 10 minutes. Drain and rinse well. This step helps create a smoother texture.
- Combine the peeled chickpeas (optional, but recommended for ultimate smoothness), tahini, lemon juice, garlic, cumin, and salt in a food processor.
- Process for 1 minute, scraping down the sides.
- With the motor running, slowly drizzle in the ice water or reserved chickpea liquid until the mixture becomes light and fluffy. This may take 2 to 3 minutes.
- Stream in the olive oil while the processor runs. Process until completely smooth, about 1 more minute.
- Taste and adjust salt or lemon juice as needed.
- Transfer the hummus to a serving bowl, drizzle with olive oil, and serve with pita bread or vegetables.
Notes
- For the smoothest hummus, peel the skins off the chickpeas after boiling them.
- If you do not have tahini, you can substitute with 1/4 cup of sunflower seed butter for a tahini-free version.
- Store leftover hummus in an airtight container in the refrigerator for up to 5 days.
Nutrition
- Serving Size: 1/4 cup
- Calories: 250
- Sugar: 3
- Sodium: 350
- Fat: 18
- Saturated Fat: 2
- Unsaturated Fat: 16
- Trans Fat: 0
- Carbohydrates: 18
- Fiber: 6
- Protein: 8
- Cholesterol: 0