

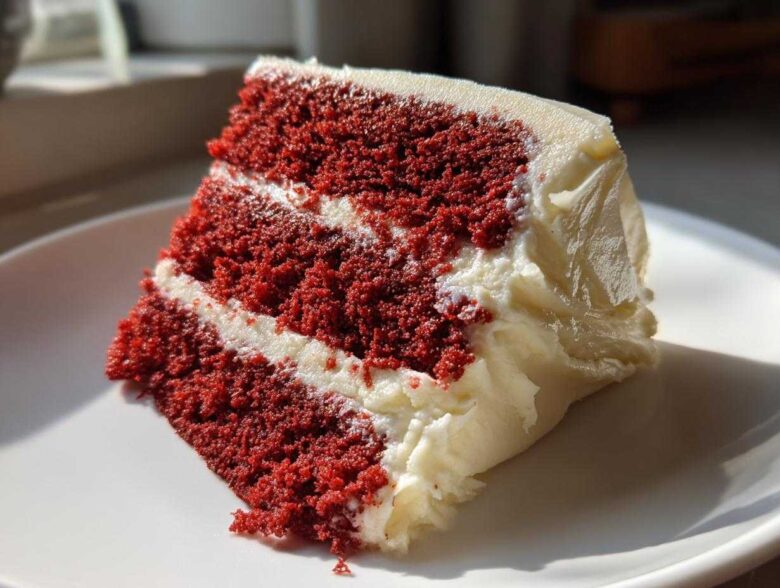
If you’re anything like me, sometimes you just need to bake something that truly screams, “Look at me!” Forget those simple weeknight treats for a minute; we’re talking about a showstopper dessert that tastes even better than it looks. I’m Sofia, and while Leo and I might still set off the smoke alarm sometimes, this recipe for the Best Southern Style Moist Red Velvet Cake From Scratch with Classic Cream Cheese Frosting is pure magic. You can see a little more about our messy journey in the kitchen over at About Us! Trust me, even a beginner baker can nail this authentic red velvet cake and win every single holiday dessert table. Making something this gorgeous and delicious just feels like a huge victory!
Why This Is The Best Moist Red Velvet Cake Recipe You Will Ever Make
I’ve tried so many recipes over the years, and frankly, most of them are just chocolate cake with too much red dye. Not this one! This is the real deal, the moist red velvet cake recipe that Southern grandmothers guard with their lives. What makes it different? It’s all about that legendary texture—super tender and melt-in-your-mouth soft.
When you follow these steps, you get a genuinely fluffy red velvet cake every single time. Plus, it freezes beautifully, so you can bake ahead for those big events!
- It uses the classic combination of buttermilk and a touch of acid to keep that crumb impossibly soft.
- The cocoa powder is just enough to give character without overpowering the flavor.
- The baking technique ensures these layers stay perfectly moist for days. Seriously, check out the trick for my strawberry cake, too; it’s the same principle! moistness secrets here.
Achieving That Authentic Southern Red Velvet Flavor
Listen up, this is the crucial bit that separates a great cake from an okay cake. We use buttermilk and white vinegar—don’t skip them! They aren’t just for tang; they cause a little chemical reaction when they hit the baking soda and the cocoa powder. That reaction is what tenderizes the crumb, making it velvety. It stops the cocoa from tasting bitter and gives you that subtle, complex flavor that true red velvet cake is known for. It’s chemistry, baby, and it’s delicious!
Ingredients for Your Red Velvet Cake From Scratch
Okay, assembling the perfect baking masterpiece starts with having the right lineup. Don’t just grab whatever is closest! Having your ingredients prepped—especially the cold ones being soft—makes this such an easy baking recipe. Seriously, measure everything out first, just like Leo does before he starts shooting photos. It saves so much stress later!
We’ve broken it down so you know exactly what goes into the cake layers and which components are reserved for that dreamy topping. If you want the full best classic peanut butter blossom recipe checklist experience, you can see how organized we try to keep things over there! Check out our baking checklist philosophy here.
Cake Ingredients for the Fluffy Red Velvet Cake
These are the stars of the layers. This list gives you the foundation for that fluffy red velvet cake we keep talking about. Remember, for the color, go for gel coloring—it makes all the difference for that vibrant look!
- 2 1/2 cups all-purpose flour
- 1 teaspoon baking soda
- 1 teaspoon salt
- 1 tablespoon unsweetened cocoa powder
- 1 cup unsalted butter, softened
- 1 1/2 cups granulated sugar
- 2 large eggs
- 1 teaspoon vanilla extract
- 1 cup buttermilk
- 1 teaspoon white vinegar
- 1 to 2 tablespoons red food coloring (Use gel for that vibrant red velvet cake tutorial result!)
Best Cream Cheese Frosting Recipe Components
This frosting is non-negotiable. It has to be rich, tangy, and smooth. The secret here is patience with softening the fats; mushy cream cheese and butter equal smooth frosting!
- 1 teaspoon baking soda (Yes, for the frosting too!)
- 8 ounces cream cheese, softened
- 1/2 cup unsalted butter, softened
- 3 cups powdered sugar, sifted
- 1 teaspoon vanilla extract
Step-by-Step Instructions for Your Easy Red Velvet Cake
Okay, deep breaths! This is where all those gorgeous ingredients come together. Since we want this to be an easy red velvet cake you make again and again, the order matters, but it’s not complicated, I promise. First things first: get that oven hot! Preheat to 350°F (175°C) and make sure those two 9-inch cake pans are greased and floured really well. We don’t want any sticking drama!
If you want to see how we organize our whole cooking flow, check out some of my simple approaches over at my favorite easy baking recipes list. It helps keep kitchen chaos manageable!
Preparing the Dry and Wet Mixtures for Red Velvet Cake
Start simple. In a medium bowl, whisk together all your dry stuff: flour, baking soda, salt, and that cocoa powder. Set that aside. Now, grab your big bowl! Cream that softened butter and sugar like you mean it until it’s fluffy and pale yellow. That creaming step is essential because it traps all the air needed for that fluffy red velvet cake feeling we’re aiming for! Then, beat in your eggs one at a time, followed by the vanilla.
Combining Batter and Activating the Color for Red Velvet Cake
Time for the liquids! In a separate small bowl, mix your buttermilk, vinegar, and food coloring until it’s that perfect intense red. Now, mix slowly! Gently add the dry mixture and the buttermilk mixture alternately into your butter mixture—starting and ending with the dry stuff. The cardinal rule here: mix only until just combined. Seriously, stop when you see streaks! Overmixing ruins the texture and defeats the purpose of a soft homemade cake.
For the grand finale, grab that last teaspoon of baking soda, dissolve it in a tiny bit of water or leftover buttermilk until it foams up (it’s wild looking!), and quickly fold that entire foamy mixture right into the batter. Stir gently, divide it up, and get those babies into the oven!
Tips for a Showstopping Red Velvet Layer Cake
I know we covered ingredients, but for a truly red velvet layer cake that earns compliments, we have to talk about temperature. This isn’t a step you can rush, trust me. If you toss cold eggs into room-temperature butter, you end up fighting the batter the whole time! You want beautiful emulsification, not a curdled mess.
For that perfect bake, make sure your butter, eggs, and buttermilk have been sitting out for at least an hour. When everything is sleeping at the same room temperature, the batter comes together smoothly, holding onto all that air we whipped in earlier. It’s the secret to keeping this cake unbelievably soft!
Temperature Matters for Your Soft Homemade Cake
When your ingredients are room temperature, they mix together seamlessly. This means the fat and liquid combine properly, creating a smooth emulsion. This emulsion traps air bubbles much more effectively, which is crucial for achieving that light, soft homemade cake texture we are determined to get. If you’re ever questioning if your butter is soft enough, just give it a gentle poke; it should leave an indent easily but shouldn’t be oily or melted. That perfect stage guarantees success for your red velvet layer cake!
Also, when testing for doneness, use the toothpick/skewer trick, but always watch the edges, too. If the cake has slightly pulled away from the pan walls, it’s usually ready to come out. Don’t forget to check out my recipe for that tangy lemon pound cake; a lot of the temperature science is the same! See those lemon cake tips here!
Making the Best Cream Cheese Frosting for Your Red Velvet Cake
Alright, the layers are baked, they’re cooling (don’t rush this part, seriously!), and now it’s time for the main event: the frosting! If you want the best cream cheese frosting recipe to ever grace a cake, you need to pay attention to two words: *softened* and *sifted*. I can’t stress this enough—if your butter or cream cheese is cold, you will end up with a lumpy, sad mess, and we are making a showstopper, not a sad mess!
I learned the hard way that chilling the ingredients meant scraping the mixing bowl repeatedly. Now, I always make sure my cream cheese and butter are relaxed and fully room temperature. It usually takes about an hour on the counter, but it’s worth the wait for that silky-smooth finish on your red velvet cake.
Start by beating the softened cream cheese and butter—just those two—with your mixer until they are completely uniform and fluffy. This usually takes a good two minutes on medium speed. Once they look like pale, creamy clouds, start adding your powdered sugar slowly. I like to sift it first because those little lumps of powdered sugar are the enemy of smooth frosting. Add the vanilla in, and you’re basically done!
If the frosting seems too stiff, add a tiny dash of milk, maybe half a teaspoon at a time, until you get a texture that feels spreadable but still holds its shape. If you want a taste of how seriously I take cookie texture—which is related to frosting texture, trust me—you should check out my secrets for perfect chocolate chip cookies. It’s all about that initial fat preparation!
Assembling and Decorating Your Red Velvet Cake
This is the victory lap, folks! You’ve got your gorgeous, tender layers and that decadent cream cheese frosting. But listen to Sofia on this one: if you try to frost these cakes before they are absolutely, positively, stone-cold finished cooling, you are asking for a meltdown, and trust me, that’s not the kind of happy chaos we want in the kitchen. Wait for them to cool completely on the rack—like, fully room temperature.
This cake is designed to be an amazing result for even the most nervous new baker, making it one of the best beginner cake recipes out there if you just follow the cooling rule! You don’t need fancy piping bags or thirty different tips to make this red velvet cake look stunning.
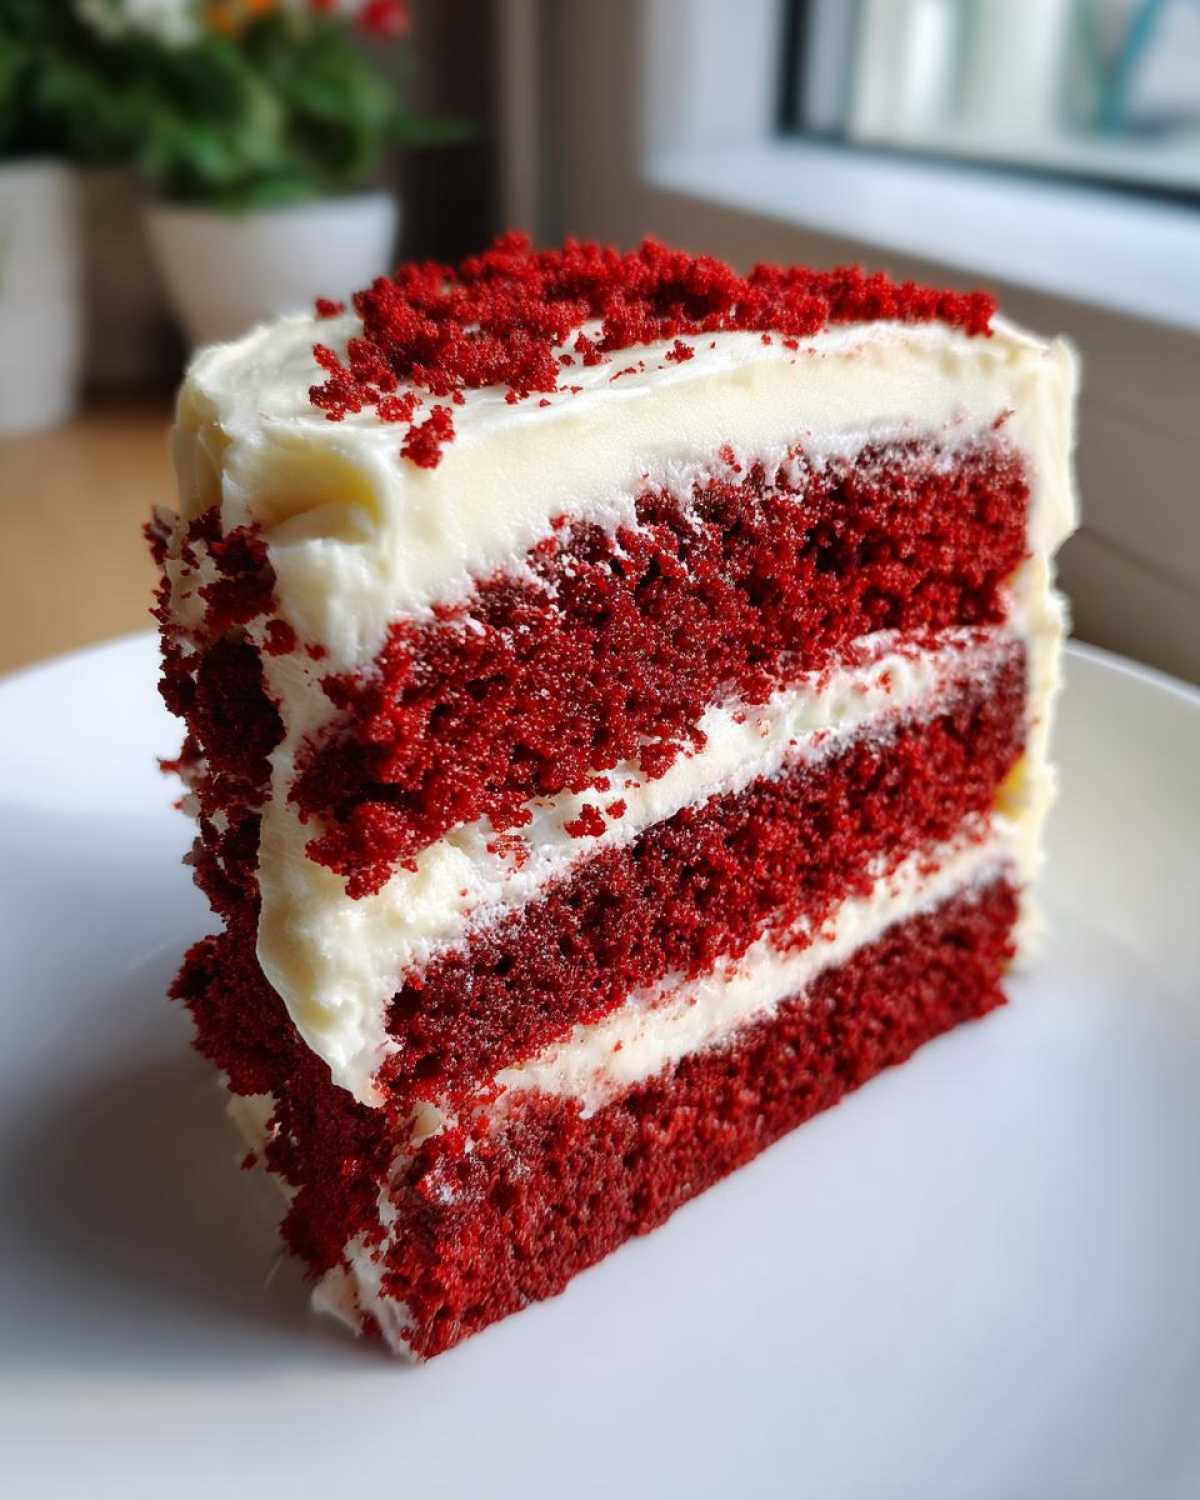
I usually start with a thin layer of frosting all over the entire cake—top and sides. We call this the crumb coat! It’s like patching up any loose crumbs or little valleys in the layers so your final layer of frosting goes on smooth as silk. Think of it as painting a primer coat on a wall before the final color. Don’t worry if it looks a little messy; that’s just the nature of these soft cakes!
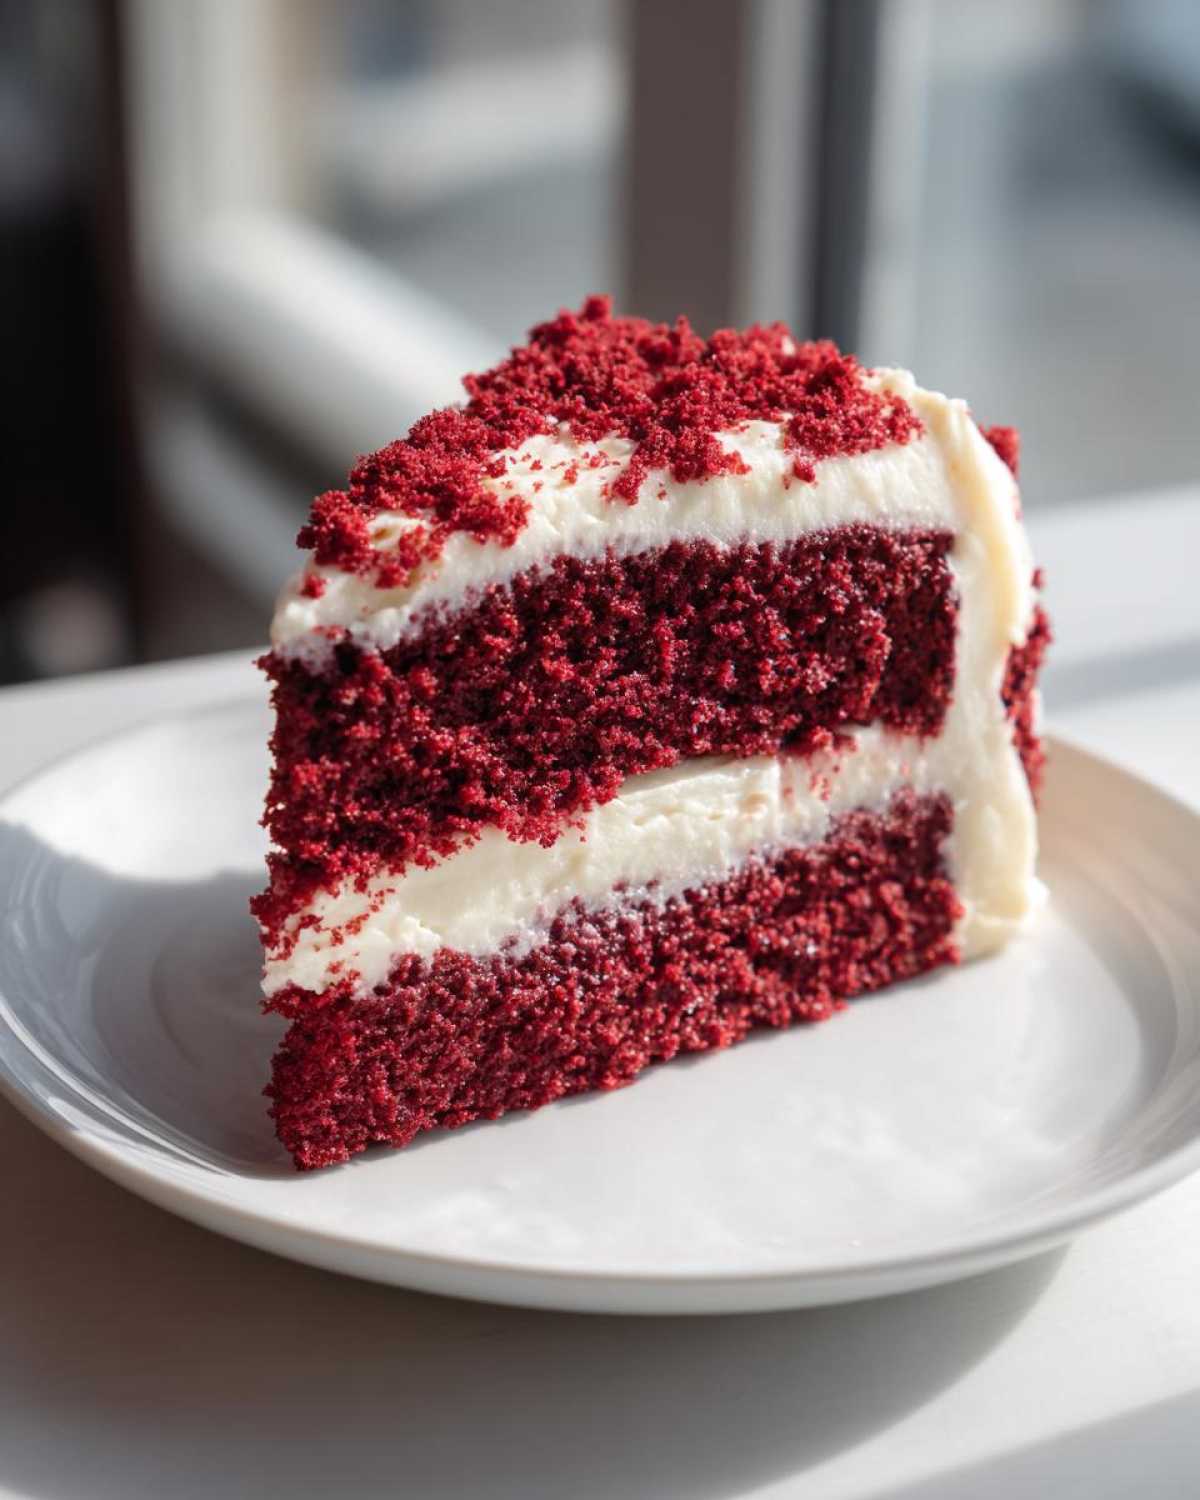
Once that crumb coat is on, pop the whole thing in the fridge for about 15 minutes just to set that thin layer up. Then, bring out the rest of your frosting and apply a thicker, final layer. I usually just use an offset spatula and swirl it gently on top. A rustic, slightly imperfect swirl looks way more homemade and inviting than trying to get Swiss meringue perfection, right?
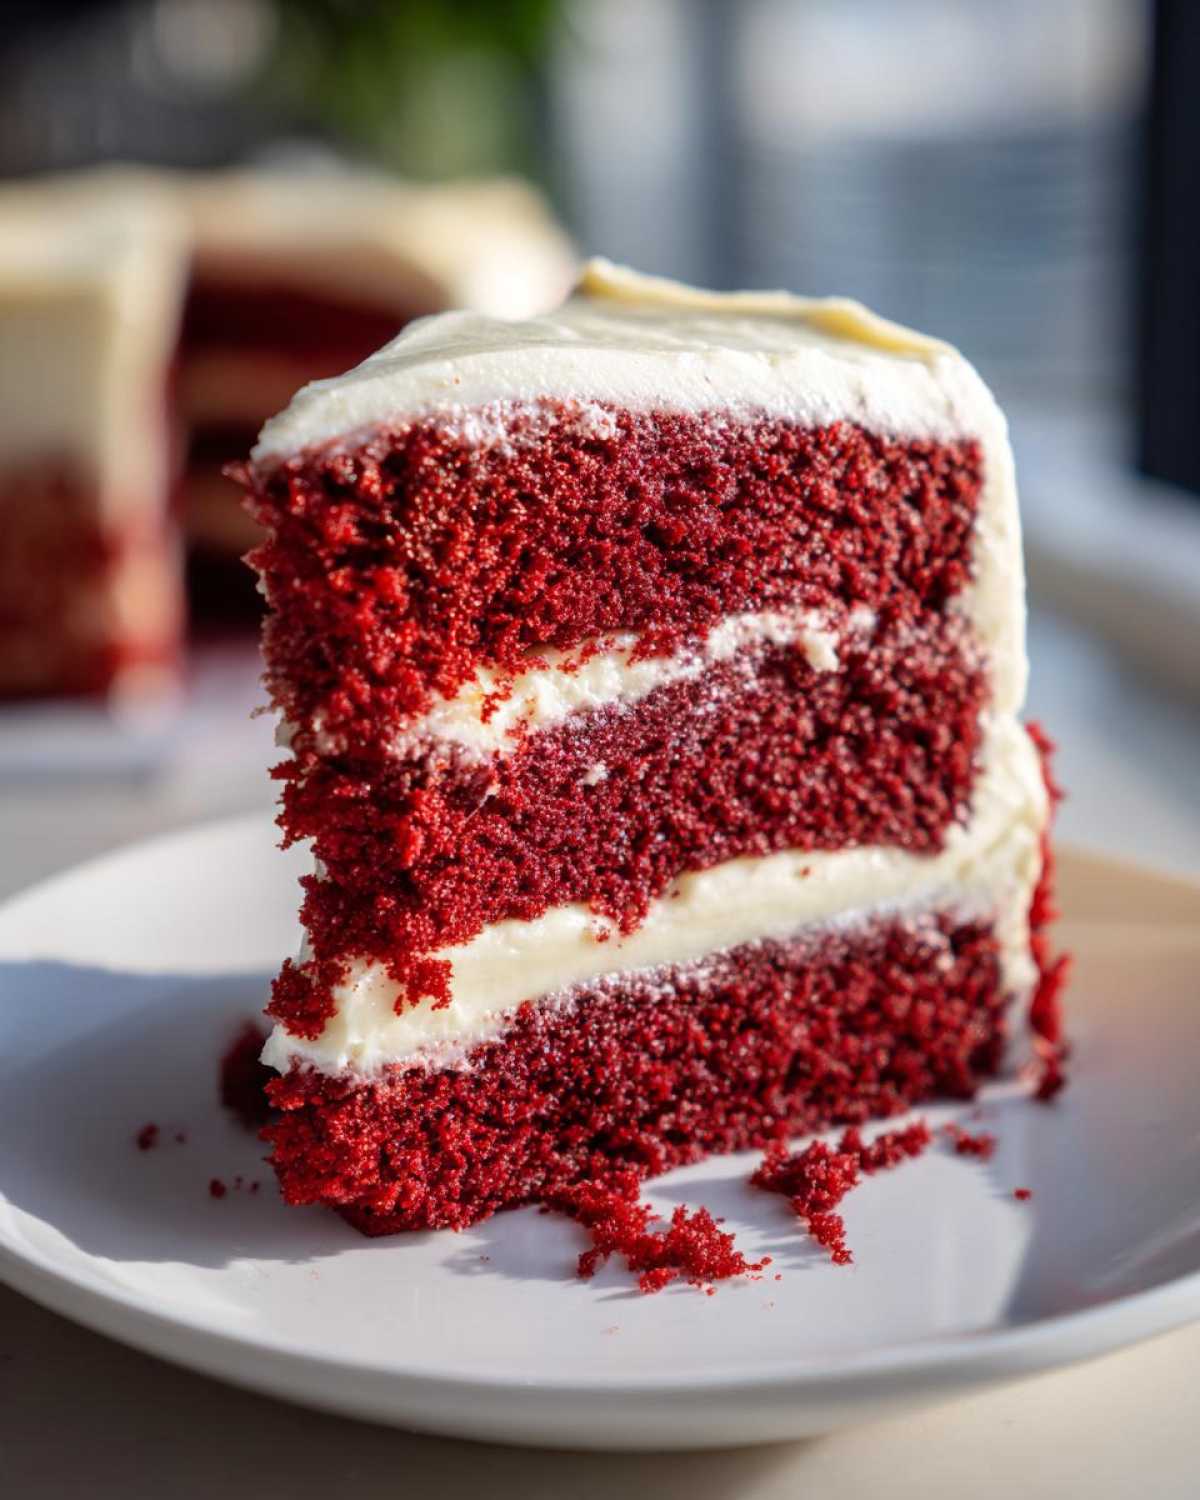
If you feel like you need a warm-up run before tackling the assembly, go whip up a batch of my chocolate chip banana bread first; the technique for getting that smooth exterior works the same way! You can find that recipe here: Chocolate Chip Banana Bread. Once the main cake is frosted, a few leftover cake crumbs sprinkled around the base or top edge look wonderfully professional. It’s simple, elegant, and lets the beautiful red cake shine through!
Storage and Reheating Instructions for Red Velvet Cake
Okay, the moment of truth! You made this amazing, show-stopping cake, and now we have to keep it looking and tasting perfect without turning it into a dry sponge. Since we used that rich, tangy cream cheese frosting, we absolutely cannot leave this cake sitting out on the counter all night, no matter how tempting that slice is.
The red velvet cake needs to chill out in the fridge. Pop it into an airtight container—or cover the stand tightly with plastic wrap if you’re feeling brave enough to wrap the whole thing—and it should be perfectly happy in there for up to four days. Leo always tries to sneak cake from the fridge late at night, so I’ve learned to put the best, prettiest slices on a separate little plate just for me!
Now, here’s the most important part about refrigeration: never serve cake straight out of the fridge! Cold temperature mutes flavor and makes the cake layers feel firm and less tender. Before you slice it for serving, you need to bring it back to life.
Bringing It Back To Life
Pull your slices—or the whole cake if you’re feeling generous—out of the refrigerator at least an hour before you plan to eat it. An hour is usually plenty of time for that butter and cream cheese in the frosting to soften up just a little bit, making the frosting creamy again. More importantly, it lets the cake’s flavor bloom!
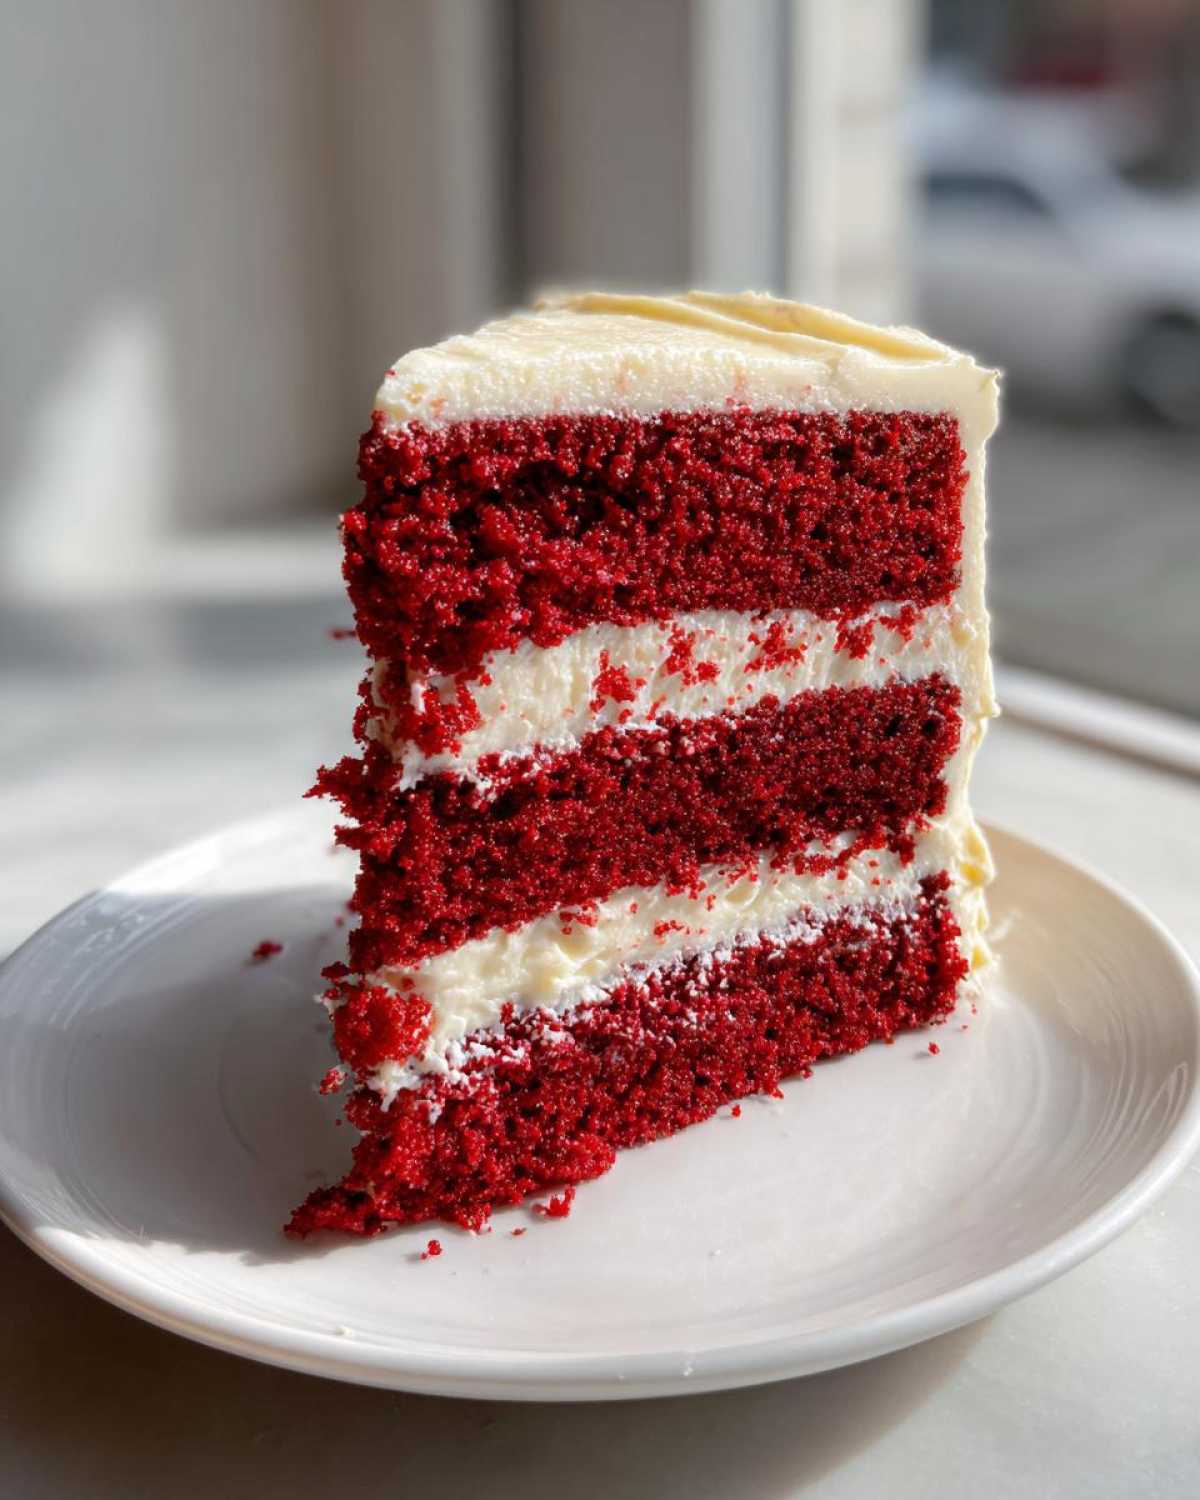
When the cake warms up gently, those fats redistribute, and the crumb softens right back up to that perfect, moist texture we worked so hard to achieve. It goes from good to *sensational* just by waiting patiently. If you are in a huge rush, you can try microwaving an individual slice for just 5 to 10 seconds, but honestly, the countertop method works best for keeping the integrity of the frosting. Don’t worry about reheating the whole cake; trust me, it won’t last long enough to need it!
Frequently Asked Questions About Red Velvet Cake
I totally get it—when you’re trying to make a showstopper dessert, you have a million little doubts running through your head! Does this really work? What if I mess up the color? Don’t panic! I’ve gathered up all the questions I used to obsess over when I was perfecting this red velvet cake. Hitting the ‘Publish’ button on this recipe after getting it right felt amazing, and I want you to feel that way too when you finish baking! If you want to dive into more of our kitchen thoughts and tips, you can always pop over to the main Cookify Me blog!
Can I substitute buttermilk in this red velvet cake recipe?
Oh, the classic substitute question! Life happens, and sometimes you just don’t have buttermilk on hand. The short answer is yes, you absolutely can! For every cup of buttermilk the recipe calls for, just mix one cup of regular whole milk (or 2% if that’s all you have) with one tablespoon of white vinegar or lemon juice. Let it sit for about five minutes until it looks slightly curdled—that’s your homemade buttermilk stand-in!
Now, a little warning: while it works perfectly fine, the texture might be just a *tiny* bit less tender than using true, fermented buttermilk. The store-bought kind is usually better, but this hack is a lifesaver for those last-minute baking urges. It keeps the cake tangy, which is the main goal for an authentic southern red velvet experience!
How do I get the most vibrant red velvet cake color?
This is the most common question when aiming for that iconic look! If you use liquid food coloring, you often have to dump in so much to get a deep red that you actually thin out your batter too much, resulting in a flatter, less fluffy red velvet cake. That’s why I swear by gel coloring!
Gel food coloring is super concentrated. You only need a little dab—seriously, start with half a teaspoon—to get that deep, vibrant color. It integrates beautifully into the batter without adding extra moisture. Also, remember the cocoa powder itself is brown, so the red has to fight that a little bit! Using the gel ensures you win the battle and get that beautiful hue, making it perfect for your next vibrant red velvet cake tutorial moment!
Is this different from regular chocolate cake with red dye?
Yes, a thousand times yes! This is the heart of why we love this recipe so much. A standard chocolate cake relies heavily on cocoa powder for its deep flavor. An authentic southern red velvet cake, however, uses a very small amount of cocoa—just enough to give a slight background earthiness and that subtle chemical reaction when paired with the acid (buttermilk/vinegar).
If you just add red dye to a chocolate cake recipe, you get a red chocolate cake, which is fine, but it’s not velvet! The low amount of cocoa powder, combined with the reaction from the buttermilk, creates a lighter, softer crumb structure—that famous ‘velvet’ texture. It’s not about being intensely chocolatey; it’s about flavor complexity and that incredible mouthfeel. It’s truly in a league of its own compared to a standard cocoa powder cake!
Serving Suggestions for Your Red Velvet Cake Celebration
You’ve done it! You’ve created a true masterpiece, that gorgeous, moist red velvet cake dripping with cream cheese frosting. Now, how do we present this beauty? Since this cake is vibrant and rich, it pairs wonderfully with things that cut through that richness. This recipe is fantastic for all your big moments, whether you’re looking for stunning birthday cake ideas or the ultimate valentine’s day desserts!
I personally love serving this cake slightly chilled but not fridge-cold (remember our storage tip above!). The deep red is just stunning against a backdrop of white plates, especially if you’re having a holiday party during Christmas time!
Here are a couple of ways Leo and I like to present it:
- With Coffee: A rich, strong cup of black coffee or a latte is the *perfect* palate cleanser against the sweetness of the frosting and the tang of the cake.
- Simple Fruit Garnish: If you want a little color pop that isn’t frosting, try placing a few fresh raspberries or bright strawberries right on top of the frosting swirls. They pick up the red color beautifully! This keeps it feeling sophisticated.
- A Glass of Milk (For Nostalgia): Sometimes, nothing beats the simple pleasure of the cake itself, but a cold, tall glass of milk makes it feel like a special childhood treat all over again.
For something totally different after you master this classic version, you have to try a twist! If you like easy desserts, check out my recipe for a quick smoothie. It’s totally different but perfect for a refreshing day after a rich cake day! Try this Watermelon Smoothie next!
Serving Suggestions for Your Red Velvet Cake Celebration
You’ve done it! You’ve created a true masterpiece, that gorgeous, moist red velvet cake dripping with cream cheese frosting. Now, how do we present this beauty? Since this cake is vibrant and rich, it pairs wonderfully with things that cut through that richness. This recipe is fantastic for all your big moments, whether you’re looking for stunning birthday cake ideas or the ultimate valentine’s day desserts!
I personally love serving this cake slightly chilled but not fridge-cold (remember our storage tip above!). The deep red is just stunning against a backdrop of white plates, especially if you’re having a holiday party during Christmas time!
Here are a couple of ways Leo and I like to present it:
- With Coffee: A rich, strong cup of black coffee or a latte is the *perfect* palate cleanser against the sweetness of the frosting and the tang of the cake.
- Simple Fruit Garnish: If you want a little color pop that isn’t frosting, try placing a few fresh raspberries or bright strawberries right on top of the frosting swirls. They pick up the red color beautifully! This keeps it feeling sophisticated.
- A Glass of Milk (For Nostalgia): Sometimes, nothing beats the simple pleasure of the cake itself, but a cold, tall glass of milk makes it feel like a special childhood treat all over again.
For something totally different after you master this classic version, you have to try a twist! If you like easy desserts, check out my recipe for a quick smoothie. It’s totally different but perfect for a refreshing day after a rich cake day! Try this Watermelon Smoothie next!
PrintThe Best Southern Style Moist Red Velvet Cake From Scratch with Classic Cream Cheese Frosting
You deserve a show-stopping dessert! This recipe delivers the authentic Southern Red Velvet Cake experience: ultra-moist, soft, and tender layers with just the right hint of cocoa. We pair it with the best homemade cream cheese frosting. This is an easy baking recipe perfect for birthdays or any celebration.
- Prep Time: 25 min
- Cook Time: 30 min
- Total Time: 55 min
- Yield: 12 servings
- Category: Dessert
- Method: Baking
- Cuisine: American
- Diet: Vegetarian
Ingredients
- 2 1/2 cups all-purpose flour
- 1 teaspoon baking soda
- 1 teaspoon salt
- 1 tablespoon unsweetened cocoa powder
- 1 cup unsalted butter, softened
- 1 1/2 cups granulated sugar
- 2 large eggs
- 1 teaspoon vanilla extract
- 1 cup buttermilk
- 1 teaspoon white vinegar
- 1 to 2 tablespoons red food coloring (use gel for vibrant color)
- 1 teaspoon baking soda (for frosting)
- 8 ounces cream cheese, softened (for frosting)
- 1/2 cup unsalted butter, softened (for frosting)
- 3 cups powdered sugar, sifted (for frosting)
- 1 teaspoon vanilla extract (for frosting)
Instructions
- Preheat your oven to 350°F (175°C). Grease and flour two 9-inch round cake pans.
- In a medium bowl, whisk together the flour, baking soda, salt, and cocoa powder. Set this dry mixture aside.
- In a large bowl, beat the softened butter and granulated sugar with an electric mixer until light and fluffy. This step adds air for a fluffy cake.
- Beat in the eggs one at a time, mixing well after each addition. Mix in the vanilla extract.
- In a separate small bowl, mix the buttermilk, vinegar, and red food coloring until you achieve your desired vibrant red velvet color.
- Gradually add the dry ingredients to the wet ingredients, alternating with the buttermilk mixture, beginning and ending with the dry ingredients. Mix only until just combined. Do not overmix.
- In a small bowl, dissolve the remaining 1 teaspoon of baking soda into the batter. Stir gently until it foams slightly, then quickly fold it into the cake batter.
- Divide the batter evenly between the prepared cake pans.
- Bake for 25 to 30 minutes, or until a wooden pick inserted into the center comes out clean.
- Let the cakes cool in the pans for 10 minutes before inverting them onto a wire rack to cool completely.
- Prepare the cream cheese frosting: Beat the softened cream cheese and butter together until smooth. Gradually add the powdered sugar and vanilla extract. Beat until light and creamy.
- Once the cakes are completely cool, frost and stack the layers to create your homemade cake.
Notes
- For the most authentic Southern red velvet flavor, do not skip the buttermilk and vinegar; they react with the cocoa powder and baking soda to create the classic slight tang and tender crumb.
- Use gel food coloring instead of liquid for a more intense, vibrant red velvet cake color without thinning the batter.
- If you want a truly soft homemade cake, ensure all your cold ingredients (buttermilk, eggs, butter) are at room temperature before starting.
Nutrition
- Serving Size: 1 slice
- Calories: 450
- Sugar: 55g
- Sodium: 300mg
- Fat: 24g
- Saturated Fat: 14g
- Unsaturated Fat: 10g
- Trans Fat: 0.5g
- Carbohydrates: 58g
- Fiber: 1g
- Protein: 5g
- Cholesterol: 75mg