

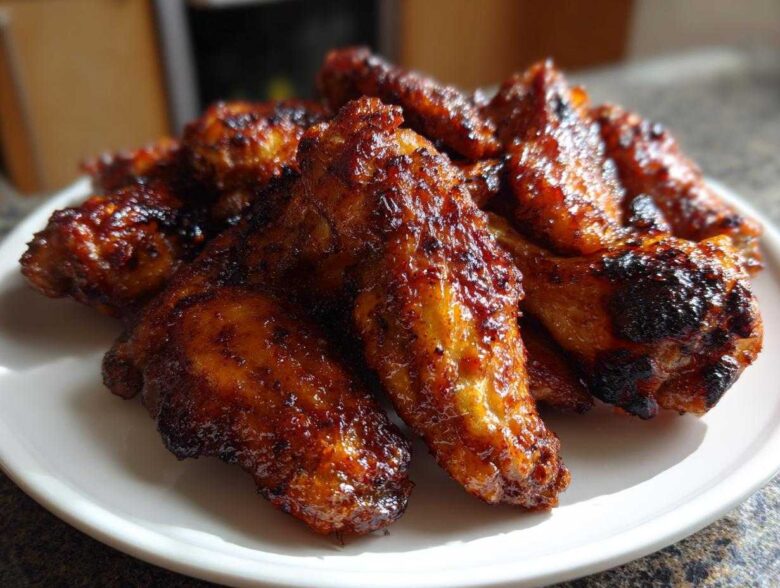
Okay, friends, listen up! If you’ve ever wanted perfectly crispy chicken wings—the kind that shatters when you bite into them but that stay secretly juicy on the inside—and you *dread* deep frying, I have the secret weapon you need. Forget the oil splatter; this recipe is pure magic! I spent ages testing flavors and techniques (you can read more about our kitchen chaos over at our story), and I landed on the absolute best way to get that coveted crunch using just your regular oven. We’re talking Extra Crispy Baked Chicken Wings, all thanks to one simple baking powder trick. Seriously, these are going to change your wing night forever!
Why You Will Make These Extra Crispy Baked Chicken Wings Again and Again
Honestly, once you nail this technique, you won’t even look at your deep fryer again. These work perfectly for those last-minute Game Day needs or when you just need a quick, savory bite!
- They deliver ultimate **Juicy Inside Crispy Outside Wings** every single time.
- Total **No Fry** situation—way healthier and zero messy cleanup!
- They are absolutely **Game Day Ready** in about an hour total.
- The method guarantees **Maximum Crispiness** on that skin!
Gathering Your Ingredients for the Best Crispy Chicken Wings
Okay, you know I’m all about keeping it simple, right? We don’t need a million fancy things. The beauty of this recipe is that it relies on solid technique and just a few pantry staples. Seriously, double-check that you have baking powder—it’s the real MVP here for getting those chicken wings perfectly textured without all that oil.
The Essential Components for Perfect Chicken Wings
Here’s what you need to gather up before we get messy. Measure everything out, because trust me, once you start mixing, you’ll want to move fast!
- 3 lbs chicken wings (flats and drumettes)
- 2 tablespoons baking powder (aluminum-free is best—it makes a tiny difference!)
- 1 teaspoon salt
- 1/2 teaspoon black pepper
- 1/2 teaspoon garlic powder
- 1/4 cup your favorite wing sauce (like Buffalo or Honey Garlic)
The Ultimate Technique: How to Get Crispy Chicken Wings in the Oven
Okay, buckle up, because this is where the magic happens! Getting that restaurant-quality crunch without a vat of oil takes about 50 minutes of active cooking time, plus 15 minutes of prep, but trust me, your oven is about to become your new favorite wing fryer. The game changer here, as you know, is the baking powder. It strips away just enough surface moisture so the skin can crisp up beautifully under the heat. Remember to check out my full rundown on how to nail this technique if you want even more details!
Preparation: Drying and Coating Your Chicken Wings
The absolute non-negotiable first step? Pat those chicken wings *bone dry*. I mean really get in there with the paper towels. Any water left on the skin turns into steam and steam is the enemy of crispiness! Preheat your oven to 425°F (220°C). While it heats, mix up your dry ingredients—the baking powder, salt, pepper, and garlic powder—in a big bowl. Toss the dry wings right into that powder mixture until every piece looks lightly dusted. That coating is what helps these become glorious **Oven Baked Wings**!
Baking for Maximum Crunch: The Two-Temperature Method for Chicken Wings
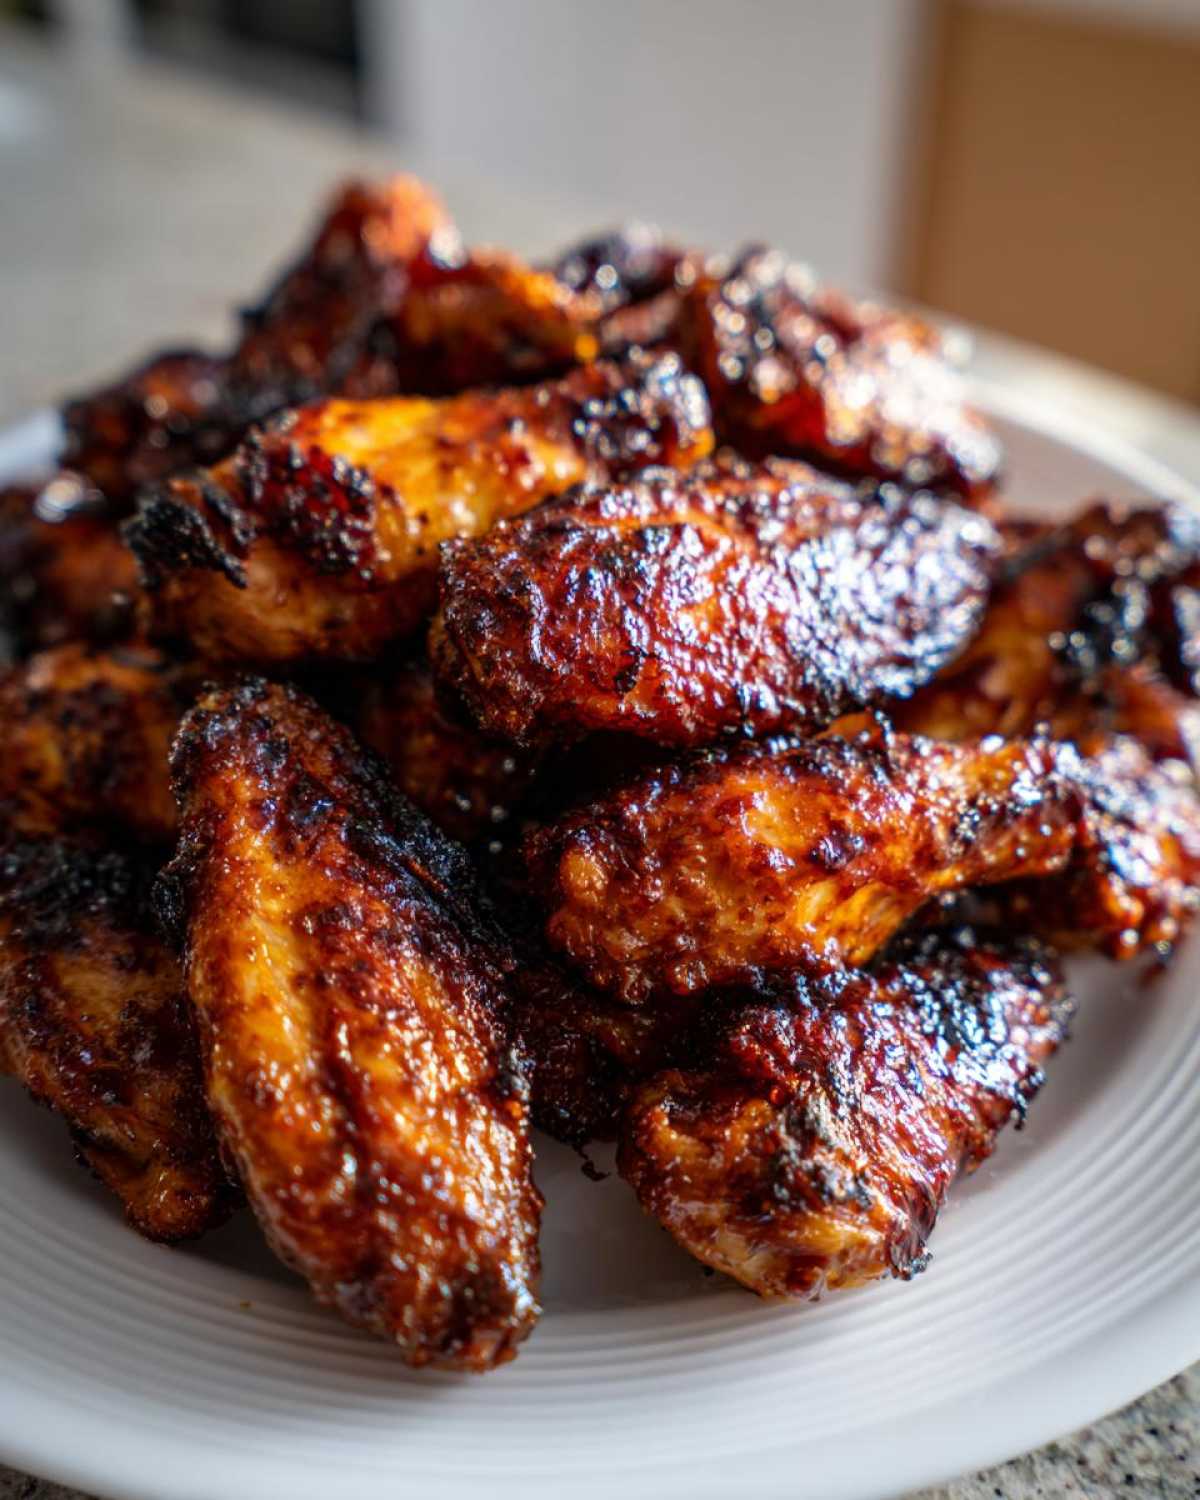
Get your baking sheet ready with foil (for easy cleanup, because we love fun, not scrubbing!) and put a wire rack on top. This rack is vital; it lets air circulate underneath, which means we get No Fry Chicken Wings that are crispy all the way around. Lay the wings out single layer—no stacking! Bake them at 425°F for 25 minutes. Then, flip ’em, drop the temperature down to 400°F, and bake for another 20 to 25 minutes until they look golden perfection.
Saucing Your Flavorful Chicken Wings
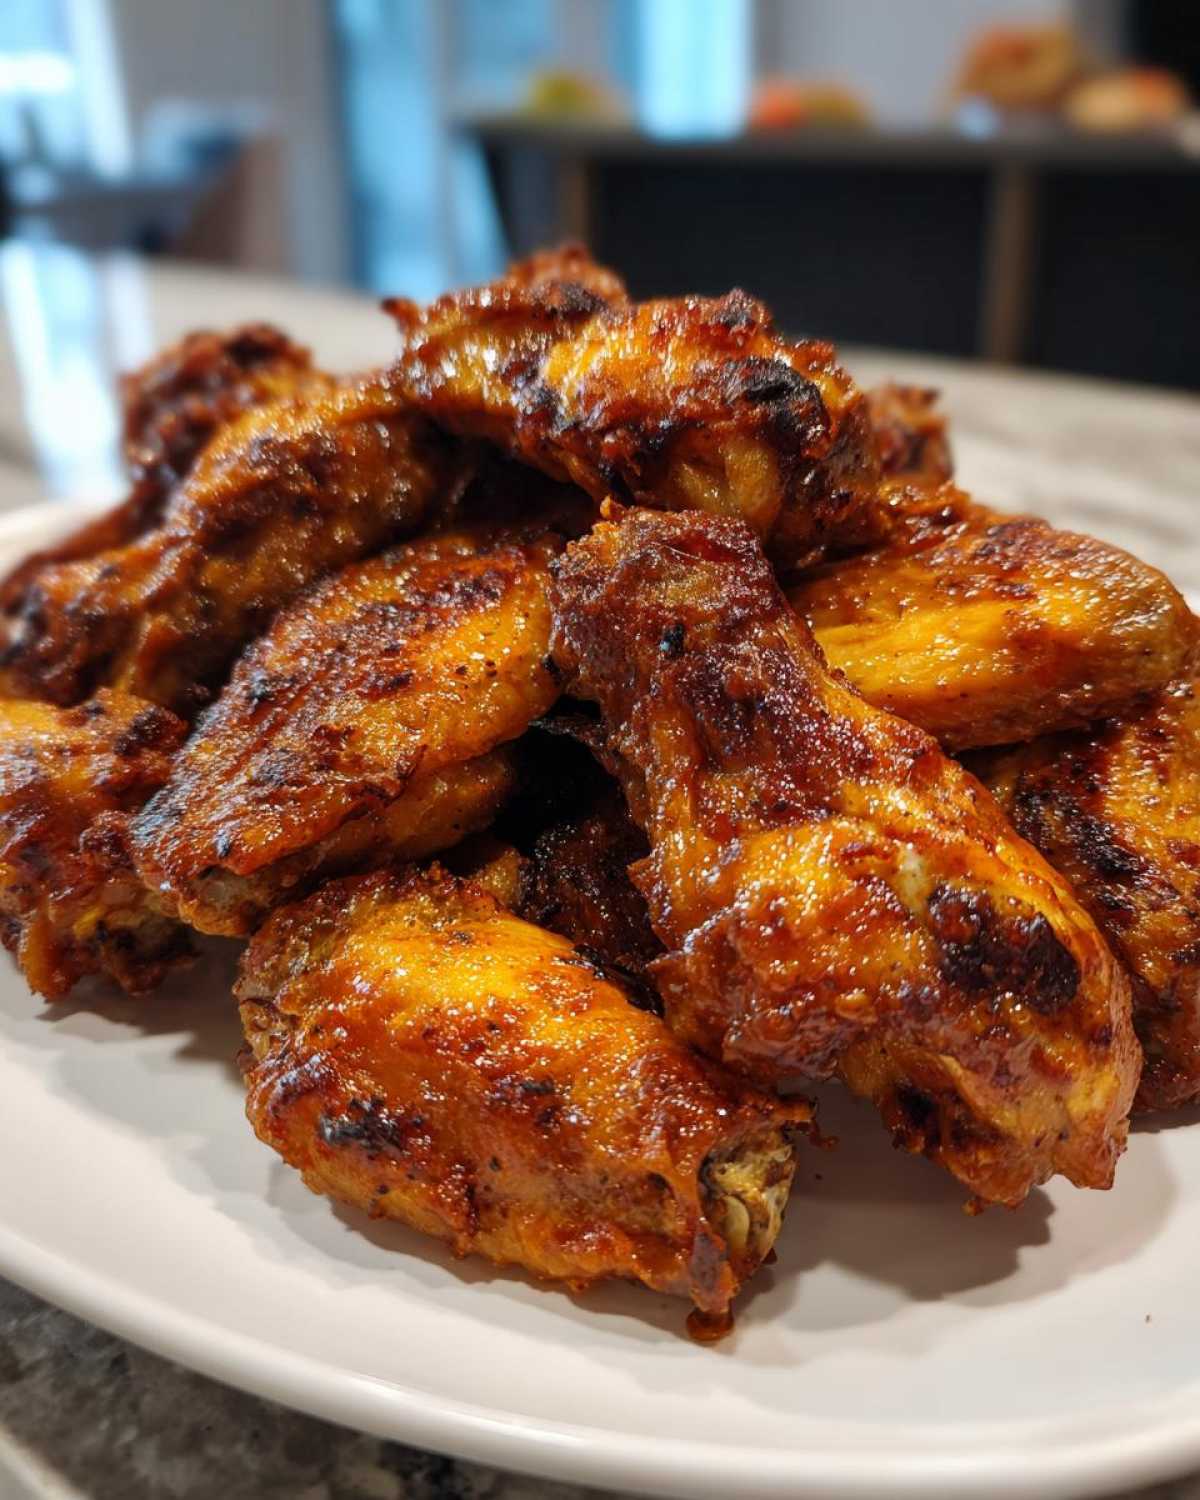
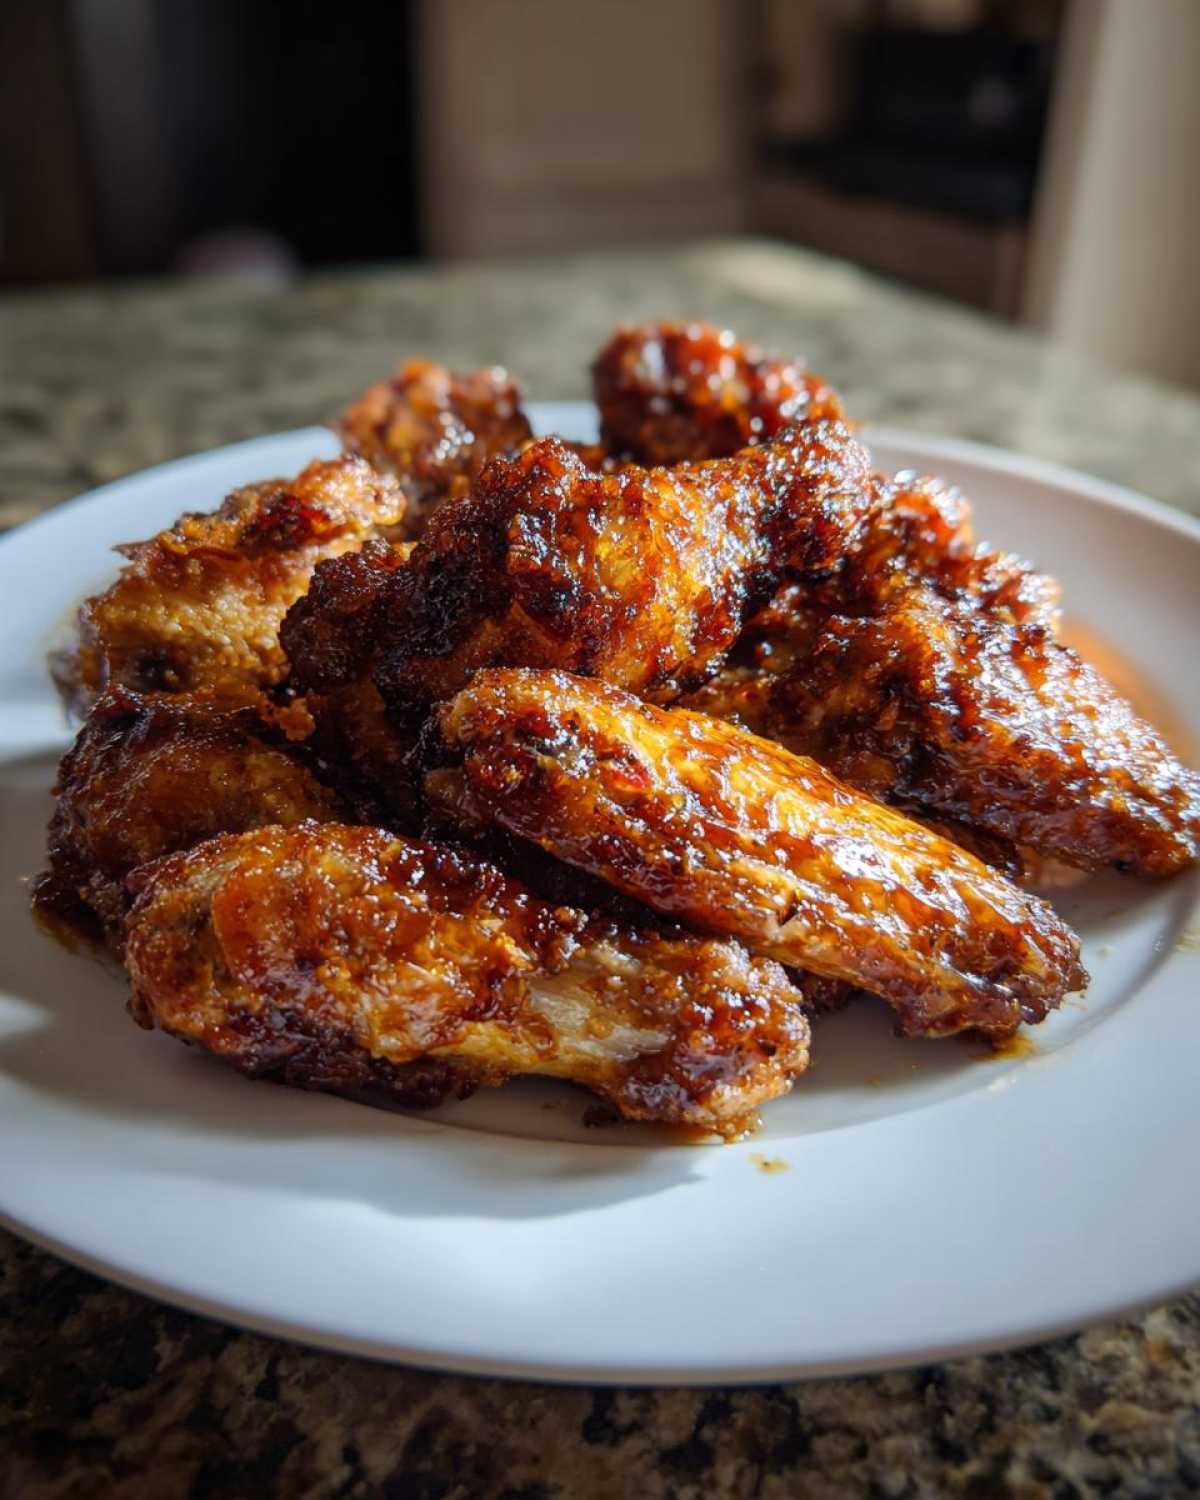
The wings are done when they are deep golden and look impossibly crisp! Pull them out and immediately toss them into a clean bowl with your sauce. Don’t leave them sitting in the sauce, or they get soggy instantly. A quick, firm toss is all they need to get sticky and glossy. Serve these babies right away, piping hot, and watch them disappear—they make the perfect **Game Day Chicken Wings**!
Flavor Variations for Your Homemade Chicken Wings
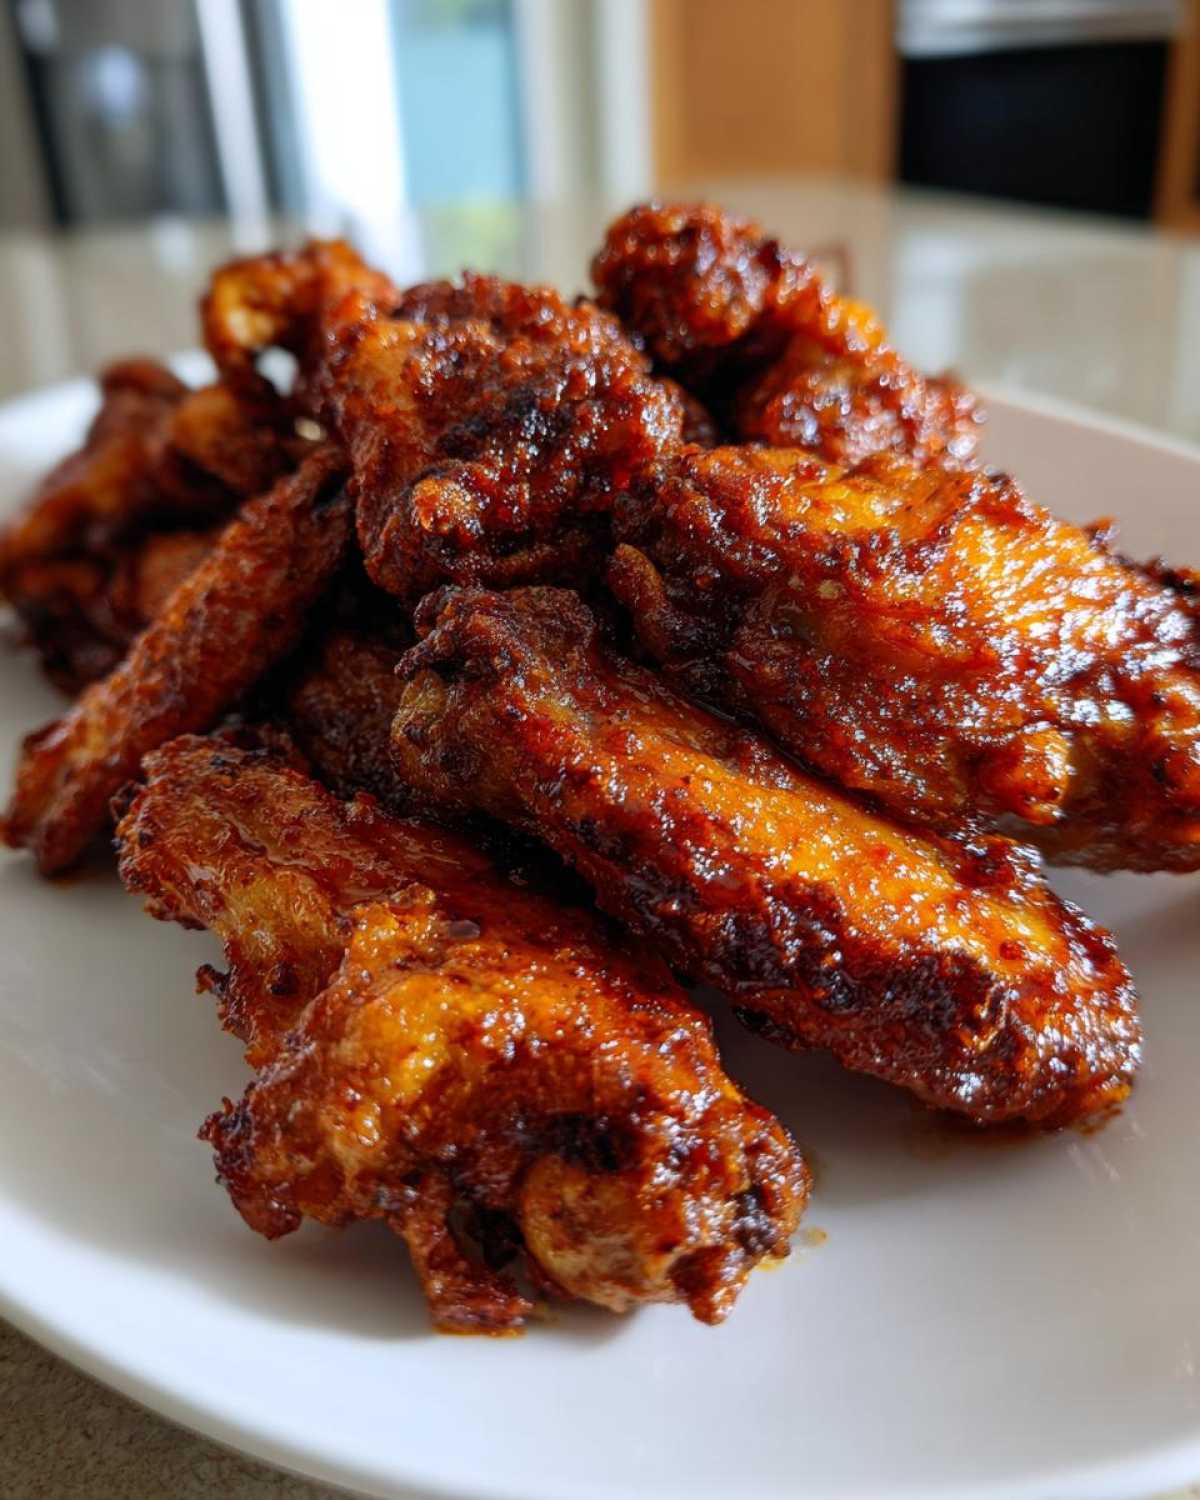
The baking powder technique is amazing because it handles the crispiness job so well, it doesn’t matter what flavor you throw on afterward! You can use this base method to create almost any flavor you crave. This makes it so easy to switch things up for Wing Night; you aren’t tied down to just one sauce. I love making batches coated in my favorite **Honey Garlic Wings** recipe—that sticky glaze is just heavenly after being baked until it caramelizes a bit. If you want to get adventurous with glazing after baking, check out some of my other honey-based recipes for inspiration!
Quick Buffalo Wing Sauce Addition
For that classic tang, you just need two things after the wings come out of the oven. Melt about 2 tablespoons of butter and whisk it into about 1/4 cup of your favorite Frank’s RedHot (or whatever strong red pepper sauce you like). Toss those crispy baked bites in that fiery mixture, and boom—you’ve got perfect Buffalo chicken wings that aren’t soggy!
Lemon Pepper Wings Technique
If you want to go the dry rub route, which keeps things even crispier, forget saucing entirely for a moment! Right after the wings come out looking golden brown, skip the liquid sauce and hit them immediately with a generous dusting of lemon pepper seasoning. It sticks beautifully to the hot skin. It reminds me of that popular tasty lemon pepper style but works great on its own for a zesty punch.
Air Fryer Chicken Wings Conversion: A Fast Alternative
Okay, I know what you’re thinking: “Sofia, can I just throw these beauties in my air fryer instead?” YES, you absolutely can! The beauty of this baking powder coating works wonders in the air fryer, too, giving you **Air Fryer Chicken Wings** that are just as crunchy, but even faster. If you’re looking for a lightning-quick **quick chicken wing dinner**, this is it.
For this conversion, follow the exact same prep steps—the drying and the full baking powder coating are crucial. Then, instead of the oven, arrange them in a single layer in your air fryer basket. You want to cook them at about 380°F (195°C) for roughly 20 minutes. You’ll need to flip them halfway through, just like in the oven method. Honestly, air frying is fantastic for quick chicken wings, but I still think the oven rack gives you a slightly more even overall crisp!
If you ever want to experiment with air frying other snacks, check out my recipe for air fryer bang bang shrimp—same principle, totally different flavor profile!
Tips for Success with Crispy Chicken Wings
Even with the best technique, a few little tricks will take you from great chicken wings to legendary status. These aren’t rules, just things I learned the hard way (usually involving peeling burnt skin off a rack!).
- Don’t Skip the Rest: Let those wings rest on the rack for about five minutes after they come out of the oven before you toss them in sauce. This lets the last bit of surface moisture escape.
- The Broiler Boost: If your wings look cooked but still need that final, intense crunch, hit them with the broiler for 60 to 120 seconds. Watch them like a hawk! One minute too long and they go from golden to charcoal, so stay right there!
- Use a Rack: I can’t stress this enough: the wire rack allows air to hit the bottom of the wings. If you cook them straight on foil, the bottom gets steamed, not crisp. You need that air flow for true crunch, which is the whole point of this crispy chicken wings method!
Storing and Reheating Your Party Appetizer Wings
So, what happens if you actually have leftovers? Because these wings are so famous, they rarely last long at our house, but if you have some amazing **Party Appetizer Wings** left over, you need to treat them right so they don’t lose that crunch! Don’t stick them in the fridge smelling like old sauce; let them cool completely first.
Keep them in an airtight container, not sealed tight, for up to three days. When it’s time to reheat them for a quick dinner or snack, the microwave is absolutely your enemy—it steams the skin and turns them soft! Instead, put them back on a rack over a baking sheet in a 375°F oven for about 8 minutes, or pop them back into the air fryer at 350°F for 4 to 5 minutes. They’ll crisp right back up, ready to go!
Frequently Asked Questions About Making Chicken Wings
It’s time for me to answer some burning questions I always get about this famous batch of **chicken wings**. Hopefully, these little snippets help you out and make trying these **Easy Wing Recipes** even less intimidating!
Can I skip the baking powder when making these chicken wings?
Oh, honey, please don’t! If you skip the baking powder, you are skipping the entire reason these come out shatter-crispy without frying. Seriously, that powder is the secret to the entire **Best Chicken Wing Technique**. It works with the high heat to dry out the skin so it can bubble up and crisp instead of steaming. If you leave it out, you’ll just get squishy baked wings, and we aren’t here for that!
How long do I need to bake frozen chicken wings?
Look, I’m all about quick meals, but never try to rush perfection when it comes to crunch! Cooking from frozen is risky with **chicken wings** because the inside won’t catch up to the outside before the skin burns, or the water content steams everything. My advice? Thaw them completely first. If you absolutely must cook from semi-frozen, you’ll probably need to add an extra 15 to 20 minutes to the total bake time, but really, a quick thaw is best.
What is the best way to serve these savory chicken bites?
Since these are packed with flavor, they honestly don’t need much! The absolute classic pairing is a big bowl of celery sticks and carrot sticks to cool down the heat, along with a side of creamy Ranch or Blue Cheese dip. However, if you’re eating them as a full meal instead of just an appetizer, they go shockingly well next to some creamy mashed potatoes or a bright, crisp salad. They’re just so versatile!
We’re always adding new tips and tricks over at the Cookify Me blog, so keep checking back!
Share Your Chicken Wings Creations!
That’s it! You’ve got the technique—the ultimate secret to making **chicken wings** that beat any deep-fried version out there. Seriously, if you’re hosting your next Game Day or just craving a fantastic, easy appetizer, these are your ticket to applause!
I really, truly want to see how yours turn out! Did you go classic Buffalo? Did you try my Honey Garlic idea? Please take a picture once you’ve tossed them in their sauce and tag us on social media so Leo can snap up the best shots! We love seeing you all making magic in your own kitchens.
If you loved this recipe and want to share some feedback—or maybe tell me a flavor combination I still need to try—jump over to the contact page! Don’t forget to rate this one five stars if it earned the title of Best Crispy Baked Wings in your house. Happy cooking, my friends, and keep those **Easy Wing Recipes** coming!
PrintExtra Crispy Baked Chicken Wings (No Fry Technique)
You will learn the best technique for making extra crispy chicken wings in the oven without deep frying. These no-fry wings are juicy inside and perfect for game day or any party.
- Prep Time: 15 min
- Cook Time: 50 min
- Total Time: 65 min
- Yield: 4 servings
- Category: Appetizer
- Method: Baking
- Cuisine: American
- Diet: Low Fat
Ingredients
- 3 lbs chicken wings (flats and drumettes)
- 2 tablespoons baking powder (aluminum-free is best)
- 1 teaspoon salt
- 1/2 teaspoon black pepper
- 1/2 teaspoon garlic powder
- 1/4 cup your favorite wing sauce (like Buffalo or Honey Garlic)
Instructions
- Preheat your oven to 425°F (220°C). Line a large baking sheet with foil for easier cleanup, then place a wire rack on top of the baking sheet.
- Pat the chicken wings completely dry using paper towels. This step is crucial for crispiness.
- In a large bowl, combine the baking powder, salt, pepper, and garlic powder.
- Add the dried chicken wings to the bowl and toss them thoroughly until every piece is lightly and evenly coated with the baking powder mixture.
- Arrange the coated wings in a single layer on the wire rack, ensuring there is space between each wing for air circulation.
- Bake for 25 minutes.
- Flip the wings over. Reduce the oven temperature to 400°F (200°C) and bake for another 20 to 25 minutes, or until the skin is deeply golden brown and very crispy.
- Remove the wings from the oven. Place them in a clean bowl.
- Pour your sauce over the hot wings and toss gently to coat.
- Serve immediately as a crowd pleaser appetizer or quick dinner.
Notes
- The baking powder reacts with the chicken skin’s moisture and heat, creating a dry surface that results in shatter-crisp skin without frying.
- For an even crispier result, you can broil the wings for the last 1-2 minutes, watching them closely to prevent burning.
- If you prefer Honey Garlic Wings, mix 1/4 cup honey, 2 tablespoons soy sauce, and 1 teaspoon minced garlic for your sauce toss.
Nutrition
- Serving Size: 4 wings
- Calories: 350
- Sugar: 2
- Sodium: 450
- Fat: 22
- Saturated Fat: 7
- Unsaturated Fat: 15
- Trans Fat: 0
- Carbohydrates: 1
- Fiber: 0
- Protein: 34
- Cholesterol: 110