

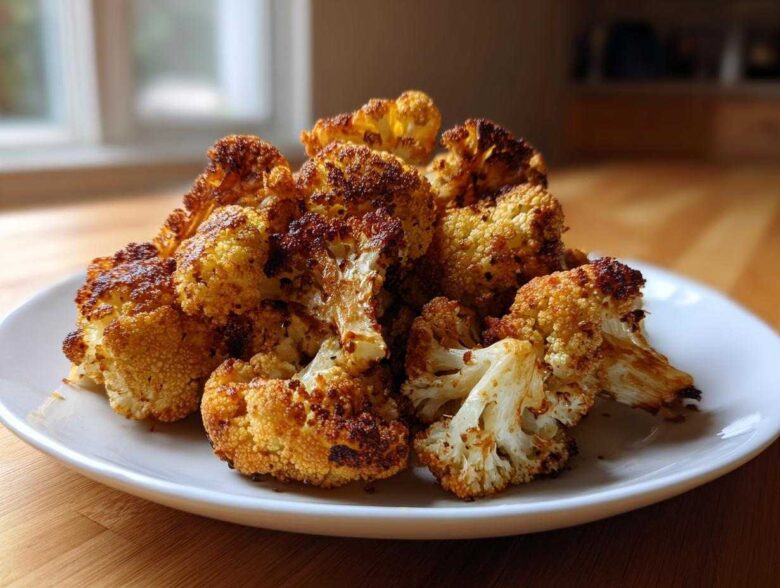
Listen, I know the struggle. You try to roast vegetables, and what do you get? Steamed, sad little piles of mush that nobody wants near their plate. Seriously, the difference between soft, soggy vegetables and perfectly caramelized, CRUNCHY ones is EVERYTHING. I spent what felt like years mastering the high-heat dance to get truly crispy vegetables, and I finally cracked the code for cauliflower. Trust me, this recipe turns basic cauliflower into the **Crispy Roasted Cauliflower: The Ultimate Side Dish You’ll Love!** I perfected the drying and spacing ritual after one disastrous Thanksgiving where the cauliflower wilted under the pressure. Now? It’s glorious every single time. If you want to see more of my kitchen adventures, check out my main recipe archives!
Why This Crispy Roasted Cauliflower: The Ultimate Side Dish You’ll Love!
This isn’t just another boring vegetable side, folks. We are aiming for crunch! You’re going to want to make this over and over because it hits all the right notes. It’s so simple, which is why it’s one of my go-to choices when I need an easy cauliflower side dish.
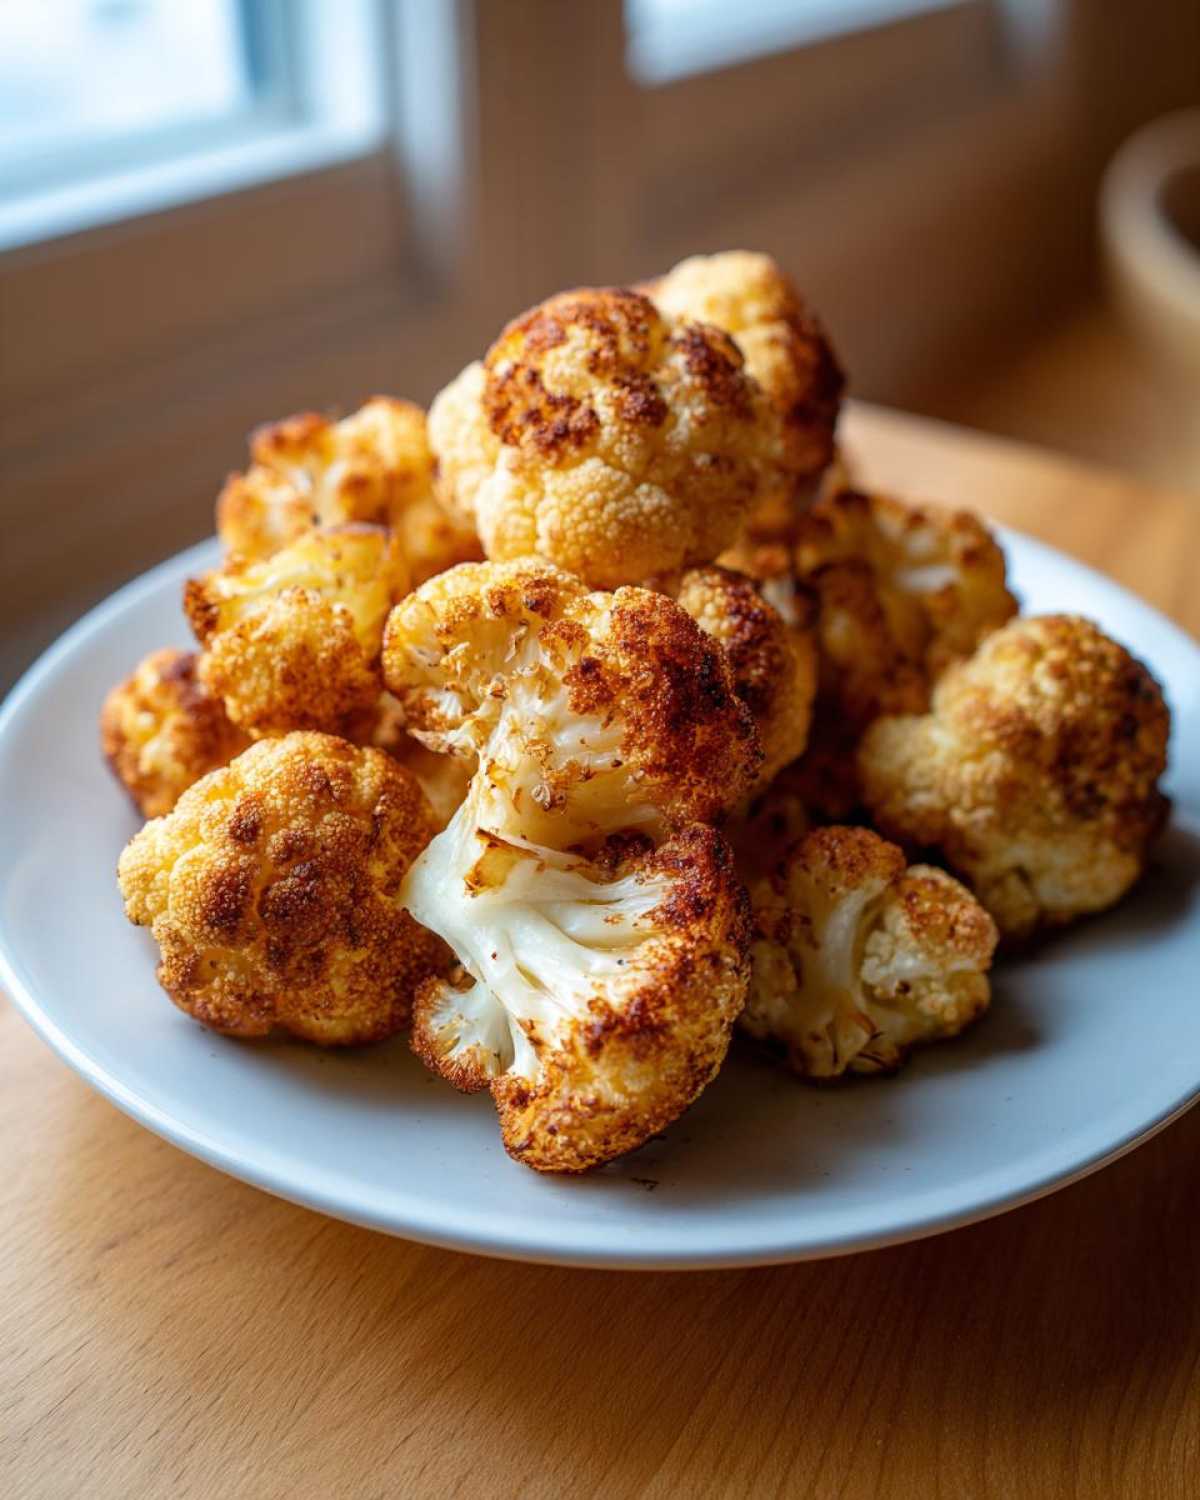
- You get intensely browned, caramelized edges.
- It’s the secret to getting **perfectly roasted cauliflower** every time—no mush allowed!
- Prep is done in under 10 minutes, which I love when dinner is already complicated.
- The simple seasoning blend makes the natural, nutty flavor truly shine.
Ingredients for Crispy Roasted Cauliflower: The Ultimate Side Dish You’ll Love!
The beauty of this recipe is that it relies on beautiful, straightforward ingredients. We aren’t loading it down with heavy sauces or masking the flavor. We want that natural sweetness to come through, enhanced by just a little oil and spice. Precision here matters because we are aiming for crispness, not steam! You’ll notice how I specify “uniform florets”—that’s important for making sure everything finishes cooking at the exact same moment.
Here is exactly what you need to pull off this amazing side. Don’t forget that optional Parmesan at the end; it adds the most wonderful salty crust!
- 1 large head cauliflower, cut into uniform florets (Trust me, cutting them the same size is half the battle!)
- 3 tablespoons olive oil (Use a good quality one, you’ll taste it!)
- 1 teaspoon kosher salt
- 1/2 teaspoon black pepper
- 1/2 teaspoon garlic powder
- 1/4 teaspoon paprika
- Optional: 2 tablespoons grated Parmesan cheese (only if you want that extra savory kick!)
If you’re serving this alongside something amazing, like my famous garlic butter steak bites and potatoes, you’ll see how perfectly this simple cauliflower fits right in!
Essential Oven Roasted Cauliflower Tips for Maximum Crispiness
Okay, if you skip everything else, read this part! Achieving truly crispy results, which is what makes this the **Best Roasted Cauliflower Recipe**, all comes down to stopping the cauliflower from steaming itself into oblivion. We are aiming for deep caramelization, not soupiness. This is where your **oven roasted cauliflower tips** knowledge comes into play, and I promise my foolproof method makes all the difference.
The Importance of Uniform Cauliflower Florets
When you cut your head of cauliflower, try your absolute best to make the florets roughly the same size. If you have tiny little pieces mixed with huge chunks, the small ones burn while the big ones are still raw in the middle. We need consistency so the entire batch crisps up beautifully at the same time. It makes for better presentation, too!
Why You Must Not Overcrowd the Pan
This is the number one killer of crispiness! If you pile your florets up, the steam gets trapped underneath, and you end up boiling them in their own juices. That’s the opposite of what we want! To get that incredible, crunchy exterior, you need to spread them out on the baking sheet in a single layer. If you have to use two pans to achieve that nice space between every piece, do it! It’s the secret behind my incredible caramelized cauliflower recipe.
And listen to this one crucial detail from my notes: Make sure your cauliflower is bone dry before you even think about adding the oil. Wash them, drain them, and then pat every single floret down aggressively with paper towels. Dry cauliflower equals maximum crispness when we hit it with that **high heat roasting vegetables** technique!
Step-by-Step Guide to Crispy Roasted Cauliflower: The Ultimate Side Dish You’ll Love!
This is where the magic happens, and honestly, it moves fast! Because we prepped so well by drying everything and spreading it out, the high heat does all the heavy lifting. Just stay close to the oven for the last ten minutes so you don’t miss that perfect window of crispness. You want deep brown, almost burnt edges, trust me, that’s flavor!
Preheating and Preparation
First things first, you absolutely must get your oven screaming hot—preheat it right now to 425 degrees Fahrenheit. Don’t try to sneak it in at 400; that’s how you get sad cauliflower! Once hot, grab your super-dry florets and toss them right on the baking sheet. Now, pour over all that lovely olive oil and make sure every single piece is glistening. After the oil, sprinkle on your salt, pepper, garlic powder, and paprika mix. Toss it around in the pan until the seasoning sticks evenly. If you want to try this with chicken fried rice tonight, get it seasoned!
Roasting Times and Achieving Golden Edges
Slide that sheet into your hot oven and set a timer for about 20 to 25 minutes total. But here’s the trick: around the 12-minute mark, pull the pan out. You’ve got to use tongs or a spatula to give everything a good toss so the underside gets crispy too. Pop it back in. When you notice those gorgeous, deeply browned spots, you know you’re getting close to the **perfectly roasted cauliflower** texture. If you’re adding that optional Parmesan, sprinkle it on right when you pull it out for the last two minutes to melt that cheesy goodness right onto the hot edges. Serve this right away!
Flavor Variations for Your Crispy Roasted Cauliflower
Our base recipe is fantastic, truly the **best seasoning for roasted cauliflower** in my book, but sometimes you want to shake things up, right? Once you master that dry-and-hot technique, the variations are endless! You can pivot this simple side dish in so many delicious directions depending on what you’re serving.
Spicy Kick: Chili Lime Crispy Roasted Cauliflower
If you need some real heat to stand up to rich meat dishes—maybe you’re making it as a side dish for steak—swap out the paprika for a half teaspoon of cayenne pepper right in your dry spice mix. Then, once the cauliflower comes out of the oven, immediately squeeze a whole lime over the steaming hot florets. The acid stops the cooking process slightly and brightens up all that smoky char.
Savory Finish: Garlic Parmesan Roasted Cauliflower
If you loved the optional Parmesan step in the main recipe, let’s lean into it! I sometimes feel like just a tiny sprinkle isn’t enough. So, I skip the initial dusting and aim for a more robust layer when it comes out of the oven. I mix the grated Parmesan into some melted butter and a touch more garlic powder. Toss everything while it’s scorching hot. If you’re feeling adventurous, you can make a batch of my homemade cheese crackers and crush them on top instead of the powdered stuff—that texture is insane!
Here’s a pro tip about herbs: If you want to use fresh herbs like thyme or rosemary, don’t add them during the initial roasting. They’ll burn to ash at 425°F! Instead, toss your crispy cauliflower with the fresh herbs *right* after it comes out of the oven. The residual heat is enough to wake up their flavor without destroying them. It keeps your healthy roasted vegetable recipes looking vibrant and tasting fresh!
Serving Suggestions for This Easy Cauliflower Side Dish
Honestly, I make this **easy cauliflower side dish** even when we aren’t having a huge dinner, just because the crunch is so satisfying! It stands up so well to richer main courses because it cleanses the palate a bit while still offering that deep, roasted flavor. It’s a huge step up from sad steamed broccoli, that’s for sure.
This is genuinely one of the best simple vegetable side dishes for dinner you can have in your rotation. Here are a couple of my absolute favorite pairings:
- The perfect **cauliflower side dish for steak**: Pair it with a nicely seared ribeye or flank steak, and maybe some potatoes. The smoky char of the cauliflower plays off the beef beautifully.
- It works incredibly well with roast chicken! If you’re serving my chicken pot pie casserole (which is very rich!), this crispy side slices right through all that creamy goodness.
- For a lighter meal, I often make a big batch alongside savory salmon fillets. It’s a healthier, crunchier alternative to standard rice or mashed potatoes.
Since it cooks so quickly, it’s fantastic for weeknights when you need a **quick vegetable side**, even if you’re just whipping up something simple like pork chops or sausage.
Storage and Reheating Crispy Roasted Cauliflower: The Ultimate Side Dish You’ll Love!
Look, this is my hard truth: the absolute best way to enjoy this cauliflower is fresh out of the oven when those edges are still snapping! As with almost any crispy fried or roasted food, the crispness starts to fade the second it cools down completely. Moisture moves back in, and we end up with exactly what we worked so hard not to create—soggy vegetables!
If you have leftovers (which usually means I made too much on purpose!), you need a plan to bring them back to life. Please, for the love of crunch, do not put these in the microwave. Microwaving guarantees limp, sad cauliflower. We need dry heat to bring that crust back.
My preferred method is a quick reheat in the oven or, even better, the air fryer. Spread the cooled cauliflower in a single layer on a baking sheet—yes, you need the space again!—and pop it back into a 400°F oven for about 5 to 7 minutes. If you use the air fryer, it’s even faster, maybe 3 or 4 minutes at 375°F. It shocks the moisture out and crisps those edges right back up.
Can you freeze it? You sure can, though I rarely have any leftovers long enough to test that! If you want to make ahead roasted veggies, cool them completely first, then lay them in a single layer on a tray to flash freeze. Once frozen solid, move them to a freezer bag. When reheating from frozen, add 5 minutes to the oven time. It won’t be *quite* as perfect as the first time, but it’s still miles better than anything mushy!
Frequently Asked Questions About Perfectly Roasted Cauliflower
I get so many questions about this simple recipe because everyone wants that ultimate crunch! It’s funny how such a simple vegetable can cause so much confusion in the kitchen. I’ve gathered up the most common things folks ask me when they are trying to achieve **perfectly roasted cauliflower**.
Can I use an Air Fryer for Crispy Roasted Cauliflower?
Oh, absolutely, you can! The air fryer is amazing for quick crisping! If you want an **air fryer crispy cauliflower alternative**, just know it cooks faster since the heat is more intense. I recommend tossing your seasoned florets in the basket (don’t overfill it, remember the single-layer rule!) and cooking them at about 375°F for 12 to 15 minutes, shaking the basket halfway through. It gets seriously crunchy!
What is the best temperature for roasting cauliflower to make it crispy?
If you remember one thing from this whole post, let it be the temperature! For the absolute crispiest exterior and that wonderful caramelization, you need **high heat roasting vegetables** technique. We preheat to 425°F, and I don’t budge from that. Lower temperatures encourage steam, and high heat evaporates that moisture fast, creating those delicious browned bits we all love in our **oven roasted cauliflower tips** arsenal.
Can I roast other vegetables alongside this Crispy Roasted Cauliflower?
This is tricky because of the timing. Cauliflower likes to cook fast at high heat. If you toss in, say, broccoli, it might be okay since it’s similar, but if you add carrots or potatoes, they take way longer. You’d end up with burnt cauliflower while the potatoes are still hard! For the **best roasted cauliflower recipe**, I really suggest you dedicate the pan entirely to the cauliflower. If you want other roasted veggies, maybe roast them separately or add them to the pan halfway through the cauliflower’s cook time, based on how long they usually take.
Check out my air fryer gnocchi recipe for another great high-heat crispy hack if you’re looking for more speedy sides!
Nutritional Estimates for This Healthy Roasted Vegetable Recipe
I always get the question about how healthy this side dish is, especially since we use a good glug of olive oil to get that crunch! But honestly, cauliflower is such a powerhouse vegetable, and keeping the seasoning simple means we are maximizing the good stuff. This recipe is wonderfully light, making it a fantastic inclusion in any meal plan. It’s definitely one of my favorite healthy roasted vegetable recipes because it tastes like a treat but keeps things light.
Now, keep in mind these numbers are just estimates based on the ingredients listed, and they don’t account for the optional Parmesan cheese we sometimes sprinkle on top! This breakdown is for one generous serving size, assuming the recipe yields four servings.
- Serving Size: 1/4 of recipe
- Calories: 110
- Sugar: 3g
- Sodium: 450mg
- Fat: 7g
- Saturated Fat: 1g
- Carbohydrates: 10g
- Fiber: 4g
- Protein: 3g
See? High fiber and relatively low in sugar for something that tastes this decadent! That’s why I love making a huge batch; it’s great for meal prepping because you get nutrient density without a ton of empty calories.
Share Your Ultimate Crispy Roasted Cauliflower Experience
Okay, now that you’ve got the secret to unlocking ultimate crispiness, I seriously want to know what you think! I talk all the time about how this is my go-to for a **simple cauliflower side dish**, but the real joy comes from hearing when you’ve made it for your family or friends and everyone asks for the recipe.
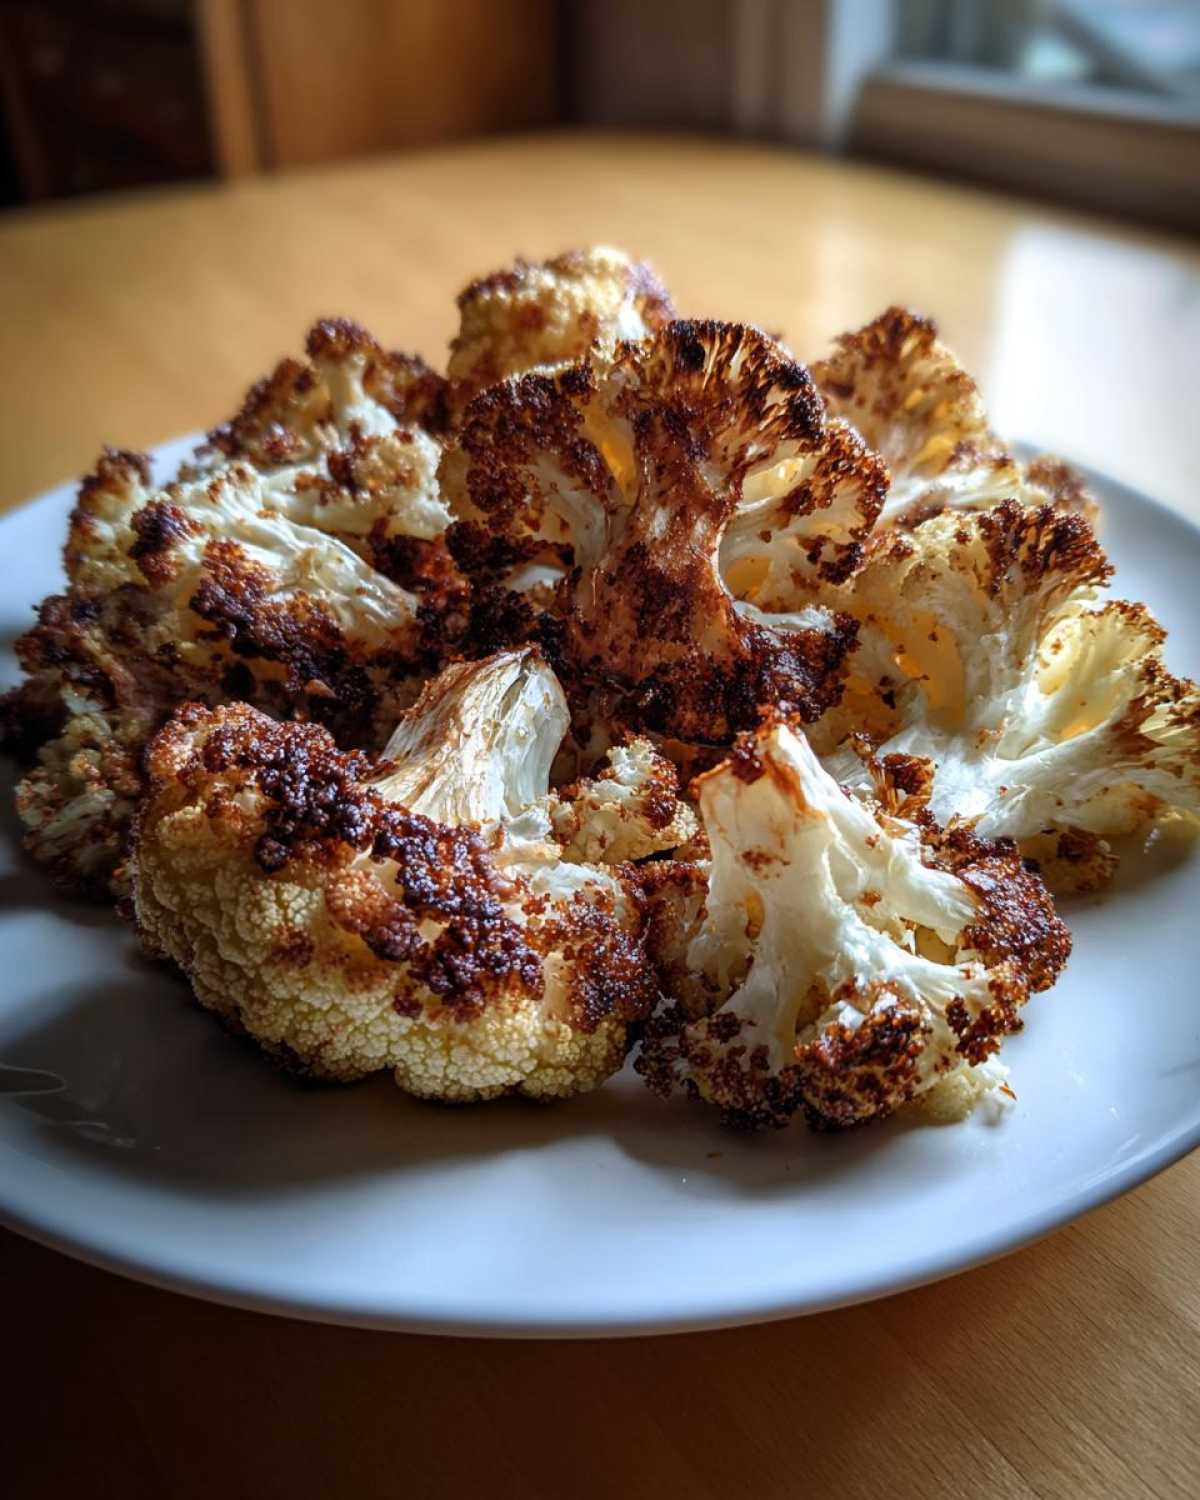
Did you manage to keep your pan uncrowded? Did you get those deep brown, almost-burnt edges that look risky but taste like heaven? Don’t be shy! Head down to the comments section below and tell me how it went. Drop a rating—five stars if you think this is the best! And if you snapped a picture of your perfectly golden florets, please share it with me!
You can always send me a quick note or share your kitchen successes directly through my contact page. Knowing that my hard-won tips are helping you conquer vegetable roasting is what keeps me inspired to share more of these tried-and-true recipes. Happy roasting!
PrintCrispy Roasted Cauliflower: The Ultimate Side Dish

Follow these steps to make perfectly crispy roasted cauliflower with simple seasonings. This recipe focuses on high heat to achieve maximum crunch.
- Prep Time: 10 min
- Cook Time: 25 min
- Total Time: 35 min
- Yield: 4 servings
- Category: Side Dish
- Method: Roasting
- Cuisine: American
- Diet: Vegetarian
Ingredients
- 1 large head cauliflower, cut into uniform florets
- 3 tablespoons olive oil
- 1 teaspoon kosher salt
- 1/2 teaspoon black pepper
- 1/2 teaspoon garlic powder
- 1/4 teaspoon paprika
- Optional: 2 tablespoons grated Parmesan cheese (for finishing)
Instructions
- Preheat your oven to 425 degrees Fahrenheit (220 degrees Celsius).
- Place the cauliflower florets on a large, rimmed baking sheet. Do not overcrowd the pan; use two sheets if necessary to ensure the florets are in a single layer with space between them.
- Drizzle the olive oil over the cauliflower. Toss well to coat every piece evenly.
- In a small bowl, mix the salt, pepper, garlic powder, and paprika. Sprinkle this seasoning mix over the oiled cauliflower and toss again until the seasoning adheres.
- Roast for 20 to 25 minutes. Halfway through the cooking time (around 12 minutes), toss the cauliflower to promote even browning.
- The cauliflower is done when the edges are deeply golden brown and crisp.
- If using Parmesan, remove the pan from the oven, sprinkle the cheese over the hot cauliflower, and return to the oven for 2 more minutes until the cheese melts slightly.
- Serve immediately for the best crisp texture.
Notes
- For the crispiest result, ensure your cauliflower florets are completely dry before tossing them with oil. Pat them dry with paper towels after washing.
- Using a large baking sheet or two sheets prevents steaming, which causes sogginess.
- High heat (425°F) is key for caramelization and crispness.
Nutrition
- Serving Size: 1/4 of recipe
- Calories: 110
- Sugar: 3
- Sodium: 450
- Fat: 7
- Saturated Fat: 1
- Unsaturated Fat: 6
- Trans Fat: 0
- Carbohydrates: 10
- Fiber: 4
- Protein: 3
- Cholesterol: 0