

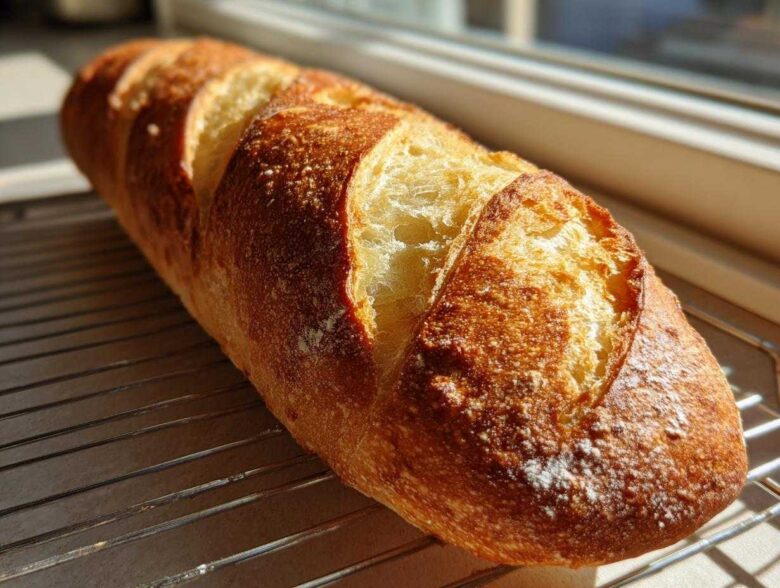
Oh my gosh, is there anything better than the smell of fresh bread baking? Seriously, nothing beats that warm, yeasty hug filling your whole kitchen. If you’ve ever seen my posts about our kitchen chaos—you know, the smoke alarms and the very unfortunate incident with the burnt pasta—you might think baking something like classic French bread is beyond me. But trust me, that’s exactly why I had to nail this recipe!
I’m Sofia, and Leo and I built Cookify Me on the idea that we can conquer kitchen challenges together, even if we start messy. This Homemade French Bread Recipe is my answer to those fancy bakery loaves. We get that dreamy, soft, fluffy interior paired with the satisfying, crackly crust, and we do it without needing a whole afternoon. If I can make this—and I’m the one who once set butter ON fire—you absolutely can too! We keep things fun here, and this bread proves that delicious doesn’t mean complicated.
Why This Easy French Bread Recipe Works for Beginners
Look, when Leo first asked me to try making Easy French Bread, I almost said no. I pictured hours of complicated kneading and ends up with something dense enough to use as a doorstop! But this recipe truly changed my tune about Beginner Bread Baking. It’s perfectly paced so that you don’t feel rushed, and you get that amazing bakery result in under two hours total.
It’s all about giving the yeast a happy start and giving the dough enough attention without overdoing it. Trust me, if I can manage this, anyone can!
Achieving the Perfect Soft French Bread at Home Texture
The secret to getting that pillowy, tender interior—the hallmark of great Soft French Bread at Home—is twofold. First, make sure that water is happy! It needs to be warm, not hot, when you wake up your yeast. Second, we knead just long enough until the dough feels smooth and elastic, not until your arm falls off! That careful kneading develops the gluten just enough to hold air without getting tough.
Tips for a Bakery Style Bread Crust
Everyone wants that beautiful, crispy shatter when they slice into their loaf, right? That’s where a little oven trickery comes in handy. The biggest game-changer for achieving that Crusty Artisan Bread look is steam. We’re throwing a pan of hot water into the bottom of the oven right when the bread goes in. Don’t skip that step; it’s how we mimic a professional bake environment and get that perfect, crackly shell!
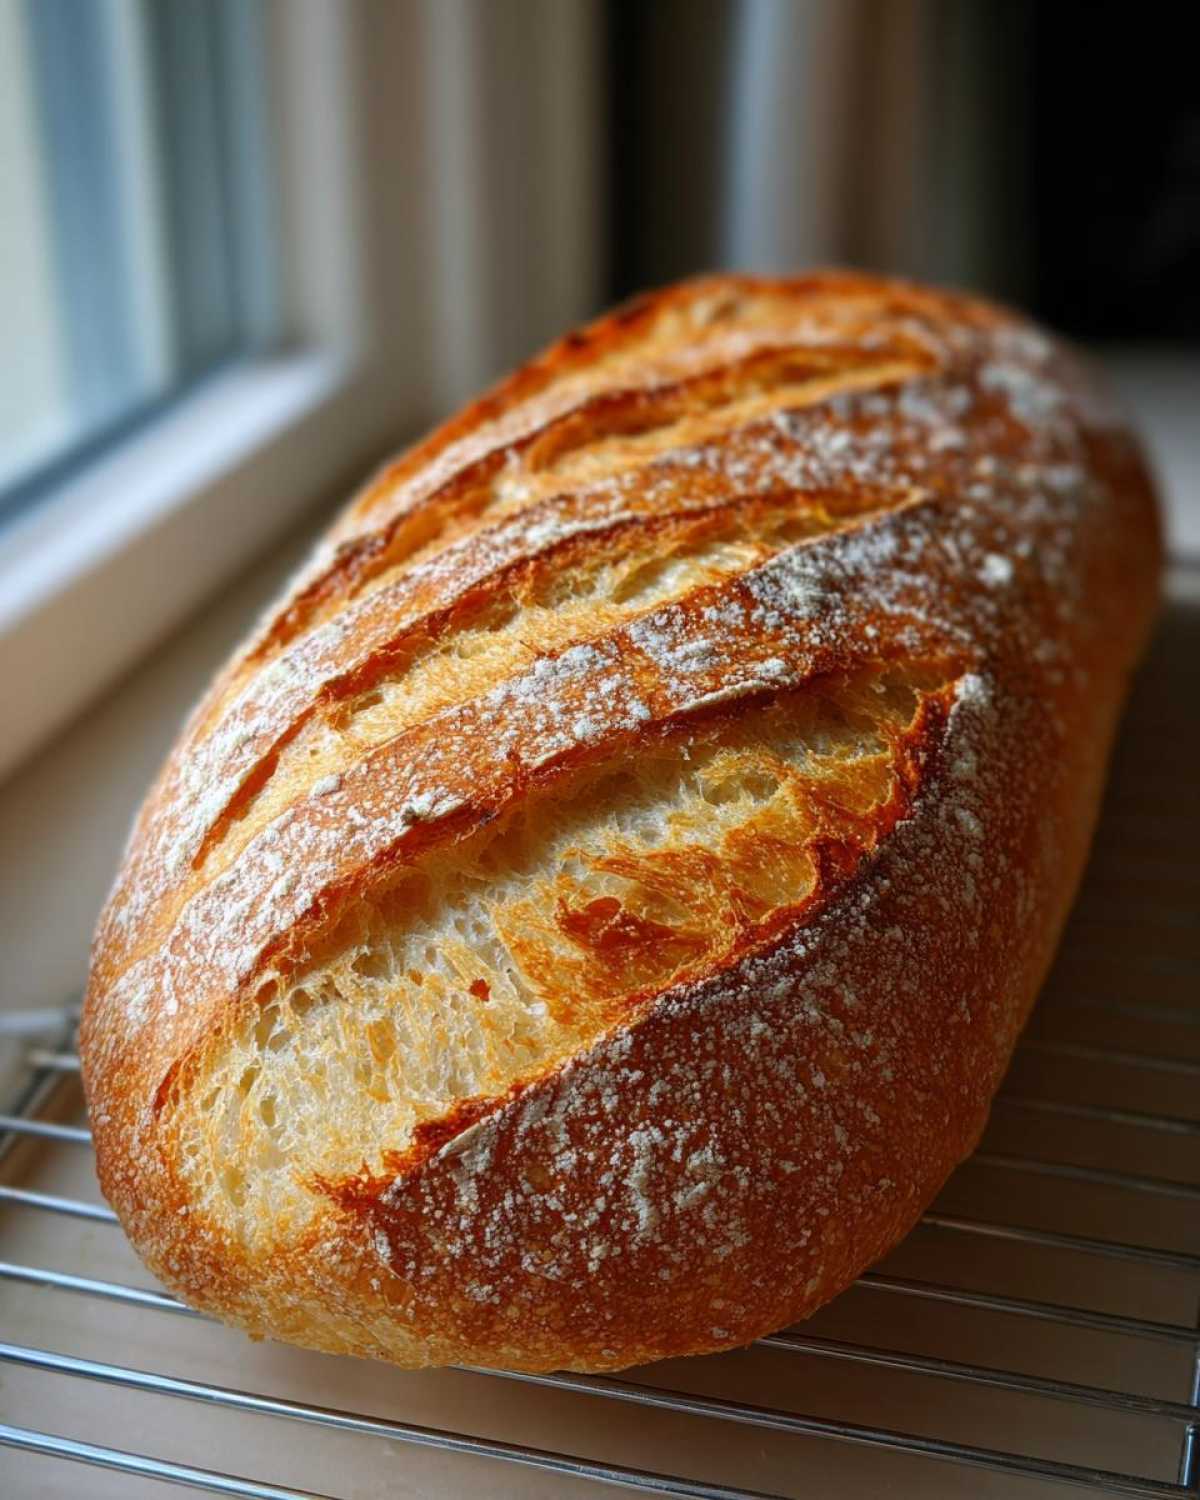
Gathering Your Ingredients for Homemade French Bread Recipe
Okay, pulling together the list for this Homemade French Bread Recipe is delightfully simple. Seriously, these are the basics you probably already have hanging out in your pantry! We keep things straightforward because, you know, chaos minimization is key around here.
When you gather your supplies, pay close attention to that water temperature. It needs to be warm enough to wake up the yeast—think between 105°F and 115°F. Too cold and nothing happens; too hot and you kill your yeast babies, which means no rise!).
- Active dry yeast: Just one packet, about two and a quarter teaspoons.
- Sugar: One little teaspoon to feed that yeast.
- Warm water: One cup, checking that temp!
- Flour: Three cups of standard all-purpose flour, plus maybe a little extra for dusting later.
- Salt: A teaspoon and a half keeps the flavor grounded.
- Olive oil: Just one tablespoon for flavor and greasing the bowl, plus a tiny bit more for the pan later.
- Egg white: Just one, lightly beaten for that beautiful shiny top later on!
Step-by-Step Instructions for Quick French Bread Recipe
Alright, this is where the magic happens! Don’t panic when the dough looks weird; that’s normal. We’re going step-by-step here, just like we do with everything else we bake—slowly but surely, we get there! Remember, our goal is that lovely, light texture perfect for soaking up soup, so follow the mixing basics closely.
Mixing and Kneading the French Bread Dough
First, you need to wake up your yeast in the warm water until it gets foamy. Once it’s bubbly, toss in your flour, salt, and olive oil. Mix it all together with a wooden spoon until it looks like a shaggy mess. I let mine get good and messy before I turn it out onto my floured surface. Now, we knead! You’ll want to work this dough for a solid 6 to 8 minutes. Keep pushing, folding, and turning until it stops fighting you and starts feeling smooth and elastic. That smoothness is key to getting that gorgeous Fluffy Loaf Recipe texture!
The Two Rises for Perfect French Bread
Now, we rest! Lightly coat a clean bowl with a bit of olive oil, pop your dough ball in there, and turn it over so the top gets a tiny bit slick. Cover it up tight and find a warm spot. This first rise takes patience; let it sit for a good 60 to 90 minutes, or until it’s actually doubled in size. When it’s ready, give it a gentle punch down (the best part!), divide it in half, and shape those halves into long loaves, like little bread canoes. They need a quick second nap—cover them loosely and let them sit another 30 minutes.
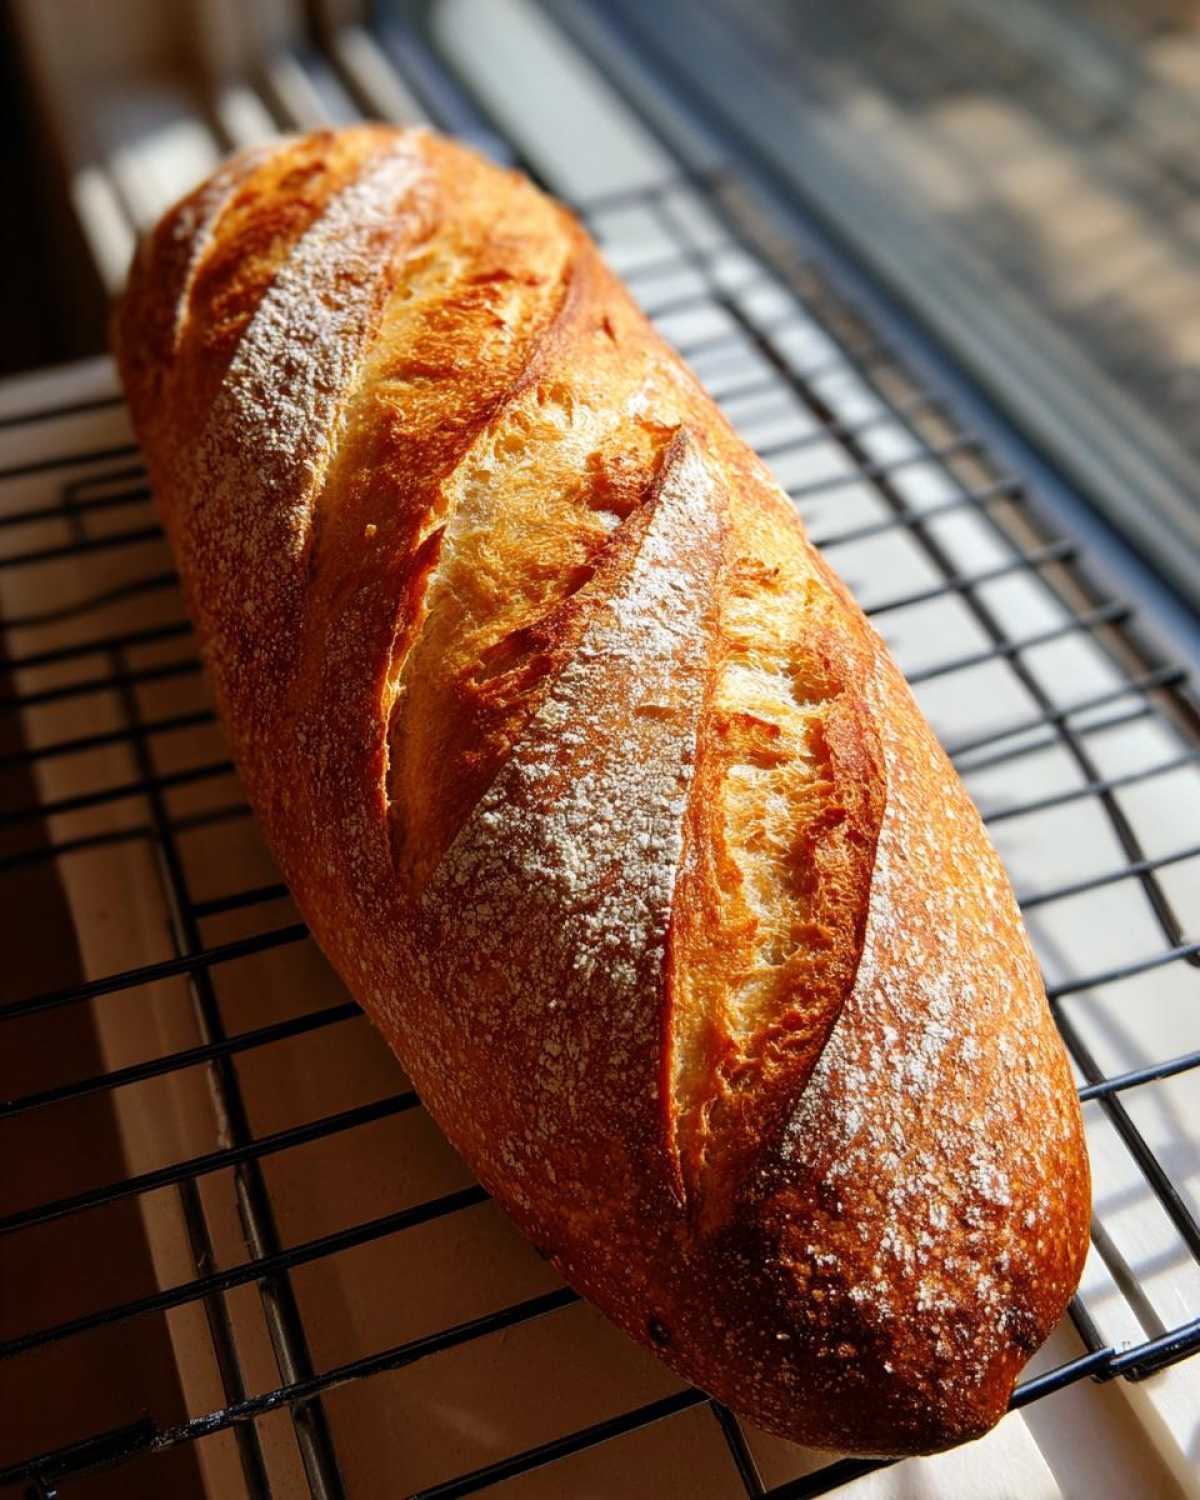
Scoring and Steaming for the Best French Bread
About 15 minutes before that second rise is up, crank your oven to 400°F (200°C). This is crucial: put a shallow pan on the bottom rack while it preheats! Once those loaves look fluffy and ready, grab a super sharp knife and give them three or four diagonal cuts across the top—that’s scoring! Then, quickly brush the top with that beaten egg white for that beautiful shine. Right before you slide the bread in, pour about half a cup of hot water into that hot pan underneath for steam. Shut that oven door fast! You can find some great tips on getting that crust right, even with simple additions like baking in a Dutch oven, but this steamer trick works wonders for classic loaves.
Baking Homemade Bread Tips for Success
Now that you’ve followed the main steps for the Homemade French Bread Recipe, I want to give you a couple of insider secrets that really push this over the edge. This is where we go from “good bread” to “is this from a French bakery?” territory! These little tricks are part of my personal collection of Baking Homemade Bread Tips.
Remember I mentioned steam? If you really, truly want that amazing crackly crust, you need more steam, more often! While the bread is baking, and this takes a little bravery, quickly open the oven door after the first 10 minutes and give the inside walls a quick spray with some water. Do this just two or three times, fast! It might sound a little crazy—Leo always jumps back when I do it—but it makes a huge difference in how that crust sets. If you want to read more about getting that intense shatter, check out some great advice on crust development here. Also, if you accidentally skip the egg wash, don’t sweat it! A little milk or even just water brushed on top will still give you color, just less shine.
Ingredient Notes and Substitutions for Your French Bread
So, whenever you dive into a Simple Yeast Bread recipe, the ingredients seem simple, but those small details are actually huge, especially with yeast! Let’s talk about that infamous warm water for just a second, because I get asked about it all the time.
When you’re waking up your yeast, you absolutely need that temperature between 105°F and 115°F. If your tap water feels too hot for your wrist, it’s too hot for the yeast, and it will die. This is called a “dead pool” in our house, and nothing good ever comes from a dead pool! If you don’t have a thermometer, just aim for the temperature that feels pleasantly warm, like bath water, but not steaming hot.
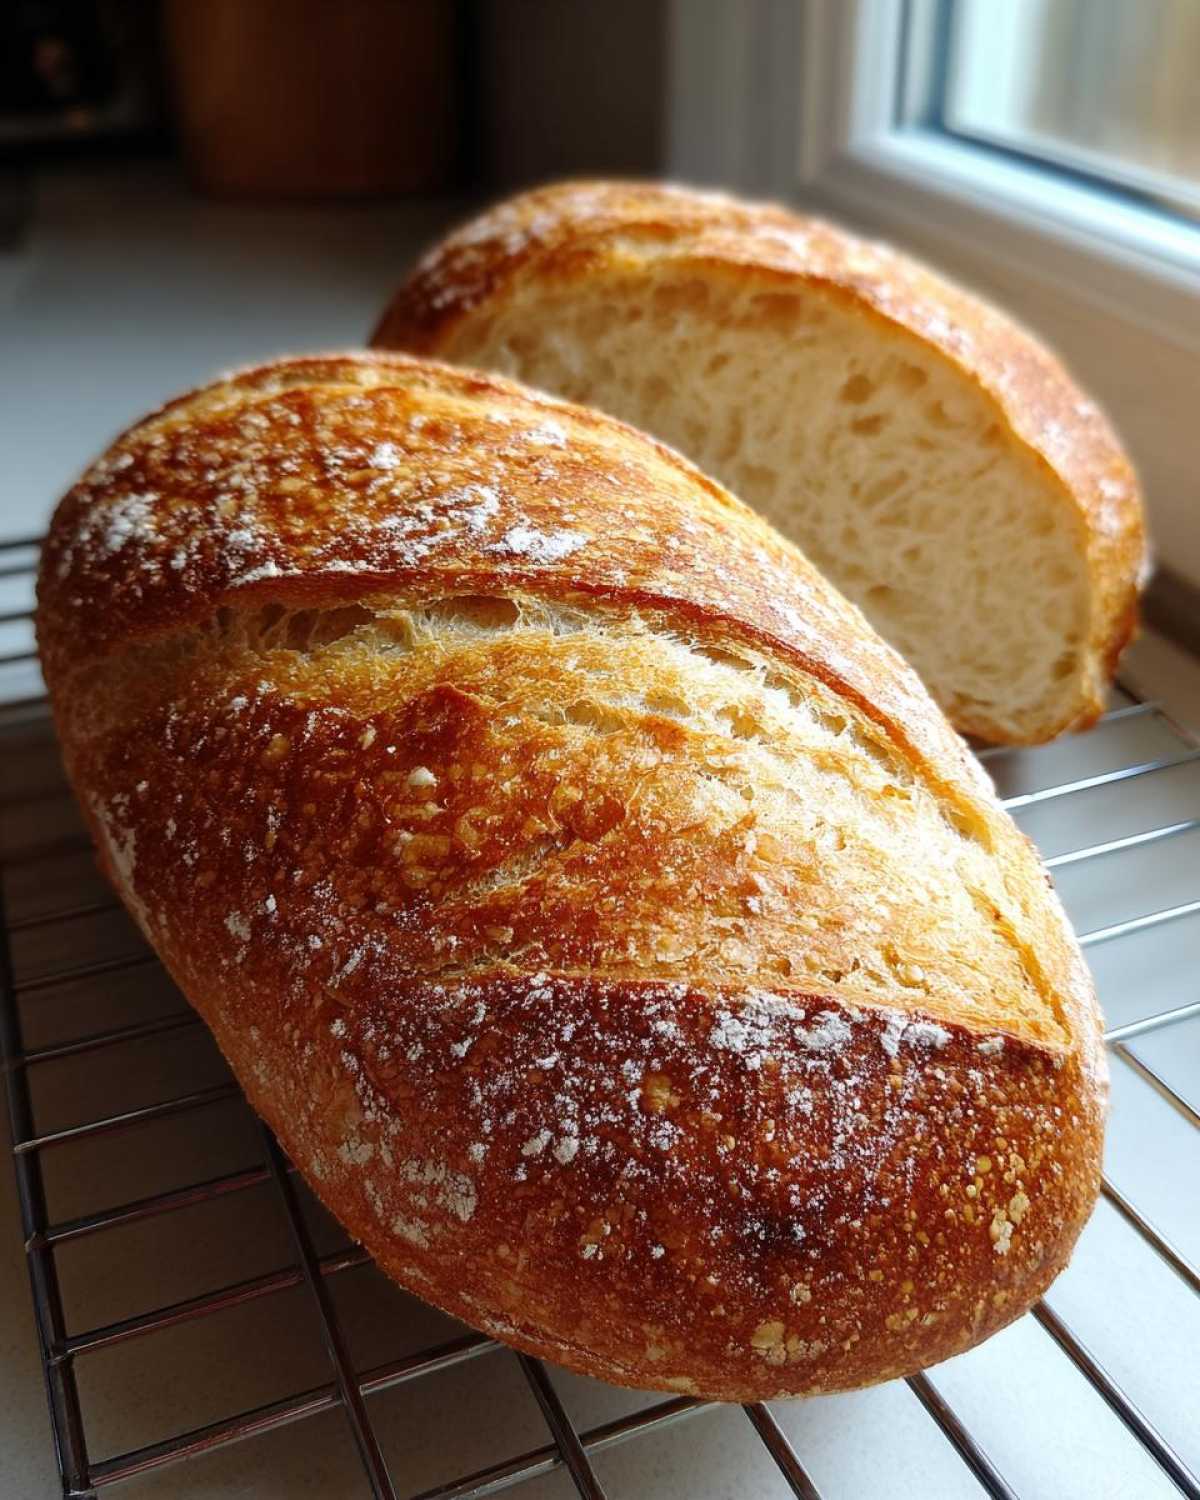
Now, about that egg white wash we use for a pretty, shiny crust? I know not everyone has eggs on hand, or maybe you’re keeping things vegan! You don’t have to skip that step if you don’t want to. To get almost the same glossy look, just lightly beat a teaspoon of milk with a pinch of sugar and brush that on instead. If you don’t have milk either, plain water brushed on right before baking will still help seal in moisture and give you a lovely color, even if it’s a little less shiny than the egg white version!
Serving Suggestions for Dinner Side Bread
Once that gorgeous French bread cools down—and resisting slicing into it is truly the hardest part—you need to know the best ways to enjoy it! This loaf is designed to be your go-to Dinner Side Bread because it has that perfect structure.
Of course, a big swipe of salty butter is non-negotiable! But seriously, load up on olive oil for dipping. It’s amazing alongside something hearty like Leo’s spicy chili or maybe our creamy zucchini soup. And hey, if you happen to have leftovers (which rarely happens in our house!), you absolutely must transform them. Don’t throw out stale bread; cube it up, toast it gently, and you have the absolute best homemade croutons or, even better, use it for a decadent bread pudding!
Storage and Reheating Instructions for French Bread
So, you managed to save some! Good job, because this bread is so tempting, I usually only have enough leftovers for one slice the next day. But if you want to keep your lovely French bread fresh for day two—and maybe even day three—here’s what I do.
For short-term storage, which means one or two days, wrap those loaves tightly once they are completely cool. I use plastic wrap first, wrapping it snugly around the entire loaf, and then I might slide that into a large zip-top bag. This keeps the outside from getting stale and hard, which is the enemy of a Soft French Bread at Home!
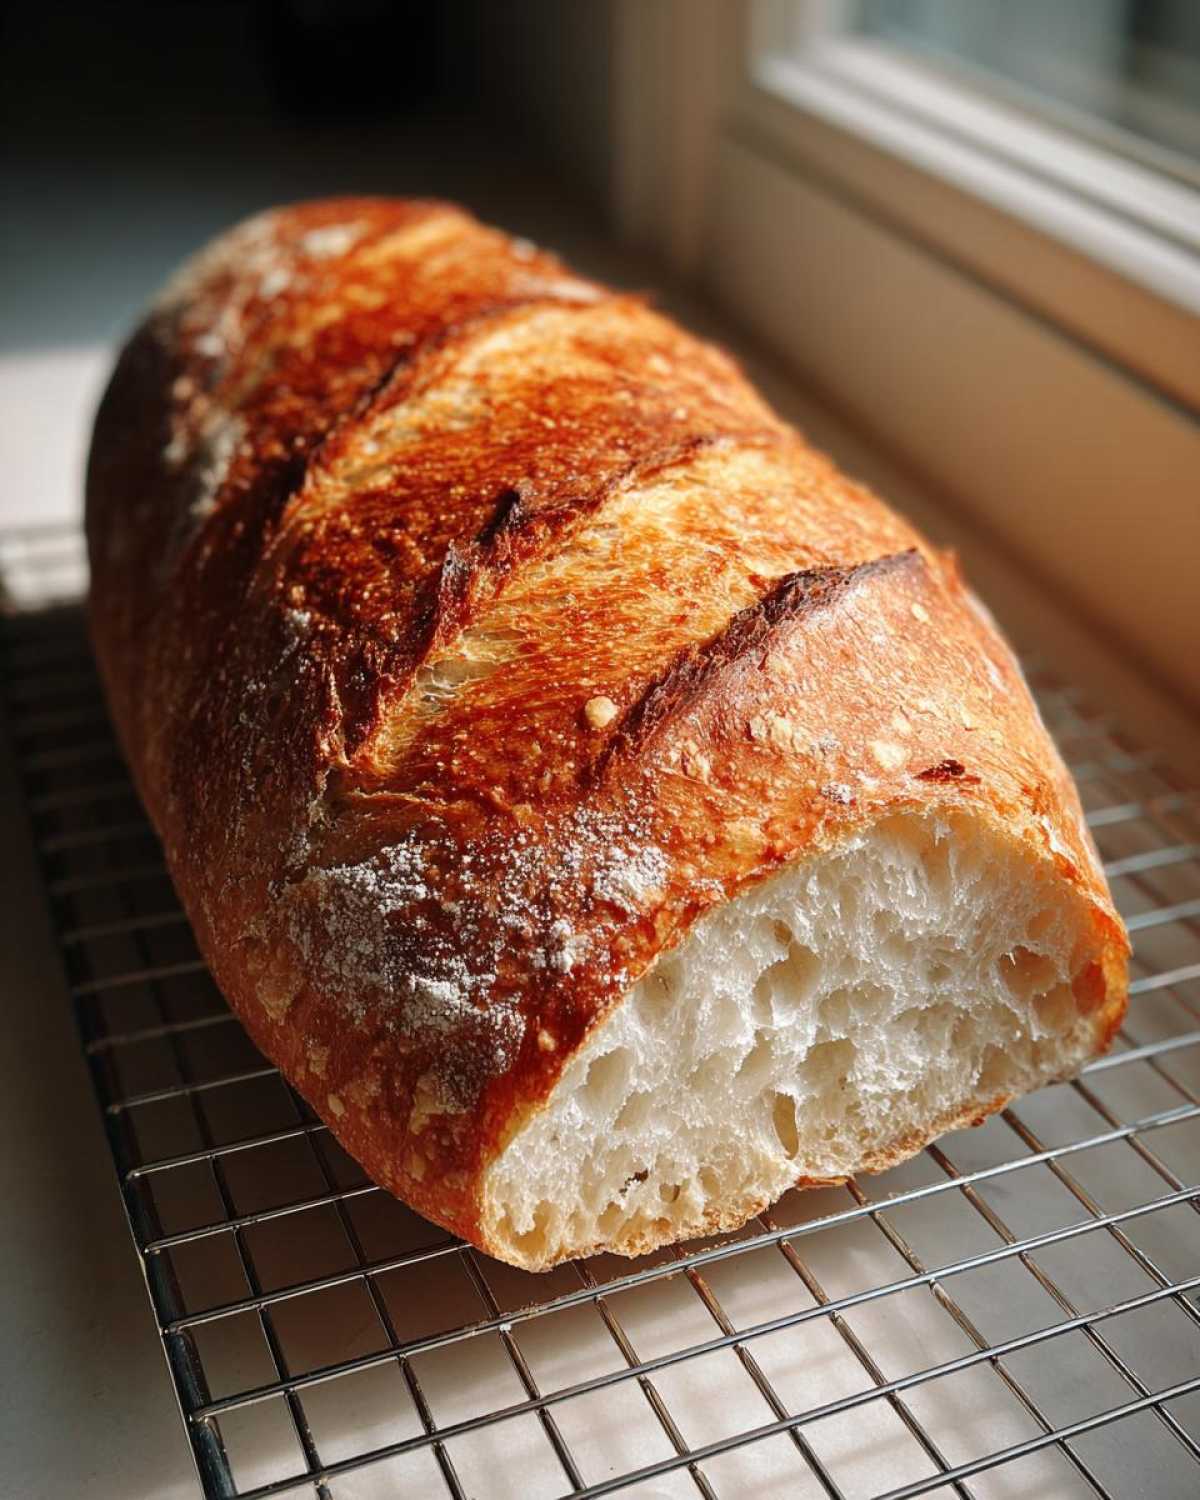
The crust won’t freeze well, so I really only suggest this for bread you plan to eat within 48 hours. If you’re planning further ahead, you should slice it first and freeze the slices—that’s better than having a whole loaf turn rock-hard!
Now for reheating! This is essential if you want that crackly crust back. Don’t microwave it; that just turns it spongy! Instead, if you have a whole loaf, pop it directly onto the oven rack at about 350°F (175°C) for just 5 to 7 minutes. Give it a gentle tap when you pull it out—if it sounds hollow, you’ve successfully resurrected your Crusty Artisan Bread! For just a slice or two, 3 minutes is usually plenty.
Frequently Asked Questions About Making French Bread
I know when you’re first diving into Baking Homemade Bread Tips, you end up with questions that are super specific. Trust me, I have a whole blog folder dedicated just to reader questions about yeast and kneading! Here are the things I get asked most often about making this fantastic French bread.
Can I make this a One Hour French Bread Recipe?
That’s the million-dollar question, isn’t it? If you are really short on time and need bread fast, yes, you *can* speed things up, but I have to be honest with you. While this is a genuinely Quick French Bread Recipe that gets us out in under two hours including rests, the yeast still needs its time to be happy.
If your kitchen is super warm, the first rise might fly by in 45 minutes instead of 90. But rushing the second rise or skipping steam usually leads to a denser loaf. So, think of this as a *fast* recipe, but maybe not a true “one-hour” recipe if you want that perfect airy crumb we are aiming for!
What if I want Chewy French Bread instead of Soft?
Oh, you like some resistance when you bite in! I totally get that. Our main recipe here focuses heavily on that soft interior, aiming for a truly Tender Crumb Bread. If you prefer a more classic, slightly chewier texture often found in some baguettes, you can try adjusting the hydration a tiny bit.
When you’re kneading, stop just shy of the point where the dough feels totally smooth. A little bit of shagginess remaining means less gluten development, which translates into a slightly chewier, less cloud-like loaf. You could also try skipping the egg wash entirely; sometimes a fully matte crust lends itself to a chewier texture, whereas the wash helps create that fragile crispness we love in this recipe!
If you are looking for more adventures in the baking world, check out my latest baking mishaps and successes!
Baking Homemade Bread: Share Your Loaf!
Okay, now it’s your turn! I want to hear everything about your attempt at making this French bread. Seriously, jump down into the comments below and tell me how it went. Did you get that amazing crust? Did you slather it with butter right out of the oven?
I would absolutely love to see your creations! Snap a picture of your Best Homemade Bread and tag me! It makes my day to see all your beautiful loaves coming out of your ovens, knowing you tackled yeast and came out victorious. Don’t forget to rate this recipe too—it helps other folks who are scared of baking yeast bread feel brave enough to try it out!
PrintEasy Homemade French Bread for a Soft, Crusty Loaf
You can bake bakery-style French bread at home! This simple recipe delivers soft, fluffy loaves with a satisfyingly crusty exterior, perfect for dinner or sandwiches. It is easier than you think.
- Prep Time: 20 min
- Cook Time: 25 min
- Total Time: 1 hour 55 min
- Yield: 2 loaves
- Category: Baking
- Method: Baking
- Cuisine: French
- Diet: Vegetarian
Ingredients
- 1 packet active dry yeast (about 2 1/4 teaspoons)
- 1 teaspoon granulated sugar
- 1 cup warm water (105°F to 115°F)
- 3 cups all-purpose flour, plus more for dusting
- 1 1/2 teaspoons salt
- 1 tablespoon olive oil, plus more for greasing
- 1 egg white, beaten lightly (for egg wash)
Instructions
- Activate the yeast: In a large bowl, combine the warm water, sugar, and yeast. Let this mixture sit for 5 to 10 minutes until it becomes foamy. This shows the yeast is active.
- Mix the dough: Add the flour, salt, and olive oil to the yeast mixture. Mix with a wooden spoon until a shaggy dough forms.
- Knead the dough: Turn the dough out onto a lightly floured surface. Knead for 6 to 8 minutes until the dough is smooth and elastic. It should feel soft.
- First rise: Lightly grease a clean bowl with olive oil. Place the dough in the bowl, turning it once to coat. Cover the bowl with plastic wrap or a clean kitchen towel. Let the dough rise in a warm place for 60 to 90 minutes, or until it has doubled in size.
- Shape the loaves: Gently punch down the risen dough. Divide it into two equal pieces. On a lightly floured surface, shape each piece into a long, even loaf shape, similar to a baguette or standard French loaf.
- Second rise: Place the shaped loaves on a baking sheet lined with parchment paper or a lightly floured surface dusted with cornmeal. Cover loosely and let them rise again for 30 minutes.
- Preheat and prepare: About 15 minutes before baking, preheat your oven to 400°F (200°C). Place a shallow pan on the bottom rack to create steam later.
- Score and wash: Just before baking, use a sharp knife or razor blade to make three or four diagonal slashes across the top of each loaf. Brush the tops lightly with the beaten egg white for a shiny, crusty exterior.
- Bake: Carefully pour about 1/2 cup of hot water into the shallow pan on the bottom rack to create steam, then quickly close the oven door. Bake the bread for 20 to 25 minutes, or until the crust is deep golden brown and the loaves sound hollow when tapped on the bottom.
- Cool: Transfer the baked French bread to a wire rack to cool completely before slicing. Enjoy your homemade bread!
Notes
- For an extra crusty exterior, you can spray the sides of the oven with water a couple of times during the first 10 minutes of baking.
- If you want a softer crust, skip the egg wash step entirely.
- This dough is great for making dinner rolls; just divide it into smaller pieces before the second rise.
Nutrition
- Serving Size: 1 slice
- Calories: 150
- Sugar: 1
- Sodium: 250
- Fat: 2
- Saturated Fat: 0.5
- Unsaturated Fat: 1.5
- Trans Fat: 0
- Carbohydrates: 29
- Fiber: 1
- Protein: 4
- Cholesterol: 0