

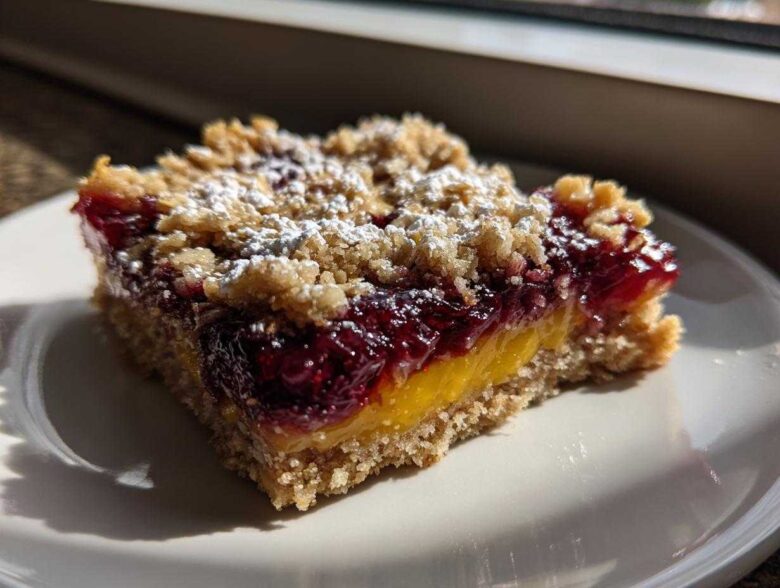
If you’re anything like me, you’ve been burned by a gluten-free dessert or two. You know the drill—it either turns into a crumbly mess the second you try to slice it, or worse, it tastes suspiciously like cardboard! I spent ages trying to nail that perfect baked bar that actually holds together but still gives you that delightful, melt-in-your-mouth crumble. Well, friends, stop searching, because I finally cracked the code with these Gluten-Free Lemon Berry Crumble Bars. Trust me, the balance here is just divine: the sharp, tart lemon cuts right through the sweetness of the mixed berries, all held together by a buttery, shortbread-like base and that crispy topping. Seriously, these are the Best Gluten Free Crumble Bars I have ever made, and I hope they become a staple in your kitchen too!
I used to avoid baking anything truly structured when going gluten-free, but my determination paid off. You can see some of my other GF successes over at my gluten-free muffin adventures if you need convincing! These bars prove that ‘no wheat’ doesn’t mean ‘no texture’.
Why This Gluten-Free Lemon Berry Crumble Bars Recipe Works (E-E-A-T)
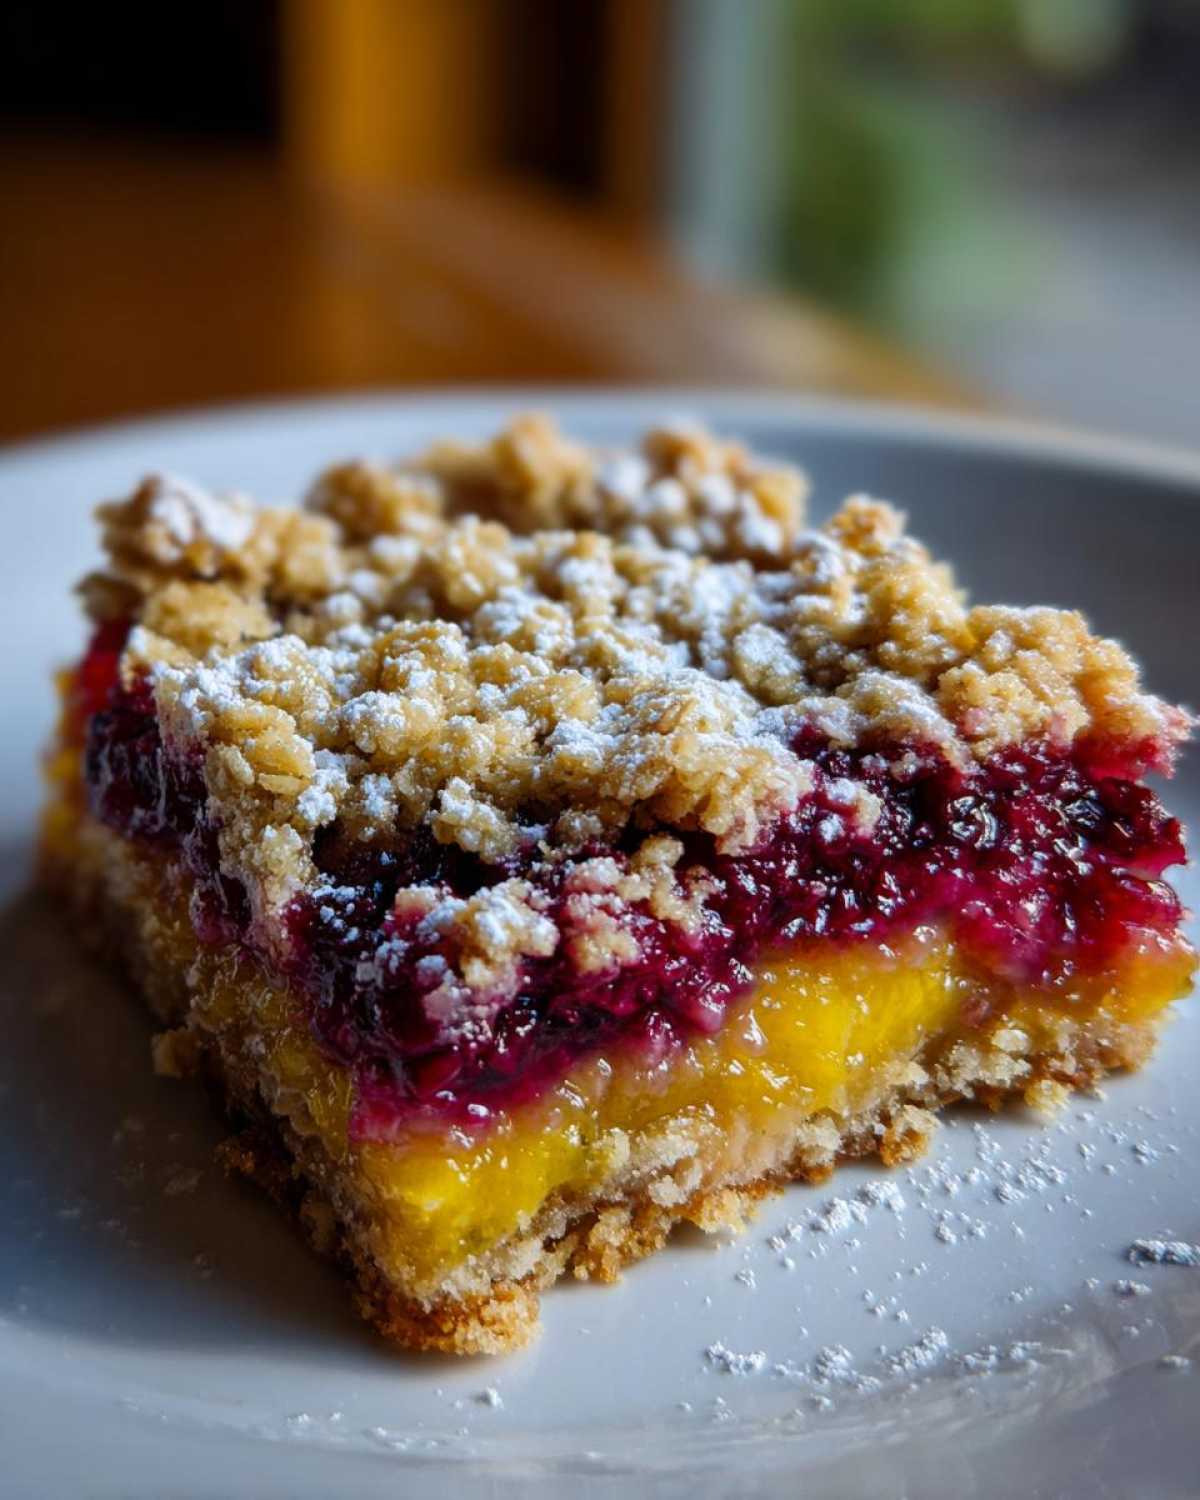
What makes these bars legendary? It’s all about structure without sacrificing flavor. When you follow this method, you get unbelievable results that stand up to any regular baked good. You won’t find a soggy middle here!
- Perfect balance of tart lemon against sweet, juicy berries.
- A base that actually holds together—it’s practically a Gluten Free Shortbread Base Bars!
- The topping is buttery, crisp, and intensely flavorful.
Achieving the Perfect Crumble Texture
The secret weapon for that crispness is using *cold* butter cubed up small and combining it with both almond flour and those gluten-free oats. This ratio stops the mixture from turning into dense cookie dough. It stays beautifully coarse, guaranteeing you have that real crumble!
If you love oatmeal pairings, you might want to check out my oatmeal chocolate chip muffins for another totally different texture experience.
Essential Ingredients for Your Gluten-Free Lemon Berry Crumble Bars
Okay, let’s talk about what goes into making these beauties. Getting the ingredients right is half the battle when dealing with gluten-free baking, especially for something layered like this. Don’t just throw anything in the bowl and hope for the best—we need structure!
Here is what you absolutely need to gather before you start mixing up the crust and the filling:
- 1 1/2 cups gluten-free all-purpose flour blend (make sure that bag says it has xanthan gum in it!)
- 1 cup gluten-free rolled oats
- 1/2 cup almond flour
- 1/2 cup granulated sugar
- 1/2 cup packed light brown sugar
- 1/2 teaspoon salt
- 1 cup (2 sticks) unsalted butter, kept COLD and cut into cubes
- 1 large egg (this only goes into the base dough, remember!)
- 1 teaspoon vanilla extract
- 1 1/2 cups mixed berries (fresh or frozen—but please, don’t thaw them first!)
- 1/4 cup granulated sugar (for the fruit layer)
- 2 tablespoons cornstarch or tapioca starch (my texture insurance policy!)
- 1/4 cup fresh lemon juice
- 1 tablespoon lemon zest
Gluten-Free Flour Blend Specifics
This is super important for our Gluten Free Dessert Bars to avoid that sandy texture. You need a good quality GF all-purpose blend that already includes xanthan gum; that’s what gives us the structure we need. Then we boost the texture by adding those rolled oats and the almond flour.
The combination of oats and almond flour is what prevents the whole thing from tasting like it’s missing something. If you tried to use only oat flour, you might end up with something too dense, which is why this blend creates the Best Gluten Free Crumble Bars. If you’re exploring other GF baking, my gluten-free pumpkin muffins also rely heavily on a good flour blend!
Equipment Needed for Perfect Gluten-Free Lemon Berry Crumble Bars
You don’t need a professional kitchen for this, thank goodness! Baking these bars is straightforward, but having the right tools makes the difference between a frustrating mess and a beautiful 8×8 square of perfection. It really helps in developing that satisfying structure we’re aiming for.
Here are the few essentials I always pull out when making my Gluten Free Dessert Bars:
- An 8×8 inch metal baking pan. This size is perfect for achieving that ideal thickness for the base and the topping.
- Parchment paper! This is non-negotiable for me. You need enough overlap on two sides so you can lift the entire cooled block out like a big dessert sling. It saves so much heartbreak.
- A pastry blender. While you *can* use your fingers, cutting in that cold butter is so much easier and faster with a pastry blender. It keeps your hands from warming up the fat, which keeps the crumble light.
- A large mixing bowl for tossing the dry ingredients.
- A small bowl reserved specifically for mixing up that bright lemon berry filling.
Honestly, if I can make these using just a mixing bowl and a pastry blender, anyone can! If you’re interested in another great one-bowl baking project, these chocolate chip zucchini muffins are a life-saver on busy days.
Step-by-Step Instructions for Lemon Berry Crumble Bars Recipe
Alright, buckle up—this is where the magic happens, and honestly, where you build the structure for these amazing Gluten Free Shortbread Base Bars. Don’t rush the chilling or the cooling; that’s what separates a messy square from a perfect, sliceable bar!
First things first: get that oven preheated to 350°F (175°C). Grab that 8×8 pan and line it with parchment paper so the handles stick up over the sides—you’ll thank me later when you need this sling to lift the cooled bars out. Consistency is key here.
Preparing the Crust and Crumble Mixture
Start by combining all your lovely dry ingredients for the crust and topping—the flours, oats, both sugars, and the salt—in a big bowl. Next, cut in that very cold butter until you get coarse crumbs. This is the base mix!
Now, stop! This is the most important tiny step for getting the Perfect Crumble Topping Gluten Free: scoop out 1 1/2 cups of this crumb mixture and put it aside in a separate bowl. That’s your topping!
To the remaining crumb mixture still in the big bowl, toss in your egg and vanilla. Mix it up gently until it just clings together like a soft dough. Press this dough firmly and evenly into the bottom of your lined pan. That’s your base layer done!
Assembling and Baking Your Baked Lemon Fruit Squares
Time for the filling! In that small bowl, toss your mixed berries with the other sugar, the cornstarch (or tapioca starch—this is vital to stop any sogginess if you’re using frozen fruit, so don’t skip it!), the lemon juice, and that gorgeous zest. Make sure everything is coated nicely.
Spread that bright, tart berry layer carefully over your pressed base. Then, take the reserved crumb mixture and sprinkle it generously and evenly over the top of the fruit. It’s going to look a little loose, and that’s perfect!
Pop those beautiful Baked Lemon Fruit Squares into the oven for about 40 to 45 minutes. You want to see that topping golden brown and the filling bubbling up around the edges. Then, the hardest part: let them cool completely! I mean it—at least two full hours on a wire rack. If you try to cut them warm, they will turn mushy. If you want to browse some more lemon treats while you wait, take a look at how I get maximum tang in my lemon pound cake!
Expert Tips for Success with Your Gluten-Free Lemon Berry Crumble Bars
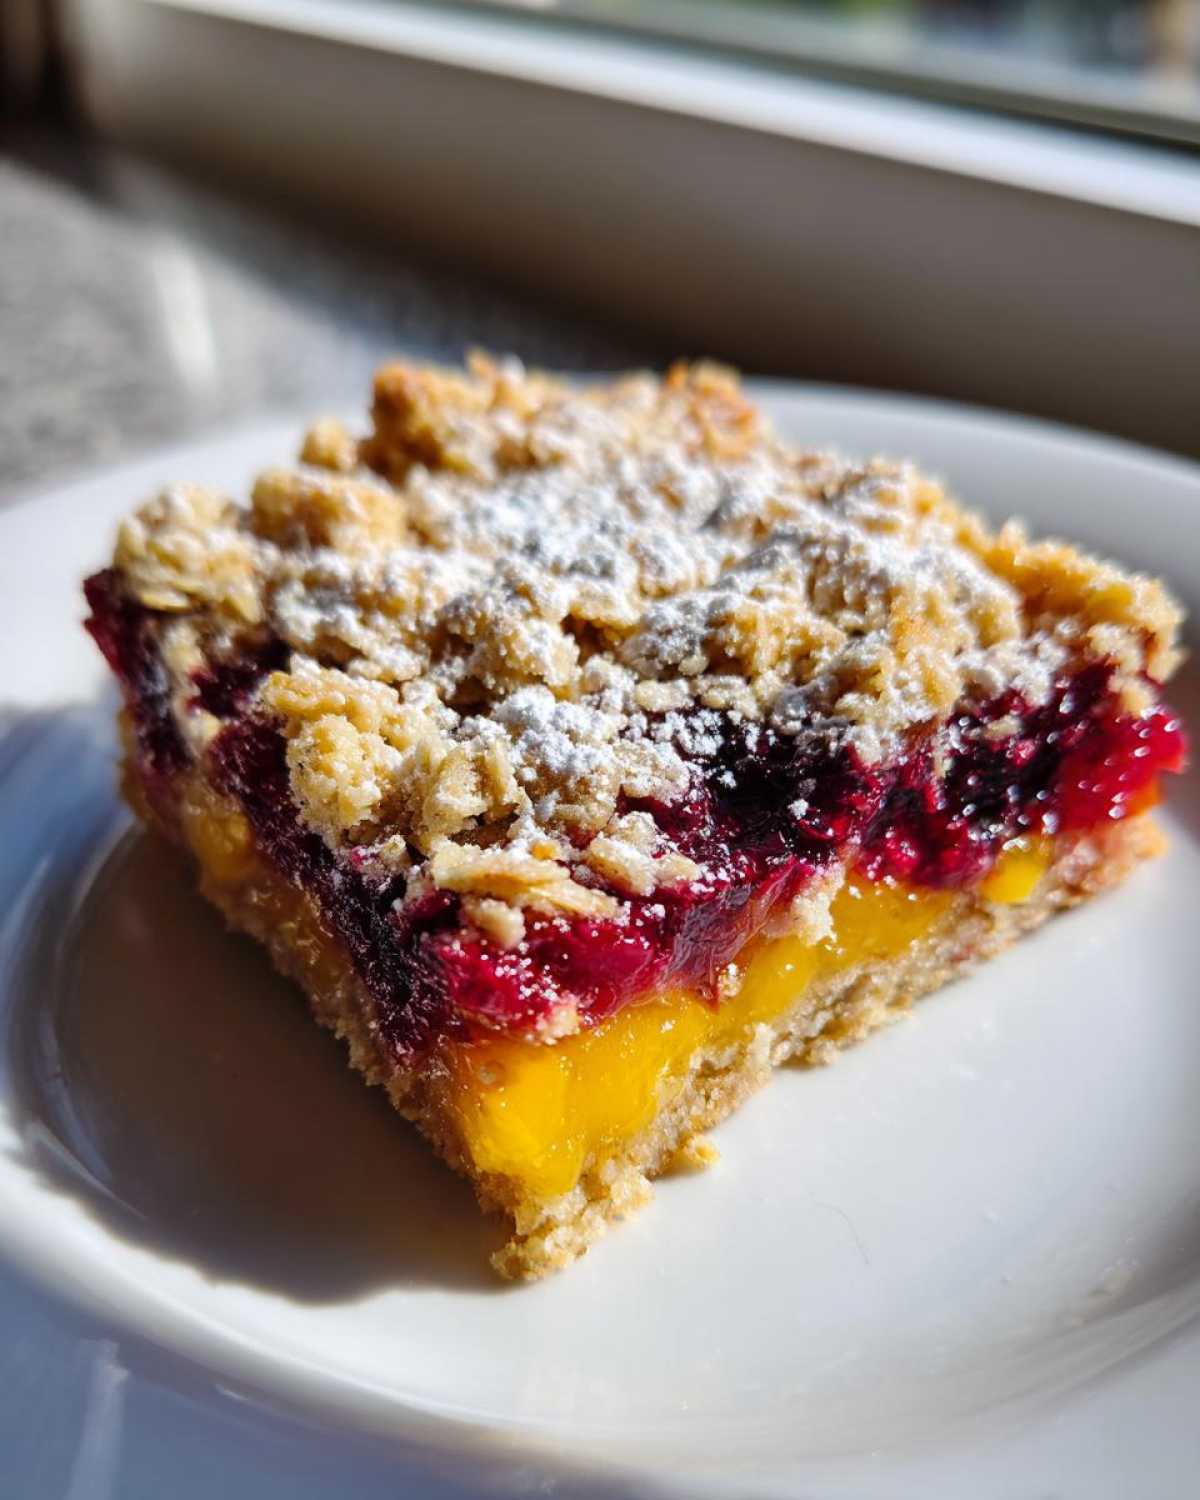
Baking these bars teaches you patience, I swear! Once they come out of the oven looking golden and gorgeous, the temptation to slice them immediately is strong. But listen to your old friend here: cooling is where the structure sets up. Because we aren’t using traditional wheat flour, the fats need time to firm back up so your bars don’t fall apart when you try to lift them.
Give them a full two hours on that wire rack before you even attempt to lift them out with the parchment sling. If you rush this, you’ll end up with a pile of delicious crumble and filling, which is great for a bowl, but terrible when you were hoping for perfect squares!
For that perfect golden-brown top that resists sticking, make sure your topping crumbs are a bit looser than the base layer. If your topping looks too dense or is packed down, it tends to bake slower than the fruit underneath. Keep the topping light and airy when you sprinkle it on!
Also, when you’re balancing out that flavor profile, remember that the best Tart Lemon and Sweet Berry Baking really shines when the ingredients are treated right. Don’t skimp on that fresh zest; that’s where that sharp, aromatic lemon oil lives. It provides the necessary punch to keep the bar from tasting too heavy.
Since we talked about maximizing lemon flavor, if you ever need a serious lemon kick in a different format, check out my ideas for getting super zesty in my chewy lemon cookies. That technique transfers perfectly here!
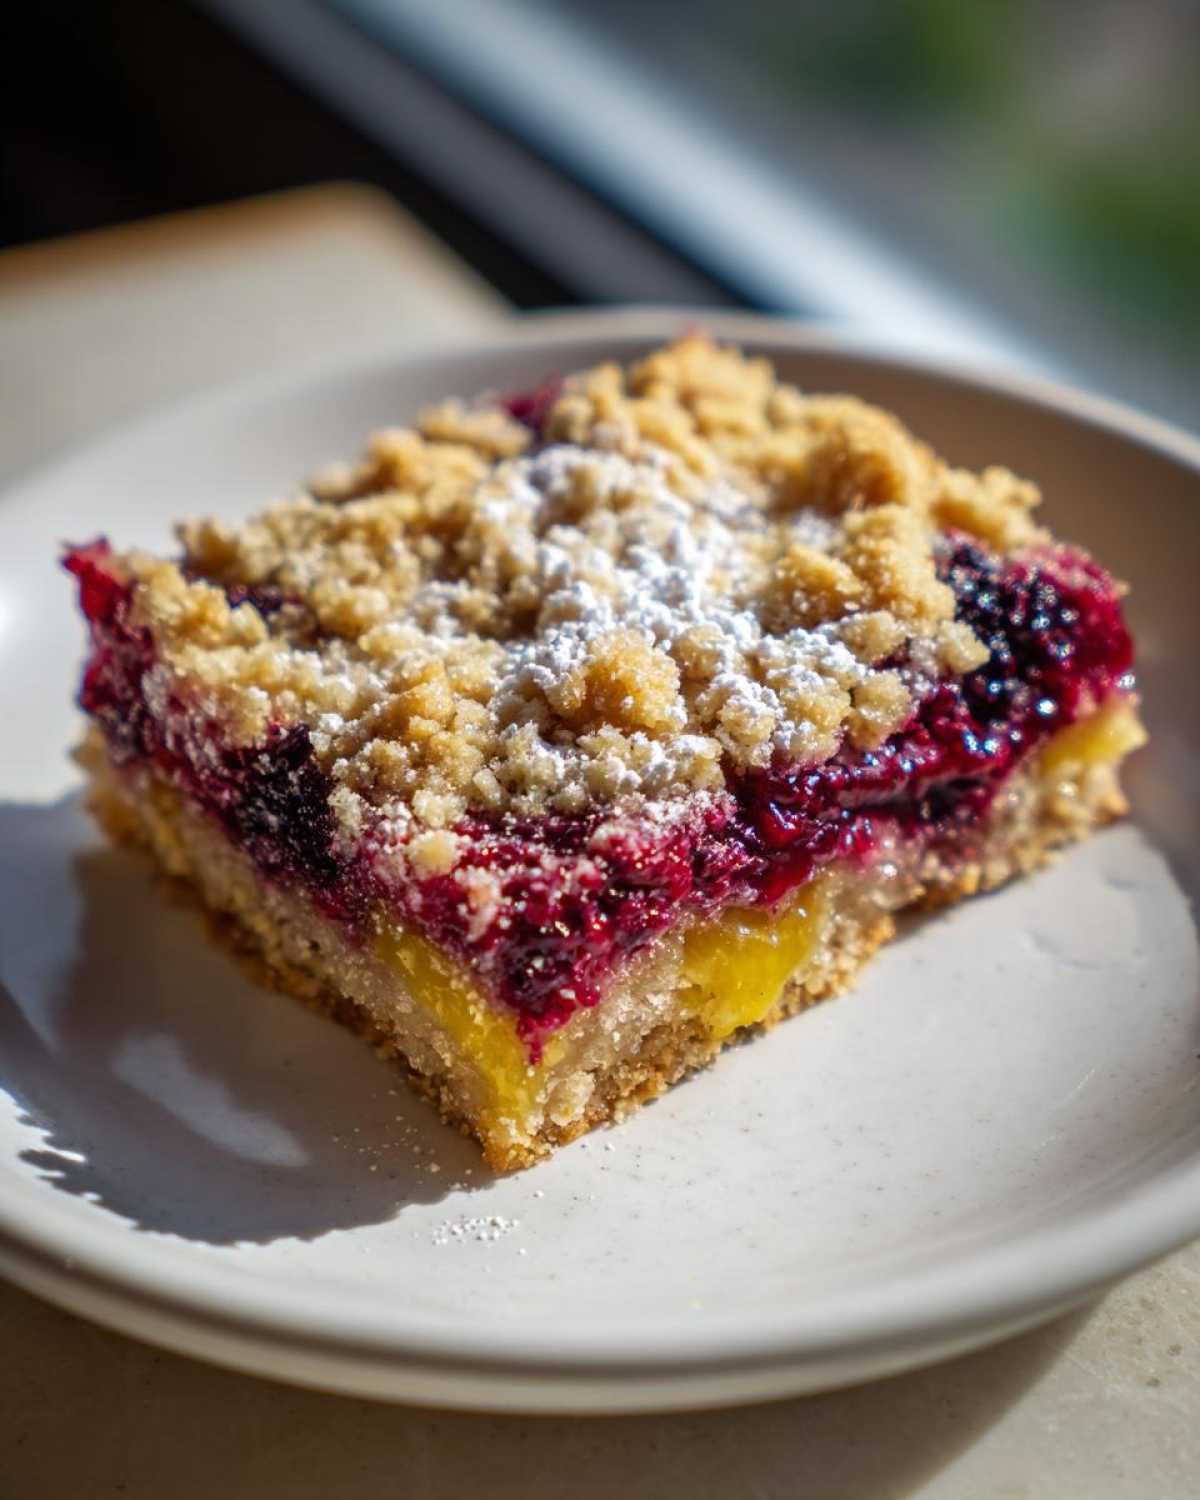
Finally, a quick note on slicing: use a large, sharp knife, and wipe it clean between cuts if the fruit filling starts to drag. This one simple trick gives you those professional-looking, clean edges every single time.
Variations on These Easy Gluten Free Fruit Bars
I love how versatile these bars are! Once you nail the basic structure—the buttery base and the crumb topping—you can start playing around with the filling and the mix-ins. The best part about using a good gluten-free blend is that the structure is so reliable, it can handle little tweaks without collapsing into chaos.
When I want to switch things up from the classic lemon-berry combo, I usually focus on changing the fruit or adding texture directly into the crumble mix itself. Since we talked about how amazing the Almond Flour Berry Crumble combination is for the base, let’s see how we can use that almond power elsewhere!
Here are a few ways I’ve experimented with my Easy Gluten Free Fruit Bars that you might enjoy:
- Swap the Citrus: Instead of lemon, try lime juice and zest! It makes the bars significantly more aromatic and tangy, especially good with blueberries.
- Fall Flavor Switch: Ditch the berries entirely in the cooler months. Instead, layer thinly sliced apples or pears on the bottom, and swap the lemon zest for cinnamon and a tiny bit of nutmeg in the topping mix. That’s a fantastic transition into no wheat lemon berry dessert territory, just fruitier!
- Nuts in the Crumble: If you want extra crunch, toast 1/4 cup of pecans or walnuts and fold them into the reserved topping mixture before you sprinkle it on. This adds another layer of flavor complexity that pairs wonderfully with the berries. Just make sure whatever nuts you add are finely chopped so they don’t prevent the topping from spreading evenly.
If you happen to love cranberry and orange together—a combination that really sings—you should definitely take a look at my recipe for chewy cranberry orange cookies. The flavor profile is totally different, but the principle of balancing tart citrus with sweetness is the same!
Remember, as long as you keep your butter VERY cold and use that starch to coat your fruit, you can swap out almost any berry or seasonal fruit and still end up with a beautifully structured bar!
Storage and Make Ahead Gluten Free Desserts Instructions
One of my favorite things about these bars is that they are fantastic for meal prepping or bringing to a party because they qualify as perfect Make Ahead Gluten Free Desserts. They actually taste better on day two once the flavors have really settled into that crumbly base! But storage is key, especially since we’re dealing with fruit filling.
The most important rule, which I mentioned before, is you simply *must* wait until they are completely, totally, stone-cold before you even *think* about slicing them or moving them into containers. I let mine sit out on the counter for a solid two hours after they come out of the oven to cool completely, and sometimes I even leave them overnight if the kitchen is cool. If you slice them warm, even if they look firm, you risk crushing the base and making a mess.
Once they are fully cool and you’ve cut them into those 16 beautiful squares:
- Store them in a single layer in a truly airtight container at room temperature. I find they keep beautifully for about three days this way. The starch in the fruit keeps them moist, but the oat/almond flour combination keeps the crumble from getting overly soft.
- If your kitchen is really hot and humid, or if you used fresh, particularly juicy berries, you can choose to store them in the fridge. Pop a layer of parchment paper between the layers if you stack them. They are still delicious cold, but I tend to let them sit on the counter for 15 minutes before serving just to warm that buttery base slightly.
- They freeze like a dream, too! Wrap individual bars tightly in plastic wrap, then place them all in a zip-top freezer bag. They taste great just thawing on the counter for a few hours.
These bars are sturdy enough that I never bother reheating them, but if you wanted to give one a gentle warm-up to make the berries gooey again, pop a single bar on a small microwave-safe plate for about 10 seconds. Don’t overdo it, or you’ll lose that crispness we worked so hard for!
Speaking of sturdy treats, if you are ever looking for something equally portable that doesn’t require any baking at all, you have to check out my recipe for peanut butter Rice Krispie treats. Those are the ultimate throw-in-a-bag snack!
Frequently Asked Questions About Gluten Free Dessert Bars
I get so many questions whenever someone tries these bars for the first time, and honestly, it makes sense! Baking gluten-free requires a little shift in thinking, but once you get these little secrets down, you’ll be unstoppable. Here are the big ones I hear all the time regarding our Gluten Free Dessert Bars.
Can I use only oat flour instead of a blend for these Gluten Free Lemon Berry Crumble Bars?
That’s a great question about substitutions! While I love using pure oat flour in some recipes—like my apple butter—I wouldn’t recommend using it exclusively here, especially for the crumble topping. The GF all-purpose blend (with the xanthan gum) is engineered to mimic the structure of regular flour, helping that crumble set up crisply. If you use only oat flour, the texture tends to be much denser and softer, leaning more toward a heavy cookie than a light, crisp topping. We need that lift, so stick to the blend plus the extra almond flour and oats for the best results!
How do I ensure the lemon flavor is strong enough in these Natural Gluten Free Lemon Treats?
Oh, this is my favorite trick for any Natural Gluten Free Lemon Treats! You absolutely must use fresh lemon zest and fresh lemon juice. Bottled juice just never has the same bright, sharp aroma or zing that you want to cut through the richness of the butter and berries. When you zest the lemon, try to only get the yellow part; the white pith underneath is bitter! That fresh zest is what makes the whole bar sing.
I use the zest in both the fruit filling and just a tiny bit sprinkled over the base dough before the fruit goes in. It amps up those essential oils and gives you that unmistakable, authentic tart flavor!
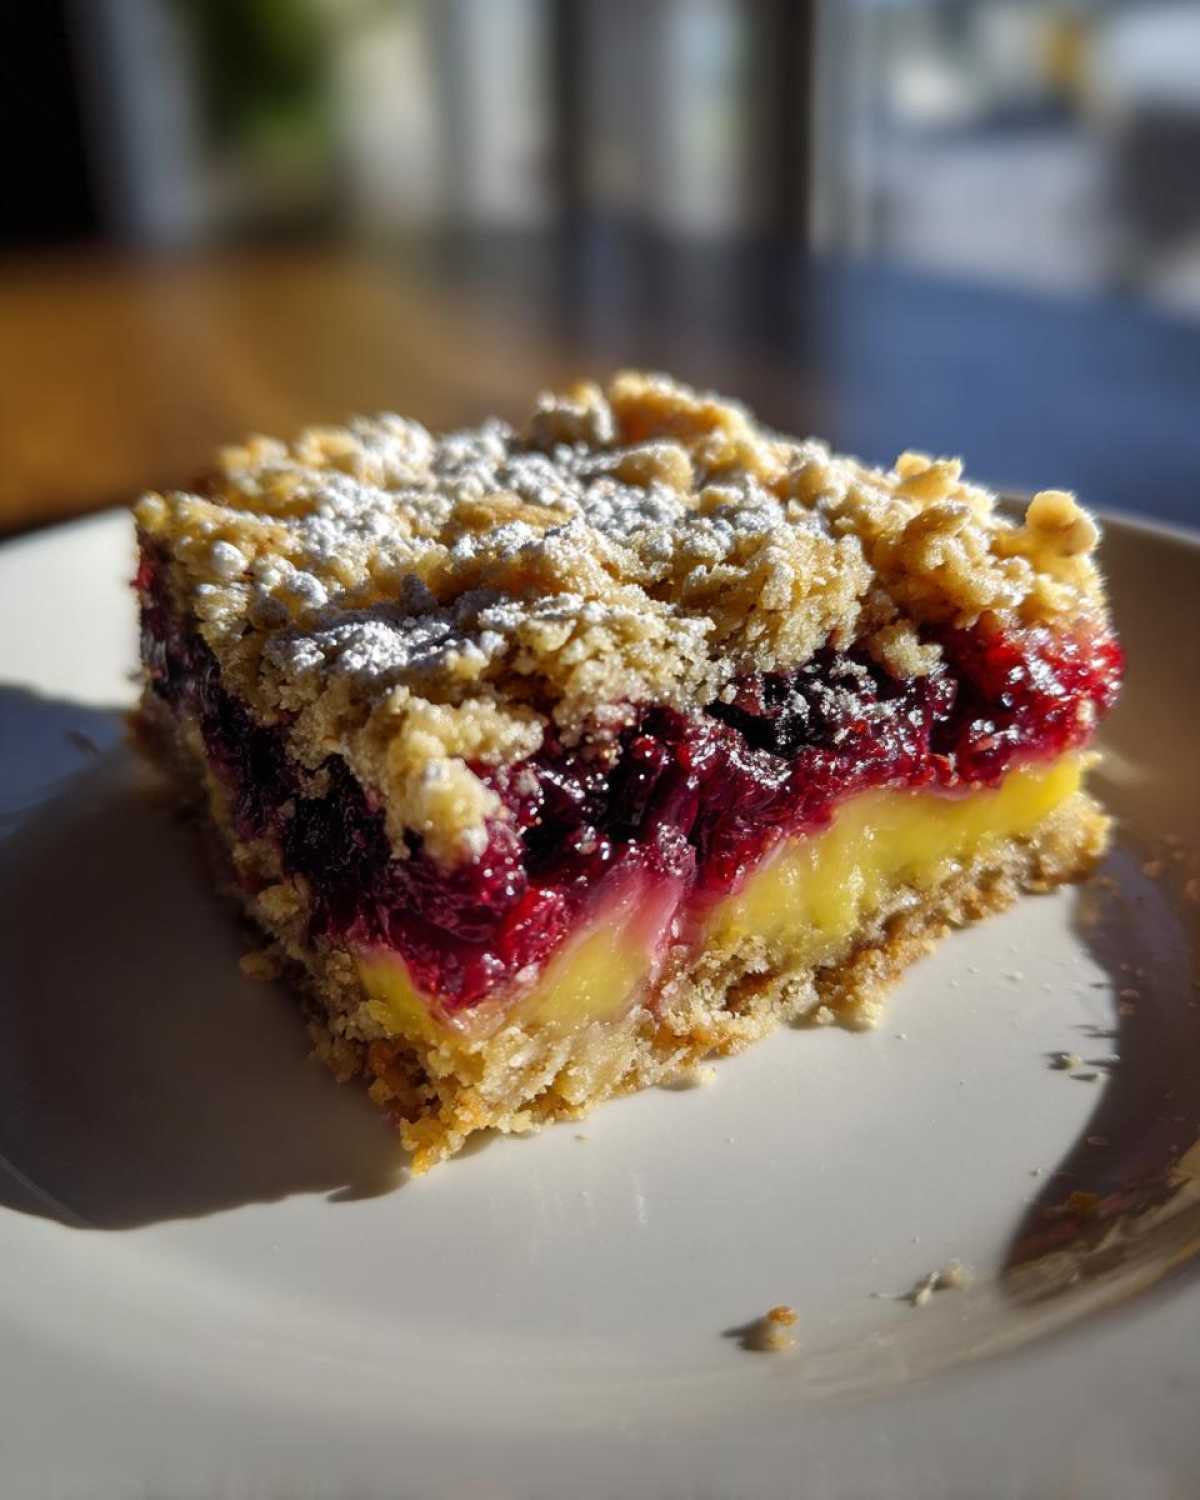
Don’t worry if you are nervous about that tartness; remember, we’re balancing it perfectly with sweet berries. It’s the best kind of sweet-and-sour baking!
Nutritional Snapshot of Your Gluten Free Treats
So, we just made the most incredible layers of buttery crumble, tart lemon, and sweet berries, right? Now, I know some of you are tracking things, and I always like to give a little peek at what these squares contain. Remember, these numbers are estimates, so they depend a bit on which berries you chose and exactly how much butter clung to your measuring cup!
I ran these Gluten Free Lemon Berry Crumble Bars through my usual calculator based on those standard ingredient weights, just to give you a general idea of what you’re munching on. For pretty much a whole serving—one lovely square out of 16—here is the breakdown:
- Calories: About 280
- Sugar: 18 grams (That’s the natural fruit sugar plus what we added—it’s well worth it!)
- Fat: 17 grams (Hello, cold butter! That’s what makes the crumble amazing.)
- Carbohydrates: 30 grams
- Protein: 4 grams
- Sodium: 110 mg
- Saturated Fat: 10 grams
I always say, compared to many store-bought bars which are loaded with weird preservatives, this is a win! It’s all clean ingredients, even if the fat content is up there because we demand a buttery texture. If you’re looking for something a little more protein-focused after you finish these, you might want to check out my blueberry Greek yogurt protein muffins for a different kind of treat!
This snapshot just confirms that these are an indulgence, but a homemade, delicious one! Enjoy responsibly, because they disappear way too fast around here.
PrintGluten-Free Lemon Berry Crumble Bars
Bake these layered bars featuring a crisp gluten-free base and topping sandwiching a tart lemon and sweet mixed berry filling.
- Prep Time: 20 min
- Cook Time: 45 min
- Total Time: 170 min
- Yield: 16 bars
- Category: Dessert
- Method: Baking
- Cuisine: American
- Diet: Gluten Free
Ingredients
- 1 1/2 cups gluten-free all-purpose flour blend (with xanthan gum)
- 1 cup gluten-free rolled oats
- 1/2 cup almond flour
- 1/2 cup granulated sugar
- 1/2 cup packed light brown sugar
- 1/2 teaspoon salt
- 1 cup (2 sticks) cold unsalted butter, cut into cubes
- 1 large egg
- 1 teaspoon vanilla extract
- 1 1/2 cups mixed berries (fresh or frozen, do not thaw)
- 1/4 cup granulated sugar
- 2 tablespoons cornstarch or tapioca starch
- 1/4 cup fresh lemon juice
- 1 tablespoon lemon zest
Instructions
- Preheat your oven to 350°F (175°C). Line an 8×8 inch baking pan with parchment paper, leaving an overhang on two sides for easy removal.
- In a large bowl, whisk together the gluten-free flour blend, oats, almond flour, both sugars, and salt for the crust/crumble.
- Cut in the cold butter using a pastry blender or your fingers until the mixture resembles coarse crumbs.
- Remove 1 1/2 cups of this mixture and set it aside for the topping.
- To the remaining crumb mixture in the bowl, add the egg and vanilla extract. Mix until just combined into a soft dough.
- Press this dough evenly into the bottom of the prepared pan to form the base layer.
- In a separate small bowl, gently toss the mixed berries with the 1/4 cup sugar, cornstarch, lemon juice, and lemon zest until the berries are coated.
- Spread the berry mixture evenly over the base layer.
- Sprinkle the reserved 1 1/2 cups of crumb mixture evenly over the fruit layer.
- Bake for 40 to 45 minutes, or until the topping is golden brown and the filling is bubbly.
- Let the bars cool completely in the pan on a wire rack (at least 2 hours) before lifting them out using the parchment overhang and cutting them into 16 squares.
Notes
- To prevent a soggy bottom crust, ensure your butter is very cold when mixing the base.
- If using frozen berries, do not thaw them before mixing with the starch and juice.
- For the best texture, allow the bars to cool fully before slicing; this helps the gluten-free structure set.
Nutrition
- Serving Size: 1 bar
- Calories: 280
- Sugar: 18
- Sodium: 110
- Fat: 17
- Saturated Fat: 10
- Unsaturated Fat: 7
- Trans Fat: 0
- Carbohydrates: 30
- Fiber: 2
- Protein: 4
- Cholesterol: 45