

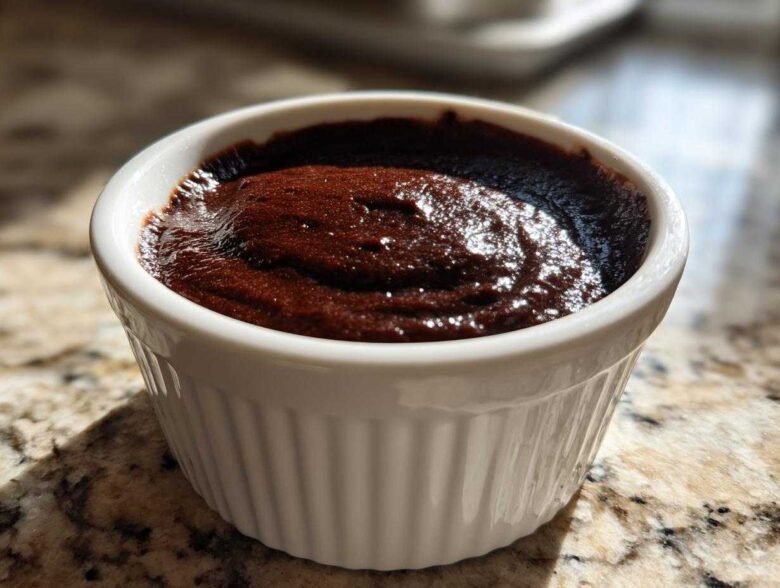
Oh, I have to tell you about my favorite kitchen magic trick! You know those sad little boxes of pudding mix? Forget them. Seriously, they are just not the same as a truly decadent dessert made completely from scratch.
I’m sharing my ultimate recipe for the best homemade chocolate pudding you will ever taste. This isn’t some hour-long project either; we’re talking luscious, unbelievably creamy chocolate pudding that comes together faster than you think. I swear by this recipe because last Thanksgiving, I completely forgot dessert—yes, forget!—and whipped this up in under 30 minutes, and everyone raved that it was the richest thing they ate all day.
It’s rich, it’s unbelievably silky smooth, and honestly, it tastes like the most amazing, high-end chocolate treat, but you just use things you already have sitting in your pantry. Trust me, once you make this homemade chocolate pudding this way, you’ll never go back to the store-bought stuff again. It’s that good!
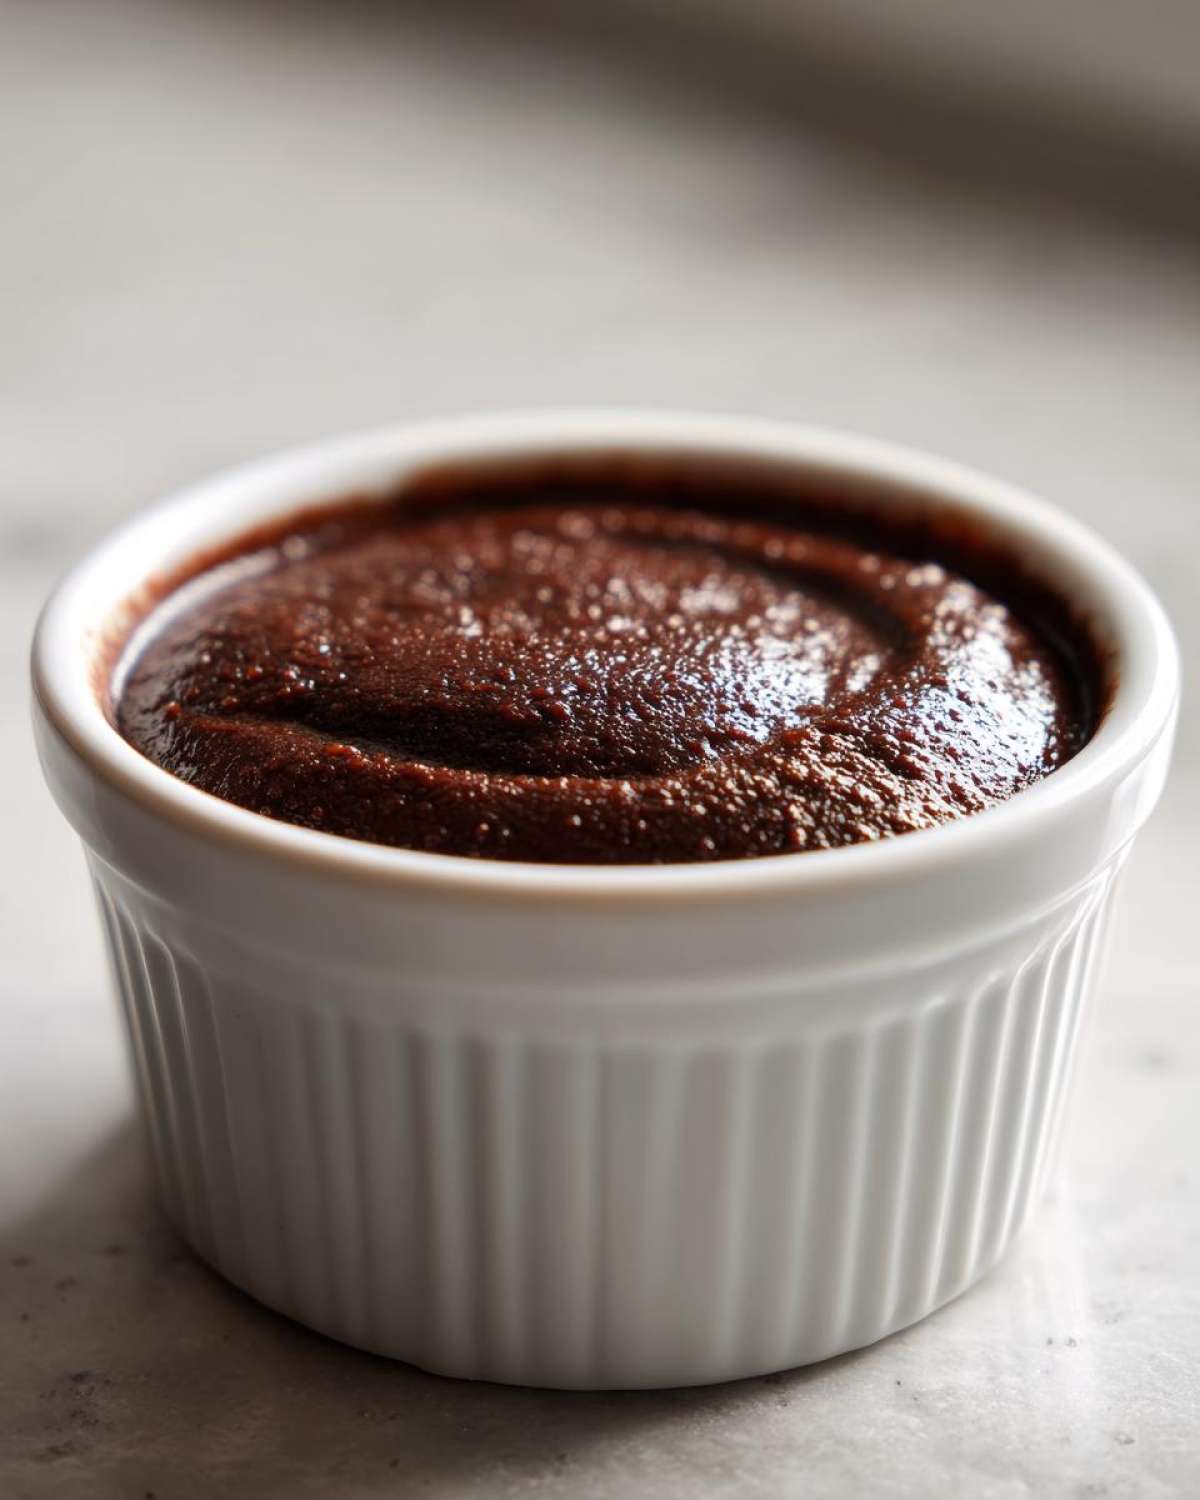
Why This is the Best Homemade Chocolate Pudding Recipe Ever
What makes this recipe the absolute winner in my book? It’s honestly the quality of that final texture. You want something truly creamy chocolate pudding, right? Not watery, not clumpy, but that luxurious, thick coating on your spoon. This recipe delivers that because we aren’t relying on a box mix. We use whole milk and those two egg yolks, which just inject so much richness you wouldn’t believe it.
A lot of recipes skip the tempering part, but that’s the key to getting that silky smooth dessert finish without that weird, slightly scrambled layer on top.
Achieving That Perfect Creamy Chocolate Pudding Texture
The secret weapon here is cornstarch. It’s a much cleaner thickener than flour, which can leave a starchy taste behind. Cornstarch gels up beautifully when heated, giving us that perfect, thick texture we’re chasing. Then, tempering the egg yolks—slowly introducing the heat—ensures they bind into the pudding smoothly rather than cooking instantly into little bits. It’s simple science, but it makes all the difference in the world for a flawless, rich result.
Ingredients for Homemade Chocolate Pudding from Scratch
Okay, let’s talk about what you need to pull off this amazing homemade chocolate pudding. Because we are making this completely from scratch, the ingredient list is super short—mostly pantry staples! You’re grabbing sugar, good quality unsweetened cocoa powder, cornstarch for thickening, a pinch of salt, and whole milk. Don’t forget those two beautiful egg yolks we talked about, plus butter and vanilla for the finish. That’s it! See? It’s simple stuff!
Ingredient Notes and Substitutions for Your Homemade Chocolate Pudding
If you want the pudding to taste incredible, go for the dark cocoa powder if you have it; it really amps up that rich flavor profile. Now, about the milk: this recipe calls for whole milk because that extra fat content is vital for creating that signature thick, wonderful texture. If you use 2% milk, it will still work great, but just know it might be slightly less decadent. And I always use real, unsalted butter at the end because it melts in beautifully and adds such a clean richness to the whole thing.
Step-by-Step Instructions: How to Make Pudding on the Stovetop
Now we get to the fun part—actually cooking this glorious homemade chocolate pudding recipe! It all starts on the stovetop, and you absolutely cannot walk away from the pan once it gets going, trust me; I’ve scorched sugar before, and it smells terrible! I always have my whisk ready to go before I even turn the flame on under the pot.
First, whisk all your dry ingredients—sugar, cocoa, cornstarch, and salt—together in your saucepan. This ensures the cornstarch doesn’t clump up later. Then, slowly add the cold milk while whisking nonstop until everything looks perfectly smooth. Heat this over medium heat. You have to stir constantly, scraping the bottom and the sides of the pan. For more helpful advice on stovetop cooking, check out my main blog!
It will take about 8 to 10 minutes before you see it start to bubble and thicken up dramatically. Once it bubbles, keep stirring for one full minute! That minute cooks out any raw starch flavor. Then, you take it off the heat to tackle the important step of adding the eggs. Learning how to make pudding means mastering this next part!
Tempering Eggs for the Smoothest Rich Chocolate Pudding
This tempering business feels fancy, but it’s just about tricking the eggs! In a separate small bowl, whisk your two egg yolks lightly. Now, here’s the key to that rich chocolate pudding: take about half a cup of that hot pudding mixture and drizzle it *very slowly* into the yolks while whisking them like crazy. This brings the temperature of the yolks up gently so they don’t turn into scrambled eggs when you add them back!
Chilling and Serving Your Homemade Chocolate Pudding
Once everything is mixed back together and heated just briefly on low—don’t boil it after the yolks go in!—you stir in your butter and vanilla off the heat. Then, divide it into your bowls. For the absolute best texture, you have to press plastic wrap directly onto the surface of the pudding in each bowl. This keeps that horrible skin from forming while it chills in the fridge for a minimum of two hours. Patience pays off here!
Tips for the Ultimate Silky Smooth Dessert Experience
If you really want to nail that absolutely perfect, silky smooth dessert texture, I have a few crucial tricks that take this homemade chocolate pudding from great to legendary. First, ditch that wooden spoon once the eggs are in, and grab your whisk! You need the finest wire whisk you own for the final stirring phases to ensure zero lumps sneak in.
Also, scrape the absolute bottom and sides of that saucepan every few seconds while it’s heating. That’s where the sugar loves to grab hold and burn, which will absolutely ruin the color and taste of your pudding. My favorite little secret? A tiny, tiny pinch of sea salt mixed in with the vanilla at the very end brightens up the chocolate flavor so much. Trust me on this one; it’s my little cheat code for the best chocolate pudding!
If you want to explore other fantastic no-bake treats, you should check out how I make my no-bake chocolate chip granola bars sometime!
Make-Ahead and Storage for Your Homemade Chocolate Pudding
Good news! This homemade chocolate pudding is fantastic made ahead. I usually make it on a Sunday, and it tastes just as incredible by Wednesday. It keeps really well for about four days in the fridge, as long as you keep that plastic wrap pressed right onto the surface. That part is non-negotiable to keep the moisture locked in!
Now, heads up: when it gets really cold, the pudding firms up a lot because of the cornstarch. If you want it looser or dreamier, just take it out of the fridge about 20 minutes before you plan to serve it so it can warm up just a hair. It’s absolutely delicious cold, but letting it sit for a moment takes the chill off perfectly.
Serving Suggestions for This Easy Chocolate Dessert
You’ve made the perfect easy chocolate dessert, and now it’s time for the fun part—dressing it up! While I happily eat this pudding straight out of the little bowl with nothing else, making it feel decadent is so simple. A huge dollop of freshly whipped cream is a classic pairing; you just can’t beat it.
For a little zing, try topping individual servings with a flurry of fresh raspberries or strawberries—the tartness cuts through the richness beautifully. And please, please, finish it with a tiny sprinkle of flaky sea salt! It makes the chocolate flavor truly pop. If you want even more inspiration for impressive-looking but simple treats, you absolutely must see my recipe for the smores skillet dip.
Frequently Asked Questions About Homemade Chocolate Pudding Recipe
I know you’re going to love making this homemade chocolate pudding recipe, but sometimes little questions pop up when you’re standing over the stove, right? Here are a few things I get asked all the time about making pudding from scratch.
Can I substitute the whole milk?
You absolutely can, but I have to warn you: the texture will change! Whole milk provides the fat necessary for that amazing, decadent, thick mouthfeel. If you use 2% or skim milk, your pudding will be thinner—more like a chocolate custard than a thick pudding. You might need to add an extra half teaspoon of cornstarch to compensate if you want it thicker, but honestly, the whole milk is worth it for this recipe.
Why did my pudding turn out grainy instead of silky?
Graininess almost always comes from either not whisking the dry ingredients enough before adding the milk, or scorching the bottom of the pan! If the sugar or cocoa powder sits untouched on the bottom for too long over the heat, it burns slightly and that gritty burnt taste gets into everything. Also, make sure you cooked it long enough after it started to boil—that minute keeps the texture clean.
Can I make this recipe vegan or egg-free?
Yes, you can certainly make this recipe egg-free! The egg yolks are mostly there for richness, so if you skip them, you’ll just need to be a little more mindful of the thickening process. If you want to try a totally vegan version, you should check out my friend Sarah’s guide on vegan zucchini muffins because she has great tips on plant-based substitutes, but generally, you’d want to increase the cornstarch slightly or use a commercial egg replacer!
Does this pudding taste like cornstarch?
If you taste any raw, starchy flavor, it just means you didn’t cook it long enough after it started boiling! Remember when I said to boil it for one full minute while stirring constantly? That minute is crucial. It cooks the starch completely so all you taste is that beautiful, deep chocolate flavor. Don’t skip that minute!
Estimated Nutrition for This Decadent Chocolate Treat
I always say that when something tastes this good, you don’t need to worry too much about the numbers, but here’s a general idea of what’s in one serving of this fantastic decadent chocolate treat. Because we are using whole milk and real butter, you get a nice bit of fat for flavor!
- Serving Size: 1 serving
- Calories: 280
- Sugar: 30g
- Fat: 12g
- Protein: 7g
Keep in mind these are just estimates based on my recipe measurements. Your exact result might vary slightly depending on what brand of cocoa powder or milk you happen to grab!
Share Your Comfort Food Dessert Creations
That’s it—you’ve made the ultimate comfort food dessert! I truly hope this classic chocolate pudding brings you as much joy as it brings my family. Please leave a rating below so I know how it turned out for you! If you snap a picture of your silky bowls, tag me on social media; I absolutely love seeing your creations!
If you have any questions about the process, don’t hesitate to reach out through my contact page!
PrintBest Ever Creamy Homemade Chocolate Pudding from Scratch
Make rich, silky smooth chocolate pudding from scratch using basic pantry staples. This recipe delivers a decadent texture superior to boxed mixes and is ready quickly.
- Prep Time: 10 min
- Cook Time: 20 min
- Total Time: 30 min
- Yield: 4 servings
- Category: Dessert
- Method: Stovetop
- Cuisine: American
- Diet: Vegetarian
Ingredients
- 1/2 cup granulated sugar
- 1/4 cup unsweetened cocoa powder
- 1/4 cup cornstarch
- 1/4 teaspoon salt
- 2 cups whole milk
- 2 large egg yolks
- 2 tablespoons unsalted butter
- 1 teaspoon vanilla extract
Instructions
- In a medium saucepan, whisk together the sugar, cocoa powder, cornstarch, and salt until combined.
- Gradually whisk in the milk until the mixture is smooth and no lumps remain.
- Place the saucepan over medium heat. Stir constantly until the mixture thickens significantly and begins to bubble. This takes about 8 to 10 minutes.
- Once boiling, continue to cook, stirring constantly, for 1 minute. Remove the saucepan from the heat.
- In a small bowl, whisk the egg yolks lightly. Temper the yolks by slowly whisking about 1/2 cup of the hot pudding mixture into the yolks.
- Pour the tempered yolk mixture back into the saucepan with the remaining pudding. Whisk well to combine.
- Return the saucepan to low heat. Cook, stirring constantly, for 1 to 2 minutes until the pudding is very thick. Do not boil after adding the yolks.
- Remove from heat. Stir in the butter and vanilla extract until the butter is fully melted and incorporated.
- Pour the pudding into individual serving bowls or a single large bowl. Cover the surface directly with plastic wrap to prevent a skin from forming.
- Chill in the refrigerator for at least 2 hours before serving.
Notes
- For an extra rich flavor, use dark cocoa powder.
- If you prefer a thinner pudding, reduce the cornstarch to 3 tablespoons.
- You can substitute whole milk with 2% milk, but the texture will be slightly less creamy.
Nutrition
- Serving Size: 1 serving
- Calories: 280
- Sugar: 30
- Sodium: 150
- Fat: 12
- Saturated Fat: 7
- Unsaturated Fat: 5
- Trans Fat: 0
- Carbohydrates: 38
- Fiber: 2
- Protein: 7
- Cholesterol: 85