

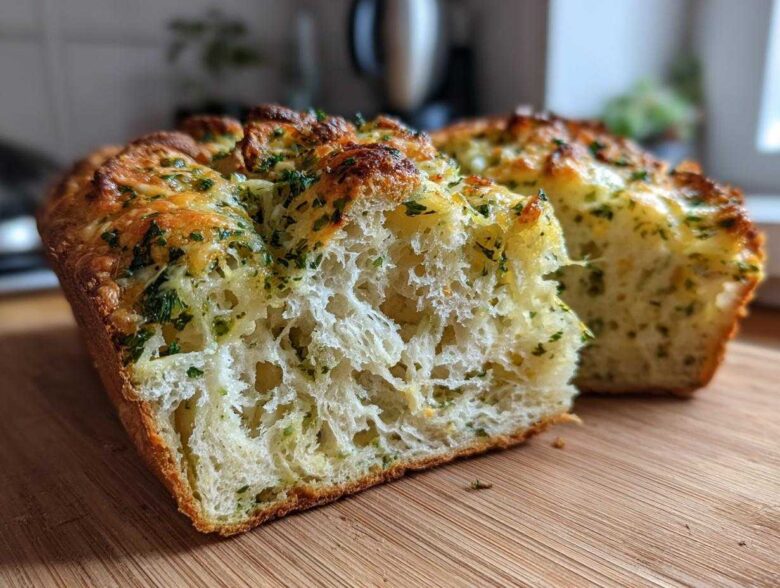
Oh, you guys! Is there anything better than the smell of real bread baking? I swear, even when Leo sets off the smoke alarm making dinner, if there’s a loaf of bread warming up in the kitchen, the whole house feels instantly better. We used to save bread making for weekends because, let’s be honest, kneading feels like a workout I don’t always sign up for. But guess what? I finally perfected the most ridiculously easy recipe for Italian herb and cheese bread that lets the bread machine do ALL the heavy lifting for us. Forget complicated doughs; this is savory, cheesy, fragrant perfection with almost zero hands-on time. Seriously, if you need great dinner bread without the mess, you’re going to want to try this first!
Why This Italian Herb and Cheese Bread Is Your New Favorite Easy Bread Machine Recipe
If you’ve been nervous about using your bread machine for anything fancier than basic white bread, this recipe is your gentle introduction! Trust me, there’s no easier way to get amazing results. I call these my go-to easy bread machine recipes because they require almost no effort after the initial loading. It’s perfect for the beginner bread machine owner.
- Almost zero mess—the machine contains everything!
- The dough cycles develop a beautiful structure that’s hard to mess up.
- It smells incredible while it’s baking.
You get all the flavor of complex Italian bread without having to stand over dough for an hour. It’s just so satisfying!
Perfect Texture for Slicing
Because the bread machine controls the kneading and proofing so perfectly, you get this wonderfully dense, uniform loaf. It doesn’t crumble when you slice it, making it the absolute best kind of cheesy dinner bread. Slice it thick for dipping in soup, or thinner for killer sandwiches!
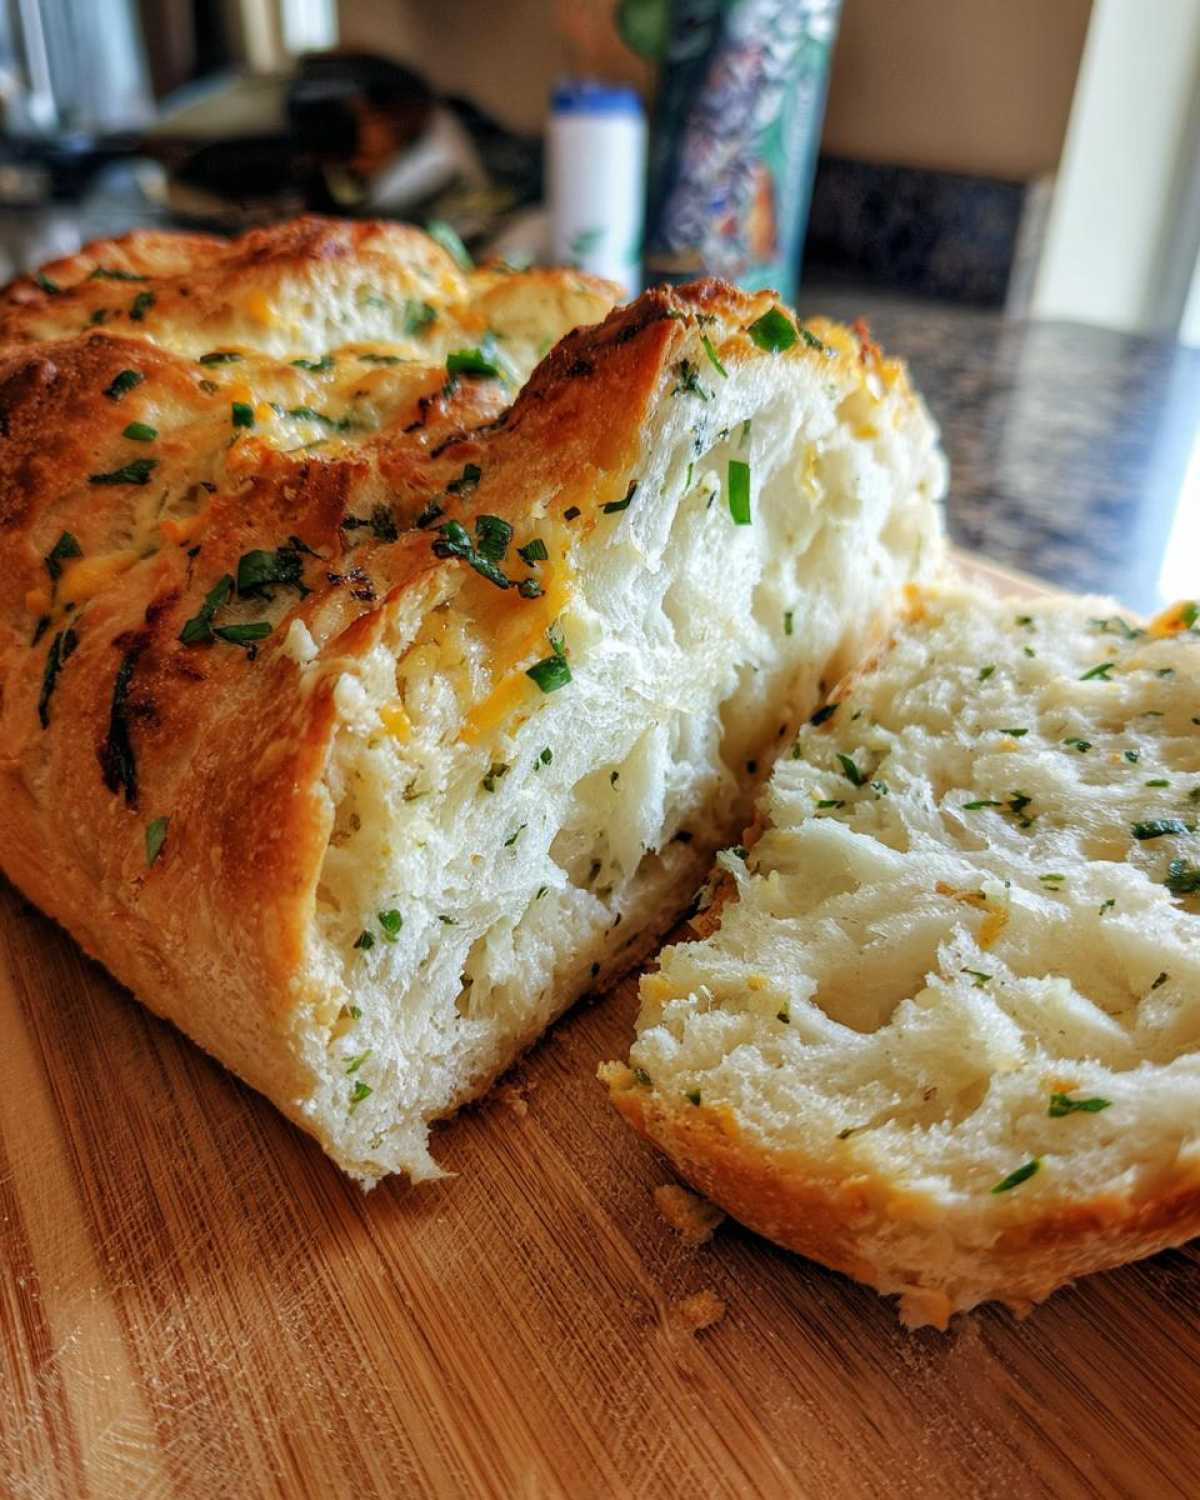
Gathering Ingredients for Your Italian Herb and Cheese Bread
Okay, so even though the machine does the work, we still need to treat our ingredients with respect! My favorite thing about this italian herb and cheese bread is that it uses staples you probably already have, plus lots of good flavor makers. Everything goes in at the beginning except the cheese, which is key.
When you gather everything, please make sure your spices are still powerful. If your Italian seasoning smells dusty, it’s time for a refresh! The mix of garlic and herbs is what makes this taste like rustic rosemary oregano bread, even if we’re using dried ones.
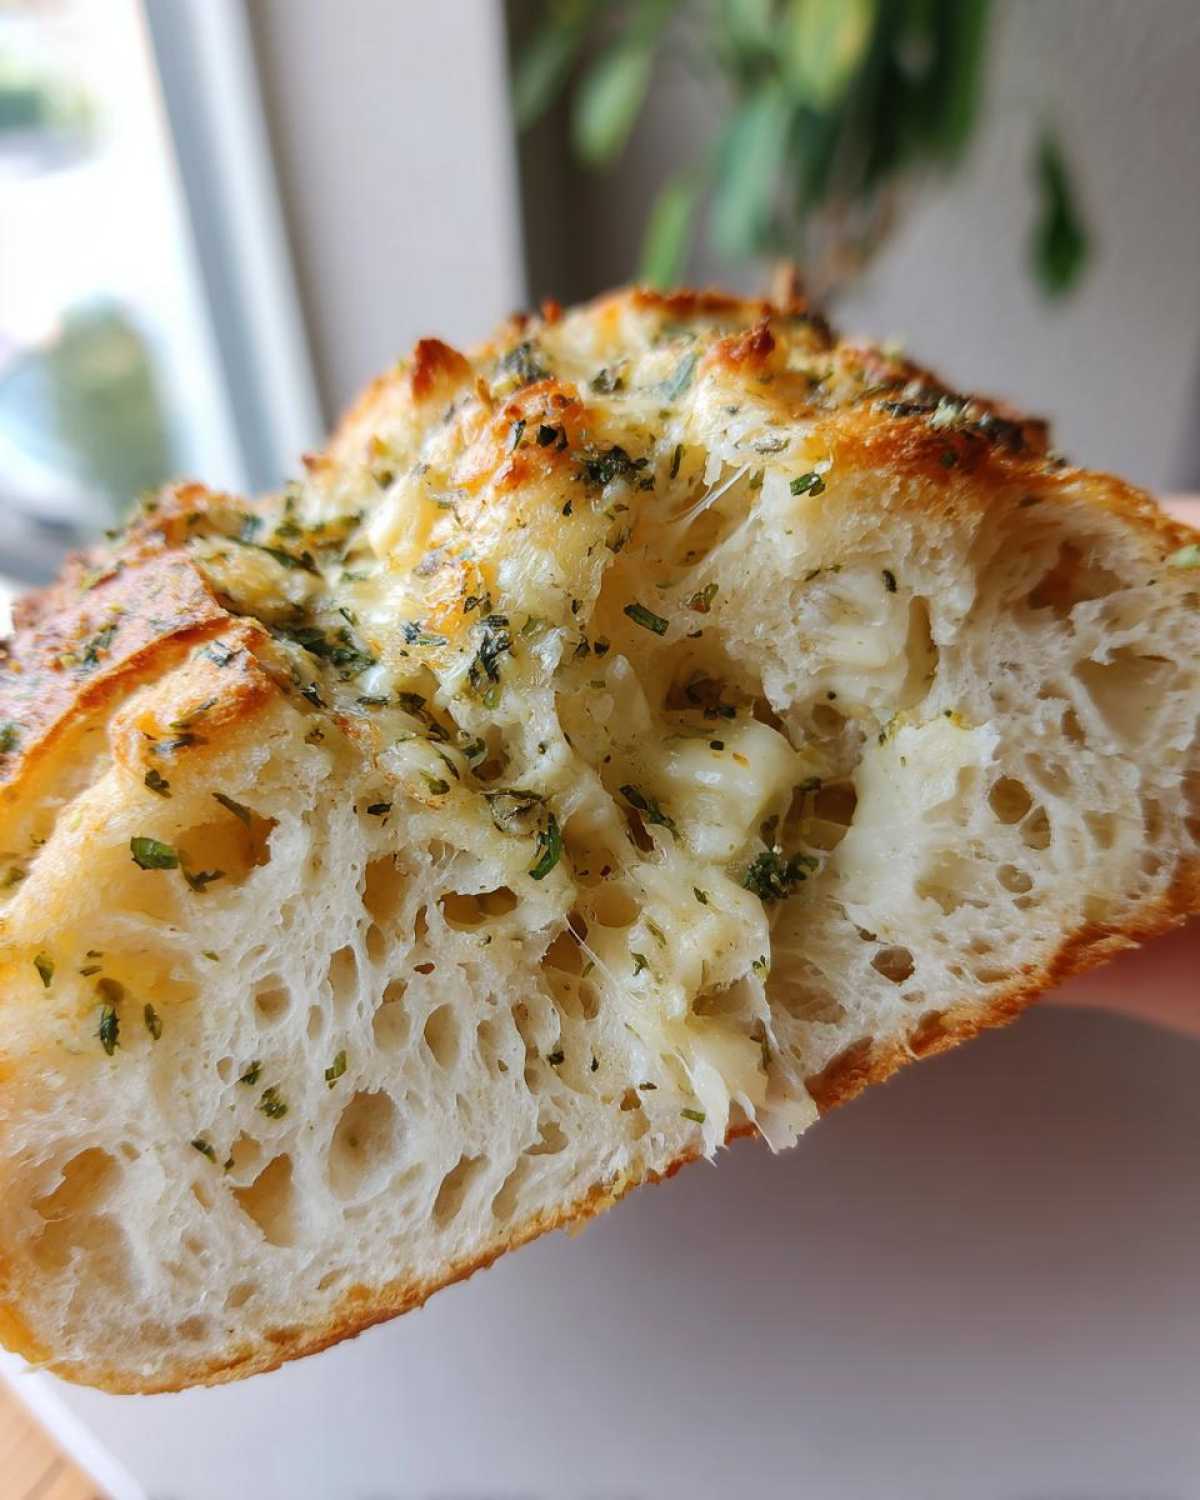
- You need 1 cup of water, but test it—it should feel warm, not hot, about 105°F to 115°F. If it’s too cold, the yeast snoozes.
- 3 cups of Bread Flour is essential for that sturdy structure.
- Don’t skimp on the cheese! We’re using 1/2 cup of sharp, shredded Parmesan cheese and 1/2 cup of melty Mozzarella cheese.
- Get your yeast ready, but keep it away from the salt until it’s time to load the machine!
Step-by-Step Instructions for Your Bread Machine Herb Bread
This is where the magic—and the timing—happens! When you’re making a great bread machine herb bread, following your machine’s order sequence is literally the most important part. If you mess up the order, you risk killing the yeast before it even gets started, and then your beautiful loaf is just a dense brick. Ugh, I learned that the hard way when Leo added the yeast straight into the olive oil one morning. Total disaster!
We’re going to keep this bread amazing by paying attention only when the machine tells us to. You should select your Basic White cycle, or if your machine is fancy, the Sandwich Loaf setting works great too. Then, we mostly just wait!
Load the Pan Correctly
First things first: wet ingredients go in. Pour in your warm water, and then drizzle in the olive oil. Then add the salt. Keep that salt separate for now! Next, we layer the dry ingredients on top of it all. Pile in the bread flour, then the sugar. Finally, gently sprinkle the yeast right on top of the flour pile, making sure it hasn’t touched the salt or the liquid yet. This is crucial for activation!
Adding Cheese and Herbs at the Right Time
Once you drop the pan in and hit start, the machine handles the initial mix. Pay close attention to the machine—it will beep or signal right before the first rise begins (usually around the 10-minute mark of kneading). Open that lid fast! Now toss in your Italian seasoning and garlic powder—they get mixed in early. Then, sprinkle in both your Parmesan and Mozzarella cheese evenly across the top of the dough and shut the lid immediately. Don’t leave it open or the heat escapes!
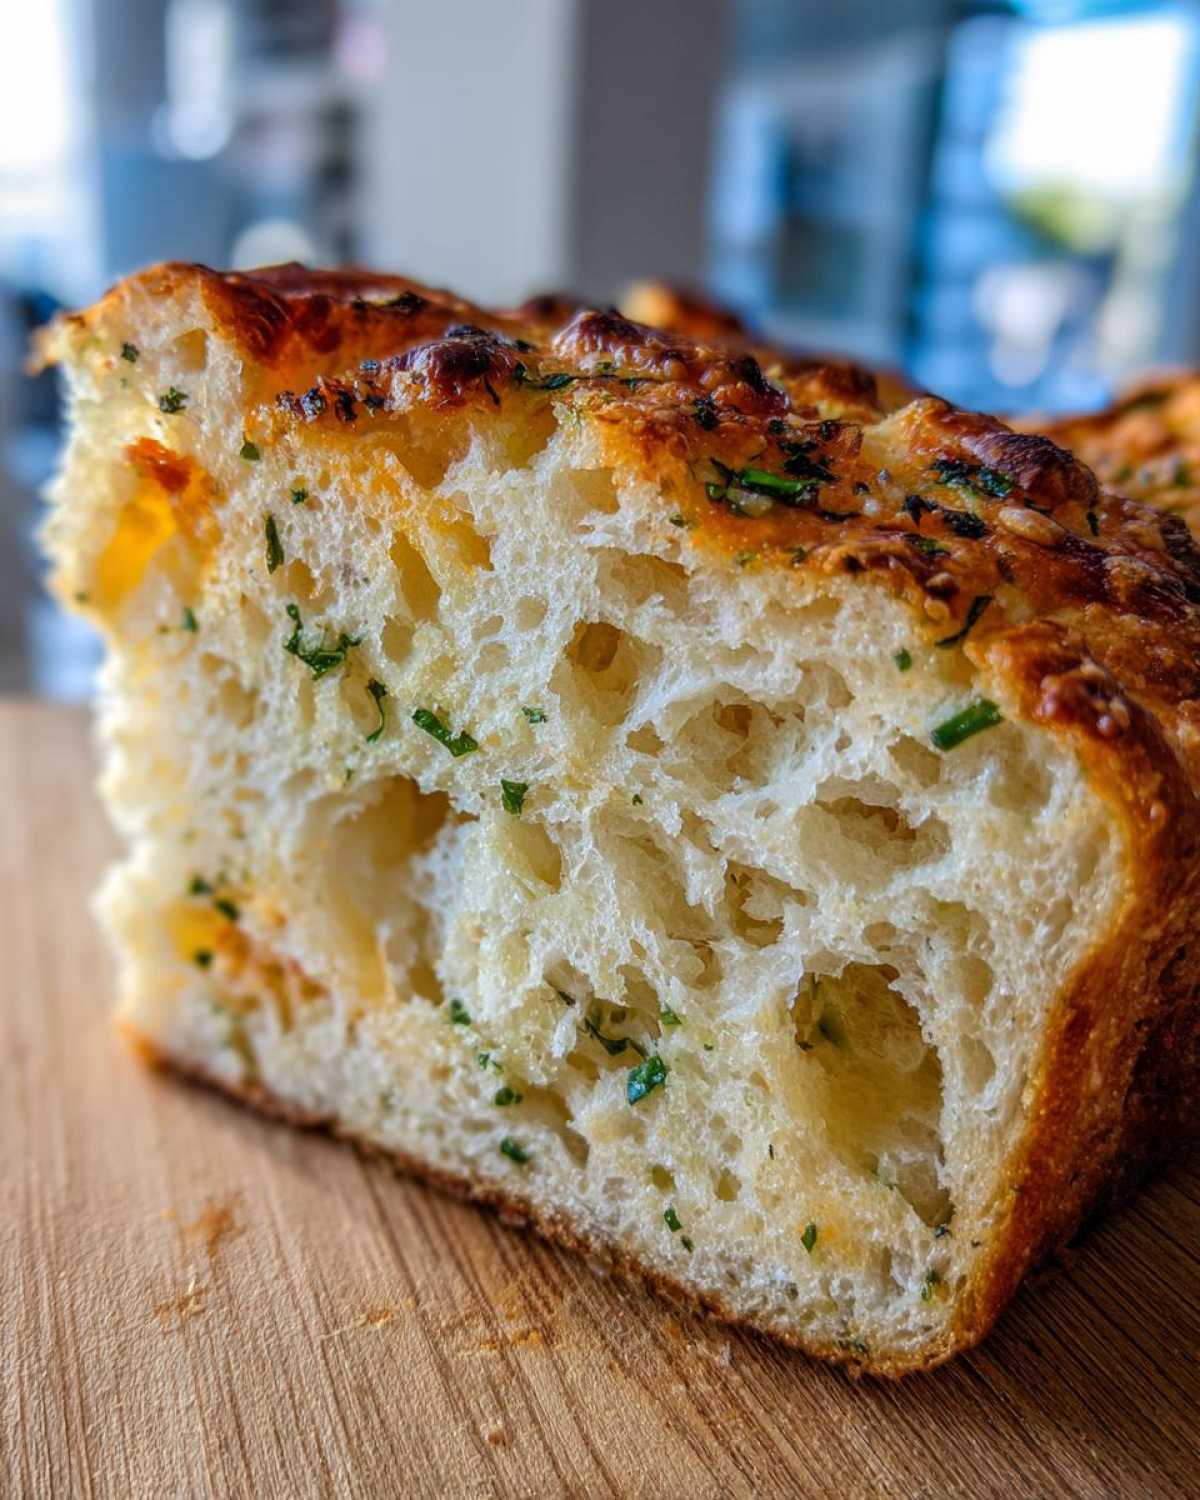
Let the machine finish the entire cycle. When it’s done beeping, pull that beautiful, cheesy loaf out and get it onto a cooling rack. Seriously, don’t try to slice it warm, even though I know you want to! If you need tips on preventing sticking, check out my thoughts on homemade cracker release.
Tips for Perfect Parmesan Herb Bread Every Time
Even though this is designed to be foolproof, I always have a couple of little tricks up my sleeve to guarantee that intense flavor we love in that parmesan herb bread. First, if you want a real kick of garlic, skip the powder entirely! I’ve found using 1 teaspoon of fresh minced garlic added right in with the wet ingredients makes the whole loaf zing. Care to try it? Go for it!
Speaking of timing, remember how I said Leo added everything at once? We learned the hard way that if you add the cheese too early, it melts right into the mix during the initial aggressive kneading phase and kind of disappears into the dough structure. You want those little pockets of salty, melty goodness! Wait for the machine’s signal—it’s totally worth the few seconds of waiting!
If you want to see some of our other chaotic kitchen adventures, you can always browse our main blog page!
Making Your Italian Cheese Bread for Sandwiches
Alright, now that you have this gorgeous, fragrant loaf of italian cheese bread sitting on your counter, the hardest part begins: waiting! I know, I know. That warm, cheesy aroma is screaming at you to grab a knife right now. But listen to an old pro here—don’t do it!
If you slice into this loaf while it’s still hot, you’ll end up with a sticky, slightly gummy texture inside. The steam trapped in the bread needs time to redistribute properly. If you’re making this to be used as a sandwich loaf later, you have to let it cool completely on a wire rack. Seriously, aim for at least two hours, if you can manage it. It gets much cleaner slices that way.
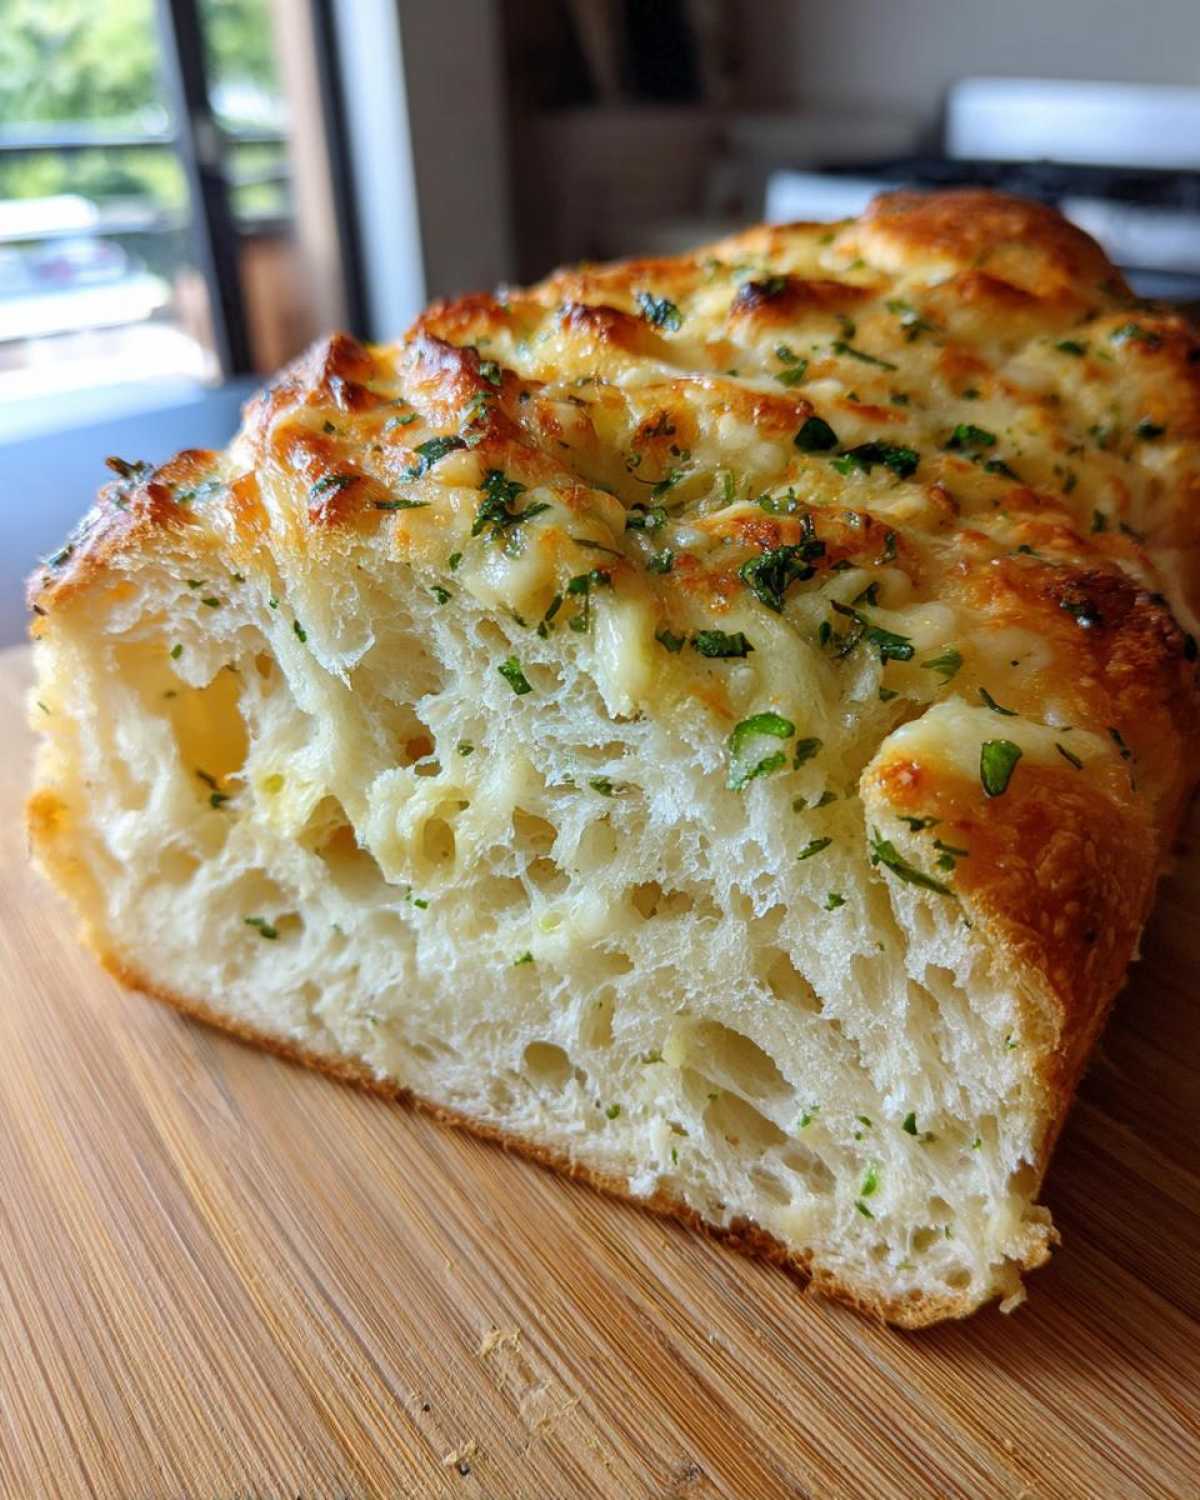
Once it’s fully cooled—and trust me, the texture will be perfect—it slices beautifully. It’s sturdy enough to hold up to thick layers of deli meat and veggies, unlike some flimsy bread we could mention! But hey, if you can’t wait the full two hours, don’t toss it. Just toast those warm slices! Toasting brings the herbs right back to life, and that melted cheese gets wonderfully crispy around the edges. It’s fantastic either way!
Storage and Reheating Instructions for Your Garlic Herb Bread
Now that you’ve got your perfect garlic herb bread, we need to keep it fresh! If you have leftovers (which is rare in our house!), store the cooled loaf tightly wrapped in plastic wrap, and then pop it into an airtight container on the counter for up to three days. Freezing works great too—just slice it first, wrap the slices tightly, and freeze for up to two months.
When you want that gorgeous crust back, don’t grab the microwave! That just makes it chewy. Instead, wrap a slice in foil and pop it in a 350°F oven for about 10 minutes. That warms the interior perfectly and crisps up that cheesy crust again. Instant resurrection!
Variations on Rosemary Oregano Bread
The beauty of this machine recipe is how easy it is to switch things up while still nailing that savory profile. We usually stick to the classic Italian seasoning, but if you’re feeling adventurous with your rosemary oregano bread, try swapping out some of the mozzarella for Pepper Jack for a little kick! Or, if you have sun-dried tomatoes, drain about a quarter cup, pat them super dry, and throw those in with the cheese mix-ins.
If you want to go all-out fresh, you can absolutely use fresh herbs—just remember they are stronger! About two teaspoons of finely chopped fresh rosemary and oregano, added with the dry ingredients, works wonders. If you’re looking for another way to get that savory cheesy goodness into your life, you have to check out Leo’s recipe for ultimate cheesy garlic pull-apart bread. It’s a completely different vibe but just as delicious!
Common Questions About This Cheesy Dinner Bread
Since we’re all about making things fun and easy here at Cookify Me, I’ve pulled together a few quick questions I always get about this cheesy dinner bread. It’s important to know you can tweak things slightly without ruining the whole loaf!
Can I use whole wheat flour or a mix?
This is a great question! Since the bread machine is relying on a very specific yeast activation time, I really, really urge you to stick to 100% bread flour for your first attempt at this italian herb and cheese bread. Whole wheat flour absorbs liquid differently and can prevent the machine from kneading properly. If you must substitute, try sticking to 2.5 cups of bread flour and just 1/2 cup of whole wheat for your beginner bread machine try first.
What if I don’t have a bread machine? Can I still make this?
Absolutely! If you are working by hand or with a stand mixer, you’ll use the standard recipe ratio. Do the initial mix with the liquids, then mix in the dry ingredients until just combined, and then knead for about 8 minutes. Add the herbs right before the first rise, and then add the cheese midway through the second knead. You’ll need about 1 to 1.5 hours for the first rise in a warm spot, then punch down, shape into a loaf, let rise again for 45 minutes, and then bake at 375°F for about 30-35 minutes. It takes more time, but it’s worth it!
Can I swap out the cheese for something else?
Yes, cheese is super versatile! If you want a sharper flavor for your parmesan herb bread, feel free to swap out the mozzarella for Gruyère or Provolone. If you need something zingier, a little sharp cheddar would be amazing, though cheddar melts a bit differently than mozzarella. Just make sure whatever you use is shredded finely so it incorporates well when the machine signals for mix-ins!
Estimated Nutritional Data for Italian Herb and Cheese Bread
Okay, I have to give you the standard disclaimer here because Leo thinks I’m a scientist just because I own a kitchen scale! These numbers are just estimates, you guys. They are calculated based on the specific ingredients and amounts listed in the recipe above, assuming one standard serving size.
If you’re keeping track of things, this italian herb and cheese bread is surprisingly reasonable for a cheesy loaf. Honestly, a slice is pretty big, so the calorie count per piece keeps us in check—mostly!
- Serving Size: 1 slice
- Calories: 180
- Fat: 6g (A little bit of that comes from the cheese, naturally!)
- Saturated Fat: 3g
- Carbohydrates: 27g
- Protein: 6g
- Sugar: 2g (Just that little bit from the sugar we added to feed the yeast!)
Remember, this is just a rough guide for this wonderfully savory garlic herb bread. Enjoying fresh bread should be fun, not stressful, so take these numbers with a grain of salt—just maybe not the 1 ½ teaspoons you added to the machine!
PrintEasy Bread Machine Italian Herb and Cheese Loaf
Make a flavorful, cheesy Italian herb bread right in your bread machine. This recipe is perfect for beginners and yields a great sandwich loaf or dinner side.
- Prep Time: 10 min
- Cook Time: 3 hr 30 min
- Total Time: 3 hr 40 min
- Yield: 1 loaf
- Category: Baking
- Method: Bread Machine
- Cuisine: Italian
- Diet: Vegetarian
Ingredients
- 1 cup warm water (105-115°F)
- 2 tablespoons olive oil
- 1 1/2 teaspoons salt
- 3 cups bread flour
- 2 tablespoons granulated sugar
- 1 1/2 teaspoons active dry yeast
- 1 tablespoon dried Italian seasoning blend
- 1 teaspoon garlic powder
- 1/2 cup shredded Parmesan cheese
- 1/2 cup shredded Mozzarella cheese
Instructions
- Add the warm water, olive oil, and salt to your bread machine pan in the order specified by your machine’s manual.
- Add the bread flour, sugar, yeast, Italian seasoning, and garlic powder on top of the liquids. Do not let the yeast touch the salt or liquid yet.
- Place the pan into the bread machine. Select the Basic White Bread cycle (or Sandwich Loaf cycle if available).
- Wait for the machine to complete the initial mixing phase. For most machines, this is before the first rise.
- When the machine signals the addition of mix-ins (usually around the 10-minute mark of the kneading cycle), quickly open the lid.
- Distribute the Parmesan cheese and Mozzarella cheese evenly over the dough surface. Close the lid immediately.
- Allow the bread machine to complete the entire cycle.
- Once the cycle is finished, carefully remove the loaf from the pan and let it cool completely on a wire rack before slicing for sandwiches or serving.
Notes
- If your machine has a ‘Fruit/Nut’ dispenser, use it for the cheese and herbs, but add the herbs during the initial dry ingredient phase if the dispenser only opens later.
- For a stronger garlic flavor, use 1 teaspoon of fresh minced garlic instead of garlic powder, adding it with the wet ingredients.
- This cheesy dinner bread slices best after cooling for at least two hours.
Nutrition
- Serving Size: 1 slice
- Calories: 180
- Sugar: 2
- Sodium: 350
- Fat: 6
- Saturated Fat: 3
- Unsaturated Fat: 3
- Trans Fat: 0
- Carbohydrates: 27
- Fiber: 1
- Protein: 6
- Cholesterol: 10