

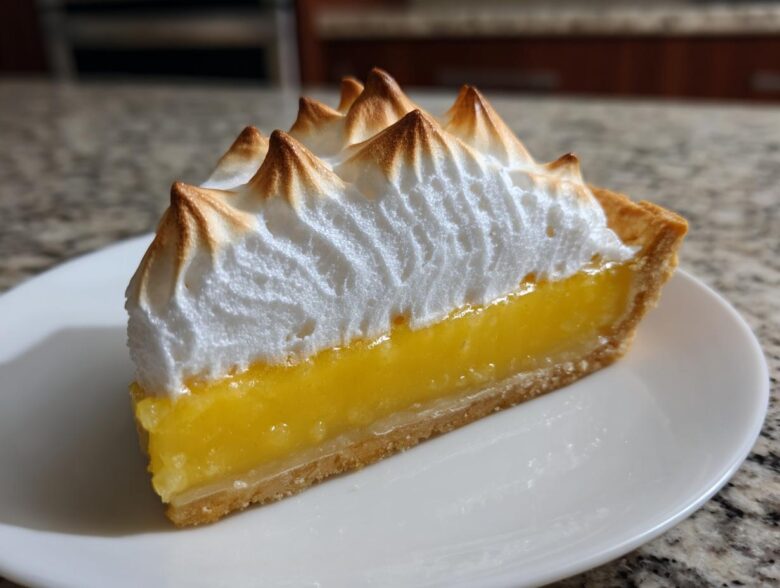
Okay, stop whatever you are doing right now, because we need to chat about the absolute queen of all desserts: pie. Seriously, nothing beats that beautiful, towering slice of sunshine on a plate. We’re diving deep into the ultimate **lemon meringue** pie today. Forget those sad little packets or mixes; we’re doing this completely from scratch, flour and zest flying everywhere, just like my wonderful Sofia loves! This recipe has been battle-tested at our loudest, most chaotic kitchen parties, and I promise you, the tangy bite of that filling paired with that cloud-like topping is completely worth the effort. If you’re looking for that showstopper centerpiece that tastes like pure summer magic, you’ve landed in the right spot. Want to know more about our chaotic kitchen adventures? I talk all about how we got here over on our About Us page. Let’s get cooking—and making a bit of a mess!
Why This Classic Lemon Meringue Pie Recipe Works
Look, I get it. You want the **Best Lemon Meringue Pie** recipe out there, the kind that people talk about weeks later. This one is different because we aren’t cutting any corners, which results in a true **Showstopping Dessert**. We focus on three elements that just sing when they come together. It’s a family approach, much like how we perfected those classic peanut butter cookies; it takes sticking to the core principles. If you want to see how we nail those kinds of recipes, check out my tips for the Best Classic Peanut Butter Blossom Recipe.
- The filling has that perfect, bright, zesty punch—it’s not just sweet; it’s tart!
- The crust is flaky, golden, and buttery, offering the perfect base.
- And the meringue? It stands tall and proud, no sad little puddles allowed!
Achieving the Perfect Zesty Lemon Custard
This is where we really shine. Forget anything that tastes artificial. Our **From Scratch Lemon Custard** uses fresh juice and zest, so you get that real, vibrant citrus flavor. I love swirling the butter in right at the end; it gives the filling a luxurious, glossy texture that you just can’t replicate otherwise. It hits that sweet spot between tangy and sweet perfectly.
Tips for a Buttery Pie Crust Recipe
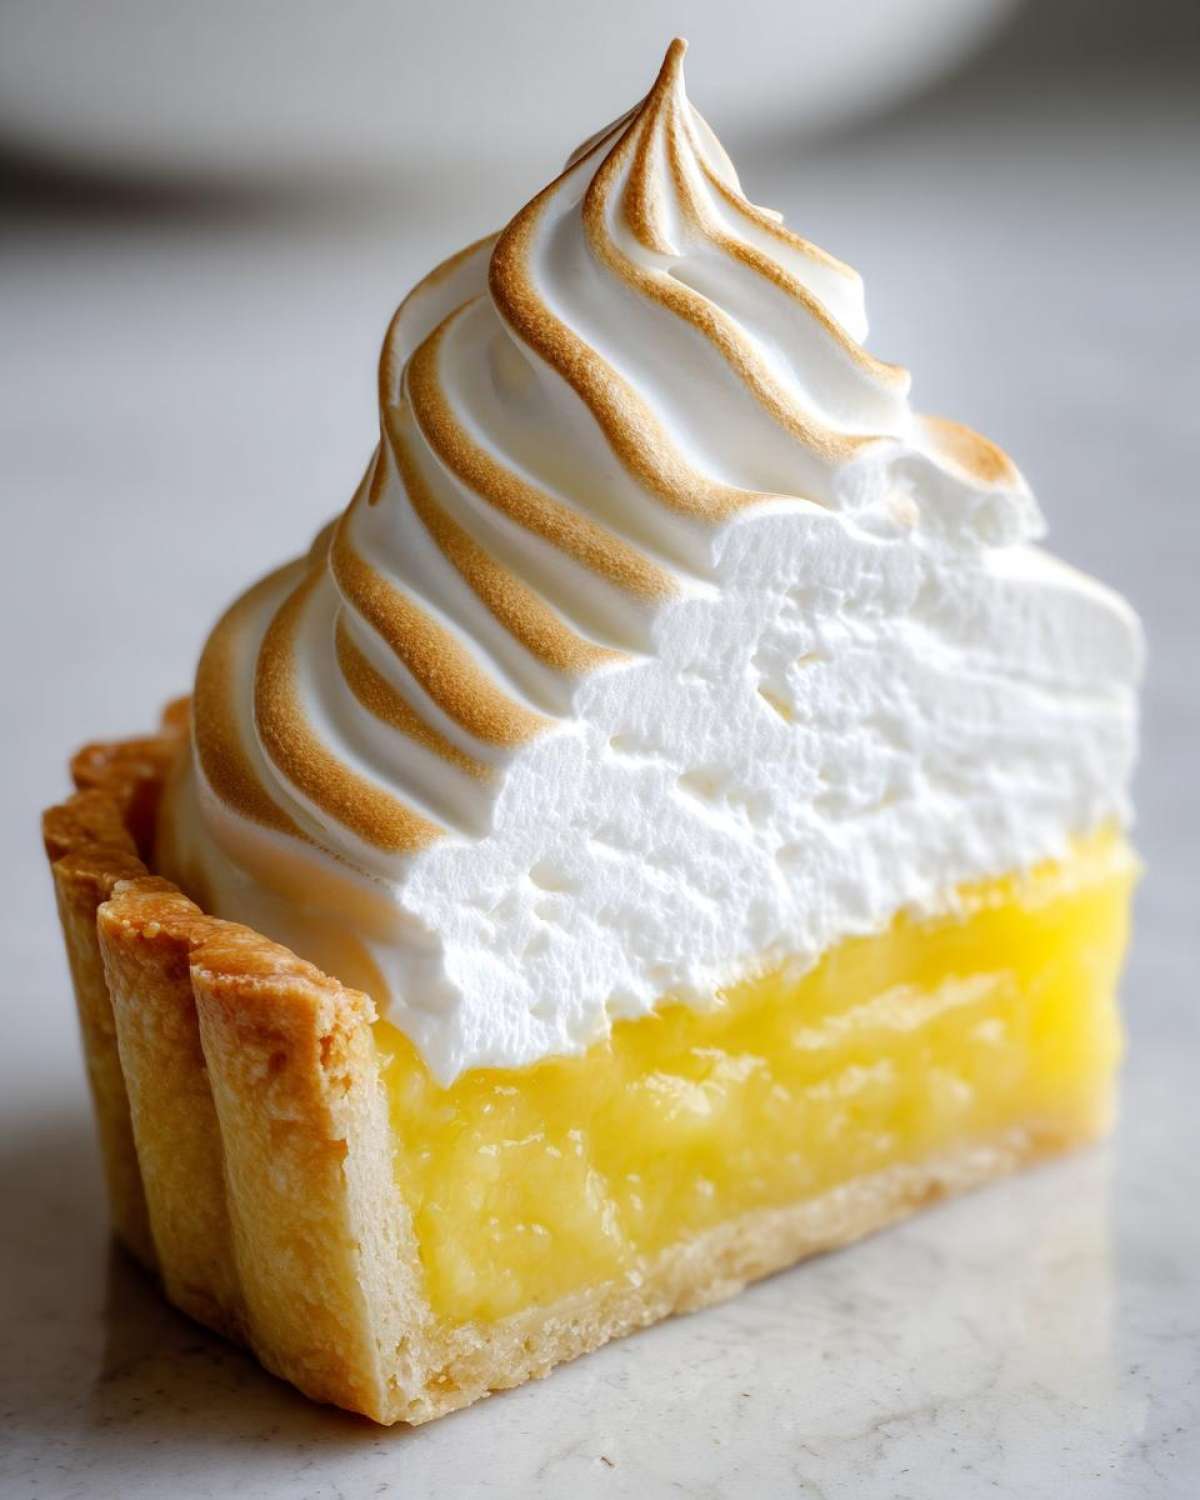
Our **Buttery Pie Crust Recipe** is non-negotiable for texture, folks! You absolutely must blind bake this thing until it’s totally golden and let it cool down completely before the hot custard goes in. If you skip that cooling step, your beautiful **lemon meringue** pie will end up soggy on the bottom, and honestly, that’s just a tragedy we can’t afford.
Gathering Ingredients for Your Homemade Lemon Meringue
Okay, ingredient gathering time! This is where we make sure we have everything ready before we start mixing—you know, so we don’t end up sweating over a hot stove only to realize we’re out of egg yolks! Trust me, setting yourself up like this makes the whole process for this beautiful **lemon meringue** dessert so much smoother. We need three simple piles of magic here.
For the Buttery Pie Crust (Pre-baked)
First off, that crust! You need one perfectly baked, completely cooled 9-inch pie crust. If you’re using your own go-to recipe for that flaky base, great! Just make sure you’ve blind-baked it until it’s golden brown and set. No soggy bottoms allowed on this masterpiece!
For the From Scratch Lemon Custard
For the filling, gather these essentials. You’ll want 1 1/2 cups of regular granulated sugar and 1/3 cup of cornstarch—that cornstarch is our thickener hero here. Don’t forget 1/4 teaspoon of salt to balance things out, and 1 1/2 cups of cold water. The real stars are 4 large egg yolks—and make sure they are *lightly beaten*—a full 1/2 cup of fresh lemon juice, 2 tablespoons of unsalted butter, and 1 tablespoon of lemon zest for that extra pop!
For the Fluffy Meringue Topping
Now for the cloud! You need 6 large egg whites, and this is important: they *must* be at room temperature so they whip up properly. Grab 1/2 teaspoon of cream of tartar—this is my secret weapon for stability—and another 1/2 cup of granulated sugar specifically for the meringue. Having all of this ready means we can move straight from hot filling to fluffy topping without delay!
How to Make Lemon Meringue Pie: Step-by-Step Instructions
Alright, this is the main event! Don’t let the steps scare you; we’re moving step-by-step so you get that perfect, vibrant **lemon meringue** pie every single time. Remember what I always say: measure twice, and sing loud while you mix! We need to keep things moving along once the custard is cooked, so have that meringue ready to go. The great thing about this **Homemade Lemon Meringue Pie** is that the filing sets up beautifully thanks to the cornstarch, unlike using flour-only fillings. Speaking of structure, if you want to see how I handle structure in other baking projects, hop over and check out my tips for a moist lemon cake here!
Preparing the Tangy Sweet Dessert Base
First things first, make sure that crust is ready. Step one is simple: take your amazing, pre-baked crust and let it cool down completely. Seriously, *completely*. Next, let’s whisk the dry stuff for the filling—that 1 1/2 cups sugar, cornstarch, and salt—in a medium saucepan. Now, slowly stream in the cold water while you whisk like crazy until it’s smooth. Place that over medium heat and stir, stir, stir! You need to keep stirring constantly until it gets thick and starts bubbling. Once it bubbles, cook it for just one minute more. Take it off the heat right away.
Tempering Eggs and Cooking the Hot Custard
This next part is why we don’t want scrambled eggs in our filling, right? In a separate bowl, take your 4 egg yolks and whisk them lightly. Now for the tempering—pour just a *tiny bit* of that scorching hot starch mixture into the yolks while you whisk frantically. This gently warms them up. Once that’s done, pour that warmed yolk mixture right back into the saucepan with the rest of the hot custard. Put it back on medium heat and stir non-stop until it gets thick again and actually boils. Boil it for one full minute! Take it off the heat and quickly stir in your lemon juice, butter, and zest. That is your **Tangy Sweet Dessert** base, done!
Creating the Fluffy Meringue Topping
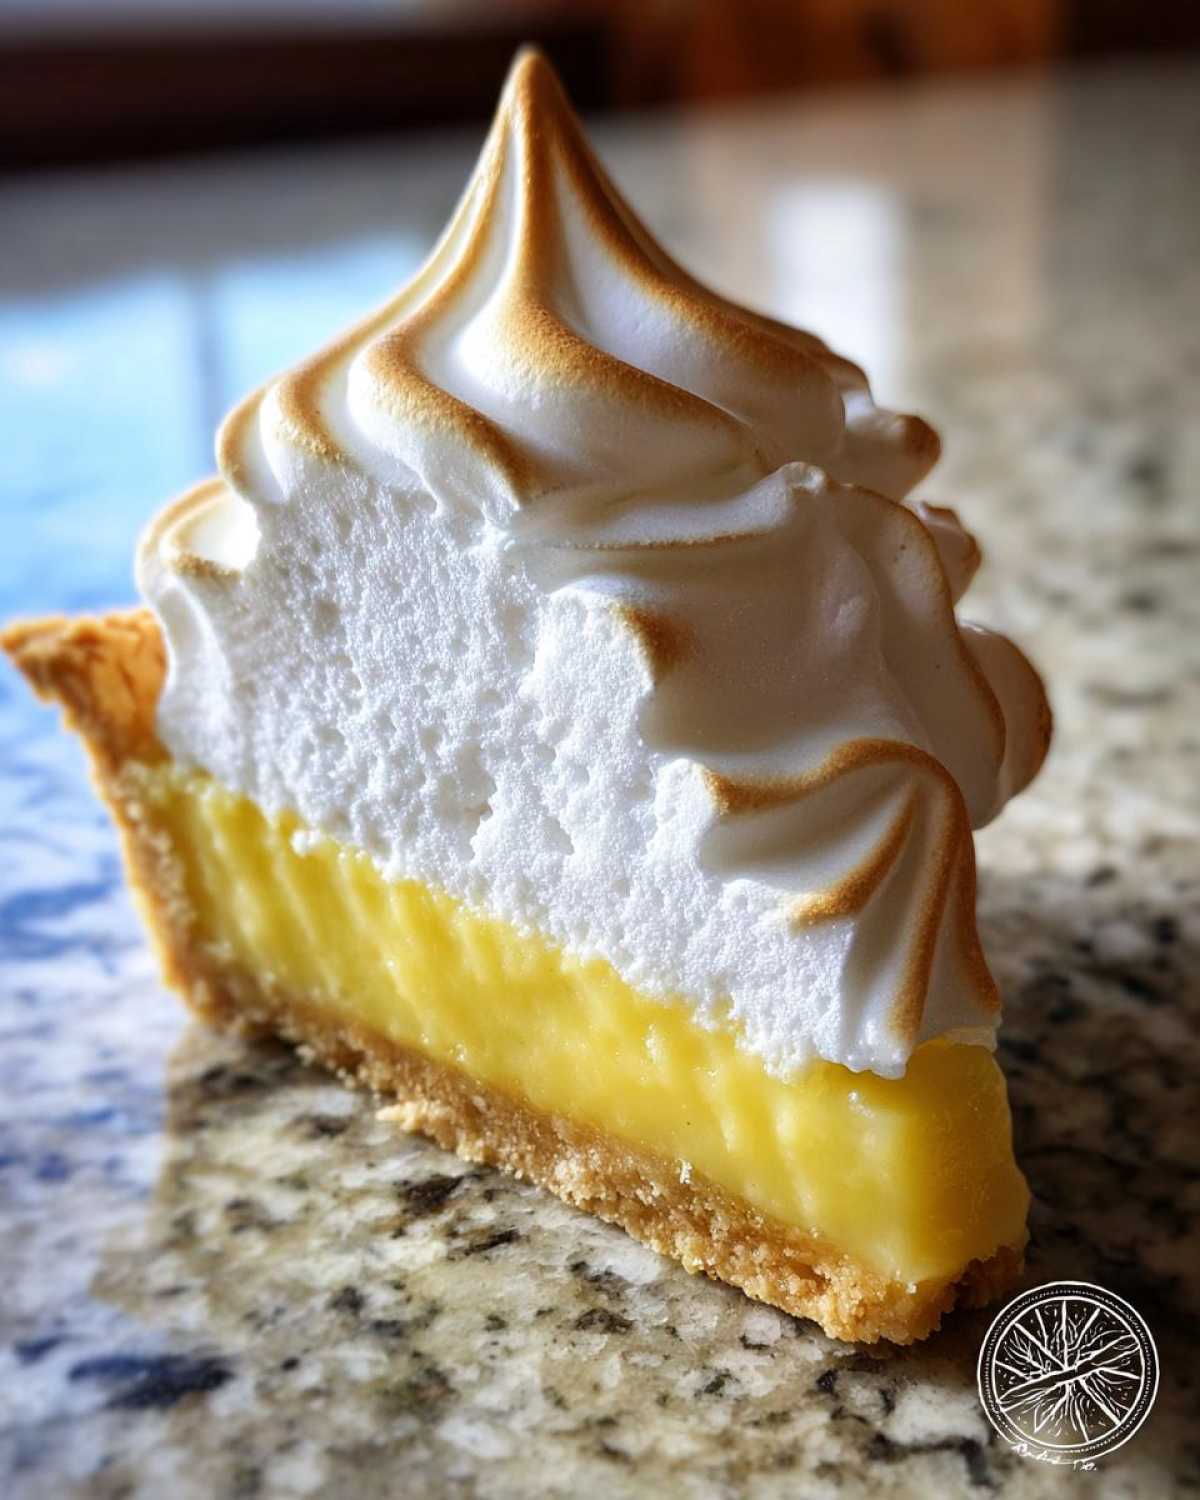
While that filling is piping hot—which is exactly how we want it—we pivot immediately to the meringue. Grab those room-temperature egg whites and your cream of tartar, and start beating them on medium speed until you see soft peaks forming. This is where the magic happens for your **Fluffy Meringue Topping**! Gradually, spoonful by spoonful, add that remaining 1/2 cup of sugar while you keep beating. Crank your mixer up to high and beat it until you have stiff, glossy peaks. You’re looking for firm peaks that hold their shape—that’s the key to avoiding weeping later! For more ways to nail that perfect topping, check out this amazing guide I found.
Assembly and Baking the Lemon Meringue
It’s time to bring them together! Pour that hot lemon custard directly into your cooled crust. Don’t wait! Then, you have to spread that meringue right over the top, making sure it seals against the crust *all the way around* the edge. This seals it and stops it from shrinking back as it bakes! Use the back of a spoon to make pretty swirls—peaks are great because they brown nicely! Bake this beauty at 350°F (175°C) for only 12 to 15 minutes until those tips are golden brown. After that, you must let your **lemon meringue** pie cool at room temperature for a minimum of four hours. Patience, friend; the slicing comes later!
Tips for Success with Your Classic Lemon Meringue Pie
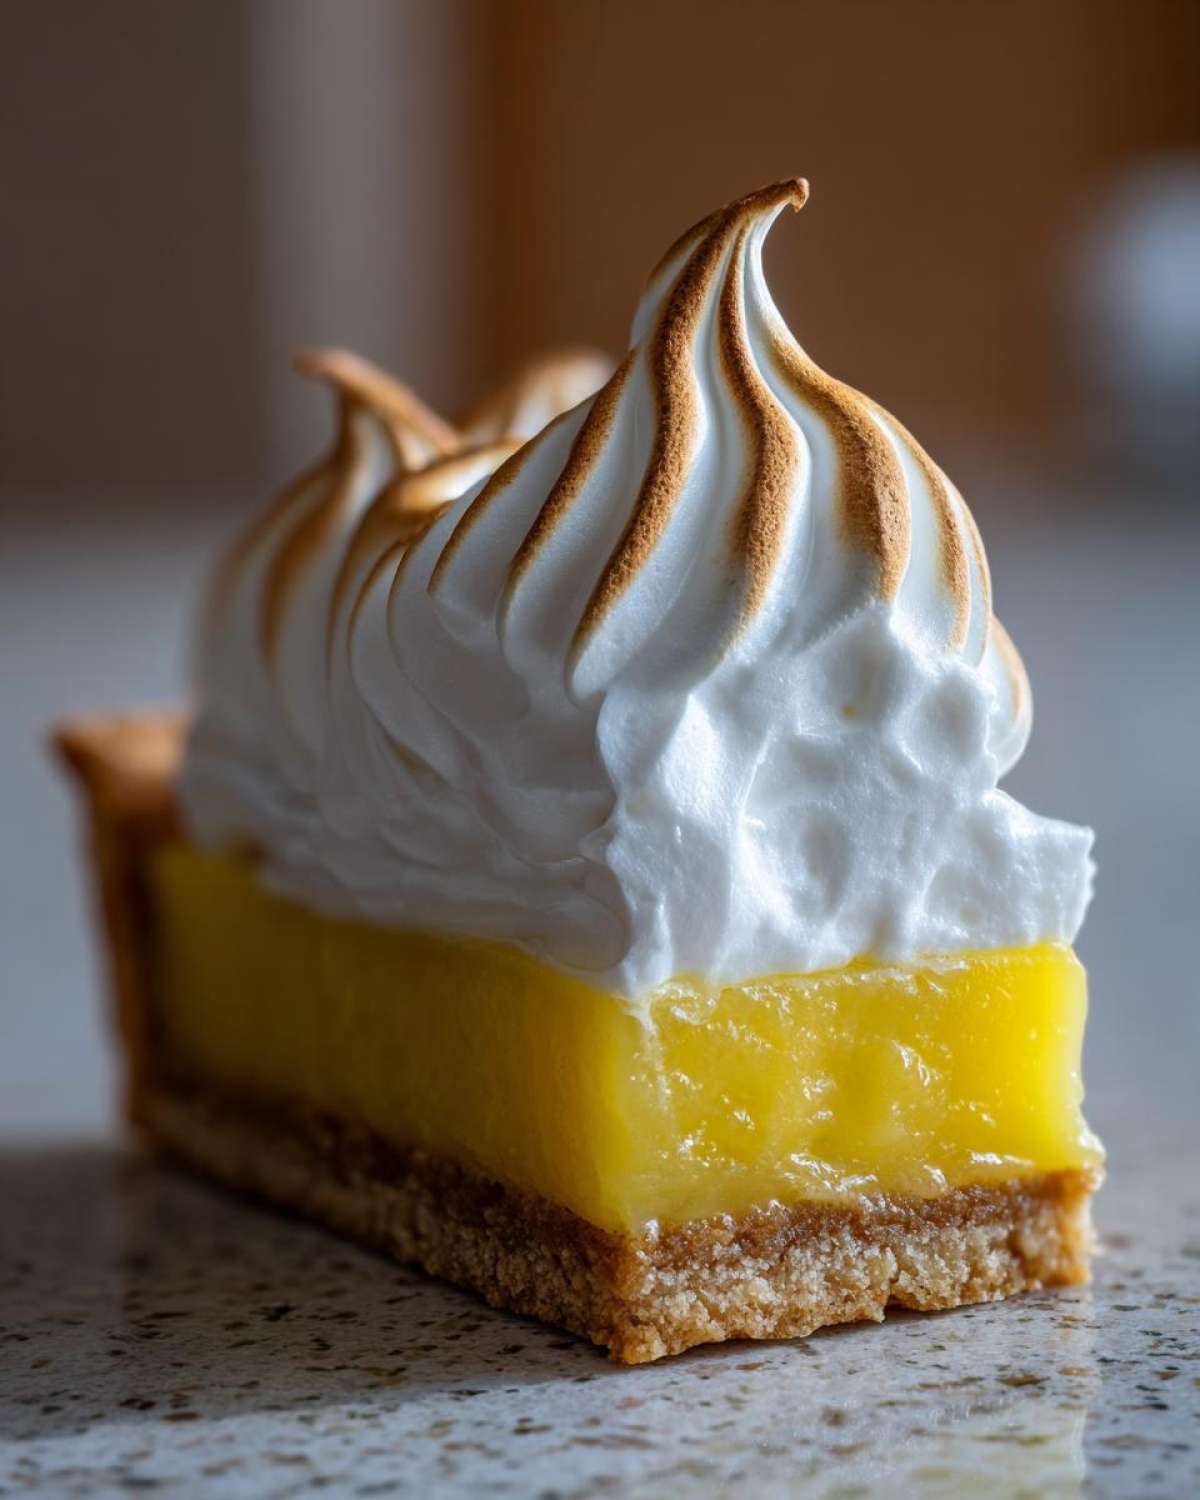
Whew, you made it through baking! But let’s be real, sometimes the pie looks great coming out of the oven and then decides to turn against you while cooling. We’ve all been there, right? My goal here is to make sure your **Classic Lemon Meringue Pie** looks as good when you serve it as it did when it came out of the oven. So, let’s talk about those common pitfalls because a weeping meringue is a sad meringue, and we don’t do sad desserts around here!
I learned a few tricks over the years—some painfully—that keep the filling set and the topping perfectly fluffy. If you’re worried about your meringue separating or shrinking, stick close to these pointers. We want a perfect slice every time, which is why checking out how others handle tricky lemon treats, like the secret to chewy lemon cookies, is always smart!
Troubleshooting Common Meringue Issues
The two biggest gremlins in meringue life are weeping (that sugary, watery layer that shows up between the curd and the topping) and shrinking (when the meringue pulls away from that beautiful crust edge). Luckily, our notes mentioned the cure for both!
First, that weeping: you must make certain your egg whites are at room temperature. Cold whites just don’t whip up to their full potential. Also, this is crucial—your mixing bowl must be sparkling clean, absolutely devoid of any trace of grease or egg yolk. A tiny drop of fat can stop those whites from forming stiff peaks. For the best advice on making sure your entire pie holds up, I always check trusted sources, like this great guide on homemade lemon meringue pie.
To stop that shrinking, remember what I said in the assembly step? You need to lock that meringue down! Pour the meringue over the *hot* lemon custard immediately, and make darn sure it touches the inner wall of the crust all the way around. Think of it like creating a seal. Since the bottom layer is hot, the meringue adheres nicely, and you won’t end up with a sad, shrunken dome.

Serving Suggestions for Your Tangy Sweet Dessert
Wow, you baked perfection! This **Tangy Sweet Dessert** is such a showstopper, it practically begs for a grand entrance. Since this tastes like pure sunshine, it’s an absolute must for those warmer months, making it one of my favorite **Summer Dessert Recipes**. But honestly, who waits for summer? It’s perfect alongside light, fresh drinks, like a frosty glass of watermelon smoothie if you need something refreshing!
This pie definitely lands high on my list for **Spring Baking Ideas**, especially around Easter or Mother’s Day. It just calls for a celebration! Serve it while it’s perfectly cooled but before it’s rock hard. A tiny sprig of mint on top of the meringue swirls adds just the right pop of color for the plate. Enjoy every bright, zesty bite!
Storage and Reheating Instructions for Lemon Meringue
Okay, so you have leftovers—which, really, means someone else got a slice! If you managed to keep this masterpiece around, you need to know how to store it properly. Remember, the pie has to cool completely at room temperature for at least four hours first. That initial cooling is vital!
Once it’s fully set, you should cover the pie loosely with plastic wrap and transfer it to the refrigerator. Don’t press the wrap right onto the meringue, or you’ll wreck those beautiful peaks! Honestly, this pie is best eaten within 24 to 48 hours. After that, the meringue starts getting a little weepy, even if you followed all my tips. Because the filling has those yolks and cornstarch, it holds up okay, but the topping just hates the fridge long-term!
Frequently Asked Questions About Lemon Meringue Pie Recipe
I know you might still have a few lingering questions. That’s totally fine! When you’re making something this beautiful—a real **Lemon Meringue Pie Recipe**—you want to make sure every step is locked down. I tried to cover everything in the body of the post, but here are a few quick hits based on what folks usually ask me after they try this recipe. If you’re looking for even more of our shared cooking thoughts and kitchen chaos, you can always browse our main blog archives!
Can I use pre-made crust for this Lemon Meringue Pie Recipe?
Oh, you totally can cheat a little bit if you need to! I won’t tell anyone if you grab a store-bought crust to save time on your **Homemade Lemon Meringue Pie**. But, and this is a big *but*—you miss out on that incredible buttery flavor that the homemade version brings. A good crust really brings the whole **zesty lemon pie** experience together, so if you have twenty extra minutes, I highly encourage baking your own base!
How long does Homemade Lemon Meringue Pie last?
This is the tough part about having a towering, magnificent meringue! Your **Homemade Lemon Meringue Pie** is honestly at its peak the day you bake it, maybe the next morning. I’d say try to finish it within 24 to 48 hours, maximum. After that, the meringue starts getting a little weepy, even if you followed all my tips. That’s why it’s such a perfect centerpiece for gatherings—you make it, you devour it, and you don’t have to worry about leftovers forever!
What is the secret to a tall Fluffy Meringue Topping?
This is my favorite question! Getting that incredible height for your **Fluffy Meringue Topping** comes down to three things working together perfectly. First, your egg whites must be at room temperature. Second, make sure you use that 1/2 teaspoon of cream of tartar—it stabilizes everything. And third, you have to beat them until you hit those stiff, glossy peaks where you can turn the bowl upside down (if you’re brave!). If you want to see a few more pointers, check out this great guide on why different recipes work here.
Nutritional Estimate for Your Family Favorite Pie
So, we’ve made this incredible **Family Favorite Pie**, and while we all know this is a treat and not exactly a health food, I know some of you curious bakers want the rundown on the numbers! I pulled together the standard estimate based on the ingredients list. Remember, this is just an **estimate**, and it’s based on 8 generous slices, so if you cut big wedges like my brother, the numbers will shift!
This recipe definitely brings the flavor—and the sugar—so enjoy it knowing you made it all from scratch with real ingredients! If you’re ever curious about the nutrition in our other creations, just poke around the site!
- Serving Size: 1 slice
- Calories: Approx. 380
- Sugar: Right around 45g (from the filling and meringue!)
- Total Fat: About 18g
- Protein: We get a little boost from those egg whites, around 6g
Take it easy on the second slice, okay? But seriously, knowing you made that buttery crust and zesty curd yourself makes it taste even better!
Share Your Happy Chaos Kitchen Creations
Alright, my friends, now it’s your turn! You’ve conquered the custard, you’ve climbed that meringue mountain, and now you have the most gorgeous **Lemon Meringue Pie** sitting on your counter. I absolutely need to see it! Seriously, send us a photo—we love seeing the beautiful swirls and golden peaks you’ve created. Did you get that perfect seal where the meringue meets the crust? Or did maybe, just maybe, things get a little messy and chaotic in the best way possible?
Don’t just look at it! Please take a minute to leave a rating and tell us in the comments below how it went. Did you add a tiny splash of booze to the filling? Did your dog somehow manage to sneak a tiny taste of the crust? I want all the details! We thrive on that happy chaos, and hearing your kitchen stories keeps our own ovens burning bright.
If you made it all the way through and had a win, please consider hopping over to our Contact Page if you have a burning question, or just want to share some praise! We love connecting with you all. Now go on—grab a fork and enjoy that slice of sunshine!
PrintThe Ultimate Homemade Lemon Meringue Pie: A Classic From Scratch Recipe

Make the best homemade Lemon Meringue Pie with a buttery crust, zesty lemon custard, and a tall, fluffy, stable meringue topping. This classic recipe is perfect for any gathering.
- Prep Time: 35 min
- Cook Time: 30 min
- Total Time: 2 hours 5 minutes
- Yield: 8 servings
- Category: Dessert
- Method: Baking
- Cuisine: American
- Diet: Vegetarian
Ingredients
- 1 recipe for 9-inch Buttery Pie Crust (blind baked)
- 1 1/2 cups granulated sugar
- 1/3 cup cornstarch
- 1/4 teaspoon salt
- 1 1/2 cups cold water
- 4 large egg yolks, lightly beaten
- 1/2 cup fresh lemon juice
- 2 tablespoons unsalted butter
- 1 tablespoon lemon zest
- 6 large egg whites, room temperature
- 1/2 teaspoon cream of tartar
- 1/2 cup granulated sugar (for meringue)
Instructions
- Prepare your 9-inch pie crust and blind bake it until golden brown. Let the crust cool completely.
- For the lemon custard, whisk together 1 1/2 cups sugar, cornstarch, and salt in a medium saucepan. Gradually whisk in the cold water until smooth.
- Cook the mixture over medium heat, stirring constantly, until it thickens significantly and begins to bubble. Cook for one minute more, stirring constantly. Remove from heat.
- In a separate bowl, whisk the egg yolks lightly. Slowly temper the hot starch mixture into the yolks by pouring a small amount of the hot mixture into the yolks while whisking rapidly. Then, pour the tempered yolk mixture back into the saucepan.
- Return the saucepan to medium heat. Cook, stirring constantly, until the custard thickens again and comes to a boil. Boil for one minute. Remove from heat.
- Stir in the lemon juice, butter, and lemon zest until the butter melts and is fully incorporated. The custard should be bright and zesty.
- Pour the hot lemon custard immediately into the cooled, pre-baked pie crust.
- For the fluffy meringue topping, place the room temperature egg whites and cream of tartar in a clean, grease-free mixing bowl. Beat with an electric mixer on medium speed until soft peaks form.
- Gradually add the remaining 1/2 cup of sugar, one tablespoon at a time, while beating continuously. Increase the speed to high and beat until stiff, glossy peaks form. This creates your no weeping meringue tips base.
- Spread the meringue over the hot custard, making sure the meringue touches the inner edge of the crust all around to prevent shrinking. Create decorative swirls with the back of a spoon.
- Bake the pie at 350°F (175°C) for 12 to 15 minutes, or until the meringue peaks are golden brown.
- Cool the pie completely on a wire rack at room temperature for at least 4 hours before slicing. Avoid placing it in the refrigerator too soon, as this can cause weeping.
Notes
- To prevent weeping in your meringue, make certain your egg whites are at room temperature and your mixing bowl is completely free of any grease or yolk residue.
- For the best texture, pour the hot custard into the crust and immediately cover it with the meringue. The heat helps the meringue adhere to the filling.
- If you prefer a less tall meringue, you can brown it using a kitchen torch instead of baking.
Nutrition
- Serving Size: 1 slice
- Calories: 380
- Sugar: 45g
- Sodium: 150mg
- Fat: 18g
- Saturated Fat: 9g
- Unsaturated Fat: 9g
- Trans Fat: 0g
- Carbohydrates: 52g
- Fiber: 1g
- Protein: 6g
- Cholesterol: 110mg