

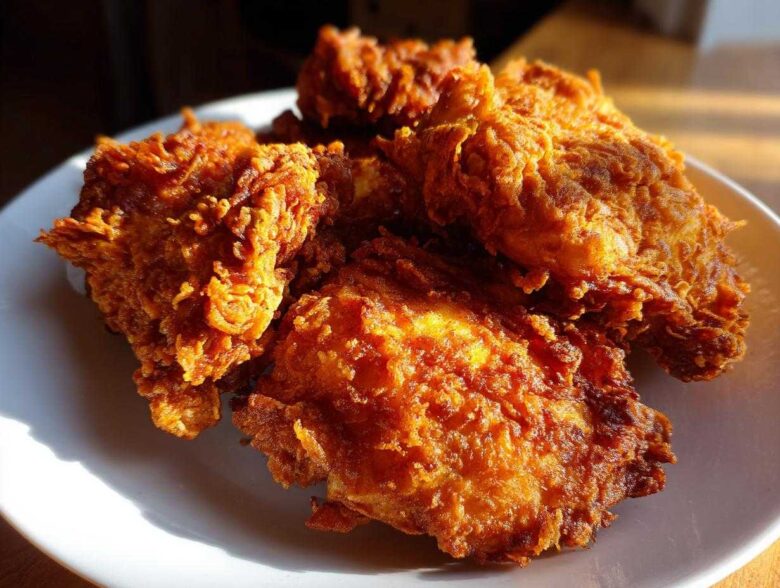
If you’ve ever taken a bite of something advertised as “crispy” and found it disappointingly soggy, I get it. That is the saddest moment in comfort food history, isn’t it? But I promise you, we are going to fix that right now. Getting that perfect contrast—that shatteringly crisp, craggy, golden exterior hugging the juiciest, most tender meat inside—is absolutely doable, even on your first try. This recipe for fried chicken is the one that finally made me stop chasing ghosts in the kitchen. It uses my favorite technique: a long, luxurious buttermilk soak combined with a dredge you have to try to believe. Mastering this Southern fried chicken makes you feel like you’ve unlocked a major culinary secret. Trust me, Leo and I worked through so many messy batches to nail this down so you don’t have to! If you want to know more about our chaotic journey in the kitchen, check out our ‘About Us’ page!
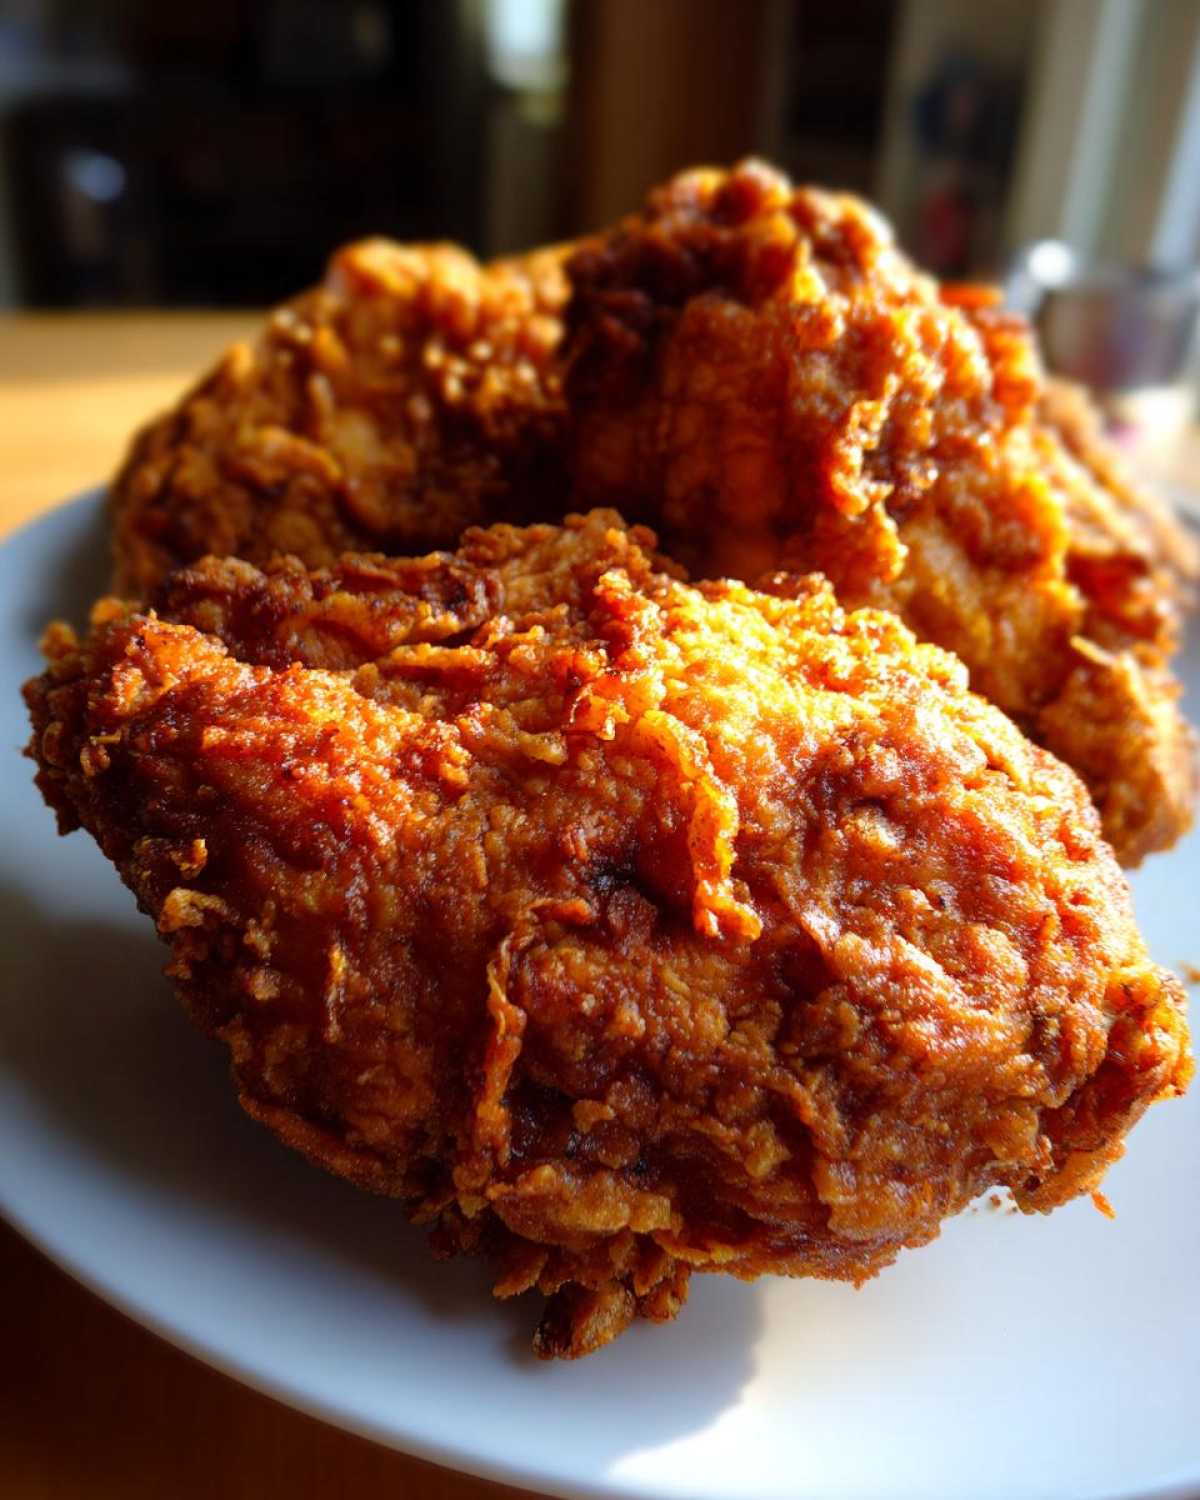
Why This Buttermilk Southern Fried Chicken Recipe Delivers
I know, I know, everyone claims their fried chicken is the best, but stick with me here. This isn’t just *good* fried chicken; this is the kind that makes people stop talking when they take the first bite. We nailed down the texture and the tenderness, and that’s what matters most, right?
Here’s why you can toss out those old, unreliable recipes and trust this one for a foolproof, golden brown chicken dinner:
- Unbeatable Crunch: The coating practically crackles when you touch it. It’s seriously addictive.
- Moisture Lock: We guarantee this chicken stays juicy. You won’t find any dry spots here!
- Easy Execution: While it takes time (mostly inactive marinating time!), the active steps are streamlined for the home cook.
Achieving the Ultra-Crispy Fried Chicken Coating
The magic is in the dual action of the dredge. We aren’t just dusting the chicken once, oh no! The secret weapon that gives you that craggy, textured crust—the one that traps all the flavor and stays crunchy even when you serve it—is the cornstarch mixed right into our flour blend. Plus, that quick second dip back into the buttermilk? That creates the little craggy pockets that turn into deep-fried perfection when they hit the hot oil.
The Secret to Juicy and Crispy Chicken: Buttermilk Brining
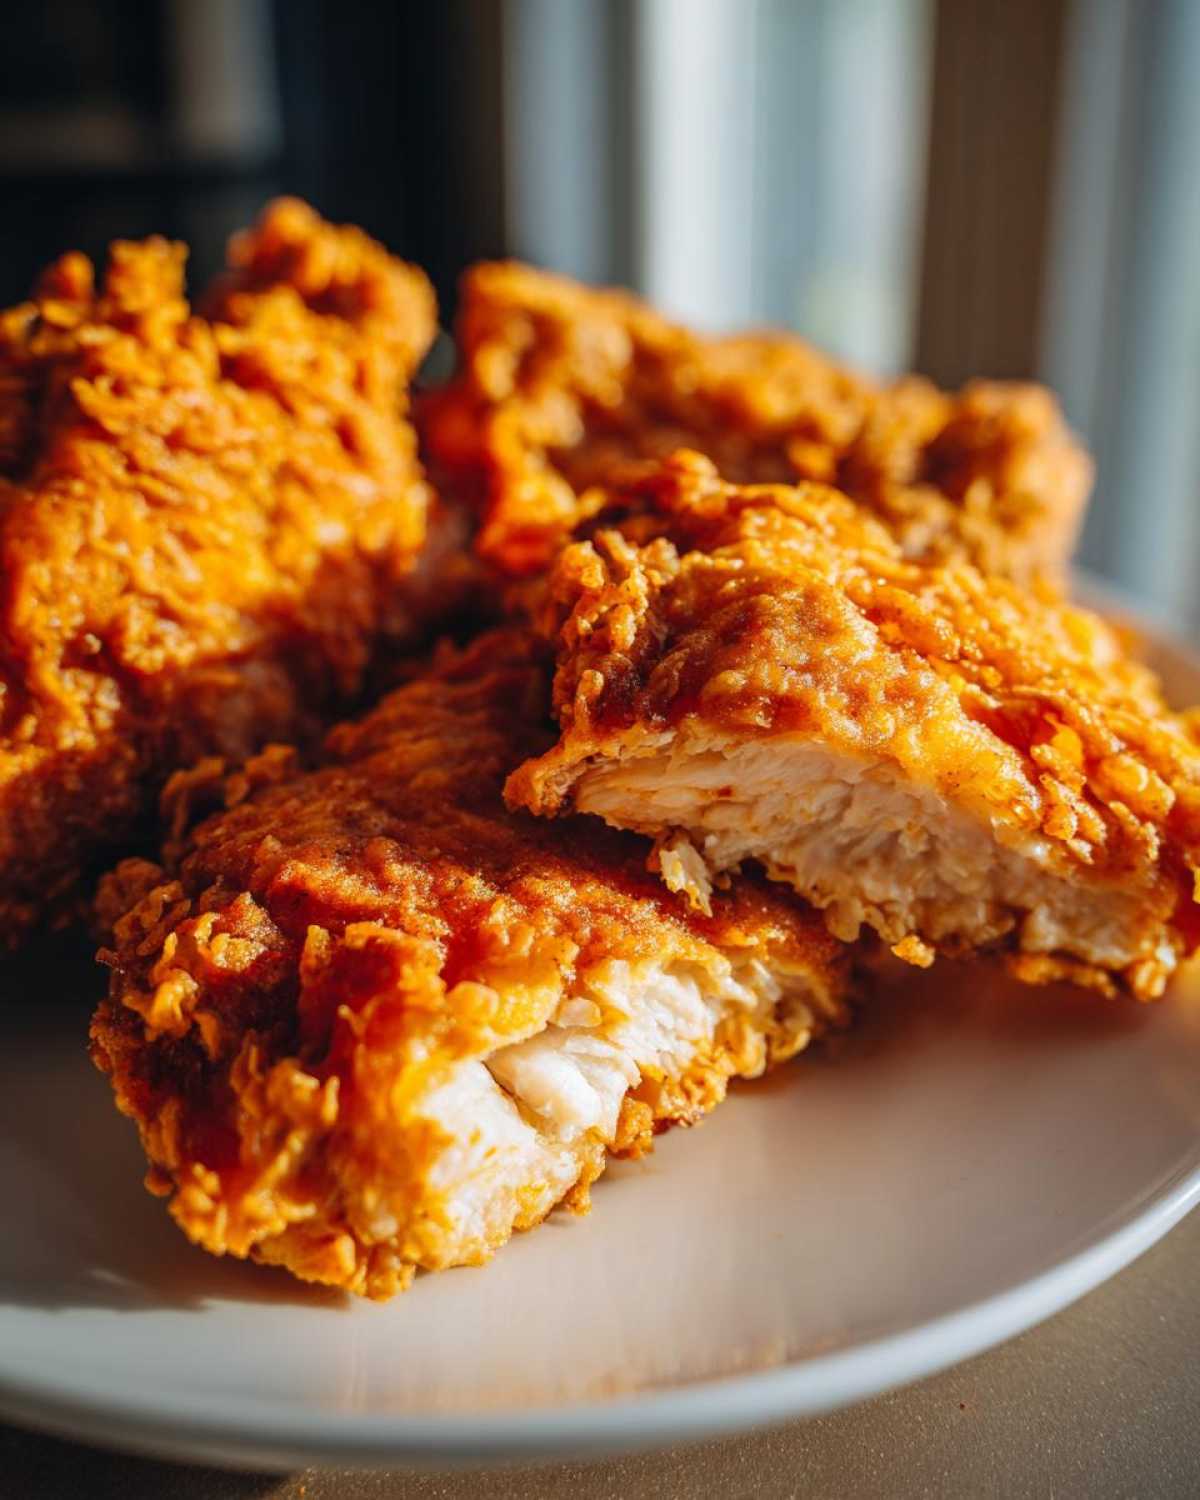
This is non-negotiable, my friends. That long soak in buttermilk brined chicken is what sets this recipe apart from every other crispy homemade fried chicken recipe out there. The acid in the buttermilk gently relaxes the chicken muscle fibers. Think of it as a spa day for your poultry! This process tenderizes the meat right down to the bone, locking in moisture so when you take that satisfying bite, it’s savory, flavorful, and wonderfully juicy.
Gathering Your Ingredients for Perfect Fried Chicken
Okay, let’s get down to what you need! Before the fun begins, we need to make sure we have everything ready to go, especially for the marinade and the essential dredge. A good cook is an organized cook, right? Even if that cook (me!) sometimes forgets where I put the measuring cups halfway through mixing!
For this amazing fried chicken, you’re going to need these basics:
- Chicken: 4 lbs bone-in, skin-on chicken pieces. I love using a mix of thighs and drumsticks because they stay super moist, but breasts work too!
- Buttermilk: You need 4 cups for that rich marinade.
- Salt & Seasoning: 2 tablespoons kosher salt, 1 tablespoon black pepper, 1 tablespoon garlic powder, and a tiny bit of cayenne pepper if you like a little spark in your food.
- The Dredge Mix: This is crucial! Grab 4 cups of all-purpose flour, 1/2 cup of cornstarch (this is our crunch secret!), 1 tablespoon of paprika for color, and 1 teaspoon of onion powder.
- For Frying: Plenty of vegetable oil or peanut oil. You need enough to get about 2 to 3 inches deep in your pot.
Ingredient Notes and Substitutions for Your Fried Chicken
We have some strict rules, but even Leo gets to make a few judgment calls. The oil choice is huge for a deep fried chicken experience. You absolutely need an oil with a high smoke point, which is why I insist on vegetable or peanut oil. Don’t even think about olive oil here—it’ll burn before your chicken is done!
Now, the buttermilk. Can you sometimes use something else? Sure, if you’re in a genuine bind, you can make a quick sour milk substitute: take 4 cups of regular milk and stir in 4 tablespoons of white vinegar or lemon juice. Let it sit for about 10 minutes until it curdles slightly. It acts almost exactly like buttermilk for tenderizing. But honestly, nothing beats having that real deal for the best juicy and crispy chicken.
Also, don’t skimp on that cornstarch in the flour! It’s what makes this crust uniquely robust and crackly—it’s how we get that beautiful golden brown chicken look without burning the outside before the inside is cooked.
Step-by-Step Instructions: How To Make Fried Chicken
Alright, this is where the real magic happens! I’ve broken this down into steps that feel easy to tackle, even when you’ve got a big pot of oil waiting. Remember, we are aiming for that perfectly seasoned, super savory experience. Make sure you have a meat thermometer handy—it’s the only way to guarantee your fried chicken is cooked through safely and wonderfully. If you’re looking for something easier to dip your finished chicken into, check out my recipe for easy homemade cheese crackers!
Brining the Chicken for Maximum Flavor
Step one is all about patience, which is hard, I know! Grab a big bowl. You’re going to mix your buttermilk with all those seasonings: the salt, pepper, garlic powder, and that optional cayenne kick. Make sure it’s all whisked up until it smells spicy and tangy.
Now, tuck your chicken pieces right into that mixture. They have to be totally covered. Cover the whole bowl with plastic wrap—don’t let any outside smells get in there—and put it in the cold part of your fridge. I always say, if you can manage it, let it sit overnight. Seriously, 12 hours is heavenly. Minimum time? Four hours. That long soak is what prevents dry meat!
Preparing the Crunchy Chicken Coating Dredge
While that chicken is having its spa treatment, get your dry dredge ready. In a separate shallow dish—something wide, like a casserole pan, works best—whisk together your flour, cornstarch, paprika, and onion powder. Give it a really good mix. We need that cornstarch evenly distributed so we get those amazing crispy spikes!
Once the chicken is done brining, pull it out one piece at a time, letting the thick excess buttermilk drip off a little, but don’t shake it dry! You want that wet sludge clinging on. Press that piece firmly all over into the flour mixture. Now for the real trick for that crunchy chicken coating: dip that flour-coated piece *quickly* back into any leftover buttermilk, just a flash, and then immediately cover it in flour again. Press, press, press! This double-dip is how you build that thick, craggy crust that keeps the juices locked in our Southern Fried Chicken.
The Deep Frying Process for Golden Brown Chicken
Time to heat the oil! Pour enough vegetable oil into a heavy Dutch oven or a deep pot so it’s 2 to 3 inches deep. You must heat this oil to exactly 325 degrees Fahrenheit. If it’s too cool, you get greasy chicken; too hot, and the outside burns before the inside is done. Keep that thermometer plugged in and watch it like a hawk!
Carefully, I mean *carefully*, place 3 or maybe 4 pieces of chicken in the oil. Do not overcrowd this pot! If you squeeze too many pieces in, the oil temperature drops, and you’ll lose that crispy texture we worked so hard for. Fry these batches for about 6 to 8 minutes on each side. You’re looking for that beautiful deep amber color.
Here’s your safety and doneness check: Use your thermometer! Chicken is done when it hits 165 degrees Fahrenheit in the thickest part. Pull it out gently, set it on a wire rack over a sheet pan—this allows air to circulate so the bottom doesn’t get soggy—and sprinkle a little salt on before it even cools down. Let it rest for five minutes before you dive in!
Tips for Success with Your Crispy Fried Chicken Recipe
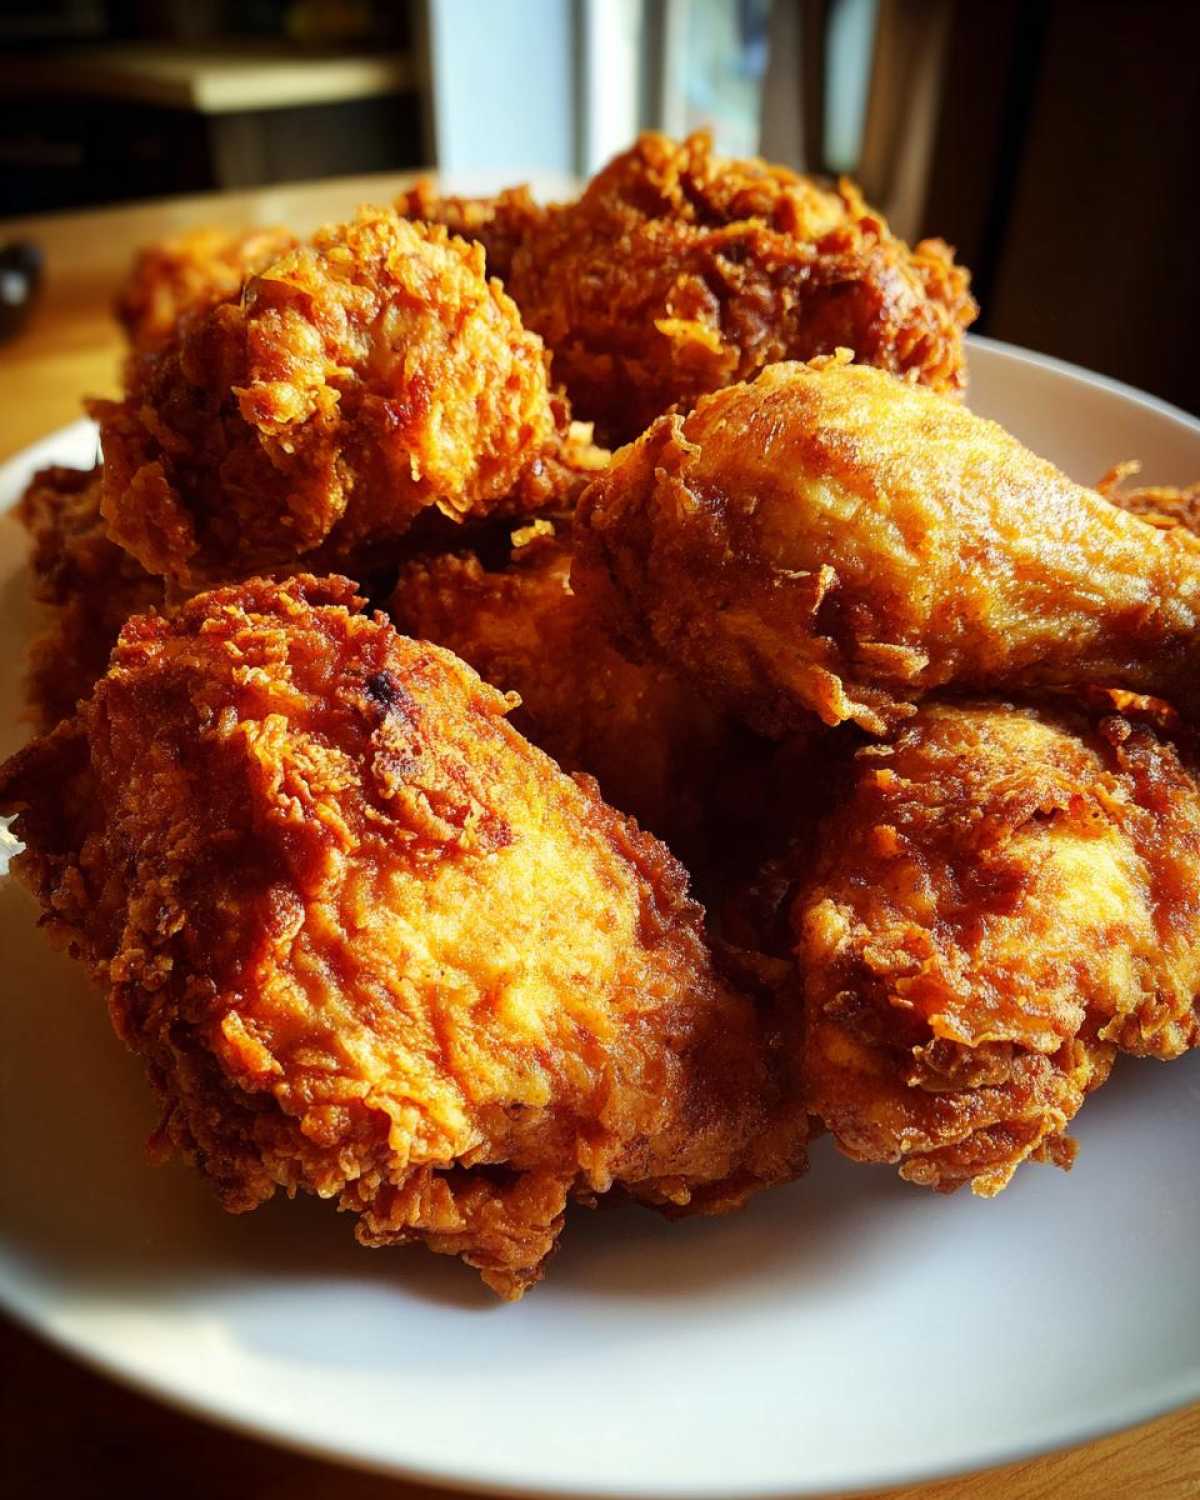
We got through the hard part! Now that you know how to make fried chicken that rivals any restaurant, let’s talk about polishing the process. Achieving truly spectacular results comes down to two things: keeping that oil happy and letting the chicken breathe after it comes out of the fryer. Don’t let your hard work go to waste in the last five minutes!
If you’re worried about getting that perfect Southern Fried Chicken crust, here are my non-negotiables for maintenance:
Don’t Let the Temperature Slip!
I can’t stress this enough: the oil temperature is your best friend and your worst enemy. If you drop more than three pieces of chicken in at once, that thermometer is going to drop below 300°F, and suddenly your crunchy coating is turning into oil sponges. Don’t panic if you have to wait a minute between batches to let the heat recover. It’s totally worth it for that superior crispy fried chicken recipe texture.
The Draining Method Matters More Than You Think
When Leo used to pull the chicken out, he’d just pile it onto paper towels. Wrong! Paper towels steam the bottom of the chicken, and boom—soggy bottom achieved. Instead, you need to mimic what the pros do. As soon as that chicken comes out of the oil, place it on a wire rack suspended over a baking sheet. This lets hot air flow all the way around the crust, keeping the entire surface dry and crunchy while the excess oil drips away neatly underneath. It helps maintain that perfect golden brown chicken finish.
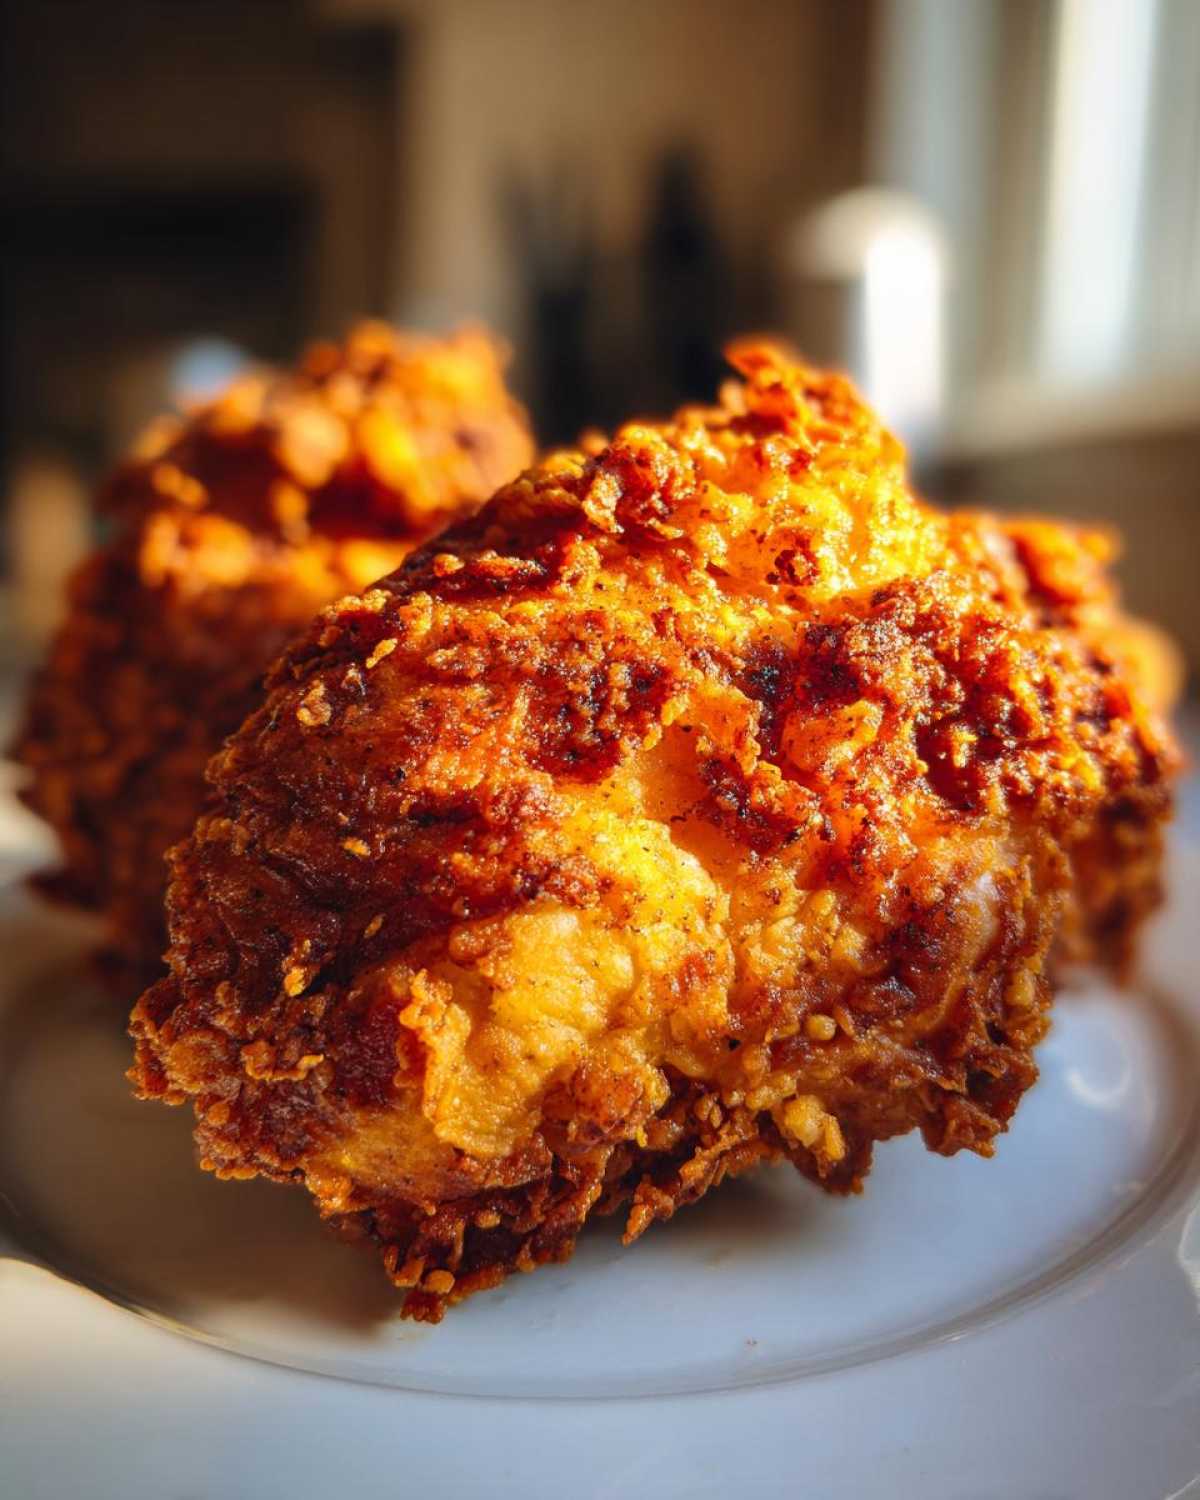
If you’re looking for a fantastic, creamy side to serve alongside your amazing comfort food chicken recipes, I highly recommend whipping up my chicken pot pie casserole—it’s pure decadence!
Remember, making something spectacular like homemade fried chicken takes a little attention, but it’s so rewarding. Trust the process, keep that temperature steady, and you’ll get the ultimate juicy and crispy chicken every single time!
Serving Suggestions for Your Savory Chicken Dinner Ideas
Now that you’ve successfully created the most incredible, ultra-crispy fried chicken known to mankind, we have to talk about what goes next to it on the plate! A masterpiece like this deserves equally magnificent side dishes. Since this is truly Southern fried chicken at its best, we look for things that either embrace that rich, comforting style or offer a clean, bright contrast to cut through the richness.
When Leo and I make this, we usually go for a balance. You can’t go wrong with creamy starches right next to that crunchy coating. If you want something velvety and absolutely divine alongside your savory chicken dinner ideas, you have to try my baked mashed potatoes recipe. They are so much easier than stovetop and just as fluffy!
But don’t stop there! We need something acidic or green to lift the whole meal. Here are some of my favorite pairings when I serve up a big batch of comfort food chicken recipes:
- Coleslaw or Pickled Veggies: The vinegary snap of a good slaw or some quick refrigerator pickles totally resets your palate between bites of rich chicken. It’s essential!
- Macaroni and Cheese: Sometimes, you just need creamy, cheesy decadence. It’s a classic combo for a reason. Don’t overthink it, just make it gooey!
- Sweet Corn or Collard Greens: Whether you like it sautéed with bacon or seasoned simply with a bit of hot sauce, greens are traditional, and sweet corn just brings out the savory flavor of the chicken skin.
Ultimately, any side dish you love that makes you feel warm and happy is the right one. But if you want to guarantee a truly authentic, satisfying easy fried chicken dinner, make sure you’ve got something creamy *and* something tangy ready on the table!
Storage and Reheating Instructions for Leftover Fried Chicken
Okay, the worst part about making legendary fried chicken is when you realize you have none left! But if by some miracle you have leftovers—and Leo always tries to hide the last drumstick for himself—you need to handle them correctly. We want that amazing crunch preserved for our next day meal, so we are skipping the microwave shortcut entirely. That thing destroys crispy coatings!
For safe keeping, make sure your crispy fried chicken recipe pieces have cooled down for at least an hour after frying before you put them away. Putting warm or hot food straight into the fridge creates too much condensation, which immediately starts making everything soggy.
Once cooled, get them into an airtight container. If you have a lot, you can layer them, but here’s the pro move: place a paper towel or a clean kitchen cloth on the bottom of the container, lay down your chicken pieces without touching too much, and then place another paper towel on top before closing the lid. This helps absorb any stray moisture that tries to sneak up on your beautiful crust.
Your leftovers are good in the fridge for about three to four days—which is usually plenty of time for Leo and me!
Restoring That Golden Brown Crispiness
If you have to reheat your golden brown chicken, the oven or an air fryer is your absolute savior. The goal is to use dry heat to wick away any moisture that seeped in while it was chilling.
Oven Method (Best for large batches): Preheat your oven to 375 degrees Fahrenheit. Place the cold fried chicken pieces directly on a wire rack set over a baking sheet. Bake for about 10 to 15 minutes. You’re not cooking it; you’re just drying out the crust. Check halfway through, and if it’s not sounding crisp, give it a few more minutes. It’ll come back to life!
Air Fryer Method (Best for 1-2 pieces): If you only saved a piece or two, the air fryer is lightning fast. Set it to 350 degrees Fahrenheit and cook for about 4 to 6 minutes. You should hear that satisfying crunch returning almost immediately. That makes warming up leftovers almost as fun as making the initial batch of juicy and crispy chicken!
Frequently Asked Questions About Making Fried Chicken
I knew you’d have questions! When you’re diving into making something iconic like fried chicken, details matter. That’s why Leo and I always try to tackle the things people usually worry about before they even start. We want this to be your most foolproof comfort food chicken recipe yet!
Here are the things I hear most often when folks are planning to tackle this recipe:
Can I make this Fried Chicken Recipe in an Air Fryer?
Oh, the air fryer question! Look, I love my air fryer for vegetables and quick reheating, but for this specific recipe—the kind that needs that deep, craggy, crackly crust—standard deep frying is truly the gold standard. The air fryer is fantastic for reheating those leftovers, but to get that signature, ultra-crispy shell where the flour mixture actually hardens against hot oil, you really need the deep fat immersion. If you try to air fry, you’ll get a decent, healthy piece of chicken, but it won’t have the same aggressive crunch as this Southern fried chicken recipe.
What is the best oil to use for the Best Homemade Fried Chicken?
This is super important for safety and flavor! For the best homemade fried chicken, you need an oil that can handle heat without breaking down or smoking too early. That’s why I swear by peanut oil or vegetable oil. They both have very high smoke points, which allows you to maintain that perfect 325°F frying temperature where the magic happens. Canola oil is a fine runner-up, but seriously, keep the olive oil locked away for salads. We need clean, hot fat for that perfect golden brown chicken finish!
If you’re looking for something totally different to try next time, maybe you can explore my chicken fried rice recipe—it’s a great way to use up any leftover cooked meat, too!
Nutritional Estimates for This Comfort Food Chicken Recipe
Okay, let’s talk about fueling up! I love making this amazing fried chicken as a special occasion meal, but I know sometimes we need to see the numbers. Now, I have to be real with you, Leo and I are home cooks, not certified nutritionists! These estimates are based on the general ingredient breakdown and serving size we listed, but oil absorption and exact piece sizes can really change the final tally.
Think of this as a friendly guideline for your ultimate comfort food chicken recipe!
Here’s a rough look at what one serving (which we based on one fried chicken thigh) breaks down to:
- Serving Size: 1 piece (thigh)
- Calories: About 450
- Protein: A whopping 32 grams! (Yes, worth every decadent bite.)
- Total Fat: Around 28 grams, which includes 7 grams of saturated fat.
- Carbohydrates: Roughly 15 grams, coming mostly from that incredible flour dredge.
- Sugar: Thankfully, only about 2 grams!
Please remember, this is for one piece of chicken from this crispy fried chicken recipe, not a whole plate piled high (though I won’t judge if that’s what you do!). The numbers change drastically if you swap chicken breasts for thighs or if you use different types of oil.
If you’re ever looking for something on the lighter side to balance out a dinner like this, maybe try pairing it with my baked mashed potatoes recipe instead of heavy gravy; it’s a little lighter but still totally comforting!
Share Your Experience Making This Classic Fried Chicken
Well, you did it! You tackled the ultimate test of Southern cooking: the perfect, ultra-crispy fried chicken. I am genuinely so thrilled for you right now. Seriously, if you followed along and got that deep golden crust, you should be immensely proud of yourself! Leo and I always say that the best part of sharing our recipes isn’t just watching them succeed, but hearing about how they fit into *your* family dinners.
Now that you’ve got the best homemade fried chicken on your plate, I’m really dying to know how it turned out! Did the buttermilk work its magic? Did you get those craggy spikes we were aiming for?
Don’t be shy! Head down to the comments below—I want to hear absolutely everything. Did you stick to the simple salt sprinkle, or did you go all out with a savory gravy? Most importantly, what were your favorite side dishes for this epic easy fried chicken dinner? Did you pair it with a crisp salad, or did you go full-on comfort mode? Let me know, and if you loved this recipe, feel free to leave a star rating! It helps other home cooks find the path to perfectly juicy and crispy chicken too!
If you’re already hungry for more fun chaotic cooking adventures—and trust me, we have plenty—you can check out the rest of our recent kitchen experiments over on the Cookify Me blog. Happy cooking, friend!
PrintThe Best Ultra-Crispy Buttermilk Fried Chicken

You want golden, crunchy, and juicy fried chicken? This Southern-style recipe uses a buttermilk soak and a special dredge to give you the best homemade fried chicken with a foolproof, crackly crust every time.
- Prep Time: 20 min
- Cook Time: 30 min
- Total Time: 4 hours 50 min
- Yield: 6 servings
- Category: Dinner
- Method: Deep Frying
- Cuisine: Southern American
- Diet: None
Ingredients
- 4 lbs bone-in, skin-on chicken pieces (thighs, drumsticks, breasts)
- 4 cups buttermilk
- 2 tablespoons kosher salt
- 1 tablespoon black pepper
- 1 tablespoon garlic powder
- 1 teaspoon cayenne pepper (optional, for a kick)
- 4 cups all-purpose flour
- 1/2 cup cornstarch
- 1 tablespoon paprika
- 1 teaspoon onion powder
- Vegetable oil or peanut oil, for frying
Instructions
- In a large bowl, combine the buttermilk, kosher salt, black pepper, garlic powder, and cayenne pepper. Add the chicken pieces, ensuring they are fully submerged. Cover the bowl and refrigerate for at least 4 hours, or preferably overnight, for the juiciest results.
- In a separate shallow dish, whisk together the flour, cornstarch, paprika, and onion powder. This is your dry dredge mix.
- Remove the chicken from the buttermilk mixture, letting excess drip off slightly, but do not wipe it dry.
- Dredge each piece of chicken thoroughly in the flour mixture, pressing the flour onto the chicken to create a thick, craggy coating. For extra crispiness, dip the floured chicken back into the remaining buttermilk mixture for just a second, then immediately coat it again in the flour mixture. Set the coated chicken aside on a wire rack while you heat the oil.
- Pour enough oil into a large, heavy-bottomed pot or Dutch oven to reach a depth of about 2 to 3 inches. Heat the oil to 325 degrees Fahrenheit (160 degrees Celsius). Use a thermometer to monitor the temperature closely.
- Carefully place 3 to 4 pieces of chicken into the hot oil, ensuring you do not overcrowd the pot, which lowers the oil temperature. Fry the chicken in batches.
- Fry the chicken for about 6 to 8 minutes per side, turning occasionally, until it reaches a deep golden brown color and the internal temperature reaches 165 degrees Fahrenheit (74 degrees Celsius). Thicker pieces like breasts may take slightly longer.
- Remove the cooked chicken from the oil and place it on a clean wire rack set over a baking sheet to drain excess oil. Sprinkle lightly with a pinch of salt immediately after removing from the oil.
- Allow the chicken to rest for 5 minutes before serving your crispy fried chicken dinner.
Notes
- For the crispiest coating, make sure your oil temperature stays consistent. If it drops too low, the chicken absorbs too much oil and becomes soggy.
- If you are using chicken breasts, you may want to pound them slightly to an even thickness before brining to promote even cooking.
- This recipe works well for chicken thighs and drumsticks, which stay very juicy after frying.
Nutrition
- Serving Size: 1 piece (thigh)
- Calories: 450
- Sugar: 2
- Sodium: 650
- Fat: 28
- Saturated Fat: 7
- Unsaturated Fat: 21
- Trans Fat: 0
- Carbohydrates: 15
- Fiber: 1
- Protein: 32
- Cholesterol: 110