

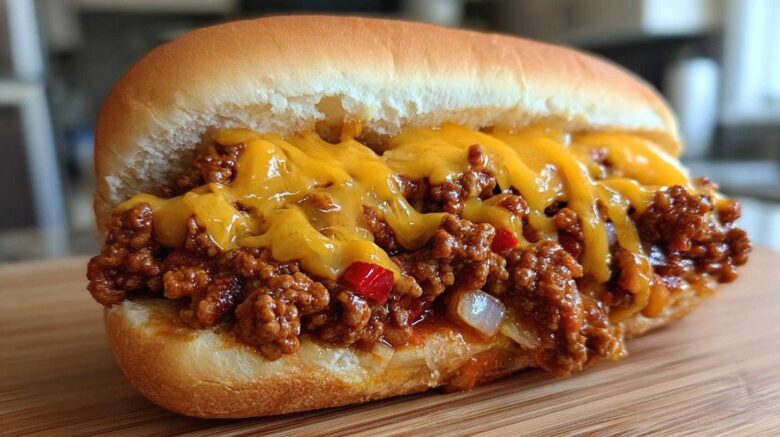
The Ultimate Loaded Chili Cheese Dog Bake
Hey everyone, Sofia here! If you’re anything like me, you love food that brings people together. Food that’s easy to make, packed with flavor, and just screams “good times.” Well, have I got the dish for you! I’m so excited to share my recipe for the ultimate loaded chili cheese dog bake. It’s seriously a winner for game days, casual dinners, or any time you need a hug in a dish. Leo and I first made something like this on a chilly fall evening, and it instantly became a family favorite. It’s that perfect blend of comfort and fun. You can throw it together in minutes, and everyone always asks for seconds.
Why You’ll Love This Loaded Chili Cheese Dog Bake
You’re going to adore this loaded chili cheese dog bake for so many reasons!
* **Super Easy to Make:** Seriously, it’s almost foolproof.
* **Quick Prep Time:** You can have it ready for the oven in about 10 minutes.
* **Big Flavor:** Chili, cheese, and hot dogs? It’s a classic combo that never disappoints.
* **Perfect for Crowds:** This bake is a guaranteed hit at parties or family gatherings.
* **Customizable:** Add your favorite toppings for a personal touch.
Sofia’s Game Day Favorite: A Loaded Chili Cheese Dog Bake Story
I remember one particular football game day. We had friends over, and the energy was electric. I wanted something delicious but didn’t want to be stuck in the kitchen. I quickly threw together this loaded chili cheese dog bake. The aroma filled our house, and when we pulled it out of the oven, bubbly and golden, everyone cheered. It was the perfect centerpiece, easy for everyone to grab a bun and load it up. It’s these simple, delicious moments that make cooking so special for me. It’s not just about the food; it’s about sharing joy.
Gather Your Ingredients for the Loaded Chili Cheese Dog Bake
Alright, let’s get our game faces on and gather everything we need for this flavor-packed loaded chili cheese dog bake. It’s all about simplicity here, making sure we have quality ingredients that sing together. Think of it like assembling a fantastic team – each player has a role! We’re keeping it straightforward, so you won’t be hunting for obscure items. Just good, honest ingredients that promise a delicious outcome. I always try to grab the freshest ingredients I can find; it really makes a difference in the final taste.
Here’s what you’ll need:
- 8 hot dogs, cut in half lengthwise
- 1 can (15 ounces) chili with beans
- 1 cup shredded cheddar cheese
- 1/4 cup finely chopped yellow onion
- 1/4 cup finely chopped green bell pepper
- 4 standard hot dog buns, split lengthwise
See? Nothing too fancy, just pure comfort food magic waiting to happen!
Ingredient Notes and Substitutions for Your Loaded Chili Cheese Dog Bake
When making this loaded chili cheese dog bake, feel free to get a little creative with your choices! For the chili, I usually go for one with beans because I love that extra texture. However, if you’re not a fan of beans, a smooth chili works just as well. You could also try a spicy chili if you like a bit of heat, or even a vegetarian chili to keep things meat-free. For the cheese, cheddar is my go-to because it melts so beautifully and has that classic flavor. But don’t hesitate to mix in some Monterey Jack or pepper jack for a little extra zing. Sometimes, I even do a blend! For the veggies, feel free to swap the green bell pepper for red or yellow if that’s what you have on hand, or even add some diced jalapeños for a kick.
Preparing Your Delicious Loaded Chili Cheese Dog Bake
Now for the fun part: bringing this amazing loaded chili cheese dog bake to life! It’s really straightforward. I love how quickly this comes together. It means less time fussing in the kitchen and more time enjoying the company. We’re talking about a dish that’s almost impossible to mess up. Perfect for when you want something impressive without the stress. Just follow these simple steps, and you’ll have a crowd-pleasing meal ready in no time. It’s all about layering those delicious flavors.
Step 1: Preheat and Prepare Your Baking Dish
First things first, let’s get that oven nice and hot. We need it at 375°F (190°C). While the oven heats up, grab your baking dish. A standard 9×13 inch dish works perfectly here. Give it a quick grease. I usually use a little butter or cooking spray. This stops everything from sticking, which is always a good thing, right?
Step 2: Arrange the Hot Dogs for the Loaded Chili Cheese Dog Bake
Next, take your hot dogs. Remember, we cut them in half lengthwise earlier. Now, arrange these halves in a single layer inside your greased baking dish. Make sure they’re cozy but not too squished. This way, they’ll all get a nice even coating of chili and cheese. It’s like setting the stage for the deliciousness to come!
Step 3: Layer the Chili and Toppings
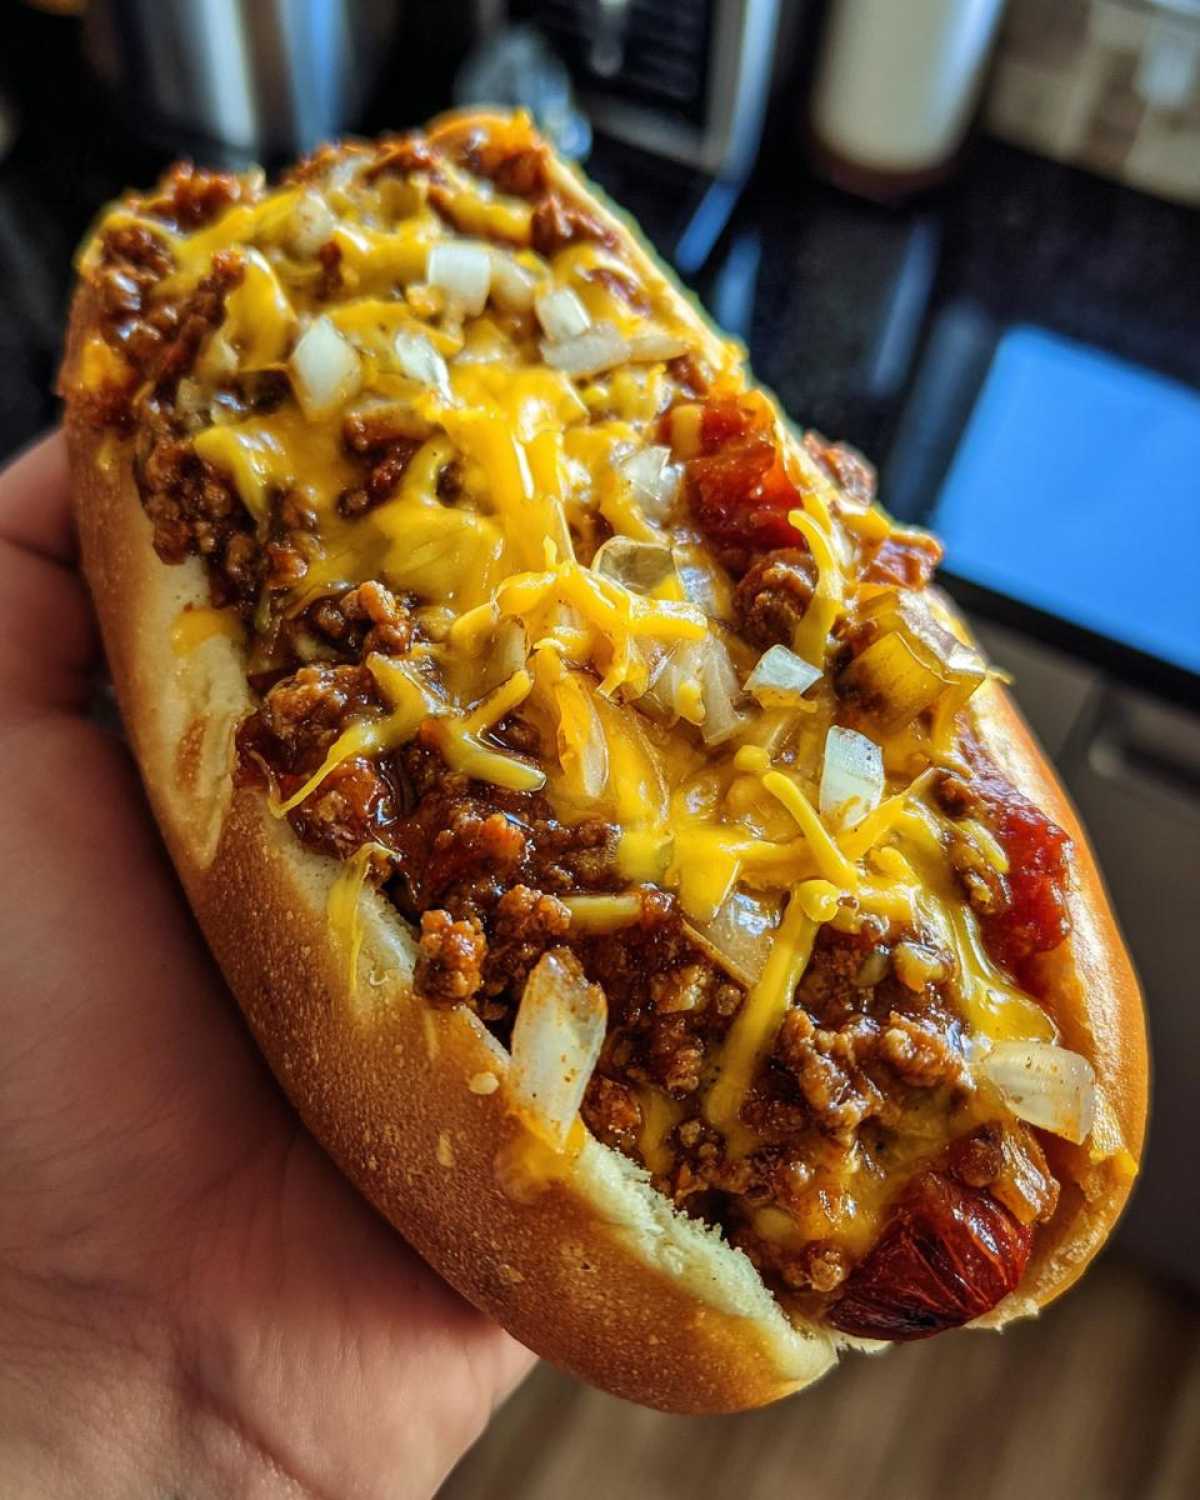
Time for the star of the show: the chili! Spoon your can of chili evenly over the hot dog halves. Try to cover as much surface area as you can. Then comes the glorious cheese. Sprinkle that shredded cheddar cheese all over the top. Don’t be shy with it! Finally, scatter your chopped onion and bell pepper over the cheese. This adds a lovely fresh crunch and a pop of color.
Step 4: Bake the Loaded Chili Cheese Dog Bake to Perfection
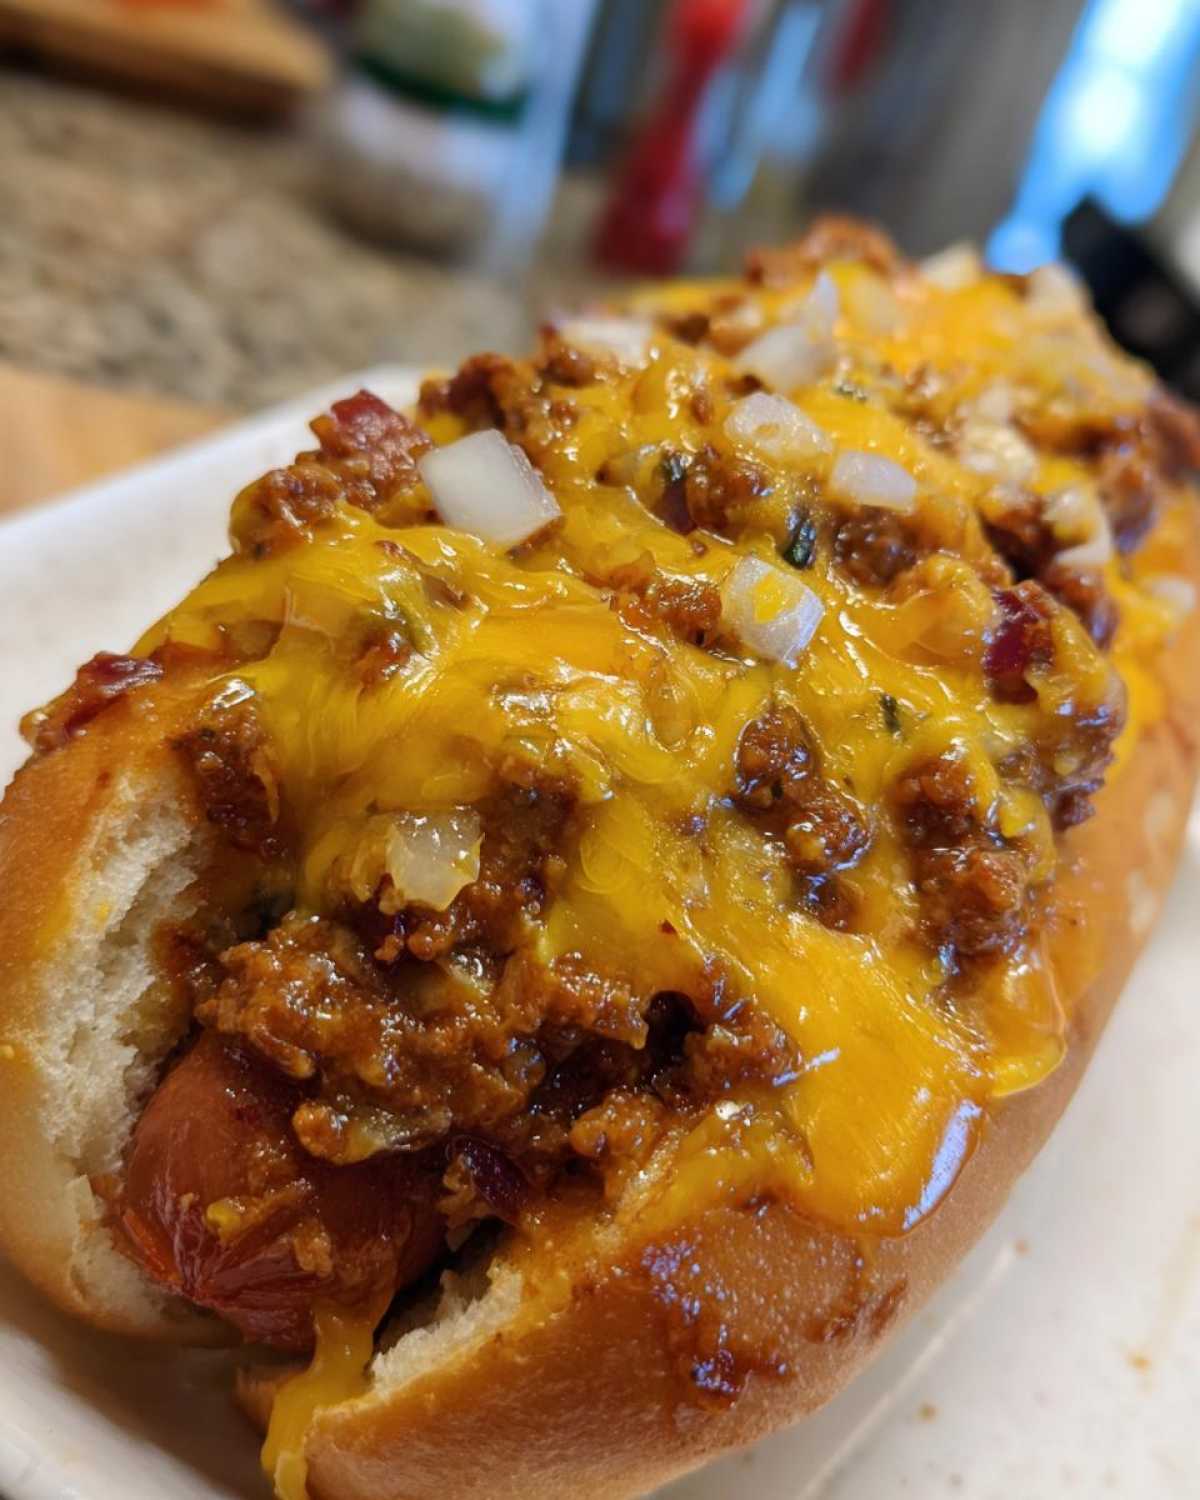
Now, pop that dish into your preheated oven. We’re going to bake it for about 15 to 20 minutes. You’ll know it’s ready when the cheese is all melted and bubbly, looking absolutely irresistible. The aroma filling your kitchen will be incredible. Keep an eye on it so the cheese doesn’t burn!
Step 5: Toast the Buns for Your Loaded Chili Cheese Dog Bake
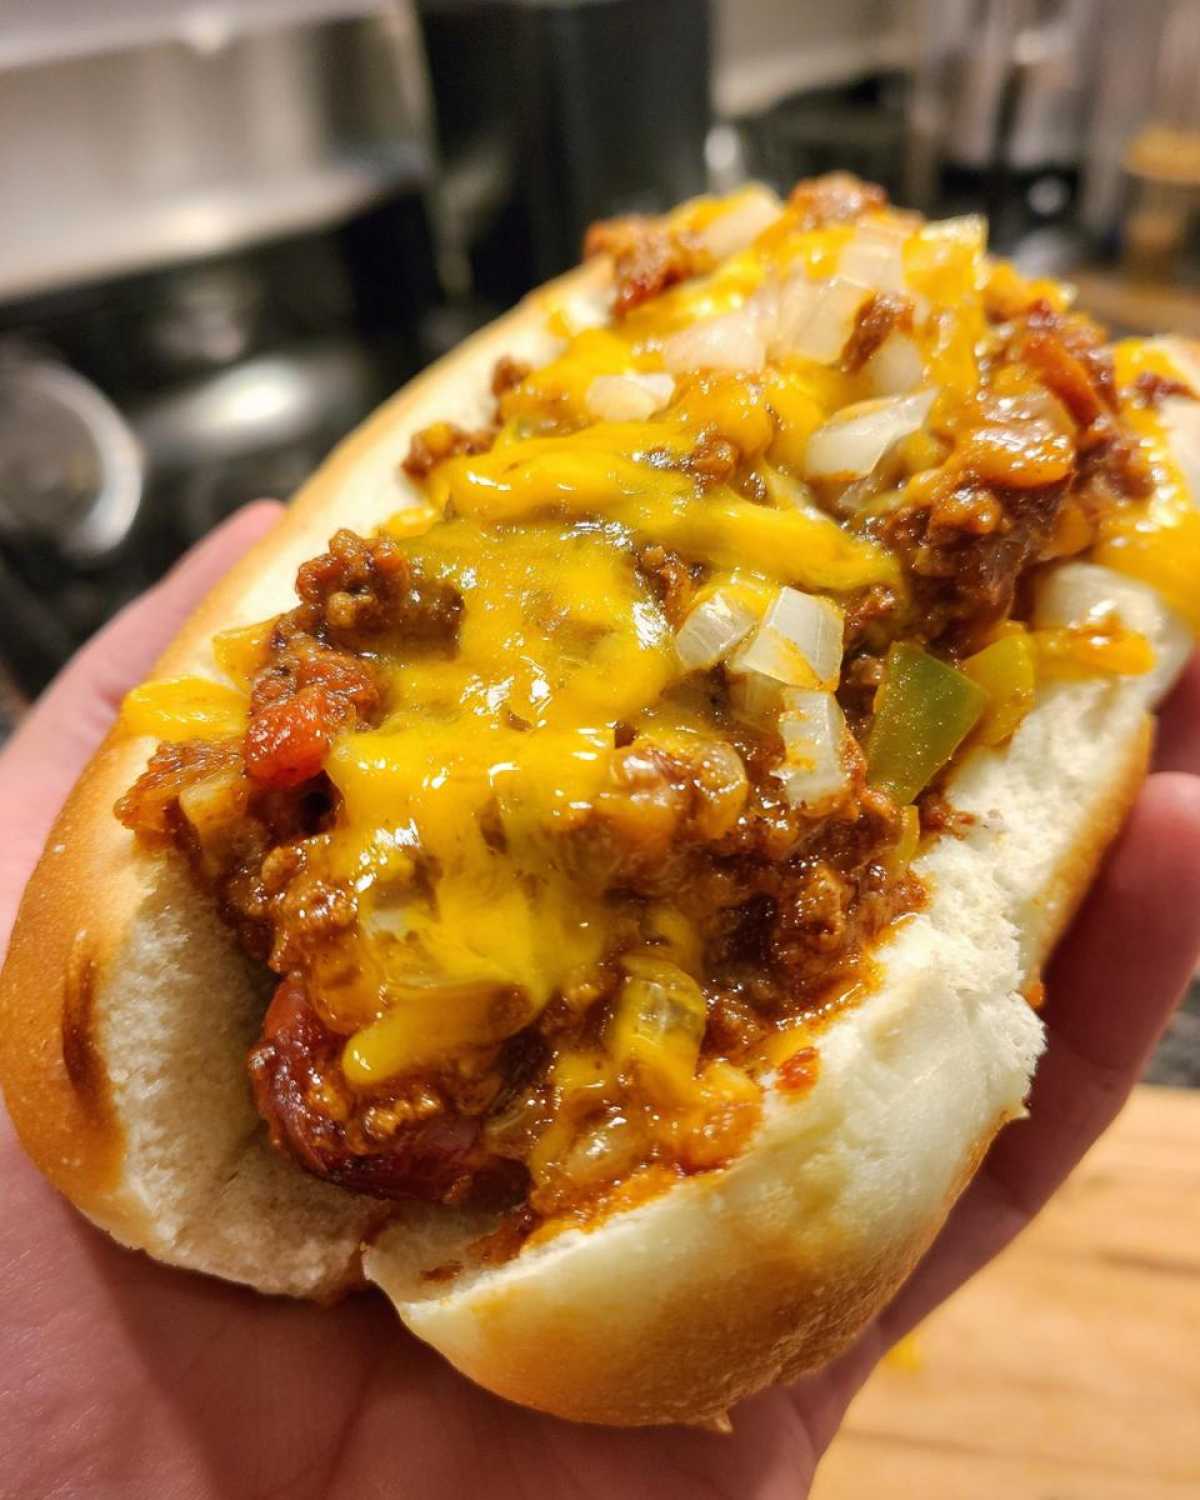
While our bake is getting all golden and bubbly, let’s prep the buns. You can lightly toast them under the broiler for a minute or two, or pop them in the oven for the last few minutes of baking. I just like them lightly toasted. It gives them a little structure and stops them from getting soggy when you load them up.
Step 6: Serve Your Amazing Loaded Chili Cheese Dog Bake
And there you have it! Carefully take the loaded chili cheese dog bake out of the oven. It will be hot and steamy. Grab your toasted buns. Spoon a generous portion of the chili-cheese-dog mixture right into each bun. You can even add a few extra toppings if you like. Serve them up right away. Enjoy the smiles!
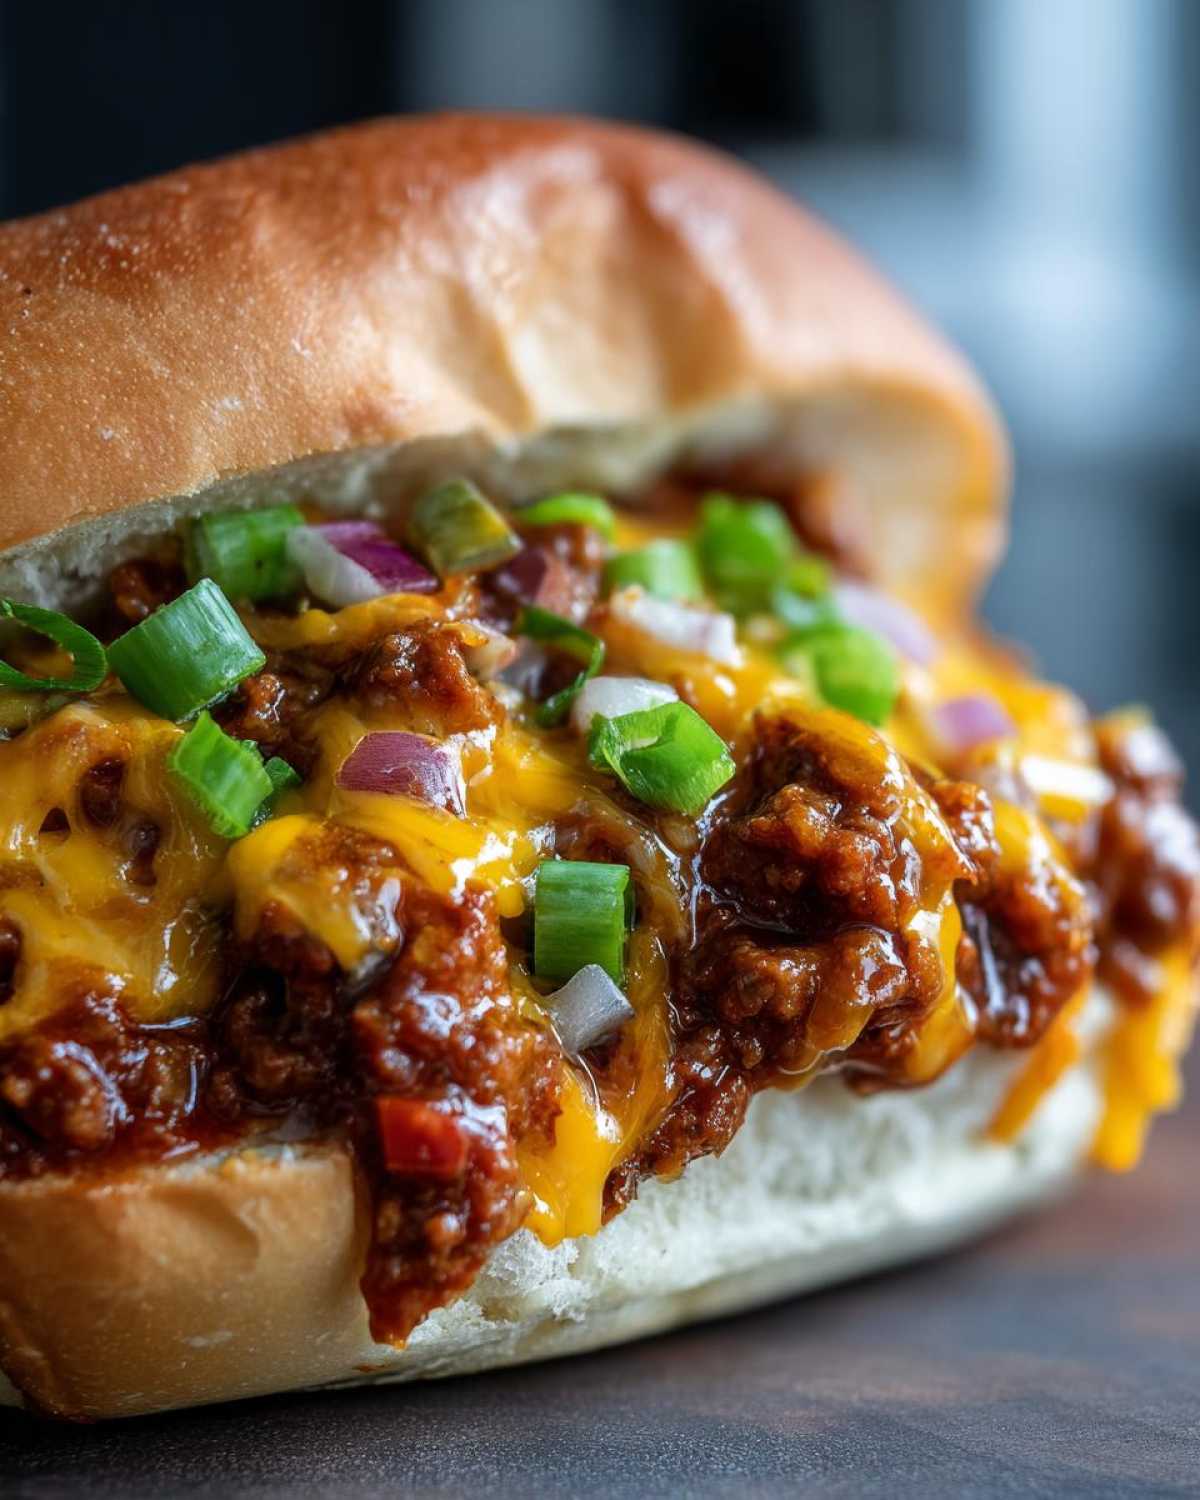
Tips for the Best Loaded Chili Cheese Dog Bake
To make your loaded chili cheese dog bake absolutely perfect, I’ve picked up a few tricks. First, to prevent soggy buns, toast them just a bit. I like to pop mine in the oven for the last 5 minutes of baking. This gives them a nice structure. For that ultimate gooey cheese, make sure your cheese is shredded. Pre-shredded cheese can sometimes have anti-caking agents that prevent smooth melting. I usually shred my own cheddar for the best results. If you want to amp up the flavor, consider adding a pinch of cumin or chili powder to your chili before baking. It really deepens the taste!
Fun Variations for Your Loaded Chili Cheese Dog Bake
This loaded chili cheese dog bake is fantastic as is, but it’s also a super fun base for creativity! Want to spice things up? Try using a spicy chili or adding a pinch of cayenne pepper to the mix. I also love adding some sliced pickled jalapeños right before serving for a zesty kick. If you’re feeling adventurous, switch up the cheese! A mix of cheddar and pepper jack is amazing, or even some shredded Monterey Jack for extra creaminess. For more veggies, consider adding some corn kernels or even some diced pineapple for a sweet and savory twist. It’s all about making it your own!
Serving Suggestions with Your Loaded Chili Cheese Dog Bake
Now that your amazing loaded chili cheese dog bake is ready, what should you serve alongside it? For a classic game day feel, you can’t go wrong with some crispy potato chips or a simple side salad with a zesty vinaigrette. A cold, crisp beer or your favorite soda is the perfect drink to wash it all down. If you want something a bit more substantial, some creamy coleslaw or a batch of my easy baked beans would be delightful. These simple additions really round out the meal and make it a complete, satisfying experience for everyone.
Storing and Reheating Leftover Loaded Chili Cheese Dog Bake
Don’t you hate when delicious food goes to waste? Me too! If you happen to have any leftover loaded chili cheese dog bake, it stores beautifully. Just pop any remaining chili-cheese-dog mixture into an airtight container. You can keep it in the fridge for up to three days. When you’re ready to reheat, I like to scoop the mixture into a small oven-safe dish and warm it in a 350°F (175°C) oven until heated through. You can also microwave it, but the oven gives it that nice, bubbly texture back. Toast up some fresh buns, and it’s almost like the first time!
Frequently Asked Questions about Loaded Chili Cheese Dog Bake
Got questions about making the best loaded chili cheese dog bake? I’ve got answers!
Can I make the loaded chili cheese dog bake ahead of time?
You can definitely prepare the chili and hot dog mixture a day in advance. Store it in an airtight container in the fridge. When you’re ready to bake, just spoon it into your dish, top with cheese and veggies, and bake as directed. You might need to add a few extra minutes to the baking time. Toasting the buns fresh is still best!
What kind of chili is best for this bake?
Honestly, any chili you love works great! I prefer a chili with beans for extra texture and heartiness. If you like it spicy, go for a hot chili or add some cayenne pepper. A vegetarian chili is also a fantastic option if you’re looking for a meat-free version. Just make sure it’s a thicker chili so it doesn’t make the bake too watery.
Can I add other toppings to my loaded chili cheese dog bake?
Absolutely! That’s the beauty of this dish. Feel free to add your favorite toppings. Sliced jalapeños, a dollop of sour cream after baking, some chopped fresh cilantro, or even a sprinkle of crispy fried onions are all delicious additions. Get creative and make it your own!
Estimated Nutritional Information for Loaded Chili Cheese Dog Bake
While this loaded chili cheese dog bake is all about fun and flavor, it’s good to have an idea of what you’re serving. Please remember that these are just estimates and can vary based on the specific brands of ingredients you use and any extra toppings you add. A typical serving might include around 450-550 calories, 25-35g of fat, 18-25g of protein, and 30-40g of carbohydrates. This is a hearty dish, perfect for fueling your game day!
PrintLoaded Chili Cheese Dog Bake: 10-Minute Feast

A fun and easy baked dish featuring hot dogs loaded with chili and cheese, perfect for game days or casual gatherings.
- Prep Time: 10 minutes
- Cook Time: 20 minutes
- Total Time: 30 minutes
- Yield: 4 servings
- Category: Main Course
- Method: Baking
- Cuisine: American
- Diet: Vegetarian
Ingredients
- 8 hot dogs, cut in half lengthwise
- 1 can (15 ounces) chili with beans
- 1 cup shredded cheddar cheese
- 1/4 cup chopped onion
- 1/4 cup chopped bell pepper
- 4 hot dog buns, split
Instructions
- Preheat your oven to 375°F (190°C).
- Arrange the hot dog halves in a single layer in a greased 9×13 inch baking dish.
- Spoon the chili evenly over the hot dogs.
- Sprinkle the shredded cheddar cheese, chopped onion, and chopped bell pepper over the chili.
- Bake for 15-20 minutes, or until the cheese is melted and bubbly.
- While the bake is in the oven, lightly toast the split hot dog buns.
- Serve the loaded chili cheese dog bake in the toasted buns.
Notes
- Feel free to add your favorite toppings like jalapeños or sour cream.
- For a spicier kick, use a hot chili or add a pinch of cayenne pepper.
Nutrition
- Serving Size: 1 serving
- Calories: N/A
- Sugar: N/A
- Sodium: N/A
- Fat: N/A
- Saturated Fat: N/A
- Unsaturated Fat: N/A
- Trans Fat: N/A
- Carbohydrates: N/A
- Fiber: N/A
- Protein: N/A
- Cholesterol: N/A