

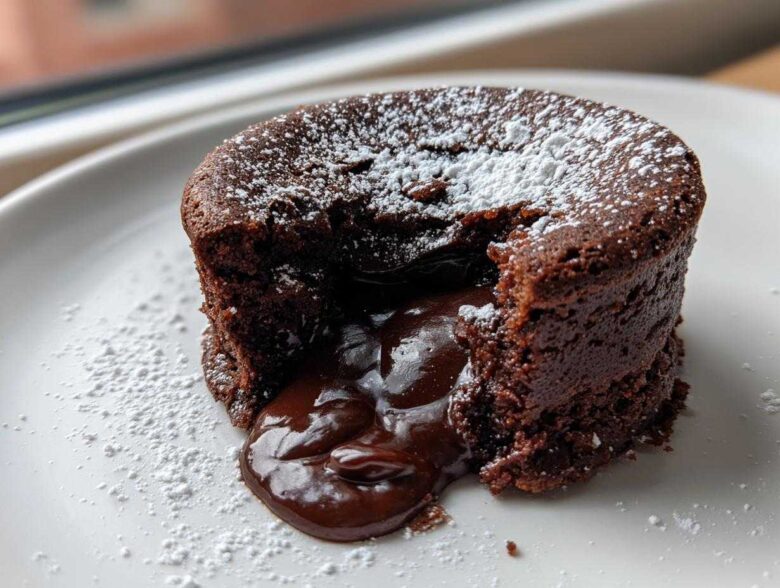
There are desserts, and then there are *events*. If you ask me, nothing screams celebration like a perfectly crafted **Molten Chocolate Lava Cake**. Seriously, that moment when you slice into the warm cake and watch that river of liquid chocolate spill out? That’s pure magic! I remember the first few times I tried these, I ended up with little overcooked hockey pucks. Ugh! But trust me, after a lot of frantic testing (and eating some slightly sad brownies), I finally cracked the code. This recipe is my absolute go-to; it guarantees you get that glorious, gooey chocolate lava center every single time. You’re going to love how quickly this comes together, too!
We are going to make the best chocolate cake you’ve ever tried for yourself, just in a tiny, individual portion!
Why This is the Best Molten Chocolate Lava Cake Recipe
Okay, listen up, because this is truly the best molten chocolate lava cake recipe out there. I say that because it delivers every single time, and frankly, we don’t have time for desserts that fail! These aren’t just pretty little cakes; they are the definition of satisfying, warm chocolate cakes with liquid center goodness. If you follow my timing guide, you’ll nail this perfect dessert.
- Guaranteed Liquid Center: We use a specific blend of one whole egg and an extra yolk. That extra richness helps hold the outside together while keeping the inside perfectly fluid. Trust me, testing the bake time for your own oven is the *only* way to get that perfect ooze!
- Quick Preparation for Molten Chocolate Lava Cake: You won’t believe it, but prep is only about 10 minutes. Total time? Less than 25 minutes! It’s the perfect choice when you need a decadent dessert for two fast. If you want to learn more about easy chocolate centers, check out my fudge guide! This whole gooey chocolate lava cake tutorial is designed for speed without sacrificing quality.
Essential Ingredients for Your Molten Chocolate Lava Cake
When you’re aiming for a dessert this dramatic, you simply cannot skimp on the chocolate. This recipe is incredibly simple—only seven core items—which means each ingredient needs to shine! We need that intense cocoa flavor that defines a true, rich lava cake. You’ll need exactly 4 ounces of bittersweet or semi-sweet chocolate, chopped up fine. Chopping it yourself is key because those smaller pieces melt evenly, which is exactly what we want for that gorgeous, flowing center. Then comes the fat: four tablespoons of good, unsalted butter. You mix those two together, and suddenly, magic starts happening!
For structure, we use one whole egg plus one extra egg yolk—that’s our secret weapon for getting the center gooey rather than solid. You only need one tiny teaspoon of all-purpose flour. Seriously, just a little bit! Too much flour, and boom, you’ve accidentally made a cupcake instead of a lava cake. We balance it all out with a couple of tablespoons of granulated sugar and a pinch of salt to make that chocolate flavor really pop. If you want to dive deeper into how chocolate quality impacts the bake, check out my thoughts on best chocolate chip cookies; the principle is the same!
Ingredient Notes and Substitutions
Let’s talk chocolate quality for a minute. Since the chocolate is the star of the show here, don’t use anything less than 60% cacao for the best flavor depth. If you want to lean into that intense flavor—and let’s face it, who doesn’t?—you should definitely try the dark chocolate lava cake recipe variation by using 70% cacao chocolate. That little bit of extra bitterness cuts through the richness beautifully.
Remember that tiny bit of flour we’re using? That’s all you need! We aren’t trying to build a sturdy cake here; we are just giving the outside walls integrity. If you use too much, you stop the required meltdown. Keep the ratios tight, and you’ll have those perfectly runny indvidual chocolate desserts with runny middle perfection.
How to Make Perfect Lava Cakes: Step-by-Step Molten Chocolate Lava Cake Tutorial
Alright, here is where we put all that ingredient knowledge to work! Learning how to make perfect lava cakes is all about paying attention to the details in the timing. We are shooting for those incredible warm chocolate cakes with liquid center, and that 425°F oven is key here. It gets hot fast, which sets the crust before the inside completely cooks through. It’s a wild race against time, but don’t panic; I’ve got your back!
Preparing the Ramekins and Oven
First things first: heat! Preheat your oven right up to 425 degrees Fahrenheit. This high heat is non-negotiable for a fast bake. Next, grab your two 6-ounce ramekins. This is a huge tip from me: don’t just grease them, *grease and flour* them generously! I like to use softened butter and then dust everything with flour, really working it into the sides, making sure no spot is missed. If you’re worried about a sticky situation, you can dust with cocoa powder instead of flour for a cleaner look, but make sure every nook and cranny is coated. Seriously, this prevents disaster when you try to flip them out!
Melting Chocolate and Combining Wet Ingredients for Molten Chocolate Lava Cake
Time to melt the chocolate and butter. You can use a double boiler situation—that’s just setting a heat-safe bowl over simmering water—or you can blitz it in the microwave in short 20-second bursts, stirring in between until it’s totally velvety smooth. Take it off the heat and let it cool down just a moment so you don’t scramble those eggs. While that’s cooling, take your whole egg, your extra yolk, and the sugar, and whisk them like crazy until the mixture turns pale yellow and looks fluffy. You’re incorporating air here, which helps everything stay tender. Now, gently whisk in that slightly cooled chocolate mixture until it’s just joined up. Finally, whisk in your tiny bit of flour and salt until you see no white streaks left. Stop mixing the second they disappear!
Baking and Serving Your Molten Chocolate Lava Cake
Divide that perfect batter evenly between your prepared ramekins and put them on a baking sheet—a sheet makes moving them easier! Bake them for exactly 12 to 14 minutes. Here’s the visual cue for perfection: the edges should look completely set and firm, but the center must still look soft and wiggly when you gently nudge the pan. If you bake them longer, guess what? Brownies! Once they are done, let them rest in the ramekins for just one minute. That tiny bit of rest helps them firm up just enough to survive the flip. Run a thin knife all the way around the edge, place your serving plate on top, and invert them with confidence! Serve immediately while that center is hot and ready to pour!
If you are looking for other great baking ideas, maybe you should check out my recipe for the hot chocolate cupcakes!
Troubleshooting Common Molten Chocolate Lava Cake Issues
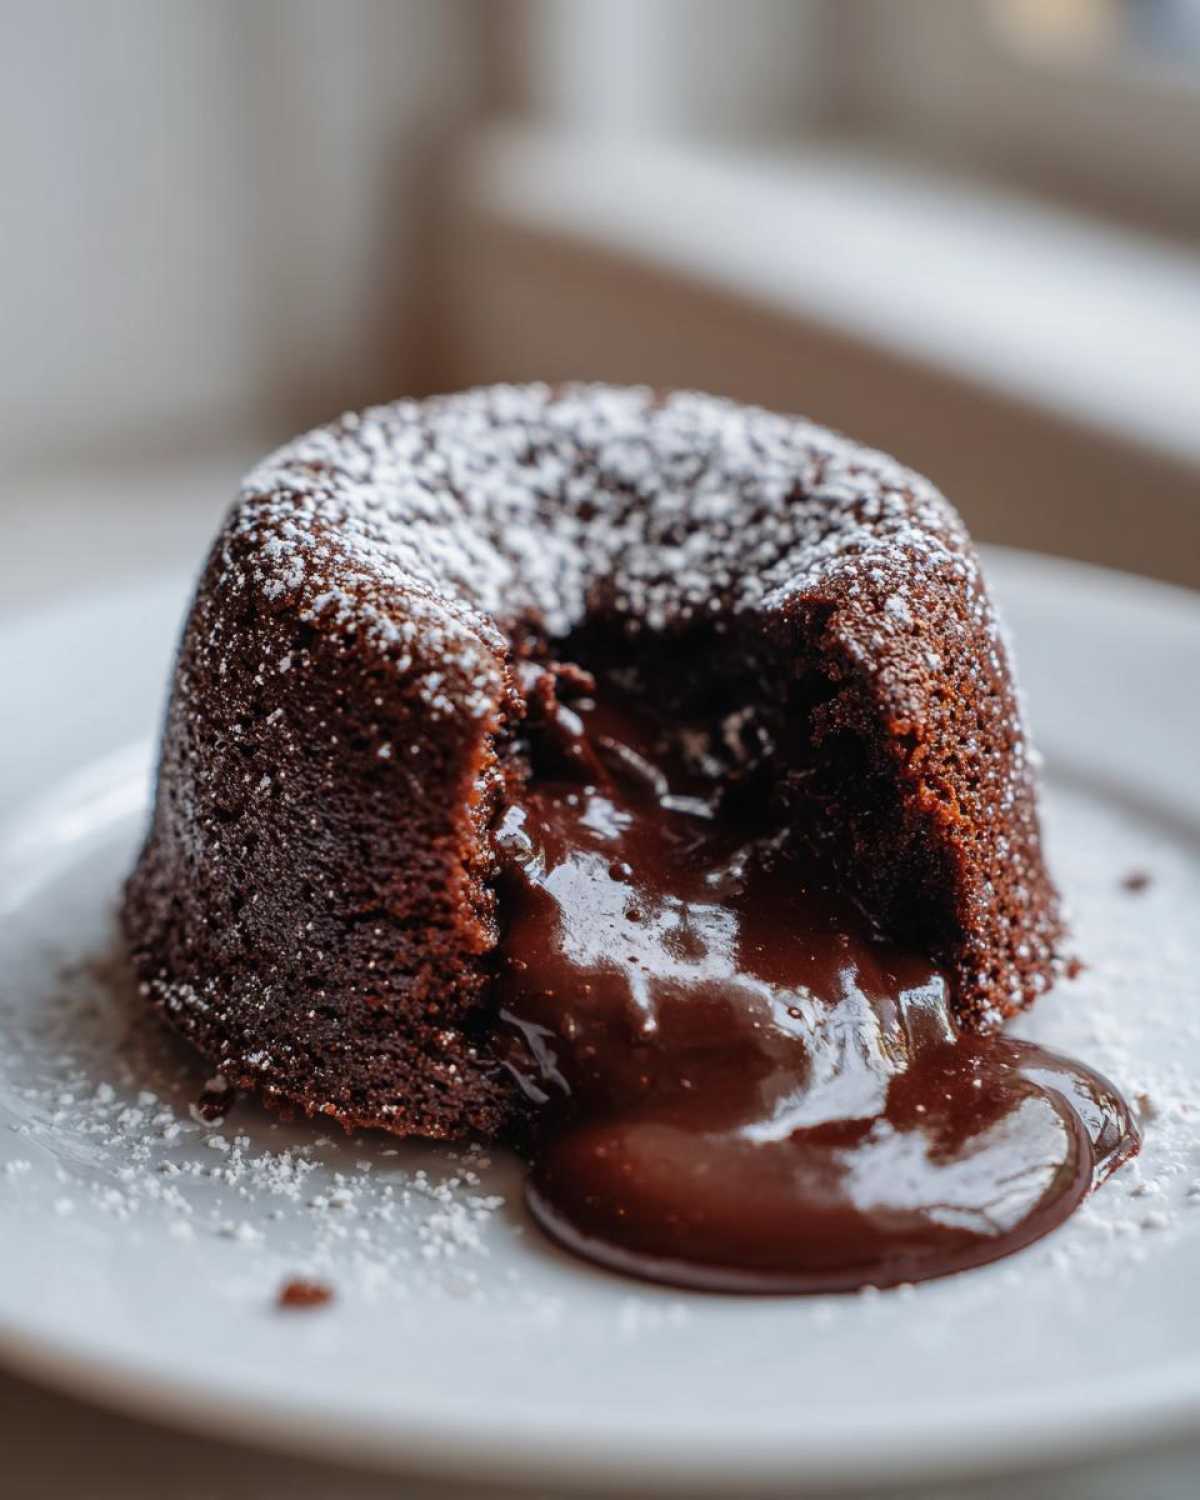
Look, even with the best recipe out there, ovens are sneaky! If you’ve ever made a Molten Chocolate Lava Cake only to find zero lava, you know the frustration. Baking these little chocolate wonders is a balancing act between perfectly cooked edges and that luxurious, warm, liquid center we crave. Don’t worry; these issues are common, and they all come down to timing—which we can totally master!
My Molten Chocolate Lava Cake Looked Brownie-Like
This is the number one killer of lava dreams: overbaking! If you pull your cake out and the center is solid, you pulled it too late. It happens to everyone, even experienced bakers! This is one of the most important baking secrets for molten chocolate cake: ovens vary like crazy. If you baked for 14 minutes and it was solid, next time, pull it at 12 minutes, or maybe even 11! You should see the edges looking firm, but poke the center gently—it should give way super easily. Don’t worry if your oven runs hot; just subtract a minute or two next time around. Instant fix!
My Cake Stuck in the Ramekin
Oh, that sinking feeling when you invert the plate and half the cake stays behind! See, I told you over-preparing the ramekins was critical for this easy homemade molten chocolate cake. If it sticks, it almost always means a gap in the butter/flour protection. If you used flour and it still stuck, try my trick: dust the greased ramekins with unsweetened cocoa powder instead of flour next time. It blends right into the dark chocolate color, so you won’t see white powder on your beautiful individual chocolate desserts, and it usually releases way cleaner!
Make Ahead and Storage Tips for Molten Chocolate Lava Cake
One of the best things about this recipe, especially if you’re hosting, is that you don’t have to make everything the second guests arrive! That just sets you up for stress, right? The good news is that the batter for this Molten Chocolate Lava Cake actually holds up beautifully. You can mix everything together—right up until the point of baking—and cover those ramekins tightly with plastic wrap.
You can keep the prepared batter refrigerated for up to a full day. This makes it a lifesaver for dinner parties! Now, here’s the crucial part for achieving that runny middle later: temperature matters. If you bake the batter straight from the fridge, you need to give it extra time to warm up a bit internally before the crust sets too hard. You’ll need to add about 2 to 3 minutes to the baking time. So instead of 12 to 14 minutes, start checking around the 15-minute mark, but really watch those edges!
If you’re making these ahead of time, I personally suggest pulling them out of the fridge about 30 minutes before you plan to put them in the oven. That way, you only have to add a minute or, max, two to the baking time, and you keep that lovely fresh texture. If you’re planning ahead, check out my dedicated guide on make ahead chocolate lava cakes for more batch tips!
Serving Suggestions for Individual Chocolate Desserts with Runny Middle
You’ve achieved perfection—the cake is warm, the chocolate is flowing—now, don’t just plop it on a plate and call it a day! Presentation is vital for this kind of decadent dish. These individual chocolate desserts with runny middle deserve a little flair. The absolute classic pairing has to be a scoop of really good vanilla bean ice cream. The contrast between the hot cake and the freezing cold cream is just *chef’s kiss*.
If you’re feeling slightly healthier (haha, okay, maybe just brighter!), fresh raspberries or strawberries are fantastic because their tartness cuts right through the richness. But listen to my pro tip: ditch the expected! Try drizzling just a tiny bit of salted caramel sauce right over the top before you serve it. That salty, sweet combination with the intense dark chocolate is simply divine. For even more inspiration on amazing endings, peek at my recipe for fudgy Oreo brownies—it gives you an idea of how to level up any chocolate treat!
Variations on the Classic Chocolate Volcano Cake Recipe
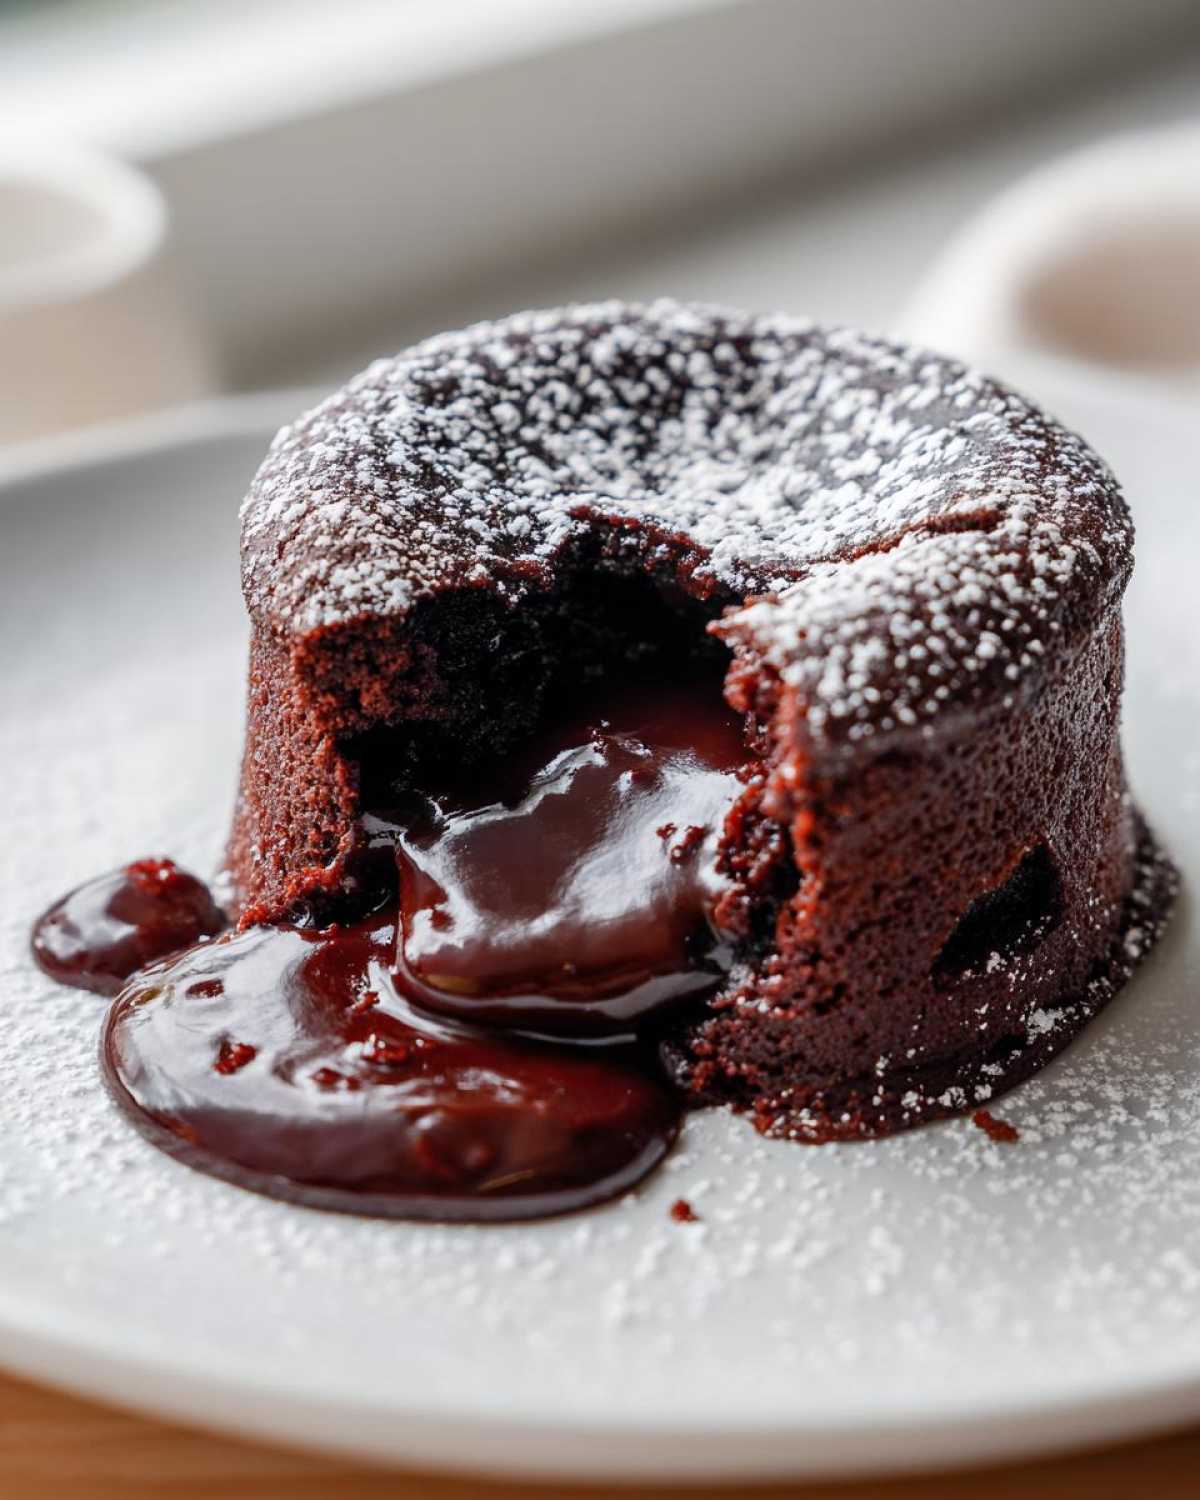
While I stand by this recipe as the gold standard for a classic chocolate volcano cake recipe, I totally understand wanting to mix things up! Sometimes you have ingredients hanging around that deserve a starring role, or maybe you just want to transform this decadent dessert for a different celebration. The base structure of this Molten Chocolate Lava Cake is so simple; it begs for a little experimentation.
We already talked about how phenomenal using 70% cacao makes for a super intense experience—that’s your primary variation for a deep, rich flavor profile. But let’s get creative!
Here’s a little trick I learned when I was trying to keep myself awake during marathon baking sessions: add one teaspoon of instant espresso powder right along with your flour and salt. Don’t worry, it won’t taste like coffee; it just wakes up the chocolate flavor dramatically, making it taste darker and richer than it already is! It’s a fantastic way to deepen the flavor without adding more actual chocolate.
For something completely different, try folding in a spoonful of raspberry jam right before you pour the batter into the ramekins. When the center liquefies, you get a beautiful burst of fruitiness mingling with the dark chocolate—it’s amazing! If you love incorporating liqueurs into your sweets, you should check out my steps for making that Baileys chocolate trifle; you could add a half teaspoon of Kahlua to this batter, too, for a mocha twist!
Frequently Asked Questions About Molten Chocolate Lava Cake
I get asked about these little chocolate bombs all the time! It’s such a popular dessert, and people always want to know how to make sure their Molten Chocolate Lava Cake turns out perfectly gooey, not dry. Here are the things I hear most often in my kitchen.
Can I bake Molten Chocolate Lava Cake in a muffin tin?
Oh yes, you absolutely can! This recipe is so flexible. If you use standard muffin tins instead of the 6-ounce ramekins, the baking time drops significantly because the heat reaches the center so much faster. They go from perfect lava to tiny, fudgy muffins in seconds! I’d start checking them around 8 or 9 minutes. You want the edges to just be set, but they really don’t need as long as the deeper ramekins.
What is the best type of chocolate for a rich Molten Chocolate Lava Cake?
Don’t settle for anything less than high-quality chocolate chips or, better yet, a chopped bar. For me, the sweet spot is using bittersweet or semi-sweet that’s between 60% and 70% cacao. Anything higher than 70% can sometimes result in a slightly more bitter flavor, which fights the sugar, and anything lower than 60% might be too sweet and won’t melt as cleanly for that incredible flow. This is the secret to the richest Molten Chocolate Lava Cake!
Can I make this a decadent chocolate dessert for two?
While the recipe is strictly written for two servings—it makes those perfect little individual chocolate desserts with runny middle portions for a date night—it is incredibly easy to scale up! You just multiply everything by two for four servings, or by four for eight servings. Just remember what I said about the make-ahead section: if you prepare large batches of batter and store it, you’ll need to adjust your baking time slightly longer, maybe an extra minute or two, depending on how cold the batter is when it hits that hot oven.
If you are looking for more ways to wrap up a meal with something sweet, feel free to browse my general dessert recipes section!
Nutritional Estimates for Molten Chocolate Lava Cake
Now, I know what you’re thinking after indulging in one of these glorious chocolate eruptions: “What did I just consume?!” And look, let’s be honest, this isn’t exactly lettuce salad, but knowing the numbers can sometimes help you enjoy that last spoonful guilt-free!
Because we are keeping this recipe so simple—just chocolate, butter, eggs, sugar, flour, and salt—the nutrition is pretty straightforward, but remember, these are educated guesses! The exact figures change massively based on whether you use high-end 70% dark chocolate or standard semi-sweet, and the size of the eggs you use. These estimates are based on the recipe making two individual servings.
If you’re watching your macros, here’s the breakdown per single cake:
- Calories: Roughly 380
- Total Fat: About 25 grams (a good chunk of that is the rich butter and cocoa butter!)
- Carbohydrates: Around 30 grams
- Protein: About 7 grams
The sugar content is usually hovering right around 20 grams, which seems high, but remember that’s split between the sugar we add and the natural sugars in the cacao itself. Since this recipe is vegetarian (no animal fats other than dairy), you don’t have to worry about trans fats at all, which is great news! If you’re interested in seeing how these numbers stack up against other rich treats, take a look at the rest of my desserts collection!
PrintClassic Molten Chocolate Lava Cake Recipe
Follow these steps to bake individual chocolate cakes with a warm, liquid chocolate center.
- Prep Time: 10 min
- Cook Time: 14 min
- Total Time: 24 min
- Yield: 2 servings
- Category: Dessert
- Method: Baking
- Cuisine: French
- Diet: Vegetarian
Ingredients
- 4 ounces bittersweet or semi-sweet chocolate, chopped
- 4 tablespoons unsalted butter
- 1 large egg
- 1 large egg yolk
- 2 tablespoons granulated sugar
- 1 teaspoon all-purpose flour
- Pinch of salt
Instructions
- Preheat your oven to 425 degrees Fahrenheit. Grease and lightly flour two 6-ounce ramekins.
- Place the chopped chocolate and butter in a heatproof bowl set over a saucepan of simmering water, or microwave in short intervals, stirring until completely smooth. Remove from heat and let cool slightly.
- In a separate bowl, whisk together the whole egg, egg yolk, and sugar until the mixture is pale and slightly thickened, about 1 minute.
- Gently whisk the melted chocolate mixture into the egg mixture until just combined.
- Whisk in the flour and salt until no streaks of flour remain. Do not overmix.
- Divide the batter evenly between the prepared ramekins.
- Place the ramekins on a baking sheet. Bake for 12 to 14 minutes. The edges should look set, but the center should still look soft.
- Let the cakes cool in the ramekins for 1 minute. Carefully run a thin knife around the edge of each cake. Invert each cake onto a serving plate. Serve immediately.
Notes
- For a dark chocolate version, use 70% cacao chocolate.
- You can prepare the batter up to one day ahead and keep it covered in the refrigerator. Add 2 to 3 minutes to the baking time if baking directly from the fridge.
- Serve with vanilla ice cream or fresh raspberries for contrast.
Nutrition
- Serving Size: 1 cake
- Calories: 380
- Sugar: 20
- Sodium: 100
- Fat: 25
- Saturated Fat: 15
- Unsaturated Fat: 10
- Trans Fat: 0
- Carbohydrates: 30
- Fiber: 2
- Protein: 7
- Cholesterol: 150