

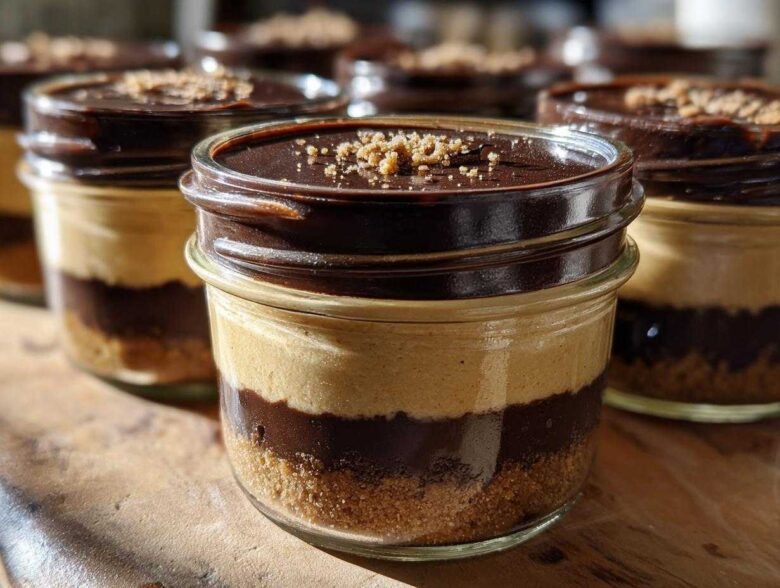
Listen, sometimes you just need pie. Real, decadent, spoon-in-the-face, oh-my-gosh-this-is-amazing pie, but the thought of turning on the oven in this heat? Forget it! That’s why I’m buzzing to share my absolute go-to for summer evenings or emergency dessert situations: these amazing No-Bake Chocolate Peanut Butter Pie Jars. Seriously, they hit every single craving jackpot—creamy, crunchy, rich chocolate, salty peanut butter—and they look so cute! I whipped up a batch last weekend when company dropped by unexpectedly, and they were gone in about ten minutes flat. Because they’re single-serving, there’s no awkward slicing necessary, which is my favorite part of the whole process!
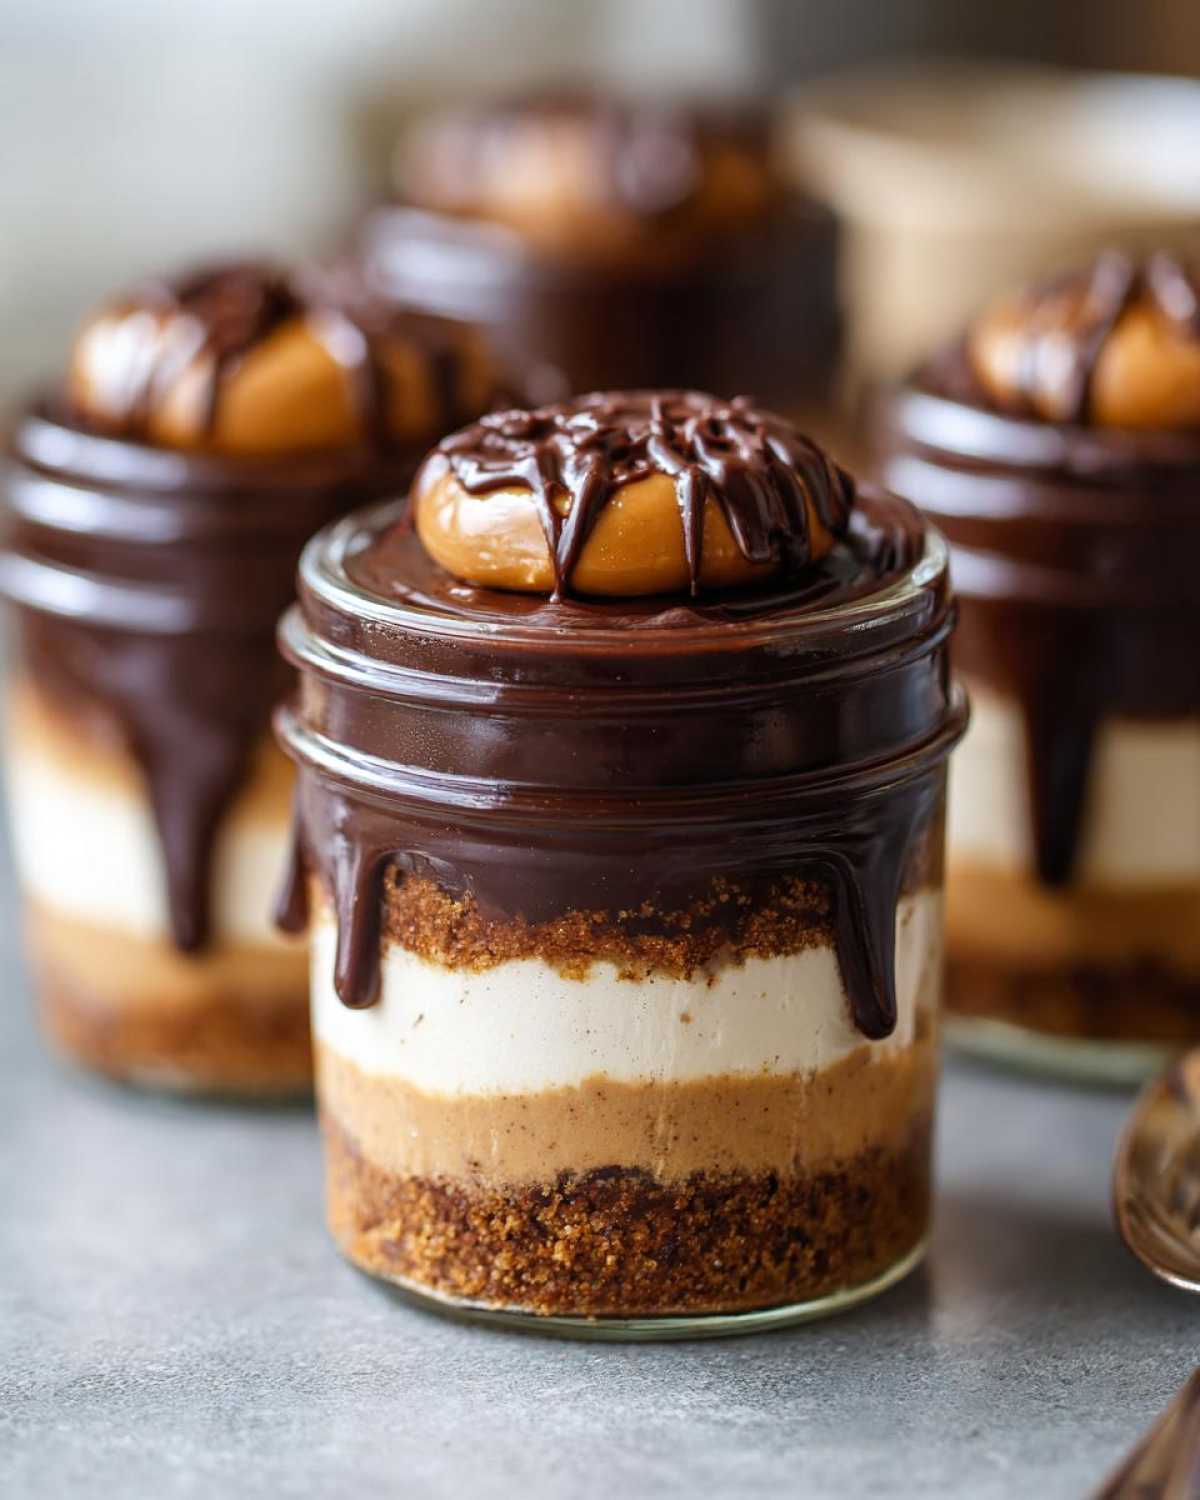
I feel like I’ve perfected this recipe over the years, tweaking the crust just so and making sure that peanut butter filling is cloud-like, not heavy. If you’re looking for the ultimate no bake dessert recipe that looks fancy but takes zero actual cooking time, you’ve found your match. Just grab four little mason jars, and let’s get started!
Why You Will Love These No-Bake Chocolate Peanut Butter Pie Jars
I promise, this recipe is going to become your secret weapon for last-minute treats. Why settle for store-bought when you can have something this decadent and ridiculously easy?
- They are genuinely no-bake! Everything sets up right in the fridge, making them perfect for hot days when the oven is off-limits.
- The presentation is just adorable. Serving these rich individual dessert cups makes everyone feel like they got a special, single-serving treat.
- That flavor payoff is HUGE. You get that perfect salty-sweet hit from the creamy peanut butter layer balanced by the rich chocolate topping. They are truly quick chocolate treats!
- Portion control is built right in, which is a nice bonus when you just need one perfect scoop of pie without having to worry about cutting a whole thing.
- They travel beautifully! Pop the lids on tight, and you have the perfect portable dessert for potlucks or picnics.
Gathering Ingredients for Your No-Bake Chocolate Peanut Butter Pie Jars
Okay, I know looking at a list of ingredients can sometimes feel overwhelming, but trust me, this is worth keeping on hand! Since we aren’t baking anything, mise en place is super important here so we can just layer these beauties up quickly. We’re breaking this down into the three essential parts: the crust crunch, the dreamy filling, and that shiny chocolate top. Don’t skip softening that cream cheese—that’s crucial for getting that silky smooth texture we’re aiming for in the Creamy Peanut Butter Filling!
For the Graham Cracker Crust
- 1 1/2 cups graham cracker crumbs
- 1/4 cup granulated sugar
- 6 tablespoons unsalted butter, melted (Make sure it’s melted, not just soft!)
For the Creamy Peanut Butter Filling
- 1 cup creamy peanut butter
- 8 ounces cream cheese, softened (This means room temp, folks!)
- 1/2 cup powdered sugar
- 1 teaspoon vanilla extract
- 1 cup heavy whipping cream (This gets whipped separately!)
For the Rich Chocolate Ganache Topping
- 1/2 cup semi-sweet chocolate chips
- 1/4 cup heavy whipping cream (This is the small amount we heat up for the ganache.)
Step-by-Step Instructions for No-Bake Chocolate Peanut Butter Pie Jars
This is where the magic happens, and I mean *literally* zero heat required! We are building layers of flavor and texture, so make sure you have your four little jars ready to go. Since this is a no-oven dessert, we’re relying on chilling time to do all the heavy lifting. I always get my no-bake pumpkin pie cheesecake sister recipes ready just like this, too—it’s all about the chill!
Preparing the Crust Layer in Jars
First things first, we need that essential crunch at the bottom. Just throw your graham cracker crumbs and that 1/4 cup of sugar into a bowl. Pour in the 6 tablespoons of melted butter and mix it up until everything looks like wet sand. Divide this mixture evenly among your four jars and press it down firmly with the back of a spoon. You want a nice, compact base for your single serving peanut butter pie! Pop those jars into the fridge while we work on the creamy center—set a timer for 15 minutes.
Mixing the Peanut Butter Filling
While the crust is chilling, grab your stand mixer (or hand mixer, no shame here!) and beat that softened cream cheese until it’s smooth as silk. Add in your peanut butter, powdered sugar, and vanilla. Beat until everything is one creamy, perfect cloud. Now, this is key: whip the 1 cup of heavy cream completely separate! When it forms stiff peaks, you need to gently fold it into the peanut butter mixture. Don’t stir aggressively, or you’ll knock out all that lovely air we just whipped in.
Assembling and Chilling the Layers
Time to layer! Take those chilled crusts out. Carefully spoon or pipe the fluffy peanut butter filling right over the crust layer in each jar. Fill them up about two-thirds of the way. Once they are layered, put them *back* in the fridge. They need to hang out there while we tackle the topping, which helps everything stay crisp and defined.
Making the Rich Chocolate Ganache Topping
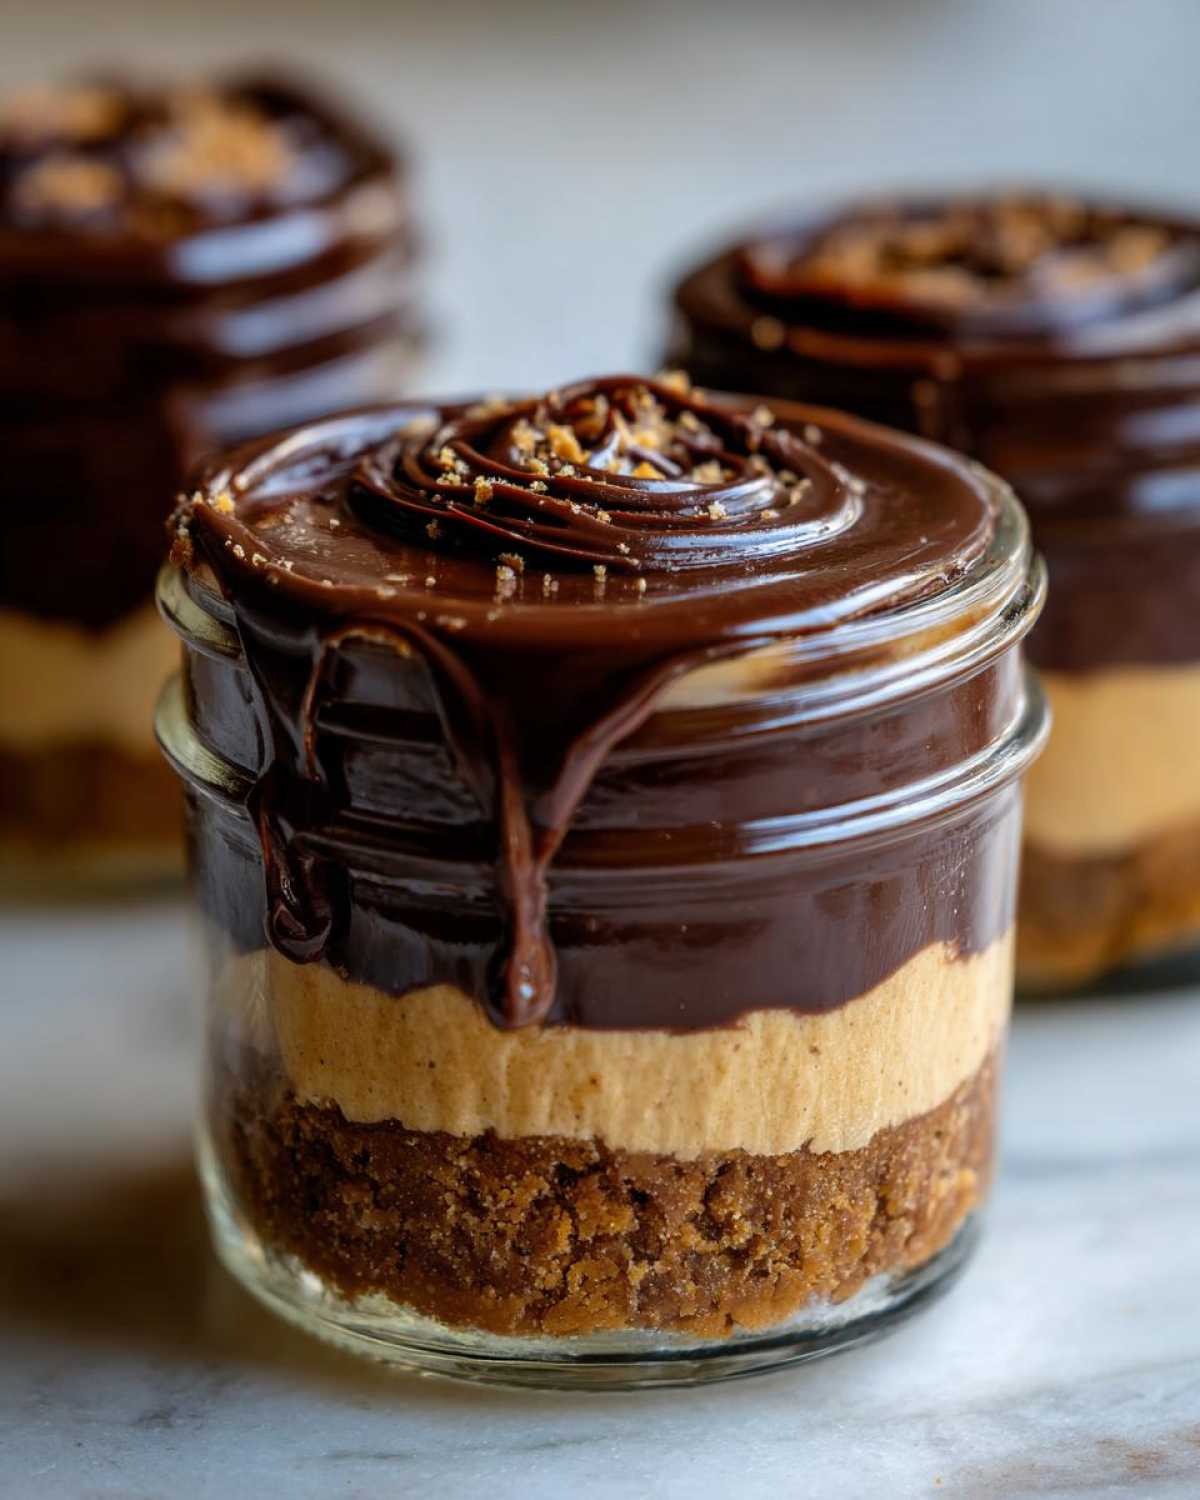
For the gorgeous, shiny finish, we just need two things. Place your chocolate chips in a small, heatproof bowl. Now, heat up that last little bit of heavy cream—that 1/4 cup—until it’s just starting to simmer around the edges. Pour that hot cream right over the chips and for the love of chocolate, DON’T TOUCH IT for five whole minutes! Letting it sit lets the heat melt everything evenly. After five minutes, whisk it gently until you have a smooth, decadent Rich Chocolate Ganache Topping. Pour this gently over the peanut butter layer in each jar. Then, send them back to the fridge for at least 2 hours until they are totally firm and ready to eat!
Tips for Perfect No-Bake Chocolate Peanut Butter Pie Jars
Whenever I make any kind of layered dessert, especially these perfect Layered Dessert Jars, I find that a few tiny tricks make the difference between ‘good’ and ‘I need the whole jar right now’ good. Since this is a wonderful Peanut Butter Pie Recipe No Bake, texture is everything! We rely on chilling, not baking, so we have to be smart about our fridge and freezer time.
Crust Substitutions and Adjustments
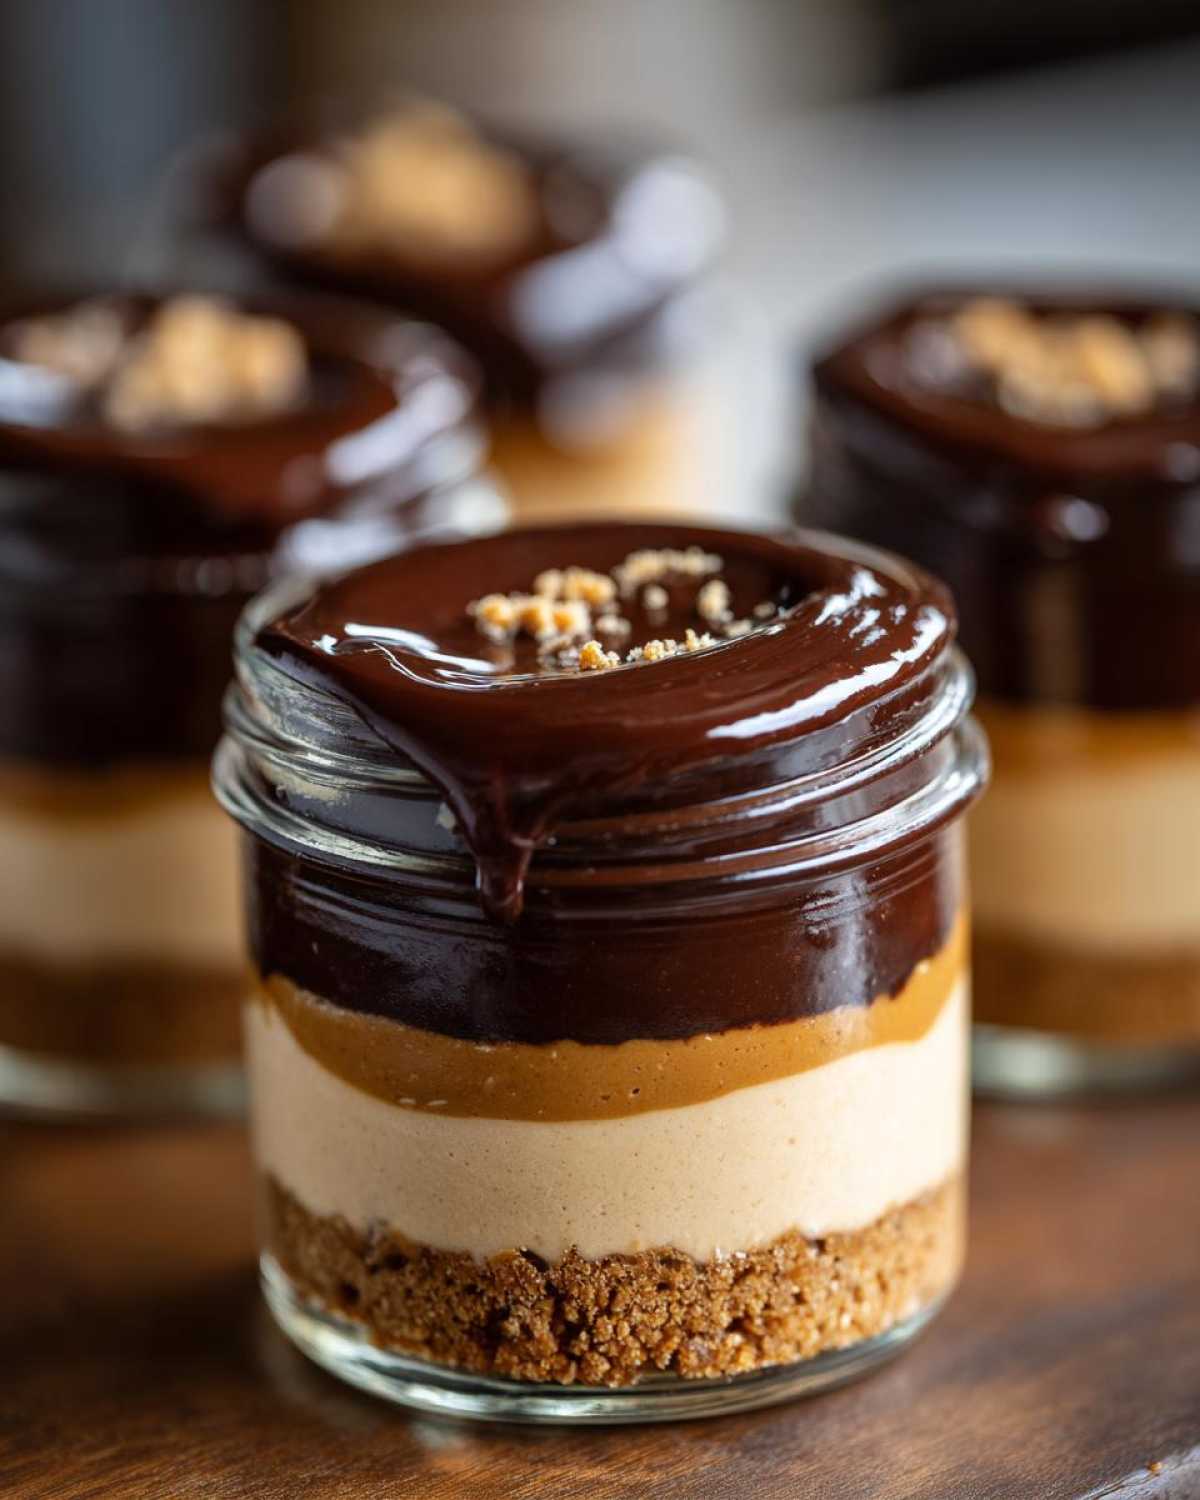
The graham cracker crust is classic, right? It’s buttery, sweet, and gives you that necessary base texture contrast. But what if you run out of graham crackers? Don’t panic! You can totally switch it up. My favorite alternative is using chocolate wafers for an even richer base. If you use those, you might want to cut back slightly on the sugar in the crust mix, since wafers are already pretty sweet.
Another fantastic option, especially if you have picky eaters or just love a blast of chocolate, is crushing up plain or chocolate Oreos—just toss the whole thing in, filling and all! Remember to remove the cream filling if you want a drier crust, or leave it in if you like a slightly softer, richer crumb. Either way, just mix your crumbs with the melted butter and sugar until it holds together.
Achieving the Best Set Time
The chilling time is crucial here. Two hours is the absolute minimum if you want that peanut butter layer to hold its shape when you dig in with a spoon. If you rush it, you’ll end up just swirling the peanut butter into the crust layer, which is fine, but not the beautifully defined layers we are going for!
Here’s my big, brilliant trick for when I need these *like, yesterday*: pop those finished jars into the freezer for about 30 minutes right before you plan to serve them. It helps firm up the filling just enough without making it rock hard. It gives you that amazing structure, similar to a chilled icebox cake, which is exactly what you want in a great no-bake recipe!
Serving Suggestions for Your No-Bake Dessert Cups
Since these No-Bake Chocolate Peanut Butter Pie Jars are already so stunningly presented in their little glass homes, you don’t have to do much extra work! That’s the beauty of making individual dessert cups like this—they are practically ready for a photoshoot right out of the fridge.
But if you want to really dress them up for a party or a special dessert night, a little garnish goes a long, long way. Don’t go overboard; we want the focus to stay on that dreamy chocolate and peanut butter filling!
Here are my favorite ways to spruce them up right before serving:
- The Classic Peanut Crunch: This is simple and brings back that salty element. Grab some finely chopped, roasted peanuts and sprinkle them lightly over the top of the chocolate ganache. It adds a wonderful textural contrast when you hit that rich topping.
- A Dollop of Delight: If you have any leftover heavy cream from making the filling, whip up just a tiny bit more until it’s stiff and pile a small, perfect swirl right in the center before serving. It makes the jars look professional!
- Mini Peanut Butter Cups: If you want serious indulgence, cut a few tiny peanut butter cups in half and nestle one or two right on top of the ganache. It’s a little extra, but wow, is it worth it for a crowd-pleaser!
- A Simple Drizzle: If you made extra ganache, forget garnishes and just drizzle a tiny spiral of the chocolate on top to make it look even glossier.
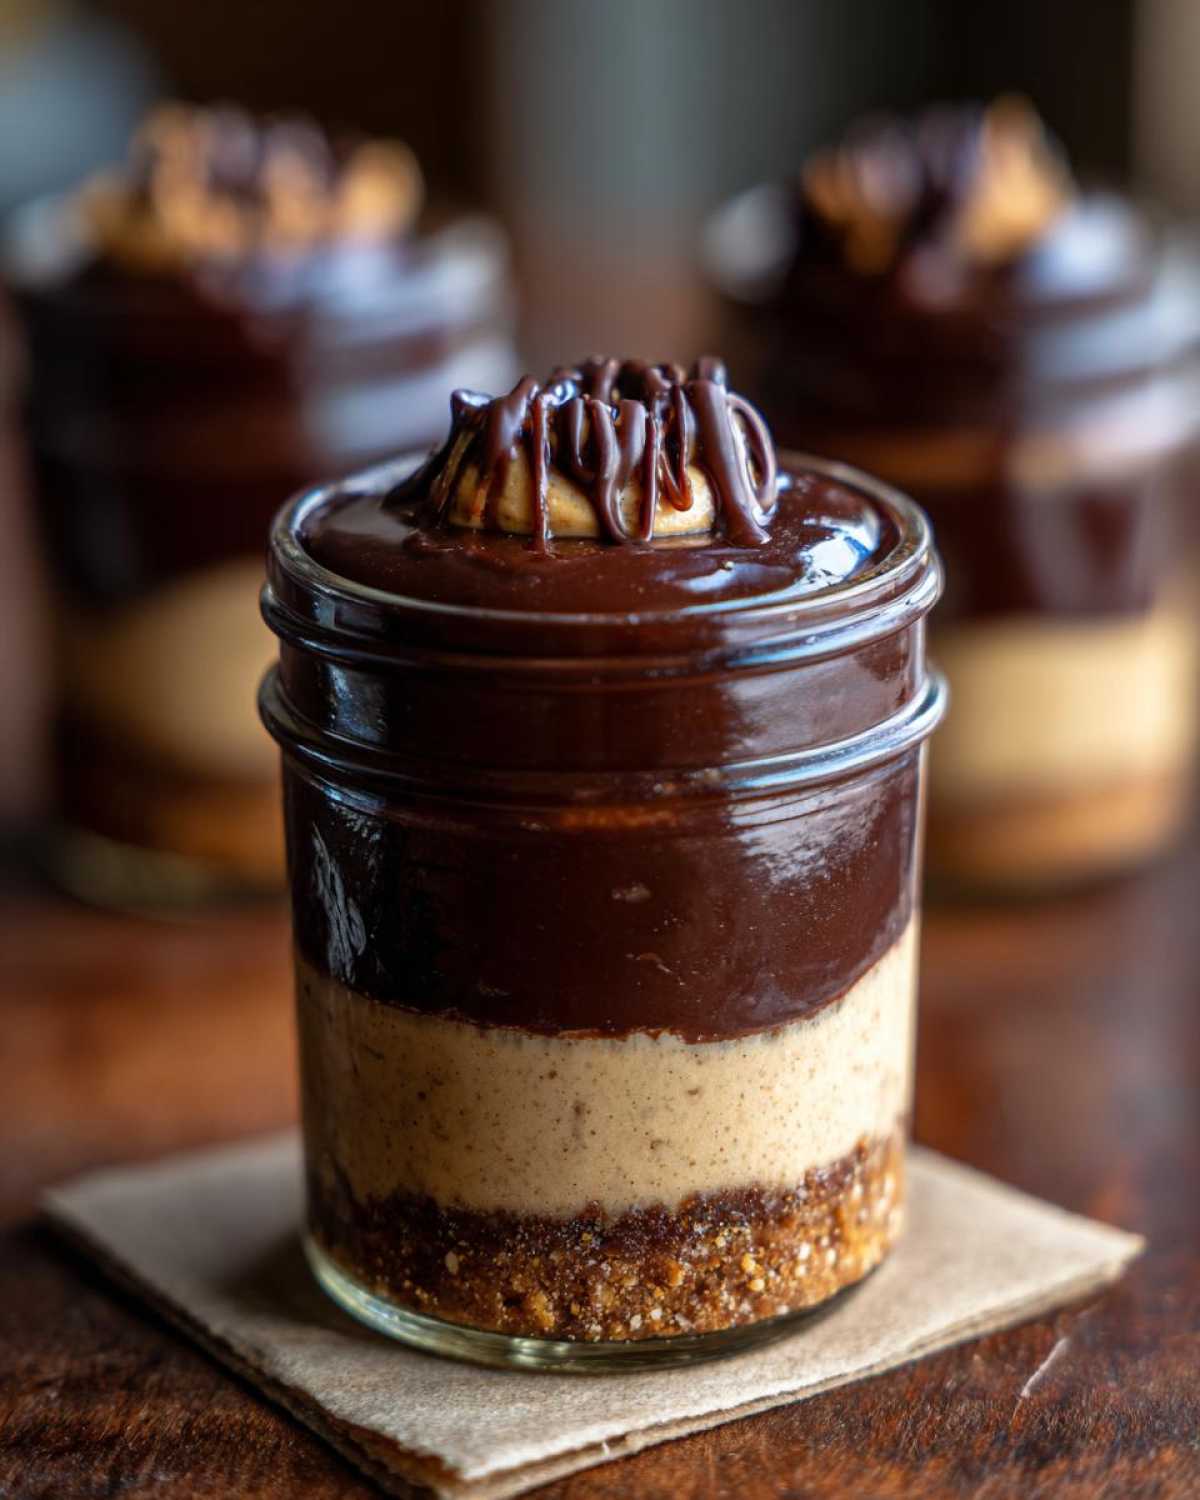
Because these are served directly in the jar, they are fantastic for picnics or taking to a potluck—just make sure everyone brings their spoon! They’re the ultimate fuss-free, elegant no bake summer dessert.
Storage and Make Ahead Tips for No-Bake Chocolate Peanut Butter Pie Jars
One of the absolute best things about these No-Bake Chocolate Peanut Butter Pie Jars is that you can completely make them ahead of time. Honestly, they taste even better the next day once all those flavors have really had a chance to mingle and settle in!
You can definitely store these beauties in the refrigerator. Just make sure you pop the lids on tightly. They keep wonderfully for up to three or four days this way. Just remember, that crust might soften up a tiny bit the longer it sits, absorbing some moisture from that creamy filling, but I never mind that texture change!
Now, if you are prepping for a huge holiday or just want some guaranteed quick treats ready to go, you can absolutely turn these into make ahead freezer desserts. Freeze them solid, and the filling holds up beautifully! When you want to serve one, pull it straight from the freezer, but give it about 15 to 20 minutes on the counter to thaw just slightly before diving in. Trust me, these are perfect for planning ahead!
Frequently Asked Questions About No Bake Dessert Recipes
I always get so many sweet questions after people try these jars, which tells me you all love a good No Bake Dessert Recipe as much as I do! Since these aren’t baked, people often wonder about texture and how to make sure they set up right. Here are some of the things I hear most often when folks are making these Chocolate Peanut Butter Desserts.
Can I use crunchy peanut butter instead of creamy in this No Bake Dessert Recipe?
Oh, absolutely you can! The recipe calls for creamy because I wanted that super velvety, smooth, classic Creamy Peanut Butter Filling, but crunchy peanut butter is fantastic here too. If you use crunchy, you’re going to get little pockets of peanut nuttiness throughout the filling, which is a lovely surprise! It just means the filling won’t look quite as smooth when you mix it up. If you want to keep the filling ultra-smooth but still want texture, maybe use half creamy and half crunchy. Experimentation is the fun part of no-bake treats!
What is the best way to transport these Individual Dessert Cups?
This is a big one since these jars are so great for potlucks! The very best way to transport these Individual Dessert Cups is to make sure you have the actual mason jar lids and rings. Once the dessert has chilled for the full 2 hours and the ganache is set—put the lids on tightly! Keep them in a cooler or a container that prevents them from tipping over. Crucially, they need to stay cold. If you’re traveling for more than an hour, it’s best to pack a little ice pack underneath the container to keep that beautiful peanut butter layer firm.
Are there any substitutions for graham crackers in this Peanut Butter Pie Recipe No Bake?
Yes, and I touched on this briefly earlier, but it’s worth saying again because the crust is so important to a good Peanut Butter Pie Recipe No Bake experience! If you don’t have graham crackers, grab some chocolate sandwich cookies—you know the ones. You can throw the whole cookie, cream filling and all, into a bag and crush them up. Use the same amount of melted butter, and you’ll get a super rich, chocolatey base instead of a cinnamon-y one. Another great option, especially if you are trying to keep things lower carb, is crushing up some plain almond flour crackers, but you’ll likely need to add an extra tablespoon or two of melted butter to make them stick because almond flour is naturally drier.
Estimated Nutrition Facts for No-Bake Chocolate Peanut Butter Pie Jars
Okay, let’s talk fuel! Look, I’m not a nutritionist, and I’m certainly not pretending these decadent little cups are health food—they are rich chocolate and peanut butter pie, after all! But I always feel better knowing generally what’s going into a treat, especially when they are single-serving.
Below are the *estimated* nutrition facts for one of these glorious No-Bake Chocolate Peanut Butter Pie Jars. Please keep in mind that how much butter you press into that crust, or exactly what brand of peanut butter you use, can shift these numbers around a little bit. If you want the official lowdown on exactly what’s in your version, you know where to check!
- Serving Size: 1 jar
- Calories: 650
- Sugar: 45g
- Fat: 45g
- Saturated Fat: 18g
- Carbohydrates: 55g
- Protein: 15g
- Cholesterol: 75mg
This is why we only have one! They pack a serious punch of flavor and satisfaction. For the complete breakdown and more details on how these numbers are calculated, you can always check out the full disclaimer page here. Now go ahead, you deserve this!
Share Your No Bake Summer Desserts Experience
Seriously, now that you’ve seen how easy it is to whip up these incredible No-Bake Chocolate Peanut Butter Pie Jars, I am dying to know what you think! Did you stick with the graham cracker crust or try the Oreo trick? Did you top them with chopped peanuts or go straight for the extra dollop of whipped cream?
Don’t be shy! The best part about sharing recipes is seeing your beautiful creations. Head down to the comments section below and tell me how your batch went. I love reading your tips, questions, and feedback—it really helps me feel connected to all you amazing bakers out there!
If you made these perfect No Bake Summer Desserts, please leave a rating so others know just how simple and delicious this recipe is. And if you snapped a picture, tag me on social media! I always enjoy seeing these little jars pop up on your feeds. Happy layering!
PrintNo-Bake Chocolate Peanut Butter Pie Jars
Make individual servings of rich chocolate and peanut butter pie in jars. This recipe requires no oven time and sets quickly.
- Prep Time: 20 min
- Cook Time: 0 min
- Total Time: 2 hours 20 min
- Yield: 4 servings
- Category: Dessert
- Method: Chilling
- Cuisine: American
- Diet: Vegetarian
Ingredients
- 1 1/2 cups graham cracker crumbs
- 1/4 cup granulated sugar
- 6 tablespoons unsalted butter, melted
- 1 cup creamy peanut butter
- 8 ounces cream cheese, softened
- 1/2 cup powdered sugar
- 1 teaspoon vanilla extract
- 1 cup heavy whipping cream
- 1/2 cup semi-sweet chocolate chips
- 1/4 cup heavy whipping cream (for ganache)
Instructions
- Combine graham cracker crumbs, 1/4 cup granulated sugar, and melted butter. Press the mixture evenly into the bottom of four small (8-ounce) mason jars to form the crust layer. Chill for 15 minutes.
- In a medium bowl, beat the softened cream cheese, 1/2 cup powdered sugar, peanut butter, and vanilla extract until smooth.
- In a separate bowl, whip 1 cup of heavy whipping cream until stiff peaks form. Gently fold the whipped cream into the peanut butter mixture until just combined.
- Spoon or pipe the peanut butter filling evenly over the crust layer in the four jars. Return the jars to the refrigerator while you prepare the topping.
- For the chocolate topping, place chocolate chips in a small, heatproof bowl. Heat the remaining 1/4 cup heavy whipping cream until simmering. Pour the hot cream over the chocolate chips and let stand for 5 minutes. Whisk until smooth to create a ganache.
- Pour or spoon the chocolate ganache over the peanut butter layer in each jar.
- Chill the jars for at least 2 hours, or until the filling is firm.
Notes
- You can substitute chocolate wafers or Oreo crumbs for the graham crackers in the crust.
- For a firmer set, freeze the jars for 30 minutes before serving.
- Garnish with chopped peanuts or a small dollop of extra whipped cream before serving.
Nutrition
- Serving Size: 1 jar
- Calories: 650
- Sugar: 45g
- Sodium: 350mg
- Fat: 45g
- Saturated Fat: 18g
- Unsaturated Fat: 27g
- Trans Fat: 0g
- Carbohydrates: 55g
- Fiber: 3g
- Protein: 15g
- Cholesterol: 75mg