

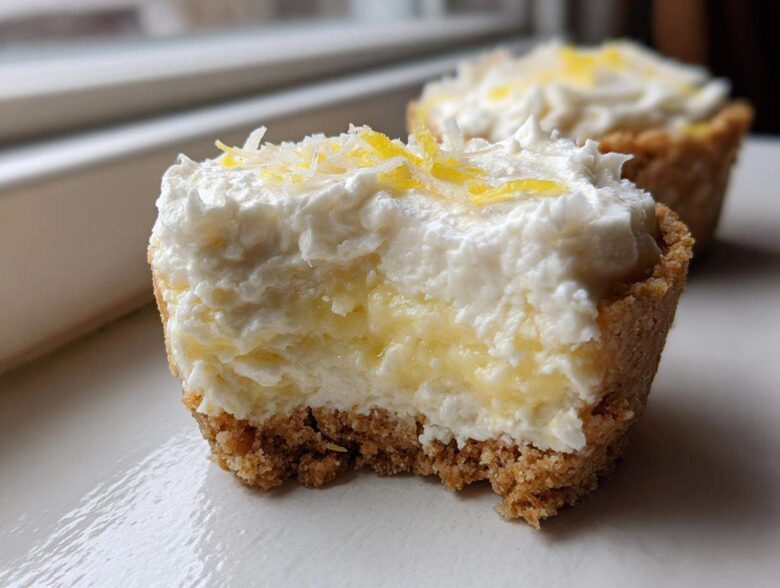
Listen, when the sun is absolutely blazing outside, the last thing I want to do is fire up the oven and turn my kitchen into a sauna! We all need those perfect, light, and refreshing recipes for summer parties. I’ve learned over the years of hosting backyard BBQs that individual desserts are the absolute way to go. Forget slicing, messy plates—you just hand someone a cup and they’re happy!
That’s why I am obsessed with these **No-Bake Lemon Coconut Cheesecake Cups**. They nail the bright citrus punch of lemon, that sweet, tropical coconut flavor, and they set up beautifully in the fridge. They feel fancy, yet they truly take, what, 25 minutes of active work? We’re talking simple assembly here, my friends. Trust me, after making a few batches for neighborhood get-togethers, I finally perfected the ratio that keeps them perfectly creamy every single time. If you love this vibe, you absolutely must check out my recipe for my no-bake strawberry cheesecake cups too!
Why You Will Love These No-Bake Lemon Coconut Cheesecake Cups
Honestly, I keep making these because they solve so many party problems at once! They are the definition of a quick cheesecake recipe that actually tastes like you spent all day on it. If you need some inspiration for easy dessert cups, here’s why these are my go-to summer treat:
- Zero Heat Required: Seriously, put that oven on vacation mode! These are designed to chill and set, making them one of the best no oven dessert ideas, especially in the summer months.
- Perfectly Portion Controlled: They are already ready to go as individual dessert cups. No clumsy slicing, no uneven wedges—everyone gets a beautiful little serving every time.
- Tropical Flavor Explosion: That combination of zesty lemon and sweet, shredded coconut is so light and refreshing. They taste exactly like vacation feels!
- Make Ahead Sweet Treats: You have to chill them anyway, so you can totally knock these out the day before your big event. Less stress on party day, yay!
- Great for Dietary Swaps: The crust is super simple to adjust if you need a gluten free crust option, which I outline in the notes below.
- They Look So Cute: When you top them with that extra sprinkle of coconut, they look like miniature, party ready desserts waiting to be snatched up.
Gathering Ingredients for Your No-Bake Lemon Coconut Cheesecake Cups
Okay, gathering ingredients for a no-bake recipe is my favorite part because it’s all about measuring and mixing—no intimidating oven temperatures involved! Since these miniature cheesecake bites rely purely on chilling to get that perfect set, the quality and texture of your chilled ingredients really matter, especially your cream cheese.
I always lay everything out first so I can see exactly what I’m working with. For the base, we need the classic crunchy stuff, and for the filling, we’re leaning heavily on fresh lemon to balance out that sweet coconut flavor. You’re going to see the magic happen when you start combining the tangy lemon with the rich, creamy base. Before you start crushing those crackers, gather everything you see below. Make sure that cream cheese has been out on the counter for a little while so it’s truly soft!
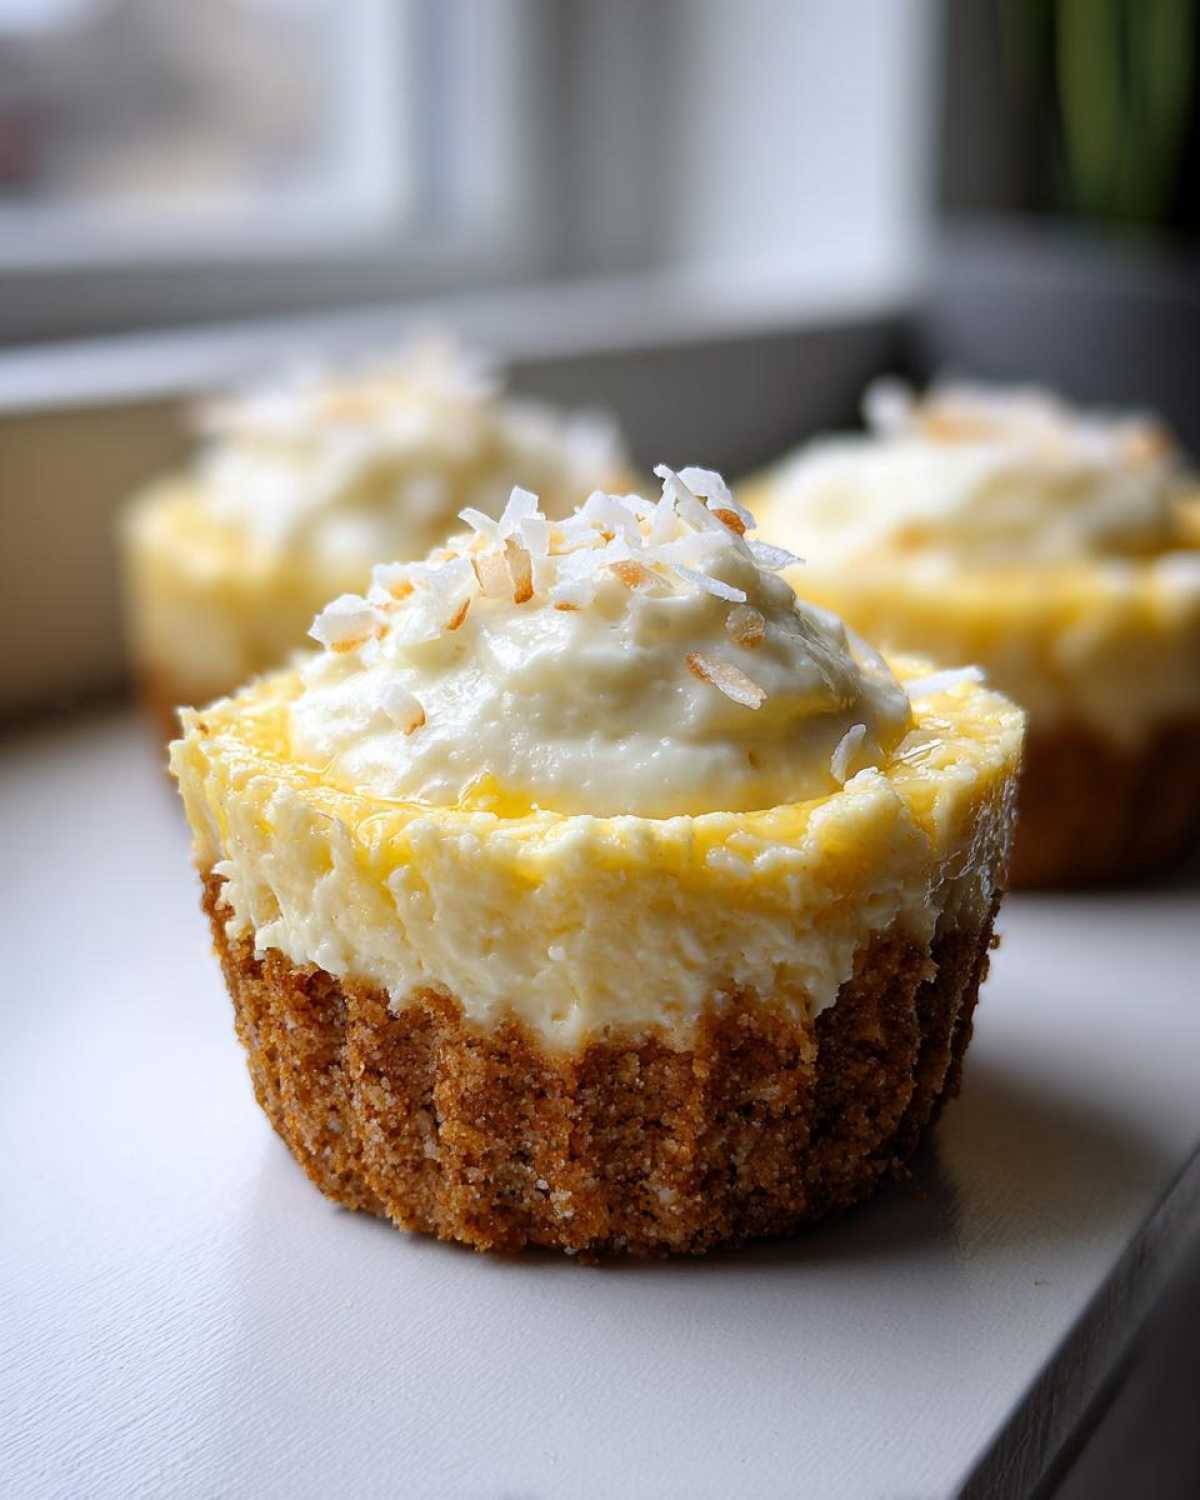
For the best results and structure, check out my guide on graham cracker crust desserts for tips on pressing!
For the Graham Cracker Crust
- 1 1/2 cups graham cracker crumbs (Go for standard crumbs, not too chunky!)
- 1/4 cup granulated sugar
- 6 tablespoons unsalted butter, melted
For the Zesty Coconut Filling
This is where we get that signature bright, zesty coconut flavor! We need to make sure those elements are folded in gently so the texture stays light and airy.
- 16 ounces cream cheese, softened (Make sure it’s genuinely soft!)
- 1 cup powdered sugar
- 1/2 cup granulated sugar
- 1/4 cup fresh lemon juice (Use real lemons, please!)
- 1 tablespoon lemon zest
- 1 teaspoon vanilla extract
- 1/2 cup heavy cream, whipped (Yes, you need to whip this separately for volume!)
- 1/2 cup sweetened shredded coconut, plus extra for topping
Step-by-Step Assembly of No-Bake Lemon Coconut Cheesecake Cups
Putting these beauties together is like building little edible towers—everything needs a solid base! Since we aren’t baking, technique is everything to guarantee these miniature cheesecake bites don’t just turn into soup in the fridge. They need structure! I’ve broken it down into three easy phases so you can nail that creamy texture that makes this quick cheesecake recipe so famous.
Creating and Chilling the Crust Base
First things first, let’s tackle the foundation. In a medium bowl, just combine your graham cracker crumbs, the 1/4 cup of sugar, and those six tablespoons of melted butter. Stir it up until it looks like wet sand—you want it damp enough to hold together when you squeeze it. Now, take your standard muffin tin lined with paper cups, and drop about two tablespoons of that crumb mixture into the bottom of each one.
This is crucial for making sure these are good as party ready desserts: really press that crust down! I use the flat bottom of a measuring cup to pack it down tight. If you skip this, the crust will crumble when you try to eat it later. Once they are packed, pop the whole tray into the fridge for 15 minutes. This little chill time is vital for setting the butter while you mix the filling.
Mixing the Creamy Lemon Filling
Time for the creamy lemon magic! Grab your big mixing bowl. The absolute first thing, and I mean first, is softening that cream cheese perfectly. Beat it on its own until it is silky smooth—no lumps allowed! This pre-beating step is my secret for getting that lovely E-E-A-T quality in the final product.
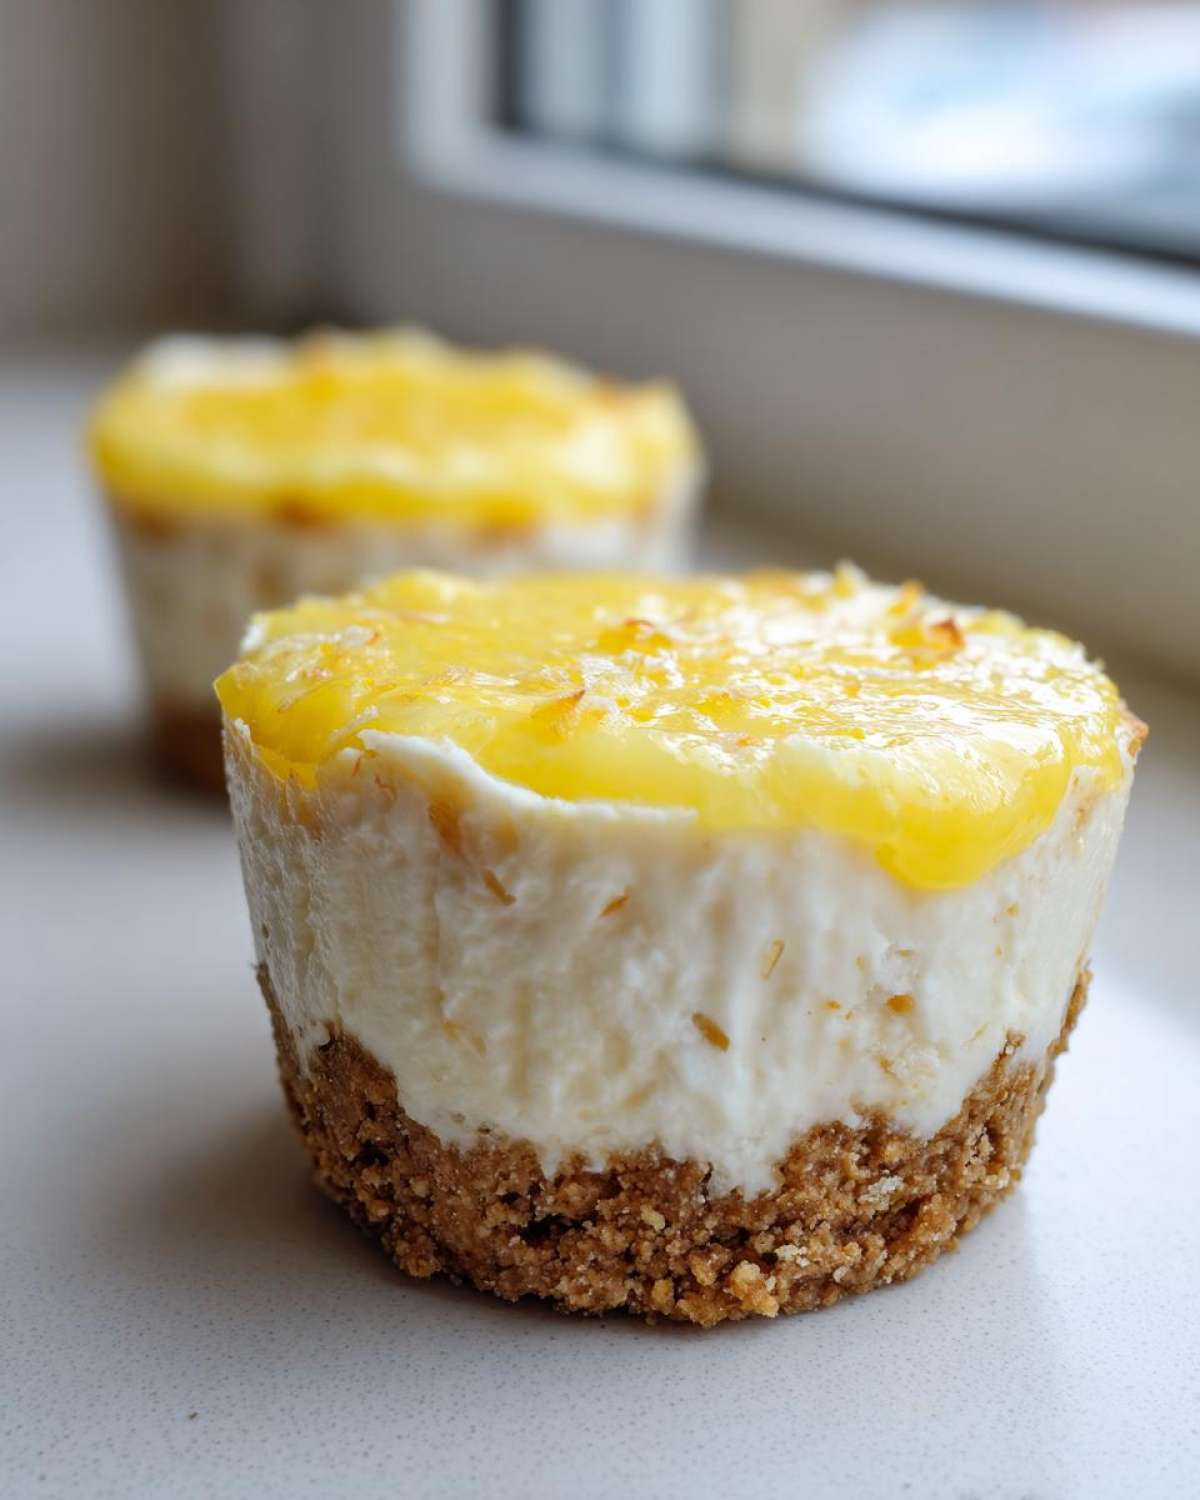
Next, slowly add in your powdered sugar, the remaining 1/2 cup of granulated sugar, that fresh lemon juice, the zest, and the vanilla. Mix until everything is incorporated and looks beautifully creamy. The very last thing we add is the heavy cream we whipped up separately. You have to gently fold that whipped cream in by hand. Take a spatula and carefully scoop from the bottom and fold it over the top until you see no white streaks left. Stop gently mixing then! Overmixing knocks all the air out.
Assembling and Setting the Individual Dessert Cups
Now that your crusts are chilled and your filling is light and fluffy, it’s time to assemble these perfect portion desserts. Use a spoon, or if you’re feeling fancy, a piping bag! Spoon or pipe the creamy lemon filling right over those firm crusts in the muffin cups. Fill them up nicely! Try to keep the tops reasonably smooth so they look great for photos later.
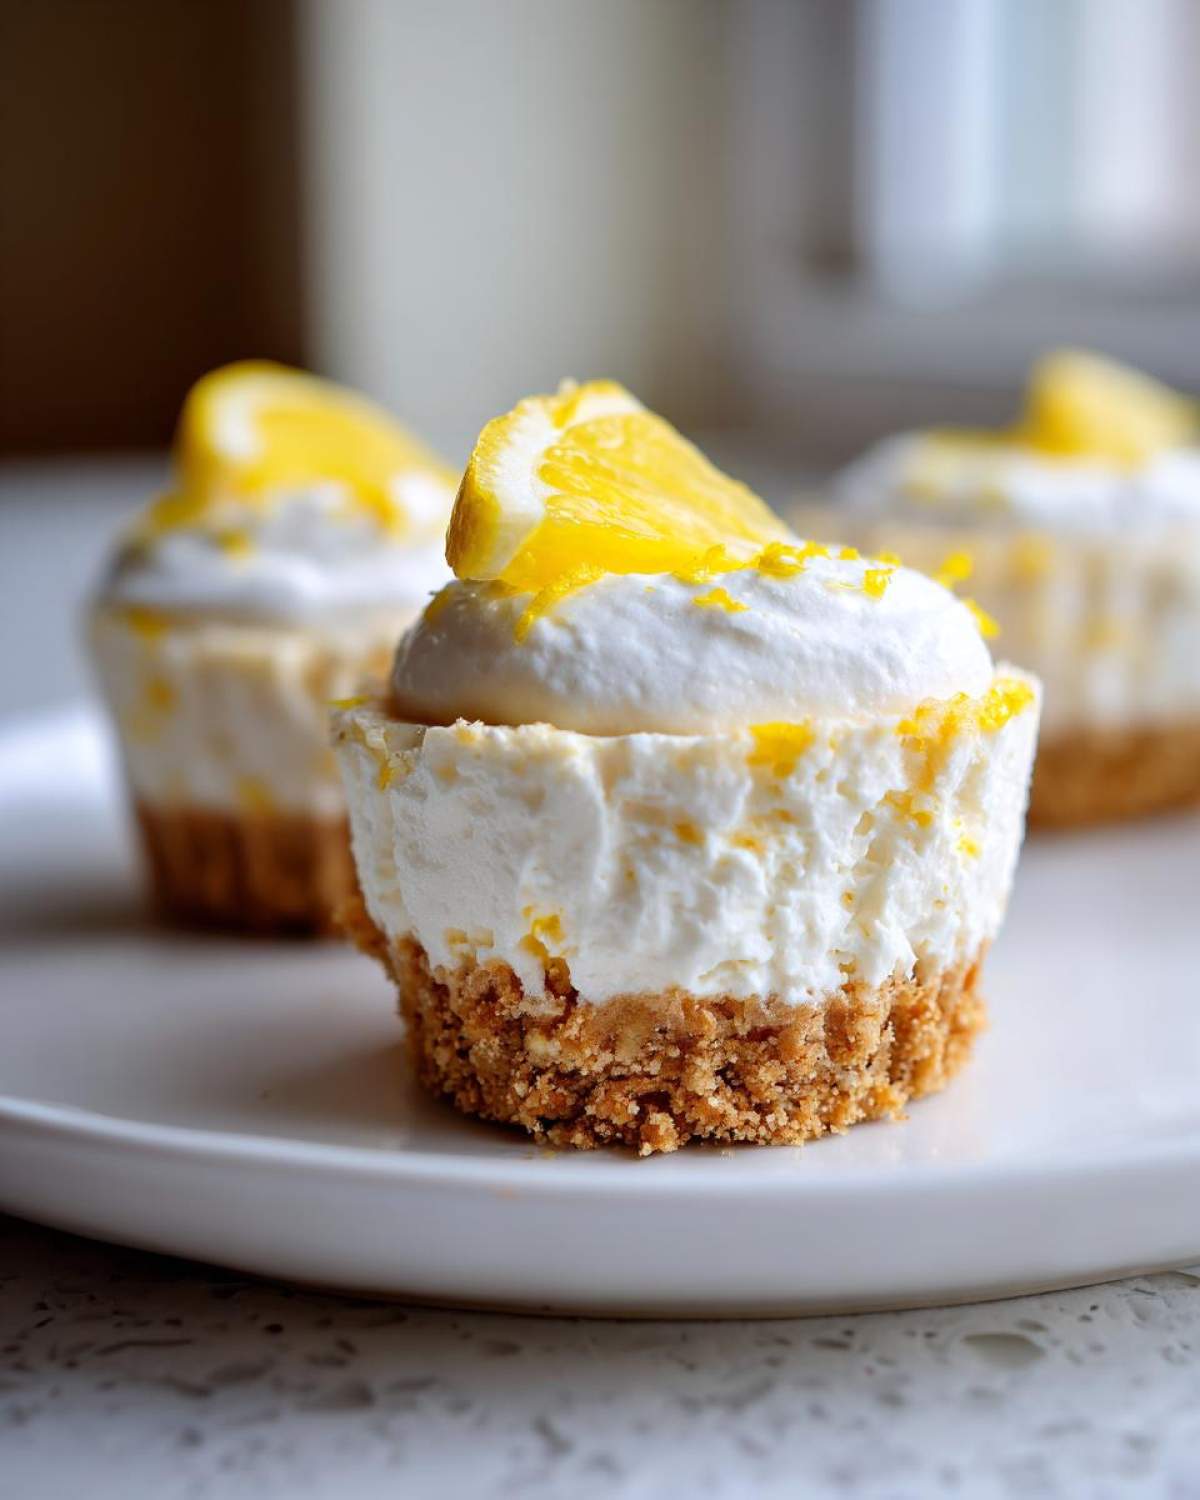
The hardest part is next: patience! They must go back into the refrigerator. You need at least four hours minimum for these to set up properly and become wonderfully firm. If you can leave them overnight, even better! Before you serve them up, just finish them with that final sprinkle of extra shredded coconut right on top.
Ingredient Notes and Substitutions for Your No-Bake Lemon Coconut Cheesecake Cups
I learned a long time ago that recipes are great starting points, but they aren’t written in stone, especially when you’re cooking for people with different needs or you just ran out of heavy cream at 9 PM! For these chilled desserts, the ingredients have to work hard since we aren’t using the oven to help them set, so if you need to make a swap, you need to know your substitute can pull its weight.
The recipe is naturally vegetarian, but for those of you looking to make this even more accommodating, don’t stress! We’ve got easy answers for both the crust and the filling binder. If you’re ever looking to adapt things further, I have a whole post on dairy free filling variations that might give you even more ideas!
Here are the main changes people often ask me about:
- Gluten-Free Crust Option: This is super easy! If you need a gluten free crust option, just swap out the standard graham crackers for an equal amount of gluten-free shortbread cookie crumbs. They crush up just as easily and bind beautifully with the butter.
- Heavy Cream Swap: If you don’t have heavy cream on hand—which I often forget to buy—you can use 1/2 cup of full-fat Greek yogurt instead. Now, heads up: Greek yogurt will result in a slightly tangier flavor and a firmer set, which I actually love sometimes! It makes them hold their shape even better. This is a fantastic little trick for these individual dessert cups.
- Flavor Adjustment: Feeling adventurous? The recipe mentions it, but seriously, swapping out the lemon juice for lime juice gives you a fun, unexpected key lime-style cheesecake bite that everyone loves. Just make sure the volume of juice is the same!
Tips for Perfect No-Bake Lemon Coconut Cheesecake Cups
Even though these are super easy, there are always those little kitchen secrets that take a recipe from ‘good’ to ‘OMG, what is this magic?’ since we aren’t relying on the oven to fix any mistakes. Maintaining that creamy, light texture is key to keeping these firmly in the ‘light and refreshing recipes’ category rather than making them dense bricks!
I’ve figured out a few things over the years that help these cheesecake cups set up absolutely perfectly every single time, making them look picture-perfect for when you’re ready to do some no-bake dessert photography!
- Chill the Citrus Juice First: This is a weird one, but trust me! If your lemon juice is cold when you add it to the cream cheese mixture, it can make the cheese seize up or make it harder to get fully smooth. I pour the 1/4 cup of juice into a small bowl and let it sit on the counter for about 15 minutes alongside the cream cheese before mixing, just so it isn’t ice cold.
- Whip That Cream Until Stiff Peaks Form: Remember how I said we whip the heavy cream separately? Don’t stop too soon! You need that cream whipped until it holds stiff peaks. This incorporated air is what gives your filling the volume and lightness that prevents it from collapsing under its own weight in the fridge. If it looks floppy, your cheesecake cups will be softer than you want.
- For an Extra Firm Set, Add a Stabilizer: Want to guarantee these hold up even if your party room is warm? After you fold in the whipped cream, you can gently mix in one teaspoon of unflavored gelatin that has been bloomed in two tablespoons of cold water. It sounds complicated, but it really just helps lock that structure in place. It’s my secret for keeping them perfect for party ready desserts!
- Don’t Skip the Zest! I know grating zest can feel tedious, but that zest is where all the powerful, bright lemon oils live—not the juice. If you skip the zest, it becomes a generic sweet cream cheese cup. Make sure to scrape only the bright yellow skin and avoid the bitter white pith underneath. That zesty coconut flavor really depends on that aromatic top layer!
Serving Suggestions for Your Party Ready Desserts
Okay, presentation is everything, especially when you are aiming for those show-stopping entertaining dessert ideas! You’ve already got the extra shredded coconut sprinkled on top, which looks classic, but let’s elevate these creamy chilled dessert beauties a little more. Feel free to garnish these right before serving so they look extra fresh!
My favorite way to make them pop is with a thin, candied lemon slice perched right on the edge. The slight crunch of the candy contrasts perfectly with the soft filling. If you prefer green, a single, tiny mint sprig adds a brilliant bit of color that plays so nicely with the lemon. Honestly, arranging these on a tiered platter makes them instantly look like the star of any summer dessert table!
Storage and Make Ahead Tips for No-Bake Lemon Coconut Cheesecake Cups
This right here is why these are some of my favorite make ahead sweet treats! Because there’s no baking involved, you can absolutely prepare these ahead of time, which means you aren’t scrambling right before your guests arrive. That’s the dream, isn’t it?
Once your cheesecake cups are fully set—remember that 4-hour minimum chill time—you can cover the muffin tin tightly with plastic wrap. I usually try to cover each individual cup if I can, just to keep humidity and errant fridge smells out of my delicate lemon filling.
How Long They Stay Fresh in the Fridge
These are best enjoyed within three to four days. Honestly, they usually never last that long in my house anyway! After about day four, the graham cracker crust starts to absorb too much moisture from the filling, and while it’s still perfectly safe to eat, it loses that satisfying little crispness we worked so hard to achieve in the beginning.
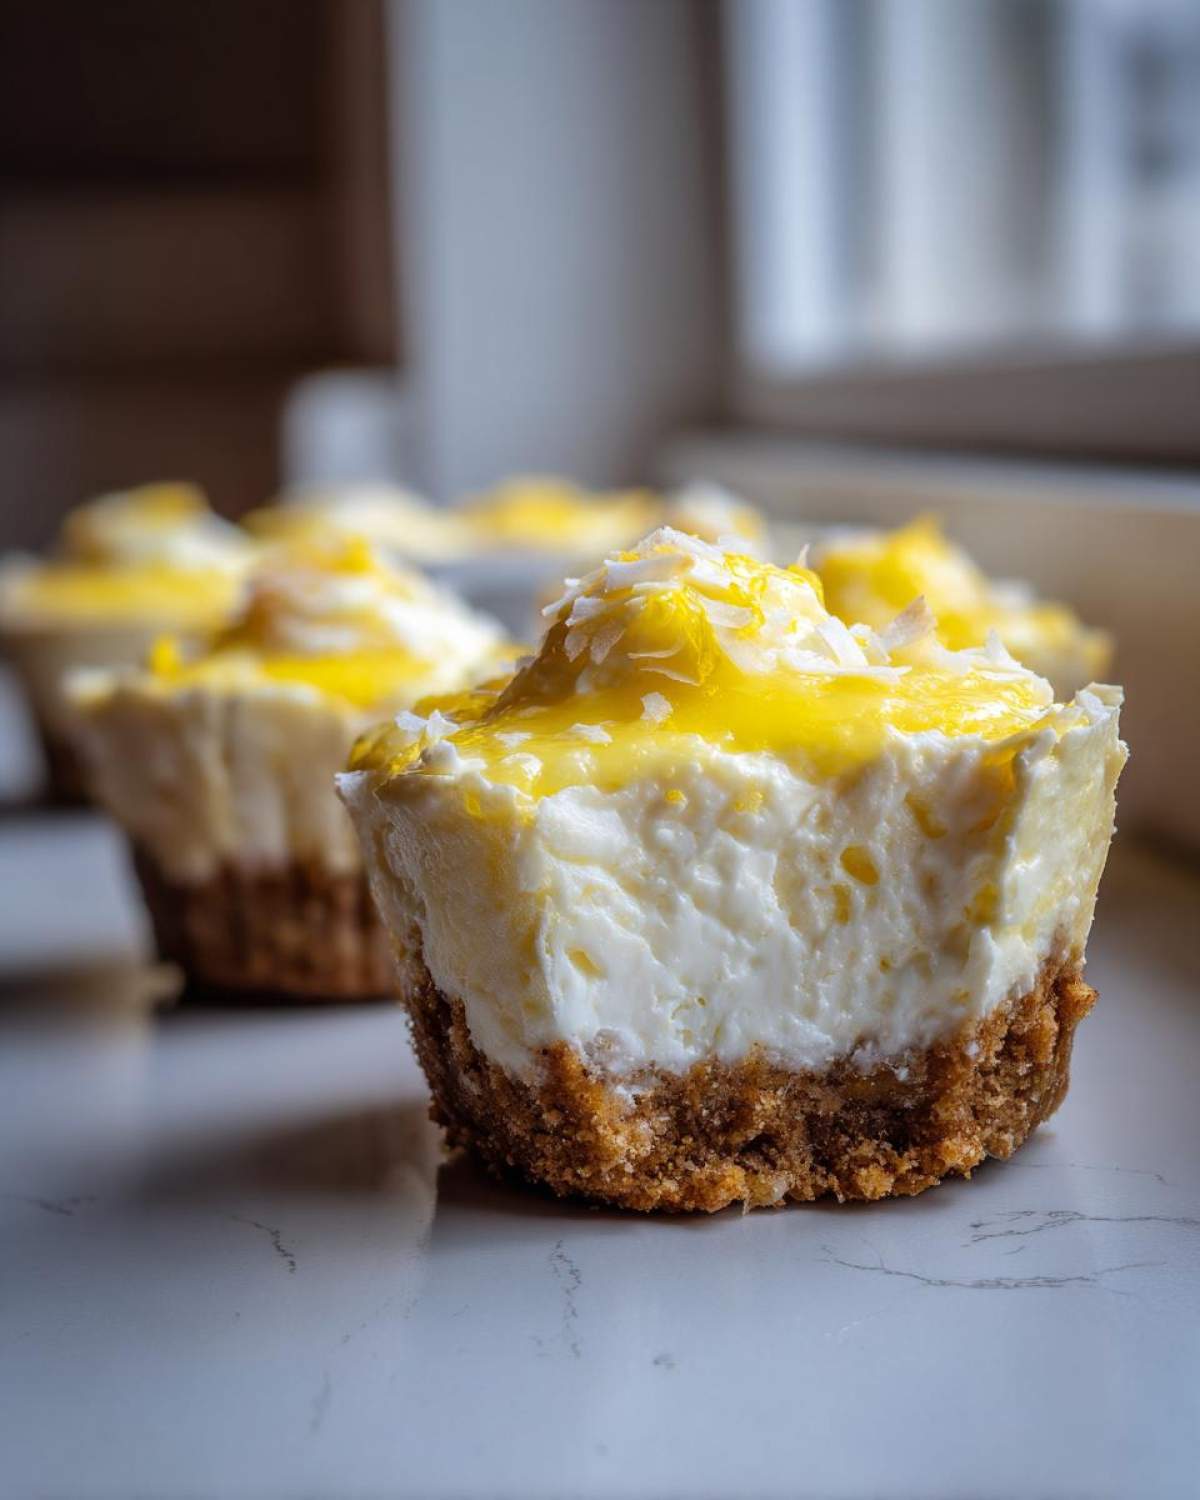
When you keep them refrigerated, the filling stays wonderfully firm and creamy. They are incredibly refreshing straight out of the cold! That cold temperature really wakes up that zesty coconut flavor, too, making them feel extra light.
Can You Freeze No-Bake Cheesecake Cups?
Yes, you absolutely can freeze them, but you have to be careful about the texture afterward. Freezing is fine, but only if you’ve got a big batch leftover and know you won’t eat them within a few days. If you plan to freeze them, use foil instead of plastic wrap for the initial cover, as it prevents freezer burn better.
When you freeze them, the fat and water content in the filling—especially the cream cheese—can separate slightly when thawing, leading to a grainier texture. It won’t be ruined, but it won’t be that silky smooth texture we aimed for when we beat the cream cheese until it was perfect!
The Thawing Process for Frozen Treats
If you do freeze them, make sure you plan ahead for thawing time, as you can’t really rush this process. Move them from the freezer to the refrigerator overnight. That slow thaw keeps the structure as intact as possible. Once they are completely thawed back to fridge temperature (which takes about 8-10 hours), you can take the foil off and serve them up!
Pro Tip: If you are serving them right after thawing, wait until the very last minute to add that final sprinkle of coconut topping. Applying it while they are still slightly frosty keeps the flakes nice and dry!
Frequently Asked Questions About No-Bake Lemon Coconut Cheesecake Cups
I know sometimes when you are making a new chilled dessert, you have a few last-minute worries. Did I set them long enough? Can I make them tangier? I’ve collected the questions I get most often about these little treasures so you can tackle them with confidence!
How long do these individual dessert cups absolutely need to set?
This is the most important question for any no-bake recipe! You need a minimum of four hours in the refrigerator. I learned the hard way that if you try to rush it, you’re just going to end up with a lovely lemon-flavored soup in your cupcake liner. For the best, firm texture that holds up like a proper cheesecake, aim for six hours, or honestly, just make them the night before. They are fantastic make ahead sweet treats!
Can I skip whipping the heavy cream separately?
You *could* skip whipping it, but I strongly advise against it if you want that light and refreshing recipe result. If you just stir the liquid heavy cream right into the cream cheese mixture, you’ll end up with a much denser, heavier filling. Whipping the cream incorporates tons of air, which is what makes these ‘cups’ feel so light and airy, rather than heavy. It’s the key to that amazing texture and avoids making them too much like a traditional dense lemon cream cheese dessert.
What if I want an even stronger coconut flavor?
Oh, I love a coconut enthusiast! If you want to amp up that tropical sweetness, try toasting some of the extra shredded coconut before you use it for the topping. Just spread it on a thin baking sheet and pop it in a 325°F oven for about 5 to 7 minutes, watching constantly because it burns fast! Toasted coconut has a much deeper, nuttier flavor. You can also add a tiny splash (maybe 1/4 teaspoon) of coconut extract right into the filling alongside the vanilla extract for another layer of pure coconut bliss.
Are these considered gluten free desserts if I use alternative crumbs?
The standard version using graham crackers isn’t gluten-free, of course, but as I mentioned, it’s super easy to pivot! If you use certified gluten-free shortbread, vanilla wafers, or even crushed pretzels (for a salty crunch!), then yes, you have yourself a great gluten free crust option in moments. Just make sure to check the packaging on whatever cookie you choose!
Why does my crust sometimes seem dry when pressing it in?
That usually means either your butter wasn’t quite warm enough to coat the crumbs evenly, or you didn’t use enough, plain and simple! If you find your crust mixture seems crumbly *after* you mix it, take a tablespoon of extra melted butter and sprinkle it over the crumbs and toss it again. You want that mixture to really stick together when you pinch a piece. A dry crust means your perfect portion desserts will fall apart when you try to lift them out of the liner!
Quick Facts and Estimated Nutrition for This Creamy Chilled Dessert
Now, I know so many of you bakers like to track everything, and that’s totally fair! Since these **No-Bake Lemon Coconut Cheesecake Cups** are assembled by hand, the exact nutritional breakdown can jump around depending on what brand of cream cheese you grab or exactly how much butter you managed to get into that crust mix—trust me, it happens!
So, I’m keeping things simple here. I want you to enjoy these light and refreshing recipes without the stress of micro-measuring every gram of sugar. The figures I’ve seen floating around for a recipe like this are just estimates, okay? They are based on standard portions, but your actual count will vary based on your ingredients.
For the most accurate data, especially if you are making recipe adjustments like using Greek yogurt instead of heavy cream, you’d need to input your specific items into a nutritional calculator. But for general reference, know that these are absolutely a lighter option compared to their baked cousins! If you want to check out a different kind of simple treat, I shared my recipe for easy homemade cheese crackers if you need something savory for your party spread!
Just focus on how bright the lemon tastes and how wonderfully cold and creamy these individual dessert cups are. That’s the real score here!
PrintNo-Bake Lemon Coconut Cheesecake Cups
Make individual, refreshing lemon and coconut cheesecake cups without turning on your oven. These are simple to assemble and perfect for parties.
- Prep Time: 25 min
- Cook Time: 0 min
- Total Time: 4 hr 25 min
- Yield: 12 servings
- Category: Dessert
- Method: Chilling
- Cuisine: American
- Diet: Vegetarian
Ingredients
- 1 1/2 cups graham cracker crumbs
- 1/4 cup granulated sugar
- 6 tablespoons unsalted butter, melted
- 16 ounces cream cheese, softened
- 1 cup powdered sugar
- 1/2 cup granulated sugar
- 1/4 cup fresh lemon juice
- 1 tablespoon lemon zest
- 1 teaspoon vanilla extract
- 1/2 cup heavy cream, whipped
- 1/2 cup sweetened shredded coconut, plus extra for topping
Instructions
- Prepare the crust: Mix graham cracker crumbs, 1/4 cup granulated sugar, and melted butter in a bowl until combined.
- Press about 2 tablespoons of the crumb mixture firmly into the bottom of 12 standard muffin cups lined with paper liners. Chill the crusts for 15 minutes.
- Prepare the filling: In a large bowl, beat the softened cream cheese until smooth.
- Add powdered sugar, 1/2 cup granulated sugar, lemon juice, lemon zest, and vanilla extract. Beat until fully incorporated and creamy.
- Gently fold in the whipped heavy cream and shredded coconut until just combined. Do not overmix.
- Spoon or pipe the filling evenly over the chilled crusts in the muffin cups.
- Refrigerate the cheesecake cups for at least 4 hours, or until firm.
- Before serving, top each cup with extra shredded coconut.
Notes
- For a gluten-free crust, substitute the graham crackers with an equal amount of gluten-free shortbread cookie crumbs.
- If you do not have heavy cream, you can substitute it with 1/2 cup of full-fat Greek yogurt for a slightly tangier, firmer texture.
- You can use lime juice instead of lemon juice for a subtle key lime variation.
Nutrition
- Serving Size: 1 cup
- Calories: 310
- Sugar: 25
- Sodium: 180
- Fat: 20
- Saturated Fat: 12
- Unsaturated Fat: 8
- Trans Fat: 0
- Carbohydrates: 30
- Fiber: 1
- Protein: 4
- Cholesterol: 60