

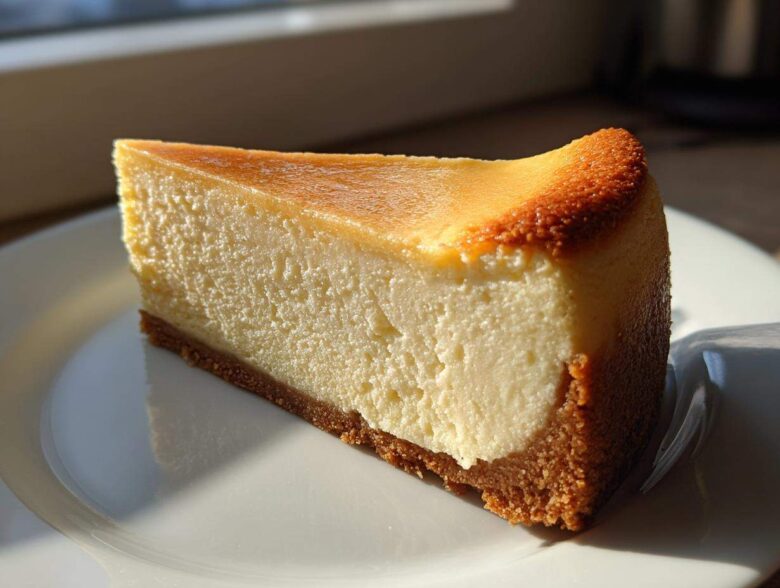
Oh, I know that feeling! You’re deep into a workout routine, you’re tracking those macros like a hawk, and then BAM! You get that undeniable craving for something seriously decadent… like cheesecake. For me, finding that perfect Protein Cheesecake that actually tastes like the real deal used to feel impossible. Everything was either grainy or tasted suspiciously like drywall.
That’s why I’m literally shouting about this Ultimate Healthy Baked Protein Cheesecake recipe from the rooftops! After trying every low-cal swap under the sun, Leo and I nailed a version that is unbelievably creamy, totally low in sugar, and packs a serious macro punch. Trust me, when I tell you this baked beauty hits 35g of protein per slice, you’ll be racing to your kitchen. It’s the guilt-free treat I wish I had years ago when I was just starting to figure out how to balance indulgence with fitness goals. This one is a true keeper!
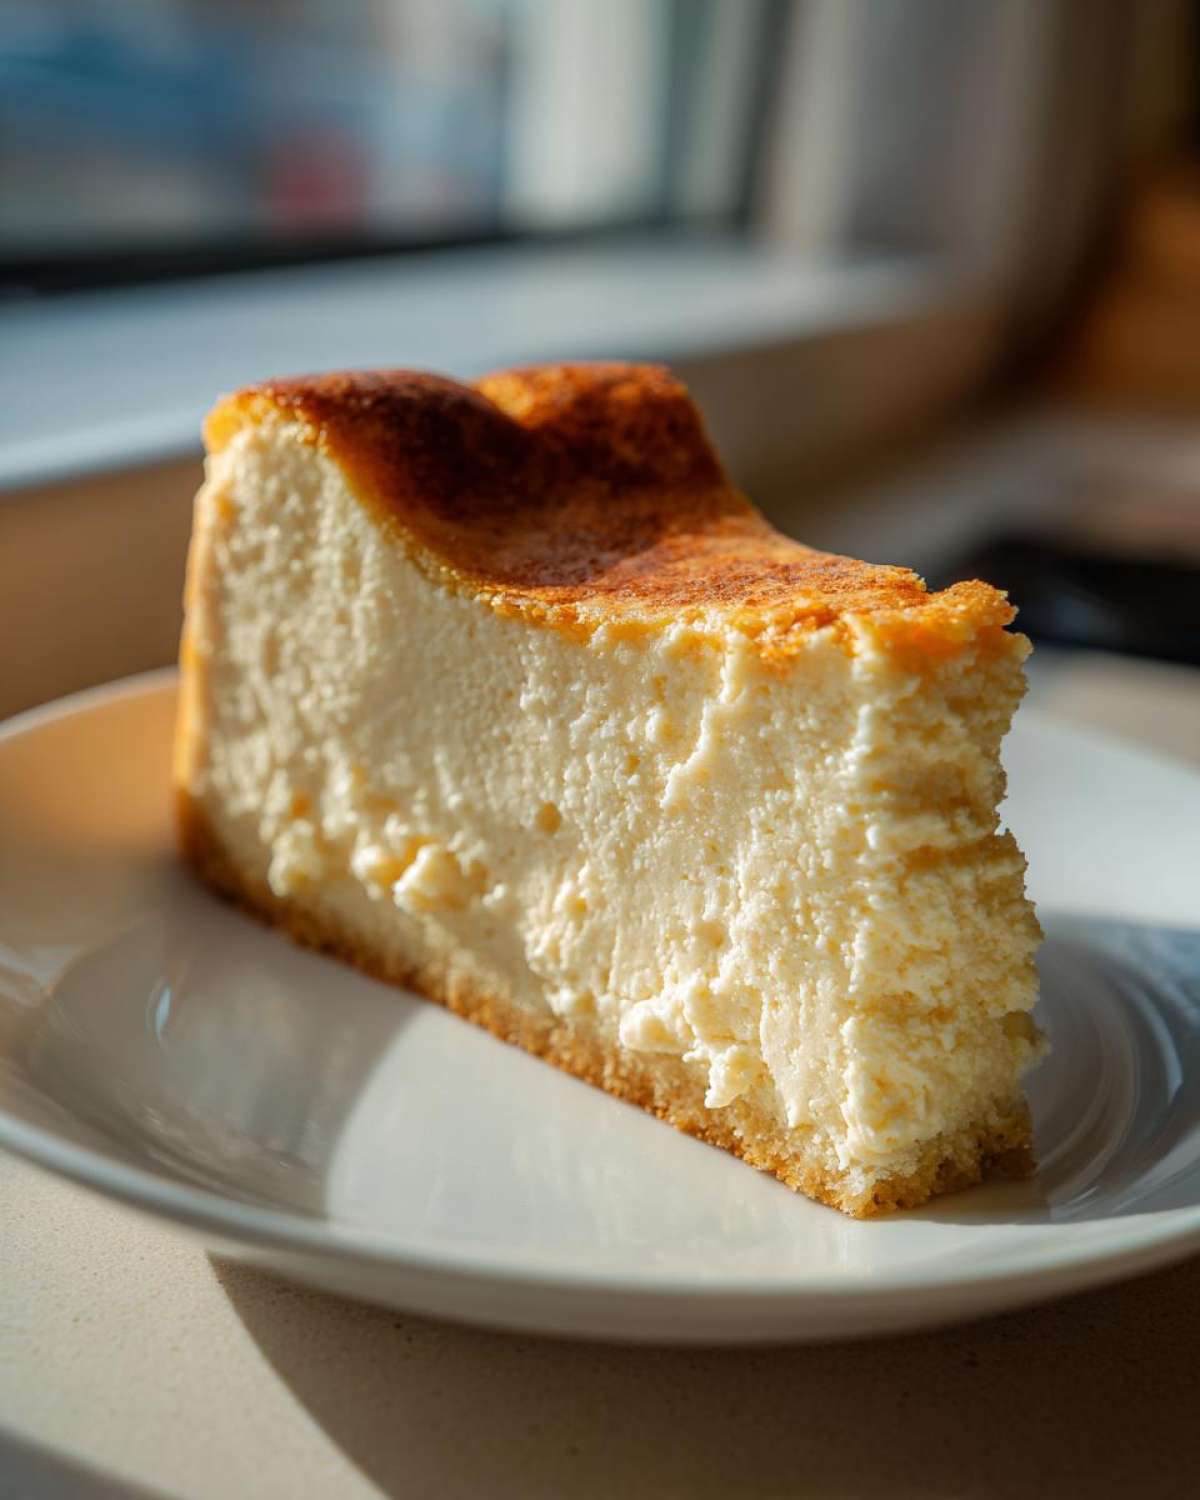
Why This Baked Protein Cheesecake Recipe Is Your New Favorite Healthy Cheesecake Dessert
Okay, you absolutely need to try this version of our Protein Cheesecake. We made this specifically because every other healthy dessert felt like a compromise. This recipe is different; it gives you that satisfying, decadent slice you dream about without wrecking your daily goals. It’s truly what I call a win-win!
Why is everyone obsessed with this recipe? It’s all about delivering big flavor and big gains at the same time. If you’re looking for healthy ways to splurge a little, save this pin! If you loved the protein kick in my blueberry Greek yogurt protein muffins, you’re going to adore this texture.
Macro Friendly Cheesecake with 35g Protein Per Serving
Let’s talk numbers, because that’s why we’re here, right? Every single serving of this recipe nets you a whopping 35 grams of protein! Seriously, 35 grams! We hit that massive number by combining light cream cheese with two powerhouse ingredients: cottage cheese and fat-free Greek yogurt. It’s intentionally designed to be a truly macro friendly cheesecake that supports your fitness journey, whether you’re building or cutting.
Achieving That Creamy Protein Dessert Texture
The biggest pitfall in any low-fat, high-protein dessert is dryness or graininess. Not here! We conquer that by blending the cottage cheese until it’s silkier than anything you’ve ever used in a baked good. This technique is crucial for locking in moisture and giving you that signature smooth finish. It’s the secret weapon that transforms it from just a protein snack into a truly Creamy Protein Dessert experience!
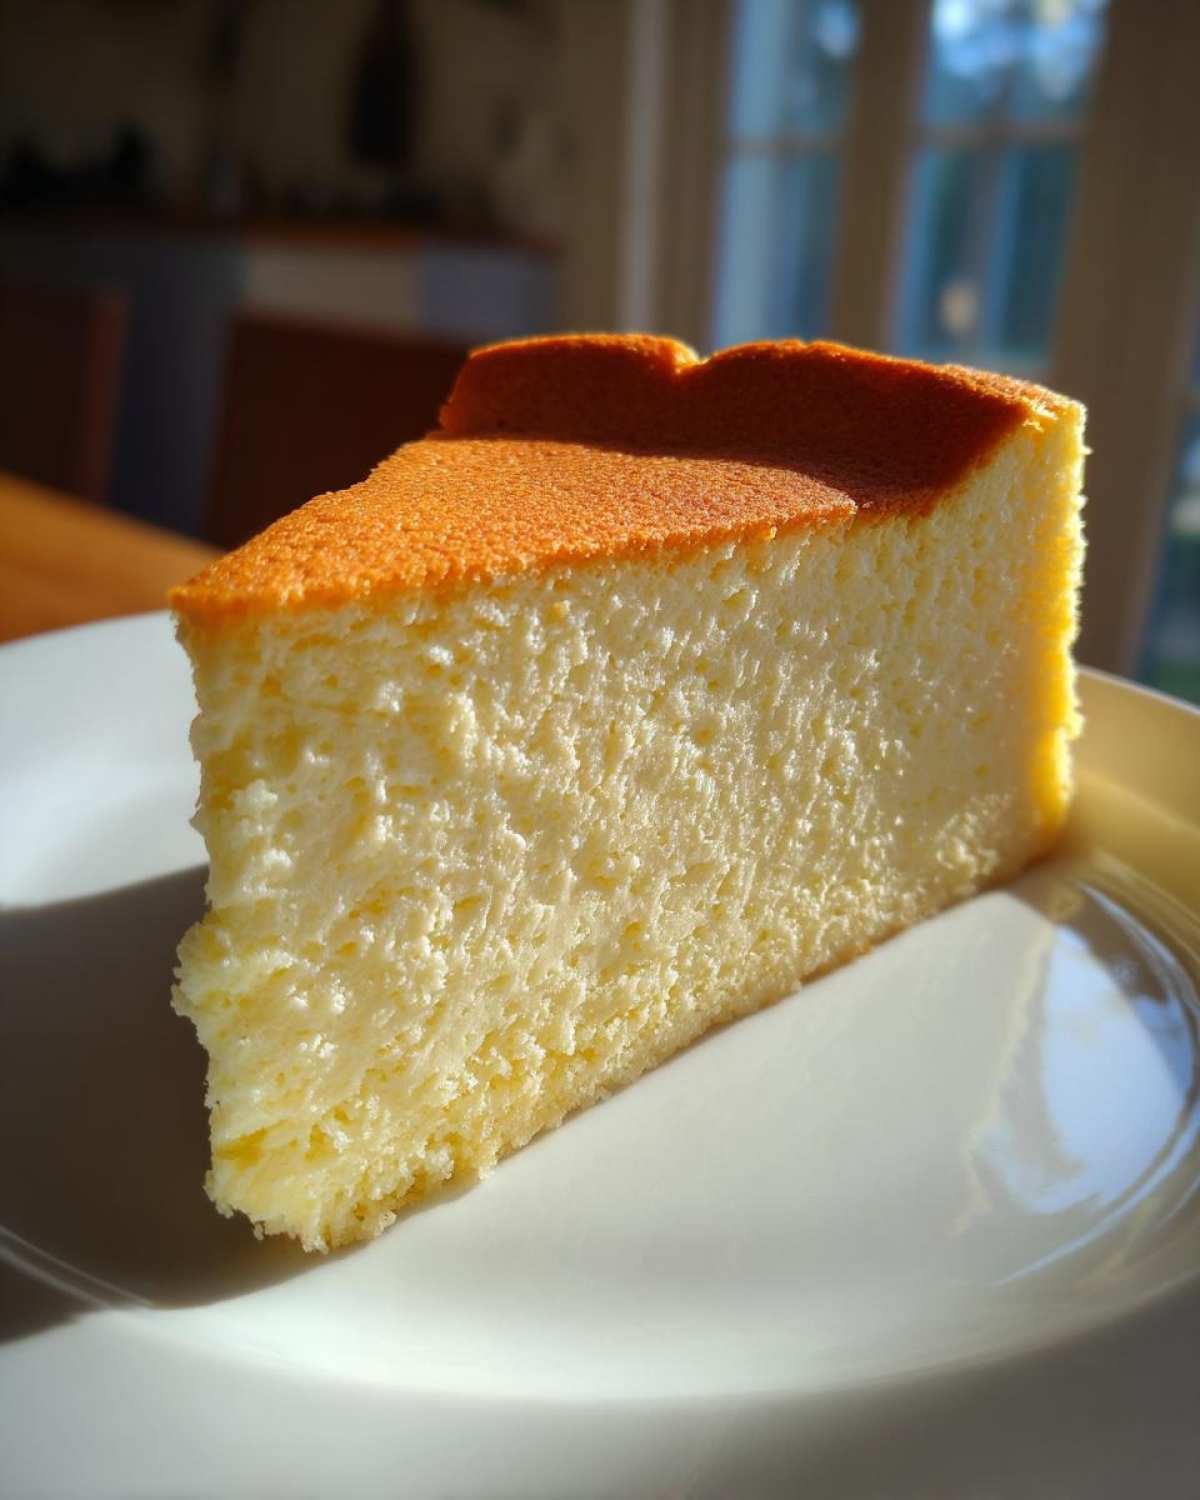
Gathering Your Ingredients for the Ultimate Protein Cheesecake
Okay, time to gather our gear! With any Protein Cheesecake, the quality of your core ingredients really does make or break the texture—especially when we’re packing in all that protein. Leo always jokes that my pantry selection dictates the success rate, and honestly, he’s not wrong here! We need precision, but we also need great starting materials to get that perfect, indulgent texture. If you want to see some other amazing, creamy protein options, check out my cottage cheese ice cream recipe!
We’ll break this down into the crust and the filling so you aren’t scrambling mid-mix. And please, pay close attention to the cottage cheese note in the filling section—it’s non-negotiable for that smooth finish!
Crust Components for Your Baked Protein Cheesecake
For our sturdy little almond flour base, we only need four things. This crust bakes up nicely and keeps things wonderfully gluten-free. Here’s what you need to grab:
- 1 cup of almond flour (this is the star here!)
- 2 tablespoons of erythritol or whatever sweetener you love
- 1 teaspoon of vanilla extract
- 1/4 teaspoon of salt
Filling Ingredients for the High Protein Cheesecake Recipe
Now for the good stuff! This is where all that protein load comes from, giving us that incredible High Protein Cheesecake Recipe base.
- 4 ounces of light cream cheese, make sure it’s softened up nice
- 1 cup of low-fat cottage cheese—you MUST blend this smooth beforehand!
- 1/2 cup of plain non-fat Greek yogurt
- 1/2 cup of vanilla whey or casein protein powder
- 1/4 cup of erythritol or your preferred sweetener
- 2 large eggs
- 1 teaspoon of lemon juice to brighten everything up
Seriously, blending that cottage cheese until it’s totally smooth saves you so much heartache later on when you’re expecting a creamy dessert and get little curds instead! I learned that the hard way years ago!
Step-by-Step Instructions for Your Baked Protein Cheesecake
Alright, deep breaths! Making the perfect baked Protein Cheesecake involves a few crucial moments of patience, but I promise you, the result is worth every second. We are channeling our inner calm here, just like I try to do when Leo lets the garlic burn! Follow these steps exactly, especially when it comes to cooling, and you will get that envy-inducing smooth top.
Preparing the Crust and Initial Bake
First things first, we need heat! Preheat your oven to 325°F (160°C). Grab your 7-inch springform pan—lining the bottom with parchment paper is my little insurance policy against sticking! Next, just mix up those crust ingredients we talked about. Press that almond flour mixture down firmly and evenly along the bottom of the pan. We’re going to give it a quick, 8-minute head start in the oven. Once it’s done, pull it out and let it rest on the counter while you get the filling ready.
Mixing the Creamy Protein Filling
This is where we add the magic, focusing on keeping things smooth! Grab your large bowl and beat that softened light cream cheese until it’s baby-smooth—no chunks allowed! Then, gently mix in the already blended cottage cheese and the Greek yogurt. Keep your mixer on low speed here, please! We don’t want to introduce unnecessary air. Follow that up by mixing in the vanilla protein powder, your sweetener, and that little splash of lemon juice. Remember: incorporate until just combined, then scrape down the sides.
Baking and Essential Cooling for Perfect Protein Cheesecake
Now for the eggs—add them in one at a time, mixing *only* until they disappear into the batter. Pour that beautiful filling over your cooled crust. Bake this masterpiece for about 40 to 50 minutes. You’re looking for the edges to be set nicely, but the very center should still have a tiny, happy wiggle. This next part is the golden rule for preventing cracks in any wonderful Greek yogurt dessert: Turn the oven OFF, crack the door open just a smidge, and let the cake hang out in the residual heat for a full hour. After that hour, take it out completely, let it finish cooling on a rack, and then—this is the hardest part—chill it in the fridge for at least four hours, but overnight is king for the best Protein Cheesecake!
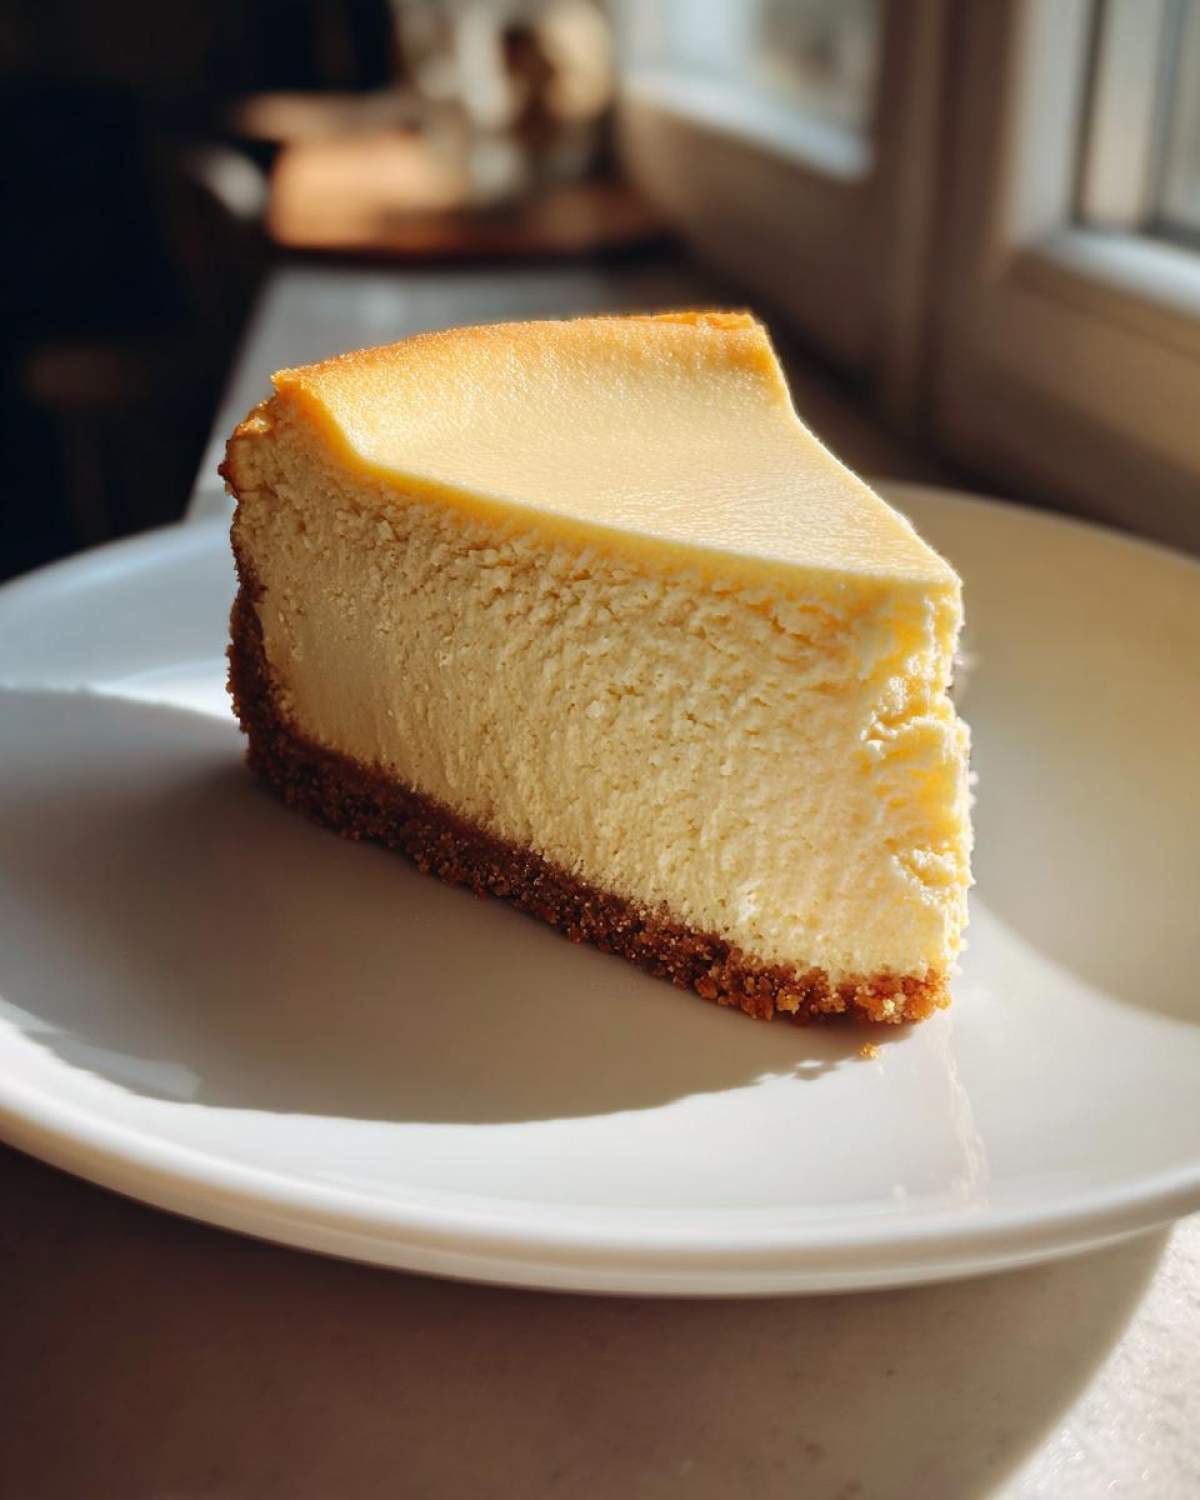
Tips for Success with Your Cottage Cheese Cheesecake Recipe
You’ve followed the steps, but I want to share a couple of tricks I learned the hard way! Getting that incredible, non-grainy texture in this Cottage Cheese Cheesecake Recipe is all about respecting the ingredients. Remember, we are aiming for a stunning, satisfying treat, not just something that hits your protein goals.
Blending for Ultimate Smoothness
Listen, this is my biggest piece of advice. Do NOT just dump the cottage cheese into the mixer! When I first tried this years ago, I skipped using the food processor, and guess what? My cheesecake had tiny, gritty pockets. Yuck! You have to blend that low-fat cottage cheese until it genuinely looks like smooth, creamy ricotta cheese before you mix it with the cream cheese. That one extra step makes the difference between a good dessert and an amazing one.
Choosing the Right Protein Powder
We mentioned using vanilla powder, but let’s geek out on types for a second. If you want the absolute densest, most dessert-like result, go for casein protein powder. Casein thickens up beautifully; it’s what helps give it that ultra-firm, traditional texture. Whey protein works perfectly well—it keeps the recipe light and easy!—but if you are really prioritizing that rich mouthfeel, casein is your friend for a seriously macro friendly cheesecake.
For other great flavor boosters that complement this clean recipe, you might want to try making a simple homemade apple butter to top it with in the fall!
Variations on This Macro Friendly Cheesecake
So, you’ve mastered the classic baked version, but you’re already thinking about what’s next for your Protein Cheesecake journey? That’s the spirit! While I adore this recipe as is, it’s super easy to switch things up to keep your snack rotation exciting. We all love options, especially when they keep serving sizes in check. If you’re curious about other creamy, goal-oriented treats, check out my decadent pecan pie cheesecake recipe for holiday inspiration!
Creating a Sugar Free Protein Dessert Alternative
If erythritol isn’t your absolute favorite baking companion—and I get it, sometimes the cooling sensation isn’t ideal—you can totally swap it out! Feel free to use your go-to Monk fruit blend or a stevia mix instead. Just make sure you taste-test the batter as you go. The goal is always to maintain that perfectly balanced sweetness while keeping it a wonderful Sugar Free Protein Dessert. You shouldn’t have to sacrifice taste for macros, ever!
Making Mini Protein Cheesecakes for Portion Control
If you’re meal prepping or just need a better handle on portion sizes—hello, adorable mini protein cheesecakes!—you can pour this exact same batter into a lined muffin tin. When you do this, just keep an eye on the bake time. Since the pans are smaller and shallower, they usually bake up faster, maybe needing closer to 20-25 minutes instead of the full 40-50 minutes for the springform pan. Easy peasy snacking!
Serving Suggestions for Your Light Cheesecake Recipe
Once this beauty is perfectly chilled—and seriously, don’t rush that chilling time—it is ready to serve! Because we’ve kept the base light and low in sugar, we have a perfect canvas for toppings that add color and freshness. Forget heavy sauces; we want vibrant additions here!
My favorite thing to do is just pile on fresh berries. A mix of raspberries and blueberries looks gorgeous against the pale cream, and they add gorgeous pops of juicy sweetness. If I’m feeling fun, I’ll drizzle just a tiny bit of sugar-free maple syrup over the top. It’s amazing how a handful of fresh fruit can elevate this Light Cheesecake Recipe to something truly special. If you want something refreshing alongside your slice, blend up a watermelon smoothie—it pairs so well!
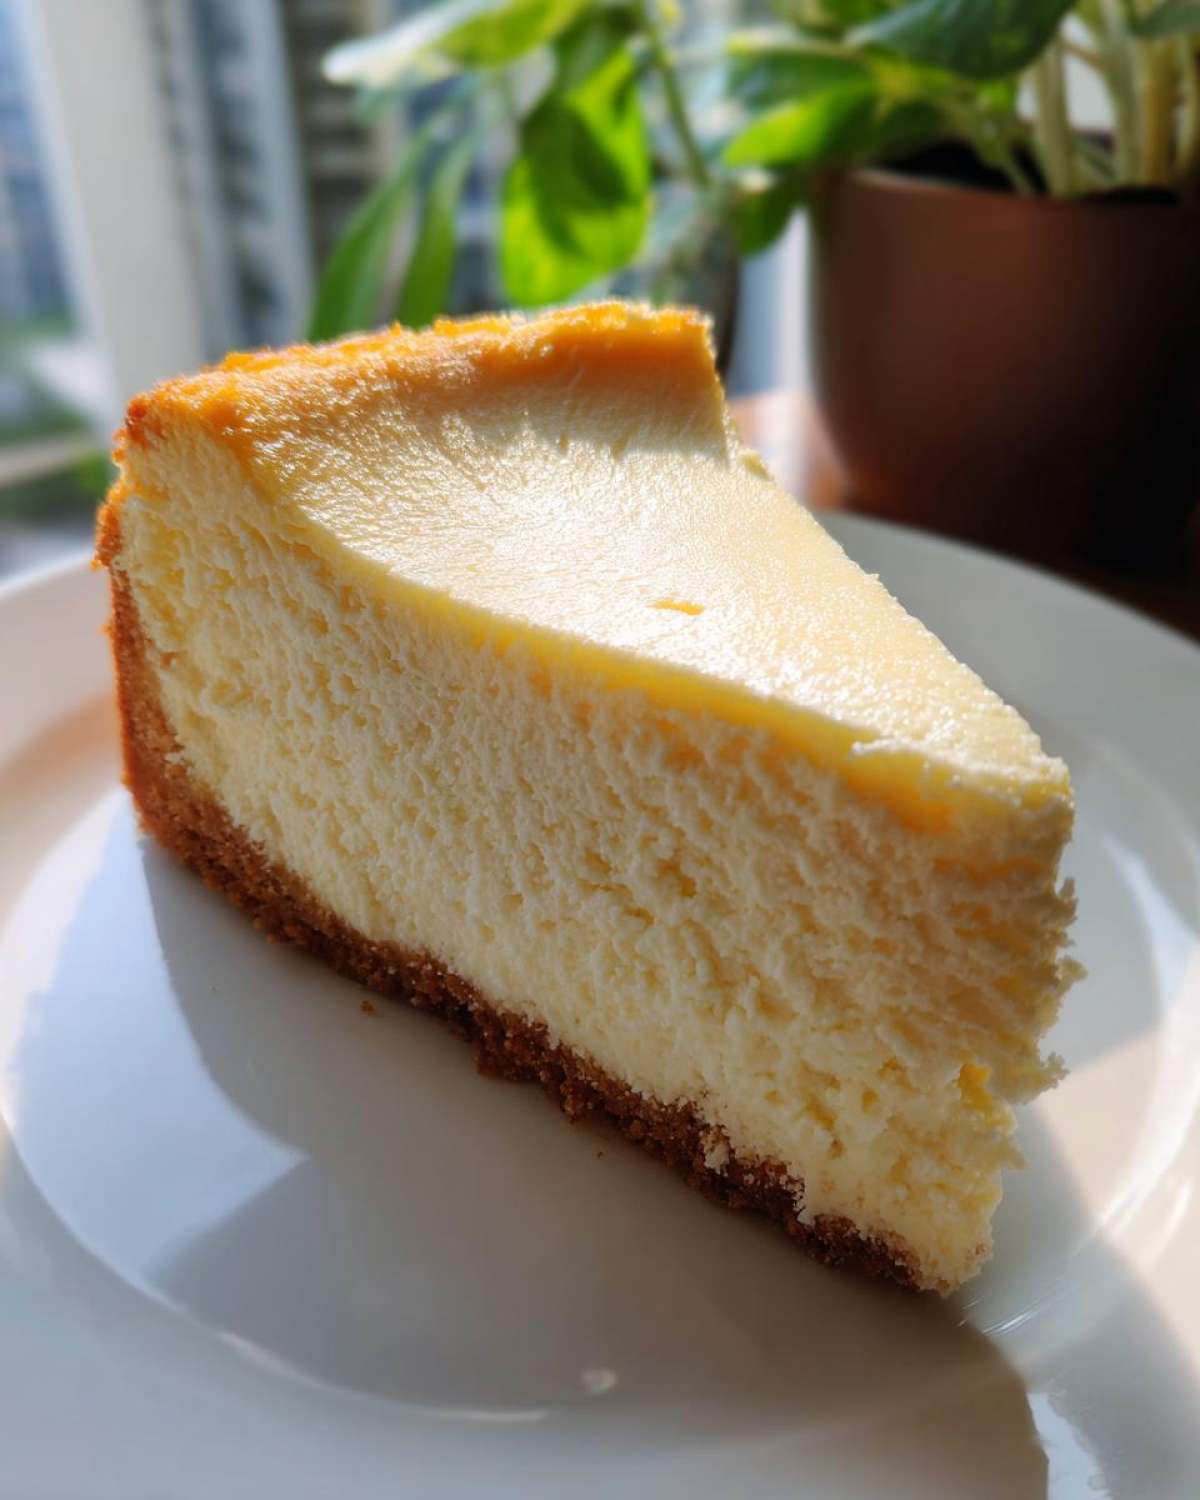
Storage and Reheating Instructions for Your Protein Cheesecake
Okay, you’ve made the best Protein Cheesecake ever—now we need to keep it perfect! This is a baked recipe, so truthfully, reheating isn’t really a thing; it’s just not the right texture for that. The best way to store leftovers is in an airtight container in the fridge. That required overnight chill we talked about? It’s actually what keeps it tasting amazing for days!
I find that it stays absolutely fabulous for about four or five days tucked away properly. These clean ingredients make this recipe fantastic for your protein dessert meal prep. Just grab a slice straight from the cold and enjoy the satisfying creaminess!
Frequently Asked Questions About This High Protein Cheesecake Recipe
I knew you’d have questions! Whenever I share a new recipe, especially one that packs a serious punch like this Protein Cheesecake, the comments section always lights up. That’s fantastic! It means you’re excited to get this healthy dessert made. Here are a few things I’ve been asked most often about getting this recipe just right.
Can I make this a No Bake Protein Cheesecake?
That’s a great thought, especially if you’re craving something right now! This specific recipe relies heavily on eggs and the baking process to set up that dense, creamy structure we worked so hard for. If you’re desperate for something that skips the oven, you should definitely search for a dedicated No Bake Protein Cheesecake recipe! Those usually rely on gelatin or a lot of time in the fridge to firm up, which is a totally different technique.
Is this recipe Gluten Free Cheesecake compliant?
Yes, absolutely! We built this recipe with the crust firmly rooted in almond flour, which keeps it wonderfully light and crumbly without any wheat. As long as you check your specific protein powder container and confirm it’s certified gluten-free, then you have a fantastic Gluten Free Cheesecake treat on your hands!
How much protein is in one serving of this Protein Cheesecake?
This is my favorite question! Why bother making a “healthy” cheesecake if it doesn’t deliver? Every single slice of this baked beauty packs 35 glorious grams of protein. That’s why this is such a fantastic way to enjoy dessert while crushing your fitness goals. It really proves you don’t have to sacrifice that rich flavor for a truly high Dessert with High Protein Content!
If you want to see the latest recipe posts and kitchen chaos from Leo and me, hop over to the main blog page!
Sharing Your Guilt Free Cheesecake Treat
Whew! We did it! Now you have this incredibly creamy, totally high-protein, and genuinely delicious Guilt Free Cheesecake Treat sitting there, chilling perfectly in your fridge. I am so ridiculously proud of you for taking the time to make something that tastes amazing *and* supports your goals. That deserves a little celebration!
I really want to know how it turned out for you! Did you stick with the vanilla? Did you add a secret topping I never thought of? Please, don’t be shy! Drop a comment below and let me know how this recipe worked in your kitchen. A star rating helps other folks who might be nervous about making a Low Calorie Cheesecake see how easy and delicious this truly is.
If you had any questions pop up while you were baking, or if you just want to tell Leo about the music you were blasting while you worked, feel free to reach out directly on the contact page. Happy eating, and here’s to many more satisfying, macro friendly desserts!
PrintUltimate Healthy Baked Protein Cheesecake (35g Protein Per Slice)
You want a creamy, satisfying cheesecake that supports your fitness goals. This baked recipe uses cottage cheese and Greek yogurt to deliver a high-protein, low-sugar dessert that tastes indulgent.
- Prep Time: 20 min
- Cook Time: 50 min
- Total Time: 6 hours 10 min
- Yield: 8 servings
- Category: Dessert
- Method: Baking
- Cuisine: American
- Diet: Low Fat
Ingredients
- 1 cup almond flour
- 2 tablespoons erythritol or preferred sweetener
- 1 teaspoon vanilla extract
- 1/4 teaspoon salt
- 4 ounces light cream cheese, softened
- 1 cup low-fat cottage cheese (blended smooth)
- 1/2 cup plain non-fat Greek yogurt
- 1/2 cup vanilla whey or casein protein powder
- 1/4 cup erythritol or preferred sweetener
- 2 large eggs
- 1 teaspoon lemon juice
Instructions
- Preheat your oven to 325°F (160°C). Line the bottom of a 7-inch springform pan with parchment paper.
- Prepare the crust: Mix the almond flour, 2 tablespoons of sweetener, vanilla extract, and salt in a small bowl. Press this mixture firmly and evenly into the bottom of the prepared pan.
- Bake the crust for 8 minutes. Remove from the oven and let it cool slightly while you make the filling.
- Prepare the filling: In a large bowl, beat the softened cream cheese until it is completely smooth.
- Add the blended cottage cheese and Greek yogurt to the cream cheese. Mix until just combined.
- Add the protein powder, 1/4 cup sweetener, and lemon juice. Mix on low speed until incorporated. Do not overmix.
- Beat in the eggs one at a time, mixing only until each egg is incorporated. Scrape down the sides of the bowl as needed.
- Pour the filling over the cooled crust in the springform pan.
- Bake for 40 to 50 minutes. The edges should look set, but the center should still have a slight jiggle.
- Turn off the oven, crack the door open slightly, and let the cheesecake cool inside the oven for 1 hour. This prevents cracking.
- Remove the cheesecake from the oven and let it cool completely on a wire rack.
- Chill the cheesecake in the refrigerator for at least 4 hours, or preferably overnight, before slicing and serving.
Notes
- For the smoothest filling, blend your cottage cheese in a food processor or high-speed blender until it has a texture like ricotta before adding it to the mix.
- If you want a low-carb dessert that is truly macro friendly, use casein protein powder as it helps create a denser, creamier texture similar to traditional cheesecake.
- To serve, top with fresh berries or a sugar-free syrup for extra flavor.
Nutrition
- Serving Size: 1 slice
- Calories: 210
- Sugar: 3
- Sodium: 280
- Fat: 10
- Saturated Fat: 5
- Unsaturated Fat: 5
- Trans Fat: 0
- Carbohydrates: 10
- Fiber: 2
- Protein: 35
- Cholesterol: 55