

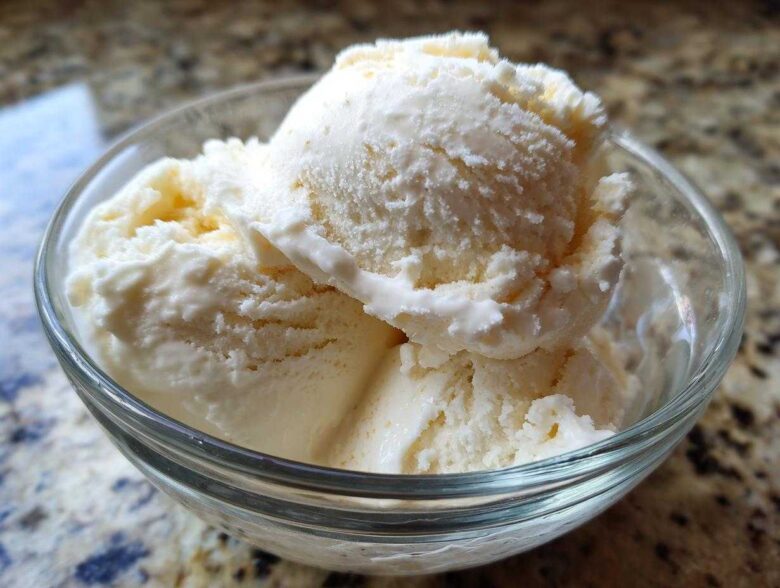
You know that feeling, right? It’s late, you’ve crushed your workout, or maybe you just demolished a huge dinner, and suddenly, nothing sounds better than a giant bowl of cold, creamy ice cream. The problem? That usually means slamming your macros for the day. Well, I’m Leo, and I’m here to tell you we figured out the magic trick. We created the ultimate solution for those cravings: super easy, absolutely decadent **protein ice cream**. The best part? You don’t need one of those fancy machines that takes up half your counter space. This no-churn method has survived all of my kitchen chaos and Sofia’s rigorous taste tests, which, trust me, is the highest recommendation any recipe can get around here. If you want to know more about how these recipes come to life in our chaotic kitchen, check out our story! Get ready for your new favorite sweet obsession!
Why This No-Churn Vanilla Protein Ice Cream is Your New Favorite Macro Friendly Dessert
When I first started tinkering with frozen fitness treats, everything turned into an icy, chalky disappointment. Not this recipe! This vanilla version absolutely shines as one of the best High Protein Dessert Recipes you can find. It hits that sweet spot: incredibly high in protein—hello, 30 grams per serving!—but tastes like actual, decadent ice cream. Forget bland, post-workout fuel; this is genuinely an indulgent healthy dessert you’ll look forward to making.
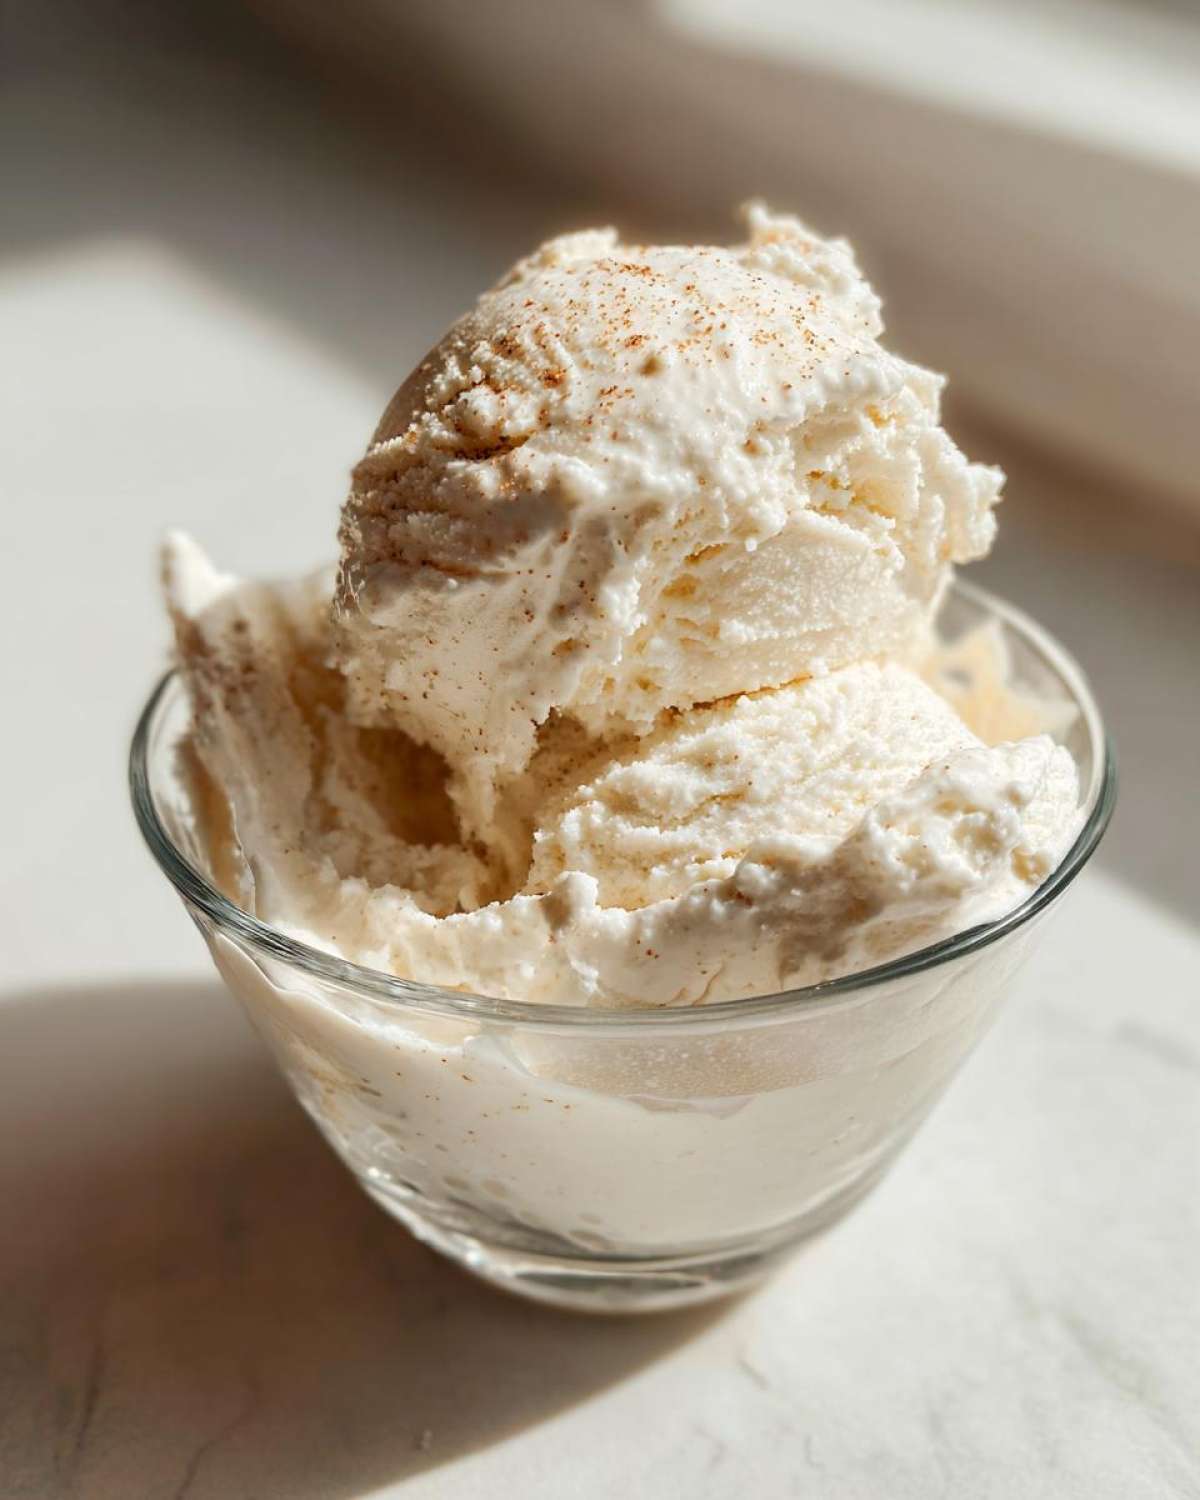
It stands out because it delivers big flavor without needing an ice cream maker, making it accessible for everyone. We consider this one of our best Easy Protein Snacks because it requires almost no active cooking time. If you’re tired of complicated recipes or hate the thought of bananas in your frozen treats, keep reading. For more simple ways we sneak in protein, check out our guide to Easy Protein Snacks.
Achieving Creamy Protein Ice Cream Texture Without a Machine
The secret to beating that icy texture everyone fears lies in the Greek yogurt. Because it’s naturally thick and tart, it acts as a stabilizer for the ice cream base. It binds up all the powder and liquid perfectly, meaning no big, crunchy ice crystals form as it freezes hard. It’s the key to getting that delightful, creamy finish that rivals store-bought tubs.
Simple 4 Ingredient Ice Cream Base for Quick Prep
Seriously, it’s almost scary how easy this is! You only need four core components, plus that splash of vanilla, to get this incredible protein ice cream going. Because the base is so simple, you can easily adapt it later. Think of it as the best blank canvas for all your future Protein Ice Cream Flavors explorations!
Gathering Your Ingredients for the Best Healthy Homemade Ice Cream
Okay, time for the fun part—gathering our supplies! Because this is a no-churn recipe, we rely heavily on the quality and thickness of a few key items. This recipe is designed to be super straightforward. If you’re looking for a guide on making incredible blueberry yogurt muffins, Sofia swears by her recipe right here, but for this frozen delight, here’s exactly what you need to pull together for two perfect servings.
- 1 cup plain Greek yogurt (2% or full fat for best texture)
- 1 scoop vanilla protein powder
- 1/4 cup unsweetened almond milk (or milk of choice)
- 1 tablespoon sweetener (like erythritol or maple syrup, adjust to taste)
- 1/2 teaspoon vanilla extract
Ingredient Notes and Substitutions for Your Protein Ice Cream
Let’s talk texture and choices, because substituting ingredients in protein ice cream can really change the game. I specifically call for Greek yogurt here instead of cottage cheese because I find the texture much smoother and less grainy, even when blended, which helps us nail that creamy finish. And yes, this is a delicious recipe that proudly features High Protein Dessert Recipes No Banana—if you hate banana flavor in your frozen treats, you are in the right place! For the sweetener, feel free to swap out the maple syrup for your favorite zero-calorie option if you are watching sugar intake closely, but remember that using a liquid sweetener like maple syrup can sometimes help keep the final product a tiny bit softer right out of the deep freeze.
Step-by-Step Guide: Making Your No Churn Protein Ice Cream
Alright, this is where the magic happens, and honestly, it’s so easy I feel like I’m cheating! We mix everything up in about five minutes, and then the freezer does all the heavy lifting. If you need a reminder on how we manage to make incredible frozen things without the bulky machine, check out our tips on Making Ice Cream Without a Machine! For this protein ice cream, precision in the mixing stage is everything to avoid a chalky disaster.
- First thing: Grab a medium bowl and toss in your Greek yogurt, the vanilla protein powder, almond milk, your sweetener, and that lovely vanilla extract.
- Next, and this is important: You need to whisk or use a hand mixer until it is unbelievably smooth. I mean it—you want to beat out every single tiny lump of protein powder. Scrape the sides down a couple of times to make sure everything is incorporated perfectly.
- Once it looks like smooth, slightly thick soft-serve batter, scoop it straight into your freezer-safe container—a regular loaf pan works wonders for us! Smooth that top out with a spatula so it freezes evenly.
- This next tip is my big trust move: To stop those dreaded ice crystals from forming on the surface, press a piece of plastic wrap right down onto the top of the mixture before sealing the tub. Tightly sealed is the name of the game!
- Now, slide it into the deepest, coldest part of your freezer for at least six hours. Seriously, don’t cheat this step!
Crucial Freezing Time and Softening Tips for Perfect Protein Ice Cream
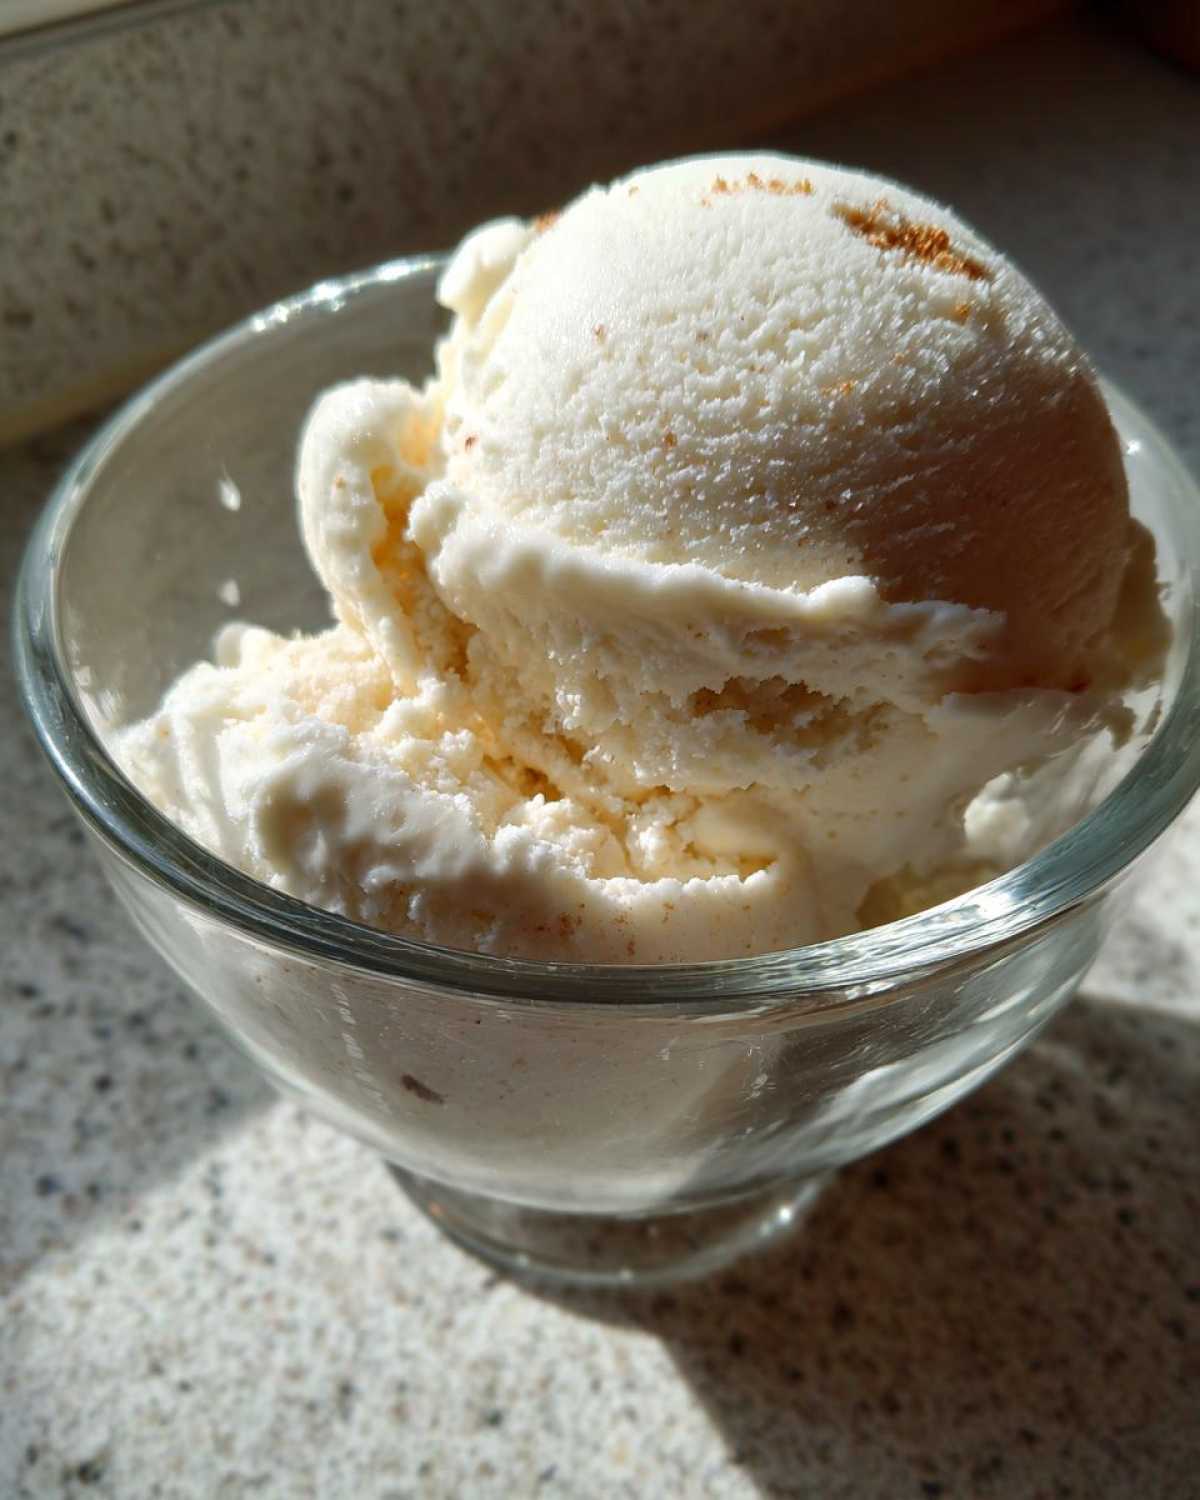
That 6-hour minimum freeze time isn’t just a suggestion; it’s the minimum required for this thick base to set properly! If you pull it out too early, you just get sweet yogurt soup. But here’s the secret weapon for texture: once it’s rock solid, take it out and let it sit on the counter for about 5 to 10 minutes before scooping. This short rest is what transforms it from a frozen brick into the perfect, scoopable, creamy texture we want in our protein ice cream.
Transforming Your Protein Ice Cream Base for Ninja Creami Protein Recipes
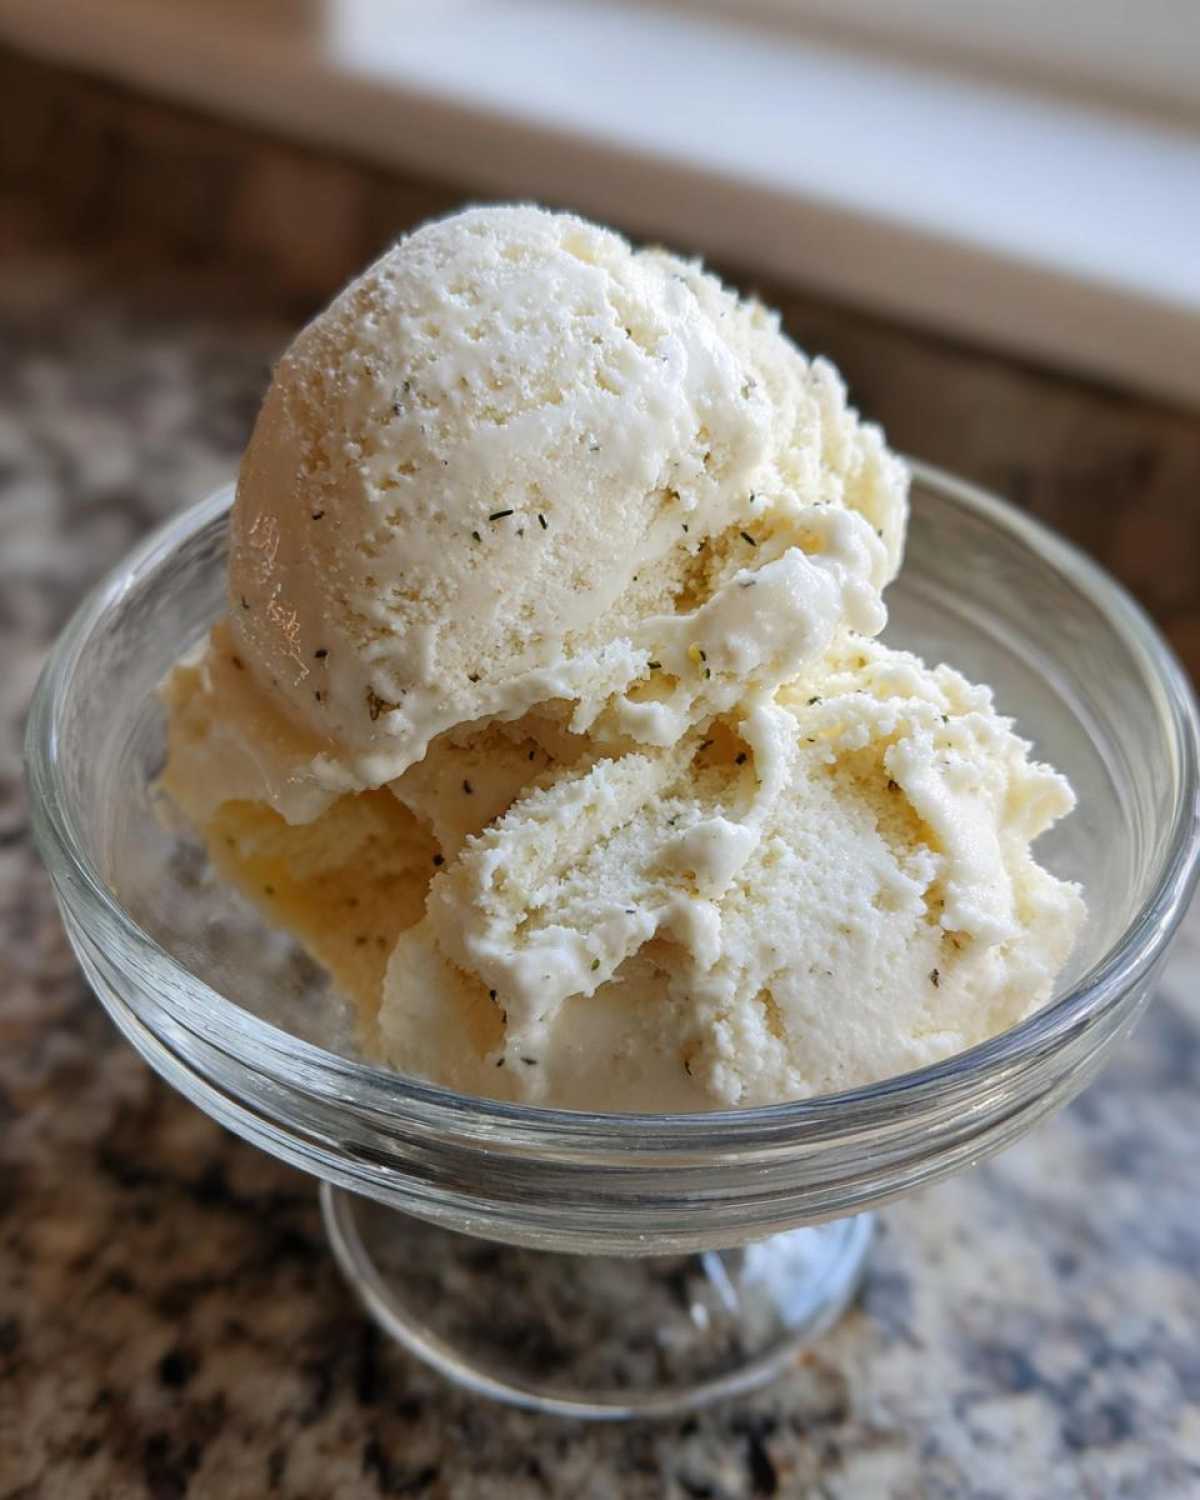
I know, I know, we just gave you a fantastic no-churn recipe, but let’s be real—the Ninja Creami has taken the internet by storm, and we couldn’t leave our Creami owners hanging! If you happen to have one of those magical machines, this vanilla base is a superstar ingredient for amazing Ninja Creami Protein Recipes. The process is actually incredibly simple, which is why I love it so much. You don’t need a whole new list of ingredients; you just need a slightly different freezing process. For more inspiration on using this base in your machine, check out some great healthy Creami recipes!
Here’s the deal: follow steps 1 through 4 of the standard recipe above—mix everything until smooth—but instead of just tossing it in the freezer, you need to freeze it until it’s rock solid, completely firm, which usually takes longer than the standard 6 hours. Once it’s completely frozen solid in your Creami pint, pop it onto the machine base. Run it on the ‘Lite Ice Cream’ or ‘Ice Cream’ setting first. If it’s still crumbly or too powdery after the first spin, just add a splash of almond milk and run it again on the ‘Re-Spin’ setting. Boom! Instant, perfectly smooth, high-protein dessert!
Creative Protein Ice Cream Flavors and Variations
Once you master the vanilla base, the world of **protein ice cream** customization opens up! This is where things get really fun, and frankly, where my best flavor experiments happen. I remember one Tuesday night, Sofia was complaining about needing coffee but refusing to drink another hot cup. So, I took a scoop of this base, mixed in about half a teaspoon of super-fine instant espresso powder, and froze it. When we tried it, we both stopped talking—it was the richest, most perfect mocha you could imagine! It really ramps up the decadence factor for our Protein Ice Cream Flavors lineup.
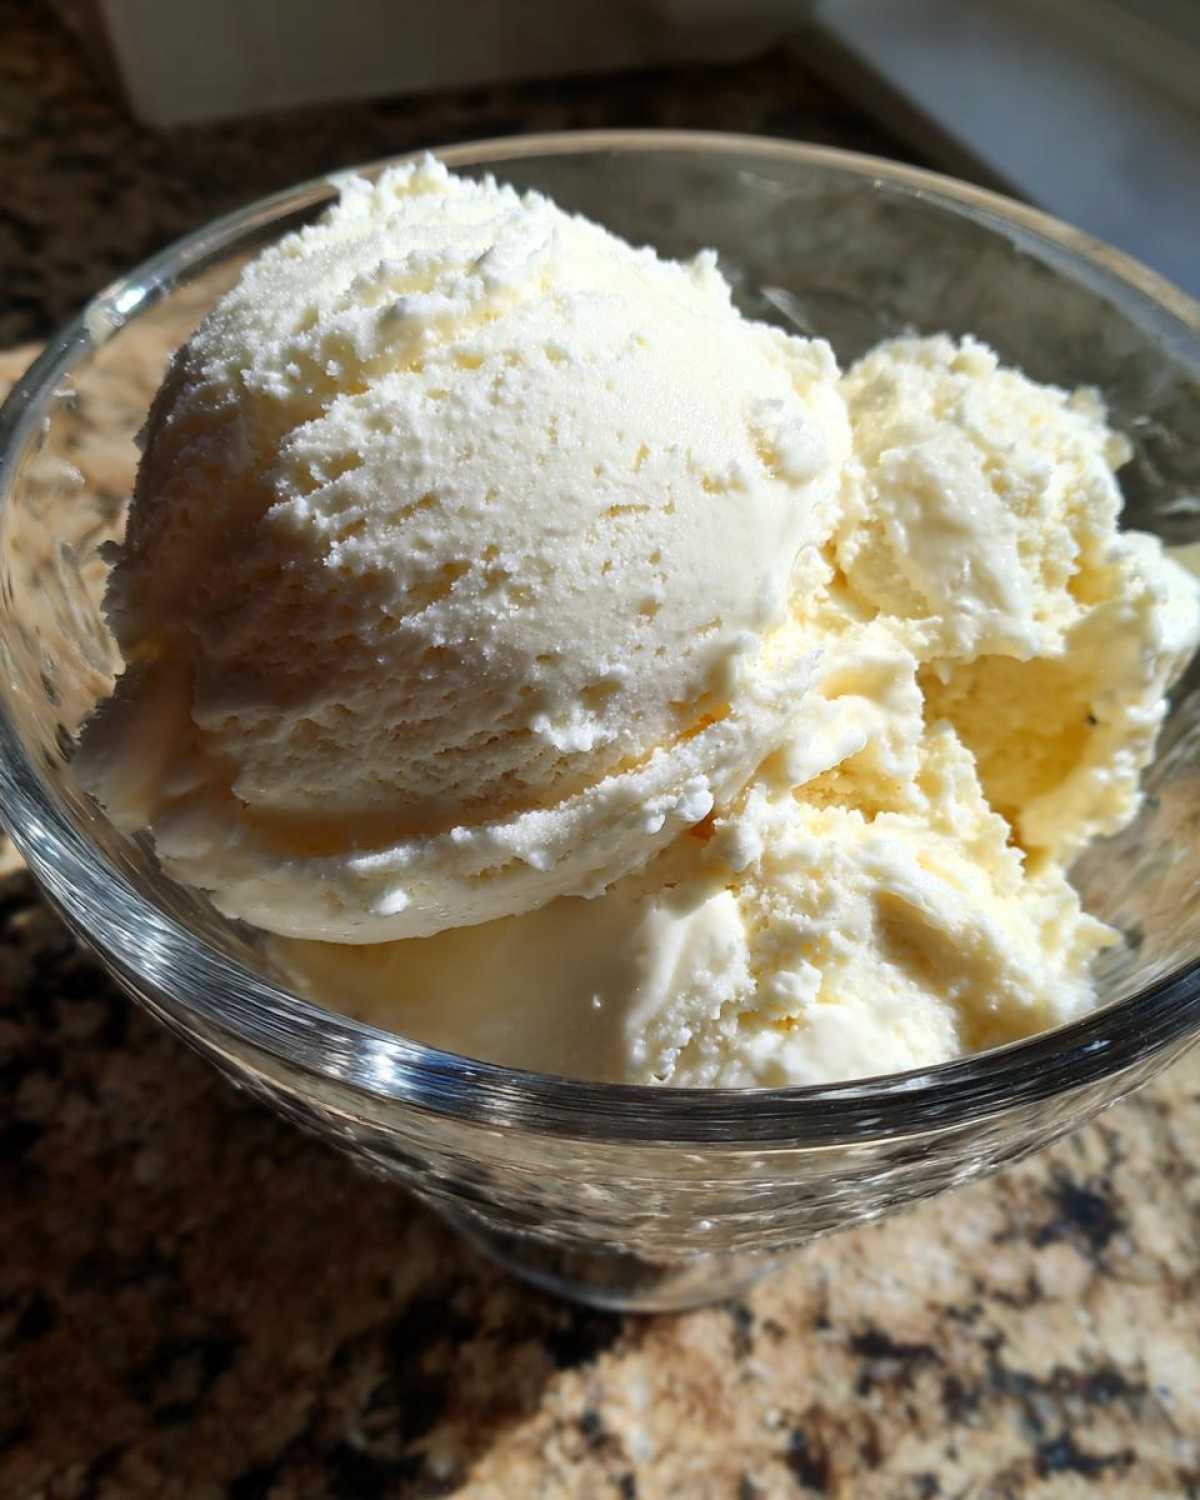
For a rich hit of chocolate, just whisk in two tablespoons of high-quality, unsweetened cocoa powder when you mix your wet and dry ingredients. You might need an extra splash of milk since cocoa absorbs liquid. If you want something seasonal, try adding a pinch of pumpkin spice or some crushed freeze-dried strawberries. Seriously, this base takes on almost any flavor beautifully. For another incredible chocolate option, check out our guide on homemade chocolate cake for rich flavor inspiration, or look at this great Chocolate Protein Ice Cream recipe for a different take!
Serving Suggestions for Your Guilt Free Frozen Treats
Even though this **protein ice cream** is already perfect on its own—trust me, a big scoop straight from the freezer is heaven—sometimes you just need a little topping fanfare! Since we’re focusing on keeping these Guilt Free Frozen Treats macro-friendly, I always keep things simple. A handful of fresh raspberries or blueberries adds the perfect pop of natural sweetness and texture. If you need that chocolate fix, skip the sugary syrup and drizzle on a little melted sugar-free dark chocolate. If you’re looking for other light and bright ways to use fruit, you have to check out Sofia’s insanely refreshing watermelon smoothie recipe!
Storage and Reheating Instructions for Leftover Protein Ice Cream
Okay, I know you might not have leftovers because this stuff disappears fast, but just in case you manage to save some of your glorious **protein ice cream**, we need to talk storage! Keep it airtight. Seriously, air is the enemy here; it causes those freezer burn crystals that ruin the texture. Always press a piece of plastic wrap directly onto the surface before sealing the container—this is the exact same trick we use when we freeze the base, and it works wonders! If you’re interested in other recipes that freeze well, our creamy zucchini soup recipe shows up in freezing tests beautifully, check it out here!
When you want to eat it later, don’t try to microwave it, or you’ll just end up with sweet yogurt soup! Just pull it out of the freezer and let it hang out on the counter for about 7 to 10 minutes. That little bit of time lets the Greek yogurt base soften up just enough to get that perfect, scoopable texture again. Trust me, patience pays off!
Frequently Asked Questions About Making Protein Ice Cream
I get so many questions thrown my way about this recipe, which just proves we aren’t the only ones obsessed with guilt-free frozen desserts! It’s smart to ask questions before you dive in, especially when dealing with frozen textures. I gathered a few of the most common ones buzzing around our Cookify Me blog comments so we can clear everything up right now!
Can I make this protein ice cream without Greek yogurt?
You totally can! If you don’t have Greek yogurt on hand, you’ve got a couple of great options. Blending cottage cheese until it’s totally silky smooth will work, though it might be slightly stiffer. Alternatively, silken tofu makes a surprisingly creamy base for this kind of blend too, giving you another fantastic texture for your creation!
Is this recipe considered a Low Calorie Ice Cream Idea?
Absolutely, yes! Because we’re using yogurt and protein powder instead of heavy cream and tons of sugar, this definitely fits the bill for Low Calorie Ice Cream Ideas. Based on the base recipe, we’re looking at around 220 calories for half the batch! That’s an amazing number for a truly satisfying, cold treat.
What is the best protein powder for this protein ice cream?
This is super important for texture! Whey protein absorbs liquid differently than casein. Whey tends to blend smoother, but casein often yields an icier result if you don’t use enough liquid. For the absolute best, thickest texture in this protein ice cream, I usually lean toward a whey/casein blend, or just pure casein since it thickens everything up beautifully during freezing.
Estimating the Nutritional Value of Your Indulgent Healthy Desserts
Now, I know what you’re thinking: how can something this delicious be good for me? Well, that’s the beauty of making your own protein ice cream! We have the nutrition breakdown right here for you, based on the standard recipe using 2% Greek yogurt and a standard vanilla whey blend. This is what makes this one of the very best Indulgent Healthy Desserts!
- Serving Size: 1/2 of recipe
- Calories: 220
- Protein: 30g
- Fat: 4g
- Carbohydrates: 15g
- Sugar: 5g
But look, this is Leo talking now—always remember these numbers are estimates! If you swap out the almond milk for whole milk, or use a protein powder that’s naturally higher in carbs, those numbers are going to shift a bit. So, treat these as a really solid guideline for your macro tracking, but if you want the absolute perfect count, you’ll still need to plug in your exact brands. For more surprisingly healthy, comforting recipes, check out my guide on easy creamy black bean soup; it’s another pantry staple that surprises people!
PrintSimple No-Churn Vanilla Protein Ice Cream (Guilt-Free Treat)
You need this easy, creamy, high-protein ice cream recipe that requires no ice cream maker. It is a macro-friendly dessert perfect for satisfying sweet cravings.
- Prep Time: 5 min
- Cook Time: 0 min
- Total Time: 6 hr 5 min
- Yield: 2 servings
- Category: Dessert
- Method: No-Churn Freezing
- Cuisine: American
- Diet: Low Fat
Ingredients
- 1 cup plain Greek yogurt (2% or full fat for best texture)
- 1 scoop vanilla protein powder
- 1/4 cup unsweetened almond milk (or milk of choice)
- 1 tablespoon sweetener (like erythritol or maple syrup, adjust to taste)
- 1/2 teaspoon vanilla extract
Instructions
- In a medium bowl, combine the Greek yogurt, vanilla protein powder, almond milk, sweetener, and vanilla extract.
- Use a hand mixer or a sturdy whisk to mix the ingredients until the mixture is completely smooth and there are no lumps of protein powder remaining. Scrape down the sides of the bowl as needed.
- Transfer the mixture into a freezer-safe container, like a loaf pan or a small plastic tub. Smooth the top with a spatula.
- Cover the container tightly with plastic wrap, pressing the wrap directly onto the surface of the mixture to prevent ice crystals from forming.
- Freeze for a minimum of 6 hours, or until firm.
- Before serving, let the ice cream sit on the counter for 5 to 10 minutes to soften slightly for the best, creamy texture. Scoop and enjoy your high-protein dessert.
Notes
- For an even creamier result, you can use a food processor to blend the ingredients until very smooth before freezing.
- If you own a Ninja Creami machine, use this mixture as your base, freeze it solid, and then process it according to the machine’s instructions, adding a splash more milk if needed during the re-spin cycle.
- This recipe avoids banana, making it suitable for those who dislike that flavor in their frozen treats.
Nutrition
- Serving Size: 1/2 of recipe
- Calories: 220
- Sugar: 5
- Sodium: 150
- Fat: 4
- Saturated Fat: 2
- Unsaturated Fat: 2
- Trans Fat: 0
- Carbohydrates: 15
- Fiber: 1
- Protein: 30
- Cholesterol: 15