

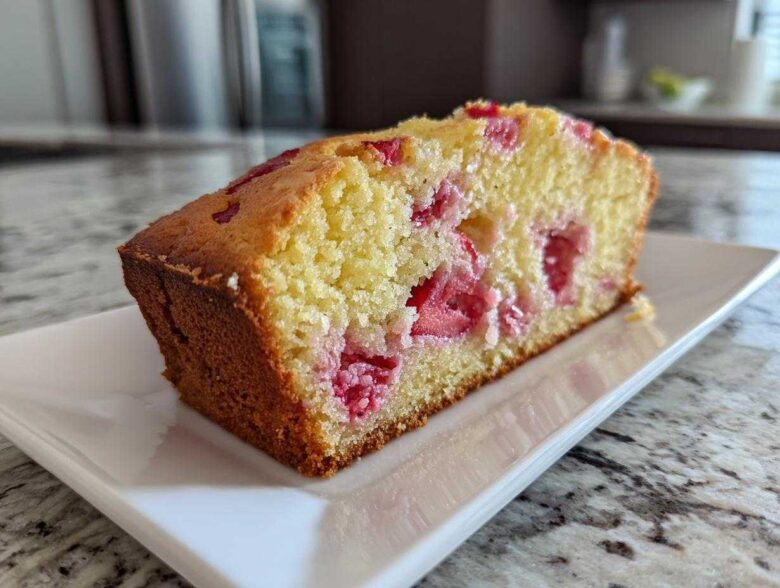
If you asked me for one single baking ingredient that delivers unbelievably moist results without adding a ton of heavy fat, I’d grab our strawberry yogurt right off the shelf! Seriously, I absolutely adore baking with yogurt. It keeps everything light while adding that perfect little tang you just can’t get from sour cream.
Today, we’re not messing around with gelatin or no-bake fixes, we are actually *baking* something spectacular. This **Strawberry Yogurt Cake** recipe is the one I turn to when I need a simple, bright dessert that tastes homemade but takes hardly any time at all. It’s fluffy, it’s flavorful, and trust me, you’ll wonder why you haven’t been mixing yogurt into your sponge cakes all along!
Why This Strawberry Yogurt Cake Recipe Stands Out
When I talk about this cake, I have to emphasize how wonderfully easy it is. Most fancy desserts require hours of chilling or fiddly steps, but this one comes together fast enough for a weeknight treat. It’s genuinely the best part of my baking rotation because it keeps things simple.
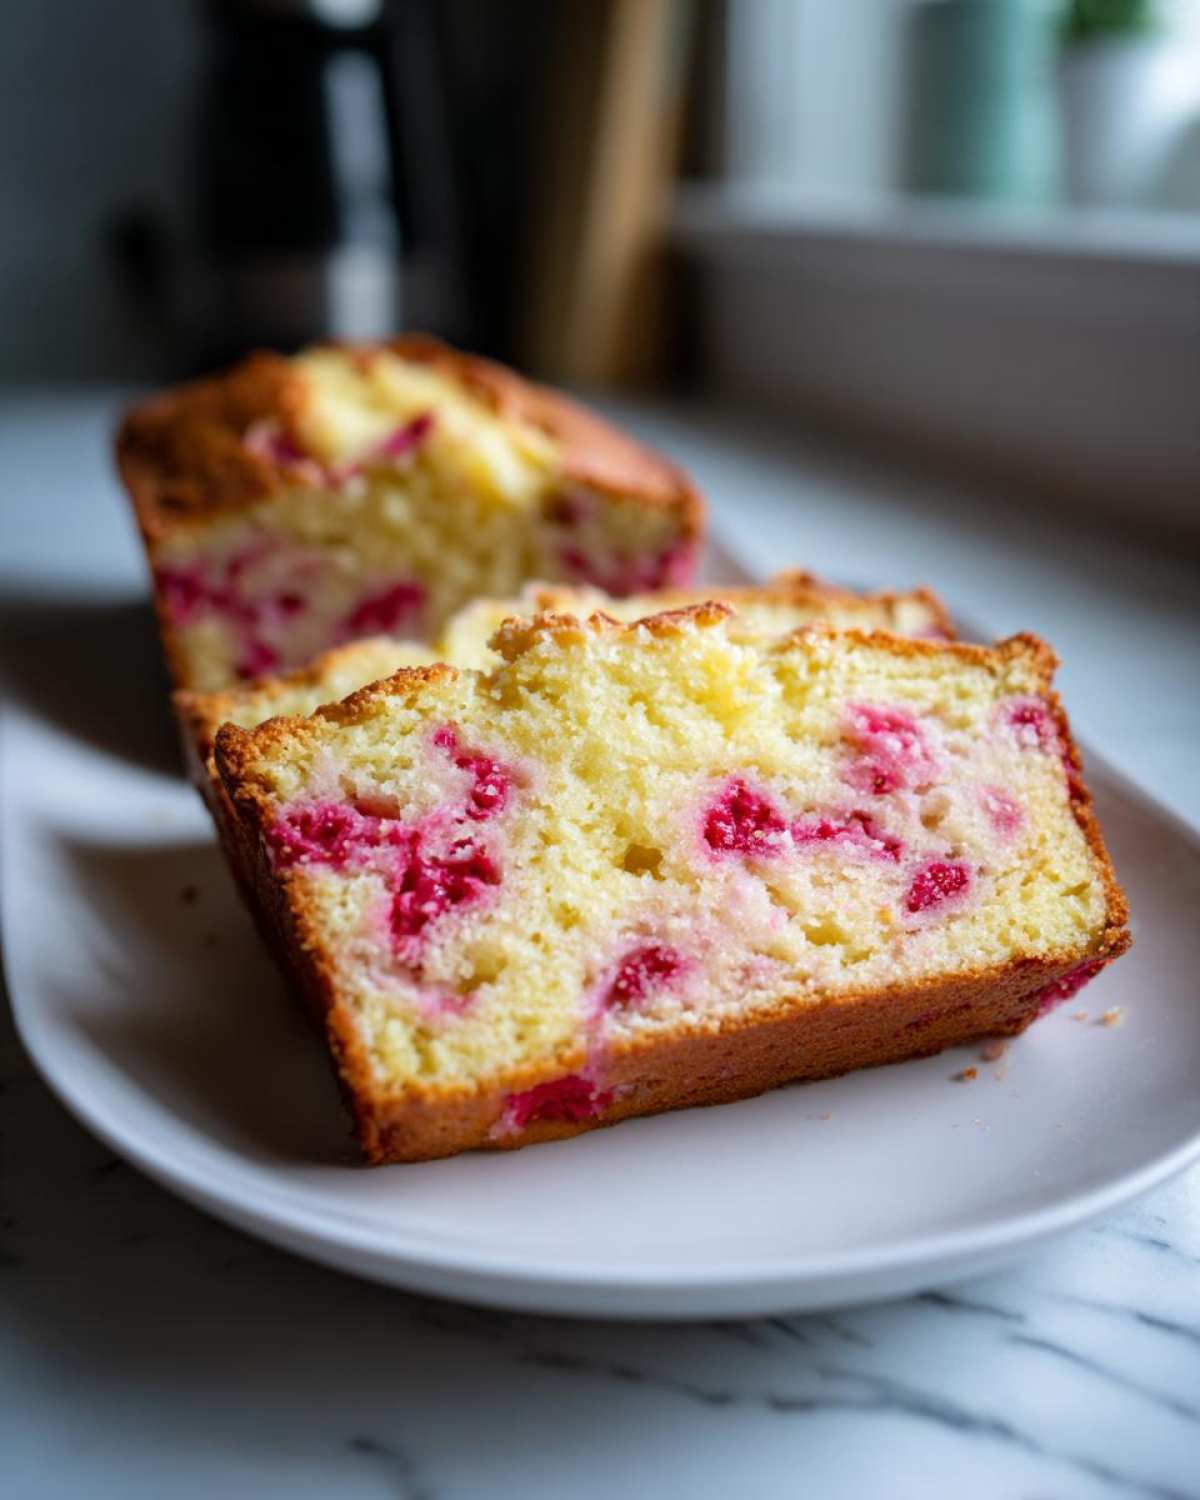
What you get is this incredibly tender crumb—it never dries out! The yogurt gives it that fantastic, **Light and Tangy Strawberry Yogurt Cake** profile that cuts through the sweetness perfectly. It’s a winner, hands down.
Key Recipe Metrics for Your Strawberry Yogurt Cake
- Prep Time: Just 15 minutes—you can have this batter ready before your oven even hits temp!
- Cook Time: A quick 40 minutes in the oven.
- Total Time: You’re looking at about 55 minutes start to finish.
- Yield: This makes 8 satisfying slices, perfect for sharing (or not sharing, I don’t judge!).
Gathering Ingredients for Your Strawberry Yogurt Cake
Okay, time to look at the shopping list! If you take one thing away from this section, it’s this: the quality of your strawberry yogurt really matters here. Since it’s such a dominant flavor and moisture source, use the best one you can find—full-fat yogurt gives a richer cake, but low-fat works fine if you’re watching things! I always get excited pulling out the yogurt because I know it’s the secret weapon.
For this simple baked version, we need the basics, plus our beautiful fruit. I sometimes grab my favorite blueberry muffin recipe notes when I’m looking for tips on adding fruit, like in my protein muffins—it’s all about careful mixing!
Here’s the full rundown of what you’ll need to pull together:
- 1 3/4 cups all-purpose flour
- 1 1/2 teaspoons baking powder
- 1/2 teaspoon baking soda
- 1/4 teaspoon salt
- 1/2 cup unsalted butter, making sure it’s softened up!
- 1 cup granulated sugar
- 2 large eggs—make sure these are room temperature, trust me on this one!
- 1 cup strawberry yogurt (your star player!)
- 1 teaspoon vanilla extract
- 1/2 cup fresh or frozen strawberries, chopped up small.
Ingredient Notes and Substitutions for Strawberry Yogurt Cake
Don’t panic if your pantry is a little different! If you happen to be avoiding gluten, you can absolutely swap out the flour for a good quality 1:1 gluten-free baking blend. And don’t worry about the strawberries if fresh ones aren’t in season; frozen ones work great straight from the freezer. You can always finish this beautiful **Strawberry Yogurt Cake** with a simple pour-over powdered sugar glaze once it cools down completely if you love that extra touch.
Step-by-Step Instructions for the Baked Strawberry Yogurt Cake
This is where the magic happens! Since this cake is baked, setup is super important. First things first: get that oven raging hot to 350°F (175°C). While it’s heating up, grease and flour your 9-inch round pan. Set that aside and tackle your dry ingredients next. In a medium bowl, just whisk the flour, baking powder, soda, and salt together until they’re acquainted. That’s the first step done!
Now for the main event where we build that structure. In a big bowl, you need to cream that softened butter with the sugar until it’s genuinely light and fluffy. Think pale yellow, not just slightly yellow. Then beat in those two room-temperature eggs, one at a time—give each one a good minute to fully incorporate before adding the next. After that, go ahead and mix in your star: the cup of strawberry yogurt and the vanilla. Just mix until it’s combined, don’t overdo it here!
Mixing the Batter for a Perfect Strawberry Yogurt Cake
Okay, listen up, this is the secret to that **Fluffy Yogurt Cake with Strawberries**. You need to add your dry mix to the wet mix slowly. I mean *slowly*! Add about a third of the flour mixture, mix on low speed until *just* combined, then maybe half of what’s left of the yogurt mixture, mix again, and repeat. The game changer is stopping the second you see everything come together. If you keep mixing once the flour is in, you’ll develop too much gluten, and you’ll end up with a tough cake instead of a lovely, tender one. As my friend who taught me how to make banana bread says: slow down when the flour goes in!
Once the flour is incorporated, gently fold in those chopped strawberries. Use a spatula for this, don’t use the electric mixer! Pour that gorgeous batter into your prepared pan and get it into the hot oven right away. We don’t want the leavening agents to lose their puff waiting around!
Baking and Cooling Your Moist Strawberry Yogurt Dessert
The bake time is usually 35 to 40 minutes. You know it’s done because that toothpick test should come out clean, but I always look for a visual cue too—the cake should start pulling ever so slightly away from the edges of the pan. It’s the perfect sign for a **Moist Strawberry Yogurt Dessert**!
Don’t rush the cooling! This part is non-negotiable for a clean release. Let the cake hang out in the pan for a full 10 minutes to firm up its structure. After that, carefully invert it onto a wire rack to cool completely. If you try to take it out too soon, it might just crumble on you, and nobody wants that sad moment!
Tips for the Best Strawberry Yogurt Cake Results
You have the method down now, but honestly, this recipe shines brightest when you pay attention to the ingredients’ condition before mixing. Getting these small details right is what separates a good cake from the **Best Strawberry Yogurt Cake Recipe** in my book! It’s all about setting yourself up for success right from the start.
My number one tip, which I briefly mentioned, is using room-temperature ingredients—especially the butter, eggs, and yogurt. When cold lumps hit the creamed butter and sugar, they won’t emulsify properly. That emulsification is what traps air, and air is what gives you that lovely, light structure! If your eggs are cold, they tend to curdle the batter, leading to a denser crumb. Plan ahead and set those out an hour before you start!
Another thing I swear by is sifting your dry ingredients, even though the recipe only calls for a quick whisk. Sifting breaks up any clumps in the flour or baking powder, which means you have to mix less later on. Less mixing equals less chance of overdeveloping the gluten. It’s all connected, you see!
Finally, if you’re adding fresh strawberries, give them a quick toss in a tiny bit of flour before folding them in at the very end. This prevents them from sinking straight to the bottom of the pan during baking. They’ll stay suspended beautifully throughout the whole cake, giving you an even distribution of fruit in every slice. It’s a trick I use anytime I bake fruit into a batter, just like when I made that gorgeous lemon pound cake.
Variations on the Simple Strawberry Yogurt Loaf Cake
While I absolutely adore this cake in a round 9-inch pan, sometimes I need something a bit more rustic, maybe to slice up for breakfast the next day as a **Simple Strawberry Yogurt Loaf Cake**! Loaf pans are fantastic for this recipe because they bake up dense and hearty.
If you want to shake things up, try adding the zest of one whole lemon right when you cream the sugar and butter. Wow, does that extra citrus brighten up the tang from the yogurt! It’s an easy win. You can also swap out the strawberries completely and use raspberries instead, which also hold up beautifully to the batter. My recipe for the blueberry lemon loaf shows how well fruit works in the pan shape, and that same principle applies here!
Serving Suggestions for Your Strawberry Yogurt Cake
Once this beautiful cake has cooled completely—or at least cooled down enough that it won’t melt your toppings—the fun part begins: figuring out how to eat it! Because this cake is so wonderfully moist on its own, you don’t need to dress it up too much, honestly. Keep it simple to let that light, tangy flavor shine through.
If you’re serving it warm, just a light dusting of powdered sugar is perfect. The heat from the slice will make that fine sugar melt just a little bit, creating a lovely, thin glaze right on the surface. That’s my husband’s favorite way to have it!
For something a little more decadent, try a dollop of freshly whipped cream. I whip heavy cream with just a tiny bit of vanilla and maybe half a teaspoon of sugar—that’s it! The freshness of the cream balances the baked sweetness wonderfully. Or, if you’re feeling like dessert-dessert, a small scoop of good quality vanilla bean ice cream alongside a warm slice is pure heaven. It hits all the right notes: warm cake, cold cream, and that perfect hint of berry tang!
Storage and Reheating Instructions for Strawberry Yogurt Cake
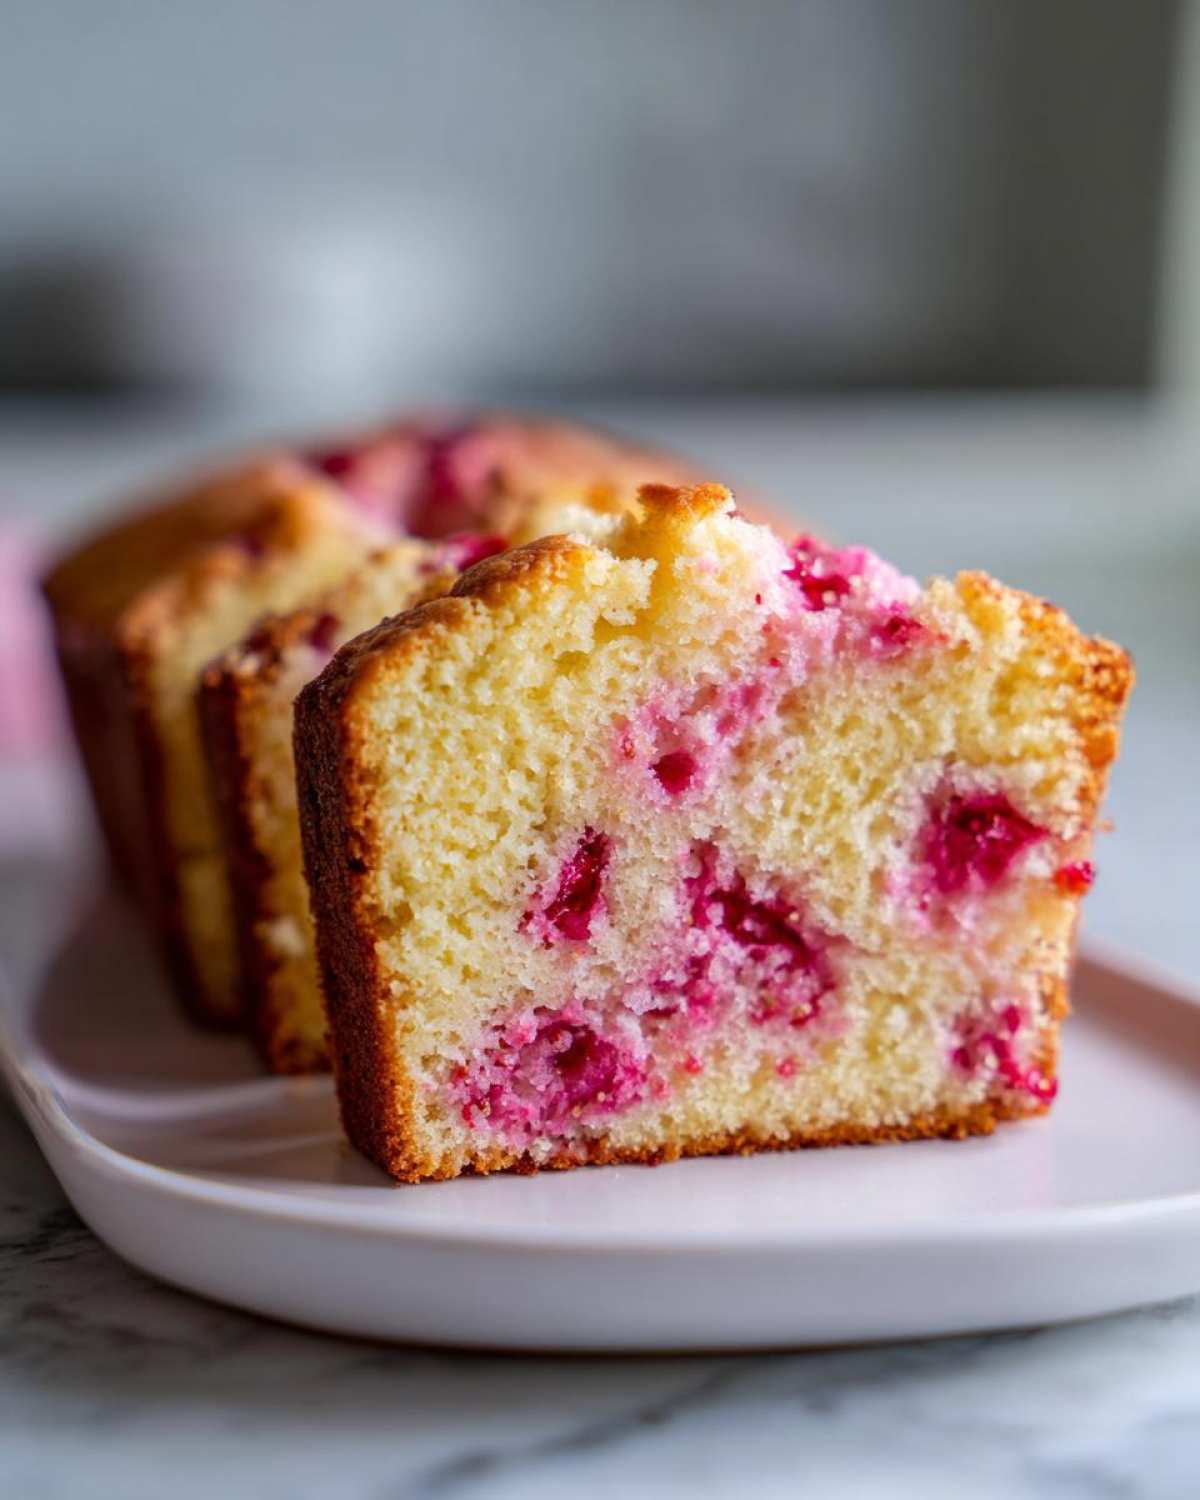
I know you won’t be able to resist eating the whole **Strawberry Yogurt Cake** in one day, but just in case you manage to save a slice (or three!), storage is easy peasy. Since we used yogurt instead of heavy cream cheese in the batter, we have a bit more flexibility!
For how long it lasts, if you just cover it tightly with plastic wrap or store it in an airtight container right on the counter at room temperature, it should stay perfectly fresh and moist for about two days. I never recommend refrigerating cake unless it has a perishable frosting, because the fridge tends to dry things out quick! Keep it covered on the counter, and it’s ready for snacking.
Now, if you happen to save a piece for the third day or later, then pop it into the fridge. Just make sure it’s tightly wrapped so it doesn’t absorb any weird smells from your leftovers! When you pull it out, it might be a little firm—that’s normal.
To bring it back to that just-baked, moist perfection, you absolutely have to reheat it! My favorite trick is to zap a slice in the microwave for just 10 to 15 seconds. Seriously, don’t go over 15 seconds, or it’ll get rubbery! That little burst of warmth softens the crumb right up again, and you’ll swear it was just pulled from the oven. Cold slices are just sad slices, so always follow the reheat rule for the best experience!
Frequently Asked Questions About Strawberry Yogurt Cake
I know you guys have questions! Whenever a recipe uses a dairy item that isn’t standard—like yogurt instead of milk—people always wonder if it changes the texture too much. I’ve tried all the variations so you don’t have to, so here are the things I get asked the most about getting this cake perfect.
Can I make an Easy No Bake Strawberry Yogurt Cake instead?
That’s a great question for summer baking! Since this particular recipe is designed to be baked, it relies on eggs and baking powder to set up properly. If you wanted a completely chilled option, you’d be looking at more of a **Chilled Strawberry Yogurt Cheesecake Alternative**. Those no-bake versions usually require a lot more stabilizing ingredients, like gelatin or a heavy cream cheese base, to hold their shape when cold. If you’re looking for cold desserts, you should check out my recipe for no-bake cheesecake cups—that’s the right vein for handheld, chilled treats!
What is the best yogurt to use in this Strawberry Yogurt Cake Recipe?
I usually stick to full-fat strawberry yogurt because, let’s be honest, fat equals flavor and moisture in cakes! Full-fat yogurt helps provide that rich body we want. If you only have plain yogurt, that’s fine too—just make sure it’s either Greek-style or full-fat, because the thinner, watery yogurts might make your batter too loose. The key benefit we are aiming for is that “tangy” lift, and Greek yogurt delivers that wonderfully!
Why did my cake sink in the middle?
Ugh, the dreaded sink! This is almost always one of two things. First, check your leavening agents—if your baking powder is old, it won’t have the power to hold the structure up! Second, and this happens a lot with richer batters, it’s usually due to opening the oven door too early. Don’t peek before the 30-minute mark! Peeking lets a rush of cool air hit the rising structure, and that’s usually what causes it to collapse right in the middle. Be patient so you get that beautiful, level surface on your **Moist Strawberry Yogurt Dessert**!
Can I use a different fruit instead of strawberries?
Absolutely! This recipe is truly versatile. I often turn this into a **Light and Tangy Strawberry Yogurt Cake** substitute using blueberries or even chopped cherries. The most important thing is to make sure you chop the fruit yourself. Remember what I said about tossing it in a little flour? That trick works for any fruit you decide to use!
Share Your Homemade Strawberry Yogurt Cake
So, that’s it! You’ve got the secret to a super soft, delightfully tangy **Strawberry Yogurt Cake**. I sincerely hope this recipe brings as much joy to your kitchen as it brings to mine every time I whip up a batch. It’s just so straightforward, yet the results are always spectacular!
Now, I can’t wait to see what you create! Did you use fresh berries? Did you go for the simple powdered sugar dusting or maybe try a fancy citrus glaze? Please don’t keep those beautiful bakes to yourself!
Take a moment when you’ve served it up—maybe with that side of whipped cream or vanilla ice cream—and snap a picture! You can send me your photos or drop me a line over at the contact page. I love seeing your successes!
And if you followed the steps and loved the texture, please come back later and give this recipe a star rating right here on the page. Five stars make my day! Happy baking, friends, and I’ll catch you on the next sweet adventure!
PrintBaked Strawberry Yogurt Cake

Bake this simple cake using strawberry yogurt for a moist texture and a light, tangy flavor.
- Prep Time: 15 min
- Cook Time: 40 min
- Total Time: 55 min
- Yield: 8 servings
- Category: Dessert
- Method: Baking
- Cuisine: American
- Diet: Vegetarian
Ingredients
- 1 3/4 cups all-purpose flour
- 1 1/2 teaspoons baking powder
- 1/2 teaspoon baking soda
- 1/4 teaspoon salt
- 1/2 cup unsalted butter, softened
- 1 cup granulated sugar
- 2 large eggs
- 1 cup strawberry yogurt (full fat or low fat)
- 1 teaspoon vanilla extract
- 1/2 cup fresh or frozen strawberries, chopped
Instructions
- Preheat your oven to 350°F (175°C). Grease and flour a 9-inch round cake pan.
- In a medium bowl, whisk together the flour, baking powder, baking soda, and salt. Set aside.
- In a large bowl, beat the softened butter and sugar together until light and fluffy.
- Beat in the eggs one at a time, mixing well after each addition.
- Mix in the strawberry yogurt and vanilla extract until just combined.
- Gradually add the dry ingredients to the wet ingredients, mixing on low speed until just incorporated. Do not overmix.
- Gently fold in the chopped strawberries.
- Pour the batter into the prepared cake pan.
- Bake for 35 to 40 minutes, or until a toothpick inserted into the center comes out clean.
- Let the cake cool in the pan for 10 minutes before inverting it onto a wire rack to cool completely.
Notes
- For a gluten-free version, substitute the all-purpose flour with a 1:1 gluten-free baking blend.
- You can use a simple powdered sugar glaze on top once the cake is cool.
- If using frozen strawberries, do not thaw them before adding them to the batter.
Nutrition
- Serving Size: 1 slice
- Calories: 280
- Sugar: 22
- Sodium: 180
- Fat: 13
- Saturated Fat: 7
- Unsaturated Fat: 6
- Trans Fat: 0
- Carbohydrates: 38
- Fiber: 1
- Protein: 5
- Cholesterol: 65