

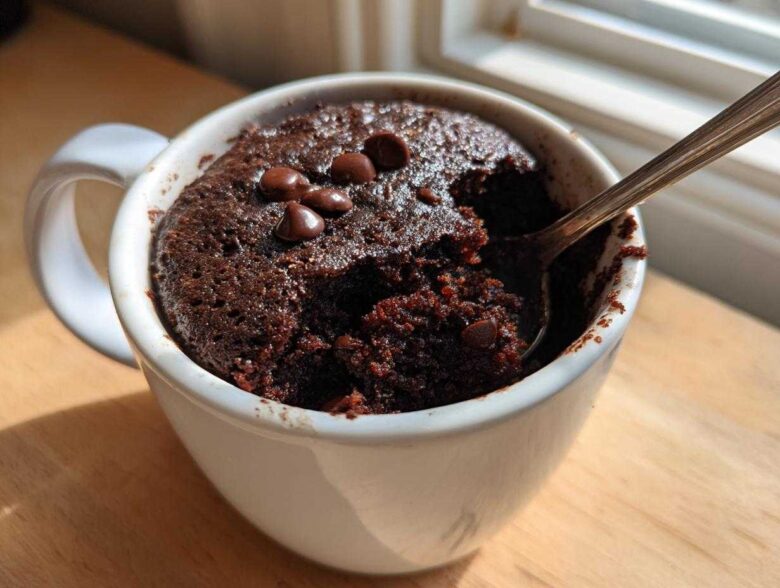
Oh, you know those evenings, right? It’s 9 PM, you’re settled on the couch, and suddenly, only something deeply, intensely chocolatey will do. Trying to bake a full pan of brownies feels like a marathon when you need a sprint! Trust me, I figured this out years ago when I was pulling all-nighters studying—I needed instant gratification without firing up the oven.
That’s why this **Microwave Brownie in a Mug** recipe changed my life. Seriously, it’s the ultimate solution for a chocolate craving that just won’t wait. We are talking about mixing four dry ingredients, drizzling in the rest, zap it for 90 seconds, and you are in chocolate heaven. It’s so easy, I promise you’ll feel like you’re cheating!
This single-serving dessert produces something close to a fudgy little cake, but richer—exactly what you want from a brownie. And the best part? Cleanup is literally just rinsing one fork! Before you grab your favorite mug, check out my quick three-ingredient fudge recipe for another super fast fix, but stick with me here because this brownie is special.
Why This Microwave Brownie in a Mug is Your New Favorite Dessert
Listen, if you’re looking for a dessert that respects your time and your waistline (sort of!), this is it. The whole process for this Microwave Brownie in a Mug is shockingly fast. You’re getting all the chocolate satisfaction without any of the waiting involved in traditional baking. Forget those complicated recipes; this is pure, immediate joy.
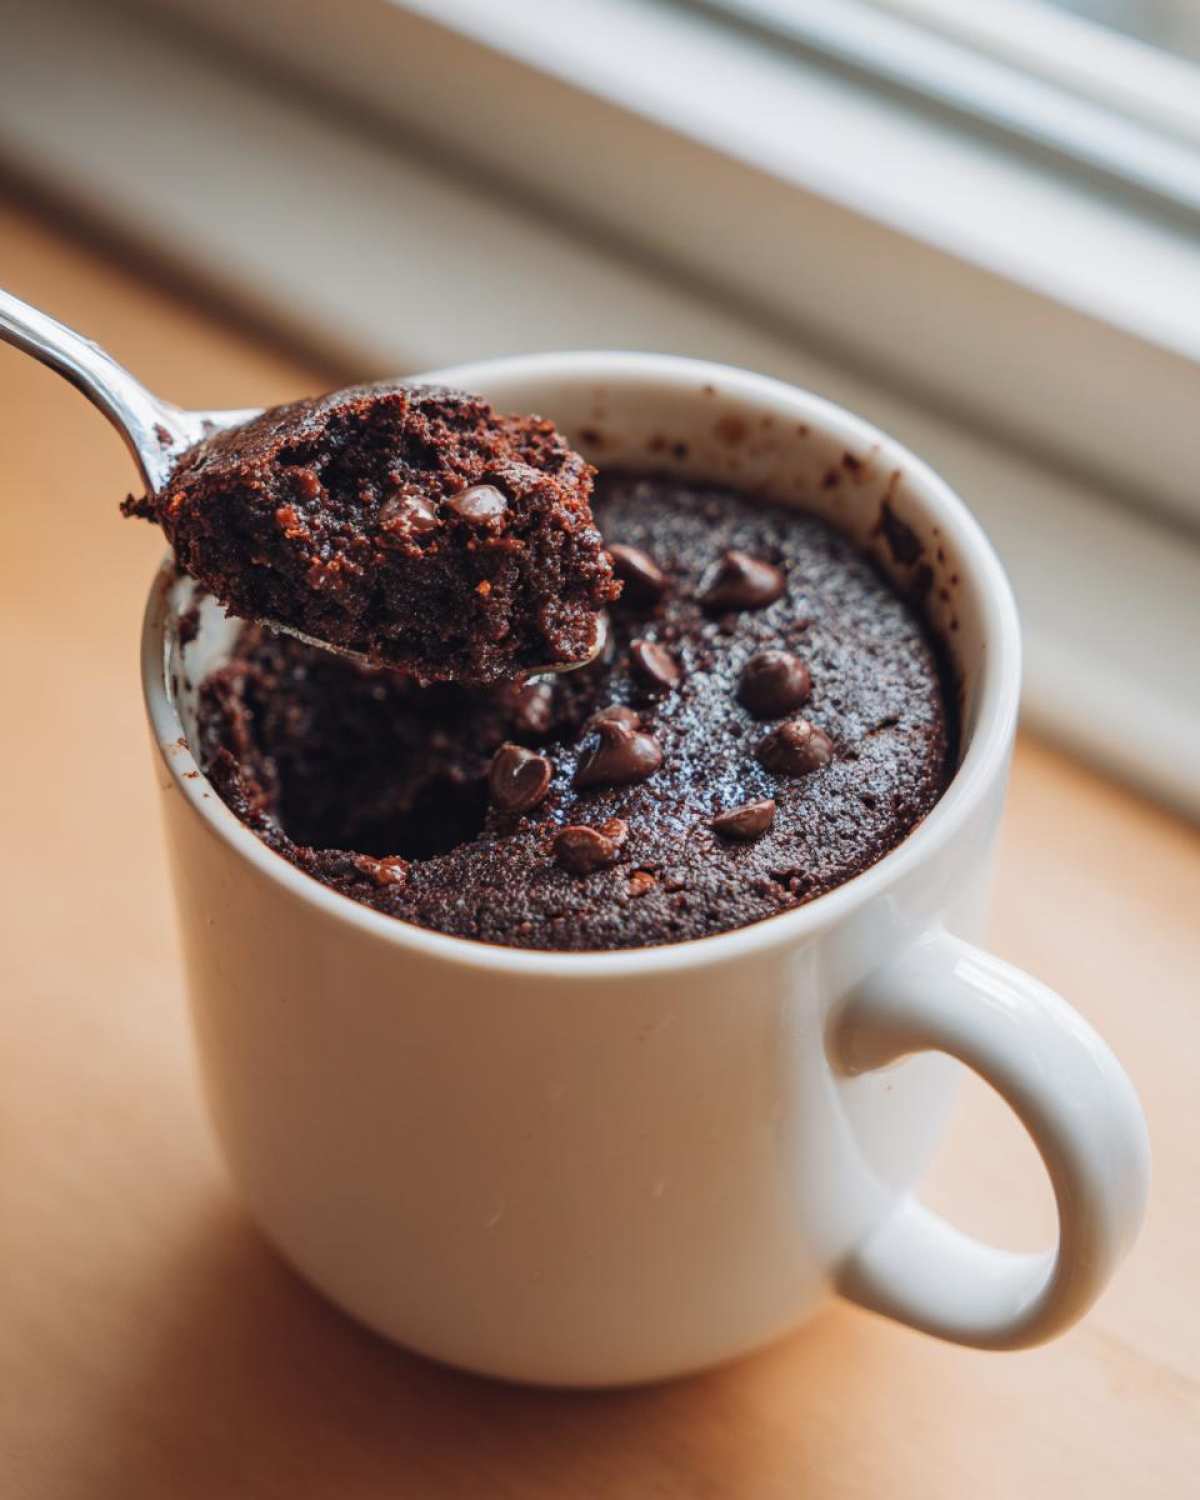
- It’s ready faster than most Amazon deliveries!
- It’s perfectly portioned, so you don’t have to worry about eating half a pan later.
- Cleanup? A quick rinse of the mug and fork—that’s it!
Check out my guide on more 5-minute desserts if you need more lightning-fast fixes!
Unbeatable Speed: The Fastest Brownie Recipe
Seriously, the total time is under four minutes! You mix it up, you zap it, and bam—you have a warm, gooey chocolate treat. If a craving hits you right now, this is the fastest brownie recipe you’ll ever use. It beats microwaving old leftovers, I promise!
Perfect Portion Control for a Dessert for One
This recipe is designed specifically for you—no need to share unless you really want to! It’s the perfect dessert for one. You get that decadent, rich flavor without committing to a whole batch that stares at you from the counter all week long. It’s responsible indulgence!
Gathering Your Ingredients for the Microwave Brownie in a Mug
Okay, now for the fun part where we gather the cast for our ridiculously quick chocolate show! Because we are working in such a small space—just one mug—it’s vital that you use the right stuff and measure clearly. This isn’t the time for guessing! Having everything ready means you can go from craving to eating in under four minutes. It’s all about prepping your tools and ingredients before you start mixing.
Dry Ingredients Check
You need the backbone of the brownie first, and that means the dry stuff needs to be totally incorporated before anything wet touches it. This stops you from having pockets of straight cocoa powder or sugar lurking at the bottom! Go ahead and grab four tablespoons of all-purpose flour, four tablespoons of granulated sugar, two heaping tablespoons of unsweetened cocoa powder—and please, use UNSWEETENED, that’s key for the right chocolate punch—and just a tiny pinch of salt to wake everything up. Mix these four ingredients aggressively with your fork right in the mug.
Wet Components and Optional Add-ins
Once the dry part is blended, it’s time for moisture! We need one tablespoon of vegetable oil. Now, I sometimes swap that for melted butter because I love that extra rich flavor, so feel free to try that if you’re feeling fancy! Then add three tablespoons of milk and a scant quarter teaspoon of vanilla extract. Those are your essentials! If you’re making my favorite version, this is when you toss in one tablespoon of chocolate chips—mini ones work great!
Step-by-Step Instructions for Your Microwave Brownie in a Mug
Alright, we have our ingredients all lined up in the mug—time for the magic. Since this is a super quick recipe, speed matters, but mixing order is crucial if you want that perfect texture. We are going for fudgy, not tough or bouncy, so pay attention to how much you stir!
Mixing the Base: Combining Dry and Wet for the Microwave Brownie in a Mug
Since you already mixed your four dry ingredients—flour, sugar, cocoa, and salt—you are halfway done! Now, pour in that oil, milk, and vanilla extract right on top. Take your fork and gently stir everything together. I really mean gently! You need to mix until the flour streaks mostly disappear, but stop right there. If you keep mixing until it’s perfectly smooth, you’ll develop the gluten, and this Microwave Brownie in a Mug will turn into a rubber frisbee. A few tiny lumps floating around are totally fine, maybe even desirable for max fudginess!
Microwaving Time: Finding the Perfect Doneness for Your Chocolate Mug Dessert
This is where most people mess up their quick microwave desserts. Microwaves are temperamental divas! Place your mug carefully into the center of the microwave. I always start low, aiming for just 60 seconds on high power. I check it then—it might still look soupy on top, but the sides should be starting to look set.
If it needs more time, add 15-second bursts. You are looking for the top surface to look mostly set—not shiny and wet, but not cracked and dry either. The center should still have a little wobble. If you cook it until the top is totally solid, it will be dry when it cools down. Remember, cooking continues slightly after you stop the machine, so underestimate the time rather than overcook it. You can always zap it for 10 more seconds!
Don’t forget to glance over my tips on microwave baking for more general microwave safety and technique tips!
Expert Tips for the Best Fudgy Brownie Recipe in a Mug
Now that you know the basic steps for your Microwave Brownie in a Mug, let me tell you my secrets for making it truly fudgy instead of just okay. Since the cooking is so fast, the difference between perfect and disappointing is often just five seconds! If you follow the timing instructions, you’ll be golden, but these extra tips really elevate it from a quick snack to an actual indulgence.
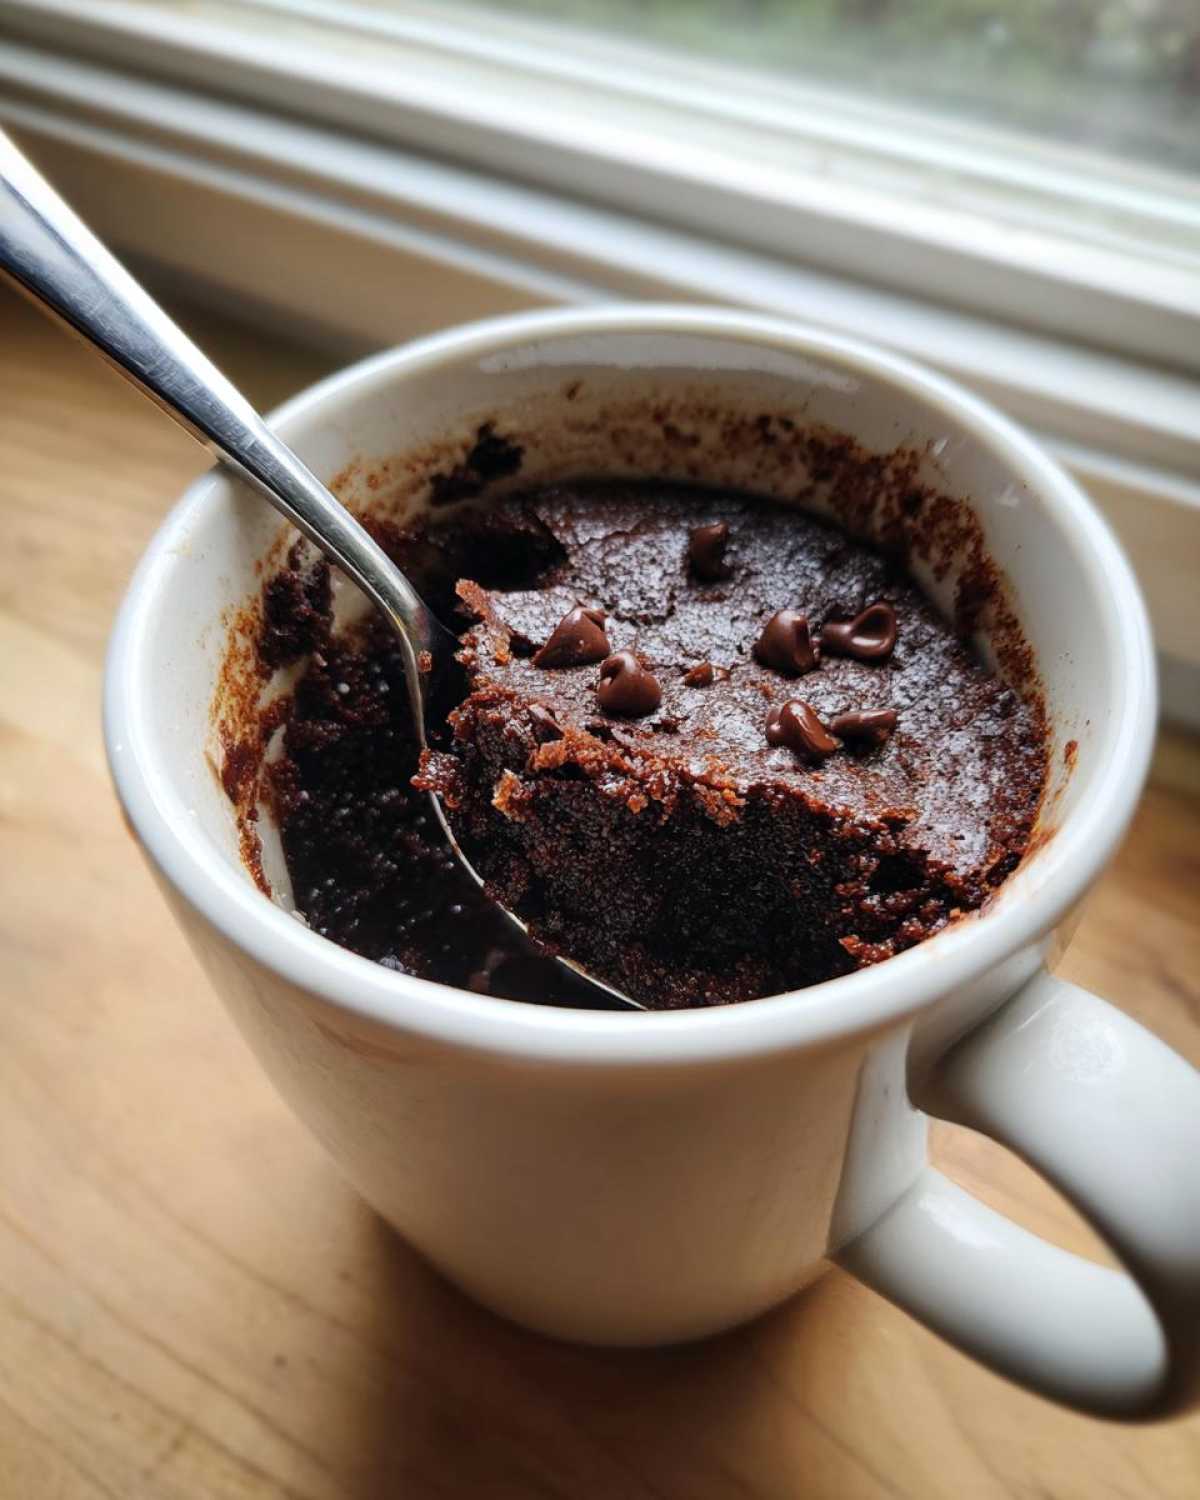
And seriously, let it cool for one minute before you dig in. It’s molten lava hot straight out of the microwave, and waiting just a tiny bit firms up the structure so you get that pull rather than just soup.
Avoiding Dryness: The Microwave Brownie in a Mug Pitfall
The number one enemy here is overcooking. If you zap it for too long, the moisture evaporates instantly, and you end up with a hard, sad little hockey puck of chocolate. If your last attempt came out dry, fight the urge to add more milk next time. Instead, always err on the side of undercooking by about 10 seconds. Remember, the center should still look a little wet when you pull it out. That residual heat finishes the cooking perfectly while you wait!
Texture Control: Achieving a Fudgy Microwave Chocolate Treat
If you are aiming for that deep, dense, gooey texture—the kind that makes you close your eyes while eating—you can easily tweak the liquid ratio. To get the absolute best fudgy brownie recipe results, use just 2.5 tablespoons of milk instead of the full 3 tablespoons listed. This small reduction concentrates the fat and sugar ratio just right. It makes this chocolate mug dessert intensely satisfying!
Serving Suggestions for Your Individual Portion Dessert
You’ve got your warm, perfectly portioned brownie sitting in its mug—now what? Since this is a super quick treat, you don’t want to spend 20 minutes whipping up fancy sauces. We need toppings that are just as fast! I usually just grab the first thing I see in the fridge, but if you want to make it look a tiny bit special for your late-night snack, here are my go-to moves.
A scoop of vanilla ice cream is legendary, of course. The hot brownie hitting the cold ice cream is just magical! A little drizzle of caramel sauce or a spoonful of peanut butter melted on top works wonders too. If you’re feeling extra decadent, whip up some fresh cream or use canned whipped cream—just a tiny dollop keeps it feeling like a real celebration.
If you’re feeling ambitious but still fast, try making a quick chocolate topping. You can find my recipe for homemade chocolate pudding, but for this situation, just melting two chips with a tiny splash of milk is usually enough to get a quick, thick sauce right on top!
Storage and Reheating Instructions for Leftover Microwave Brownie in a Mug
Now, let’s be real—this recipe is designed to be eaten immediately, right out of the mug, when it’s at its peak perfection! My goal in creating this Microwave Brownie in a Mug was zero leftovers! But hey, maybe you weren’t hungry enough, or you saved half for your roommate (how generous of you!).
If you have any leftover bits, you need to cover that mug tightly. Plastic wrap pressed right against the surface works best, or just pop a small plate on top. It will keep okay on the counter for maybe 12 hours, but honestly, if it lasts longer than that, something’s wrong!
When you go to revive it later—maybe the next morning for a chocolatey breakfast, don’t judge—it will definitely be firmer. You need moisture to bring it back. Pop it back in the microwave, but this time, start with just 10 or 15 seconds on about 50% power if your microwave lets you adjust that. If you don’t have that setting, just 10 seconds on high is usually enough to soften it up just a hair. That small blast of heat brings back that gooey texture so you can enjoy your quick dessert!
Variations on the Quick Microwave Dessert
While the classic version of the Microwave Brownie in a Mug is basically perfect as is, sometimes you just need to mix things up, right? You’ve got these amazing, fast base ingredients, and they are just begging for a little personality injection. Since we aren’t adding any complex steps here—we are still looking for a 5-minute dessert—these variations are super manageable. They just require throwing one extra tiny thing into the mug with the chips!
My favorite thing to do is add a little swirl before the final zap. It makes your little single-serving dessert look way fancier than it should for the amount of effort involved. And honestly, you can find all sorts of great mix-ins if you look around!
If you’re a peanut butter fanatic like me, you absolutely must try this next one. You can even check out how I use it in these peanut butter treats for inspiration!
- Peanut Butter Swirl: After you stir everything together but before you microwave it, drop one small teaspoon of creamy peanut butter right into the center of the batter. Don’t mix it in! When it cooks, it melts down to create this gorgeous, rich, fudgy swirl throughout the middle. It turns this simple chocolate mug cake into something truly special.
- Spice It Up: If you want a flavor profile that feels richer, toss in a tiny pinch of cinnamon or cayenne pepper along with your cocoa powder. Just a whisper of heat or spice really deepens the chocolate flavor, making this easy microwave chocolate feel way more gourmet.
- Extract Swap: Vanilla is great, but switch it out sometimes! A drop or two of almond extract or even peppermint extract (especially around the holidays) completely changes the mood of the brownie. Just be careful with extracts; they are super potent even in small batches.
Frequently Asked Questions About Microwave Baking
I get asked about microwave desserts all the time, especially when folks are first trying out the **Microwave Brownie in a Mug**. It seems so simple, but knowing a few tricks can make the difference between a decent snack and the absolute best chocolate mug dessert. Don’t worry if your first one is a little off—that’s how we learn!
Most of these issues come down to microwave wattage or over-mixing, but these tips should help you nail it every time. We want that perfect texture, not a crunchy hockey puck!
What size mug is best for a Microwave Brownie in a Mug?
This is super important! If you use a tiny espresso cup, you are going to have chocolate batter erupting all over your microwave interior, and nobody wants that cleanup. For this recipe, you need a standard, sturdy, microwave-safe mug—I’d say aim for at least a 10-ounce or 12-ounce capacity. That gives the batter enough room to rise a little bit without spilling over the sides when it’s cooking. Always use a heavy mug, too; those thin glass ones can get dangerously hot!
Can I make this a no bake brownies quick alternative?
That’s a fun question! While this recipe is definitely about speed, the magic happens because the microwave cooks the wet ingredients rapidly, setting the flour and cocoa into a brownie structure. So, no, you can’t skip the microwave and make this a true **no bake brownies quick** alternative. For the texture we are aiming for—especially that slightly gooey part—you need that blast of heat. If you skip the microwave, you’ll just have liquid chocolate batter sitting in a mug, which is delicious, but not really a brownie!
Why did my chocolate mug cake turn out rubbery?
Oh, the dreaded rubbery texture! That almost always means one of two things, and it ties directly back to what I mentioned earlier. First, you might have stirred too long when mixing! Remember, we want it “just combined.” Second, and this is the big one: you overcooked it. If you cook it past the point where the top looks set but still has a tiny bit of moist sheen in the absolute center, it will firm up into a bouncy, rubbery texture as it cools. For your next batch, shave off 15 seconds of cook time! Check out some more general insights on microwave baking safety and tips on my general blog page!
Nutritional Snapshot of This Single Serving Dessert
Now, I know we aren’t making this brownie because we’re worried about counting macros, but I think it’s just responsible of me to give you the rundown on what’s actually in this little treat. Since this is a true single-serving dessert, all these numbers apply to the entire mug—so you know exactly what you’re getting into when that craving hits!
Please keep in mind that these figures are estimates based on the standard recipe using white granulated sugar and vegetable oil, and they might shift a bit if you decide to substitute the oil for butter or use different types of milk. Think of this as a guideline, not a strict mandate!
Here’s the breakdown for one whole mug of this amazing **Microwave Brownie in a Mug**:
- Serving Size: 1 mug
- Calories: Approximately 280
- Sugar: Around 25 grams (yep, sugar is essential for that fudgy texture!)
- Fat: About 12 grams total
- Carbohydrates: Roughly 40 grams
- Protein: About 4 grams
It’s a decent little boost of energy when you need a quick late-night snack idea! Even though it packs some sugar, because it’s not massive, it keeps things under control compared to breaking off a piece of a giant tray of brownies.
PrintMicrowave Brownie in a Mug
Make a single-serving, fudgy brownie quickly using only a microwave and a standard mug.
- Prep Time: 2 min
- Cook Time: 1 min 30 sec
- Total Time: 3 min 30 sec
- Yield: 1 serving
- Category: Dessert
- Method: Microwave
- Cuisine: American
- Diet: Vegetarian
Ingredients
- 4 Tablespoons all-purpose flour
- 4 Tablespoons granulated sugar
- 2 Tablespoons unsweetened cocoa powder
- 1 pinch salt
- 1 Tablespoon vegetable oil
- 3 Tablespoons milk
- 1/4 teaspoon vanilla extract
- 1 Tablespoon chocolate chips (optional)
Instructions
- In a standard, microwave-safe mug, combine the flour, sugar, cocoa powder, and salt. Mix these dry ingredients well with a small fork.
- Add the vegetable oil, milk, and vanilla extract to the dry mixture.
- Stir everything together until just combined. Do not overmix; a few small lumps are acceptable.
- If using, stir in the chocolate chips.
- Place the mug in the microwave. Cook on high power for 60 to 90 seconds. Start checking at 60 seconds.
- The brownie is done when the top looks mostly set but still slightly moist in the center. Cooking time varies based on microwave wattage.
- Let the mug cool for at least one minute before eating directly from the mug.
Notes
- If the brownie seems dry after cooking, reduce the cooking time next time. Overcooking causes dryness.
- For a fudgier texture, use slightly less milk (2.5 Tablespoons).
- You can substitute the oil with melted butter for a richer flavor.
Nutrition
- Serving Size: 1 mug
- Calories: 280
- Sugar: 25
- Sodium: 150
- Fat: 12
- Saturated Fat: 4
- Unsaturated Fat: 8
- Trans Fat: 0
- Carbohydrates: 40
- Fiber: 2
- Protein: 4
- Cholesterol: 5