

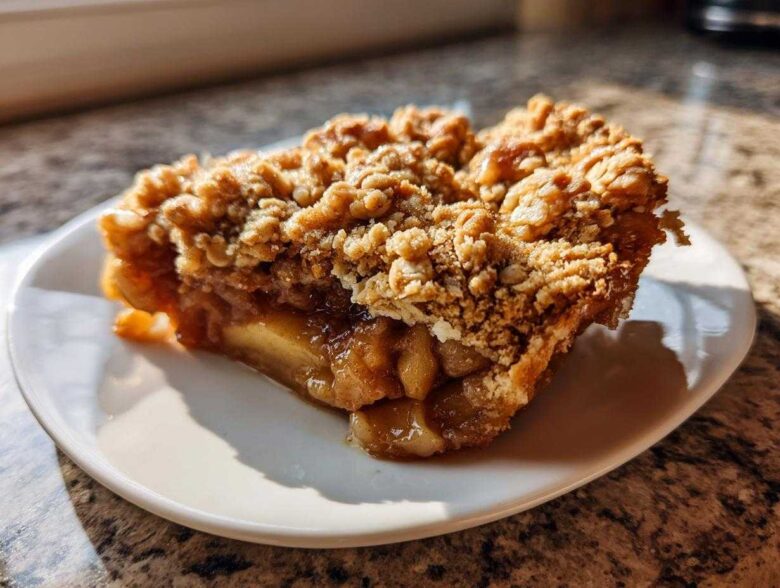
You know that smell, right? The minute you crack open the oven door and that wave of warm cinnamon, melted butter, and sweet fruit just washes over you? That’s the smell of pure comfort, and that’s exactly what we’re baking today. Forget fussy pies or complicated crumbles, because I’m giving you my absolute favorite dessert for those cozy nights in: the Classic Homestyle Apple Crisp. Seriously, after years of trying every single variation, I finally nailed the holy grail: apples that are perfectly tender—never mushy—and a topping that snaps with crunch every single time. This Apple Crisp is my go-to secret weapon for turning simple fall ingredients into magic in under an hour. Trust me, you’re going to want to bookmark this one, especially since we’re using that easy oat topping we both love. If you need another classic cookie recipe while the crisp bakes, check out my recipe for classic peanut butter blossoms!
Why This is the Best Apple Crisp Recipe You Will Make
I know what you’re thinking: Another apple crisp recipe? But hang on, this one truly is different! This is my definitive best apple crisp recipe because it solves the two biggest problems: mushy bottoms and soggy tops. It’s truly an easy apple crisp tutorial because it comes together so fast, giving you that homemade taste immediately. You get the absolute best result without spending all day in the kitchen. For more classic desserts, take a peek at my guide for classic apple pie!
Achieving Tender Baked Apples Every Time
The magic starts with the apples. We use six medium apples, and here’s the trick: slice them exactly 1/4 inch thick. Thicker, and they won’t cook through; thinner, and they turn to sauce! I toss them with a tiny bit of lemon juice—it keeps them bright and cuts through the sweetness so you get those perfectly tender baked apples you crave.
The Secret to a Superior Crispy Topping for Apple Crisp
We want a glorious texture here! The secret to that fantastic crispy topping for apple crisp lies entirely in the butter. It *must* be cold and cut into tiny pieces, combined with the oats to make that signature oatmeal apple crisp texture. If you follow my tip later about chilling the topping for fifteen minutes before baking? Wow. It sets up like little golden jewels on top of the fruit.
Gathering Ingredients for Your Homemade Apple Crisp from Scratch
Okay, getting this delicious homemade apple crisp from scratch going is shockingly easy because the ingredients are mostly pantry staples. When you’re making something this simple, precision really matters because there’s nowhere for weak measurements to hide! It builds confidence when you know you nailed the foundational elements before you even turn on the oven. If you’re looking for another fantastic use for those crisp fall apples, you absolutely have to check out my recipe for apple cider donut muffins next week!
Apple Filling Components
For the apples, I always go with six medium apples. Right now, mixing Granny Smith and Honeycrisp is my favorite combo—you get that tartness balanced by a little sweetness, which cooks down beautifully. You’ll need to toss those slices with just 1/4 cup of granulated sugar and one teaspoon of your favorite ground cinnamon. That’s it for the bottom layer! It keeps things bright.
The Crunchy Oatmeal Apple Crisp Topping Ingredients
Now for the best part—the topping! For the dry elements, we gather 1/2 cup of all-purpose flour, 1/2 cup of rolled oats (the regular kind, not instant!), 1/2 cup of packed brown sugar, a pinch of nutmeg, and a little salt to wake everything up. The non-negotiable kicker here is your fat: you need exactly 6 tablespoons of cold unsalted butter, pre-cut into small cubes. I mean *cold*. If your kitchen is hot, pop those butter cubes in the freezer for five minutes while you measure the dry stuff. That cold butter is what keeps our topping from being a sticky disaster.
How to Make Apple Crisp: An Easy Apple Crisp Tutorial
Alright, let’s get this show on the road! Remember I said this was fast? You just need fifteen minutes of prep time, and then it’s forty minutes in the oven. This truly is the easy apple crisp tutorial I promised, perfect for when you need a delicious cinnamon apple dessert fast. If you’ve got your apples mixed and your topping assembled, we’re ready for action. If you want to start making other things ahead of time, you can check out my recipe for easy homemade apple butter.
Preparing the Apples and Dish
First things first, your oven needs to already be at 375 degrees Fahrenheit—we don’t want to wait around! Lightly grease an 8×8 inch baking dish; a little cooking spray or butter works just fine. Now, take those prepped apple slices. They should already be coated in sugar and cinnamon from the last step. Just spread them out into an even layer in that prepared dish. Getting them even guarantees they cook at the same rate, which is crucial for those tender baked apples.
Creating the Perfect Topping for Baked Fruit
Time to build that magnificent crust! Take your topping ingredients—flour, oats, brown sugar, nutmeg, and salt—and whisk them together in a clean bowl. Now, grab those little cold cubes of butter. You need to ‘cut them in’ using a pastry blender or just your fingertips. You are aiming for coarse crumbs, like gravel or maybe really big cornmeal. This process is exactly what creates that desirable, sturdy, and crispy topping for apple crisp!
Baking Your Apple Crisp
Sprinkle that glorious crumb mixture evenly right over the apples—don’t press it down, let it lie loose! Then, pop it in the oven for 35 to 40 minutes. You’ll know it’s done when the topping is golden brown and you can easily pierce an apple slice with a fork. The final, extremely important step for an amazing apple crisp? Let it cool on the counter for at least fifteen minutes before you even think about scooping some out. It lets the juices thicken up!
Tips for Success Making Your Apple Crisp
Even with a great foundational recipe like this Apple Crisp, sometimes a little insider trick can take it from good to legendary! I’ve learned a few things over the years that help guarantee you get that perfect texture every single time. We’re aiming for that satisfying crunch without having to constantly hunt down the best apple crisp recipe online year after year.
Apple Crisp with Oats or Without Oats Adjustment
You might wonder about variations, especially regarding the oats since this is an oatmeal apple crisp by nature. If, for some reason, you absolutely can’t stand oats—or maybe you ran out—you can skip them! But here’s the warning: the oats are part of what gives the topping structure. If you leave them out, you absolutely must use an extra 1/4 cup of flour in the topping mixture. Otherwise, you’ll end up with a buttery, sugary puddle instead of a satisfying crunch. If you’re experimenting with other apple treats, check out my secrets for the best baked apple recipe!
Maximizing Crunch: The Chill Factor
I mentioned this briefly before, but I need to shout it from the rooftops! If you want the absolute crunchiest topping for baked fruit imaginable, take the topping mixture you just made (flour, sugar, butter, oats, etc.) and stick it in the fridge for about fifteen minutes before you sprinkle it on the apples. Why? When the butter is super chilled, it melts slower in the oven. This means it stays in little pockets just long enough to create that wonderful, flaky, hard crunch before it melts completely into the sugar. It’s the key to the ultimate crispy topping for apple crisp!
Also, don’t forget to check out my cinnamon sugar apple chips if you’re looking for a lighter, crispier snack!
Serving Suggestions for This Cinnamon Apple Dessert
You’ve made it! The hardest part—getting that perfect, golden, crunchy top—is done! Now comes the fun part: deciding how to eat this glorious cinnamon apple dessert. Honestly, even eating it straight out of the dish with a spoon while standing over the counter is acceptable, but I highly recommend a proper presentation.
The number one, absolute number one way to serve this Apple Crisp is warm. I mean *warm*, not scalding hot, so you don’t melt your ice cream instantly, but definitely warm enough that the spices smell incredible. Serving it with a scoop of vanilla bean ice cream is non-negotiable in my house; the cold sweetness meeting the hot, spiced apples is pure heaven. It’s the way my family expects it every single fall.
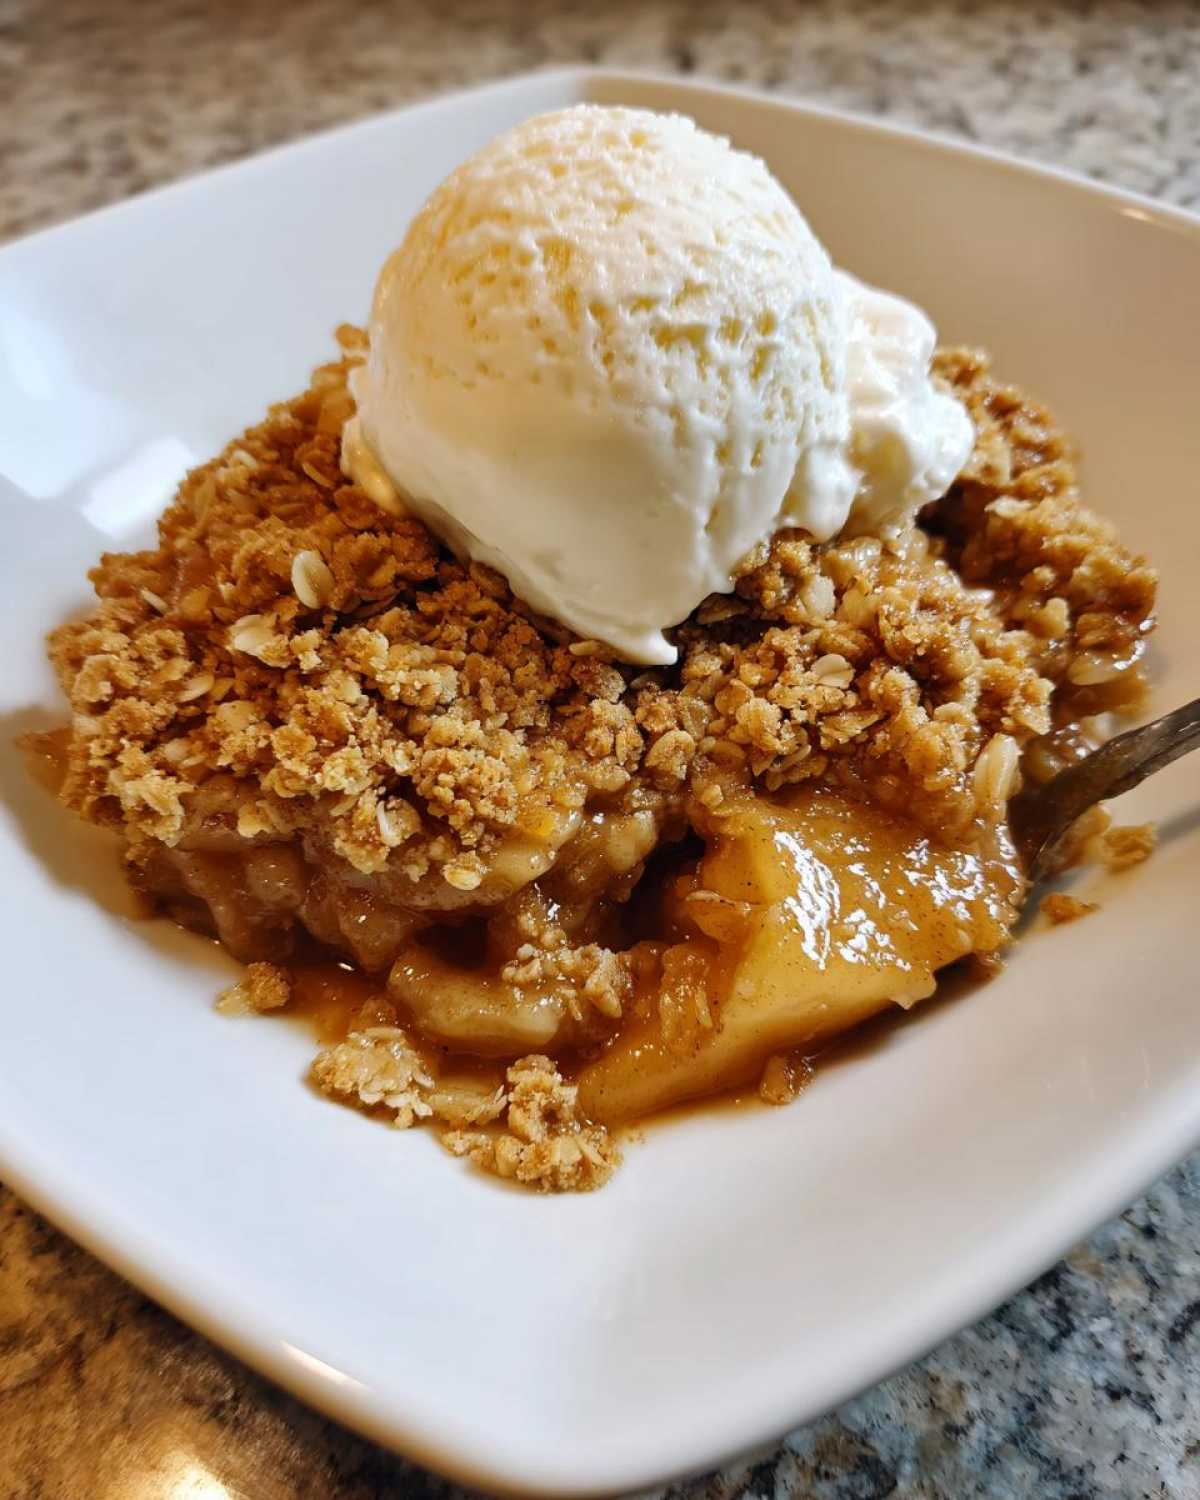
But if you’re feeling fancy or it’s a holiday dessert, a drizzle of thick, salty caramel sauce takes it over the top. If you aren’t a huge fan of ice cream, a dollop of good quality whipped cream works wonders to lighten things up. If you want to get really traditional, a splash of heavy cream poured right over the top is lovely. If you’re looking for something rich to pair with fruit next time, you’ve gotta look at my brown butter apple blondies recipe!
Storage and Reheating Instructions for Apple Crisp
Listen, as much as I wish this entire pan of heaven would disappear in one sitting, sometimes you end up with leftovers. That’s okay! The great thing about this Apple Crisp is that it travels well and keeps reasonably well for a couple of days. Just make sure you let it cool completely before you try to store it, otherwise, you’re just trapping steam and guaranteeing a soggy topping!
Once cooled, cover the baking dish tightly with plastic wrap or transfer the servings into an airtight container. You can happily leave it on the counter at room temperature for about a day, especially if you made it with fresh fruit. However, I always recommend putting any leftovers in the fridge if you plan to keep them longer than 24 hours. This is simple baked apple dessert that reheats like a dream if you use the right technique!
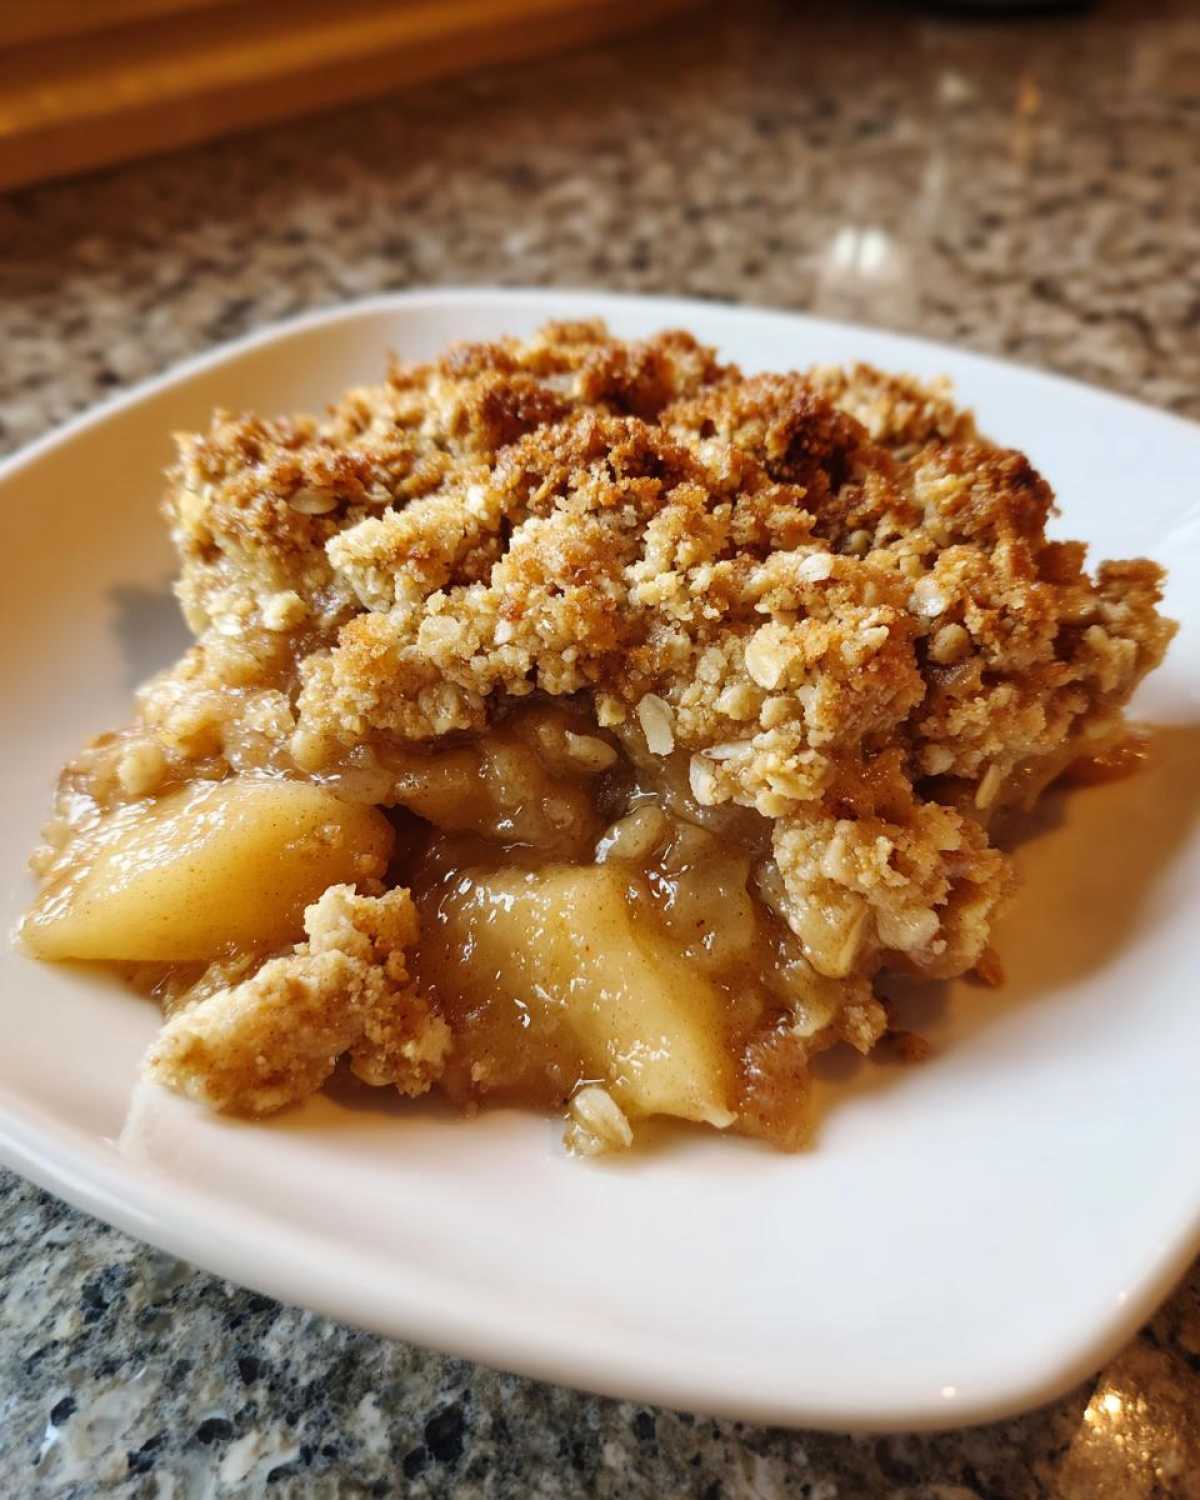
Now, if that topping got a little soft overnight—and honestly, it happens to everyone—we need to bring back the crunch. Skip the microwave! The microwave is the enemy of any crisp topping because it steams everything back into submission. Instead, reheat individual portions on a baking sheet in the oven at about 350 degrees Fahrenheit for about 8 to 10 minutes. If you’re doing the whole dish, give it 15 minutes. It crisps right back up! If you’re interested in another simple apple recipe, don’t miss my guide on easy stovetop homemade applesauce.
Frequently Asked Questions About Apple Crisp
It’s totally normal to have questions when you’re trying out a new recipe, especially when you’re striving for that perfect apple dessert for beginners status! I’ve gathered the ones people ask me most often about making this classic Apple Crisp. Don’t hesitate to reach out if your question isn’t covered here!
What is the best type of apple for Apple Crisp?
This is a major one! You need the perfect balance. If you use only super-sweet apples, the whole thing tastes flat. If you use only tart apples, it can be too harsh. I always recommend using a mix! Granny Smith is brilliant because it holds its shape beautifully and offers that necessary tang when baked. Then I mix it with something slightly sweeter and softer, like Honeycrisp or Gala. That combination gives you tender baked apples with amazing flavor depth. Never use apples that are already soft, like Red Delicious, or they’ll turn to soup!
Can I make this Apple Crisp ahead of time?
Yes, you absolutely can! This is a lifesaver when you’re trying to manage dinner party timing. You have two main options. Option one: Prepare the apple filling and the topping separately. Store the apples in the baking dish, covered, in the fridge. Keep the topping mixture tightly wrapped in plastic or in a sealed container in the fridge. When you’re ready to bake, preheat the oven, dump the topping on, and bake as directed—you might need about 5 extra minutes since the apples are cold.
Option two, which I sometimes do, is assembling the whole thing earlier in the day. If you assembled it completely, cover it tightly and keep it in the fridge. Just know that when you bake it, you’ll need to bake it closer to 50 minutes, and the topping might not get quite as perfectly crisp as when you assemble it fresh.
How do I ensure my topping stays crunchy?
Ah, the eternal struggle! The answer comes back to the butter and timing. When cutting in the butter, make sure those chunks are small and fully incorporated into coarse crumbs—not mixed into a single paste. But honestly, my biggest tip for that unbeatable crunch is the chilling trick! If you want that definitive crispy topping for apple crisp, mix the topping ingredients and then let that bowl sit in the refrigerator for 15 minutes before you sprinkle it over the fruit and bake. The colder the butter hits that hot oven, the better it sets up for maximum crunch! If you’re looking for a fun drink pairing, check out my caramel apple sangria recipe!
Nutritional Estimates for Classic Homestyle Apple Crisp
Now, I gotta be honest with you all—homemade baking isn’t exactly a low-cal activity, and that’s okay! We aren’t eating this Apple Crisp for health reasons; we’re eating it for comfort! But for those of you keeping track, I always like to give a rough idea of what’s in a standard scoop.
These numbers are just general estimates based on using standard measurements for the apples, oats, butter, and sugars we used today. If you use a lot more butter in the topping, or if you skip the oats, things will change, of course. These calculations are based on dividing the whole 8×8 dish into six good, generous servings. And hey, if you want a lighter option for breakfast later, you should absolutely try out my apple cinnamon overnight oats!
- Calories: About 310 per serving
- Fat: Around 15 grams (Remember a lot of that is the delicious butter in the topping!)
- Carbohydrates: Roughly 45 grams
- Sugar: This one clocks in at about 35 grams, mainly from the fruit and brown sugar
- Protein: A modest 3 grams
- Fiber: We get about 4 grams from all those lovely oats and apples
Enjoy it guilt-free—it’s worth every single warm, crunchy bite!
Share Your Perfect Apple Dessert for Beginners Experience
There you have it! My absolute favorite, foolproof method for making the best apple crisp recipe. This simple baked apple dessert is pure sunshine in a bowl, and now it’s yours to conquer. I’ve poured all my best tips into this guide, hoping you end up with that satisfyingly crisp top and wonderfully spiced apples.
Now that you’ve tried this classic fall baking idea, I want to hear all about it! Did you stick to the butter, or did you add a splash of bourbon to the apple mixture like I sometimes do on a rainy day? Please drop a comment below and let me know how it turned out. If you rate this recipe, it truly helps others looking for that perfect apple dessert for beginners like you!
Don’t forget to snap a picture of your steaming hot crisp—especially if you drowned it in ice cream—and share it on social media. Tag me so I can see your beautiful creation! If you’re hungry for more easy fruit bakes, head over to my general blog often—there’s always something delicious cooking up in my kitchen!
PrintClassic Homestyle Apple Crisp

A simple recipe for a classic apple crisp featuring tender baked apples and a crunchy oat and brown sugar topping.
- Prep Time: 15 min
- Cook Time: 40 min
- Total Time: 55 min
- Yield: 6 servings
- Category: Dessert
- Method: Baking
- Cuisine: American
- Diet: Vegetarian
Ingredients
- 6 medium apples (like Granny Smith or Honeycrisp)
- 1 tablespoon lemon juice
- 1/4 cup granulated sugar
- 1 teaspoon ground cinnamon
- 1/2 cup all-purpose flour
- 1/2 cup rolled oats
- 1/2 cup packed brown sugar
- 1/4 teaspoon ground nutmeg
- 1/4 teaspoon salt
- 6 tablespoons cold unsalted butter, cut into small pieces
Instructions
- Preheat your oven to 375 degrees Fahrenheit. Lightly grease an 8×8 inch baking dish.
- Peel, core, and slice the apples into 1/4 inch thick pieces. Place the apple slices in a large bowl.
- Toss the apples with lemon juice, 1/4 cup granulated sugar, and cinnamon. Spread the apple mixture evenly in the prepared baking dish.
- In a separate medium bowl, combine the flour, rolled oats, brown sugar, nutmeg, and salt for the topping.
- Cut in the cold butter using a pastry blender or your fingers until the mixture resembles coarse crumbs.
- Sprinkle the topping mixture evenly over the apples in the baking dish.
- Bake for 35 to 40 minutes, or until the topping is golden brown and the apples are tender when pierced with a fork.
- Let the crisp cool for at least 15 minutes before serving.
Notes
- For a crispier topping, chill the topping mixture in the refrigerator for 15 minutes before sprinkling it over the apples.
- Use a mix of tart and sweet apples for the best flavor balance.
- Serve warm with vanilla ice cream or whipped cream.
Nutrition
- Serving Size: 1 serving
- Calories: 310
- Sugar: 35
- Sodium: 110
- Fat: 15
- Saturated Fat: 9
- Unsaturated Fat: 6
- Trans Fat: 0
- Carbohydrates: 45
- Fiber: 4
- Protein: 3
- Cholesterol: 35