

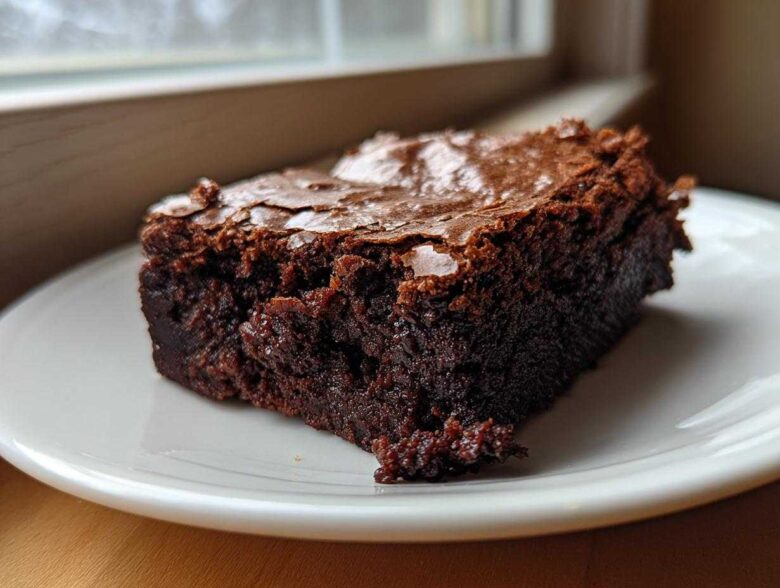
You know the feeling, right? That intense, deep chocolate craving where only the darkest, richest treat will do. Forget those dry, cakey imposters you sometimes run into. I spent years chasing the absolute pinnacle of chocolate perfection, and I finally cracked the code for making incredible, deeply satisfying Brownies.
What you’re getting here isn’t just another recipe; this is my foolproof method for producing what I call the ultimate fudgy brownie. I mean it—dense, almost melting in your mouth, with that shiny, paper-thin crackly top that everyone fights over. I remember the day I finally got that top layer just right; I nearly burned my fingers touching it because it was so perfect!
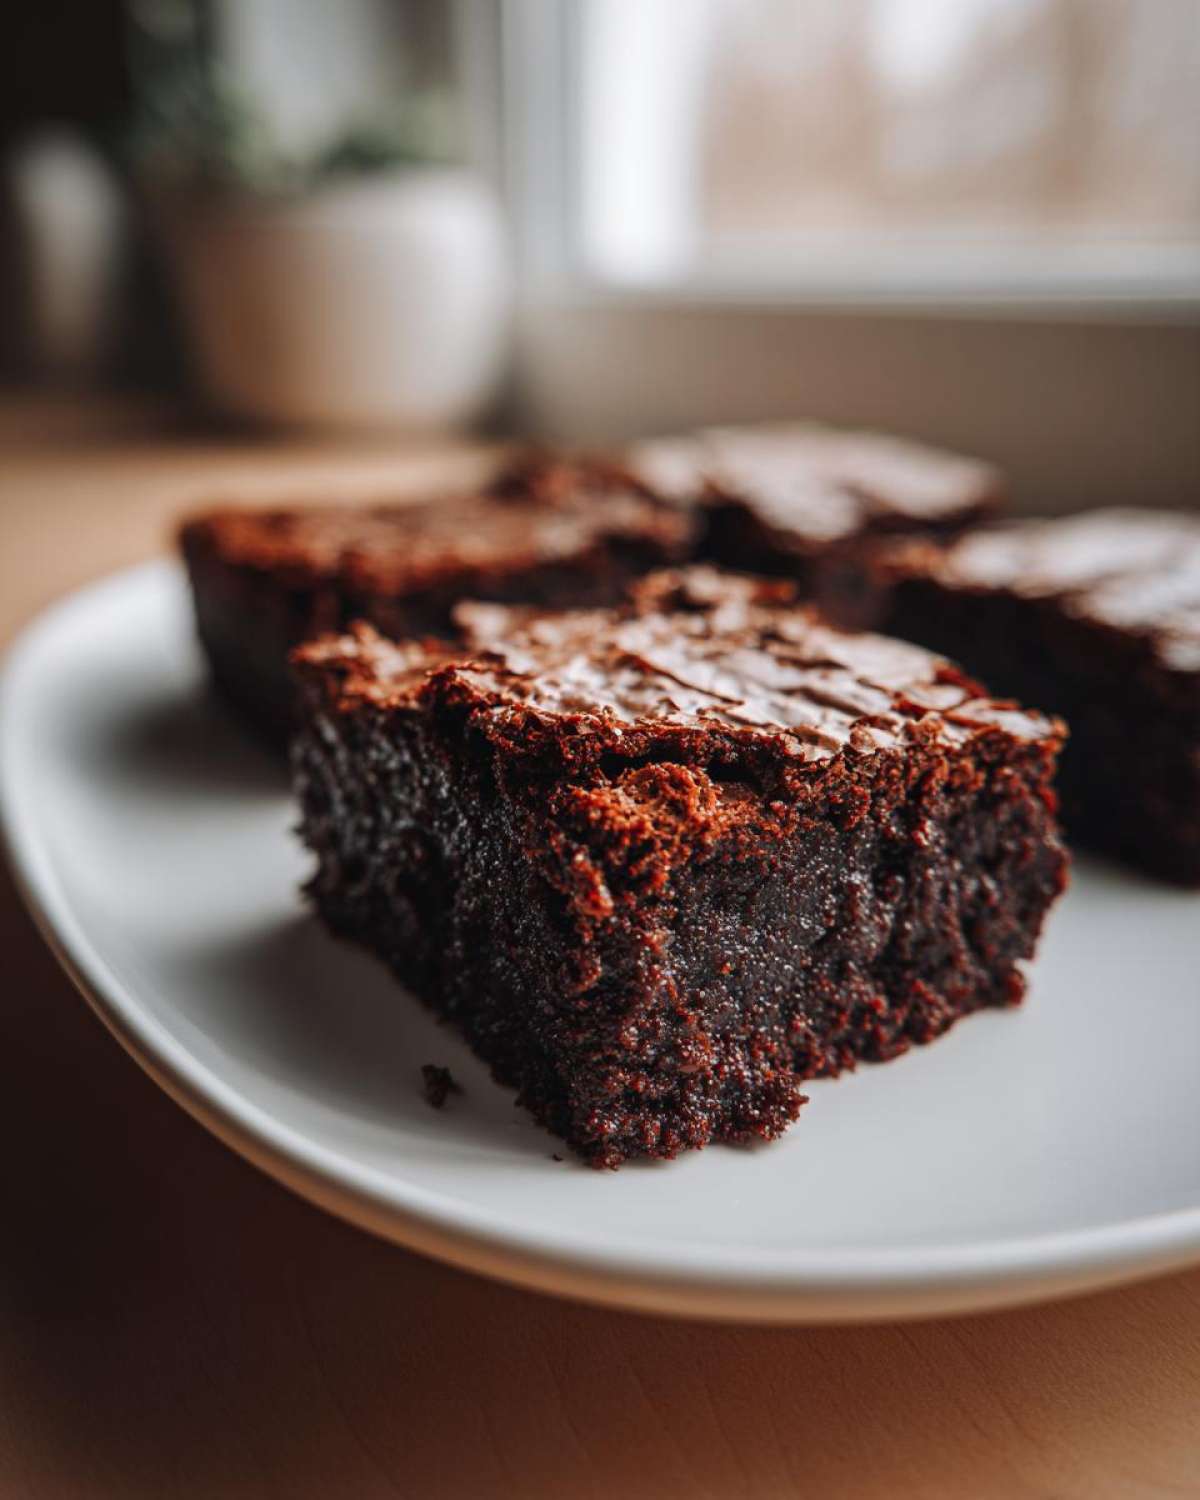
If you’ve ever struggled between fudgy and dry, trust me, you’re in the right place. These are so easy, too, which is just a bonus. We’re using simple ingredients but relying on a little whisking trick to get that signature look. This recipe is destined to become your new favorite. If you want to see what I did with a similar concept, check out my cheats for fudgy Oreo brownies, but this classic recipe is where we start!
Why This Is The Best Fudgy Brownie Recipe
Honestly, there are dozens of recipes out there, but what sets this Best Fudgy Brownie Recipe apart is the focus on moisture retention. See, that means we skip the cakey texture completely! We rely on a higher fat-to-flour ratio compared to fluffier versions. This is the secret to that incredible, chewy edge and dense center you dream about. If you want a truly Chewy Brownie Recipe from Scratch, you have to weigh your ingredients properly, but mostly, you have to trust the method.
It’s all about creating the perfect environment for a super moist final product. We aren’t using any chemical leaveners here; the lift comes naturally from whisking our eggs just right! I’ve learned a lot about balancing richness from making my famous chocolate chip cookies, and those lessons seriously apply here when managing sugar and fat.
Achieving That Signature Crackly Top Brownies Secret
This is my favorite part! The crackly top isn’t luck; it’s pure science, people! It comes from dissolving the sugar completely into the melted butter and then whisking those eggs vigorously until the mixture becomes glossy and thick. That glossy film forms on top as the Brownies bake, and that’s your crackle. Don’t skimp on that whisking time after you add the eggs—it’s the most crucial step for getting those beautiful, shiny shards.
Ingredients Needed for Perfect Brownies
You don’t need fancy equipment for these, but you do need good quality ingredients because we’re letting that chocolate shine! Everything goes into one pan here, so make sure you have everything measured out beforehand. Remember, we need 4 large eggs, and they *must* be at room temperature; it makes a huge difference in that glossiness, trust me. We’re using a full cup of bittersweet chocolate chips, but chop up a good bar if you can—it melts better and adds more depth!
Here’s the full rundown of what you need to gather up before we start melting butter:
- 1 cup (2 sticks) unsalted butter
- 1 1/4 cups granulated sugar
- 3/4 cup packed light brown sugar
- 4 large eggs, room temperature
- 1 tablespoon vanilla extract
- 3/4 cup unsweetened cocoa powder, natural or Dutch-process
- 1/2 cup all-purpose flour
- 1/2 teaspoon salt
- 1 cup (6 ounces) bittersweet chocolate chips or chopped chocolate
If you’re looking for a super quick chocolate fix that simplifies things even more, my easy fudge recipe is fantastic, but for these brownies, precision helps!
Ingredient Notes and Substitutions for Your Brownies
Let’s talk cocoa powder for a second. I’ve used both natural and Dutch-process cocoa in these Brownies, and both work beautifully, resulting in that rich dark chocolate flavor. The slight difference is just in the final shade. If you want a deeper, almost black color, go Dutch-process! Also, please use bittersweet chocolate chips (around 60-70% cacao). If you use milk chocolate, you’ll need to drastically cut back on the granulated sugar.
Don’t skimp on the vanilla, either! It really enhances the chocolate. And that brown sugar? Make sure it’s packed down tightly in the measuring cup for the perfect amount of moisture and molasses flavor, which is key for chewiness.
Simple One Bowl Brownies Preparation Instructions
Okay, let’s get these amazing Brownies mixed up! First things first: get that oven cranking to 350°F (175°C). You absolutely must line your 9×9 inch pan with parchment paper, allowing enough overhang on two sides—that’s your handle for lifting these babies out later, don’t skip it! Grease the sides that aren’t covered by paper too.
Next, we’re melting the butter gently on the stovetop. Once it’s liquid gold, pull it off the heat and whisk in both sugars until they look totally dissolved. Now for the critical part: whisk in those room temperature eggs one by one. You need to whisk this mixture until it looks shiny, glossy, and slightly lighter in color—work it for a solid minute after the last egg goes in! That aeration is making your crackly top happen!
In a separate bowl, just do a quick whisk of the dry stuff: cocoa powder, flour, and salt. Then, switch to a spatula and gently fold the dry mix into the wet mixture. I mean *gently*. We’re not whipping a cake here; just mix until you barely see streaks of flour left. Fold in those chocolate chips, pour that gorgeous batter into your prepared pan, smooth it out, and get it in the oven. You can find a slightly different approach without the mixer here, but this method delivers the best texture!
Baking and Cooling Your Rich Dark Chocolate Brownies
These go in for about 30 to 35 minutes total. You are looking for a specific doneness test, okay? Don’t pull them out if the toothpick is wet, but don’t wait until it’s bone dry either. When you insert a toothpick near the center, you want to see moist, fudgy crumbs sticking to it, not raw batter. That means your Brownies are perfect and ready to set up.
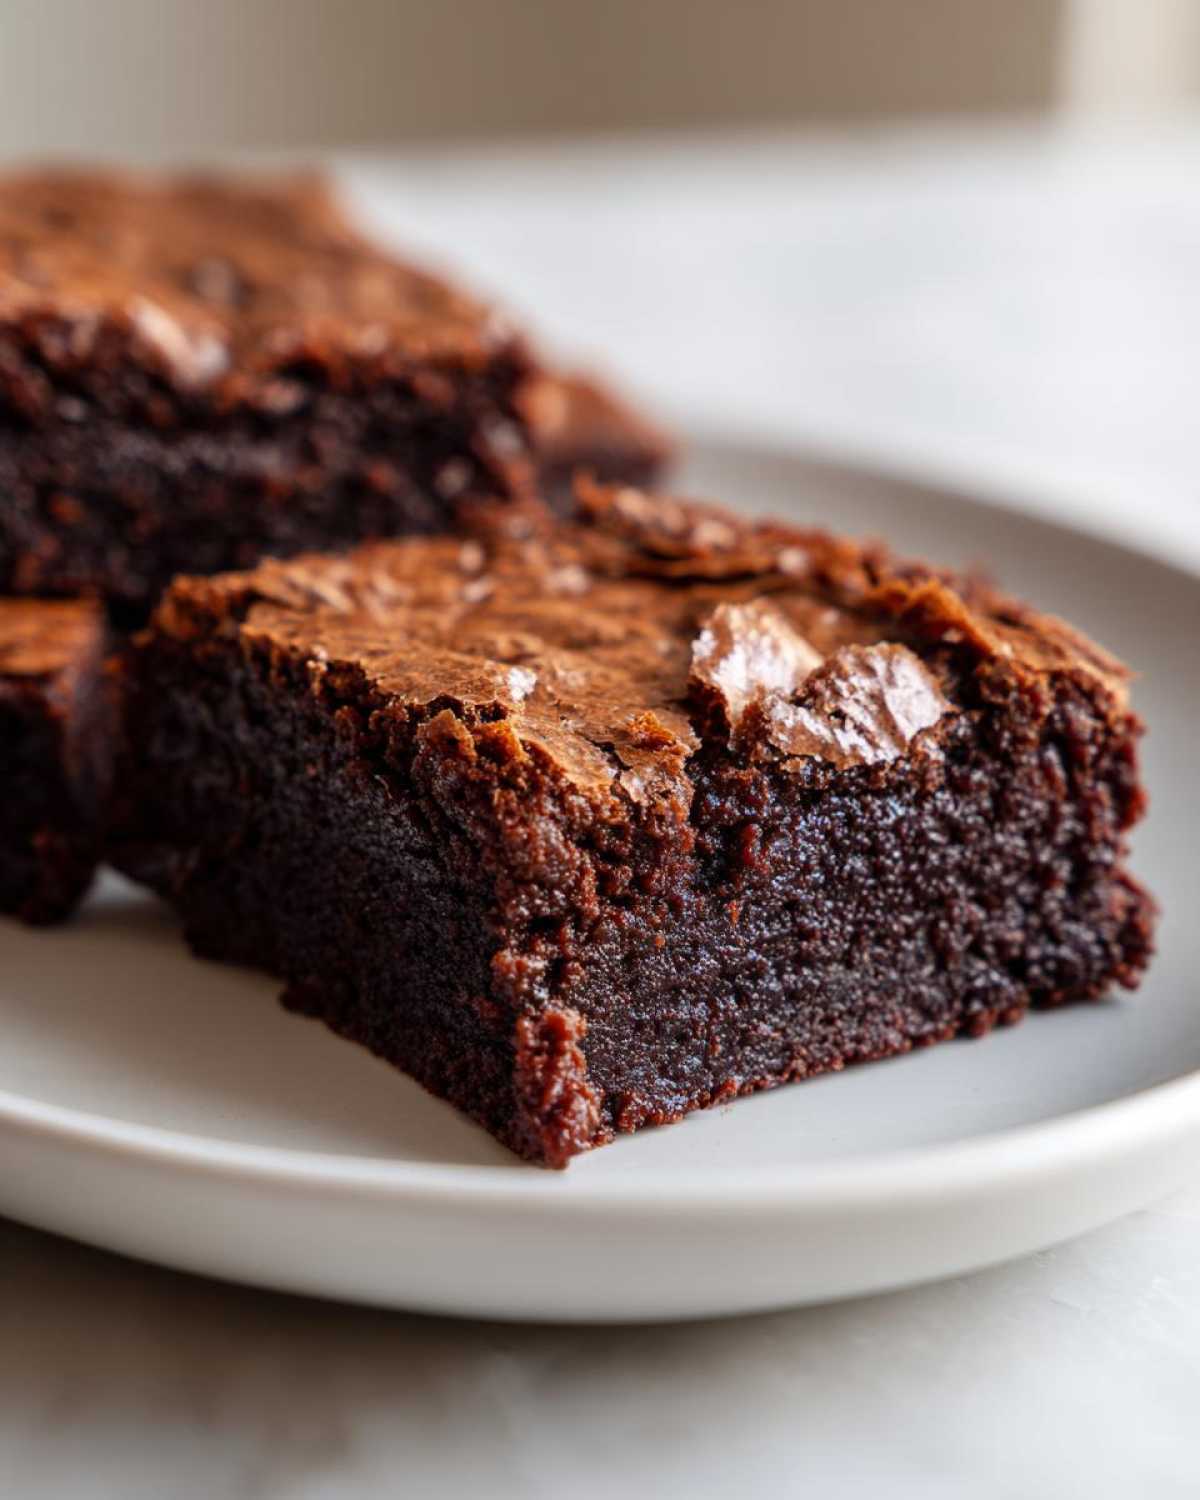
This next step is torture, but it’s non-negotiable for clean squares! Let them cool completely in the pan on a rack. Seriously, cut into them warm and you will have chocolate sludge. Once they are totally cool—this might take an hour or two—use those parchment paper handles to lift the whole slab out, and then slice them up. Enjoy that chewy edge!
Tips for Success with Homemade Brownies
I’ve made these Brownies so many times now that I have a few non-negotiable rules that make the difference between good and holy-cow-amazing. If you follow The Perfect Brownie Baking Guide I’ve detailed above, you’re golden, but these extra pointers guarantee that fudgy interior every single time.
First, you absolutely must use room temperature eggs. Cold eggs don’t incorporate properly into the sugar-butter mixture, and that prevents us from creating the necessary air pockets that lead to that beautiful crackly top. Trust me on this one!
Second, use a metal baking pan. Glass or ceramic pans take longer to heat up and cook unevenly, which can dry out the edges before the center is set. Metal conducts heat perfectly for even baking. I even have a dedicated metal pan just for these recipes now. Also, don’t forget to lightly grease those exposed edges of the pan, even with the parchment sling. See how these little details make for the best batch of Brownies? My advice on ingredient management, much like when I bake my famous chocolate chip cookies, really shines here too!
Storage and Reheating Instructions for Brownies
These decadent Brownies are surprisingly sturdy, which is great for leftovers—if you even have any! At room temperature, store them snugly in an airtight container for up to four days. Because they are so fudgy, they might get a *little* dense on day three, but don’t worry about it.
If you need to keep them longer, you can absolutely freeze them! Wrap individual squares tightly in plastic wrap, then foil, and they’ll be perfect for up to three months. When you want to bring one back to maximum fudginess, just microwave a square for about 10 to 15 seconds. It thaws them out perfectly without making them dry or cakey.
Troubleshooting Common Brownies Issues
Even when following the best recipe, sometimes things go a little sideways in the kitchen, right? Don’t stress if your first batch of Brownies isn’t picture-perfect! The most common issue readers face is getting a brownie that feels closer to cake than fudge. If yours turned out cakey, it usually means one of two things: you added too much flour, or you overmixed the batter after adding the flour.
If you skipped the egg-whisking step and wound up with zero crackly top, I totally get it. That shiny top seems like magic, but it really needs that vigorous sugar/egg incorporation we talked about earlier. For sticking? That’s almost always thanks to forgetting to grease those exposed sides of the pan when you used the parchment sling. Always double-check that lid before baking, because these rich, dark chocolate Brownies are worth getting right!
Frequently Asked Questions About Brownies
I’ve gathered up some of the questions I get most often about these incredible chocolate bars. People always want to know how to manipulate the texture because that’s the real challenge with Brownies, isn’t it?
Can I use a different size pan for these Brownies?
You can, but you have to know how it changes things! If you bake this same amount of batter in a larger pan, say an 8×8 inch pan, your brownies will be thicker, bake longer, and stay super fudgy. If you use a slightly larger 9×13 pan, they will be thinner and might lean a little more toward cakey, plus the baking time drops significantly—maybe down to 25 minutes. For this recipe to yield that perfect, dense result, I really stick to the 9×9 square!
What makes these Easy Homemade Brownies so Fudgy?
It truly comes down to two things that we talked about extensively: the high fat-to-flour ratio and the way we handle the mixing. We use a significant amount of butter and melted chocolate compared to the flour, locking in that moisture. Plus, we stop mixing the second the flour disappears. That lack of overmixing means we don’t develop gluten, which prevents the structure from getting tough or—heaven forbid—cakey!
I’ve experimented with so many recipes, including swapping in black beans for a healthier take, like in my black bean brownies recipe, but these classic ones rely on keeping the fat high for that perfect melt-in-your-mouth texture. Let me know if you try them and how that crackly top turns out for you!
Estimated Nutritional Data for These Brownies
Now, I know what you’re thinking! With all that butter and rich dark chocolate, these aren’t exactly a health food, and you’d be right! But look, we’re talking about a treat, an indulgent moment, and it’s important to know what’s inside.
The estimates below are based on a standard 16-square yield from this recipe, but remember, everything changes depending on the exact brand of cocoa powder or the percentage of cacao in your bittersweet chips. They are just good guidelines!
- Serving Size: 1 square
- Calories: 280
- Fat: 17g (with about 10g of that being saturated fat, thanks to all that butter!)
- Carbohydrates: 30g
- Sugar: 28g (Yes, a lot, but it’s what makes the crackle!)
- Protein: 4g
- Cholesterol: 75mg
As you can see, the sugar content is high, which is totally expected for a recipe aiming for that perfect glossy, crackly top. Enjoy them responsibly—one square is usually plenty rich!
Share Your Ultimate Fudgy Brownies Experience
I’ve poured all my best tips into this recipe, and now it’s your turn! Please let me know in the comments below if you tried making these Brownies and, most importantly, tell me about that crackly top—did it shine for you? If you loved them, rate this recipe, or head over to my other posts for more chocolate adventures. Happy baking, friends!
PrintThe Ultimate Fudgy Brownies with Crackly Tops
Make rich, deeply chocolate fudgy brownies featuring a signature crackly top using this straightforward recipe.
- Prep Time: 15 min
- Cook Time: 35 min
- Total Time: 50 min
- Yield: 16 squares
- Category: Dessert
- Method: Baking
- Cuisine: American
- Diet: Vegetarian
Ingredients
- 1 cup (2 sticks) unsalted butter
- 1 1/4 cups granulated sugar
- 3/4 cup packed light brown sugar
- 4 large eggs, room temperature
- 1 tablespoon vanilla extract
- 3/4 cup unsweetened cocoa powder, natural or Dutch-process
- 1/2 cup all-purpose flour
- 1/2 teaspoon salt
- 1 cup (6 ounces) bittersweet chocolate chips or chopped chocolate
Instructions
- Preheat your oven to 350°F (175°C). Line a 9×9 inch metal baking pan with parchment paper, leaving an overhang on two sides for easy removal. Lightly grease the exposed sides of the pan.
- In a medium saucepan over low heat, melt the butter completely. Remove from heat.
- Whisk the granulated sugar and brown sugar into the melted butter until fully combined.
- Add the eggs one at a time, whisking well after each addition until the mixture is smooth and glossy. Whisk in the vanilla extract.
- In a separate bowl, whisk together the cocoa powder, flour, and salt.
- Gradually add the dry ingredients to the wet ingredients, mixing gently with a spatula until just combined. Do not overmix.
- Fold in the chocolate chips or chopped chocolate.
- Pour the batter into the prepared baking pan and spread evenly.
- Bake for 30 to 35 minutes. The edges should look set, and a toothpick inserted near the center should come out with moist, fudgy crumbs attached, not wet batter.
- Let the brownies cool completely in the pan on a wire rack before lifting them out using the parchment paper overhang. Cut into squares.
Notes
- For the best crackly top, ensure your sugar is fully dissolved into the warm butter before adding the eggs. Whisk vigorously for about one minute after adding the eggs.
- Do not overbake. Fudgy brownies continue to set as they cool.
- Use high-quality chocolate for the best flavor.
Nutrition
- Serving Size: 1 square
- Calories: 280
- Sugar: 28
- Sodium: 120
- Fat: 17
- Saturated Fat: 10
- Unsaturated Fat: 7
- Trans Fat: 0
- Carbohydrates: 30
- Fiber: 2
- Protein: 4
- Cholesterol: 75