

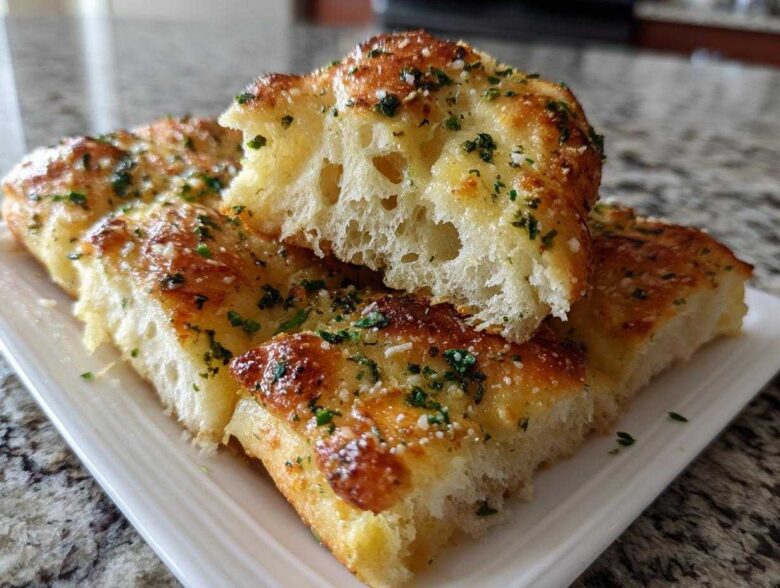
There’s nothing quite like walking into your favorite Italian spot and seeing that basket of freshly baked, impossibly soft garlic breadsticks land on your table. It’s pure nostalgia in bread form, right? For years, I tried to replicate that pillowy, tender interior without turning them into hard little croutons, and let me tell you, I finally cracked the code! Forget those dry, crumbly versions you sometimes see. I’m going to show you exactly how to nail the texture for these **Copycat Italian Restaurant Soft Garlic Breadsticks** so they melt in your mouth every single time. It’s all about handling the yeast dough just right, trust me!
Why You Crave These Copycat Italian Restaurant Soft Garlic Breadsticks
Let’s be honest, when you order breadsticks, you aren’t looking for a crusty baguette! You want that specific comfort food experience. This recipe delivers exactly what you’re dreaming about, batch after glorious batch.
- Pillowy Soft Texture: We nail that fluffy interior that’s perfect for soaking up sauces without falling apart.
- Serious Garlic Punch: Forget the powders; we are using fresh garlic infused in rich, melted butter. It’s intense!
- Restaurant Nostalgia: These taste just like the appetizer you wait for all dinner long. They’re perfect for sharing—or not!
If you want to upgrade your appetizer game even further, you absolutely have to check out my recipe for Cheesy Garlic Pull-Apart Bread next. But first, let’s get these breadsticks made!
Ingredients for Authentic Copycat Italian Restaurant Soft Garlic Breadsticks
Getting that true restaurant flavor means being precise with a few key items here. I learned that skipping the temperature check on the water or using garlic powder instead of the real thing seriously mutes the final product. You want that vibrant, savory hit, right? So grab your measuring cups, because here is exactly what you need to make these breadsticks truly authentic.
- 1 cup warm water (make sure it’s between 105-115 degrees F—too hot kills the yeast!)
- 2 1/4 teaspoons active dry yeast
- 1 teaspoon sugar (this feeds the yeast, don’t skip it!)
- 2 3/4 cups all-purpose flour, plus more for dusting surfaces
- 1 teaspoon salt
- 2 tablespoons olive oil, plus a little extra for greasing the bowl
- 1/2 cup unsalted butter, melted
- 4 cloves fresh garlic, minced finely (this is non-negotiable for that copycat flavor!)
- 1 teaspoon dried parsley
- 1/4 cup grated Parmesan cheese (use the good stuff!)
See? Pretty straightforward stuff, but the quality of that garlic and the temperature control when using the yeast makes all the difference. It’s simple, honest Italian baking!
Step-by-Step Instructions for Soft Restaurant Style Breadsticks
Okay, listen up, because this is where we secure that fluffy, pillowy texture that defines the best copycat breadsticks recipe out there. It’s a bit more hands-on than maybe throwing something in a bread machine, but I promise the payoff is huge. You’re going to mix, knead, wait (the hardest part!), shape, wait again, bake, and then drench them in that glorious garlic bath. Don’t worry if you’re new to yeast bread; just follow my lead, especially on the rising times!
Making the Dough and First Rise for Copycat Italian Restaurant Soft Garlic Breadsticks
First things first: activate that yeast! Dump your warm water, yeast, and the teaspoon of sugar into a big bowl. Let it sit until it looks foamy—that means your yeast is alive and ready to work its magic. Once it’s bubbly, toss in your flour and salt, mixing until it’s a shaggy mess. Then, drizzle in the 2 tablespoons of olive oil. This little bit of fat helps keep everything tender later on. Next is kneading, which is crucial for that springy dough. You need to work it for a solid 5 to 7 minutes until it’s smooth. I usually think it’s done too soon, so give it the full time! Pop it into an oiled bowl, cover it tight, and find a warm spot. I usually stick mine near a warm oven or just let it hang out in the warmest corner of my kitchen for an hour, sometimes an hour and a half, until it’s doubled up.
Shaping, Second Rise, and Baking the Breadsticks
When the dough has risen beautifully, give it a gentle punch down to release all that air. Now, divide that mass into 12 equal sections. This is the fun part—rolling! Try to roll each piece out into a stick about 8 inches long. Don’t stress if some are a little thicker than others; it just adds character! Lay those babies on a parchment-lined sheet, leaving a little breathing room between them. Cover lightly and let them relax for just 20 minutes. While they are resting, get your oven cranking up to 400 degrees F. Bake them for about 10 to 14 minutes. You’re looking for just a light golden brown on top. If you want to check out another simple bread recipe while you wait, I highly recommend my Easy No-Knead Dutch Oven Bread!
Creating the Signature Garlic Butter Coating for Copycat Italian Restaurant Soft Garlic Breadsticks
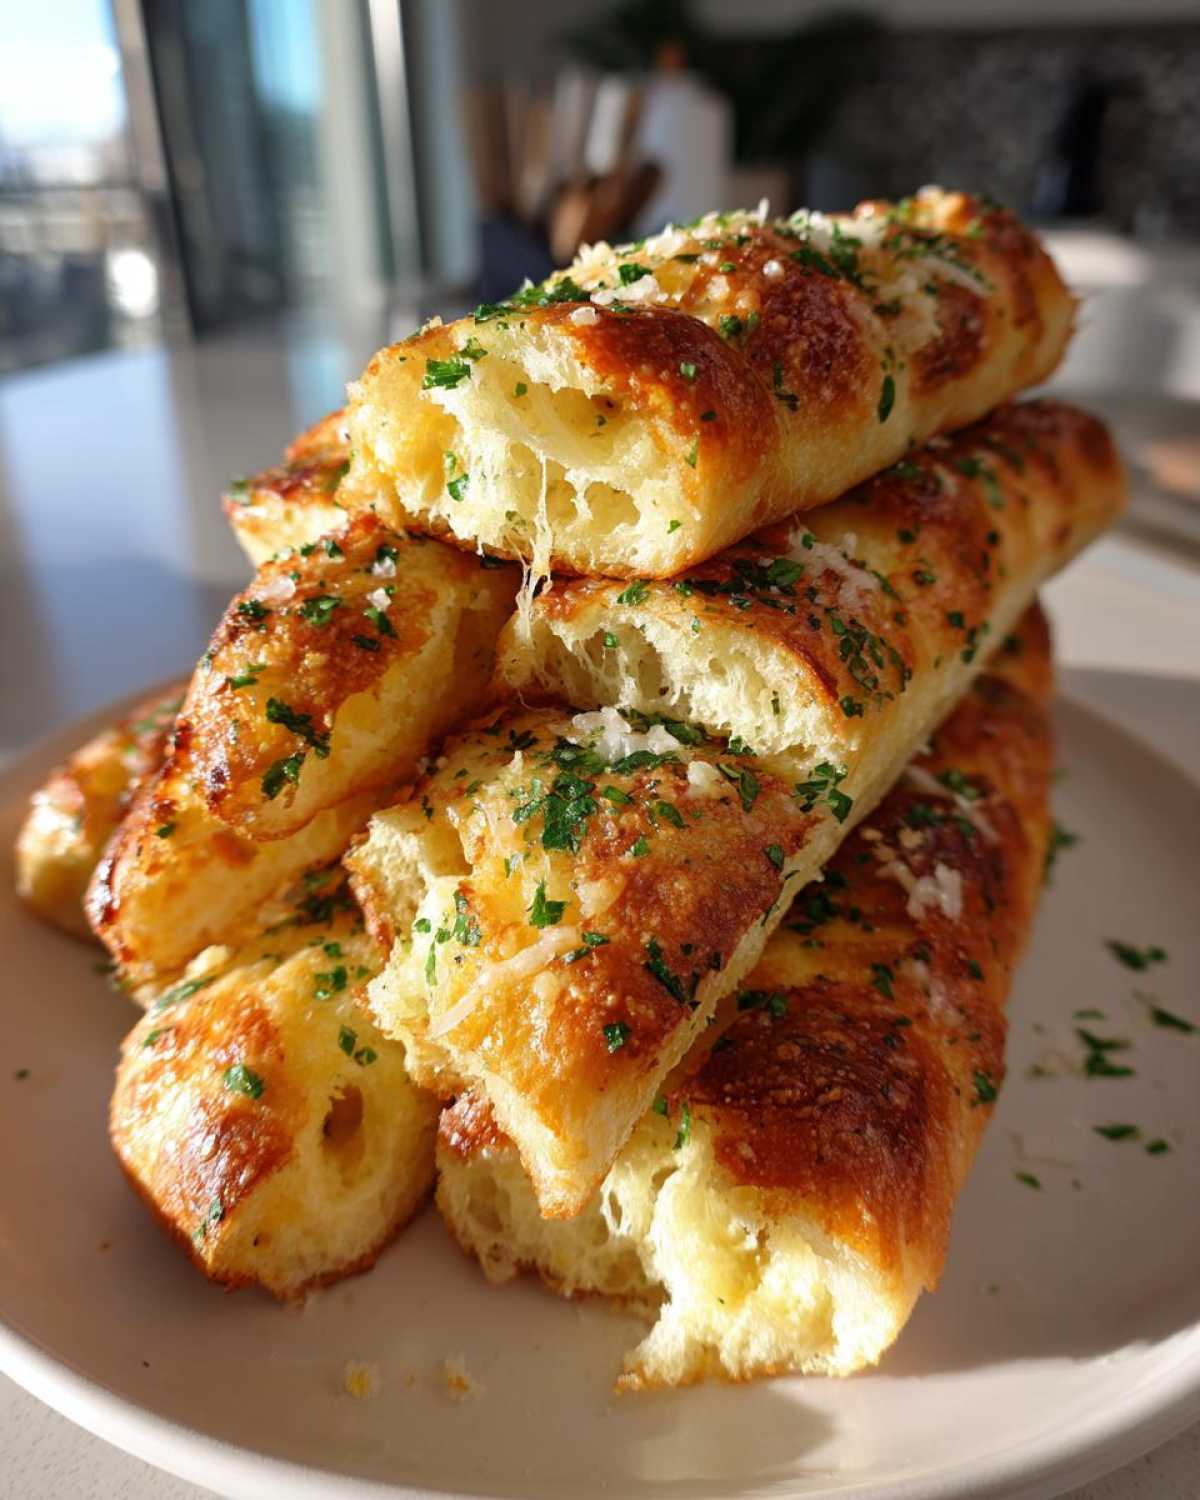
Okay, this is the moment that separates the amateur breadsticks from the restaurant superstars. While those beauties are baking, melt your half-cup of butter. Add your minced fresh garlic and the dried parsley right into the melted butter. Cook this blend on low heat for just about 60 seconds. You want to wake up that garlic flavor, but *please* don’t let it brown or it’ll taste bitter! Pull the breadsticks out of the oven—they should be wonderfully golden—and immediately start brushing them heavily with that fragrant garlic butter. While the butter is still wet and steaming, sprinkle that grated Parmesan cheese all over everything. The residual heat melts the cheese just enough to stick beautifully, creating that amazing copycat breadsticks with garlic butter coating!
Tips for Success: How to Make Restaurant Quality Breadsticks
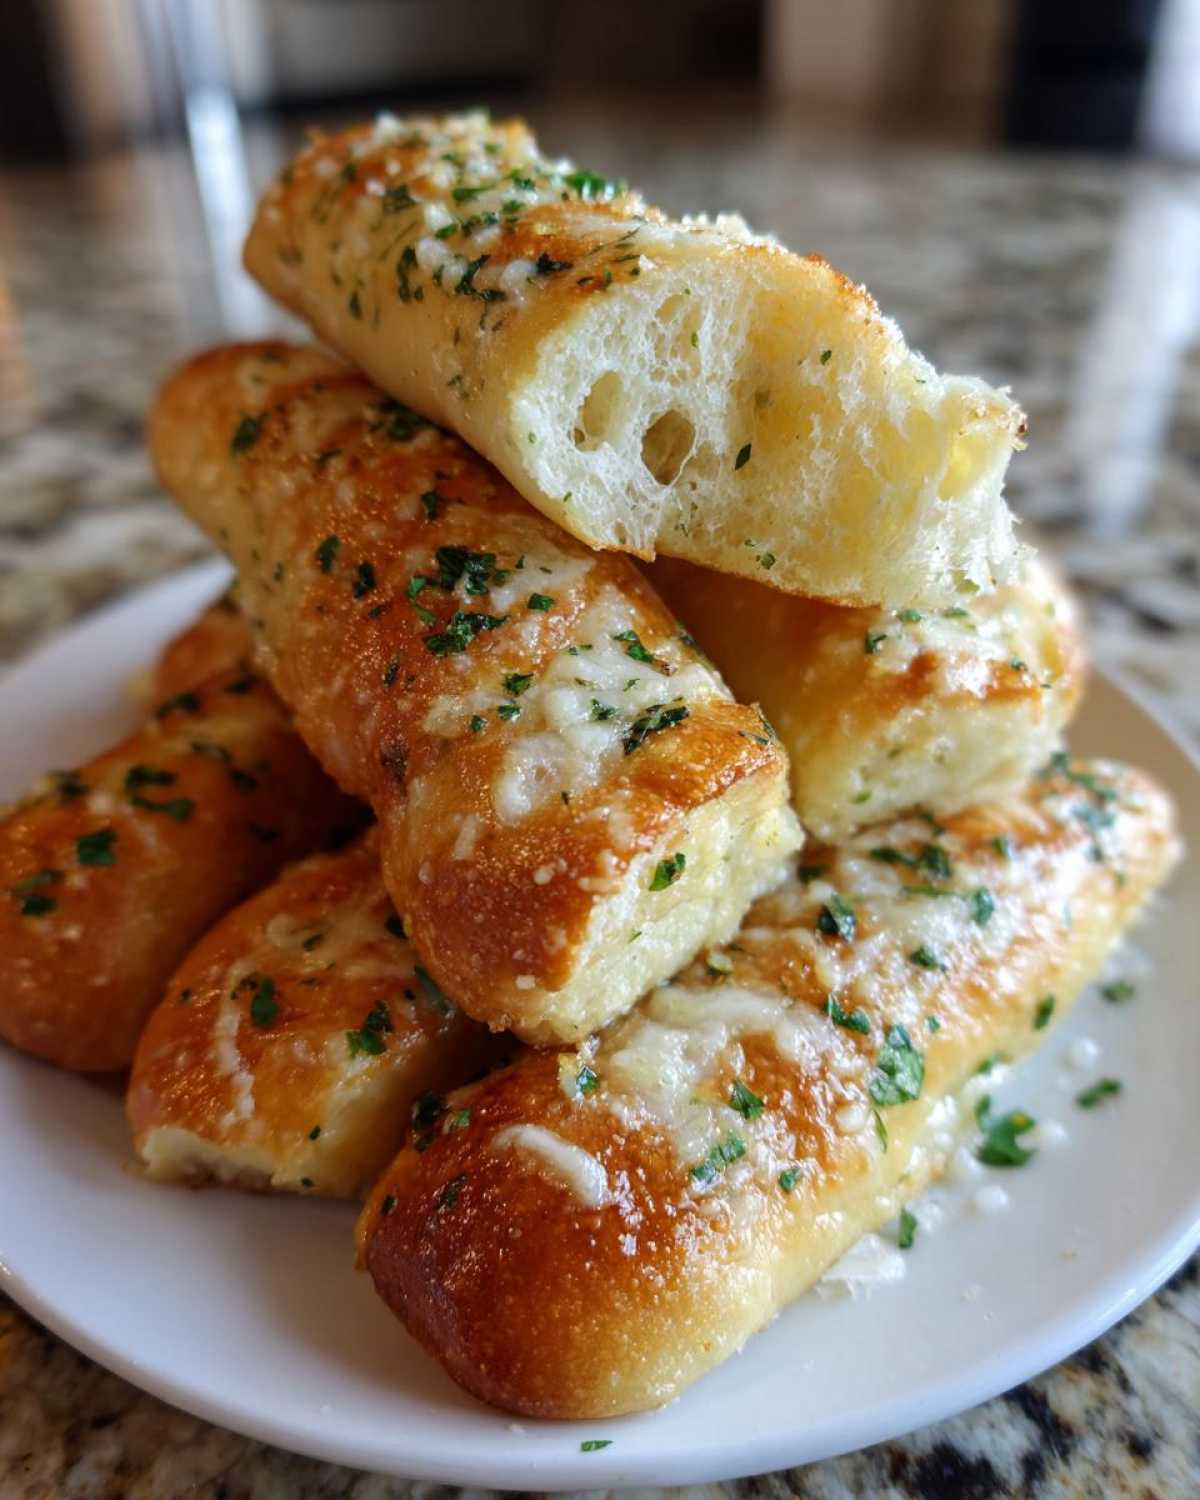
I’ve learned a few things over the years trying to get these perfect, especially when it comes to achieving that signature pillowy softness. People often think more kneading equals stronger bread, but with these soft restaurant style breadsticks, that’s actually the opposite of what we want!
My top tip, straight from the recipe notes, is avoiding over-kneading the dough. If you knead too long, you develop too much gluten structure, which results in chewy, tougher bread rather than the tender crumb we are aiming for. Stop when it’s smooth and elastic; don’t keep going just because you can!
Another thing I swear by is letting that fresh garlic steep a little longer. If you have the time, after simmering the minced garlic in the butter for that crucial minute, turn the heat off and let it sit for about 10 minutes before brushing it on. This infusion deepens the flavor without risking burning the garlic in the oven. It really boosts that authentic taste. Speaking of boosting flavor, these are fantastic served alongside my Creamy Garlic Ricotta White Pizza!
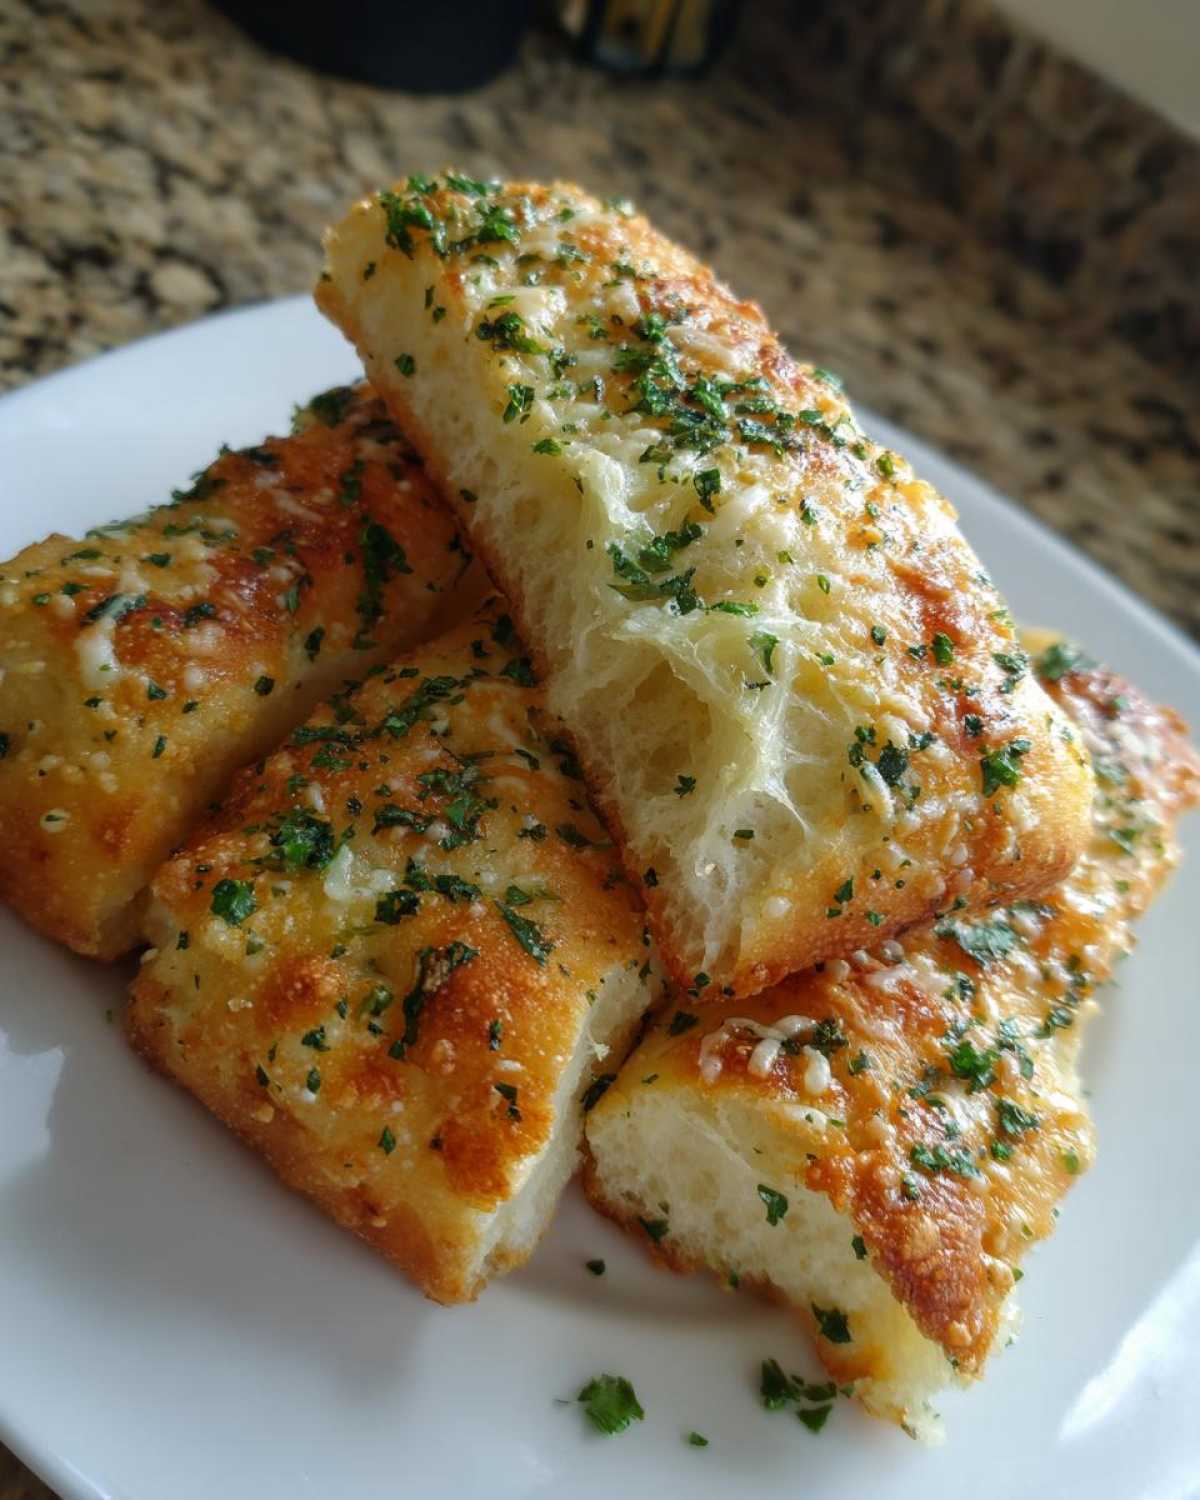
Finally, remember that sometimes brushing with plain melted butter *before* baking, even a light coat, helps seal the moisture in, ensuring they stay soft all the way to the center until serving time.
Ingredient Notes and Substitutions for Soft Garlic Breadsticks
You asked about ingredients, and I totally get it—sometimes you’re in the middle of baking and realize you’re out of one specific thing! When making authentic copycat breadsticks recipe, the garlic is the star, but we can discuss a couple of easy swaps if you’re desperate.
Let’s talk yeast first. I called for active dry yeast because those are the most common in the pantry, and it needs that warm water bath to wake up. If you happen to only have instant yeast? No sweat! You can skip the waiting/foaming step and just mix the instant yeast directly with your dry ingredients (the flour and salt). It’ll still rise beautifully.
Now, the garlic debate: fresh versus powder. If you want that punchy, savory flavor that makes these copycat breadsticks taste like they came straight from the restaurant? You absolutely must use fresh garlic. Fresh garlic sautéed briefly in butter releases compounds that powder just can’t mimic. Garlic powder is fine in a pinch if you substitute it in the butter mix, but you’ll need about half the amount—maybe a teaspoon total—and you won’t get that same “wow” factor.
As for the Parmesan cheese? I love using the finely grated, shelf-stable stuff because it sticks so well when sprinkled on the hot butter. If you only have the harder block Parmesan, just grate it as finely as you possibly can. If you’re in a real bind and can’t find any Parmesan, maybe double up on the dried parsley to add some green color, though you’ll definitely lose that salty, nutty finish. These breadsticks are worth the trip to the store for the real cheese, though!
Serving Suggestions for Your Copycat Italian Restaurant Soft Garlic Breadsticks
Look, marinara dipping sauce is the classic, and you absolutely should serve it—maybe warm it up first! But don’t stop there, because these savory garlic appetizer breadsticks deserve some truly decadent partners.
Since these are so wonderfully soft and sturdy, they can handle a heavier dip. I love serving them with a creamy Alfredo sauce on the side for a real treat. Or, if you’re having a cozy Italian night, make a big pot of soup! These breadsticks are amazing for dipping into a rich bowl of chicken tortellini soup. You can find my favorite recipe for that creamy goodness right here: Creamy One-Pot Tuscan Ravioli Soup.
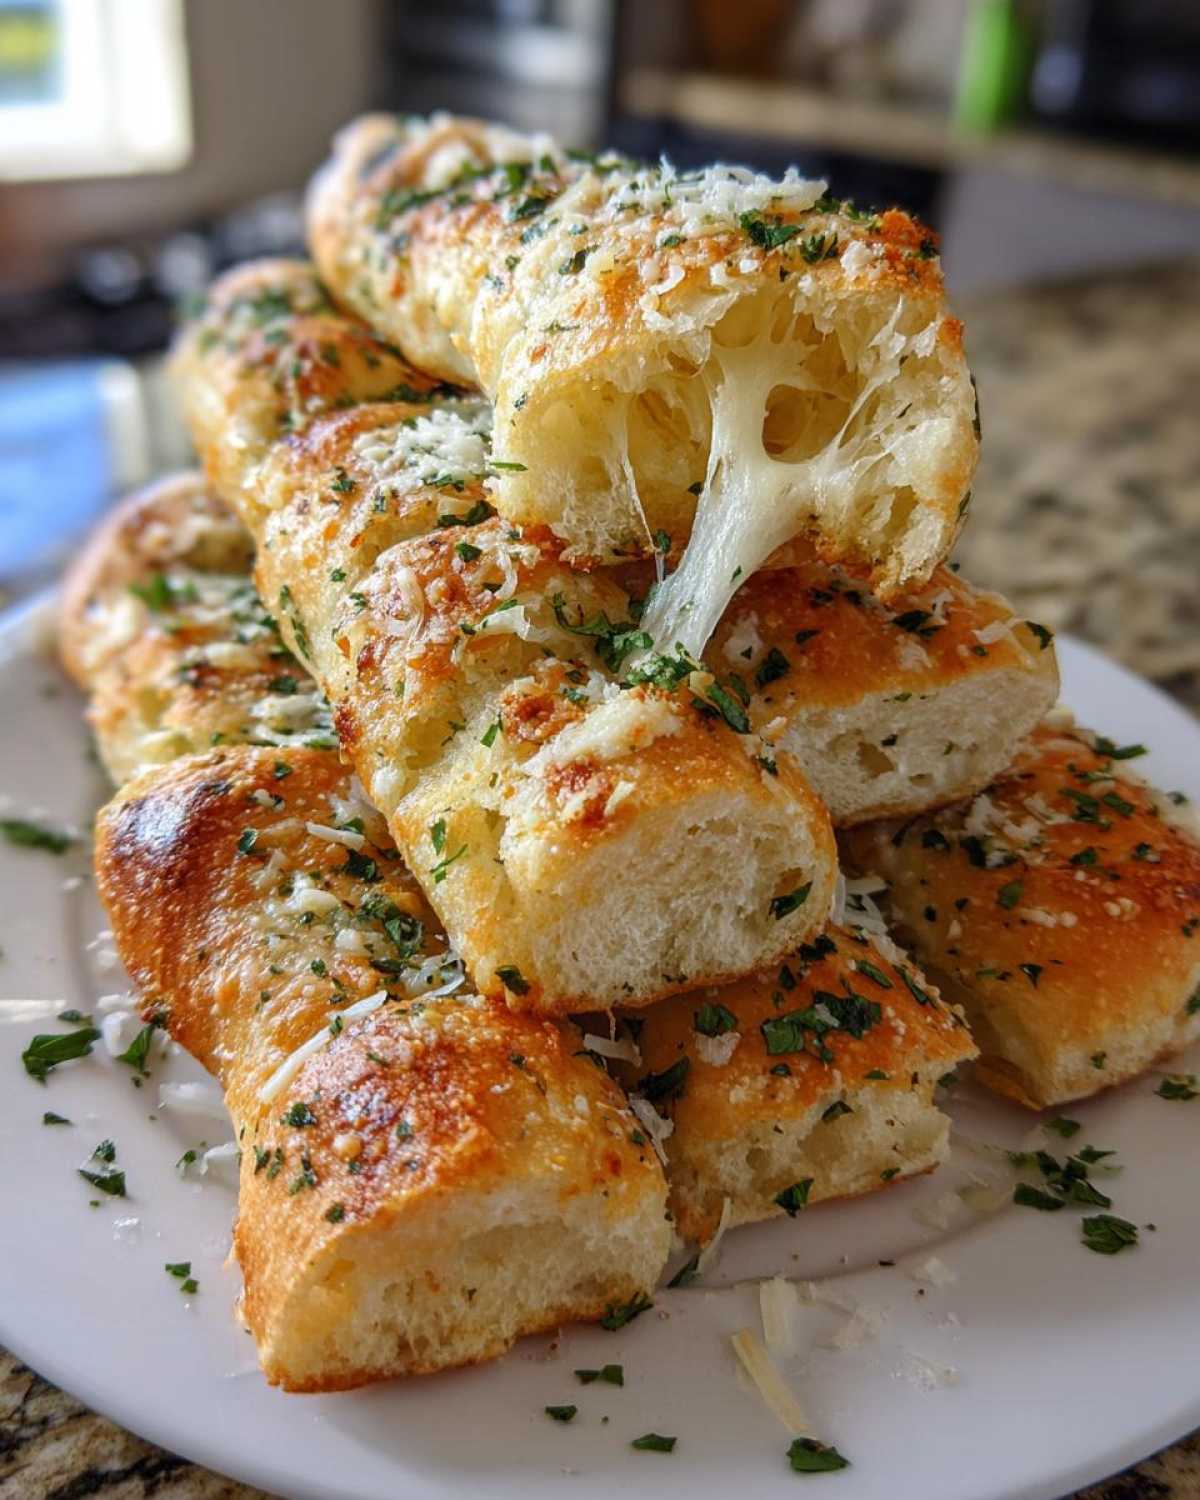
Honestly, even just a little bowl of melted butter seasoned with a tiny bit of black pepper works if you’re in a hurry. Just enjoy!
Storage and Reheating Instructions for Homemade Cheesy Garlic Breadsticks
Now, you’d be crazy not to save some of these incredible homemade cheesy garlic breadsticks for later, but the big question is always: how do you keep them soft? Microwaving bread is usually a death sentence, turning it instantly hard and chewy, but we can cheat the system here if we need to.
If you have leftovers, store them in an airtight container at room temperature. Don’t stick them in the fridge right away unless you have to—the cold air really zaps the moisture right out of that soft dough. They are best eaten the day you make them, naturally, but stored correctly, they stay pretty decent for a day or two.
The Best Way to Reheat for Maximum Softness
If you’re looking to bring these back to life to be as close to fresh-baked as possible—which you should be doing!—skip the microwave entirely. We need gentle heat to coax the moisture back forward without drying them out.
The oven is definitely your best friend here. Wrap the breadsticks loosely in foil. This traps the steam released during reheating, keeping that interior pillow soft. Pop them into a cool oven (around 300 degrees F) and let them warm through for about 5 to 7 minutes. Unwrap them for the last minute if you want a tiny hint of crispness on the topping, but mostly, keep them wrapped!
When You Have to Use the Microwave (The Emergency Method)
Look, sometimes you just need one breadstick right now. If that’s the case, you can use the microwave—but you have to be smart about it. Wrap a single breadstick in a slightly damp paper towel before nuking it on medium power for about 15 to 20 seconds. The moisture from the towel steams the bread, preventing it from turning into leather immediately. It won’t taste like you just pulled it from the oven, but it will get the job done in a pinch when that craving strikes!
Frequently Asked Questions About Copycat Italian Restaurant Soft Garlic Breadsticks
I know you’re going to have questions once you start on this recipe because achieving that iconic restaurant pillowy texture takes a little finesse! Don’t worry, I’ve answered the common ones I get about time, flavor, and how to keep these homemade cheesy garlic breadsticks perfect for leftovers.
Can I make the dough for these Copycat Breadsticks ahead of time?
Oh yes, you absolutely can! Yeast dough loves a slow, cold rise. After you finish the kneading (Step 3), instead of letting it rise on the counter, place the oiled dough ball in a container, cover it tightly, and stick it right in the fridge. It can chill for up to 24 hours. When you take it out, let it sit on the counter for about an hour to warm up just slightly before you punch it down and shape it. This cold fermentation actually deepens the flavor, which is a bonus!
How do I get the intense garlic flavor in my Copycat Italian Restaurant Soft Garlic Breadsticks?
This is my favorite question! The key to that truly intense, authentic flavor isn’t just using fresh garlic (though that’s half the battle). It’s that little bit of cooking time we give the garlic in the butter before brushing. Cooking minced garlic for just one minute in the melted butter mellows the harsh raw bite while releasing all the essential oils, making the flavor richer. If you want it even stronger, try letting that butter mixture steep off the heat for 10 minutes before you brush it on. That soaking time really infuses every bit of fat.
If you’re looking for something creamy to dip these into, you have to try my Alfredo Sauce recipe—it’s absolutely divine with these savory appetizers!
Is there a secret to keeping these as soft as the restaurant style breadsticks?
My biggest secret, which I mentioned earlier, is being gentle with the dough! Resist the urge to knead for too long. Beyond that, the second rise is important—don’t skip the 20-minute rest after shaping them into sticks. This final proofing allows the bread to relax before hitting the high heat of the oven, which is what guarantees that light, pillowy soft garlic knots interior instead of a dense brick. It’s worth the extra 20 minutes, trust me!
Nutritional Estimates for Copycat Breadsticks with Garlic Butter Coating
So, I know what some of you bakers are thinking when you see that beautiful garlic butter coating—”How bad is this for me?” And honestly, these are a rich treat! They are meant to be indulgent appetizers served next to a big bowl of pasta, not a diet staple. But for those of you tracking what you eat, here are the numbers I came up with based on the recipe ingredients.
These estimates are based on dividing the entire recipe batch into 12 uniform servings, which gives us one breadstick per serving size. Remember, these are just ballpark figures, and if you use less butter or omit the Parmesan, your numbers will drop a bit!
- Serving Size: 1 breadstick
- Calories: 185
- Fat: 7g
- Saturated Fat: 4g
- Carbohydrates: 26g
- Sugar: 1.5g
- Protein: 5g
- Sodium: 250mg
If you want to see exactly how I calculate these things for my other recipes, you can check out the full details over on my Nutritional Disclaimer page. Just enjoy these glorious copycat breadsticks with garlic butter coating for what they are—a wonderfully buttery, savory indulgence!
PrintCopycat Italian Restaurant Soft Garlic Breadsticks
Make soft, pillowy breadsticks at home that taste just like the popular restaurant appetizer, coated in rich garlic butter and Parmesan cheese.
- Prep Time: 25 min
- Cook Time: 14 min
- Total Time: 1 hr 49 min
- Yield: 12 breadsticks
- Category: Appetizer
- Method: Baking
- Cuisine: Italian-American
- Diet: Vegetarian
Ingredients
- 1 cup warm water (105-115 degrees F)
- 2 1/4 teaspoons active dry yeast
- 1 teaspoon sugar
- 2 3/4 cups all-purpose flour, plus more for dusting
- 1 teaspoon salt
- 2 tablespoons olive oil, plus more for greasing
- 1/2 cup unsalted butter, melted
- 4 cloves fresh garlic, minced
- 1 teaspoon dried parsley
- 1/4 cup grated Parmesan cheese
Instructions
- Activate the yeast: In a large bowl, combine the warm water, yeast, and sugar. Let stand for 5 to 10 minutes until foamy.
- Mix the dough: Add the flour and salt to the yeast mixture. Mix until a shaggy dough forms. Add the 2 tablespoons of olive oil.
- Knead: Turn the dough out onto a lightly floured surface. Knead for 5 to 7 minutes until the dough is smooth and elastic.
- First rise: Place the dough in a lightly oiled bowl, turning to coat. Cover the bowl with plastic wrap or a clean towel. Let it rise in a warm place for 1 to 1.5 hours, or until doubled in size.
- Shape: Punch down the risen dough gently. Divide the dough into 12 equal pieces. Roll each piece into a stick shape, about 8 inches long.
- Second rise: Place the breadsticks on a baking sheet lined with parchment paper, leaving about 1 inch between them. Cover loosely and let them rest for 20 minutes.
- Preheat and bake: Preheat your oven to 400 degrees F (200 degrees C). Bake the breadsticks for 10 to 14 minutes, or until lightly golden brown.
- Prepare garlic butter: While the breadsticks bake, melt the butter in a small saucepan. Stir in the minced fresh garlic and dried parsley. Cook for 1 minute until fragrant.
- Coat: Immediately after removing the breadsticks from the oven, brush them generously with the garlic butter mixture. Sprinkle evenly with the grated Parmesan cheese.
- Serve: Serve warm, ideally with marinara sauce for dipping.
Notes
- For extra soft breadsticks, avoid over-kneading the dough.
- If you prefer a stronger garlic flavor, let the minced garlic steep in the melted butter for 10 minutes before brushing.
- You can brush the breadsticks with melted butter before baking for a slightly richer texture.
Nutrition
- Serving Size: 1 breadstick
- Calories: 185
- Sugar: 1.5
- Sodium: 250
- Fat: 7
- Saturated Fat: 4
- Unsaturated Fat: 3
- Trans Fat: 0.1
- Carbohydrates: 26
- Fiber: 1.2
- Protein: 5
- Cholesterol: 15