

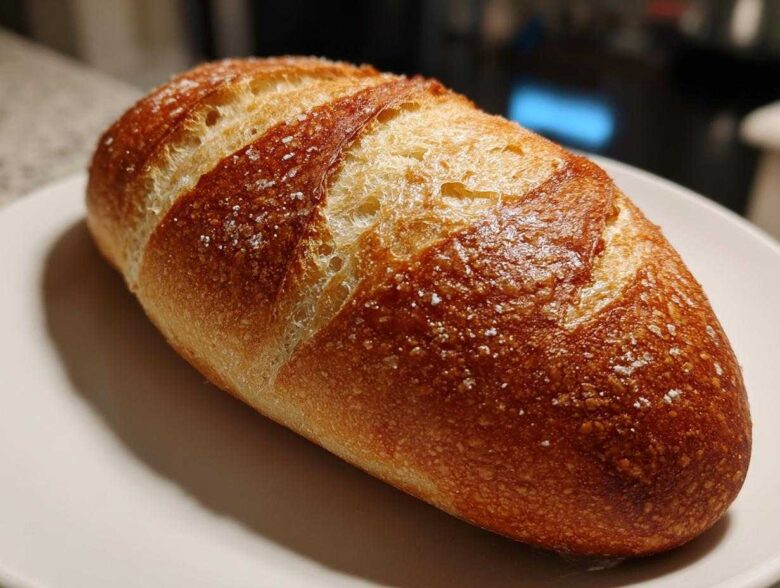
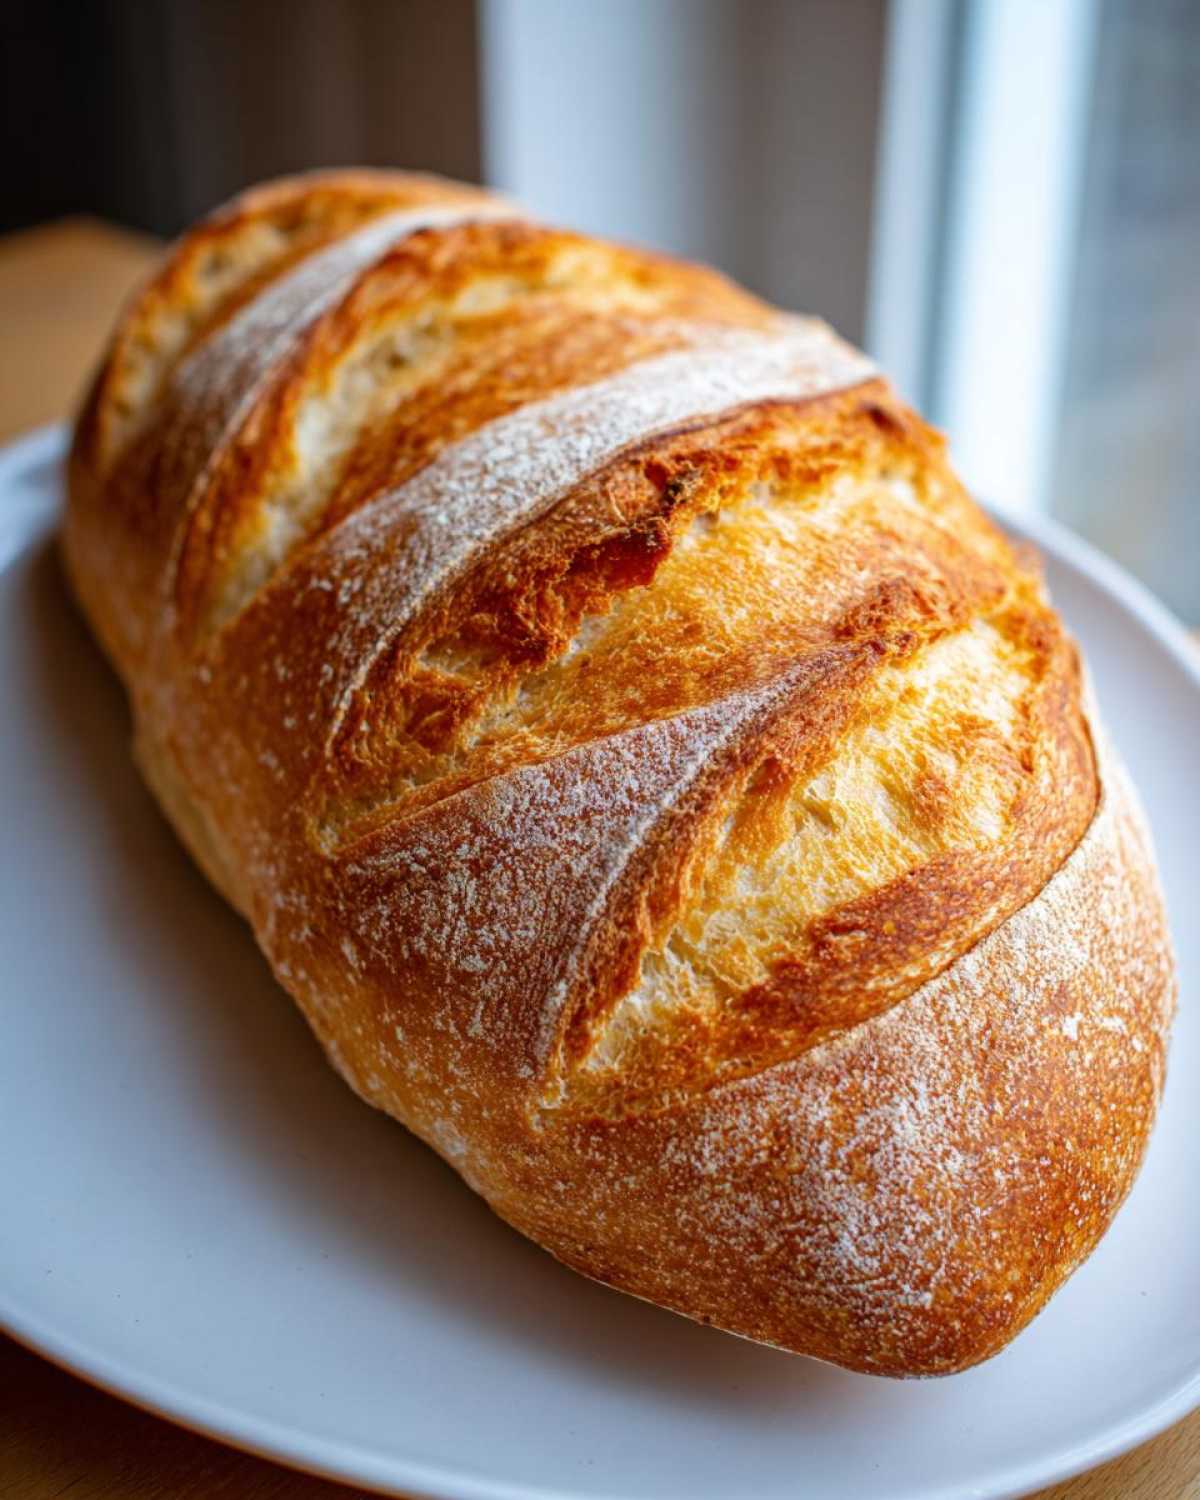
Oh my gosh, you know that incredible smell? I mean the one that floods your entire house and makes your neighbors stop and sniff the air? That’s the smell of a perfect loaf of **Italian bread** fresh from the oven! Leo and I live for that moment because it means we successfully pulled off bakery-style crusty homemade Italian bread without having to wear those funny white hats.
Forget fancy starters or complicated overnight processes. This recipe is my go-to success story when I need that satisfying crunch paired with a soft, chewy inside. Seriously, I share our little kitchen journey over at our story, and I promise you, if I can get this right while juggling music and maybe dropping an egg or two, you absolutely can too! If you can mix stuff in a bowl, you can conquer this loaf.
Why This Homemade Italian Bread Recipe Works for Everyone
I know what you’re thinking: bread is hard. It needs a stand mixer, or maybe a starter that you have to feed like a tiny pet. Nope! This recipe busts those myths, which is why it’s firmly in our family favorites list. It was designed for bakers who want amazing results without the fuss.
Here’s why I think you’re going to love making this loaf:
- It’s super beginner-friendly—seriously, if you can follow a few steps, you’re golden.
- We only use basic pantry ingredients. No confusing specialty flours needed!
- It hits that perfect textural sweet spot every single time. Check out how we nail the crust over at my apple butter recipe page; baking success is all about confidence!
Achieving That Golden Brown Crust Bread Texture
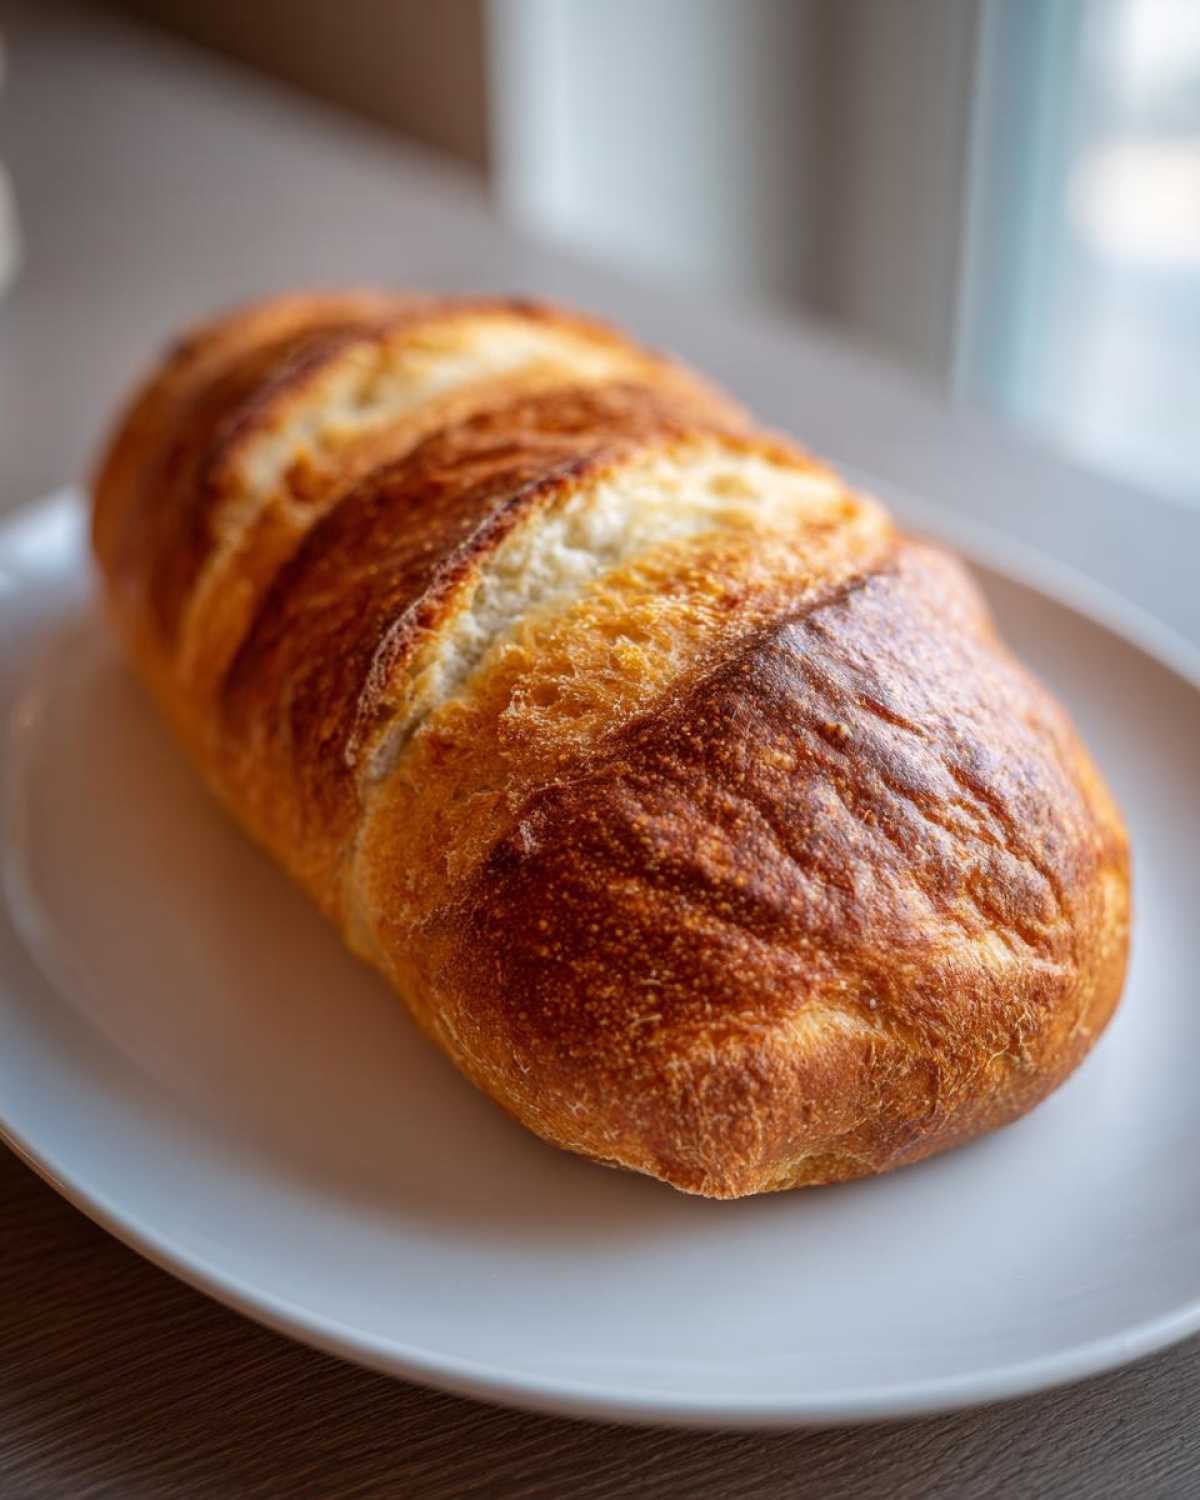
The crunch is everything, right? If you want that deep, satisfying snap when you slice into the loaf, you have to use high heat and steam. We crank the oven up, and that little pan of water on the bottom rack is my secret weapon. That burst of steam keeps the outside soft enough to expand beautifully before crisping up into a gorgeous, **Golden Brown Crust Bread**. Don’t skip that water pan trick; it’s like magic!
The Secret to Soft Inside Crusty Outside Bread
The interior texture is all about patience during the kneading and rising. When you knead for that full 8 to 10 minutes, you build the strength needed to hold those beautiful air bubbles inside. That means after the first rise, when you gently deflate it, the **Soft Inside Crusty Outside Bread** texture is already determined! Nice and light on the inside, tough enough to handle whatever you dip in it!
Ingredients for Your Bakery Style Italian Loaf
Okay, so this is the best part: the ingredient list is so simple, you probably have everything sitting in your pantry right now! I love that about this **Homemade Italian Bread Recipe** because it means I can decide on a Tuesday afternoon that we desperately need fresh bread for dinner. Remember, when you’re tackling artisan bread at home, the flour quality really matters a tiny bit for the final texture, but honestly, good all-purpose works wonders.
You’ll need these exact amounts to hit that bakery flavor profile. Check out how even simple things like good olive oil elevate our cheese crackers!
- 3 1/2 cups all-purpose flour
- 1 1/2 teaspoons salt
- 1 teaspoon granulated sugar
- 2 1/4 teaspoons active dry yeast (that’s one standard packet, don’t stress!)
- 1 1/4 cups warm water (make sure it’s WARM, not hot—about 105-115°F is perfect)
- 2 tablespoons olive oil, plus more for coating your bowl later
That’s it! No unusual stuff, just the basics for a fantastic loaf.
Step-by-Step Instructions for Perfect Italian Bread
This is where the magic happens, folks! Don’t rush these moments; they are what separate a just-okay loaf from the kind of **Italian bread** that makes you want to cry happy tears. Since we want that **Artisan Bread at Home** feeling, we’re going to treat this dough right. Follow these steps exactly, and I promise you’ll be pulling out a gorgeous loaf soon! We’ll be using that simple pantry technique you can also see working wonders in our creamy zucchini soup recipe.
Activating Yeast and Mixing the Italian Bread Dough
First things first: we wake up that yeast! Mix your warm water, sugar, and your yeast packet together in a big bowl. Wait about five to ten minutes. If it gets foamy on top—like a bubbly beer head—you know your yeast is happy and ready to work! Don’t see bubbles? Toss it and start over with newer yeast; it’s the secret to life in bread. Once it’s foamy, stir in the salt, flour, and olive oil until it just barely comes together into something shaggy. Don’t overmix inside the bowl!
Kneading and the First Rise for Chewy Italian Loaf
Now for the workout! Dump that shaggy dough onto a floured surface and just commit to kneading it for a solid 8 to 10 minutes. You’re looking for smooth, elastic dough—it should feel strong, not sticky. After I finish kneading, my hands are always covered in a fine layer of flour residue, and the dough ball feels perfect! Lightly oil a clean bowl, tuck your dough inside, cover it up, and let it chill out in a warm spot for a good 1 to 1.5 hours until it’s doubled. That long first rest is exactly what creates that beautiful **Chewy Italian Loaf** interior, trust me.
Shaping, Second Rise, and Steam for Crusty Italian Bread
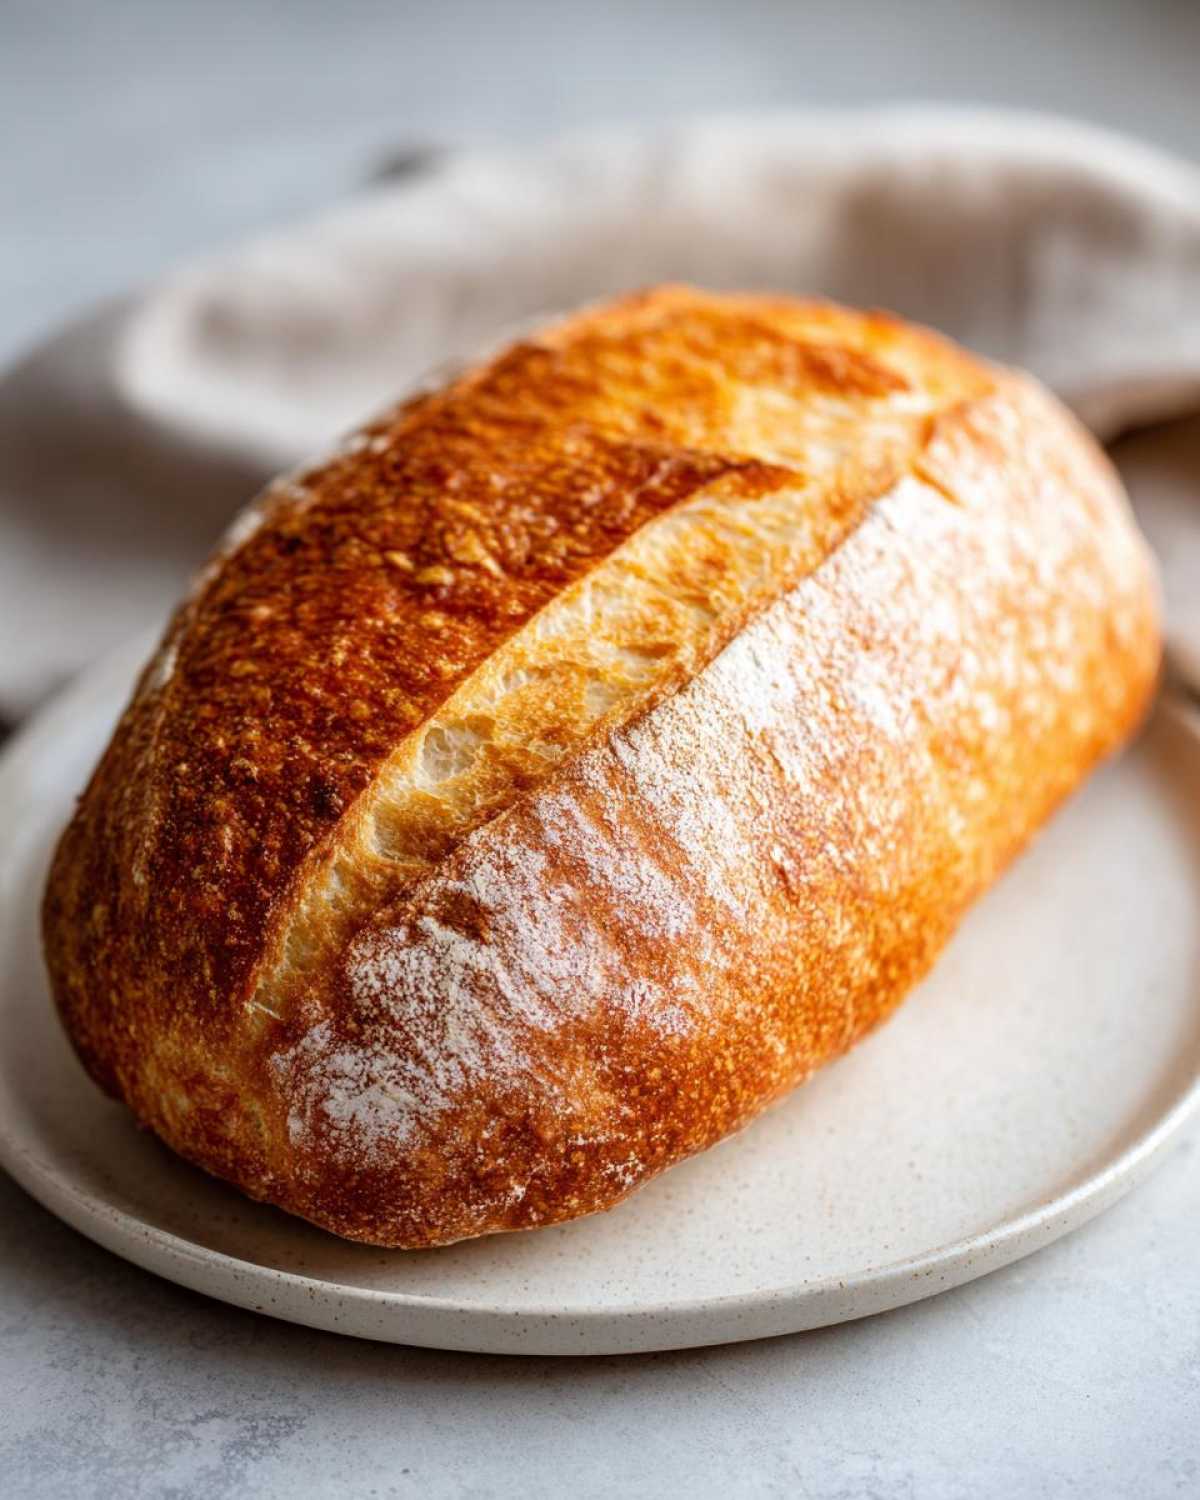
Once it’s puffed up, gently punch that air out—it’s very satisfying, by the way. Shape it into your desired oval or round loaf and let it rest for its second, shorter rise (about 30 to 45 minutes) on your baking sheet. While it rests, preheat that oven to 400°F and remember to put that shallow pan of water on the bottom rack—that steam is vital for the crackly crust! Before it goes in, use a very sharp knife to score the top a few times diagonally. This guides where the **Crusty Italian Bread** will expand. Brush the top with water, slide it in, and get ready for that incredible aroma!
Tips for Success with Your Homemade Italian Bread Recipe
Okay, you’ve kneaded, you’ve waited (which is the hardest part!), and now you want to make sure this loaf is a total winner. I’ve got a few little cheats and tricks I swear by to ensure this **Homemade Italian Bread Recipe** always comes out perfectly golden. Think of these as the shortcuts Leo wishes he knew during our disastrous first dinner!
If you really want that maximum crunch, remember the oven spray trick—spritz the inside oven walls a couple of times in the first 10 minutes of baking. It really ups the crisp factor! You can see how steam helps create great textures in our creamy soup recipe, and the principle is similar for bread!
We also need to make sure you know how to adjust if you’re in a hurry. Check out this great guide here for more crust inspiration!
Quick Italian Bread Tutorial Adjustments
If you wake up craving bread and you absolutely cannot wait for the active dry yeast to proof for ten minutes—I get it! For a speedy **Quick Italian Bread Tutorial**, just swap in instant yeast instead. Mix it right in with your flour and salt, and you can skip the whole foamy waiting game. It saves about 15 minutes right off the top. It’s a lifesaver when you need **Simple Sandwich Bread** fast, but honestly, I still prefer proofing the yeast when I have the time.
Serving Suggestions for This Dinner Side Bread Recipes
Once you pull this golden loaf out, the house will fill with the most amazing **Fresh Baked Bread Aromas**! Seriously, smelling this cooling down is almost as good as eating it. This isn’t just a bread; it’s the perfect accompaniment to any dinner spread. Because of that crusty exterior and chewy middle, it excels as a **Dinner Side Bread Recipes** star.
My absolute favorite? Tearing off big hunks for **Dipping Bread Recipes**, obviously! Drizzle some good quality olive oil mixed with a tiny bit of balsamic vinegar, and dunk away. It’s also fantastic soaking up the last bits of sauce from a big bowl of bolognese. Speaking of pairing food, you have to check out our chicken pot pie casserole; that bread would be divine dipped in that creamy filling! For even more crust love, take a peek at a great crust idea over at this crusty bread guide!
Storing Your Freshly Baked Italian Bread
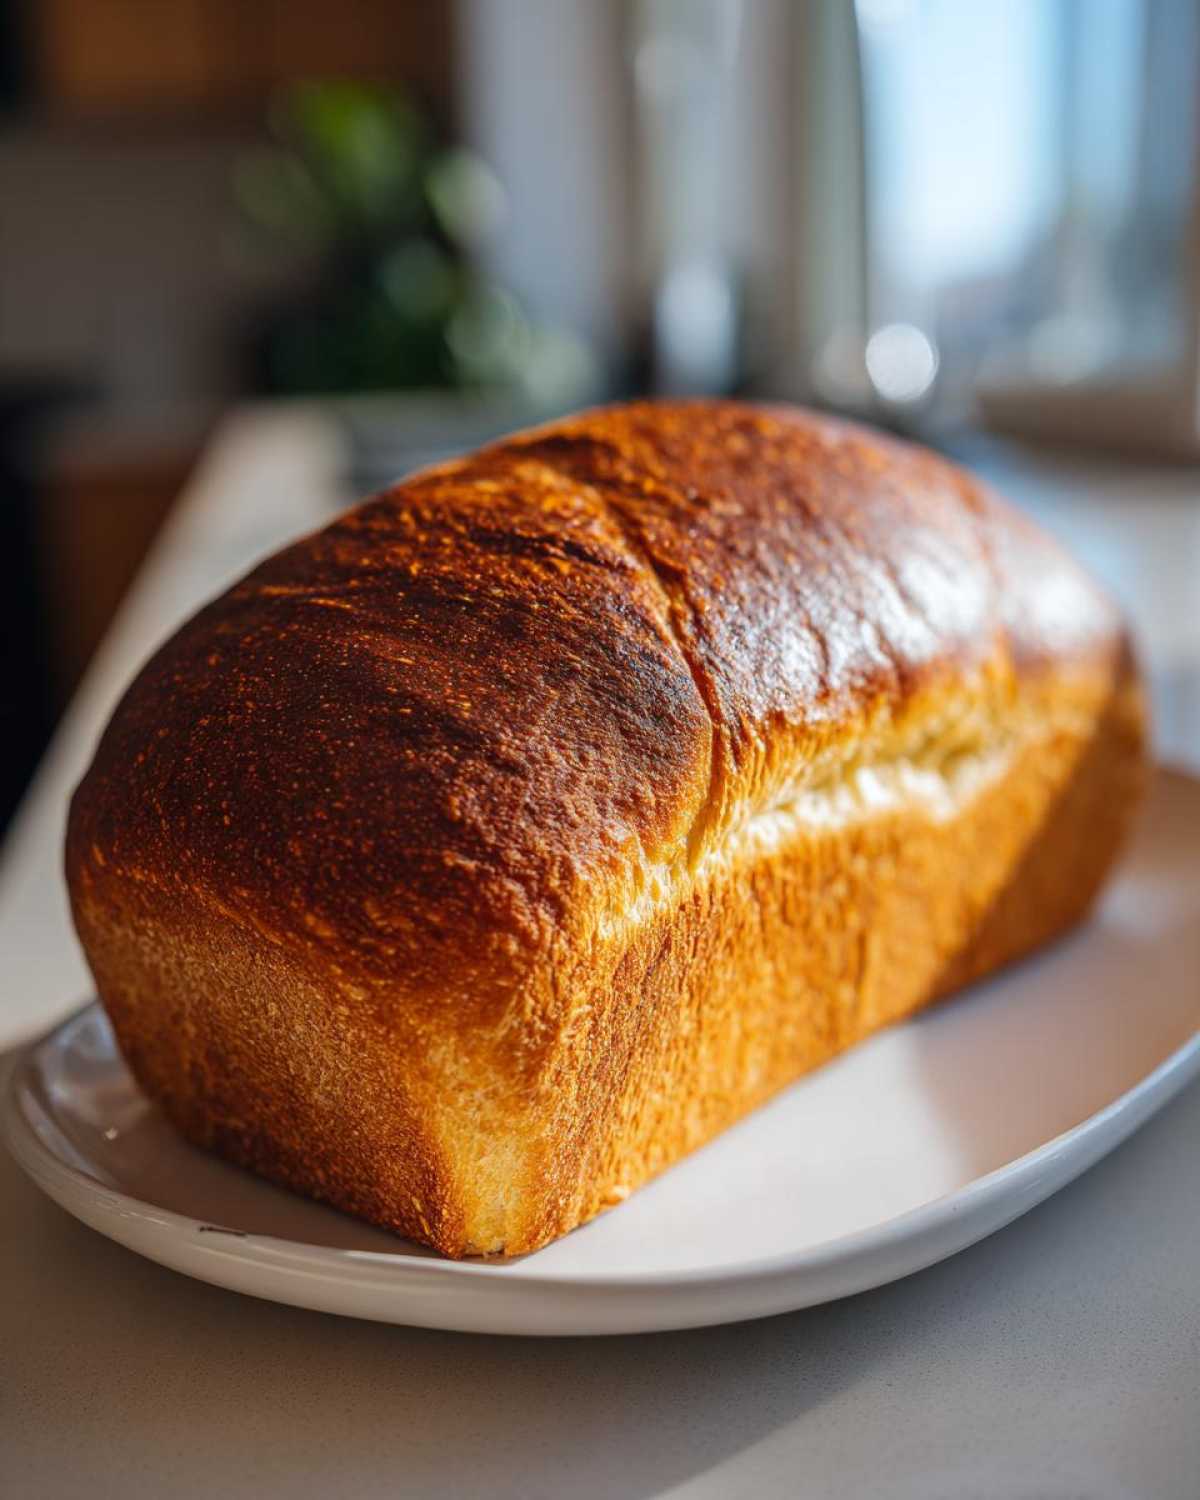
Resist the urge, I know it’s so tempting, but you absolutely must let your beautiful **Italian bread** cool completely on a wire rack before you even *think* about slicing it open. Cutting it hot actually traps steam inside, which turns that amazing crust immediately soft and chewy—not what we want for our perfect loaf! Once it’s totally cool, wrap it tightly in a clean tea towel or put it in a paper bag at room temperature for a day or two.
If you realize you made too much (impossible, but hypothetically!), freezing works perfectly. Slice the loaf first, then wrap the pieces tightly in plastic wrap and foil. It reheats beautifully in a 350°F oven for about ten minutes. It’s great to have these loaves ready when we whip up a batch of our turkey pumpkin chili! Never stick bread in the fridge, though—that’s the fastest way to make it go stale!
Troubleshooting Common Beginner Bread Making Issues
Look, the first time you bake, things go wrong. It’s just part of the process, I promise! Don’t panic if your first attempt at **Beginner Bread Making** doesn’t look like the picture immediately. It happens to me constantly, especially if Leo distracted me with something silly.
If your dough feels too sticky after kneading, it means you might need a tiny sprinkle more flour—just a tablespoon at a time until it stops clinging aggressively to your hands. If you don’t see much rise after the first hour, check your water temperature (too hot kills the yeast) or check your yeast expiration date. A slow rise just means the yeast is working slowly!
And if your crust turns out soft instead of crunchy? You definitely skipped the steam! Don’t forget that pan of hot water during baking; that’s how we get that crisp exterior for our tortilla soup sides. For more tips on getting that perfect crust, check out this guide here!
Frequently Asked Questions About This Italian Bread Recipe
I get so many messages about this **Homemade Italian Bread Recipe**, especially from people trying out bread baking for the first time! It’s awesome to see everyone stepping up to try this **Easy Crusty Bread Baking** project. Here are a few things people ask me all the time about creating that perfect **Bakery Style Italian Loaf**.
Can I make this Italian bread without a stand mixer?
YES! Absolutely! Leo and I rarely use our big mixer for this recipe unless we’re making a huge batch. Kneading by hand for 8 to 10 minutes gives you way more control, and honestly, I feel more connected to the dough that way. My hands tell me exactly when it’s ready, not some machine! Plus, it’s great cardio!
How do I make sure the crust is super crunchy like a professional?
This is my favorite question! The secret to that perfect exterior comes down to two things: preheating properly and using steam. Make sure your oven is fully preheated to 400°F, and don’t forget that shallow pan of hot water on the bottom rack while it bakes! That moisture keeps the outside flexible so it can crackle beautifully as it bakes. It really delivers on that **Golden Brown Crust Bread** look!
Is this recipe usable for a simple sandwich bread?
While this recipe leans toward that rustic, chewy texture, it absolutely works for sandwiches, just maybe not the floppy kind! The interior is soft enough once cooled, which is why I often call it **Simple Sandwich Bread** when I run out of time for fluffier sandwich loaves. Just make sure you let it cool completely before slicing in the middle, or you’ll compress the crumb structure.
How long does the first rise really need to take?
I know the instructions say 1 to 1.5 hours, but bread is flexible! If your kitchen is cool, it might take a bit longer. The key isn’t the clock; it’s the doubling! If it hasn’t doubled in volume, it hasn’t developed enough flavor or strength. If you’re waiting on this rise, take that time to whip up some easy frosting for rice krispie treats!
Estimated Nutritional Facts for Classic Italian Baking
Now, I know you’re more interested in the taste than the numbers, but for those who track things, here’s a rough idea of what’s in a slice of our beautiful **Classic Italian Baking** masterpiece. Remember, Sofia’s Messy Kitchen Rule #4 states that these numbers are just estimates! They change wildly depending on the exact flour, how much oil you brush on top, and, let’s be honest, how generously you slice the loaf. We whip up these chicken meatballs all the time to serve alongside this bread, which definitely impacts the final meal count!
- Serving Size: 1 slice
- Calories: 180
- Fat: 2g
- Carbohydrates: 35g
- Protein: 6g
Basically, it’s delicious carbs, and that’s what we’re sticking to!
PrintEasy Crusty Homemade Italian Bread: Bakery Style Loaf

You can bake bakery-style Italian bread at home! This recipe focuses on simple ingredients and easy steps to give you a loaf with a golden, crunchy crust and a soft, chewy interior. It is perfect for dipping in olive oil or serving with pasta.
- Prep Time: 20 min
- Cook Time: 35 min
- Total Time: 2 hours 45 min
- Yield: 1 large loaf
- Category: Baking
- Method: Baking
- Cuisine: Italian
- Diet: Vegetarian
Ingredients
- 3 1/2 cups all-purpose flour
- 1 1/2 teaspoons salt
- 1 teaspoon granulated sugar
- 2 1/4 teaspoons active dry yeast (1 packet)
- 1 1/4 cups warm water (about 105-115°F)
- 2 tablespoons olive oil, plus more for the bowl
Instructions
- In a large bowl, mix the warm water, sugar, and yeast. Let this stand for 5 to 10 minutes until it becomes foamy. This shows your yeast is active.
- Add the flour, salt, and 2 tablespoons of olive oil to the yeast mixture. Mix with a wooden spoon until a shaggy dough forms.
- Turn the dough out onto a lightly floured surface. Knead the dough for about 8 to 10 minutes until it becomes smooth and elastic. You want it soft but not sticky.
- Lightly oil a large bowl with olive oil. Place the dough in the bowl and turn it over to coat. Cover the bowl with plastic wrap or a clean kitchen towel.
- Let the dough rise in a warm spot for 1 to 1.5 hours, or until it has doubled in size. This is your first rise.
- Gently punch down the risen dough to release the air. Shape the dough into a round or oval loaf.
- Place the shaped loaf on a baking sheet lined with parchment paper or in a loaf pan. Cover it loosely and let it rise again for 30 to 45 minutes. This is your second rise.
- While the dough is in its second rise, preheat your oven to 400°F (200°C). If you like extra steam for a crispier crust, place a shallow pan of water on the bottom rack while preheating.
- Before baking, use a sharp knife to score the top of the loaf with a few shallow diagonal cuts. Brush the top lightly with water.
- Bake for 30 to 35 minutes, or until the crust is deep golden brown and sounds hollow when tapped on the bottom.
- Remove the bread from the oven and transfer it to a wire rack to cool completely before slicing. Enjoy your homemade Italian bread!
Notes
- For an extra crispy crust, spray the inside walls of your oven with water a couple of times during the first 10 minutes of baking.
- If you are short on time, use instant yeast and skip the initial proofing step; mix it directly with the dry ingredients.
- This bread is fantastic for making sandwiches or dipping into olive oil.
Nutrition
- Serving Size: 1 slice
- Calories: 180
- Sugar: 1
- Sodium: 300
- Fat: 2
- Saturated Fat: 0.3
- Unsaturated Fat: 1.7
- Trans Fat: 0
- Carbohydrates: 35
- Fiber: 2
- Protein: 6
- Cholesterol: 0