

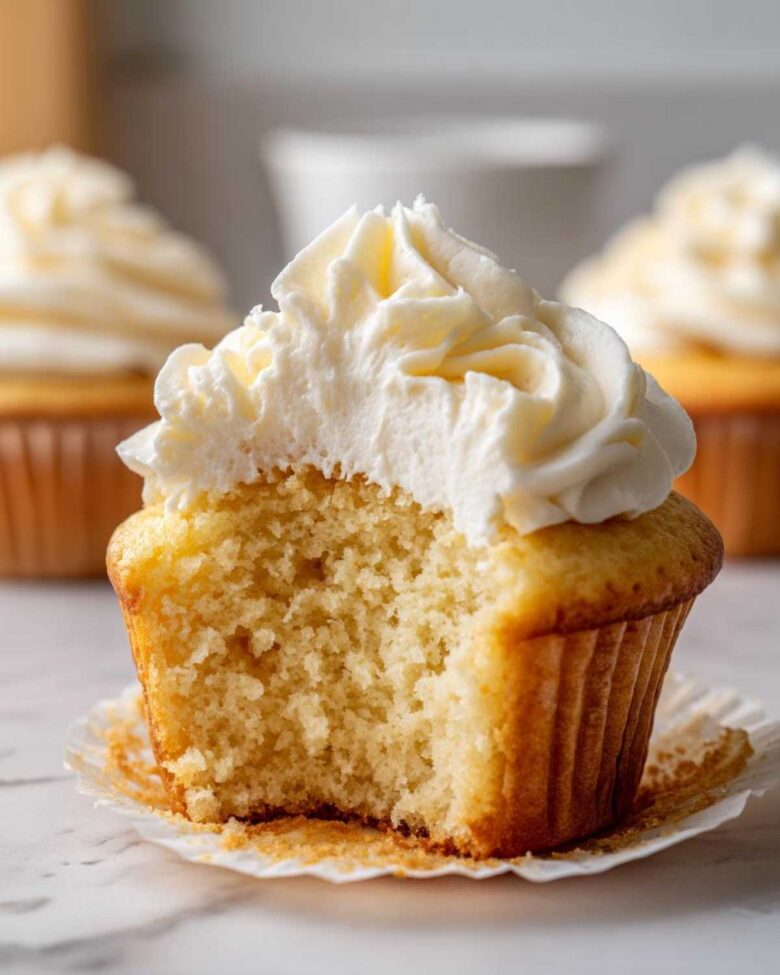
Tell me honestly, haven’t you ever bitten into a store-bought cupcake and thought, “This tastes like sweet air and anxiety”? I know I have! That’s why the quest for the ultimate baked good stops right here. Forget dry, crumbly messes; we are unlocking the secrets to **vanilla cupcakes** that are impossibly moist, unbelievably fluffy, and taste exactly like the best bakery version you’ve ever had—but made right here, from scratch. Leo, bless his heart, nearly ruined our kitchen trying to master a simple white cake at first, but now he swears by this texture. We learned that perfecting the basics is where the real magic happens. If you want to know more about our journey from burnt pasta to perfect frosting, check out our story over at Cookify Me! Get ready to bake the *best* batch!
Why These Are The Best Vanilla Cupcakes You Will Ever Bake
I’m not being dramatic here; these are the ones you’ll want to keep handwritten on your fridge. Forget those sad, tough things you sometimes get when you try to rush a simple recipe. These are the ideal moist vanilla cupcakes that stay soft for days. Here is why you need to trust this recipe:
- They are genuinely light—we’re talking cloud-soft!
- They taste exactly like homemade comfort, zero box mix required.
- Even if you’re new to baking, these are foolproof if you follow my advice.
Achieving That Perfect Fluffy Cupcake Recipe Texture
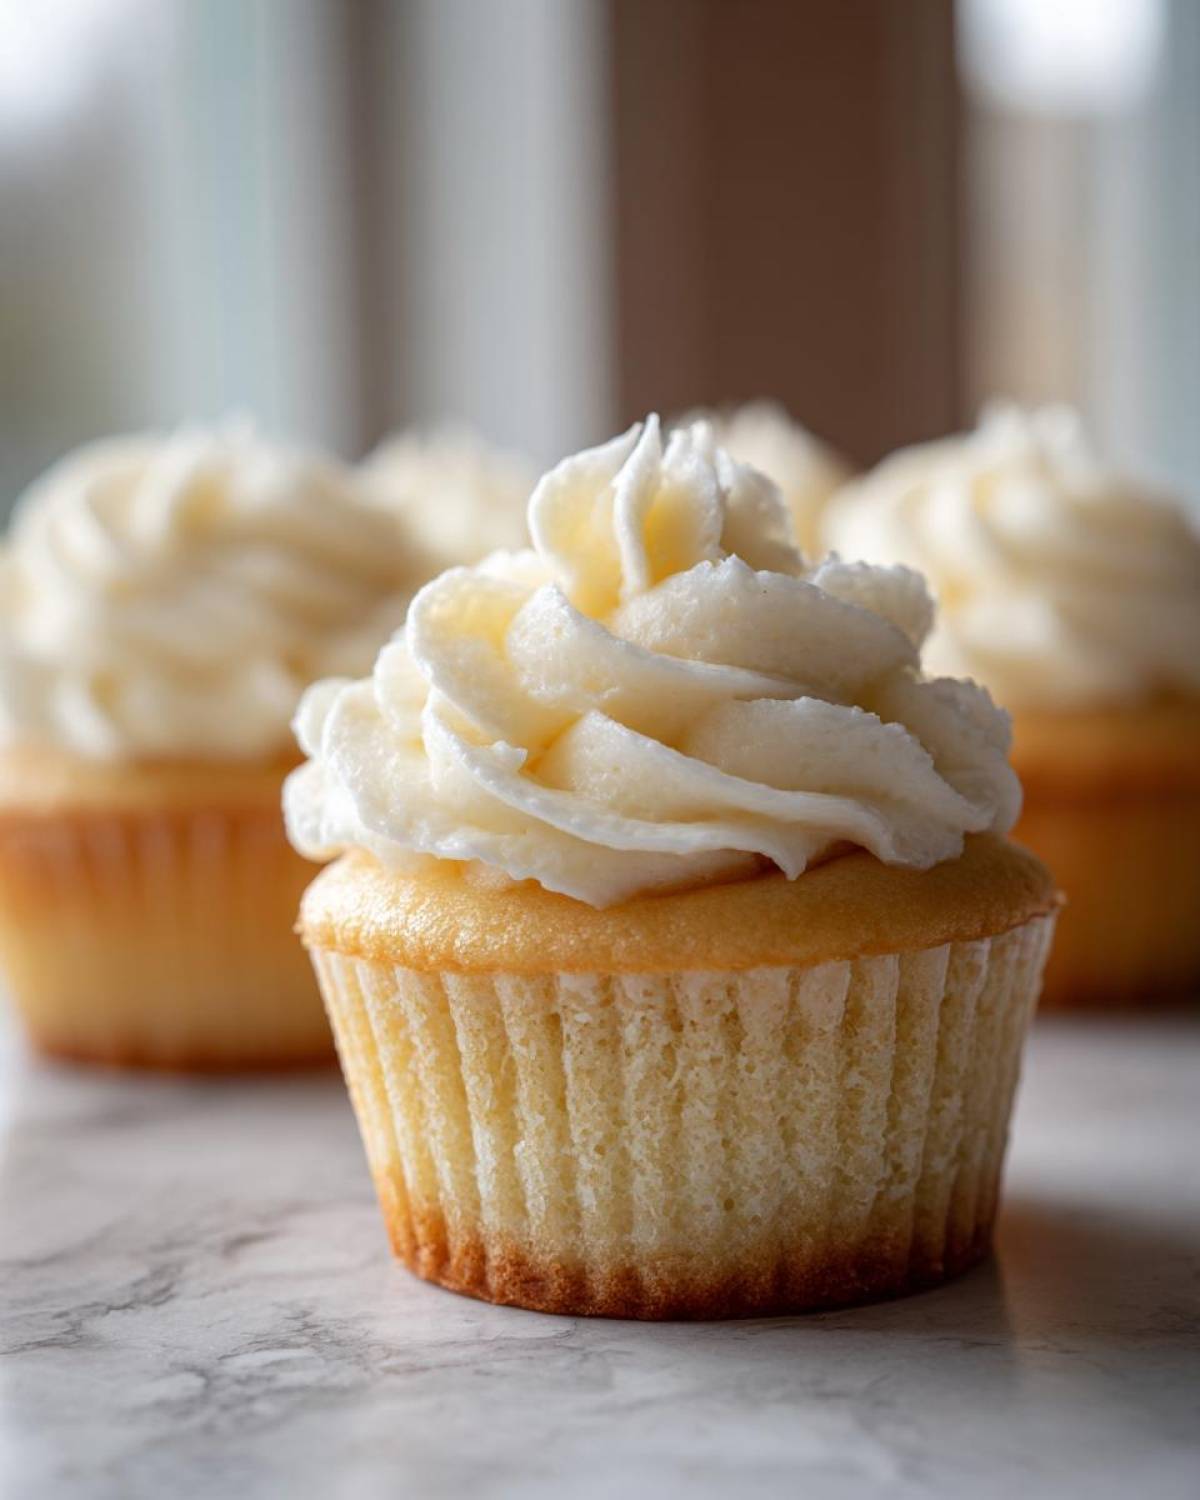
The secret to the fluffiness isn’t some weird enzyme; it’s patient preparation. We use room temperature ingredients exclusively. When your butter, eggs, and milk are all happy and warm, they combine into a beautiful, stable emulsion. This trapping of air is what keeps your cupcake light and airy rather than heavy and dense. It’s simple science, but it makes all the difference!
Simple Steps for Easy Homemade Cupcakes
Even though we’re making these the proper way—from scratch vanilla cupcakes—the steps are actually incredibly straightforward. We start by letting the mixer do the heavy lifting combining the butter and dry ingredients until it looks like wet sand. This creates a base that’s ready to accept moisture without becoming tough. Honestly, if you can whisk three things together in a bowl, you’ve got this! These are the perfect easy homemade cupcakes for any Tuesday.
Gathering Ingredients for Your Vanilla Cupcakes
Okay, let’s talk about what you need to gather since this recipe hinges on having the right things ready before you even turn on the mixer. I know, I know, reading a list can feel like homework, but trust me, prepping these ingredients exactly as specified is how we skip the texture troubles later on. Getting the temperature right is more important than anything else, so plan ahead by setting things out!
For the Moist Vanilla Cupcakes Batter
For the cake part, you’ll need the basics—flour, sugar, baking powder, and salt. But pay close attention to the good stuff! You must have <1 cup unsalted butter, softened>—not melted, softened is key—and <4 large eggs, room temperature>. If your eggs are cold, they’ll shock the butter when you beat them together, and we’ll lose all that fluffy air we worked so hard to incorporate! Make sure your milk is also at room temperature before you start mixing.
For the Best Vanilla Cupcake Frosting
When it comes to the topping, we are keeping it classic for that perfect swirl. You need a good amount of butter (again, softened!) for the base, plus your <4 cups powdered sugar, sifted>. Sifting is non-negotiable here, otherwise your *Simple Vanilla Buttercream* ends up looking like a lumpy mountain. To get that perfect pipeable consistency, you’ll measure out <3-4 tablespoons heavy cream or milk>. We always start with three and only add the fourth if the frosting is being stubborn. This creates a creamy dream that holds its shape beautifully!
Step-by-Step Guide to Baking Vanilla Cupcakes
Alright, time to turn on the oven! We preheat everything to 350°F (175°C) and get those paper liners nestled into the tin—twelve little cups ready for batter. Remember, everything should be room temperature; that’s your secret weapon for success here!
Mixing the Batter for Perfect Vanilla Cupcake Texture
First, whisk your dry stuff—flour, sugar, powder, salt—just to make friends. Then we add the softened butter and beat it on low until it looks like coarse, gritty sand. This might feel weird, but trust me, it beats the butter and flour against each other, setting up those air pockets for *light and airy cupcakes*. Next, slowly pour in your wet mixture (eggs, milk, vanilla) in three parts while the mixer is running low. As soon as you don’t see any white flour streaks? STOP! Seriously! Overmixing develops gluten, and that’s how we turn these beauties into chewy hockey pucks.
Baking and Cooling Your Classic Vanilla Dessert
Fill those cups about two-thirds full; don’t overstuff them, or they’ll overflow! Pop them in the oven for about 18 to 20 minutes. You know they’re done when a toothpick slides in and comes out clean. After taking them out, let them chill in the pan for five minutes—no less, no more—before transferring them onto a wire rack to cool completely. If you want that ultra moist vanilla cupcake feel, cooling completely is vital before you even *think* about frosting. Warm cupcakes melt frosting faster than Leo eats birthday cake!
Crafting the Simple Vanilla Buttercream
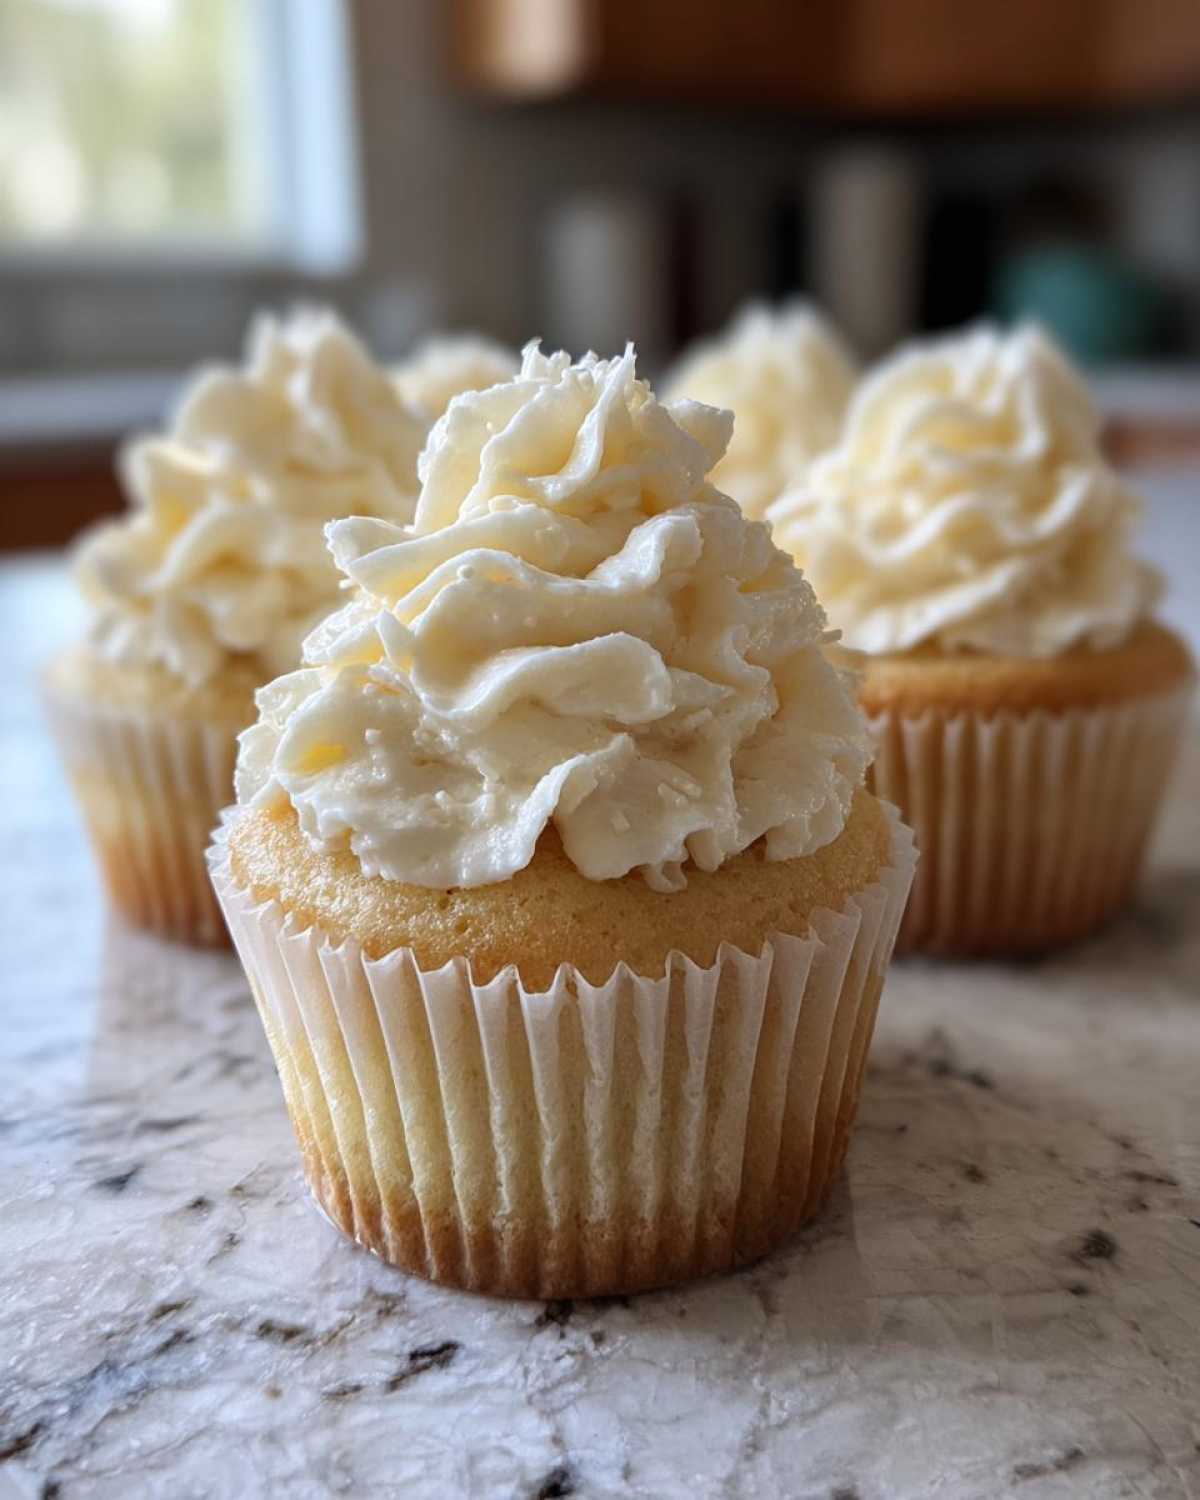
Okay, the cakes are cool—phew! Now for the best part: the frosting! We want this *Simple Vanilla Buttercream* to look and taste like it came straight from a fancy bakery display case, but trust me, it’s just butter, sugar, and a little bit of elbow grease (or electric mixer power, thankfully). This creamy texture is what pulls the whole treat together. If your cupcakes are the soft foundation, this frosting is the beautiful architectural spire on top!
First, grab that remaining 1/2 cup of softened butter. You want it truly creamy before you add anything else. Beat it by itself until it looks pale and smooth, like rich morning fog. This preliminary beating is your first secret to fluffiness—it’s incorporating air before the sugar makes things dense.
Now, we add the <4 cups powdered sugar, sifted> slowly, starting on low speed. If you dump it all in, you’ll create a sugar explosion that will get all over you, the cabinets, and probably the cat. Once it’s just combined, crank that mixer up to medium-high. This is where the magic happens! You have to beat it for a good three minutes right here. Don’t rush this step! This consistent whipping is what makes it light, airy, and absolutely luxurious, giving you that perfect texture that rivals those famous New York bakeries.
Finally, the liquid. Add your vanilla extract and start with just 3 tablespoons of the heavy cream or milk. Beat it again until everything is perfectly blended. If you find it’s too stiff to pipe easily—maybe you measured your cubes of butter slightly big—add that fourth tablespoon. You want it soft enough to swirl beautifully onto your already perfect classic dessert recipes, but stiff enough that it doesn’t just melt down the sides. Once it’s fluffy and smooth, it’s ready to pipe onto your world-class vanilla cupcakes!
Expert Tips for Bakery Style Vanilla Cupcakes
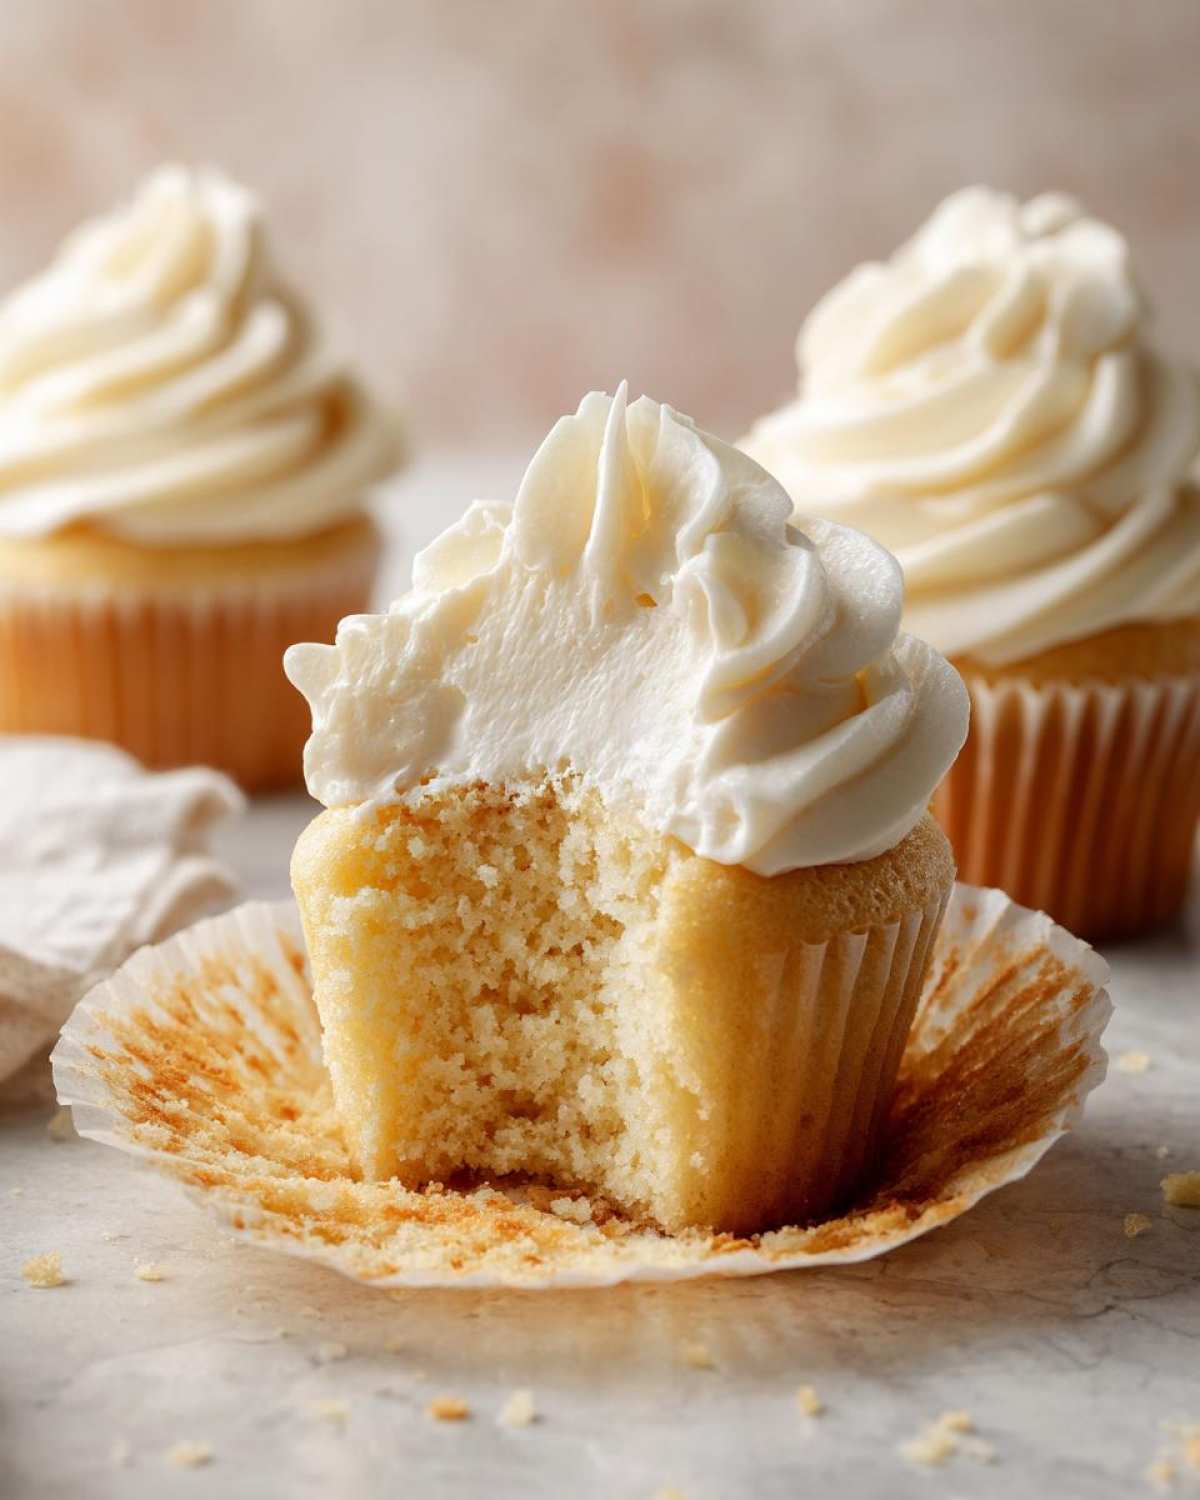
You want these to look like the ones you see behind the glass, right? Me too! Baking is fun, but getting that last little professional touch is what makes you feel like a baking rockstar. We’ve learned a few tricks over the years that take these already amazing vanilla cupcakes up a notch. Honestly, getting the recipe right is half the battle; the other half is knowing these little secrets that the pros use. Leo is usually the one fussing over the appearance, making sure my piping looks sharp!
Ingredient Temperature Matters for Soft Cupcake Recipe
I cannot stress this enough when we talk about achieving that soft cupcake recipe texture: Your butter, eggs, and milk absolutely *must* be at room temperature. Remember my disastrous first date attempt when everything went wrong? A lot of that was temperature shock! Cold ingredients refuse to blend nicely with the fat, causing the batter to curdle slightly, which blocks us from getting that amazing smooth emulsion we need. For truly superior vanilla cupcakes that melt in your mouth, leave that butter and those eggs out on the counter for at least an hour.
Frosting Techniques for Vanilla Cupcakes for Parties
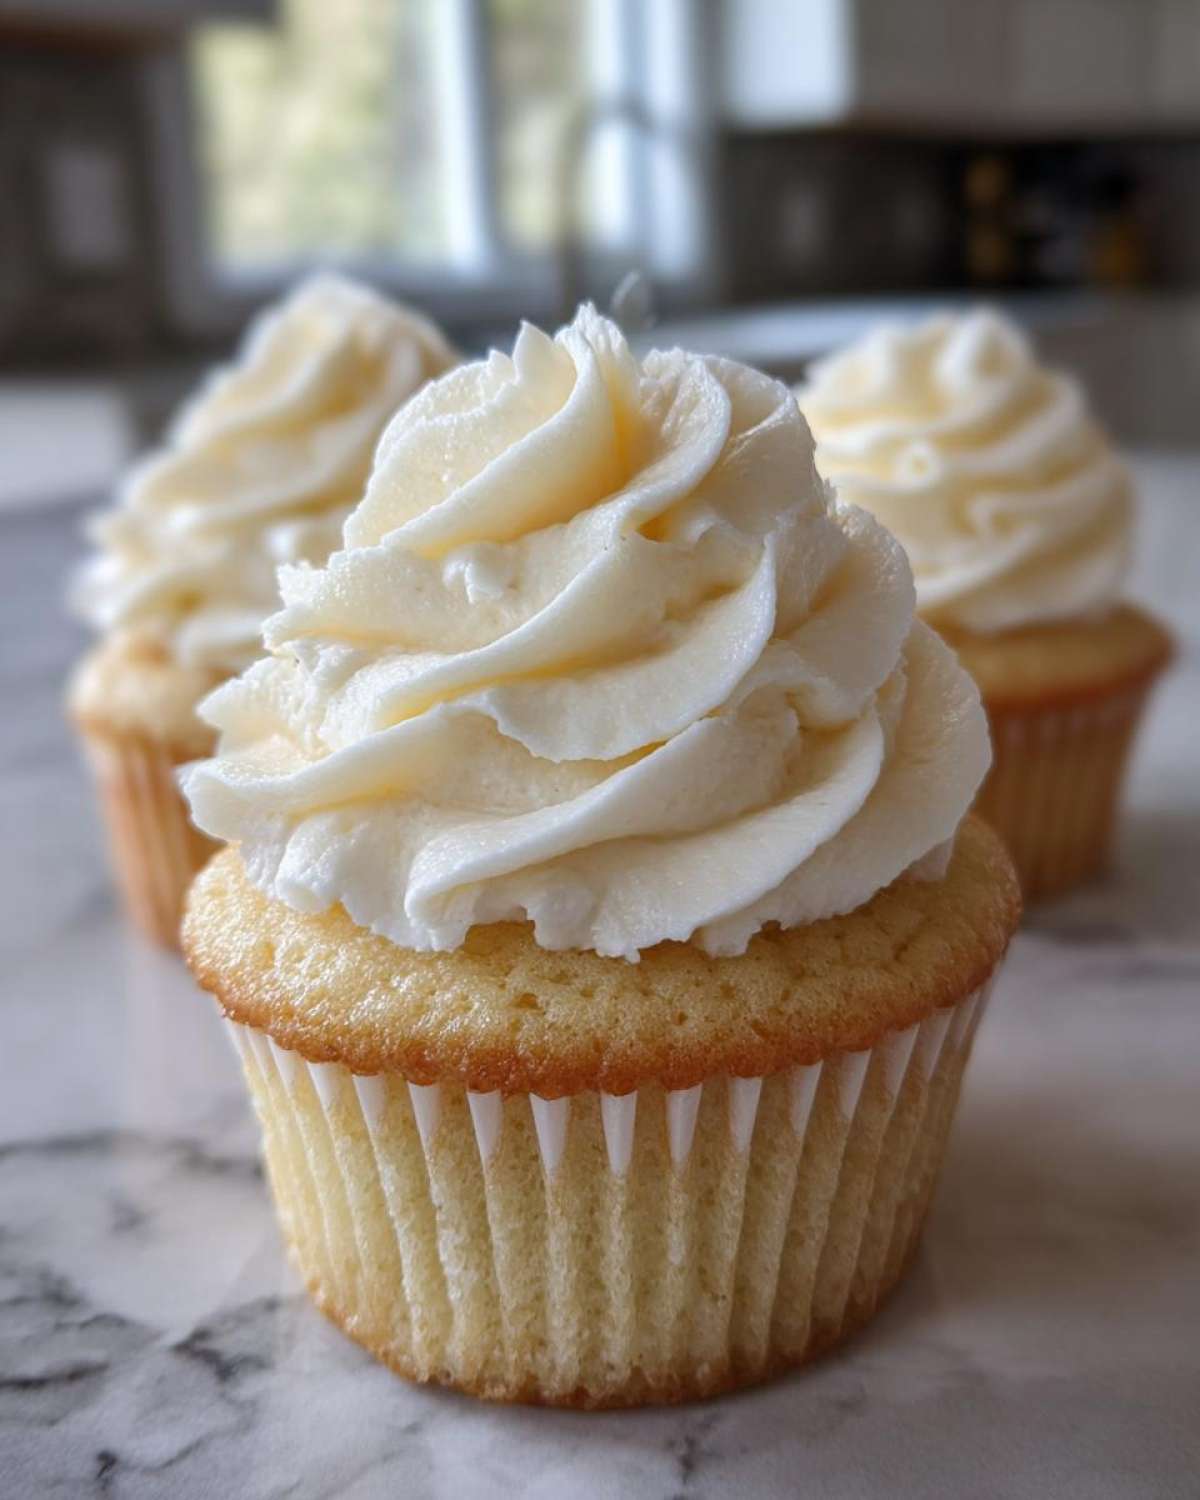
Making them look impressive for vanilla cupcakes for parties only takes one extra tool. Once your creamy buttercream is ready, don’t just use a butter knife! Grab a piping bag fitted with a large star tip—I’m partial to the Wilton 1M—and practice a simple swirl. You just hold the bag still right over the center of the cooled cupcake, squeeze firmly until the frosting is about as tall as you want it, and then in one smooth motion, pull the tip away from the top. It gives you those beautiful, professional ridges instantly!
Variations on Classic Vanilla Cupcakes
We all love the pure, unadulterated joy of a perfect vanilla cupcake, but sometimes you want to throw a little personalized flair into the mix, right? This recipe is such a fantastic base—it’s like the sturdy little black dress of the baking world—meaning it’s perfect on its own, but it loves accessories! I love playing around with the extract ratios and adding little unexpected pops of flavor here and there. It’s still going to be a fantastic base for any from scratch vanilla cupcakes effort, I promise!
Boosting the Vanilla Flavor in Your Vanilla Cupcakes
Since the flavor profile here is vanilla, we should really make that vanilla shine, shouldn’t we? If you are using the 1 tablespoon of pure vanilla extract noted in the recipe, that’s great for a classic taste! But if you want that deep, almost caramelized, complex vanilla taste—the kind that makes you close your eyes when you take a bite—you absolutely must swap some or all of that extract out for vanilla bean paste. Yes, it costs a bit more, but you get those gorgeous little black flecks suspended in your cake, and the flavor is just unparalleled. It turns a standard bake into something truly spectacular. If you’re branching out into richer flavors anyway, check out our wild (and cozy!) Hot Chocolate Cupcakes recipe for next time!
Simple Flavor Twists for Simple Vanilla Treats
If you’re not feeling the vanilla bean investment this week, don’t sweat it! There are super easy ways to add complexity to these simple vanilla treats without turning them into a completely different recipe. My favorite quick trick is adding a tiny bit of citrus zest into the wet ingredients step. Lemon zest, specifically, brightens everything up and pairs amazingly with vanilla and the creamy frosting. You only need the zest of half a lemon; trust me, that little bit of oil does wonders!
Another twist Leo loves to suggest (cue chaos!) is adding just 1/4 teaspoon of pure almond extract along with the vanilla extract in the batter. Almond and vanilla are totally best friends in the baking world. It gives the cupcakes a subtle, almost marzipan-like note that just makes people ask, “What *is* that amazing flavor?” You can also try adding a tiny bit of finely grated orange zest if you prefer something a little zestier than lemon!
Storage and Reheating for Your Moist Vanilla Cupcakes
You did it! You made the fluffiest, most perfect vanilla cupcakes, and now you have leftovers. First off, good job! Second, don’t panic about keeping them fresh. We worked so hard for that *moist vanilla cupcake* texture, and we aren’t going to let them get stale by tomorrow!
Here’s the big rule that people always ask about: Should they go in the fridge? If you’ve frosted them with our *Simple Vanilla Buttercream*, the answer is usually yes, but only temporarily. Buttercream frosting, especially if it’s warm in your kitchen, is happier staying cool. However, refrigeration is the enemy of moist cake because the cold air dries out the crumb faster than anything!
My rule of thumb is this: If you plan to eat them all within 24 hours, keep them right on the counter. Store them in an airtight container, like a plastic container with a decent seal or a cake carrier. If you have to store them longer than that, definitely cover them and stash them in the fridge. When you go to eat them, pull the leftovers out about an hour before serving. Let them come back up to room temperature! That hour allows the butter in the cake to soften slightly again, bringing back that beautiful, light texture. Seriously, don’t skip the warm-up time, or they’ll taste stiff!
If you’re making these for a party days in advance, you can freeze them unfrosted! Wrap the individual, completely cooled cupcakes tightly in plastic wrap, then put them inside a large zip-top freezer bag. They keep great frozen for up to three months. When you’re ready to eat them, just thaw them on the counter, still wrapped, until they reach room temperature. Then, frost away and serve those incredible moist vanilla cupcakes!
Frequently Asked Questions About Vanilla Cupcakes
If you’re anything like me, you read a recipe, you bake it, and then suddenly three new questions pop into your head right as you take the first bite! I totally get it. When you’re working hard to achieve that perfect, reliable bake, you just want to make sure you’ve nailed every step. Here are some common things people ask me about these vanilla cupcakes!
Can I use oil instead of butter in this Fluffy Cupcake Recipe?
You absolutely *can* use oil, and I know why you’re asking—oil guarantees moisture, right? Well, yes and no. Oil will definitely keep your fluffy cupcake recipe moist because it’s 100% fat, even when cold. However, the trade-off is that butter carries so much flavor! Butter is crucial in this recipe because it creams with the sugar to create those air bubbles we rely on for lift and that beautiful, recognizable, *bakery* taste. If you use oil, you get a more delicate crumb, but you significantly lose that rich flavor we worked so hard for. If you must substitute, use oil for the fat amount, but you’ll notice they taste a little flatter than the traditional version.
How do I stop my **vanilla cupcakes** from sinking in the middle?
Ugh, that sad little crater in the middle! That’s usually a sign that the heat got to your structure before the structure was ready. The number one reason this happens is opening the oven door too early. You need to wait at least 15 minutes before peeking, if not longer! If the heat rushes in too soon, the center, which is still relatively wet, collapses. Another common culprit is using too much baking powder or not mixing the dry ingredients thoroughly enough. If the leavening agent isn’t distributed evenly, one part rises too fast and then falls. Remember how I said to whisk the dry ingredients first? That step is your insurance policy against sinking!
I overmixed the batter a little bit—will these still taste okay?
Don’t panic! Overmixing usually means you’ve developed too much gluten, which leads to a chewier, tougher texture rather than that melt-in-your-mouth softness we love in our best easy cupcakes. If you only mixed for about 10 seconds too long, they are still going to be perfectly fine and totally edible! They might just be slightly less light. If you went for a full minute after the streaks disappeared? Well, they might be a little denser than intended. The solution? Next time, stop mixing the second you think you see the last bit of flour vanish. For this batch, just enjoy them with extra frosting—the buttercream covers a multitude of sins, trust me! You can find more general tips about baking success on our blog here.
Sharing Your Classic Dessert Recipes
So there you have it! We’ve mixed, we’ve baked, and hopefully, we’ve created the fluffiest, most melt-in-your-mouth vanilla cupcakes known to humankind. Seriously, I hope you had a blast making these; I always find Leo’s loud music paired with the smell of baking vanilla is the perfect afternoon activity!
Now that you’ve got your masterpiece cooling (and maybe you’ve sneaked a taste—I won’t tell anyone!), I genuinely want to hear about it! Did you go wild with the frosting swirls? Did your kids help you lick the beaters? Head down to the comments below and let me know! Give this recipe a star rating while you’re down there—it helps other nervous bakers feel confident tackling these classic dessert recipes. And if you ended up experimenting with some fun additions, share your secrets! We love seeing how you “cookify” our recipes. If you’re looking for another amazing, high-flavor-impact treat next time, you absolutely have to try our Classic Peanut Butter Blossom Recipe. Happy baking, friends!
PrintThe Ultimate Moist and Fluffy Classic Vanilla Cupcakes with Creamy Vanilla Buttercream
You deserve bakery-soft, homemade vanilla cupcakes that are incredibly moist and fluffy. This easy recipe delivers the perfect texture every time, topped with a simple, creamy vanilla buttercream.
- Prep Time: 20 min
- Cook Time: 20 min
- Total Time: 40 min
- Yield: 12 servings
- Category: Dessert
- Method: Baking
- Cuisine: American
- Diet: Vegetarian
Ingredients
- 1 3/4 cups all-purpose flour
- 1 3/4 cups granulated sugar
- 1 tablespoon baking powder
- 1/2 teaspoon salt
- 1 cup unsalted butter, softened
- 4 large eggs, room temperature
- 1 cup whole milk, room temperature
- 1 tablespoon pure vanilla extract
- 1/2 cup unsalted butter, softened (for frosting)
- 4 cups powdered sugar, sifted (for frosting)
- 1 teaspoon pure vanilla extract (for frosting)
- 3-4 tablespoons heavy cream or milk (for frosting)
Instructions
- Preheat your oven to 350°F (175°C). Line a 12-cup muffin tin with paper liners.
- In a large bowl, whisk together the flour, sugar, baking powder, and salt. This step helps distribute the leavening agents evenly.
- Add the softened butter to the dry ingredients. Beat with an electric mixer on low speed until the mixture resembles coarse sand.
- In a separate bowl, whisk together the eggs, milk, and vanilla extract until just combined.
- With the mixer on low, gradually pour the wet ingredients into the flour mixture in three additions, mixing just until incorporated after each addition. Do not overmix; stop as soon as no streaks of flour remain. Overmixing develops gluten, leading to tough cupcakes.
- Divide the batter evenly among the 12 prepared liners, filling each about two-thirds full.
- Bake for 18 to 20 minutes, or until a toothpick inserted into the center comes out clean.
- Let the cupcakes cool in the pan for 5 minutes before transferring them to a wire rack to cool completely.
- For the frosting: Beat the 1/2 cup softened butter until creamy. Gradually add the sifted powdered sugar, mixing on low speed until combined.
- Add the vanilla extract and 3 tablespoons of heavy cream. Beat on medium-high speed until light and fluffy, about 3 minutes. Add the remaining tablespoon of cream if the frosting seems too stiff.
- Once the cupcakes are completely cool, pipe or spread the creamy vanilla buttercream on top.
Notes
- For the fluffiest texture, make sure your butter, eggs, and milk are truly at room temperature. This helps them emulsify better with the fat.
- To achieve that bakery style look, use a piping bag fitted with a large star tip (like Wilton 1M) for frosting.
- If you want a deeper vanilla flavor, substitute 1 teaspoon of the extract with vanilla bean paste.
Nutrition
- Serving Size: 1 cupcake
- Calories: 350
- Sugar: 35
- Sodium: 180
- Fat: 18
- Saturated Fat: 11
- Unsaturated Fat: 7
- Trans Fat: 0
- Carbohydrates: 45
- Fiber: 0
- Protein: 4
- Cholesterol: 65