

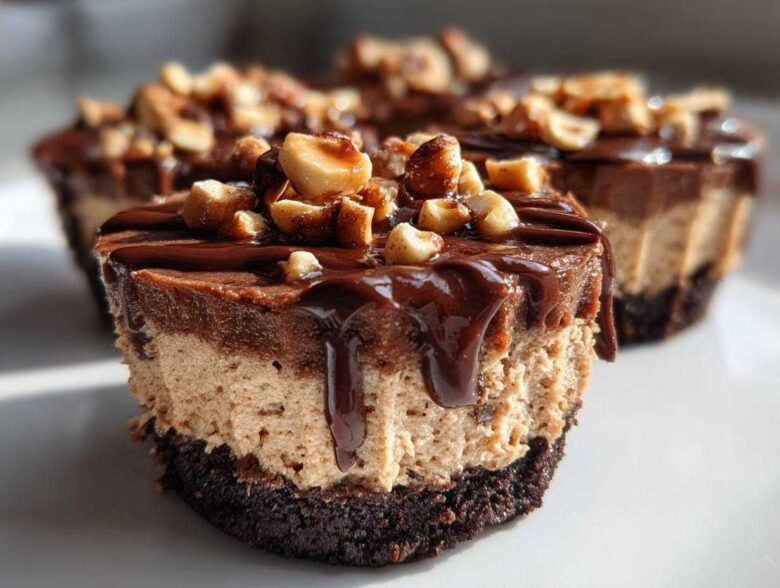
Oh my gosh, I have been there—you need a show-stopping dessert, something deep, rich, and decadent, but the thought of turning on the oven feels like way too much work. When that craving hits for something utterly luxurious, I go straight to my absolute favorite emergency recipe! I call these No-Bake Chocolate Hazelnut Cheesecake Cups, and honestly, they taste like they took hours, but they come together faster than my coffee brews.
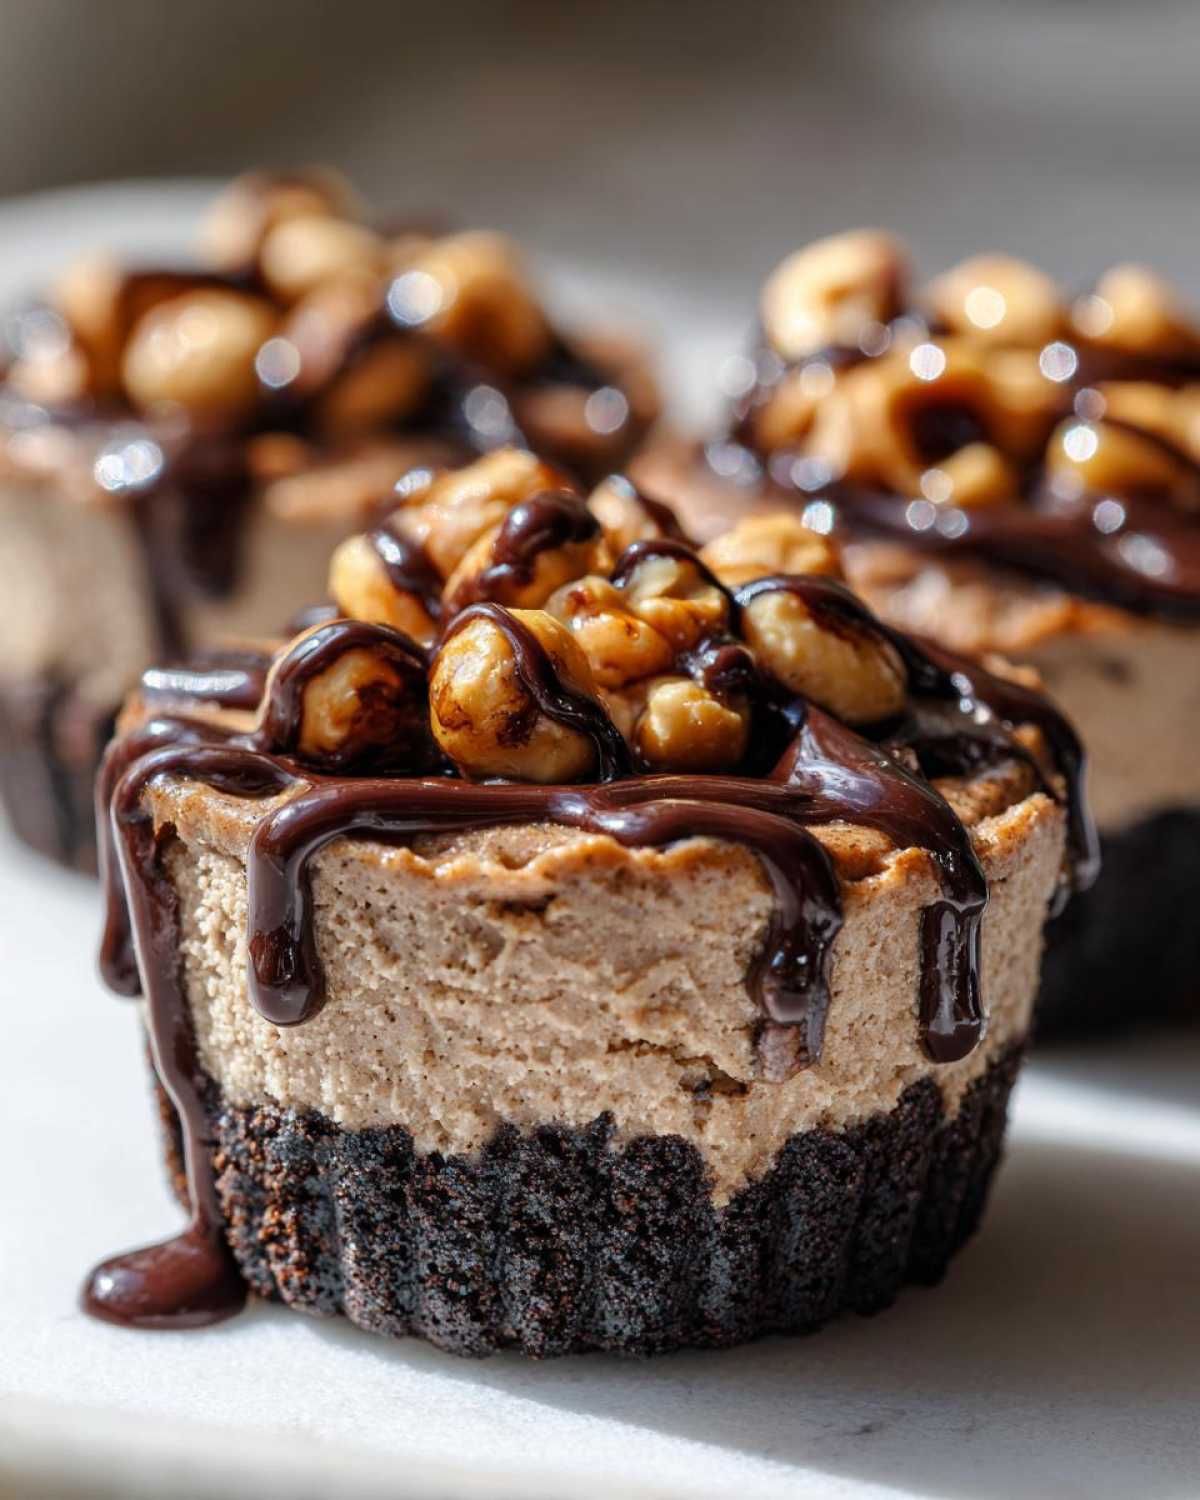
A few weeks ago, friends showed up unexpectedly and I needed something impressive fast. I whipped up a batch of these individual servings, and everyone went wild! They are perfect because they give you that decadent chocolate and nutty hazelnut combo you dream about, all tucked into a crisp, little cookie crust. They’re the definition of a simple treat that looks complicated. If you’re ready to beat the heat and still serve something amazing, you absolutely have to try this amazing no-bake recipe!
Why You Will Love These No-Bake Chocolate Hazelnut Cheesecake Cups
What’s not to love about a dessert that skips the oven entirely? These cups are my go-to when I need an Easy No Bake Dessert in a pinch. They check every box: rich, nutty, creamy, and totally fuss-free!
- They are literally a dream for anyone looking for Quick Dessert Recipes.
- No slicing means zero mess—hello, simple cleanup! These are ideal as Single Serving Desserts.
Quick Assembly for Busy Schedules
Seriously, the active time here is minimal. You’re just mixing and pressing! Since the oven stays off, we save on heat and cleanup. These are the perfect example of how good No Oven Required Sweets can taste.
Perfectly Portioned Individual Cheesecake Portions
I adore serving these because everyone gets their own little masterpiece. You don’t have to stress about cutting slices evenly or worrying if the middle sunk! These Individual Cheesecake Portions always look elegant, no matter how fast you assembled them.
Gathering Ingredients for No-Bake Chocolate Hazelnut Cheesecake Cups
Okay, getting the ingredients ready is honestly half the fun! Since we aren’t baking, everything needs to be ready to go right when we mix it—especially that cream cheese! Think of gathering these parts like setting up the perfect little station for your Nutella Cheesecake Bites. It keeps everything moving smoothly.
Here’s what you need to pull out of the pantry and fridge before you start assembling those crusts:
Crust Components
- Chocolate wafer cookie crumbs—we need exactly 1 1/2 cups of those.
- Unsalted butter, and remember, it has to be melted! Six tablespoons total.
Creamy Filling Base
This is where the magic happens. Make sure your cream cheese is truly, completely softened—I mean, room temperature soft—otherwise, you’ll get lumps, and we want these Chocolate Hazelnut Dessert Cups smooth as silk!
- One standard 8-ounce block of cream cheese, softened.
- Powdered sugar (1/2 cup).
- Vanilla extract (just a teaspoon).
- Hazelnut spread—go ahead and use your favorite brand, like Nutella! You need 1/2 cup of that rich flavor.
- Heavy whipping cream that is nice and cold. We need 1/2 cup to whip up perfectly.
Finishing Touches for Your Chocolate Hazelnut Dessert Cups
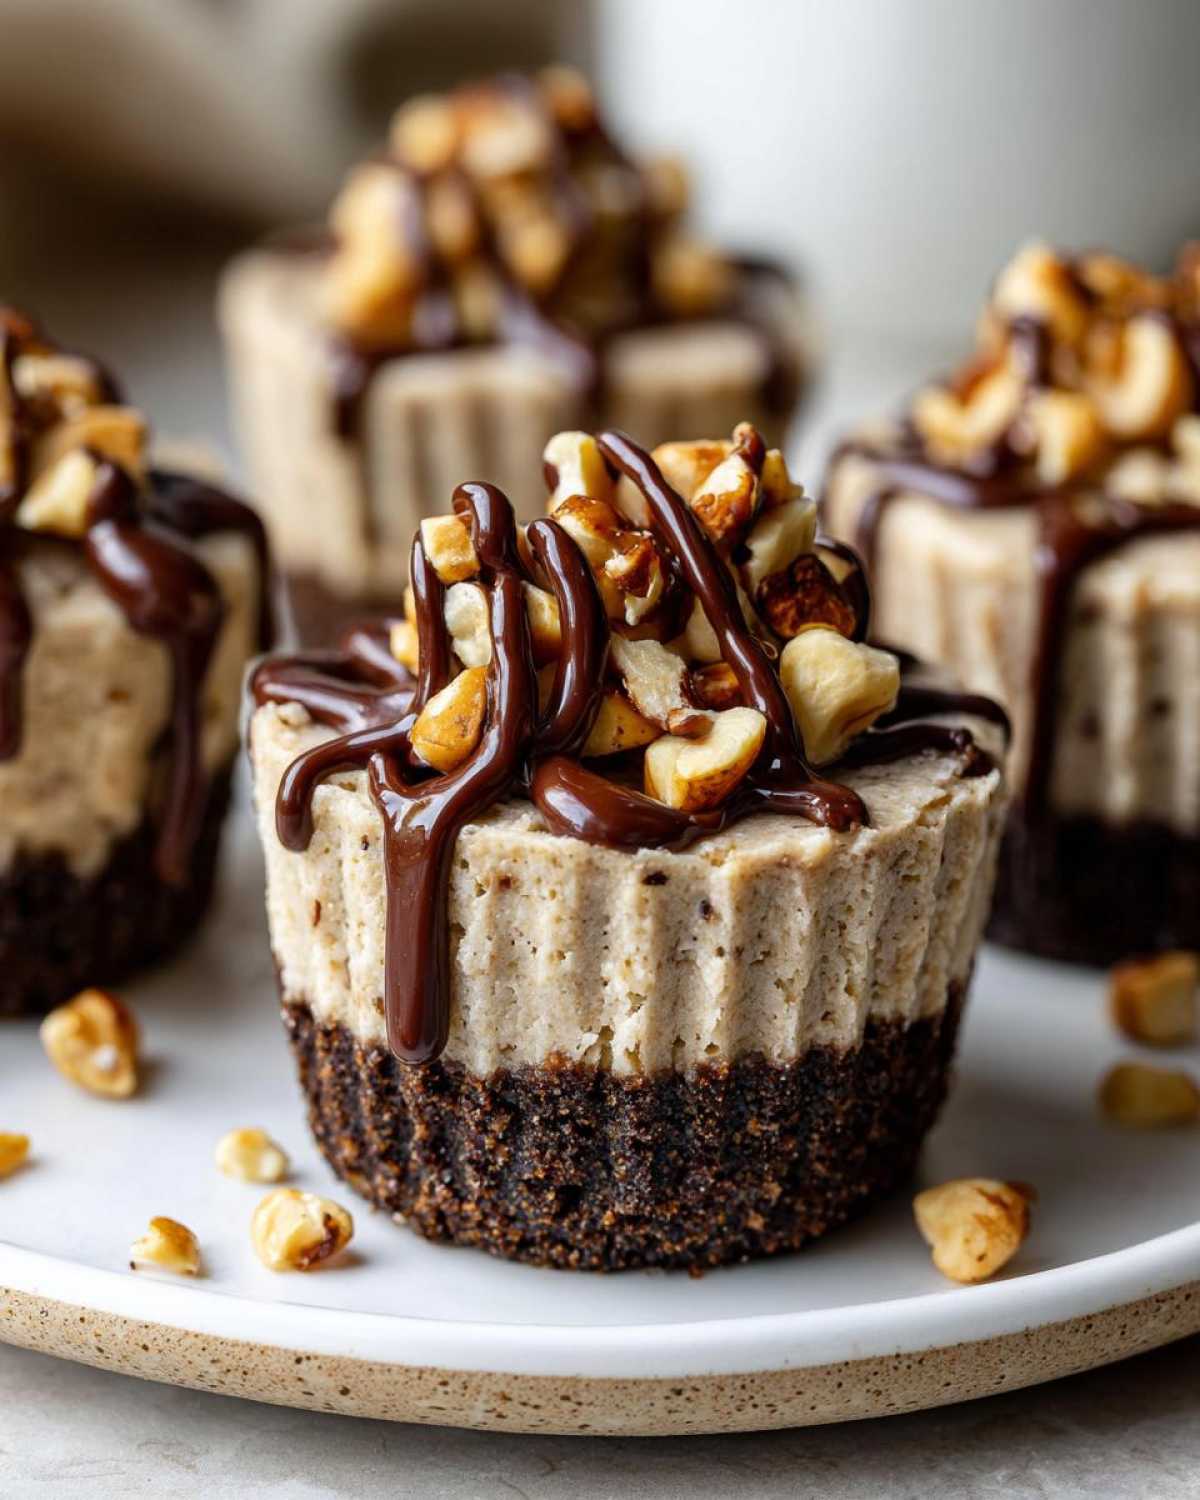
We need a little texture and shine right at the end. I always love toasting my hazelnuts on a dry pan for just a minute to really wake up that nutty flavor before chopping them up for the topping! Don’t forget your drizzling chocolate too.
- Chopped toasted hazelnuts (about 1/4 cup).
- Melted dark chocolate for that beautiful final drizzle (2 tablespoons).
If you’re looking for other simple mixes using pantry staples like butter and sugar in creative ways, you should check out my recipe for peanut butter treats too!
Step-by-Step Guide to Making No-Bake Chocolate Hazelnut Cheesecake Cups
Alright, let’s get down to business! This is where our Simple Cheesecake Cups Recipe comes together, and I promise, it’s all about order. Since we’re not baking anything, timing our chill steps is key. Just follow these steps exactly, and you’ll have gorgeous individual servings!
Preparing the Crust and Chilling
First thing: line a 12-cup muffin tin with your paper liners. Trust me, the liner makes pulling these out so much easier once they are firm. In a small bowl, mix your chocolate wafer crumbs with that melted butter until everything looks evenly damp, like wet sand. Next, take about a tablespoon and a half of that mix and really press it down firmly into the bottom of each liner. That pressure is important for a solid base! Once pressed, you need to send that tin straight to the freezer while we work on the filling.
Creating the Smooth Hazelnut Cheesecake Filling
Grab your big mixing bowl! Beat that softened cream cheese until it’s completely lump-free and beautifully smooth—this takes a minute or two. Then, gradually beat in the powdered sugar and the vanilla. Once that’s combined, pour in your hazelnut spread. Keep beating on medium speed until the whole mixture is one consistent, beautiful color. Give it a quick scrape down the sides to make sure everything is incorporated into a uniform base.
Folding in Whipped Cream and Assembling
Now, in a separate, clean bowl, whip that cold heavy cream until you’ve got nice, stiff peaks—you know the drill, where the peaks stand up straight when you lift the whisk. This step adds all the lightness! Here’s the important part: gently fold that whipped cream into the hazelnut base. You want to fold, not stir, so you keep all that wonderful air you whipped in there! Then, spoon the filling over those chilled crusts. I sometimes use a piping bag just to make it look fancy!
Setting and Garnishing the No-Bake Chocolate Hazelnut Cheesecake Cups
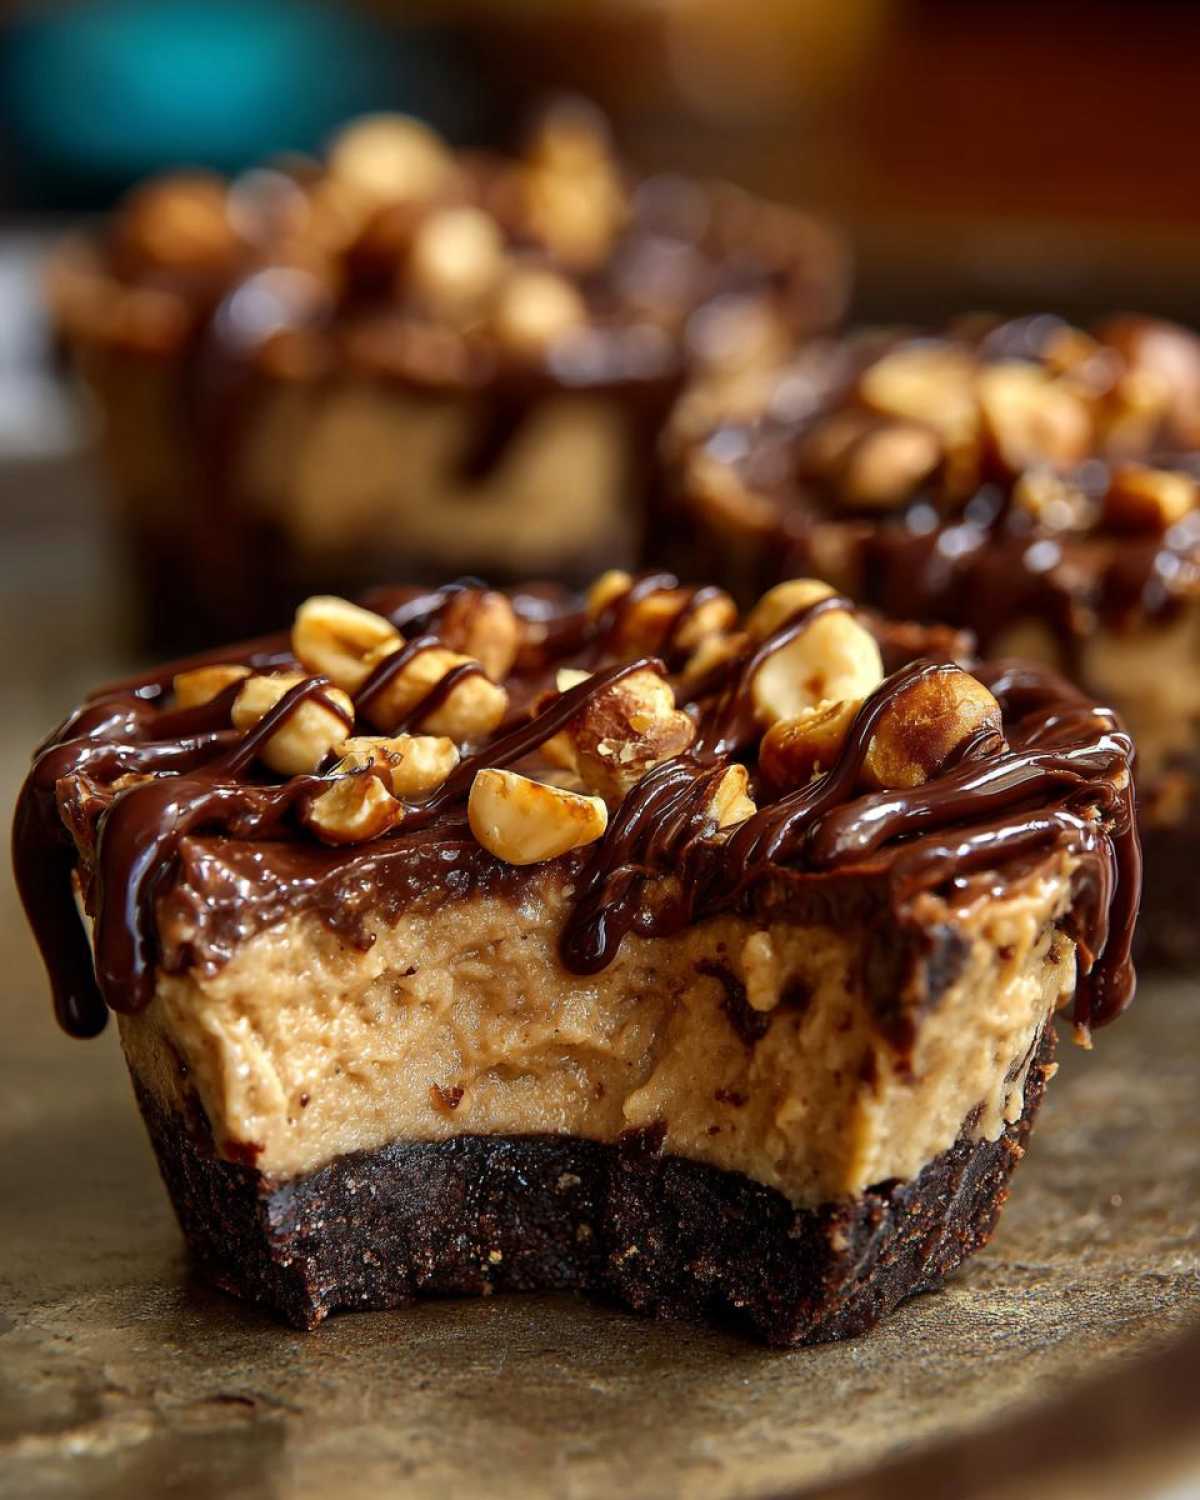
Back to the cold! Pop the tin into the fridge for a minimum of four hours. If you can wait overnight, even better—it locks in that creamy texture. When you’re ready to serve these beauties, pull them out. Sprinkle each one generously with those toasted hazelnuts and finish it off with a thin, messy drizzle of melted dark chocolate.
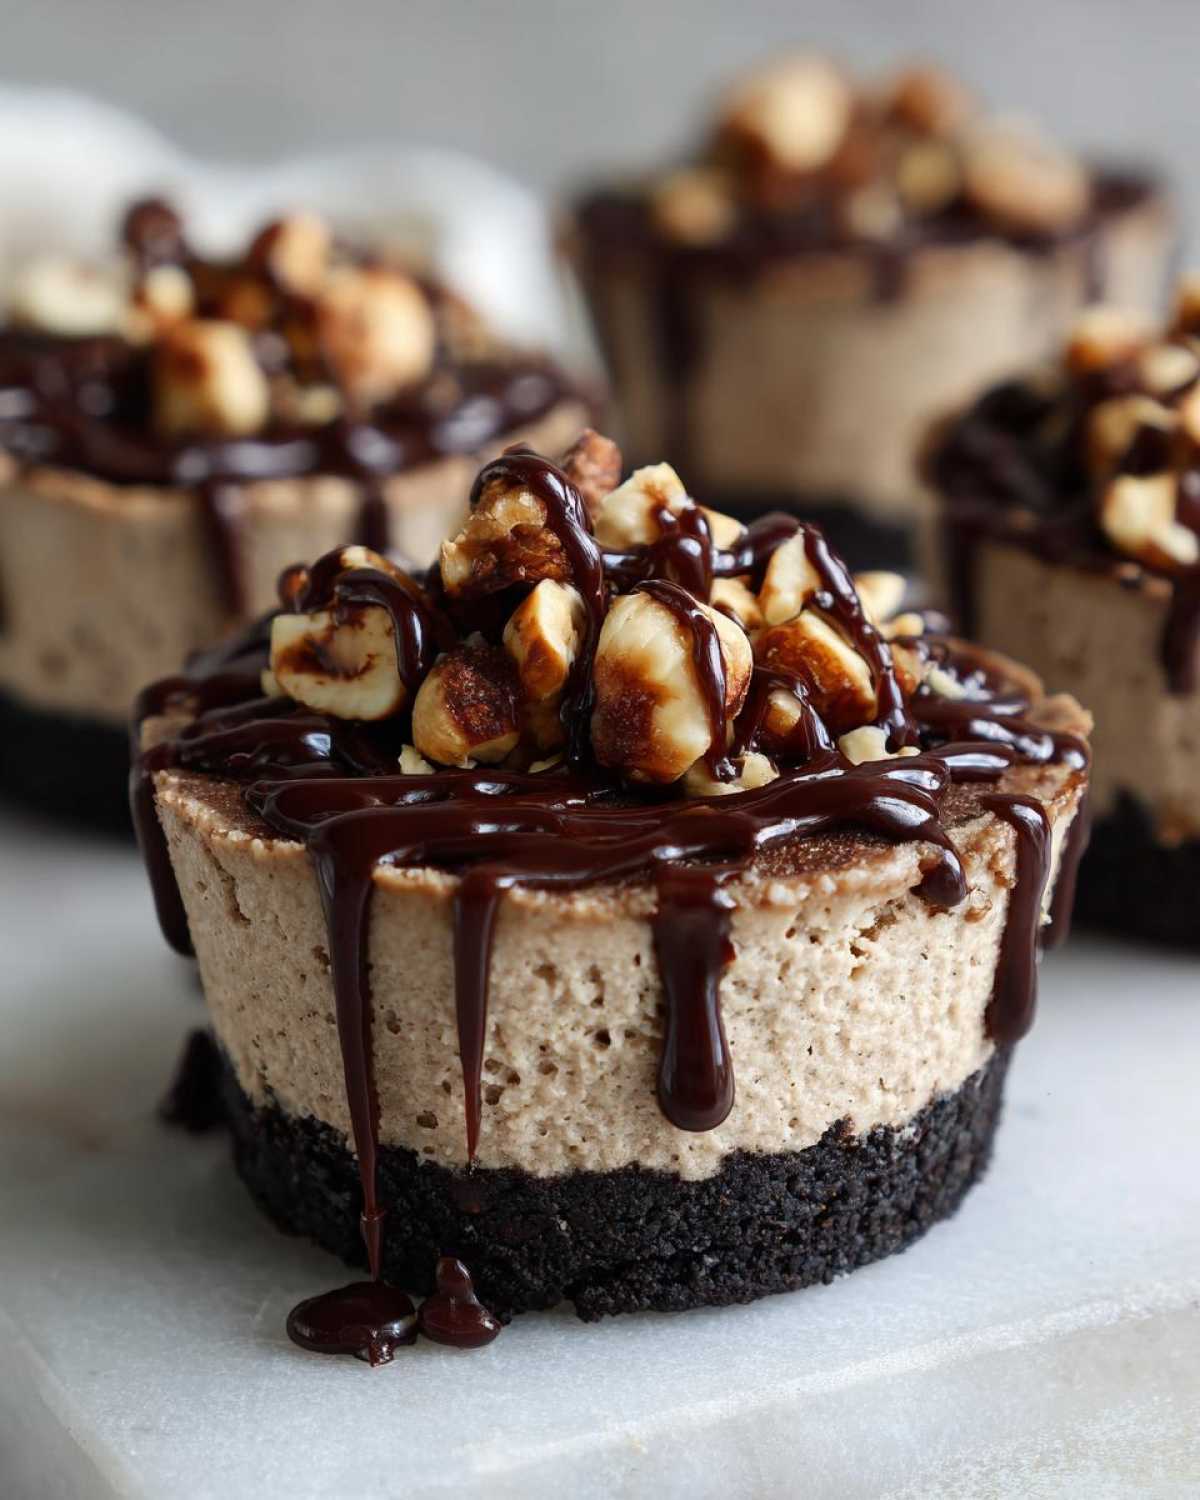
That’s it! You’ve made incredible No-Bake Chocolate Hazelnut Cheesecake Cups!
Tips for Perfect No-Bake Chocolate Hazelnut Cheesecake Cups
Even though these are so simple, a couple of little tricks can take these Mini No Bake Cheesecakes from great to seriously unforgettable. We aren’t relying on heat to set things, so temperature and gentle mixing become your best friends here. Don’t skip these little pointers!
Achieving a Silky Smooth Filling Texture
The number one pitfall in any no-bake recipe is lumpy cream cheese, so I always set mine out way ahead of time. It needs to be truly soft—leave it on the counter for a good hour before starting! Also, if your hazelnut spread is sitting in a cold cupboard and feels stiff, just pop the jar in the microwave for 10 or 15 seconds. We just want it to flow nicely when we add it in, not get hot, because hot spread will melt your beautiful cream cheese base!
The Secret to Lightness: Folding Technique
You’ve worked so hard whipping that heavy cream into those gorgeous stiff peaks. When you go to combine it with the hazelnut base, take a big spatula and be gentle. Use a folding motion, cutting down the middle and scooping up from the bottom. This action is crucial because we are trying to preserve every tiny air bubble we created. If you stir too hard, you deflate the volume, and your cups end up being too dense rather than light and creamy! It’s worth the extra minute of gentle effort.
If you want to see what else you can do with simple techniques, check out my tips on mastering chocolate chip cookie dough—the methods cross over!
Ingredient Notes and Substitutions for Hazelnut Chocolate Treats
Sometimes you open the pantry door and realize you’re missing that *one* specific thing—but don’t panic! These cups are super flexible, especially when it comes to the crust. We want to find creative solutions for our Gluten Free Cheesecake Base Options or use what we have on hand for these wonderful Hazelnut Chocolate Treats.
Crust Alternatives
If you don’t have chocolate wafers, no biggie! You can absolutely crush up standard Oreo cookies (just scrape out the cream filling first if you want a less sweet base), or use Nilla wafers if you prefer a lighter, vanilla crunch. For that gluten-free crowd, just swap in your favorite GF chocolate crumb. It works like a charm, just press it a little firmer!
Flavor Intensity Adjustments
Maybe you want these to scream hazelnut, or perhaps you want a deeper chocolate note than the wafers provide. If you’re hunting more hazelnut, add just 1/4 teaspoon of pure hazelnut extract to the filling mixture—it really punches up that flavor profile! If you’re craving intense chocolate, mix about one tablespoon of good quality unsweetened cocoa powder right in with your powdered sugar before mixing it into the cream cheese. Easy peasy adjustments that make them totally yours!
Make Ahead Dessert Ideas for No-Bake Chocolate Hazelnut Cheesecake Cups
One of the absolute best things about these little treats? They are built for planning ahead! Since they require zero baking, they actually taste *better* after they’ve had time to sit and get really cold and set up properly. These are the ultimate Make Ahead Dessert Ideas for parties because you can cross them off your list early.
Once they are fully chilled and firm (after that 4-hour minimum chill time), I just pop the whole muffin tin, still in their liners, into an airtight container. They keep beautifully in the fridge for up to three days. If you’re taking them to a gathering, just bring them straight from the fridge in their container. These No Oven Required Sweets are one less thing you have to worry about on the actual day of the event!
You can find more great timing tips when you look through my full list of make-ahead favorites.
Serving Suggestions for Creamy Dessert Shooters
These Creamy Dessert Shooters—which is exactly what they feel like when you eat them—are so rich, they actually need something simple to cut through all that decadent chocolate and hazelnut. Don’t serve them with anything too complicated or sweet, or it’ll just be too much! We’re looking for balance here.
Beverage Pairings
The perfect counterpoint to the richness is a hot, slightly bitter drink. A strong cup of black coffee or a shot of espresso makes the hazelnut flavor really pop! If you’re serving these after dinner, skip the dessert wine and go for something warm. My kids always go nuts when I serve them with just a very cold, simple glass of whole milk—it’s the best texture contrast.
To see how I pair up some surprisingly refreshing drinks with rich desserts, check out my post on serving up a sweet watermelon smoothie!
Frequently Asked Questions About No-Bake Chocolate Hazelnut Cheesecake Cups
I always get so many questions when I post these because everyone loves how easy they are, but they want to make sure they have that perfect texture! These little delights are such amazing Ferrero Inspired Desserts, people often wonder about the nuances. Here are the few things I get asked most often about getting these right every time!
Can I use a different cookie for the crust?
Absolutely! If you don’t have chocolate wafers, don’t panic. You can easily swap those out for crushed graham crackers or even Oreos if you have those lying around. Just remember, if you use Oreos, they might be slightly sweeter, or if you use graham crackers, the crust will be a little lighter in color, but they still press down beautifully for the base.
How long do these need to chill before they are firm enough?
This is key for these Chocolate Hazelnut Dessert Cups! You need at least four hours in the refrigerator to make sure the filling is set enough to hold its shape when you peel off the paper liner. That said, if you can manage to leave them overnight—do it! Chilling overnight lets the hazelnut flavor really meld in, and the texture becomes even silkier during that longer rest.
Can I make these vegan or dairy-free?
You totally can adapt this! The biggest swap will be the cream cheese; make sure you use a firm block-style vegan cream cheese alternative rather than the spreadable tubs. And for the cream, look for a canned coconut cream that has been chilled overnight so you can whip the thick top layer. Just keep in mind dairy-free swaps sometimes mean the final texture isn’t *quite* as stable, so go easy on the folding!
If you are looking for other amazing chilled recipes, you have to see my recipe for Pecan Pie Cheesecake—it uses chilling time just as effectively!
Estimated Nutrition for Your Simple Cheesecake Cups Recipe
I always include this to give you a baseline, although you know how it is—when you’re dealing with butter and cream cheese, those numbers can dance around a bit depending on what exact brand of Nutella you grab!
- Serving Size: 1 cup
- Calories: 310
- Sugar: 25g
- Fat: 21g
Remember, these are just estimates based on the standard ingredients I used to create these Simple Cheesecake Cups Recipe. If you swap to different cookies or use low-fat cream cheese, the numbers will change! If you ever need to reach out with baking questions, feel free to contact me right here!
PrintNo-Bake Chocolate Hazelnut Cheesecake Cups
Make individual, creamy chocolate hazelnut cheesecake portions without using an oven. These simple cups use a cookie crust and a rich, no-bake filling.
- Prep Time: 20 min
- Cook Time: 0 min
- Total Time: 4 hr 20 min
- Yield: 12 cups
- Category: Dessert
- Method: No-Bake
- Cuisine: American
- Diet: Vegetarian
Ingredients
- 1 1/2 cups chocolate wafer cookie crumbs
- 6 tablespoons unsalted butter, melted
- 1 (8 ounce) package cream cheese, softened
- 1/2 cup powdered sugar
- 1 teaspoon vanilla extract
- 1/2 cup hazelnut spread (like Nutella)
- 1/2 cup heavy whipping cream, cold
- 1/4 cup chopped toasted hazelnuts, for topping
- 2 tablespoons melted dark chocolate, for drizzling
Instructions
- Line a standard 12-cup muffin tin with paper liners.
- Combine the cookie crumbs and melted butter in a small bowl. Mix until the crumbs are evenly moistened.
- Press about 1 1/2 tablespoons of the crumb mixture firmly into the bottom of each lined muffin cup to form the crust. Place the tin in the freezer while you prepare the filling.
- In a large bowl, beat the softened cream cheese with an electric mixer until smooth.
- Add the powdered sugar and vanilla extract. Beat until just combined.
- Add the hazelnut spread to the cream cheese mixture. Beat on medium speed until the filling is smooth and uniform in color.
- In a separate, clean bowl, whip the cold heavy cream until stiff peaks form.
- Gently fold the whipped cream into the hazelnut cream cheese mixture until no streaks remain. Do not overmix.
- Spoon or pipe the filling evenly over the chilled crusts in the muffin cups.
- Refrigerate the cheesecake cups for at least 4 hours, or until firm.
- Before serving, top each cup with chopped toasted hazelnuts and a drizzle of melted dark chocolate.
Notes
- For a gluten-free crust option, substitute graham crackers or gluten-free chocolate wafers for the chocolate wafers.
- You can use a piping bag fitted with a large star tip to make the filling look neater in the cups.
- These cups keep well in the refrigerator for up to 3 days.
Nutrition
- Serving Size: 1 cup
- Calories: 310
- Sugar: 25
- Sodium: 150
- Fat: 21
- Saturated Fat: 10
- Unsaturated Fat: 11
- Trans Fat: 0
- Carbohydrates: 28
- Fiber: 1
- Protein: 4
- Cholesterol: 45